Articles
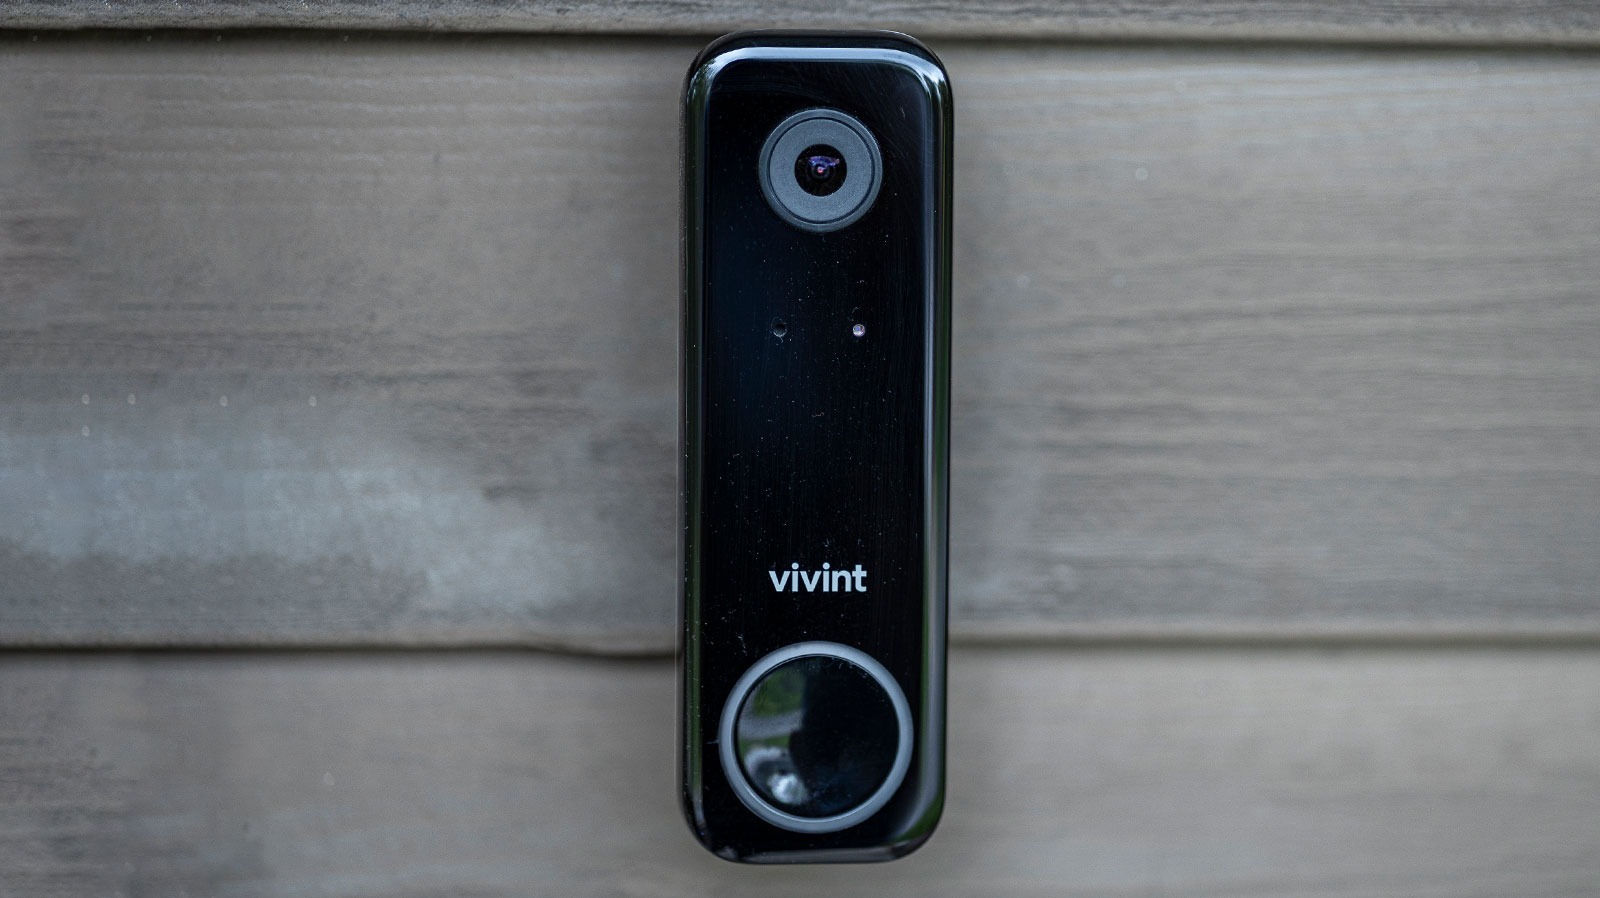
How To Remove Vivint Doorbell Camera
Modified: August 27, 2024
Learn effective methods to remove a Vivint doorbell camera with our detailed articles. Get step-by-step instructions and expert tips for hassle-free removal.
(Many of the links in this article redirect to a specific reviewed product. Your purchase of these products through affiliate links helps to generate commission for Storables.com, at no extra cost. Learn more)
Introduction
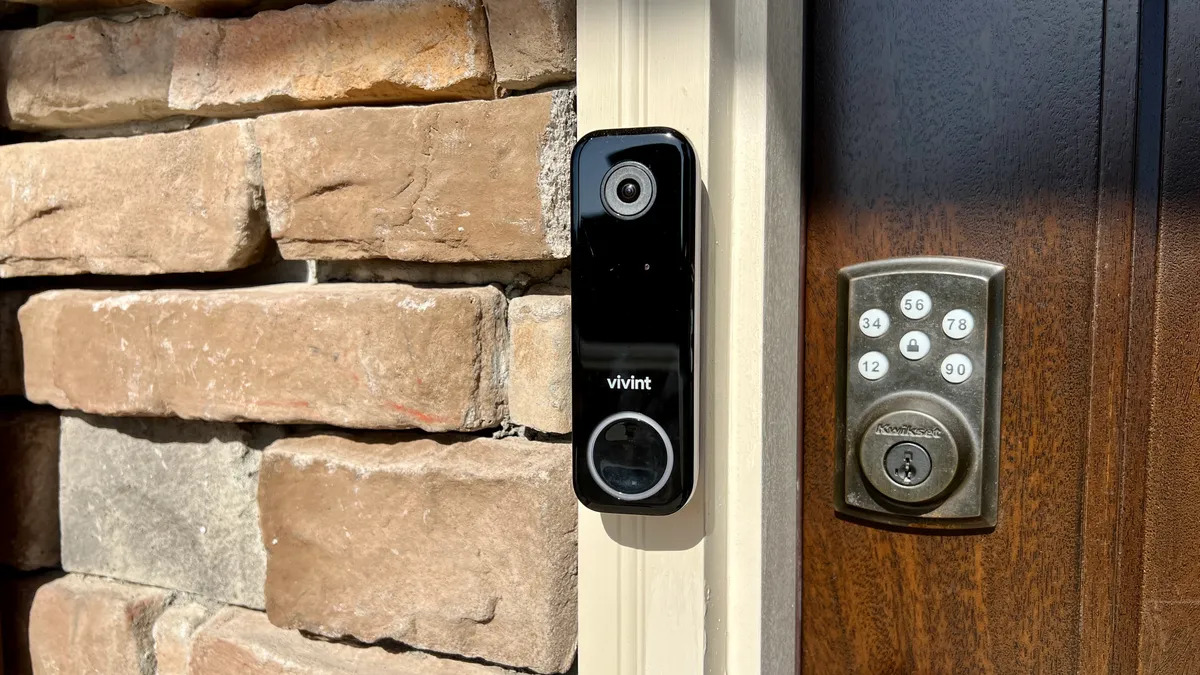
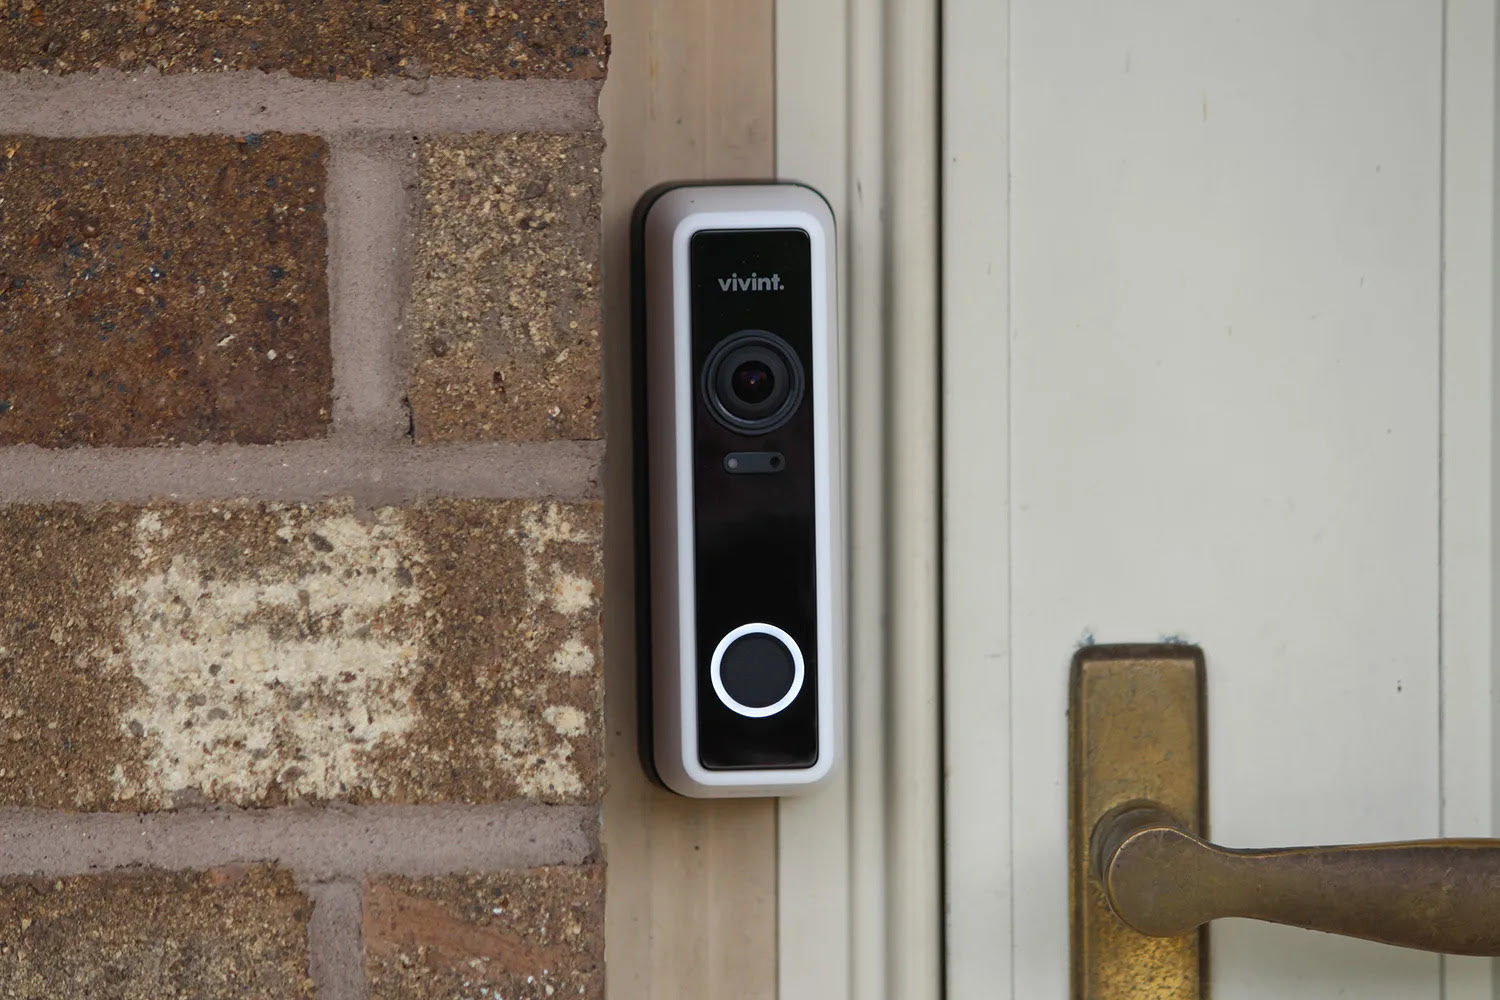
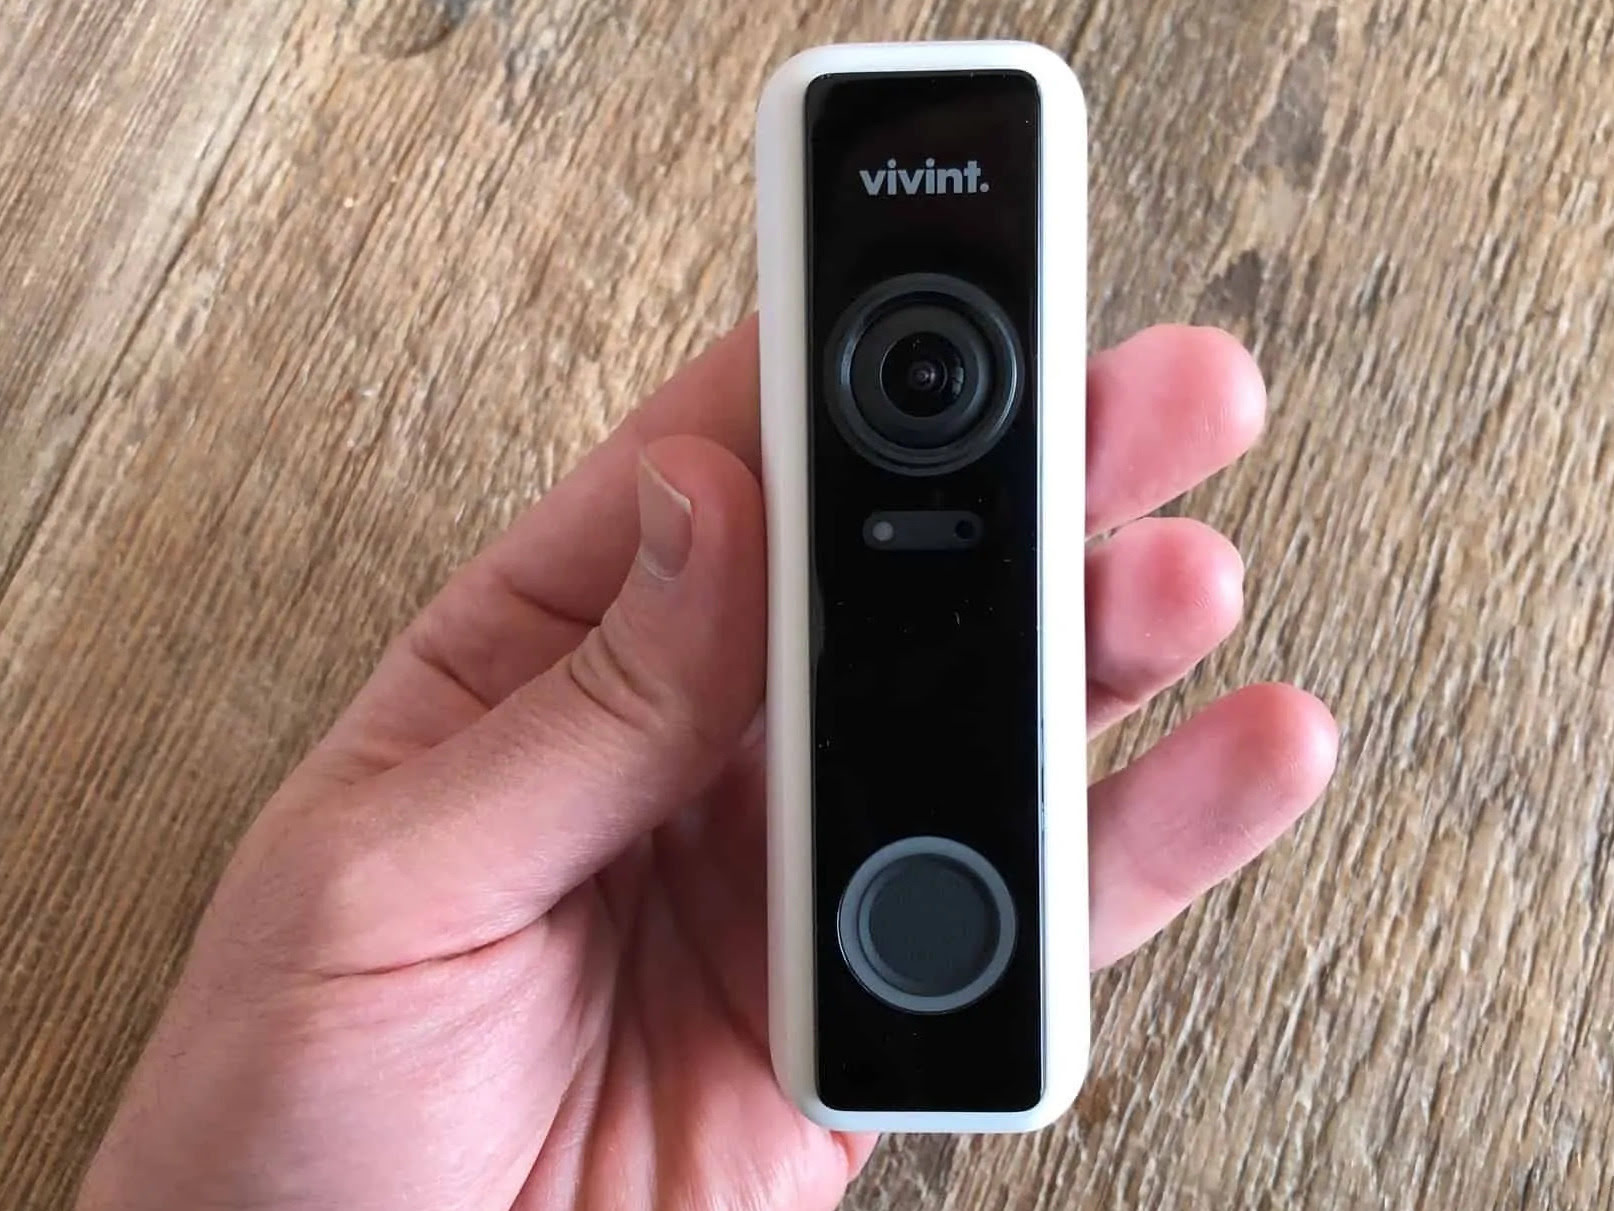
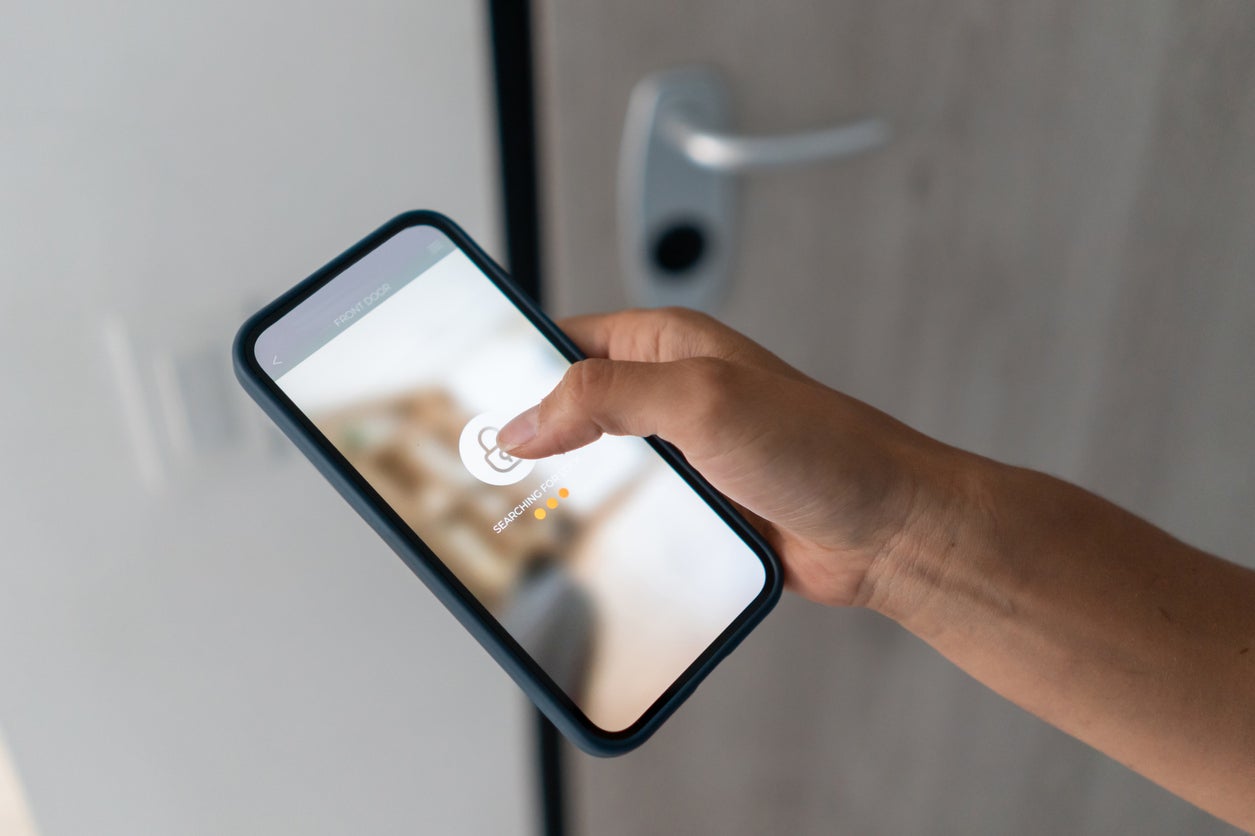
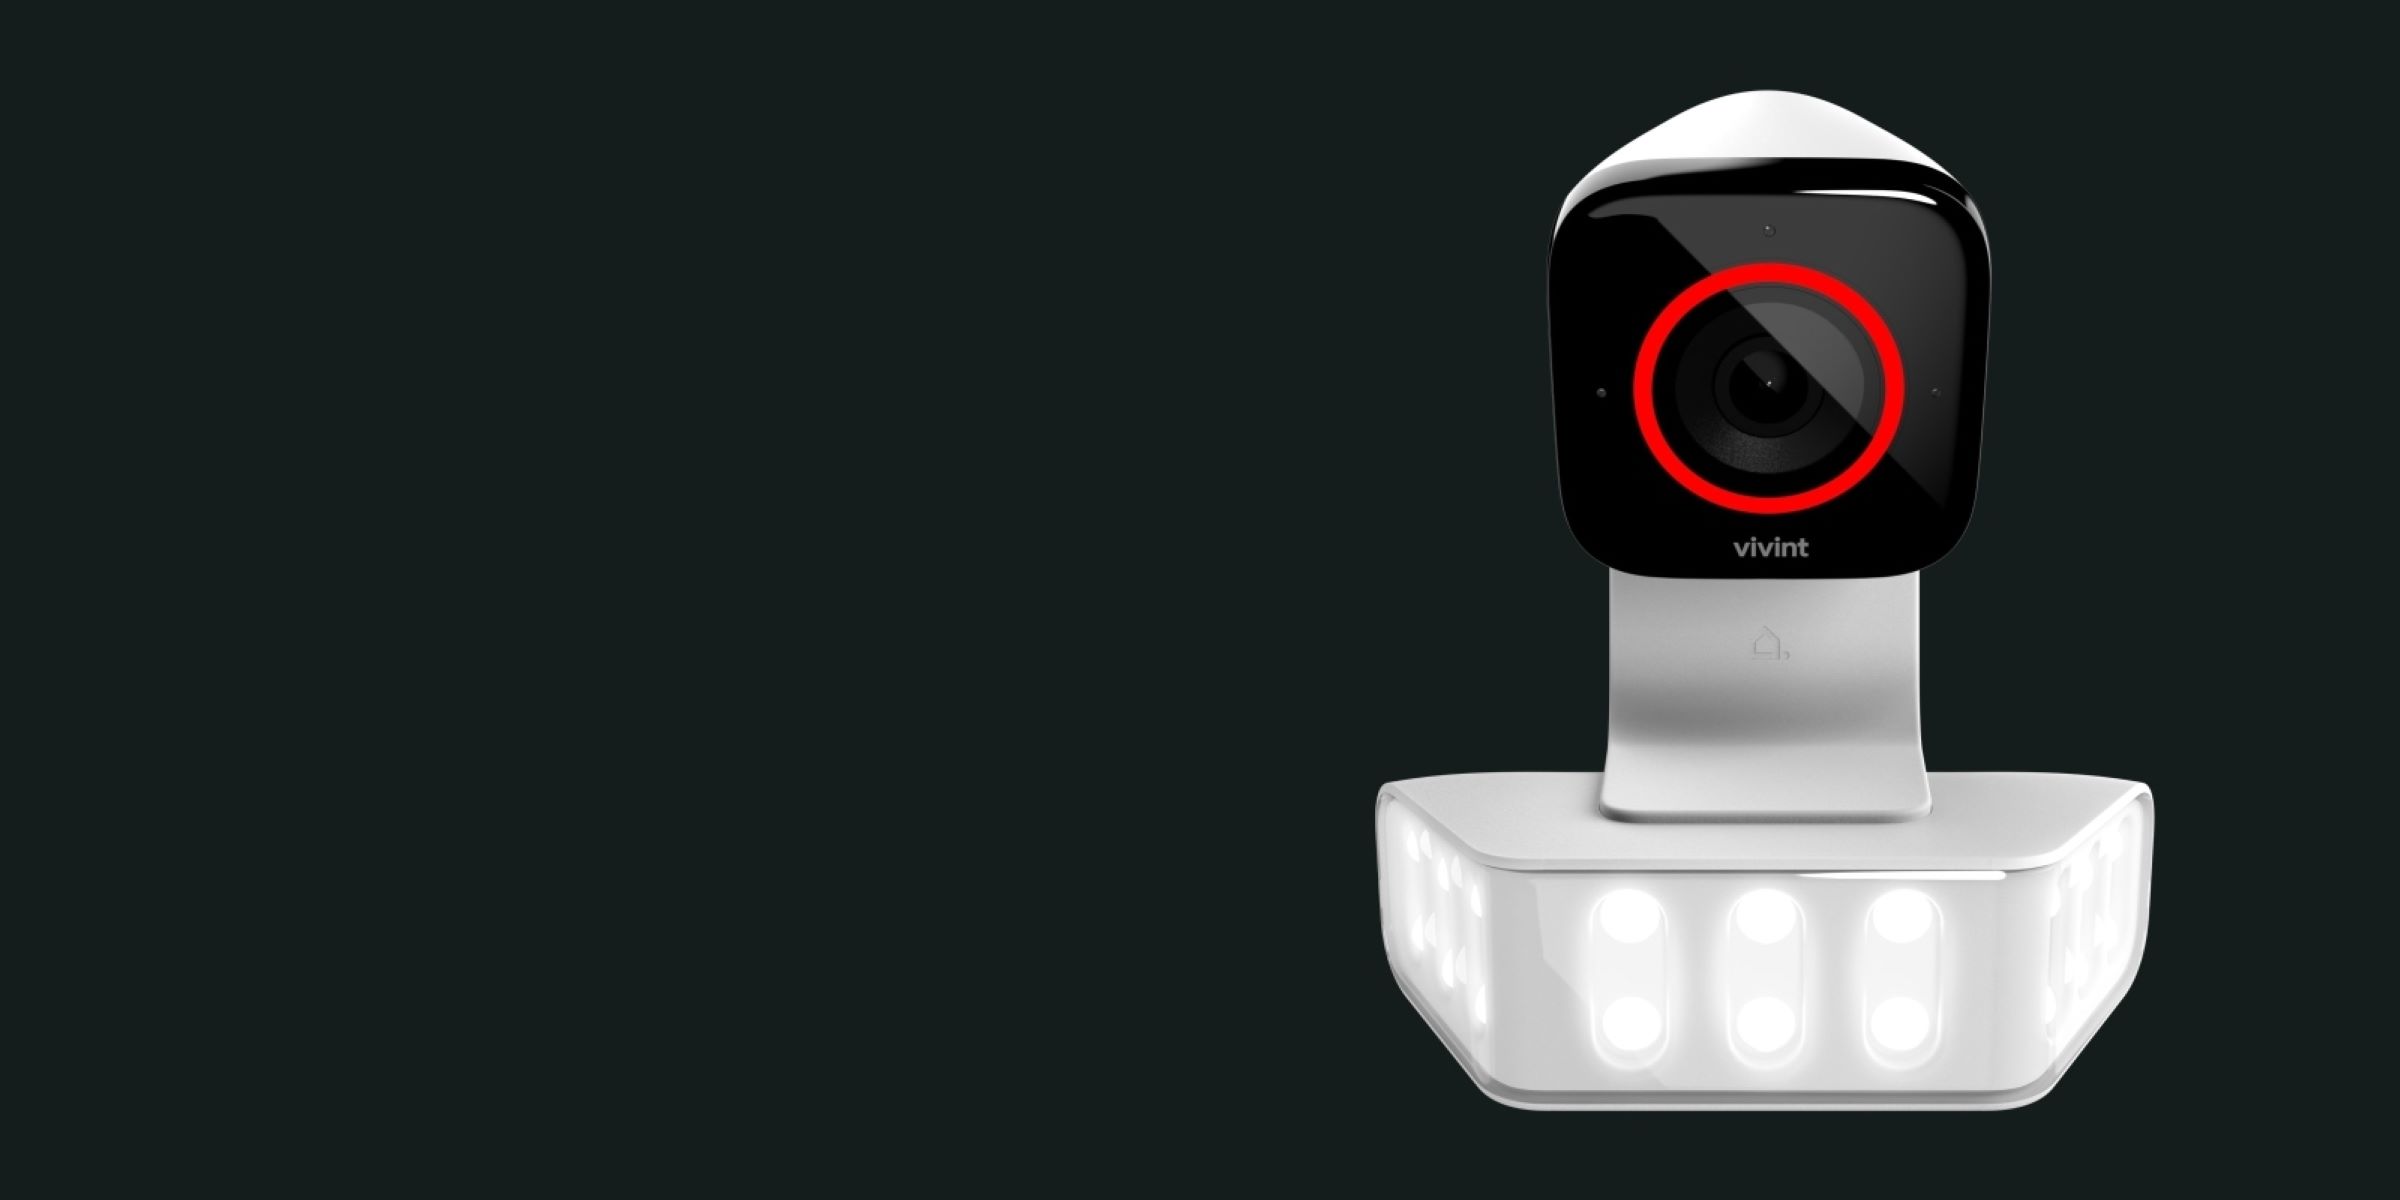
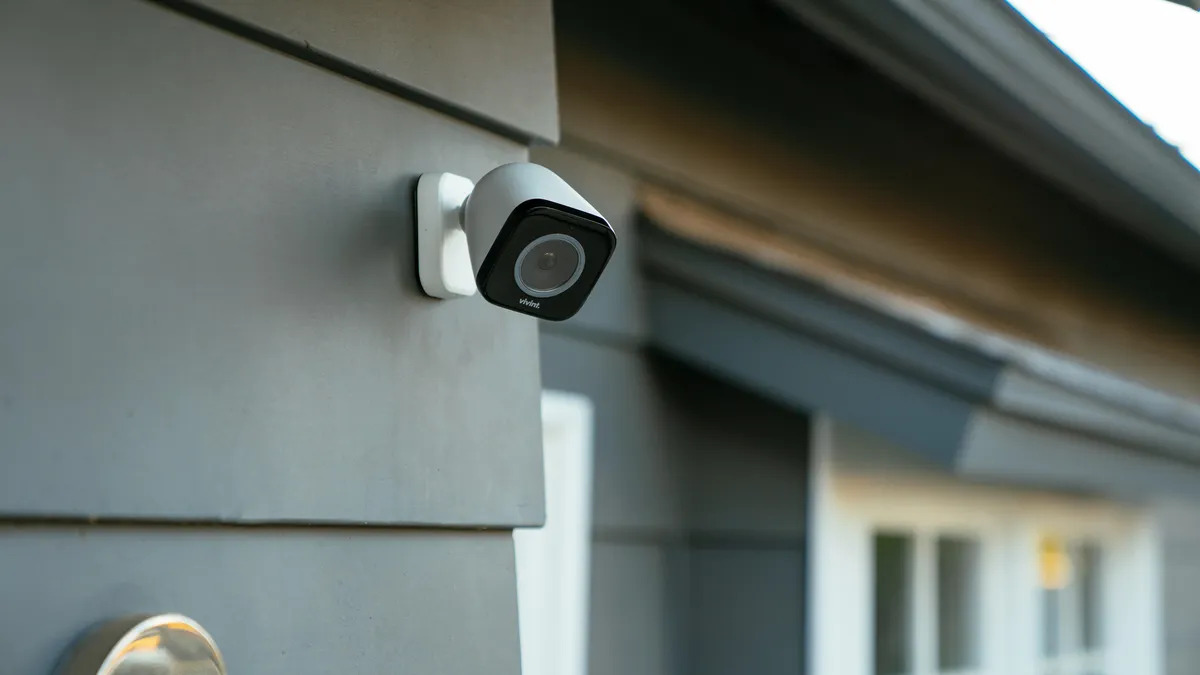
The Vivint Doorbell Camera is a popular choice for homeowners looking to enhance the security of their property. However, there may come a time when you need to remove the doorbell camera, whether it’s due to a malfunction, upgrading to a newer model, or simply wanting to change your security system setup. In this article, we will guide you through the step-by-step process of removing the Vivint Doorbell Camera.
Giving you the ability to monitor your front door from anywhere, the Vivint Doorbell Camera utilizes advanced technology to provide you with real-time video and audio feed. It allows you to see who is at your doorstep, communicate with visitors, and even record activity for added security. While it offers a range of great features, there may be instances when you need to uninstall it.
Before we dive into the removal process, it is essential to ensure your safety and take necessary precautions. It is highly recommended to turn off the power supply to the doorbell camera before proceeding with the removal. This will prevent any potential electrical hazards and ensure a safe working environment.
In addition, make sure you gather all the necessary tools beforehand. You will typically need a screwdriver, wire strippers, and possibly a drill, depending on the mounting method of your doorbell camera. Having these tools ready will make the removal process much smoother.
Now that we have covered the basics, let us move on to the step-by-step guide to remove the Vivint Doorbell Camera.
Key Takeaways:
- Safely and efficiently remove a Vivint Doorbell Camera by gathering necessary tools, turning off power supply, disconnecting wiring, and responsibly disposing of the camera. Prioritize safety and follow step-by-step guide for a seamless removal process.
- Ensure a smooth removal process for a Vivint Doorbell Camera by following the step-by-step guide, exercising caution, and properly disposing of the camera to reduce electronic waste and protect the environment. Prioritize safety and environmental responsibility throughout the removal process.
Read more: How To Remove Vivint Outdoor Camera
Step 1: Gather the necessary tools
Before you begin the process of removing the Vivint Doorbell Camera, it is important to gather all the necessary tools. By having the right tools on hand, you can ensure a smooth and efficient removal process. Here are the tools you will need:
- Screwdriver: Depending on the model of your doorbell camera, you may need a Phillips-head or flat-head screwdriver to loosen and remove the screws holding the camera in place.
- Wire strippers: To disconnect the wiring from the doorbell camera, you will need wire strippers to safely remove the insulation and expose the wires.
- Drill (optional): If your doorbell camera is mounted using screws and anchors, you may need a drill to remove them from the wall.
Having these tools readily available will save you time and ensure that you have everything you need to complete the removal successfully.
It is important to note that the specific tools required may vary depending on the mounting method and model of your Vivint Doorbell Camera. It is always recommended to refer to the manufacturer’s instructions or consult with a professional if you are unsure about the tools needed for your specific doorbell camera.
Once you have gathered all the necessary tools, you are ready to proceed with the removal process. With careful attention and following the provided instructions, you can remove the Vivint Doorbell Camera safely and efficiently.
Step 2: Turn off the power supply
Before you begin removing the Vivint Doorbell Camera, it is crucial to turn off the power supply to prevent any electrical mishaps or injuries. Follow these steps to safely turn off the power:
- Locate the circuit breaker or fuse box in your home. This is usually found in a utility room, garage, or basement.
- Identify the circuit breaker or fuse that controls the power to your doorbell camera. It may be labeled as “doorbell” or “front porch.”
- Switch off the circuit breaker or remove the fuse that corresponds to the doorbell camera circuit.
- Verify that the power to the doorbell camera has been successfully turned off by pressing the doorbell button to see if it still triggers any lights or sounds.
Taking these precautions will ensure that you can work on the doorbell camera safely without the risk of electrical shock. Remember, even low-voltage doorbell systems can carry a small amount of current, so it is essential to turn off the power supply before proceeding.
If you are unsure which circuit controls the doorbell camera or are uncomfortable working with electrical systems, it is recommended to consult with a professional electrician. They can safely disconnect the power for you or provide guidance on how to do so.
Once you have successfully turned off the power supply, you can proceed to the next step of removing the Vivint Doorbell Camera.
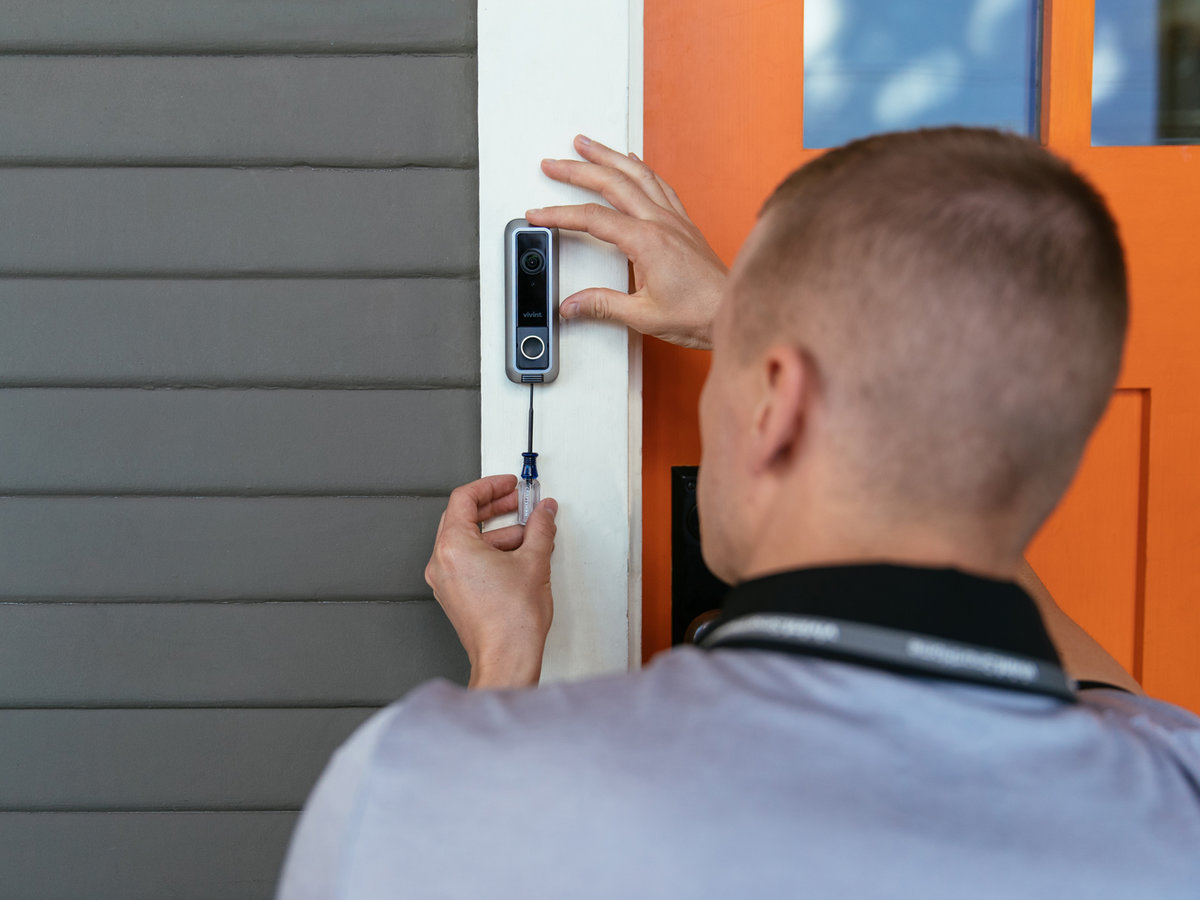
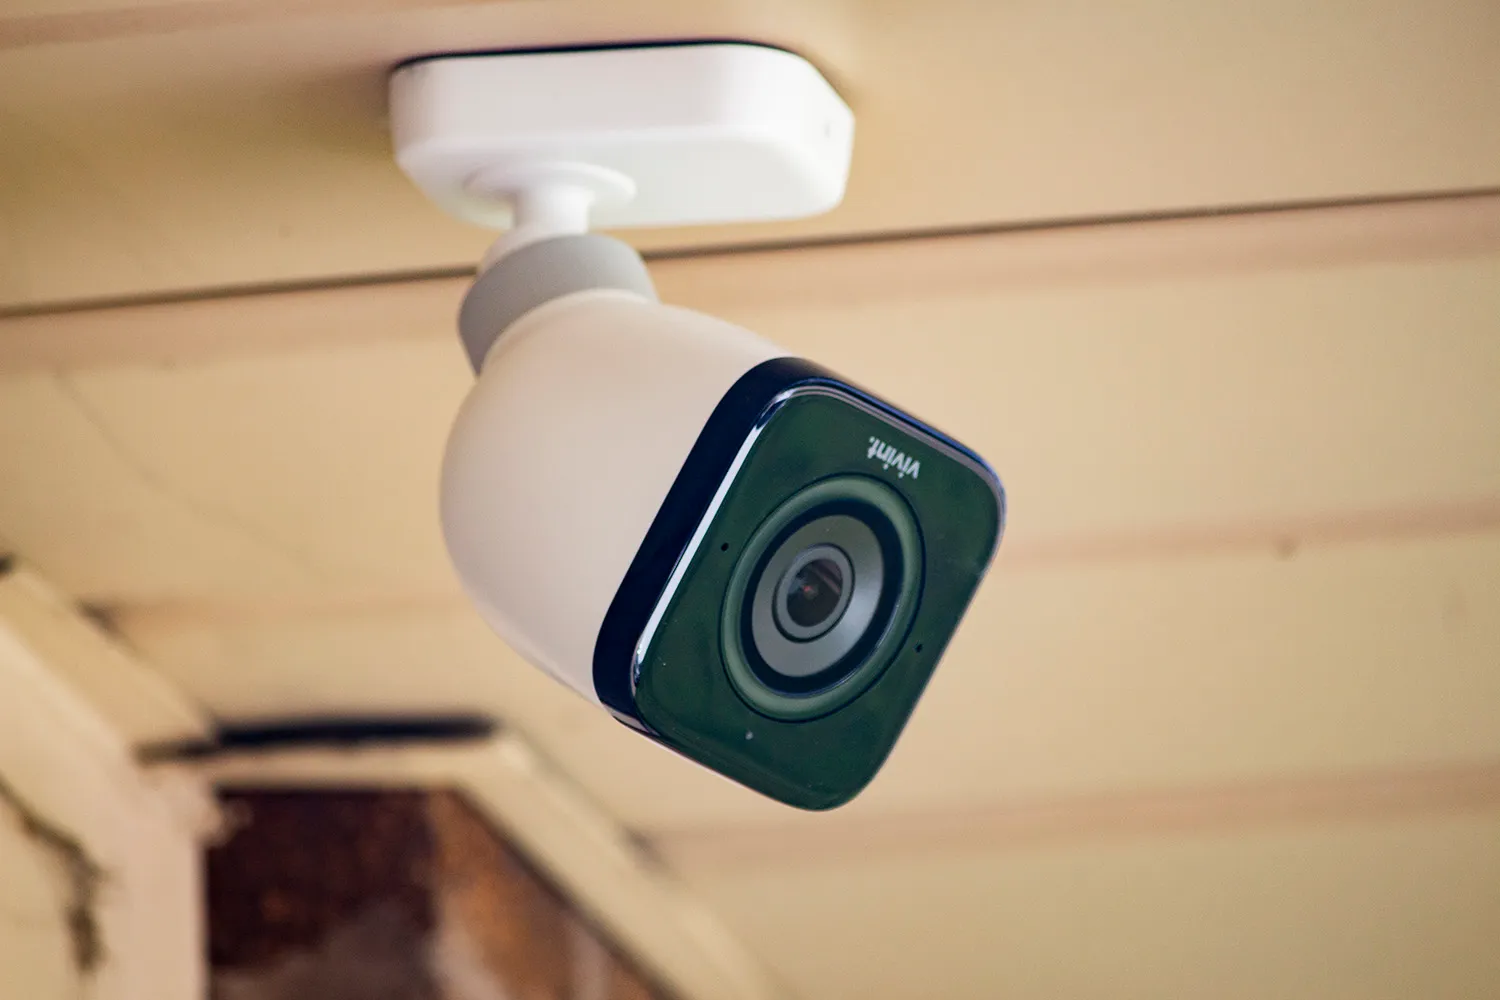
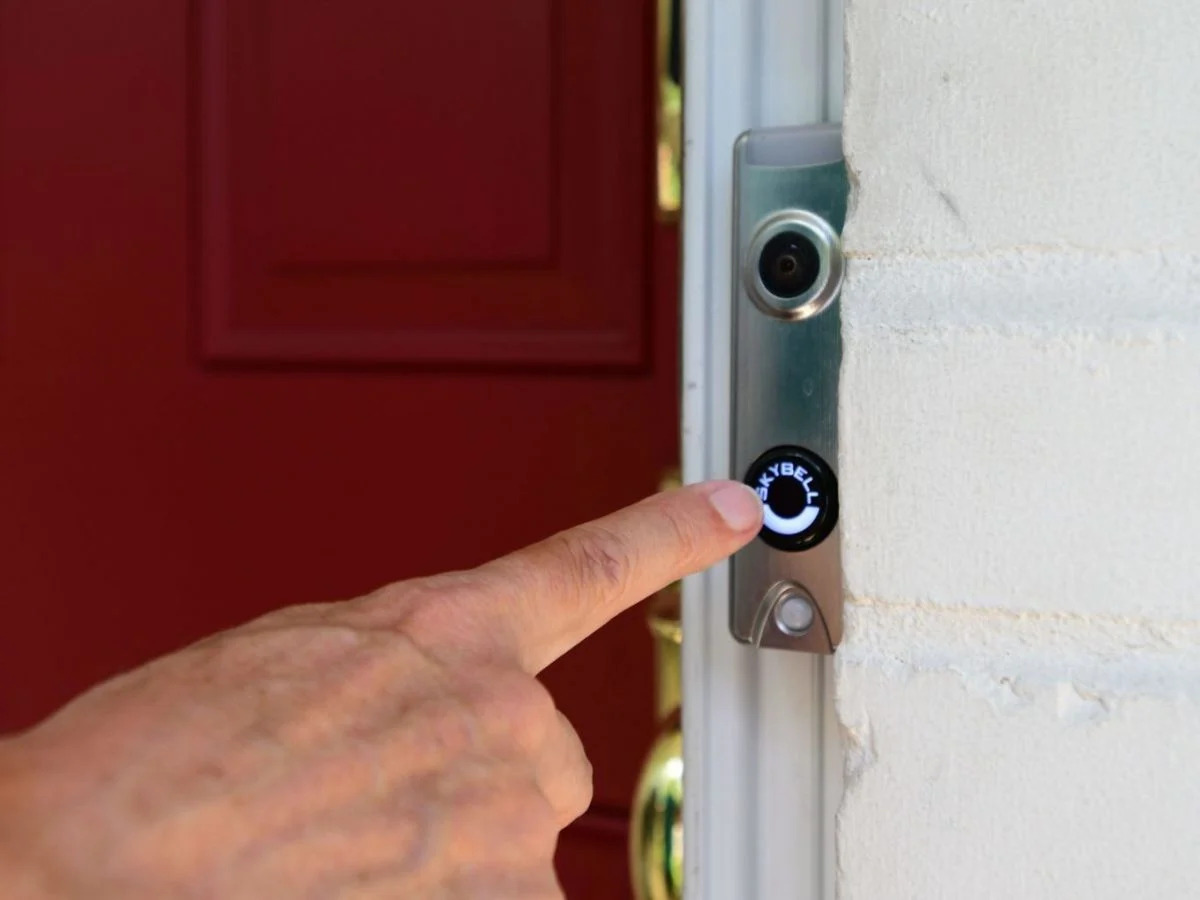
Step 3: Remove the doorbell camera from the mounting bracket
With the power supply turned off, you can now begin removing the Vivint Doorbell Camera from its mounting bracket. Follow these steps:
- Inspect the doorbell camera and identify the mounting bracket. The bracket is typically located beneath the camera and is secured to the wall or door frame.
- Using a screwdriver, gently loosen and remove the screws that are holding the doorbell camera in place.
- Once the screws are removed, carefully lift the camera away from the bracket. Be cautious not to tug or pull forcefully, as you may damage the wiring.
- If the camera feels stuck, double-check that all screws have been removed and gently wiggle the camera to release it from the bracket.
It is important to handle the doorbell camera with care to avoid any accidental damage. Take your time when removing it from the bracket, ensuring a smooth and controlled motion.
In some cases, the doorbell camera may be attached to the bracket using a locking mechanism or additional mounting clips. If this is the case, refer to the manufacturer’s instructions or user manual for specific details on how to detach the camera from the bracket.
Once you have successfully removed the Vivint Doorbell Camera from the mounting bracket, you can proceed to the next step of disconnecting the wiring.
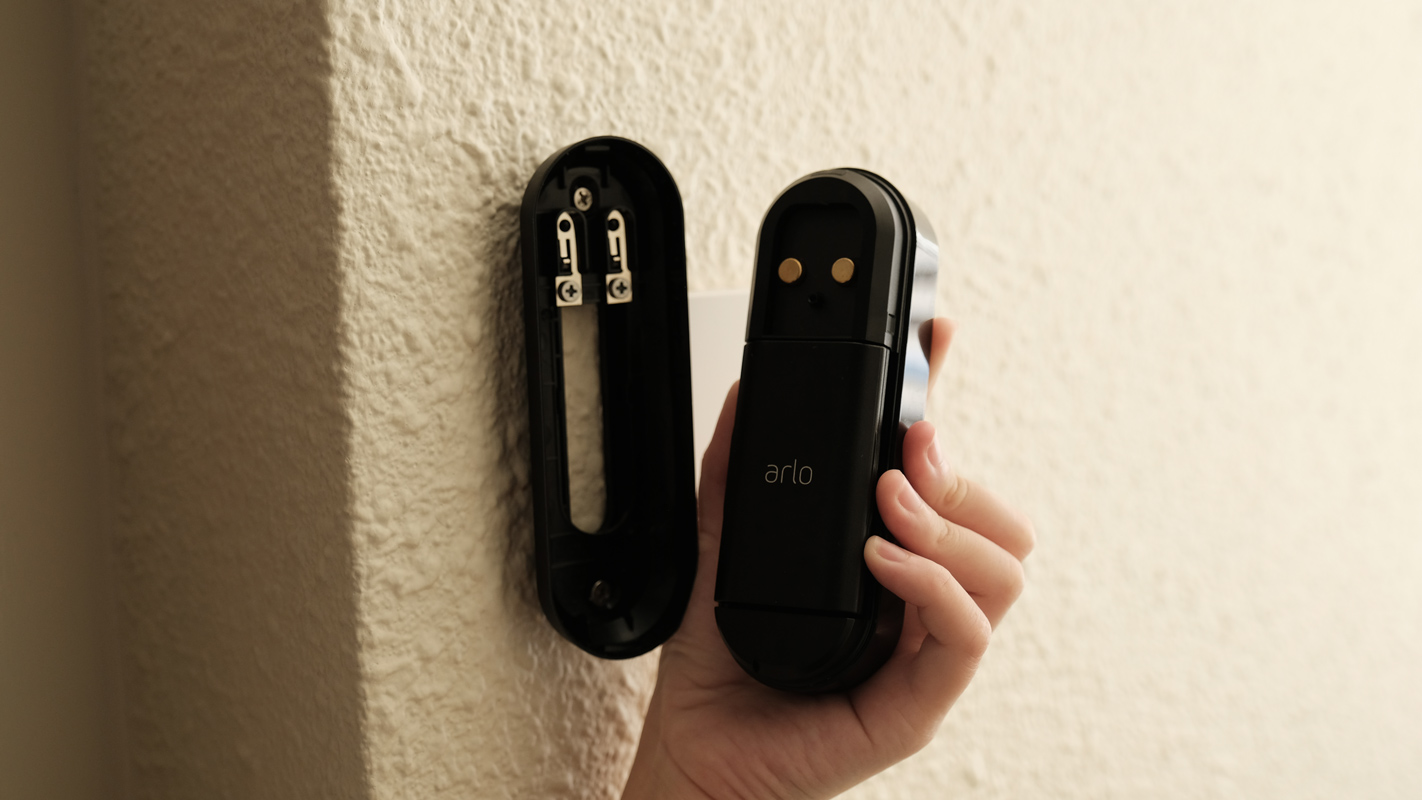
Step 4: Disconnect the wiring
Now that you have removed the Vivint Doorbell Camera from the mounting bracket, the next step is to disconnect the wiring. Follow these steps:
- Locate the wiring that is connected to the back of the doorbell camera. It is typically visible once the camera is removed from the bracket.
- Inspect the wiring and identify the connection points. There should be wires labeled as “positive” (+) and “negative” (-) or color-coded wires.
- Using wire strippers, carefully strip off the insulation from the wires, exposing a small length of bare wire.
- Once the wires are exposed, gently unscrew or unplug the connectors that are holding them in place. Be mindful not to pull on the wires too forcefully to avoid damaging them.
- If there are multiple wires, take note of their respective locations and label them to ensure easy reinstallation if needed in the future.
It’s important to exercise caution when handling the wiring to prevent any accidental damage or electrical shock. If you are uncertain about disconnecting the wiring, it is recommended to consult with a professional electrician for assistance.
As a safety measure, you can use electrical tape to cover the exposed ends of the wires to prevent any accidental contact or short circuits.
Once the wiring has been safely disconnected, you can proceed to the next step of removing any remaining screws or brackets.
Before removing a Vivint doorbell camera, make sure to turn off the power supply to the device. Then, carefully unscrew the camera from its mount and disconnect the wires. Finally, remove any remaining mounting hardware and patch up any holes left behind.
Read also: 8 Amazing Vivint Doorbell Camera for 2025
Step 5: Remove any remaining screws or brackets
After disconnecting the wiring, the next step in removing the Vivint Doorbell Camera is to remove any remaining screws or brackets that are still attached to the wall or door frame. Follow these steps:
- Inspect the area where the doorbell camera was mounted and look for any additional screws or brackets.
- If there are screws visible, use a screwdriver to carefully loosen and remove them. If the screws are difficult to remove, you may need to use a drill or a pair of pliers for extra leverage.
- If there are brackets or mounting clips still attached to the wall or door frame, use a screwdriver, pliers, or a drill to detach them.
- Be cautious when removing screws or brackets, ensuring that you do not damage the surrounding area or cause any unnecessary marks or holes.
It is important to remove any remaining screws or brackets to ensure a clean and seamless appearance once the doorbell camera is fully removed. This step will also make it easier to patch up any holes or imperfections in the next step.
If you are unsure about the proper method of removing screws or brackets, it is advisable to seek guidance from a professional handyman or consult the manufacturer’s instructions.
Once you have successfully removed all the screws and brackets, you can proceed to the next step of patching up any holes or imperfections left behind.
Step 6: Patch up the holes
After removing the Vivint Doorbell Camera and any remaining screws or brackets, it’s time to patch up any holes or imperfections left behind on the wall or door frame. Follow these steps:
- Inspect the holes left by the screws or brackets and assess their size and depth.
- If the holes are small, you can use a lightweight spackling compound or putty to fill them. Apply the compound with a putty knife, ensuring that it is evenly spread and level with the surrounding surface.
- If the holes are larger or deeper, you may need to use a wall repair patch. Place the patch over the hole and apply spackling compound or joint compound to fill the gap. Smooth it out with a putty knife and let it dry according to the manufacturer’s instructions.
- Once the compound is dry, use a fine-grit sandpaper or a sanding block to gently sand the patched area, creating a smooth and even finish.
- Remove any dust or debris from the sanding process by wiping the area with a clean, dry cloth.
- If necessary, you can touch up the patched area with matching paint to blend it seamlessly with the surrounding surface. Apply the paint using a small brush or a roller, following the manufacturer’s instructions.
Patching up the holes not only improves the appearance of the wall or door frame but also ensures a clean finish and prepares the surface for any future modifications or repairs.
If you are not familiar with patching holes or feel unsure about the process, it is recommended to seek assistance from a professional handyman who can perform the task efficiently and effectively.
Once you have successfully patched up the holes and made any necessary touch-ups, you can proceed to the final step of properly disposing of the Vivint Doorbell Camera.
Step 7: Dispose of the doorbell camera properly
After removing the Vivint Doorbell Camera and completing all the necessary steps, it’s important to dispose of it properly. Follow these guidelines to ensure responsible and eco-friendly disposal:
- Check the manufacturer’s instructions or website to determine if they have a specific recycling or disposal program for their products. Some companies have recycling initiatives in place to reduce electronic waste.
- If the manufacturer does not offer a recycling program, you can search for electronic waste recycling facilities in your area. These specialized facilities have the proper equipment and processes to safely handle and dispose of electronic devices.
- Contact your local waste management or recycling center to inquire if they accept electronic devices. They may have specific guidelines or drop-off locations for electronic waste.
- If you are unable to find a recycling option, consider donating the doorbell camera if it is still in good working condition. There may be organizations or individuals who can benefit from its use.
- Ensure that all personal data and information is properly erased from the device before disposal. Resetting the camera to its factory settings can help remove any stored data.
- If the doorbell camera contains a battery, remove it and dispose of it separately following the appropriate guidelines for battery recycling.
It is important to avoid throwing electronic devices, including the doorbell camera, in regular trash bins as they can end up in landfills and contribute to environmental pollution.
By properly disposing of the doorbell camera, you are taking a responsible approach towards reducing electronic waste and protecting the environment.
With the doorbell camera safely disposed of, you have successfully completed the process of removing the Vivint Doorbell Camera.
Conclusion
Removing a Vivint Doorbell Camera may seem like a daunting task, but by following the step-by-step guide outlined in this article, you can safely and efficiently complete the process. Whether you are replacing the camera, upgrading your security system, or simply making changes to your home, these steps will help you remove the Vivint Doorbell Camera with ease.
Remember to gather the necessary tools, turn off the power supply, and carefully remove the camera from the mounting bracket. Take extra care when disconnecting the wiring, removing any remaining screws or brackets, and patching up the holes left behind. Lastly, dispose of the doorbell camera responsibly by checking for recycling options or donating it if possible.
Throughout the process, it is crucial to prioritize safety and exercise caution to avoid any injuries or accidental damage. If you are uncertain about any step or uncomfortable working with electrical systems, it is recommended to seek assistance from a professional.
By removing the Vivint Doorbell Camera properly, you can maintain the integrity of your property while ensuring the smooth integration of any future security upgrades or modifications.
Remember, if you ever decide to install a new doorbell camera or make any changes to your security system, consult the manufacturer’s instructions and seek professional help if needed. With careful planning and execution, you can continue to enhance the security and convenience of your home.
Now that you've mastered removing your Vivint doorbell camera, why stop there? Enhancing your home's safety is always wise. Our guide on why you need home security dives into essential safety measures every homeowner should consider. Feeling handy? Jump into our DIY home improvement tips for practical ways to upgrade your space without breaking the bank. Looking ahead, don't miss our roundup of 12 best home automation systems set to transform everyday living in 2024. Each article is packed with actionable advice to keep your home smart and secure.
Frequently Asked Questions about How To Remove Vivint Doorbell Camera
Was this page helpful?
At Storables.com, we guarantee accurate and reliable information. Our content, validated by Expert Board Contributors, is crafted following stringent Editorial Policies. We're committed to providing you with well-researched, expert-backed insights for all your informational needs.

0 thoughts on “How To Remove Vivint Doorbell Camera”