Articles
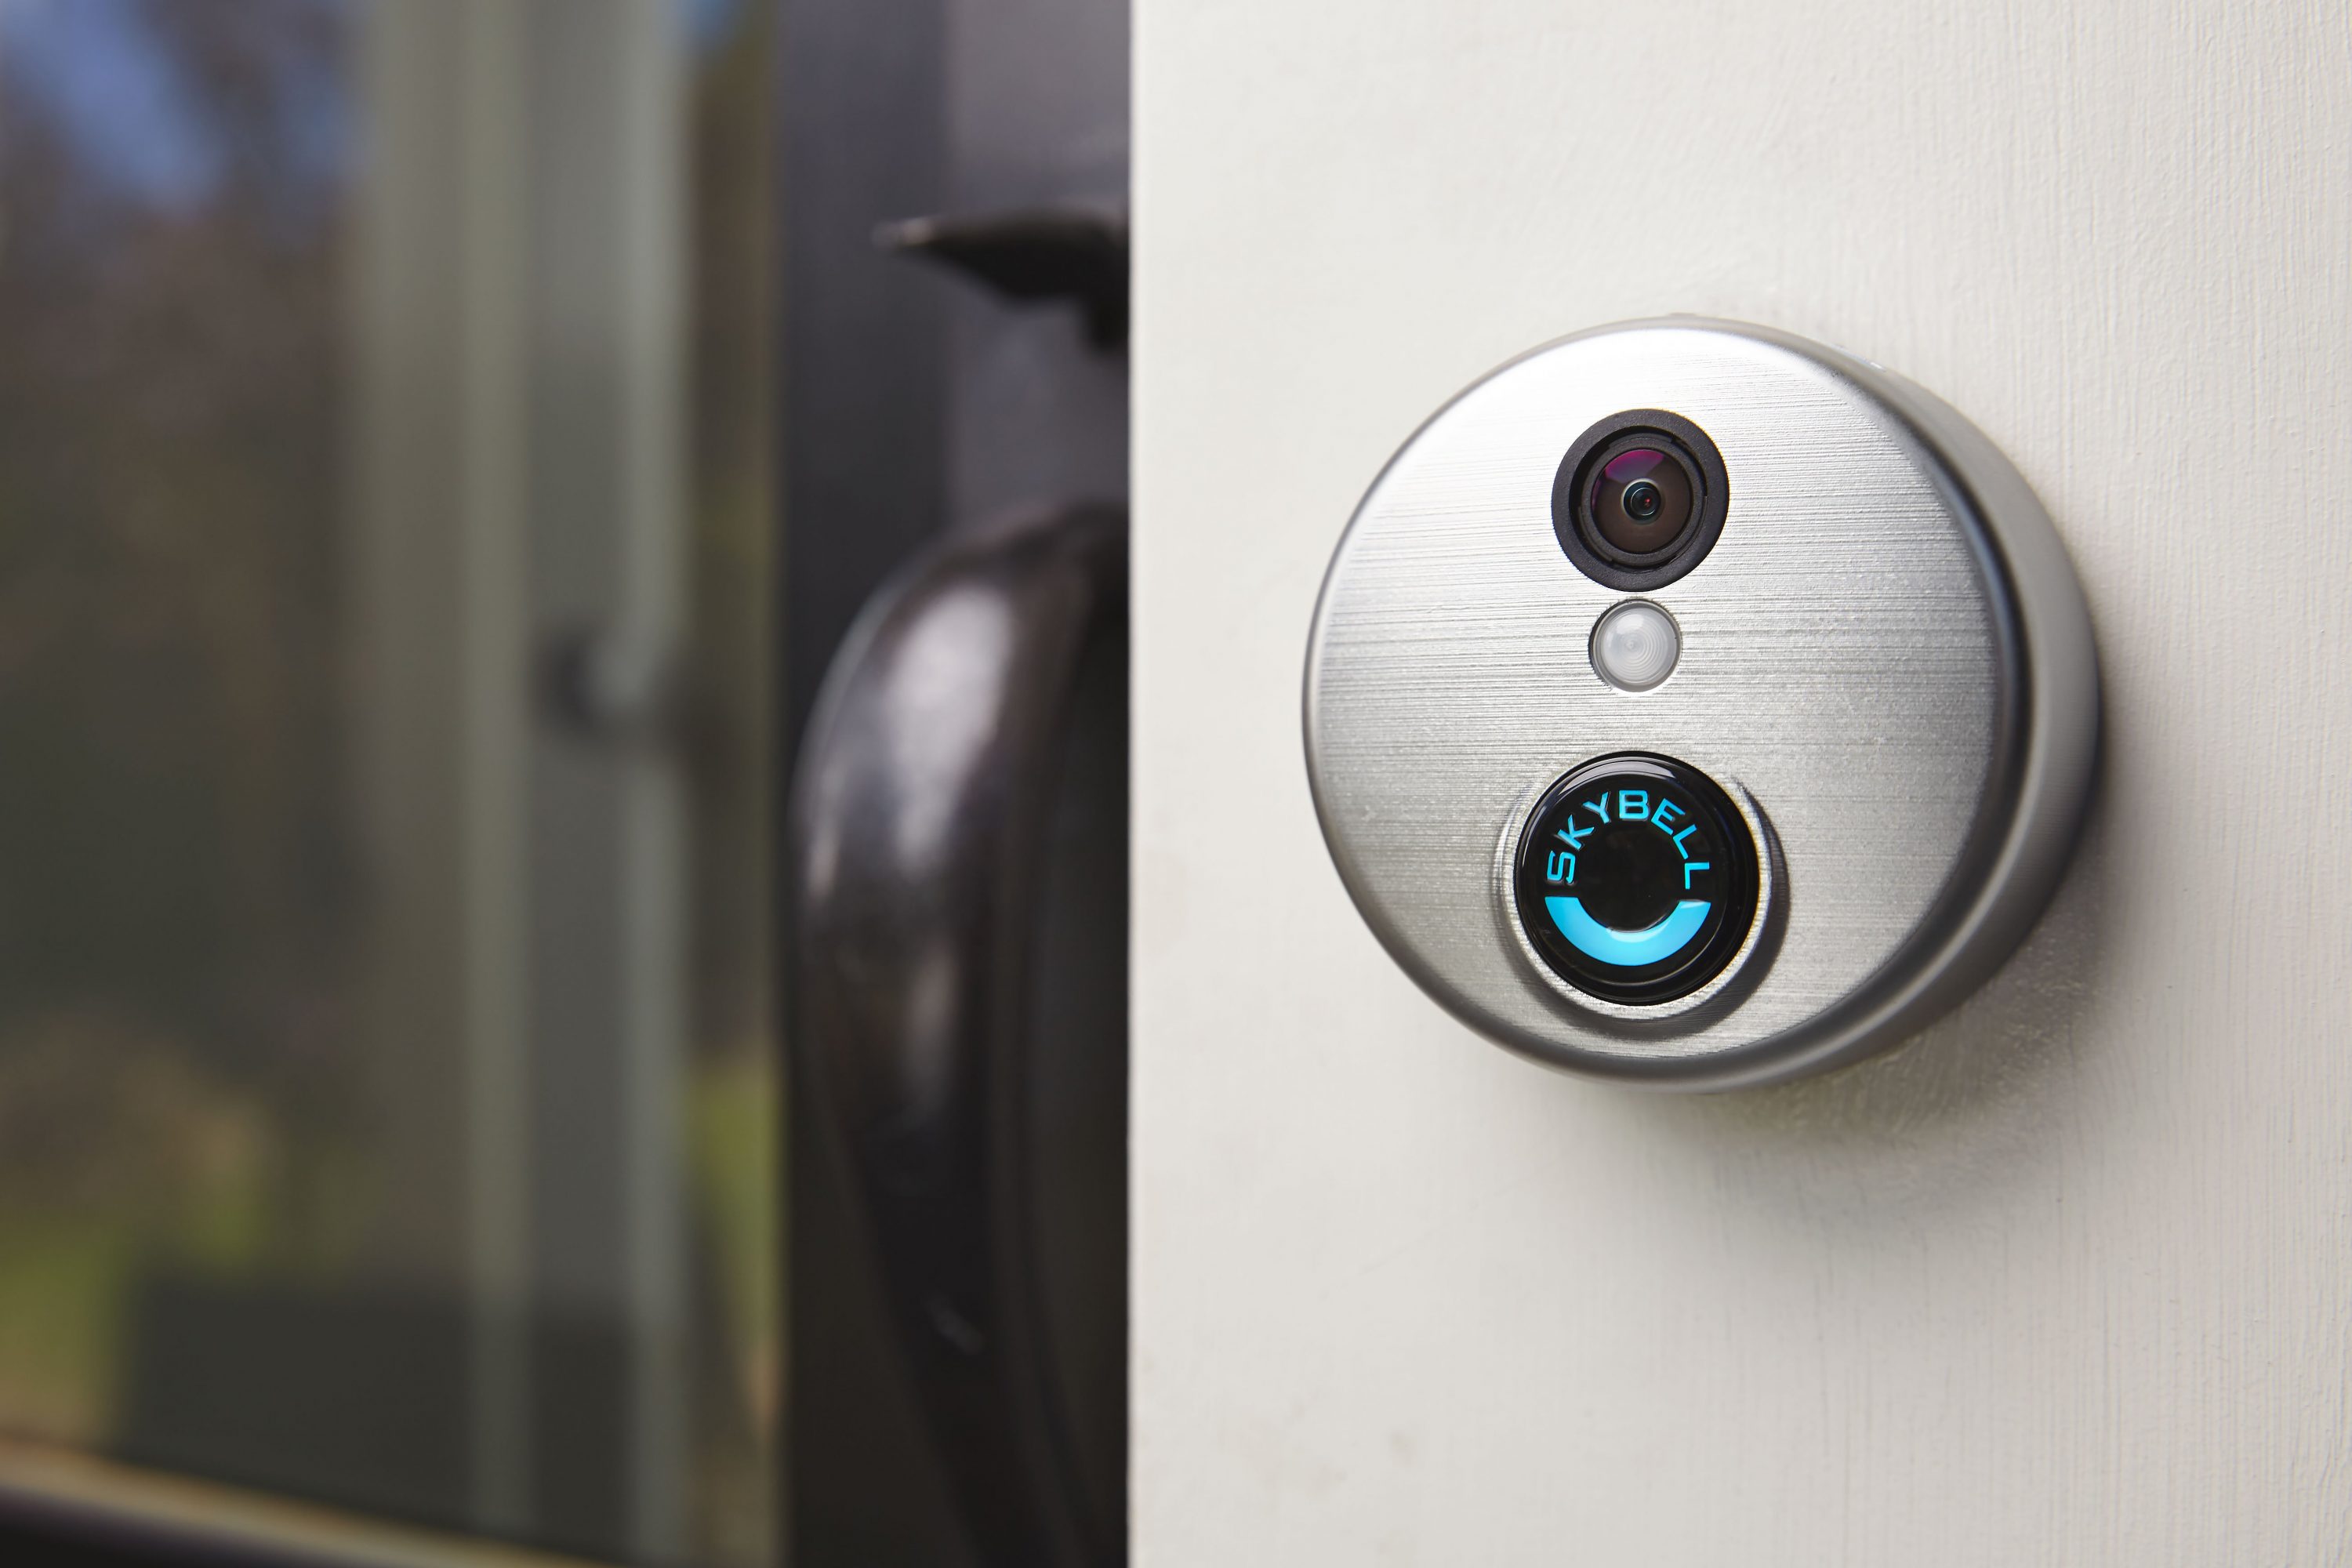
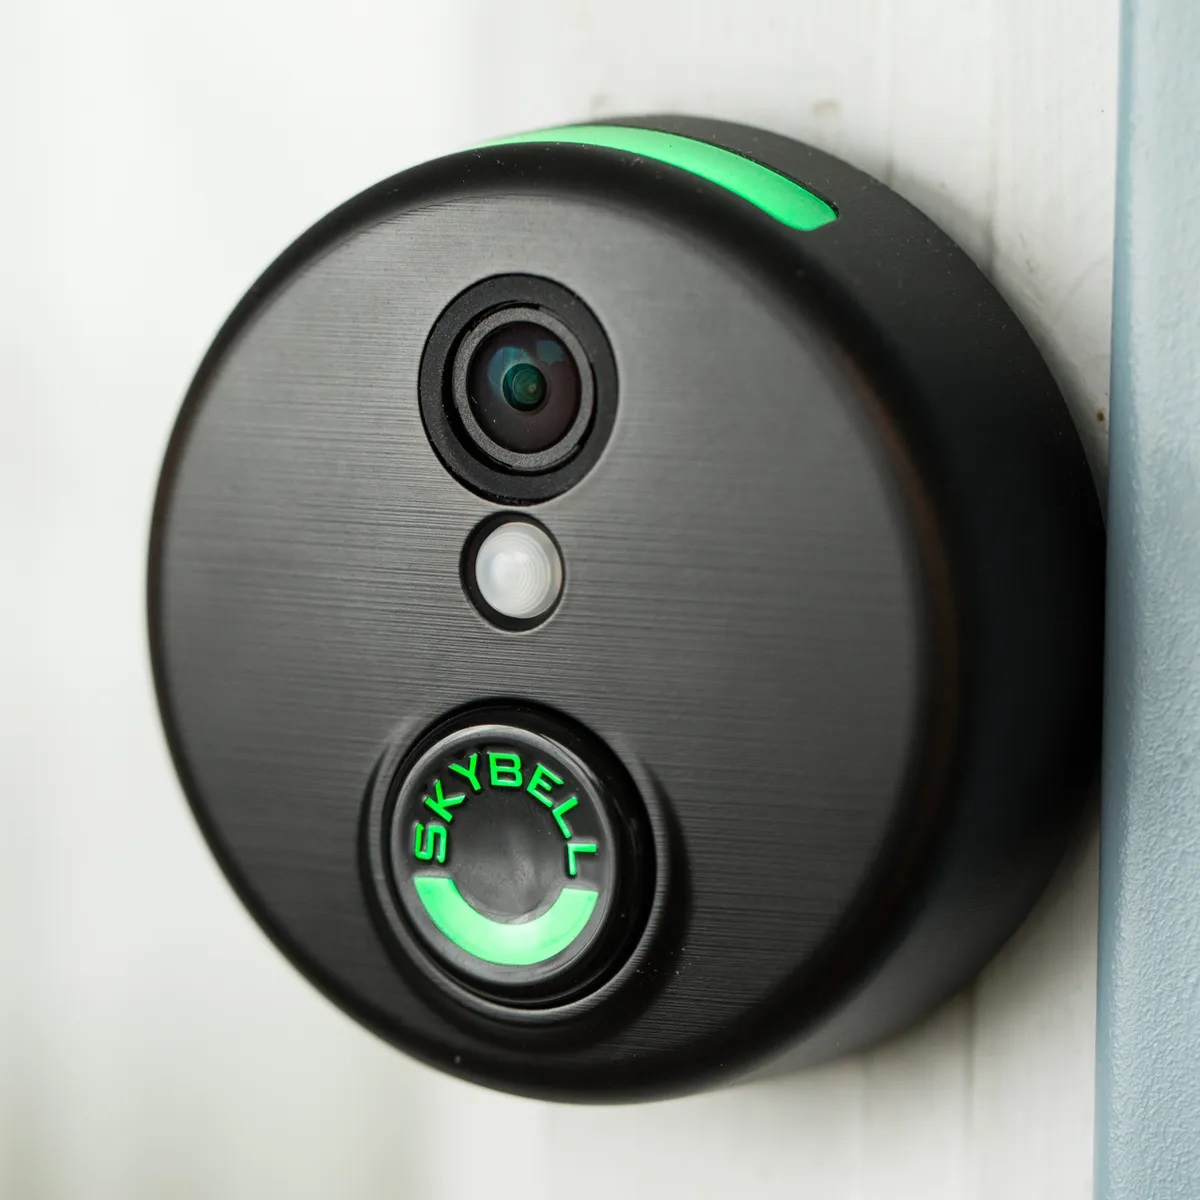
How To Remove Skybell Doorbell
Modified: October 18, 2024
Learn how to remove Skybell doorbell with our step-by-step guide. Read our informative articles for helpful tips and tricks.
(Many of the links in this article redirect to a specific reviewed product. Your purchase of these products through affiliate links helps to generate commission for Storables.com, at no extra cost. Learn more)
Introduction
Welcome to our step-by-step guide on how to remove a Skybell doorbell! Whether you’re replacing your current doorbell system or simply looking to make some changes, removing a doorbell can seem like a daunting task. However, with the right tools and a little guidance, you’ll have your Skybell doorbell safely and efficiently uninstalled in no time.
Skybell doorbells have gained popularity for their sleek design, smart features, and ease of use. But when it comes to removing them, it’s essential to follow the proper steps to avoid any damage to your door frame or electrical system. In this guide, we will take you through each step to ensure a smooth and hassle-free removal process.
Before we begin, it’s important to note that working with electrical systems can be dangerous. If you’re not confident in your abilities, it’s always best to hire a professional to handle the removal for you. Safety should always be your top priority.
Alright, let’s get started on removing your Skybell doorbell!
Key Takeaways:
- Safety First
Before removing a Skybell doorbell, prioritize safety by gathering the necessary tools, turning off the power, and handling the device with care. If unsure, seek professional assistance to avoid electrical accidents. - Upgrade with Confidence
By following the step-by-step guide, you can confidently remove a Skybell doorbell and even install a new one if desired. Prioritize safety, take your time, and enjoy the process of refreshing your doorbell system.
Read more: How To Reset Skybell Video Doorbell
Step 1: Gather the necessary tools and materials
Before you begin removing your Skybell doorbell, it’s essential to gather all the necessary tools and materials. Having everything prepared beforehand will save you time and make the process much smoother. Here’s a list of what you’ll need:
- Screwdriver (typically a Phillips head or hex driver)
- Wire strippers
- Electrical tape
- Masking tape (optional)
- Small container or baggie for screws
Make sure to have these tools readily accessible before you move on to the next steps. It’s always helpful to keep them in a designated area or toolbox for easy access.
If you don’t already have these tools, you can find them at your local hardware store or online. It’s always a good idea to invest in quality tools that will last for future projects.
In addition to the tools, it’s important to have a clear workspace around your doorbell. Make sure you have enough room to maneuver and work comfortably. If needed, remove any decorations or obstacles around the doorbell to prevent any accidents or damage.
With your tools and workspace prepared, you’re ready to move on to the next step: turning off the power to your Skybell doorbell.
Step 2: Turn off the power to your Skybell doorbell
Before you start removing your Skybell doorbell, it’s crucial to ensure that the power to the doorbell is turned off. This step is essential to prevent any electrical accidents or shocks during the removal process.
The location of your doorbell’s power supply can vary depending on the installation. In most cases, you’ll find it in one of two places: either connected to a transformer in your electrical panel or connected to a low-voltage transformer near your doorbell.
To turn off the power, use the following steps:
- Locate your electrical panel.
- Identify the circuit breaker that controls the power to your doorbell. This may be labeled as “doorbell” or “bell.” If you’re unsure, you can turn off the main breaker to be safe.
- Flip the switch to the “off” position to cut off power to the doorbell system.
If your doorbell is powered by a separate low-voltage transformer, you may need to locate it and switch it off. It’s typically mounted near the doorbell or in the basement or utility room.
It’s essential to ensure that the power is completely shut off before proceeding with the removal process. Use a voltage tester to double-check that there is no electricity flowing to the doorbell. Safety should always be your priority.
Once you have confirmed that the power is off, you can move on to the next step: unscrewing and removing the Skybell doorbell from its mounting bracket.
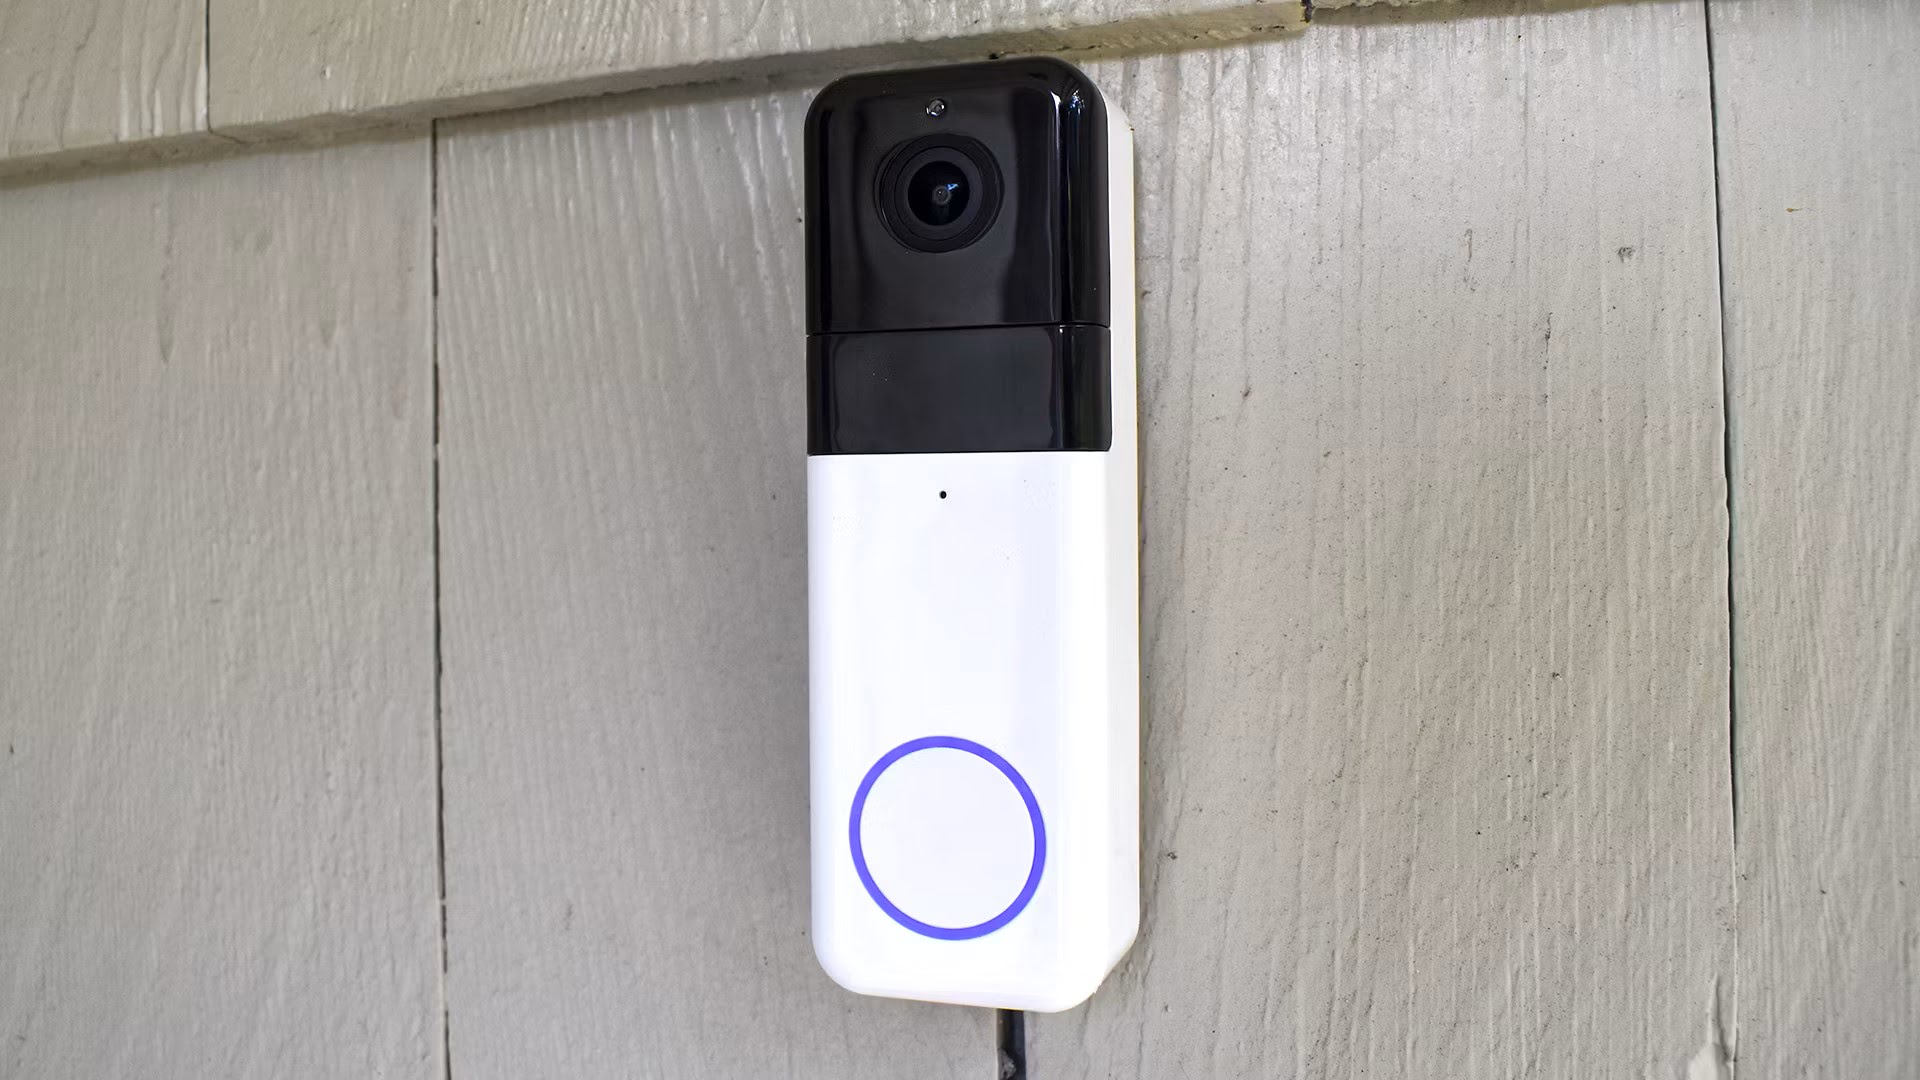
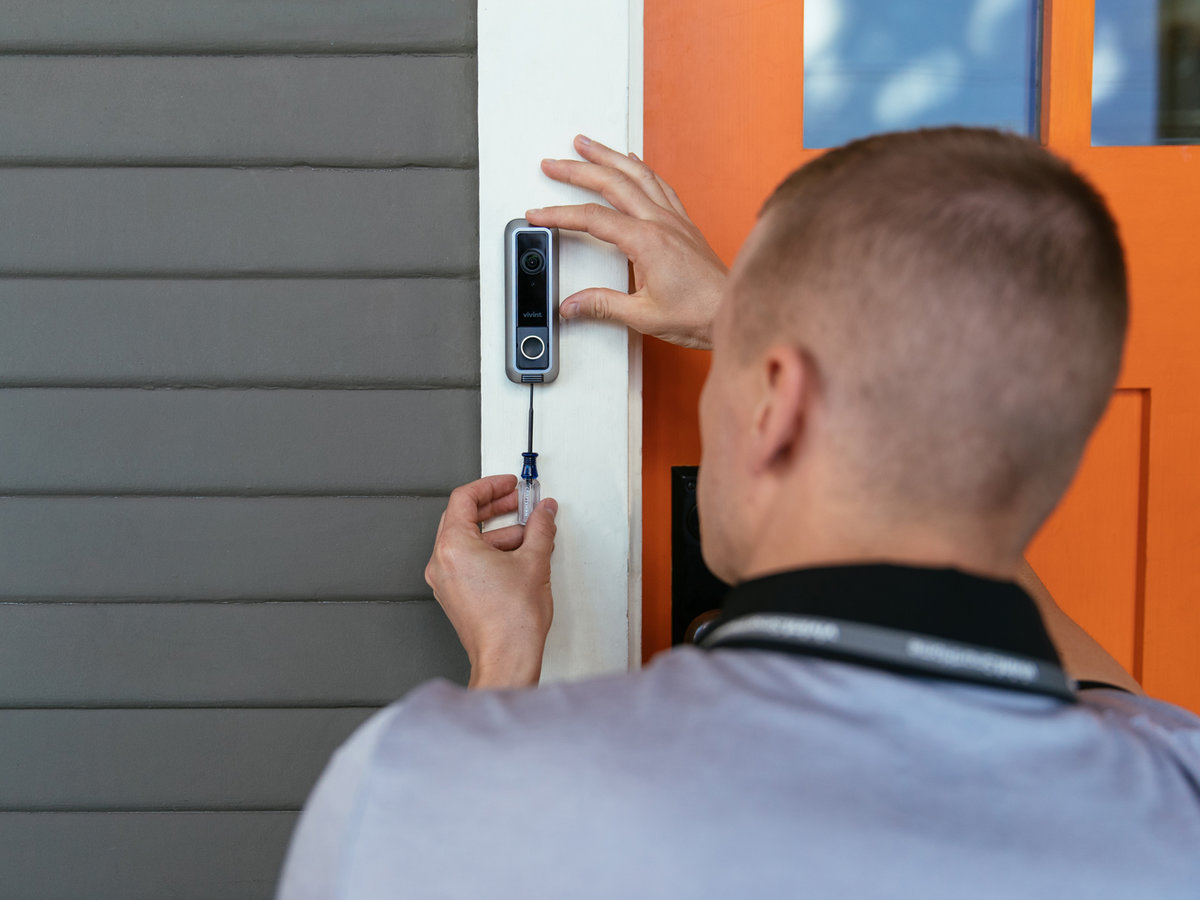
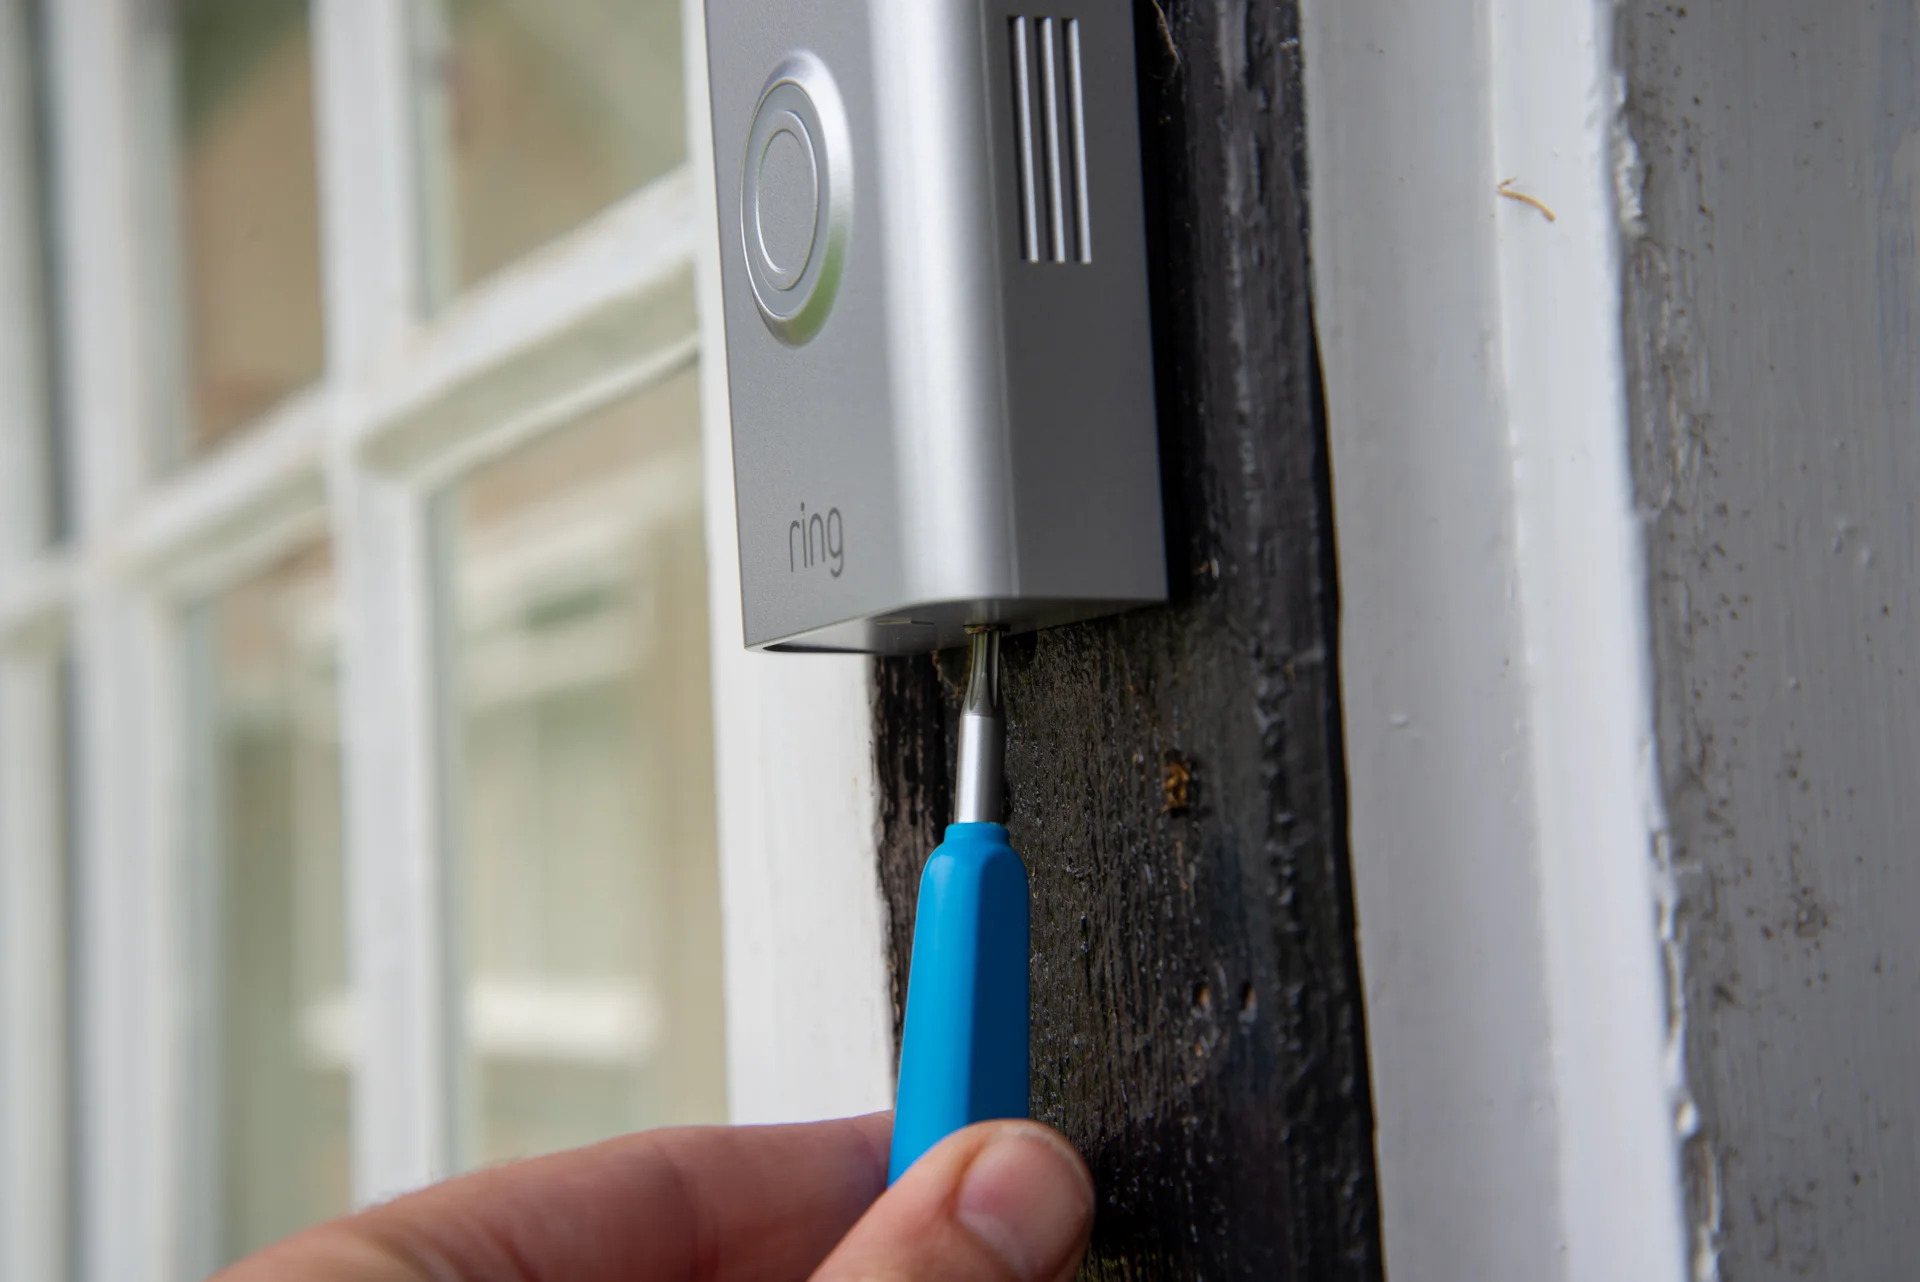
Step 3: Unscrew and remove the Skybell doorbell from its mounting bracket
Now that the power is turned off, it’s time to remove the Skybell doorbell from its mounting bracket. The doorbell is typically attached to the bracket with screws, and removing it is a straightforward process.
Follow these steps to unscrew and remove the Skybell doorbell:
- Locate the mounting screws on the underside of the Skybell doorbell. These screws are usually located near the corners of the device.
- Using an appropriate screwdriver (typically a Phillips head or hex driver), gently loosen and unscrew the mounting screws.
- Once the screws are loosened, carefully lift the Skybell doorbell away from the mounting bracket. Be cautious not to pull too hard or damage the wires connected to the device.
- Set the doorbell aside in a safe location to avoid any damage.
With the doorbell removed, take a moment to inspect the mounting bracket and surrounding area. Check for any damage, loose wiring, or debris that may need to be addressed before proceeding to the next steps.
If you plan on replacing your Skybell doorbell with a different model or brand, you can now proceed with the installation. However, if you’re not installing a new doorbell, you can go ahead and disconnect the wires from the Skybell device in the next step.
Remember to handle the Skybell doorbell with care, as it may contain delicate electronic components. Set it down gently and keep it in a safe place until further use.
Now that the doorbell is removed, you’re ready for the next step: disconnecting the wires from the Skybell doorbell.
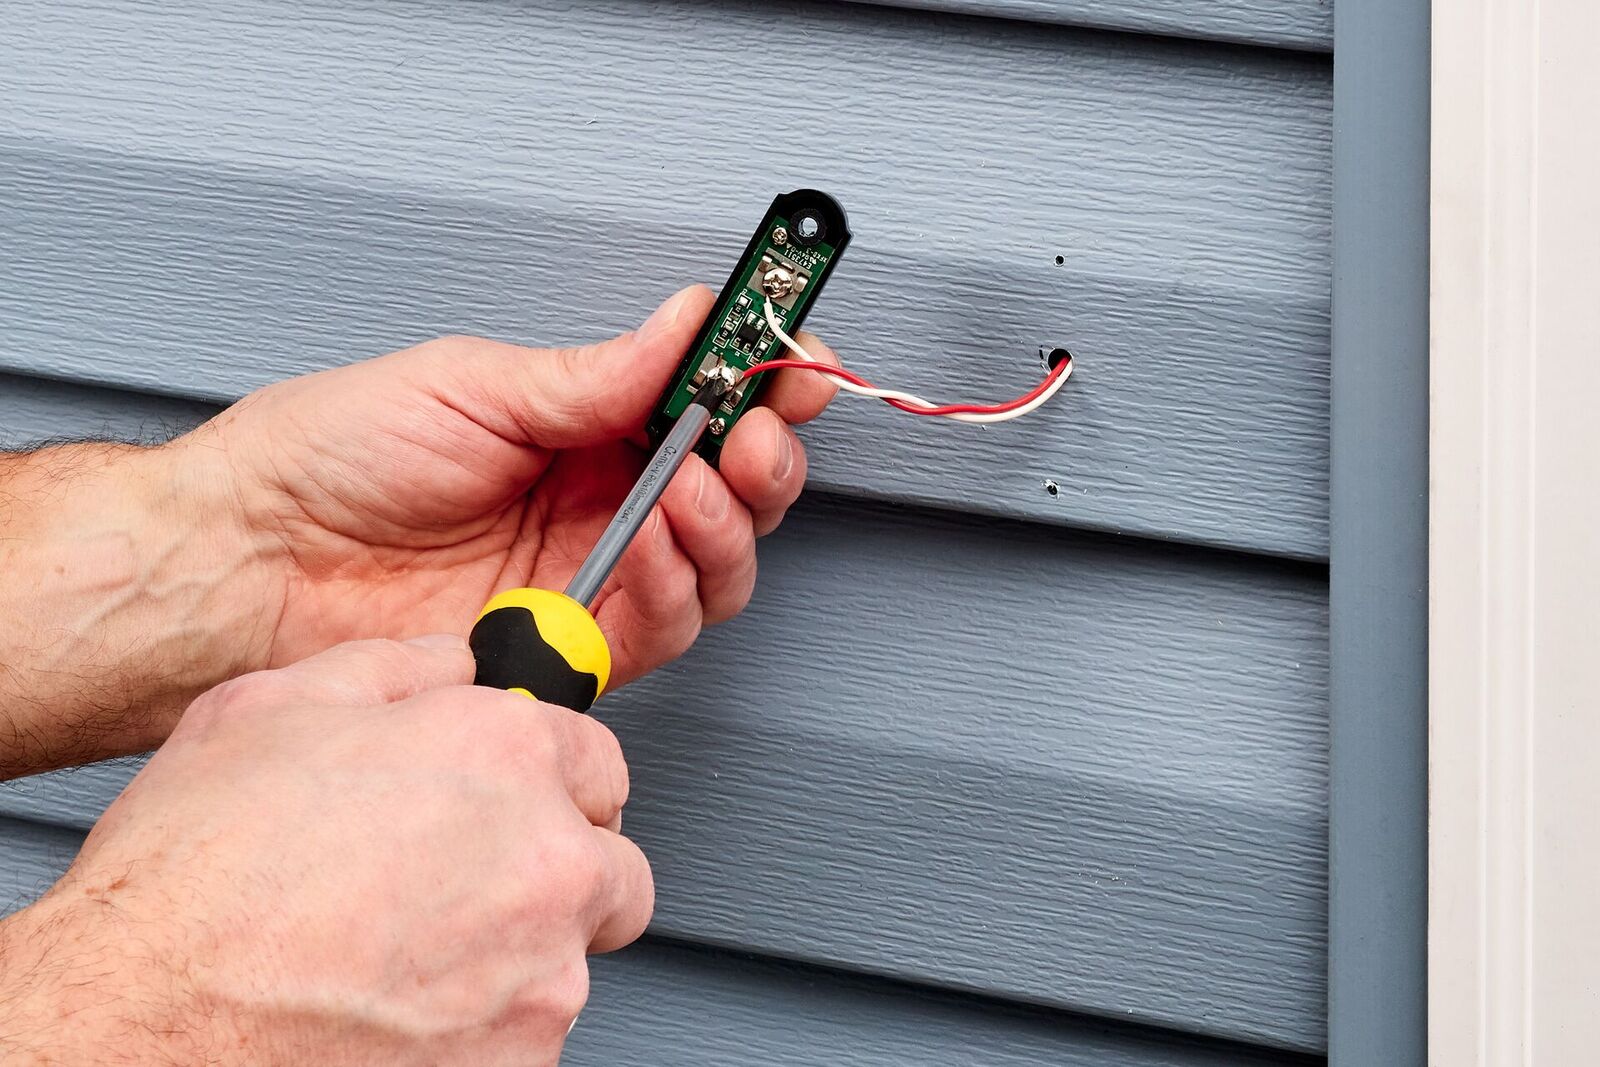
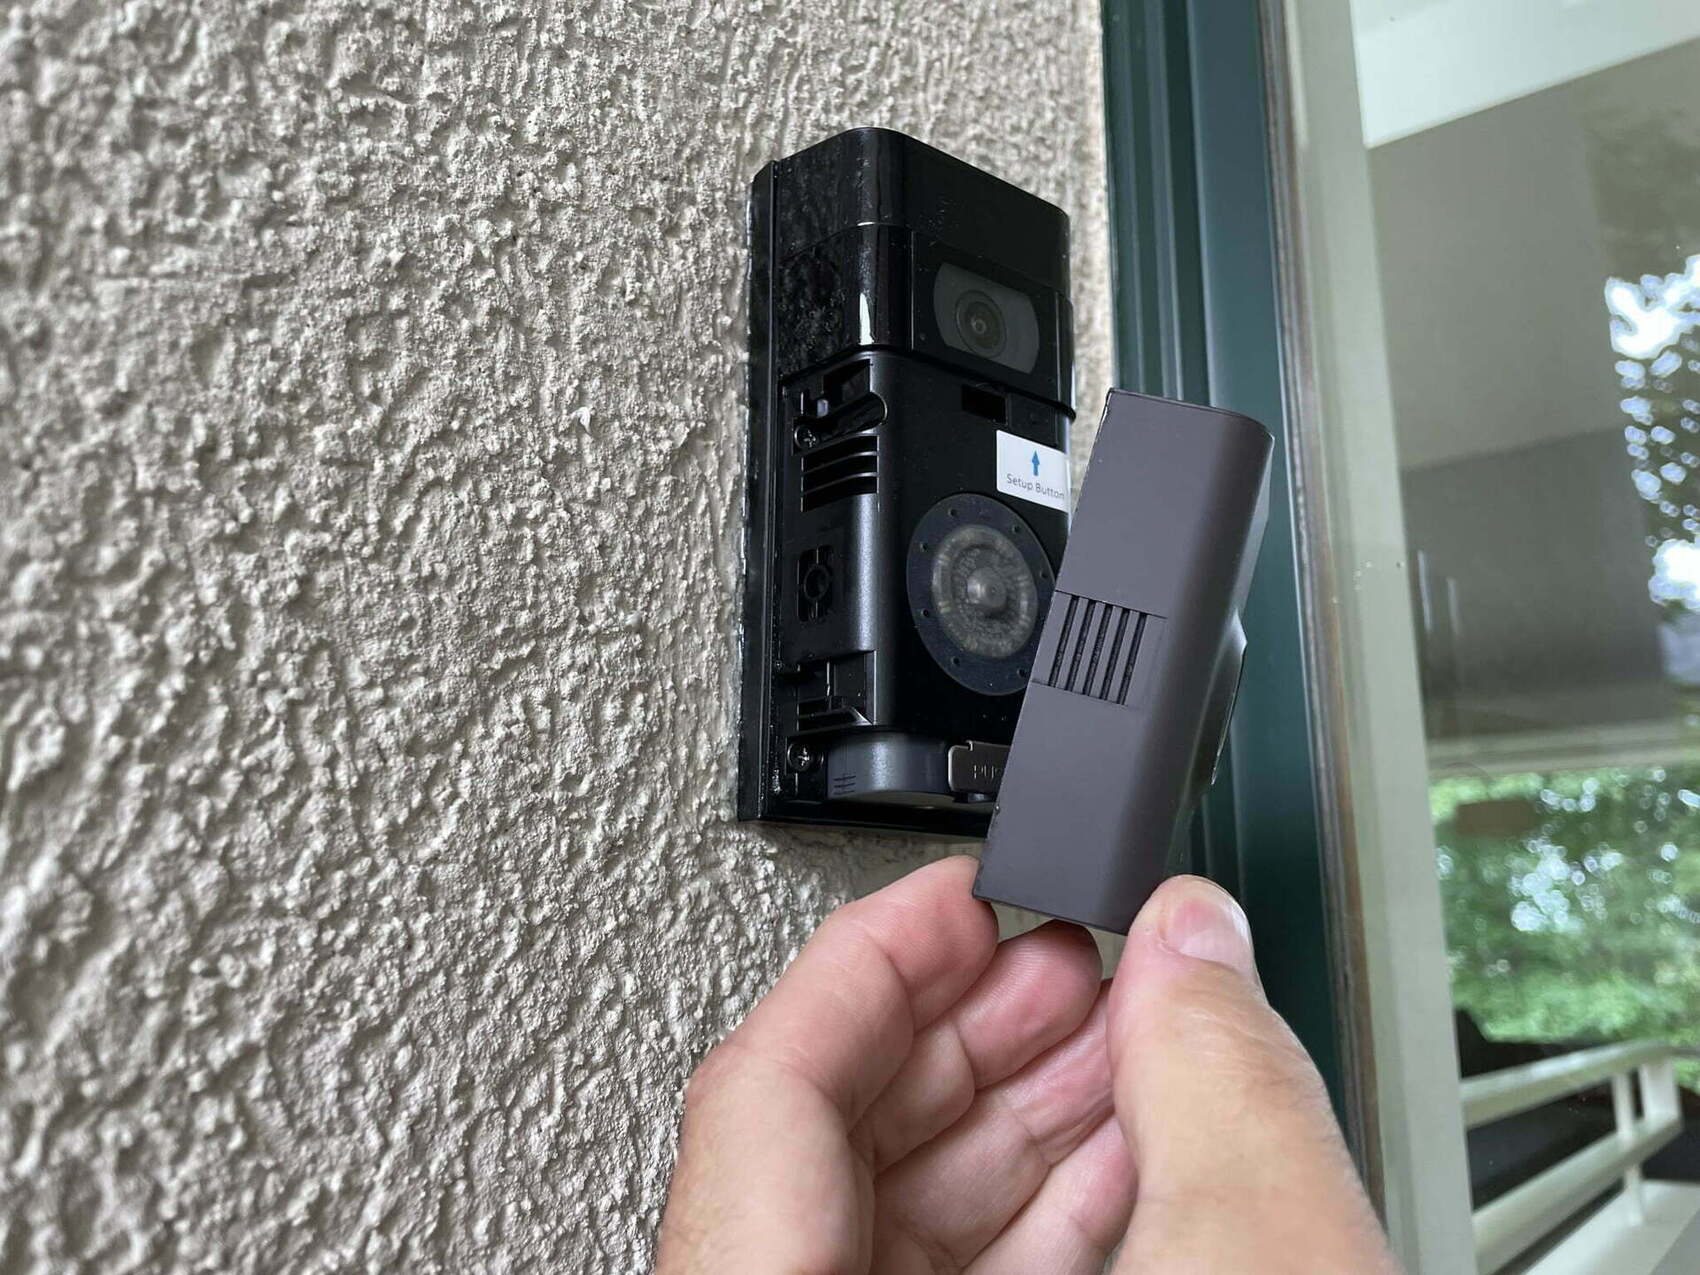
Step 4: Disconnect the wires from the Skybell doorbell
With the Skybell doorbell safely removed from its mounting bracket, it’s time to disconnect the wires connected to the device. This step is necessary if you plan on completely removing the doorbell system or replacing it with a different model.
Follow these steps to disconnect the wires from the Skybell doorbell:
- Locate the wires connected to the back of the Skybell doorbell. These wires are usually color-coded, with two or more wires connected to terminals on the device.
- Use wire strippers to carefully strip a small section of insulation from the end of each wire. This will expose the bare copper wire underneath.
- Once the wires are exposed, unscrew or release the terminal screws on the Skybell doorbell to loosen the connections.
- Gently pull each wire out of its terminal, taking care not to damage the wires or the terminals.
- Once all wires are disconnected, wrap each bare wire end with electrical tape to prevent them from coming into contact with each other or any metallic surfaces.
As you disconnect the wires, it’s essential to take note of the wire colors and their corresponding terminals. This will be helpful if you plan on installing a new doorbell or if you need to reconnect the wires in the future.
Keep the wires organized and in a safe location so that you can easily access them if needed. You may consider labeling the wires or taking a picture for future reference.
Now that the wires are safely disconnected, you’re ready to move on to the next step: patching up the wall or door frame if necessary.
Before removing a Skybell doorbell, make sure to turn off the power to the device at the circuit breaker. Then, use a screwdriver to remove the mounting screws and gently disconnect the wires before carefully pulling the doorbell off the wall.
Step 5: Patch up the wall or door frame if necessary
After removing the Skybell doorbell and disconnecting the wires, you may find that there are holes or gaps in the wall or door frame where the doorbell was mounted. In this step, we’ll guide you through patching up those areas to restore a seamless look to your wall or door frame.
Here’s what you need to do:
- Inspect the area around the mounting bracket for any damage, holes, or gaps. If there are any noticeable imperfections, you’ll need to patch them up before proceeding.
- If there are small holes or gaps, you can use spackling compound or wood filler to fill them in. Apply the compound using a putty knife, following the manufacturer’s instructions.
- If there are larger holes, you may need to use a patch kit to cover them. Patch kits usually include a mesh or adhesive patch that you can place over the hole and fill with spackling compound or drywall joint compound.
- Once the compound is applied, use the putty knife to smooth it out and create a level surface. Make sure to feather the edges of the compound to blend it seamlessly with the surrounding wall or door frame.
- Allow the compound to dry completely, following the drying time specified on the product packaging. This usually takes several hours.
- Once the compound is dry, sand it lightly with fine-grit sandpaper to create a smooth finish. Wipe away any dust with a clean cloth.
If you had a painted surface, you may also need to touch up the area with matching paint to ensure a cohesive look. Use a small brush to carefully paint over the patched area, following the paint’s drying and coverage instructions.
Remember to take your time and be patient during this step to achieve the best results. It’s important to restore the wall or door frame to its previous condition, making it ready for any future doorbell installations or changes.
With the wall or door frame patched up, you can now move on to the next step: installing a different doorbell (optional).
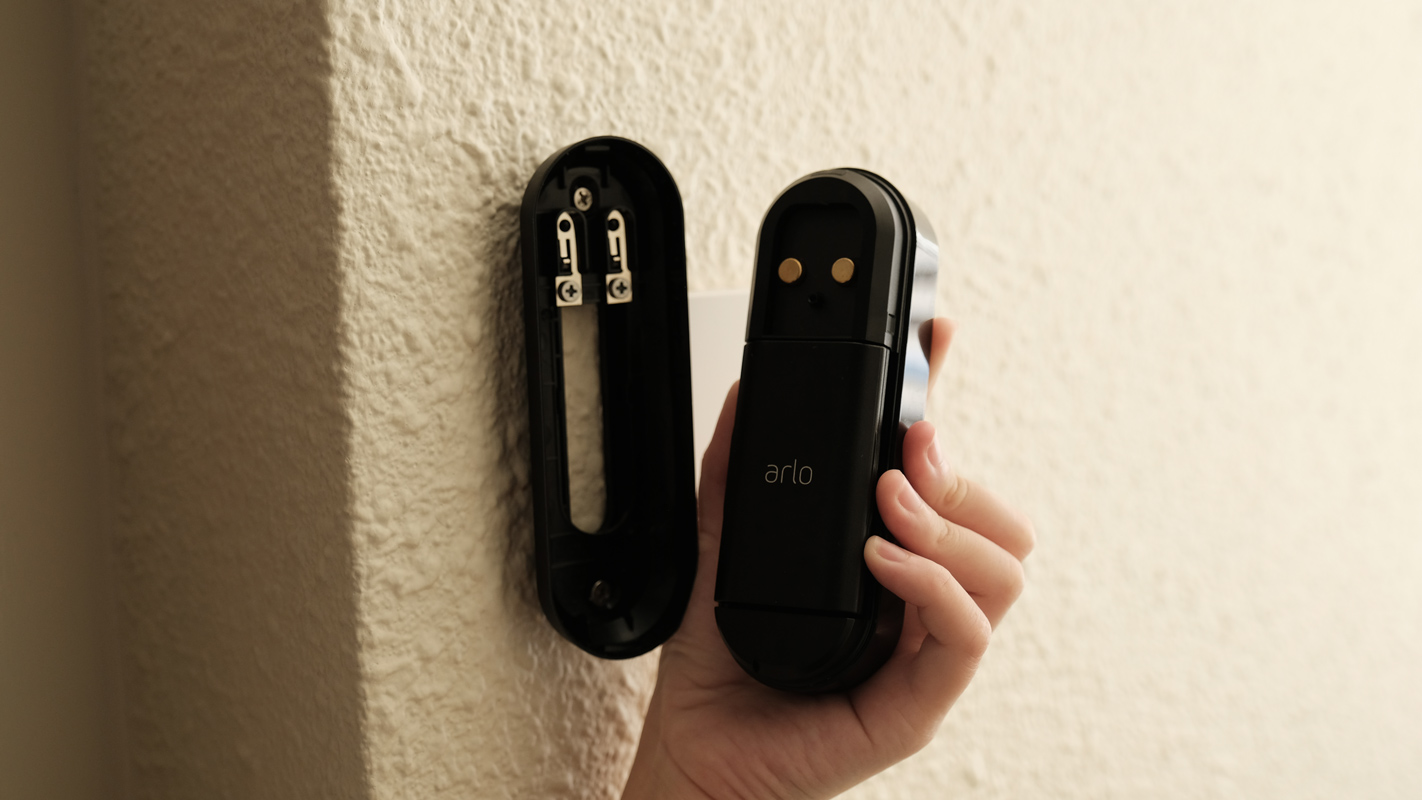
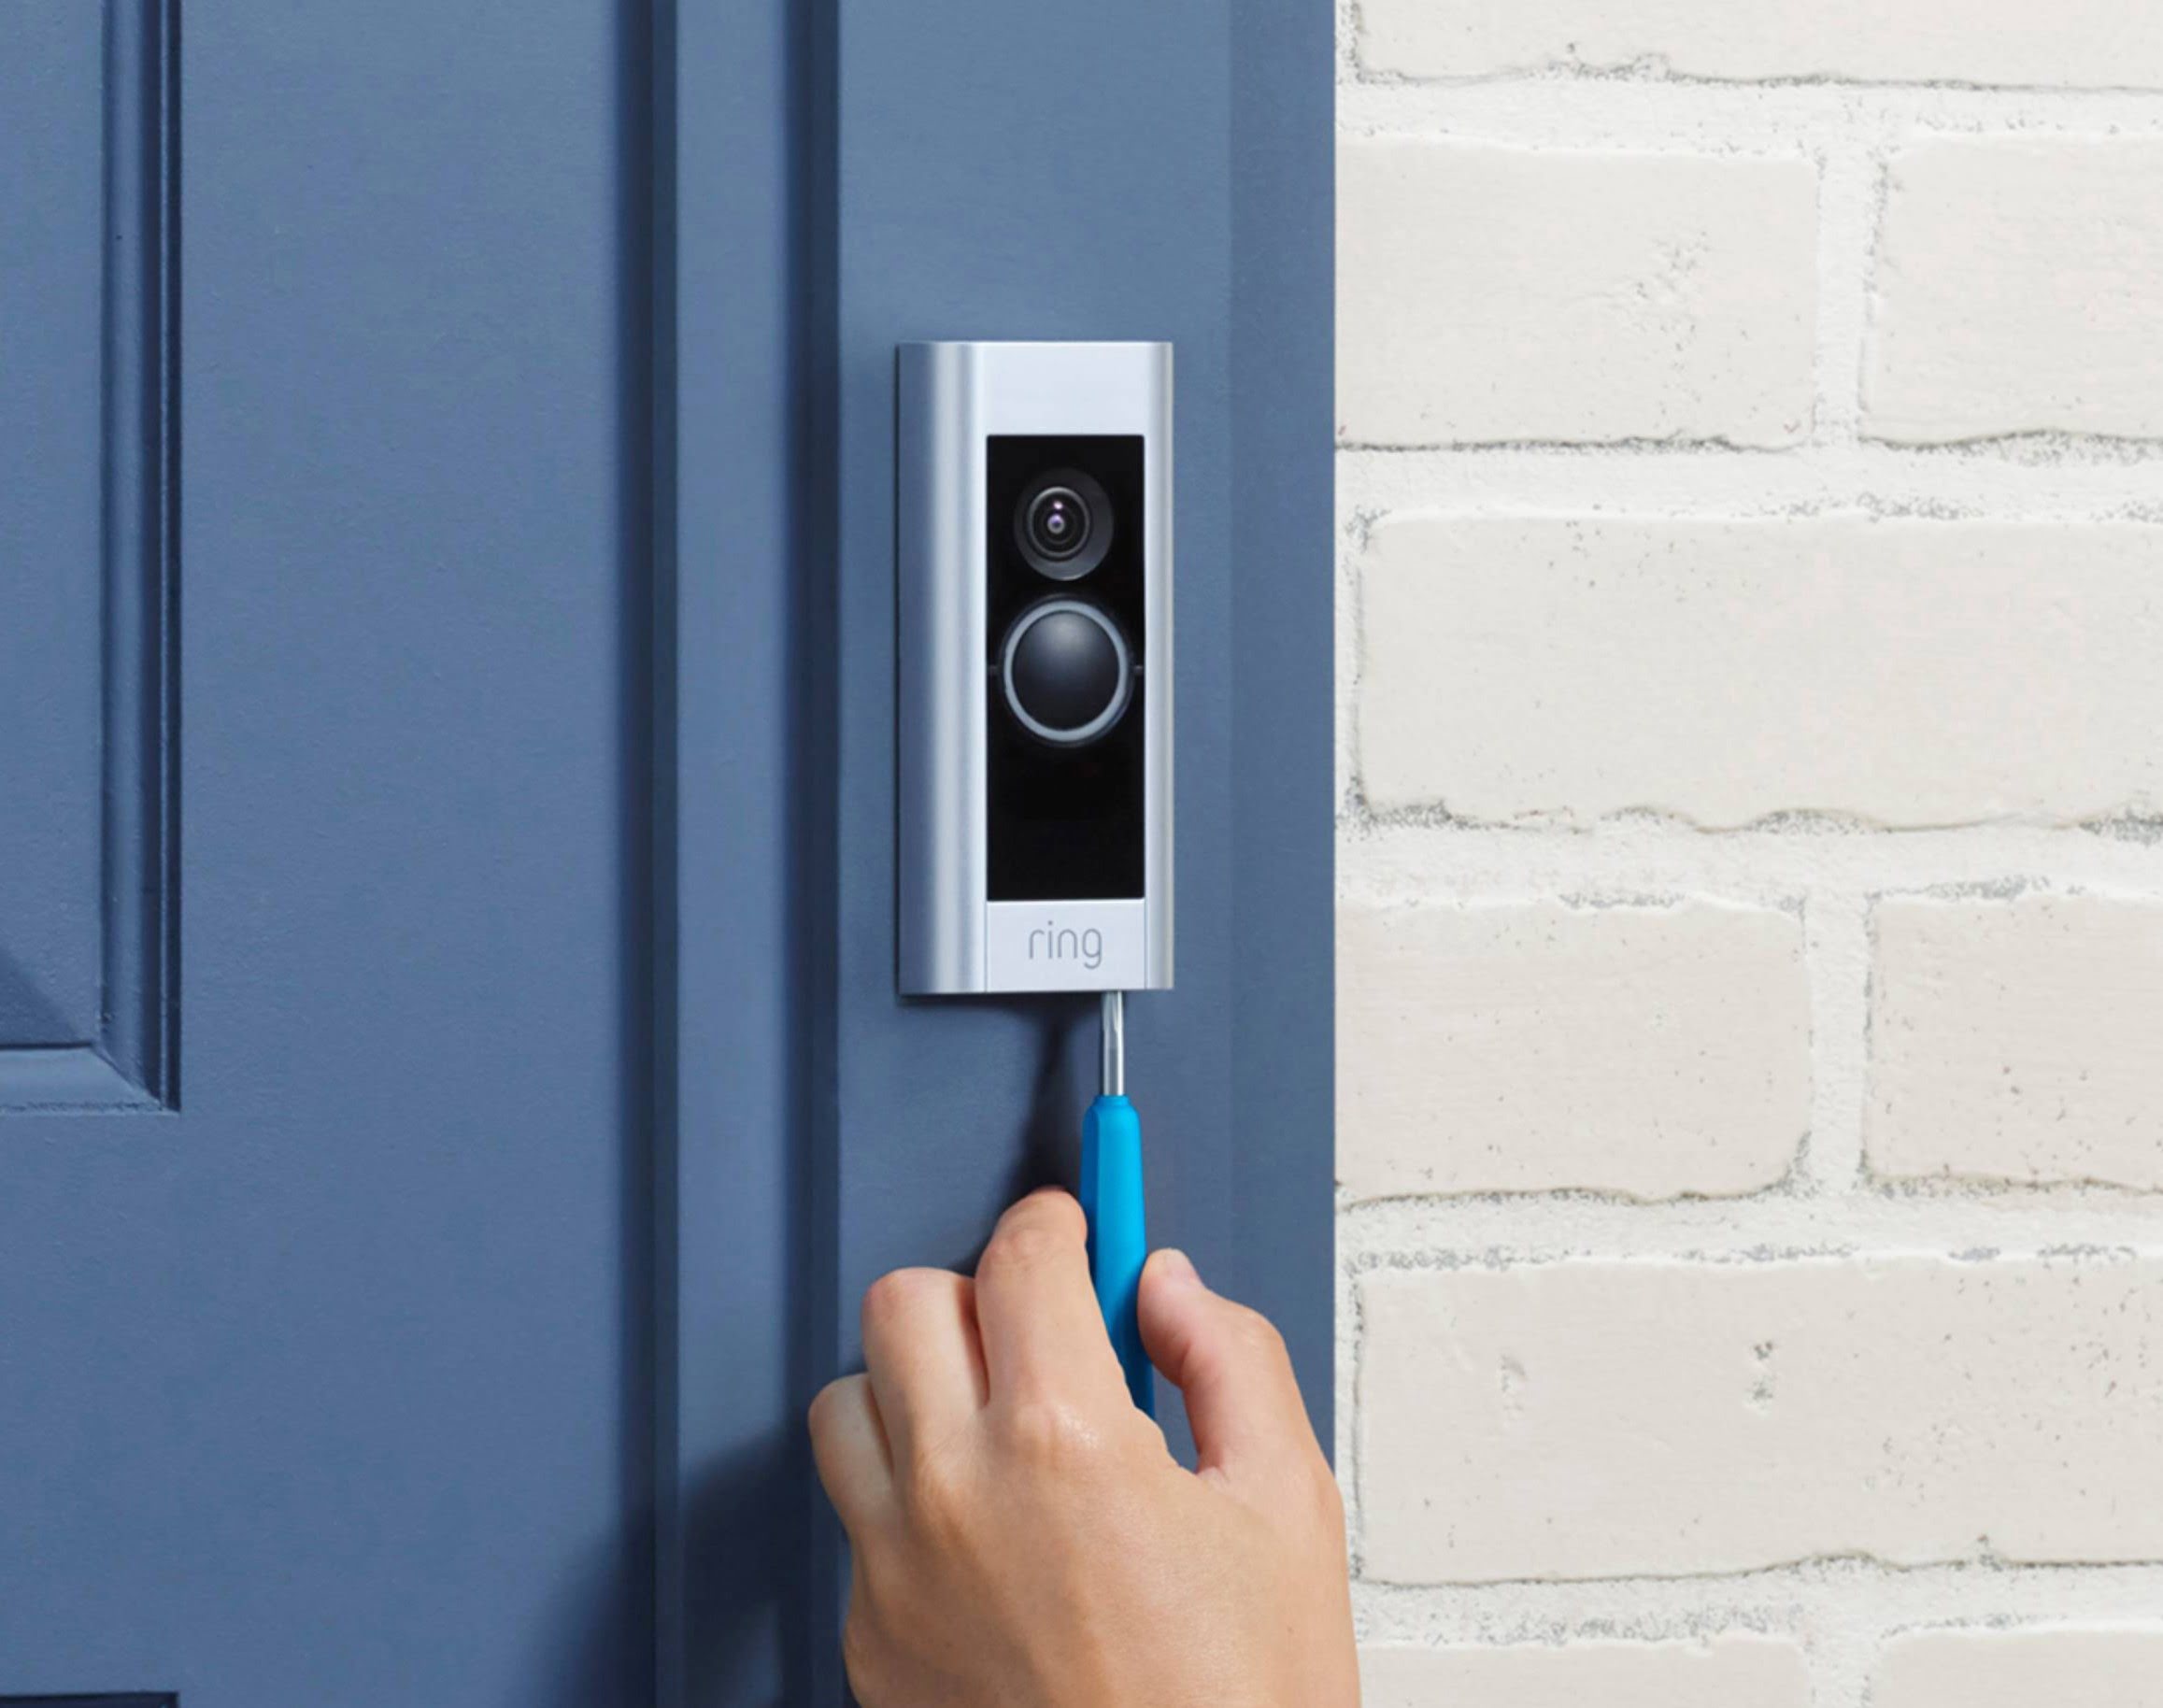
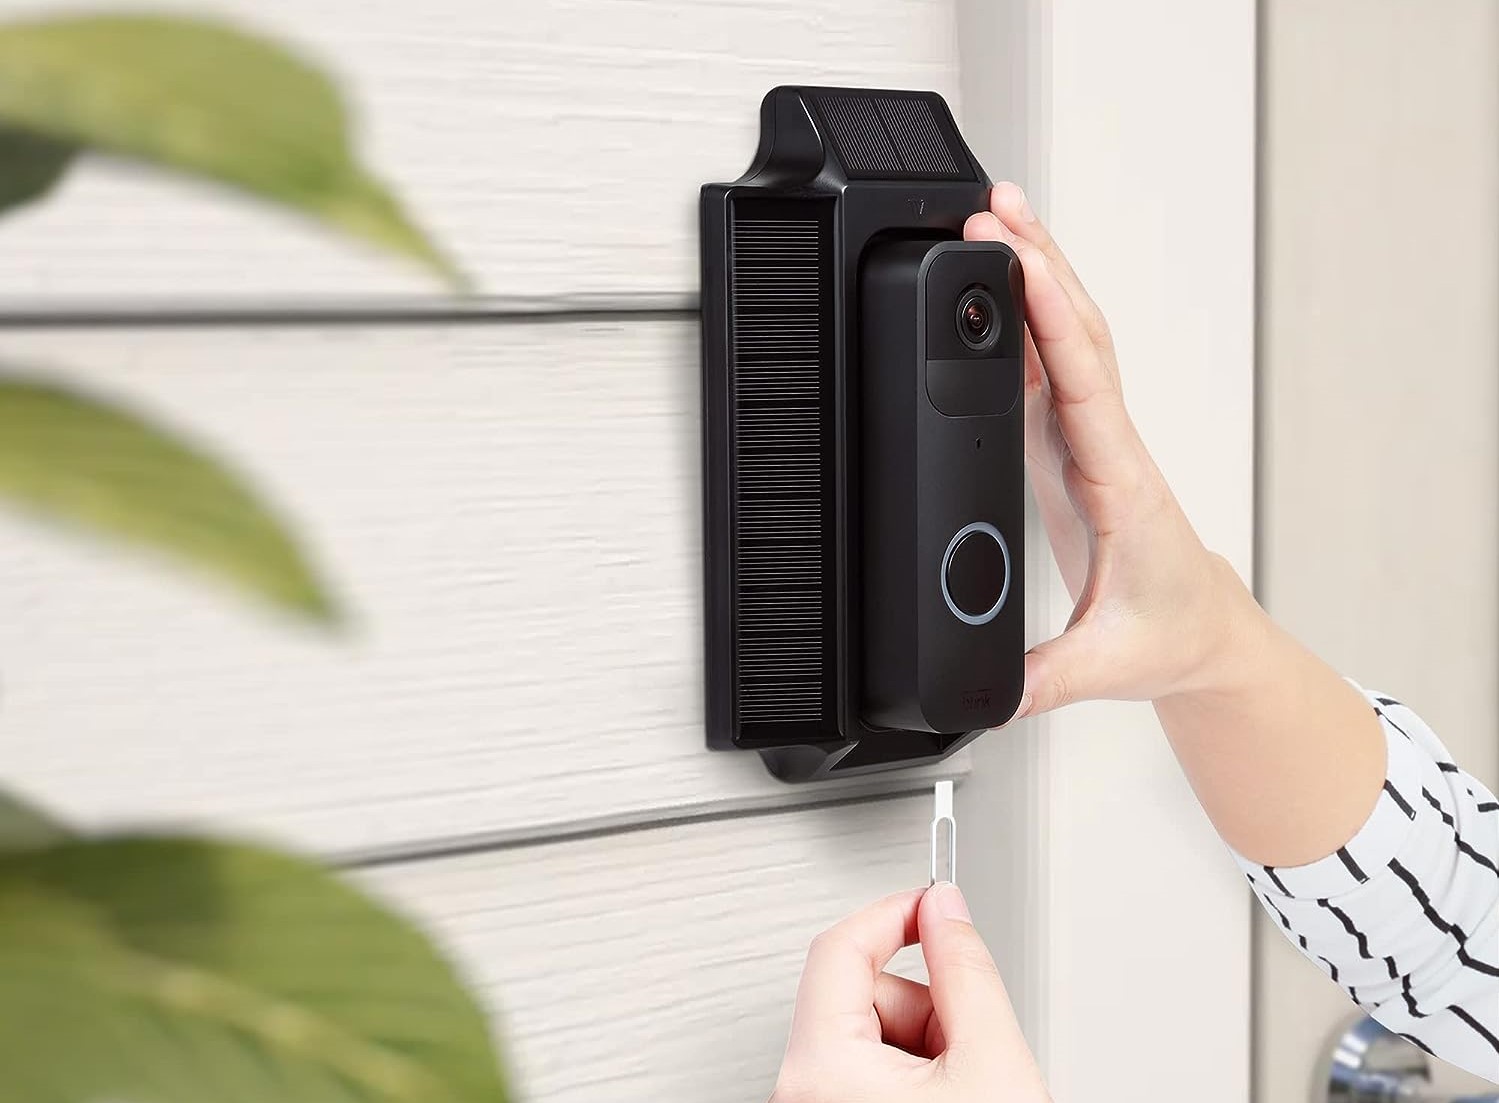
Step 6: Install a different doorbell (optional)
If you’ve decided to replace your Skybell doorbell with a different model or brand, this step will guide you through the process of installing the new doorbell. Alternatively, if you’re not installing a new doorbell, you can skip this step and proceed to the next one.
Here’s what you need to do:
- Choose a new doorbell that suits your preferences and needs. There are various options available, including wireless doorbells, video doorbells, or traditional wired doorbells.
- Refer to the installation instructions provided by the manufacturer of your new doorbell. Each model may have specific steps and requirements.
- Using the wiring diagram or instructions, connect the wires from the previous doorbell to the corresponding terminals on the new doorbell. Ensure that the wires are securely connected.
- If your new doorbell requires batteries, follow the instructions provided by the manufacturer to insert the batteries.
- Mount the new doorbell onto the bracket or surface following the manufacturer’s instructions. Make sure it is secured firmly in place.
- Turn on the power to the doorbell system by flipping the circuit breaker or turning on the low-voltage transformer.
- Test the new doorbell to ensure it is functioning correctly. You may need to follow additional setup instructions provided by the manufacturer.
It’s important to note that each doorbell model may have specific installation steps and requirements. Always refer to the manufacturer’s instructions to ensure a proper installation and to avoid any damage or malfunctions.
If you’re not installing a new doorbell, you can proceed to the final step: restoring power and testing the new doorbell.
With the new doorbell installed (if applicable), you’re almost done. Let’s move on to the last step: restoring power and testing the new doorbell.
Step 7: Restore power and test the new doorbell
After completing the installation of your new doorbell or if you’re not installing a new one, it’s time to restore power and test the functionality of the doorbell. This step will ensure that everything is properly connected and functioning as intended.
Follow these steps to restore power and test the new doorbell:
- Make sure that all the wires are securely connected to the terminals of the doorbell.
- Head back to your electrical panel or low-voltage transformer and switch on the power to the doorbell system by flipping the circuit breaker or turning on the transformer.
- Once the power is restored, listen for any indication that the doorbell is receiving power. If you have a traditional, chime-based doorbell, you should hear the chime when the doorbell button is pressed.
- If you have installed a wireless or video doorbell, check the associated app or device to ensure it is detecting the doorbell and functioning correctly.
- Test the doorbell by pressing the button or following the instructions provided by the manufacturer. Verify that it is producing the desired sound or notification.
- If the doorbell doesn’t work as expected, double-check the wiring connections and consult the manufacturer’s troubleshooting guide or customer support for assistance.
Testing the new doorbell will confirm whether the installation was successful and if any adjustments need to be made. If you encounter any issues, don’t hesitate to reach out for support or consult a professional if necessary.
Congratulations! You have successfully removed your Skybell doorbell and either installed a new one or completed the removal process. By following these steps, you have taken control over the appearance and functionality of your doorbell system.
Remember, if you’re unsure about any aspect of the removal or installation process, it’s always best to seek professional help to ensure a safe and proper outcome.
With your doorbell system successfully addressed, you can now enjoy the peace of mind and convenience that comes with your newly updated setup.
Thank you for following this step-by-step guide on removing a Skybell doorbell!
Conclusion
Removing a Skybell doorbell may initially seem like a daunting task, but with the right tools, knowledge, and guidance, it can be a straightforward process. By following the steps outlined in this guide, you can safely and efficiently remove your Skybell doorbell and make any necessary changes or upgrades to your doorbell system.
Throughout the process, it is important to prioritize safety. Remember to turn off the power to your doorbell system before attempting any removal or installation tasks. If you’re unsure of your abilities or encounter any difficulties, don’t hesitate to seek the assistance of a professional electrician or doorbell specialist.
Additionally, if you’re planning to install a new doorbell, ensure that you carefully follow the manufacturer’s instructions for optimal results. Each model may have specific requirements, and proper installation will help guarantee the doorbell’s functionality.
By removing and installing a new doorbell, you have the opportunity to refresh the look and functionality of your front door. Additionally, upgrading to a smart doorbell with additional features can enhance your home security and convenience.
We hope that this step-by-step guide has provided you with the necessary information and guidance to remove your Skybell doorbell and make any desired changes to your doorbell system. Remember to take your time, follow the instructions carefully, and prioritize safety throughout the process.
Thank you for joining us on this journey, and we wish you success in your doorbell removal and installation endeavors!
Now that you've mastered removing your Skybell doorbell, why not dive deeper into updating your home's tech? Our latest guide on home automation reveals cutting-edge gadgets set to simplify your lifestyle in 2024. Whether you're looking to streamline everyday tasks or enhance home security, our insights will guide you through the best options available. Don't miss out on transforming your living space into a smarter home.
Frequently Asked Questions about How To Remove Skybell Doorbell
Was this page helpful?
At Storables.com, we guarantee accurate and reliable information. Our content, validated by Expert Board Contributors, is crafted following stringent Editorial Policies. We're committed to providing you with well-researched, expert-backed insights for all your informational needs.


0 thoughts on “How To Remove Skybell Doorbell”