Articles
How To Repair Drywall Tape On Ceiling
Modified: December 7, 2023
Learn how to repair drywall tape on your ceiling with our informative articles. Fixing damaged tape has never been easier.
(Many of the links in this article redirect to a specific reviewed product. Your purchase of these products through affiliate links helps to generate commission for Storables.com, at no extra cost. Learn more)
Introduction
Dealing with damaged drywall tape on the ceiling can be a frustrating and unsightly problem. Whether it’s due to water damage, settling of the house, or simply wear and tear over time, repairing the drywall tape is essential to maintain the aesthetic appeal of your home. Fortunately, with the right materials and techniques, you can easily repair and restore the integrity of the drywall tape on your ceiling.
In this step-by-step guide, we will walk you through the process of repairing drywall tape on the ceiling, from preparing the area to applying new tape and finishing it off with a seamless blend. So, roll up your sleeves, grab your tools, and let’s get started!
Key Takeaways:
- Easily repair damaged drywall tape on your ceiling by following step-by-step instructions, from preparing the area to applying new tape and achieving a seamless finish.
- Prioritize safety, prepare the area properly, and take your time to achieve professional-looking results when repairing drywall tape on your ceiling.
Read more: How To Drywall A Basement Ceiling
Materials Needed
Before you begin repairing the drywall tape on your ceiling, make sure you have the following materials on hand:
- Drywall knife
- Drywall tape
- Drywall compound (mud)
- Sanding block or sandpaper
- Primer
- Paint brushes or rollers
- Paint
- Dust mask
- Protective eyewear
- Drop cloths or plastic sheets
- Patch kit (optional)
Having these materials readily available will help you efficiently complete the repair process without any interruptions. Additionally, it’s important to wear a dust mask and protective eyewear to safeguard yourself from any airborne particles during the sanding and mudding process.
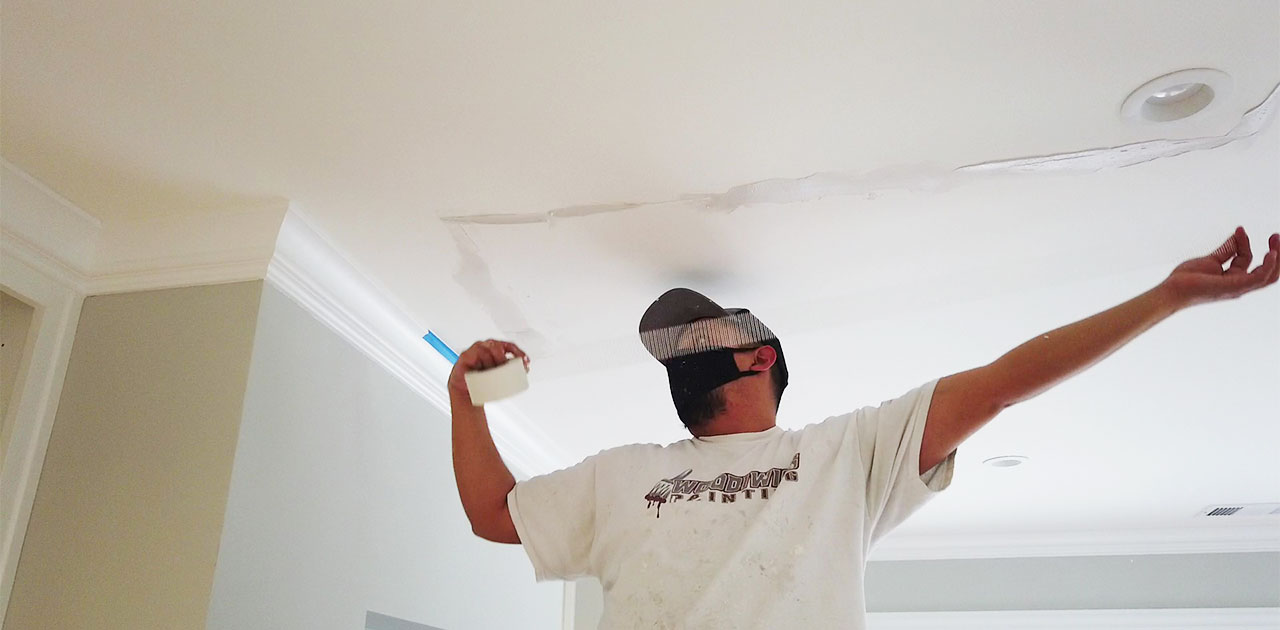
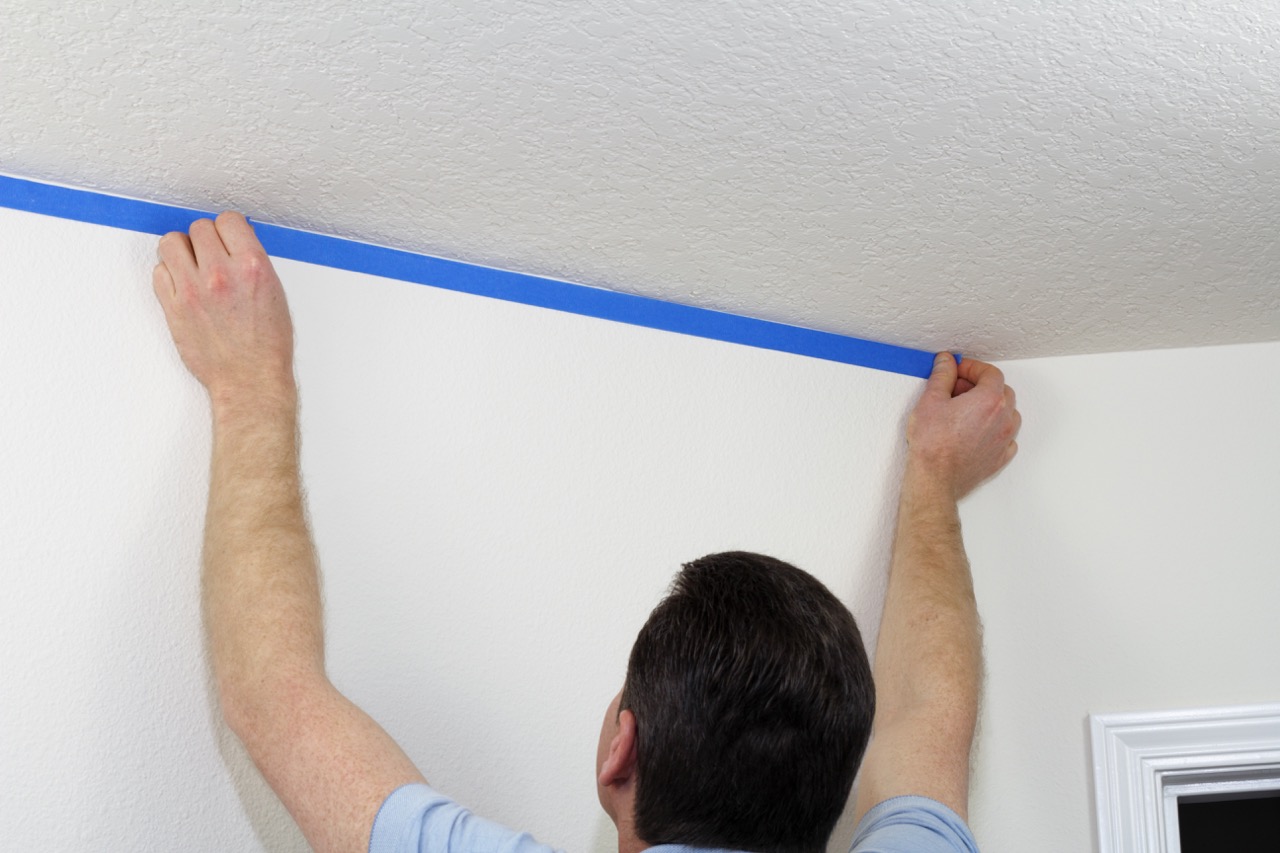
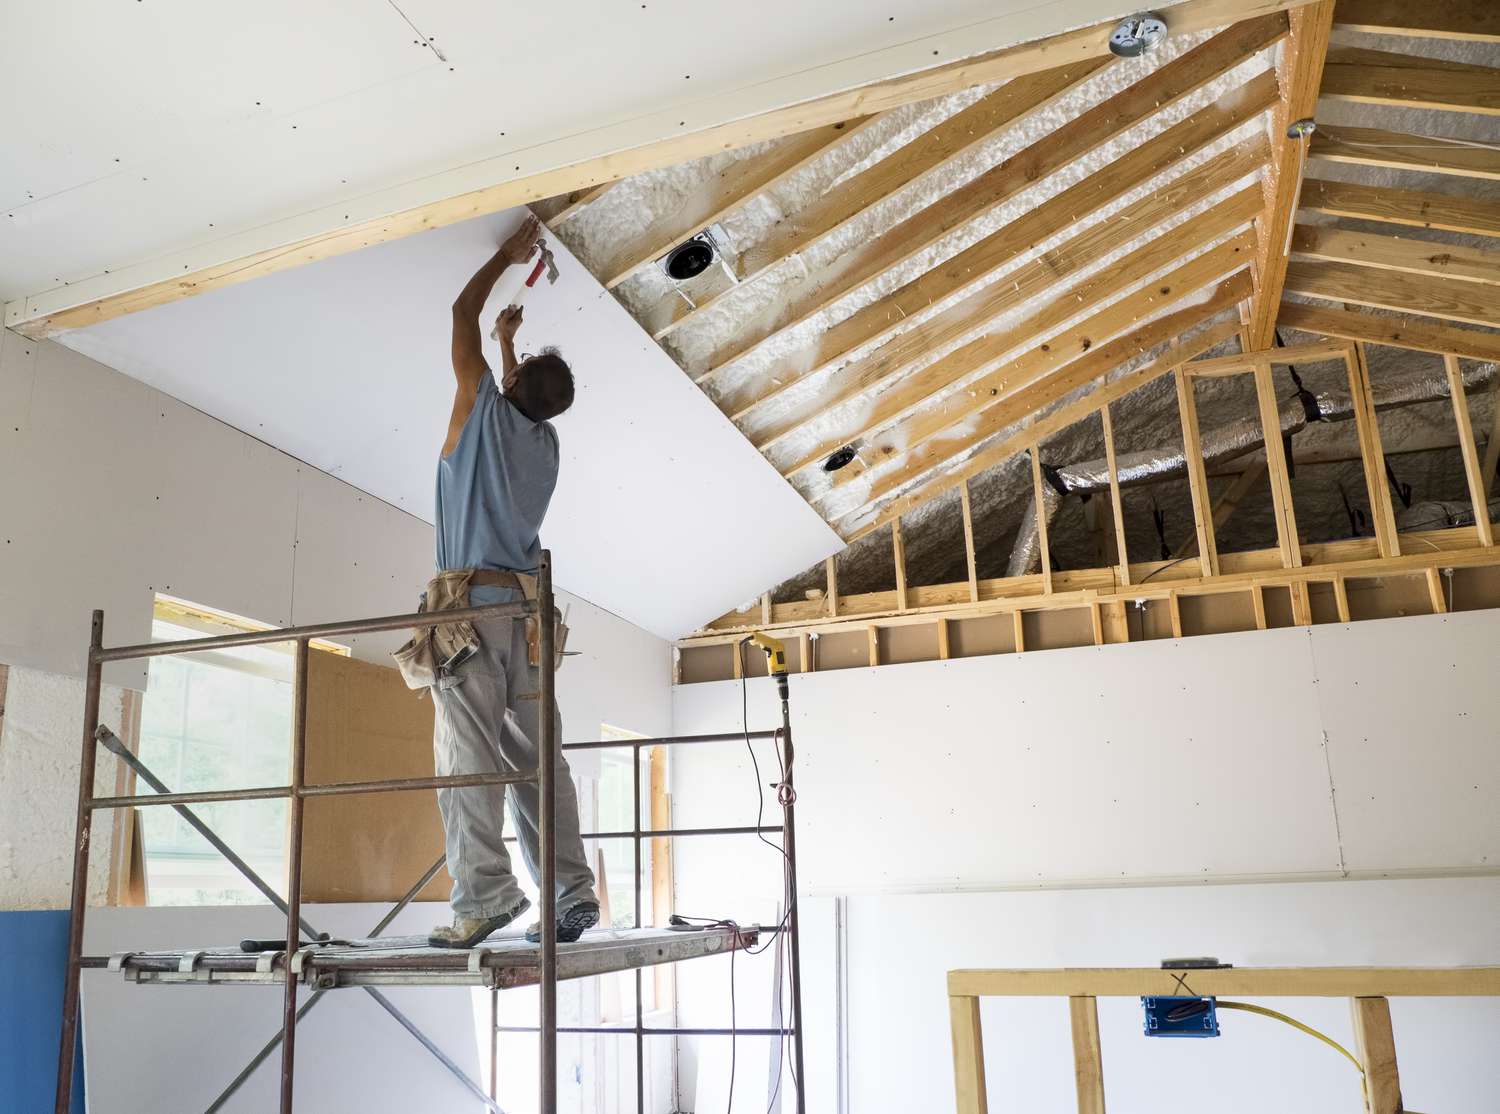
Step 1: Prepare the Ceiling
Before you can repair the drywall tape on your ceiling, it’s essential to prepare the area properly. Follow these steps:
- Start by clearing the room of any furniture or items that could get in your way during the repair process. Use drop cloths or plastic sheets to protect the floor and any remaining furniture.
- Carefully inspect the damaged area and remove any loose or hanging pieces of drywall tape. Use a drywall knife to gently scrape away any loose edges.
- If there are any cracks or holes in the ceiling, use a patch kit (if available) to fill them. Follow the instructions provided with the patch kit to ensure proper application.
- Once the ceiling is clear of debris and any major damage has been addressed, wipe down the area with a damp cloth to remove any dust or dirt. This will help ensure a clean surface for the new tape and mud to adhere to.
By properly preparing the ceiling, you are setting the foundation for a successful and long-lasting repair. Taking the time to clear the area and address any underlying issues will contribute to a seamless and professional-looking outcome.
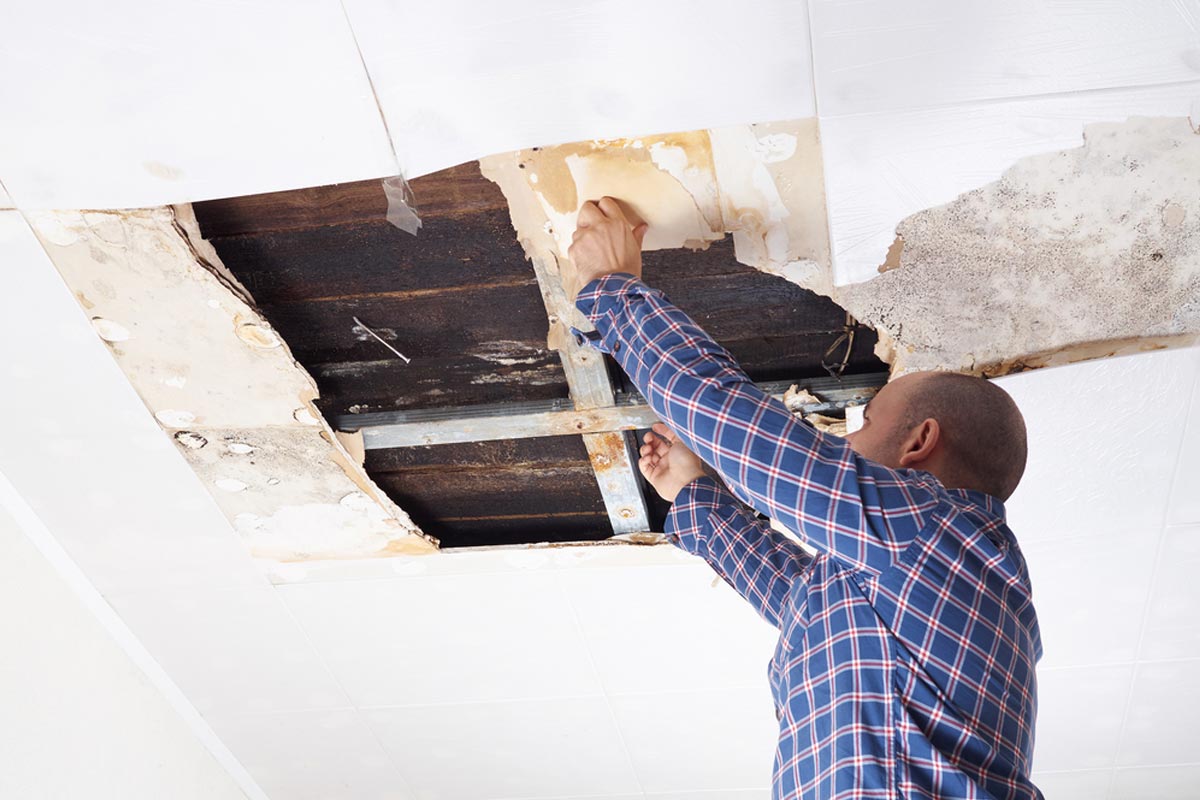
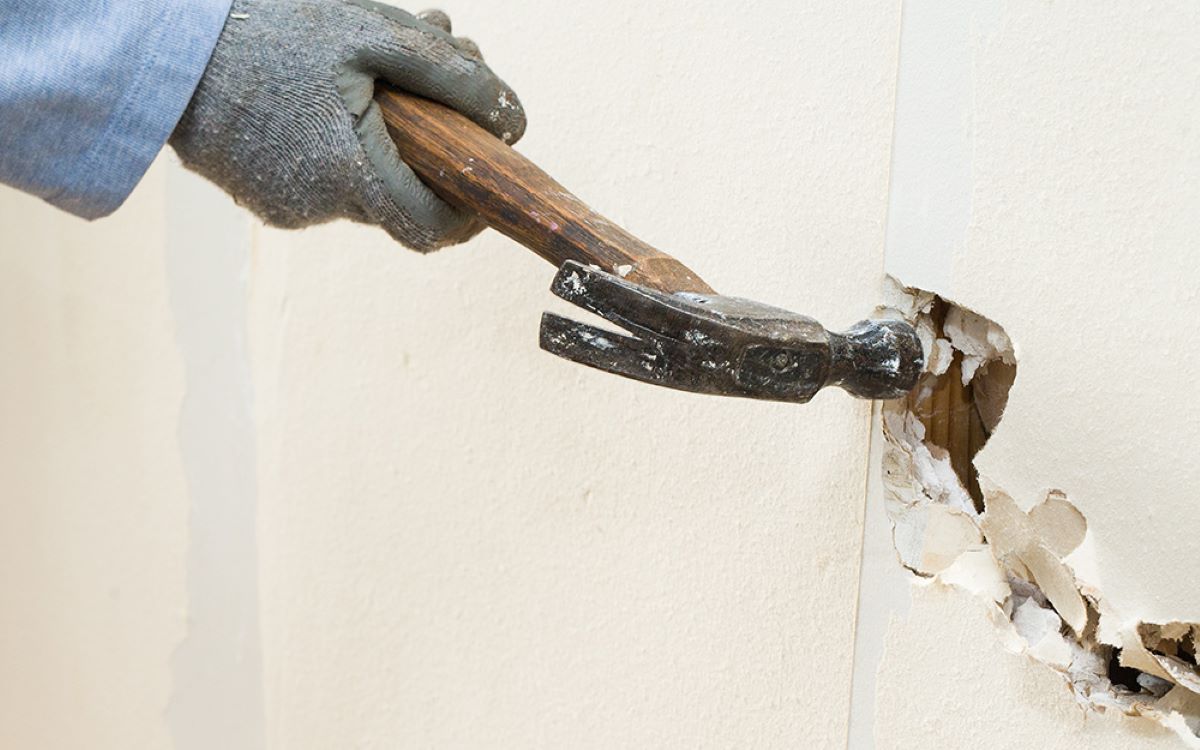
Step 2: Remove Damaged Drywall Tape
Removing the damaged drywall tape is an important step in the repair process. Follow these steps to safely and effectively remove the old tape:
- Using a utility knife or a drywall knife, carefully cut along the length of the damaged tape, creating a clean line where the old tape meets the undamaged portion of the ceiling.
- Gently peel away the damaged tape, starting from one end and working your way along the cut line. Take your time to avoid causing any further damage to the surrounding drywall.
- If there are any stubborn or difficult-to-remove sections of tape, use a putty knife or scraper to gently scrape it away. Be cautious not to apply too much pressure, as this can cause damage to the underlying drywall.
- Once all the damaged tape has been removed, inspect the area for any remaining adhesive or debris. Use a damp cloth or sponge to wipe away any residue, ensuring a clean and smooth surface for the new tape to adhere to.
By removing the damaged drywall tape, you are ensuring a clean and stable foundation for the repair. This step is crucial for achieving a seamless and professional-looking result.
Step 3: Apply New Drywall Tape
With the damaged tape removed, it’s time to apply new drywall tape to reinforce and strengthen the area. Follow these steps to properly apply the new tape:
- Measure and cut a piece of drywall tape that matches the length of the area you need to cover. Cut the tape slightly longer than the damaged area to ensure full coverage.
- Apply a thin layer of the drywall compound (mud) to the area where the tape will be placed. Use a drywall knife to spread the mud evenly, ensuring it extends beyond the edges of the damaged area.
- Place the drywall tape onto the freshly applied mud, pressing it firmly into place. Smooth out any wrinkles or air bubbles by running your fingers or the drywall knife along the tape.
- Apply another thin layer of mud over the top of the tape, extending it slightly beyond the edges to create a smooth transition with the surrounding ceiling. Use the drywall knife to feather the edges, blending the mud into the existing ceiling.
- Allow the mud to dry completely according to the manufacturer’s instructions. This typically takes 24 hours.
Applying new drywall tape is a crucial step in the repair process, as it reinforces the area and ensures a strong bond with the existing ceiling. Take your time to apply the tape and mud evenly, creating a seamless finish that will be easier to blend and paint in the next steps.
When repairing drywall tape on the ceiling, be sure to use a high-quality joint compound and mesh tape for a strong and long-lasting repair. Sand the area smooth before painting for a seamless finish.
Read more: How Thick Should Ceiling Drywall Be?
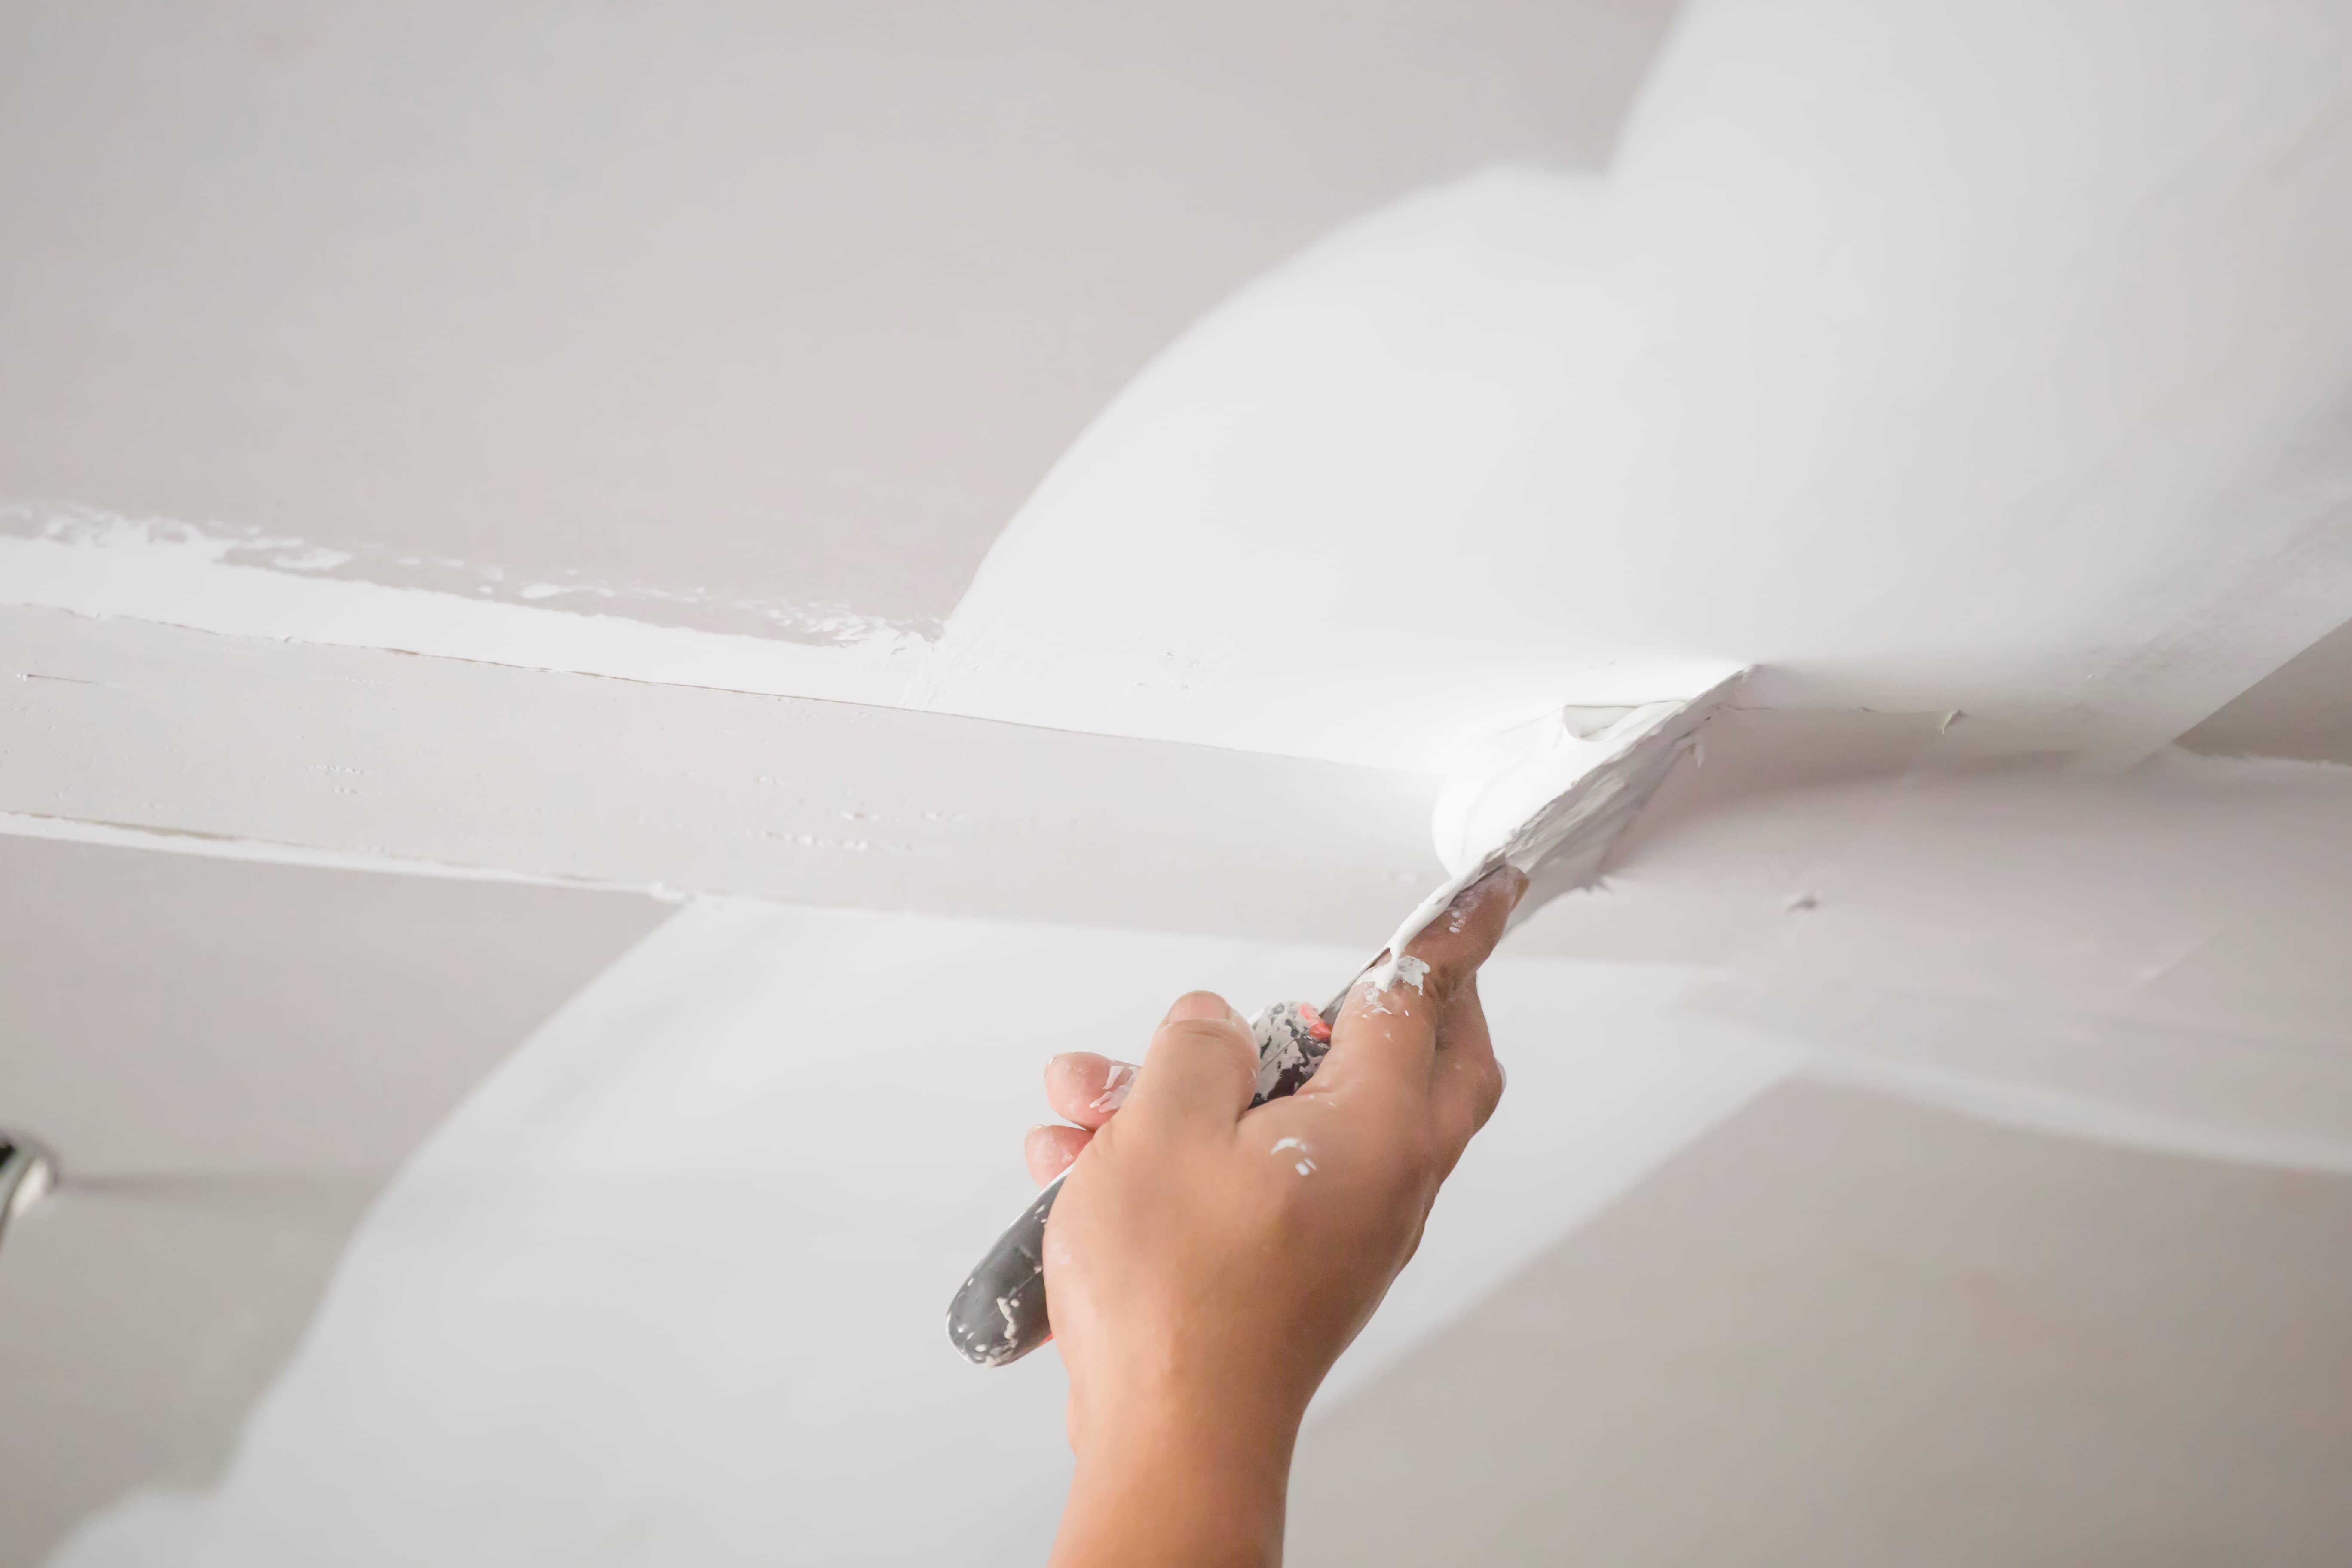
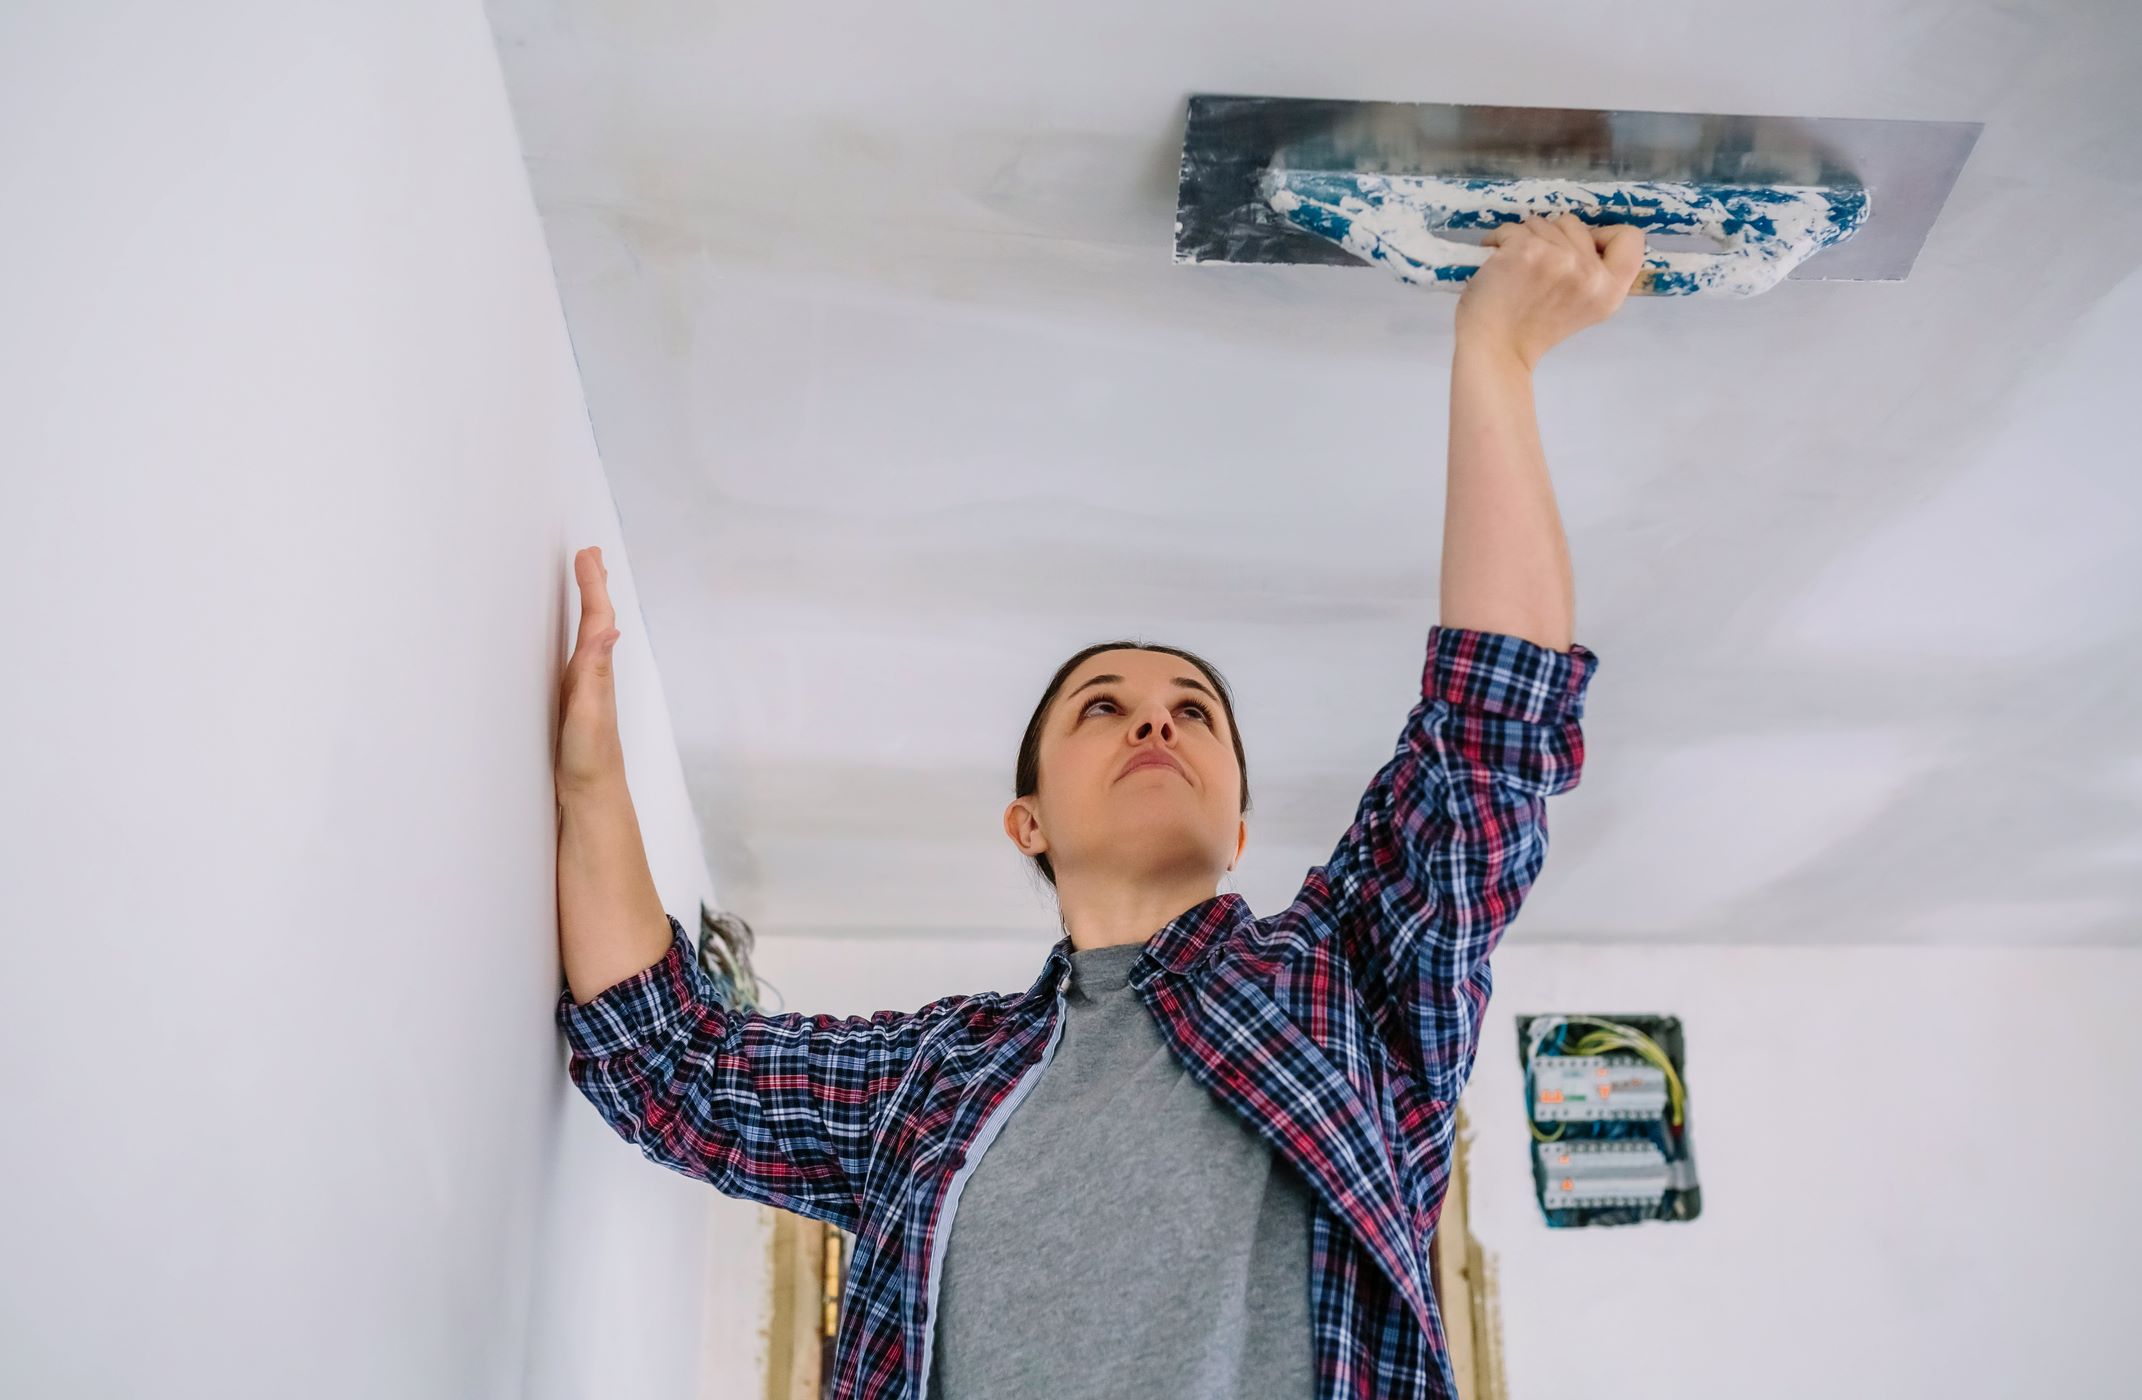
Step 4: Mud and Smooth the Tape
Once the new drywall tape has dried, it’s time to mud and smooth the tape to create a seamless and smooth surface. Follow these steps:
- Using a drywall knife, apply a thin layer of drywall compound (mud) over the taped area. Start from the center and work your way outward, feathering the mud onto the surrounding ceiling.
- Smooth out the mud using long, even strokes with the drywall knife. Apply gentle pressure to level the surface and create a flat and smooth finish.
- Allow the first layer of mud to dry completely according to the manufacturer’s instructions. This usually takes around 24 hours.
- Once the first layer has dried, lightly sand the repaired area using a sanding block or sandpaper. This will help to smooth out any imperfections and create a flush surface.
- Apply a second layer of mud, this time using a wider drywall knife to feather the edges into the surrounding ceiling. Repeat the drying and sanding process as necessary until the surface is smooth and seamless.
Mudding and smoothing the drywall tape is a critical step in achieving a professional-looking repair. Take your time during this process and pay attention to detail, as it will greatly impact the final result.
Step 5: Sand and Prime the Repaired Area
After mudding and smoothing the repaired area, it’s important to sand and prime the surface to ensure a flawless finish. Follow these steps:
- Using a sanding block or sandpaper, gently sand the repaired area, focusing on smoothing out any rough spots or imperfections. Be careful not to apply too much pressure to avoid damaging the surrounding area.
- Wipe away the dust created from sanding with a damp cloth or sponge. This will ensure a clean surface for the primer and paint to adhere to.
- Apply a coat of primer to the repaired area, as well as the surrounding ceiling. Use a paintbrush or roller to evenly distribute the primer, ensuring full coverage.
- Allow the primer to dry completely according to the manufacturer’s instructions. This typically takes a few hours.
- After the primer has dried, inspect the repaired area for any remaining imperfections. If necessary, repeat the sanding and priming process until the surface is smooth and ready for painting.
Sanding and priming the repaired area is crucial to achieve a professional-looking finish. It helps to create a smooth surface and ensures that the paint adheres properly, resulting in a seamless blend with the rest of the ceiling.
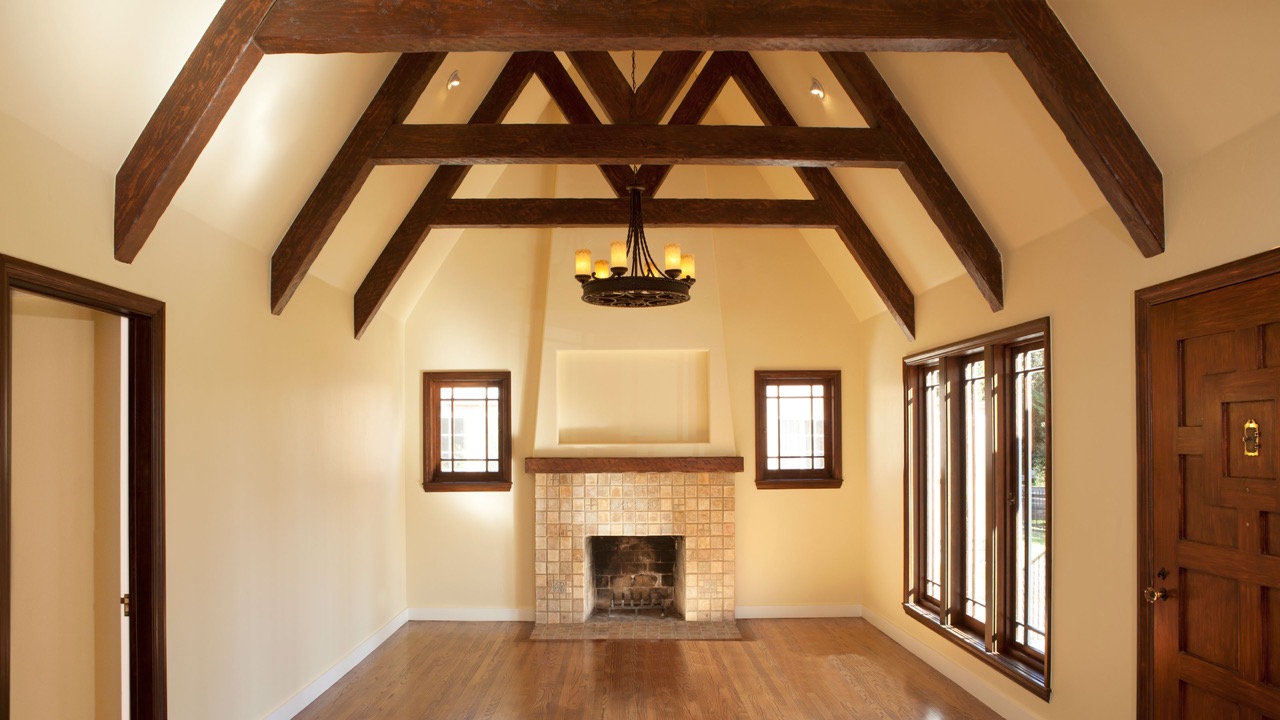
Step 6: Paint the Ceiling
With the repaired area primed and ready, it’s time to paint the ceiling and achieve a seamless finish. Follow these steps:
- Choose a paint color that matches the existing ceiling. Use a paintbrush or roller to carefully apply the paint to the repaired area, feathering it outwards to blend with the surrounding ceiling.
- Allow the first coat of paint to dry completely, following the drying time specified on the paint can.
- If necessary, apply a second coat of paint to achieve full coverage and a consistent color. Again, allow the paint to dry completely between coats.
- Once the final coat of paint has dried, carefully inspect the repaired area for any touch-ups or uneven spots. Use a small brush or roller to correct any imperfections.
- Step back and admire your work! The repaired area should now seamlessly blend with the rest of the ceiling, leaving no visible signs of the previous damage.
Painting the ceiling is the final step to complete the repair process. Take your time during this step to ensure a smooth and flawless finish. Remember to let the paint dry completely before moving any furniture back into the room or touching the repaired area.
Conclusion
Repairing damaged drywall tape on the ceiling may seem like a daunting task, but with the right materials, techniques, and a bit of patience, you can achieve professional-looking results. By following the steps outlined in this guide, you’ll be able to restore the integrity of your ceiling and enjoy a seamless finish.
Remember to take the time to prepare the area properly and remove any damaged tape before applying new tape and mud. Mudding and smoothing the repair area is crucial for achieving a seamless and smooth finish. Don’t forget to sand, prime, and paint the repaired area, ensuring it blends seamlessly with the rest of the ceiling.
While it’s essential to follow the steps outlined in this guide, it’s also important to exercise caution and prioritize safety. Wear protective gear, such as a dust mask and protective eyewear, while working on the repair to minimize exposure to dust and debris.
With a bit of effort and attention to detail, you can successfully repair drywall tape on your ceiling and restore the beauty and functionality of your space. So, roll up your sleeves, gather your materials, and get ready to tackle this home improvement project with confidence!
Frequently Asked Questions about How To Repair Drywall Tape On Ceiling
Was this page helpful?
At Storables.com, we guarantee accurate and reliable information. Our content, validated by Expert Board Contributors, is crafted following stringent Editorial Policies. We're committed to providing you with well-researched, expert-backed insights for all your informational needs.


0 thoughts on “How To Repair Drywall Tape On Ceiling”