Articles
How To Repair Rv Siding
Modified: January 21, 2024
Learn effective tips and tricks to repair your RV siding in this comprehensive guide filled with informative articles. Take the first step towards restoring your RV's exterior and ensuring its longevity.
(Many of the links in this article redirect to a specific reviewed product. Your purchase of these products through affiliate links helps to generate commission for Storables.com, at no extra cost. Learn more)
Introduction
Welcome to our comprehensive guide on how to repair RV siding. If you own an RV, you know how important it is to keep it in good condition to ensure a comfortable and enjoyable travel experience. Unfortunately, accidents happen, and RV siding can get damaged due to various factors such as harsh weather conditions or accidental collisions. But worry not, as we are here to help you navigate through the process of repairing your RV siding.
Repairing RV siding is not only essential for aesthetic purposes but also for the integrity and longevity of your vehicle. Cracked or damaged siding can lead to further issues like leaks and structural damage if left unaddressed. By following the steps outlined in this guide and dedicating some time and effort, you will be able to restore your RV siding to its former glory.
Before we dive into the repair process, it’s important to note that the specific steps may vary depending on the type of siding your RV has. The most common types are aluminum, fiberglass, and vinyl siding. It’s crucial to determine the type of siding you have before proceeding with the repair, as different materials may require different techniques or tools.
In this guide, we will cover the general steps involved in RV siding repair. However, always consult your RV manufacturer’s instructions or seek professional advice if you have any doubts or if your RV has unique specifications.
Key Takeaways:
- Properly assessing the damage and gathering the necessary tools and materials are crucial steps in successfully repairing RV siding. Prioritize safety, follow manufacturer’s instructions, and take your time for a professional outcome.
- Applying the new siding, securing it in place, and adding the finishing touches are essential for a polished repair. Regular maintenance and care will prolong the lifespan of your RV siding, ensuring many more enjoyable travel experiences.
Read more: How To Install Filon Siding On RV
Assessing the Damage
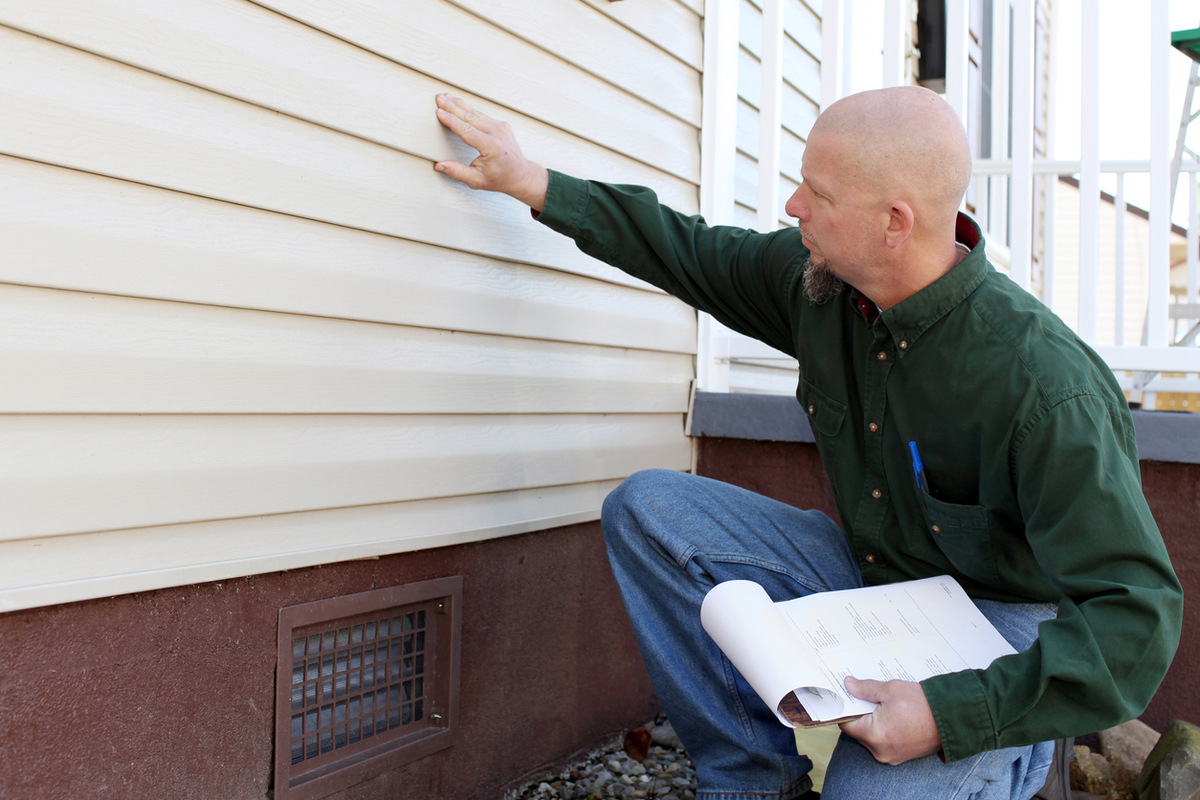
Before you begin the repair process, it’s essential to assess the extent of the damage to your RV siding. This will help you determine the best course of action and prepare adequately for the repair.
Start by visually inspecting the siding for any visible signs of damage, such as cracks, dents, or holes. Take note of the affected areas and consider the size and severity of the damage. This will help you estimate the amount of repair material you will need.
Next, gently press on the damaged sections of the siding to check for any soft spots or areas that are structurally compromised. If you encounter any soft or spongy spots, it indicates water damage, and there may be underlying issues that need to be addressed before proceeding with the repair.
It’s also essential to assess the stability of the surrounding siding. If the damage is localized, you may only need to repair that specific area. However, if the surrounding siding is also compromised or shows signs of wear and tear, it might be more effective to replace a larger section or even the entire panel.
Take note of any additional factors that may impact the repair, such as the presence of electrical components or mounting brackets. You may need to work around these elements or remove them temporarily during the repair process.
By thoroughly assessing the damage, you will have a clear understanding of the repair requirements and can proceed confidently with the necessary steps to restore your RV siding. Remember, if you are unsure about the severity of the damage or need assistance, it’s always advisable to consult a professional RV repair service for guidance.
Gathering the Necessary Tools and Materials
Once you have assessed the damage to your RV siding, it’s time to gather all the necessary tools and materials for the repair process. Having everything prepared beforehand will ensure a smoother and more efficient repair.
Here is a list of the essential tools and materials you will need:
- Replacement siding: Depending on the type of siding your RV has, you may need to purchase a pre-cut piece or a whole panel. Measure the dimensions of the damaged area accurately to ensure you get the right size.
- Safety equipment: It’s essential to prioritize safety during the repair process. Make sure you have a pair of safety goggles, work gloves, and a dust mask to protect yourself from any potential hazards.
- Measuring tape: This will help you measure the damaged area accurately and ensure a precise fit for the replacement siding.
- Saw or cutting tool: If you need to trim the replacement siding to fit the damaged area, you will require a saw or cutting tool suitable for the specific type of siding you are working with.
- Fasteners or adhesives: Depending on the type of siding and the manufacturer’s recommendations, you will need the appropriate fasteners or adhesives to secure the replacement siding in place. Common options include screws, rivets, or adhesive tapes.
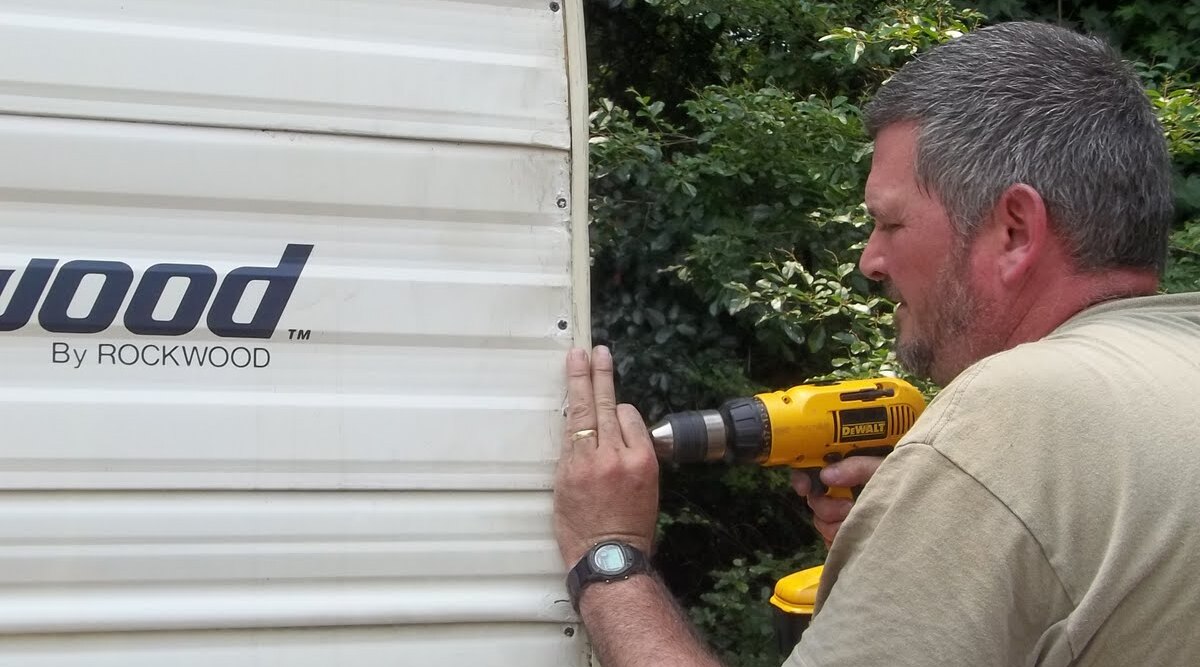
- Drill or screwdriver: If your RV siding requires fasteners, you will need a drill or screwdriver to install them properly. Ensure you have the necessary drill bits or screwdriver attachments for the job.
- Surface cleaner or solvent: Before applying the replacement siding, you may need to clean the area thoroughly to remove any dirt, debris, or remnants of the old siding. Choose a cleaner or solvent that is safe for the siding material you are working with.
- Paint and primer (optional): Depending on your preference and the condition of the surrounding siding, you may choose to paint or prime the repaired area to match the rest of the RV and create a seamless finish.
- Utility knife: A utility knife will come in handy for various tasks during the repair process, such as removing the damaged siding or trimming excess material.
Make sure to double-check your RV manufacturer’s instructions and recommendations for any specific tools or materials they may suggest for repairing the siding. Having all the necessary tools and materials on hand will save you time and make the repair process much more convenient.
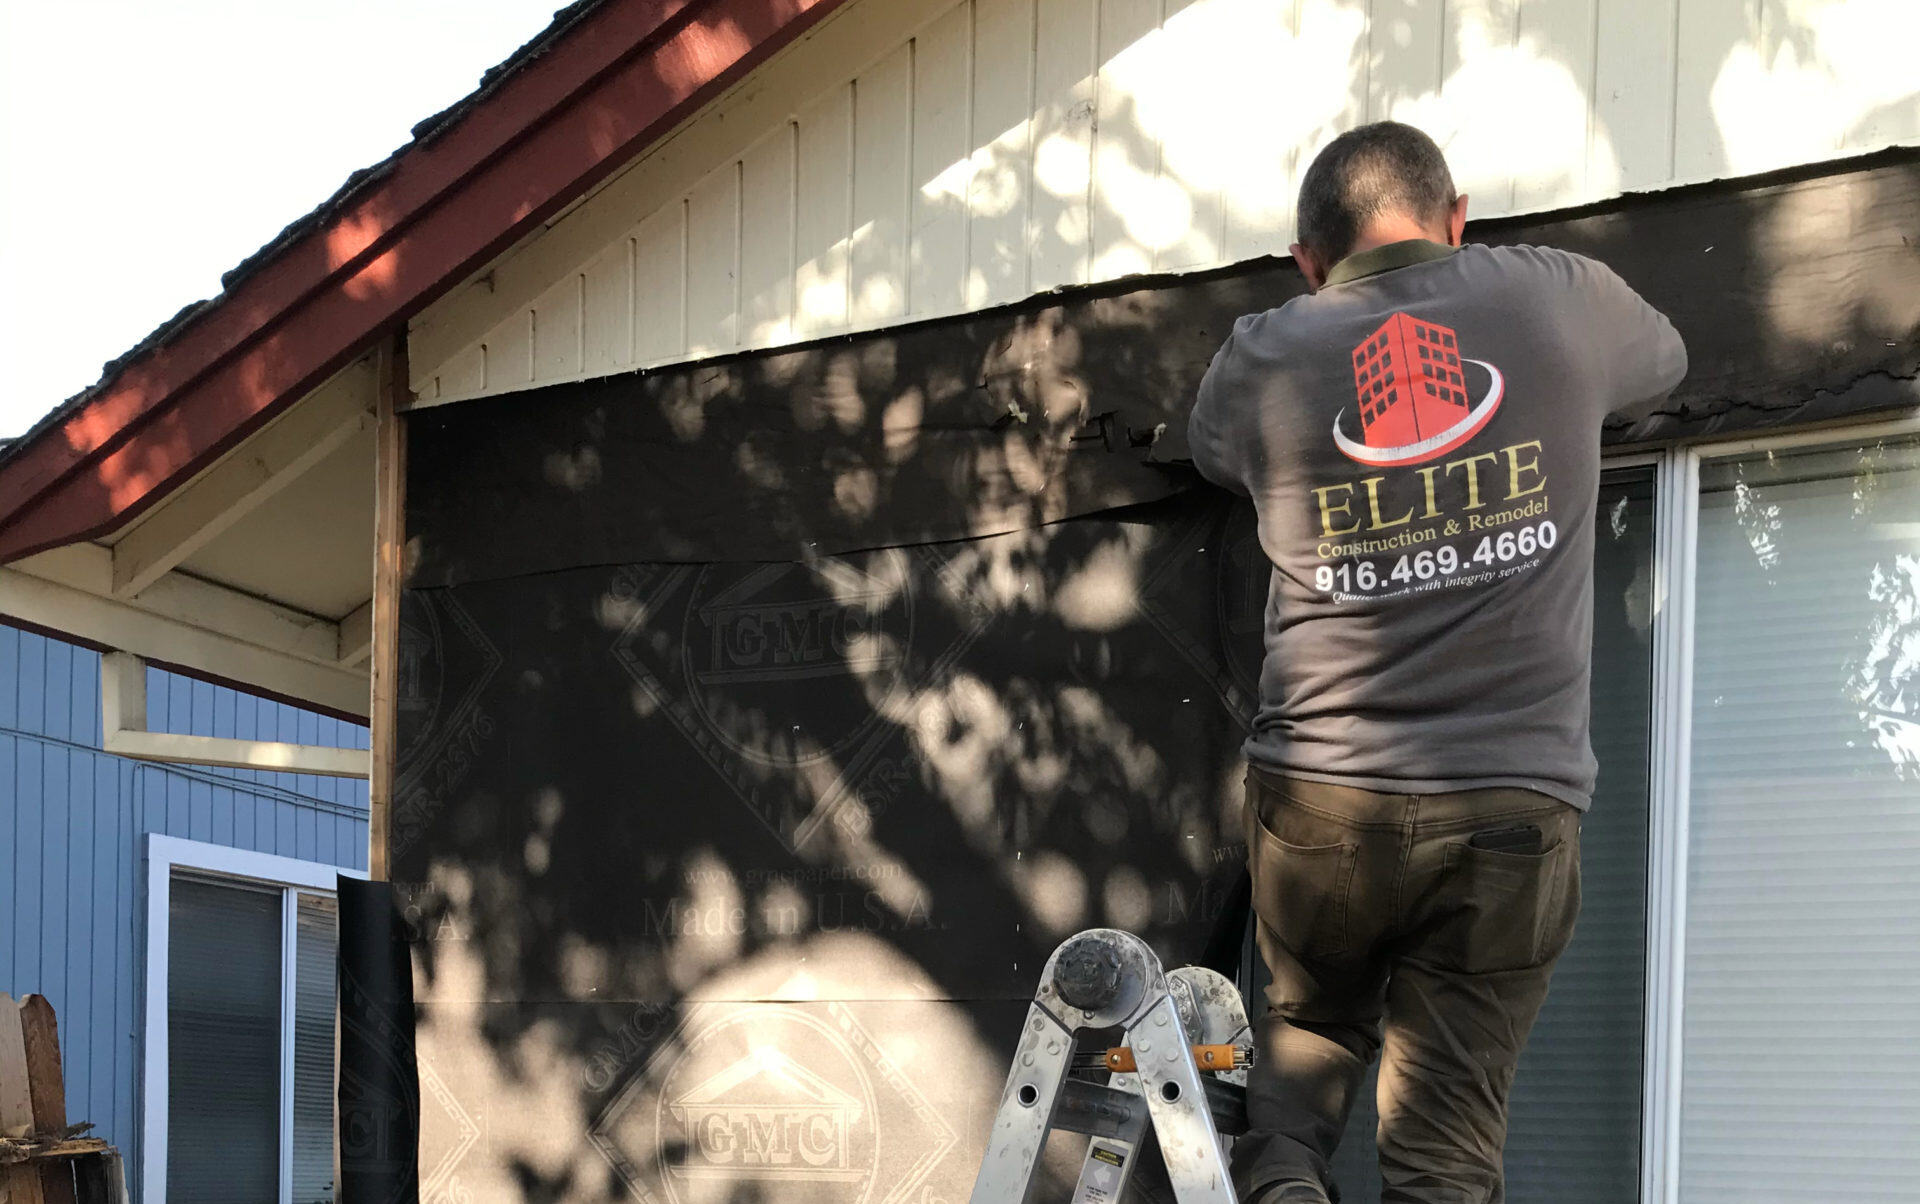
Removing Damaged Siding
Now that you have gathered all the necessary tools and materials, it’s time to start removing the damaged siding from your RV. This step is crucial to prepare the area for the installation of the new siding.
Here is a step-by-step guide to removing the damaged siding:
- Begin by ensuring the area you’re working on is clear and safe. If there are any electrical connections or brackets attached to the siding, disconnect or remove them carefully to prevent any damage.
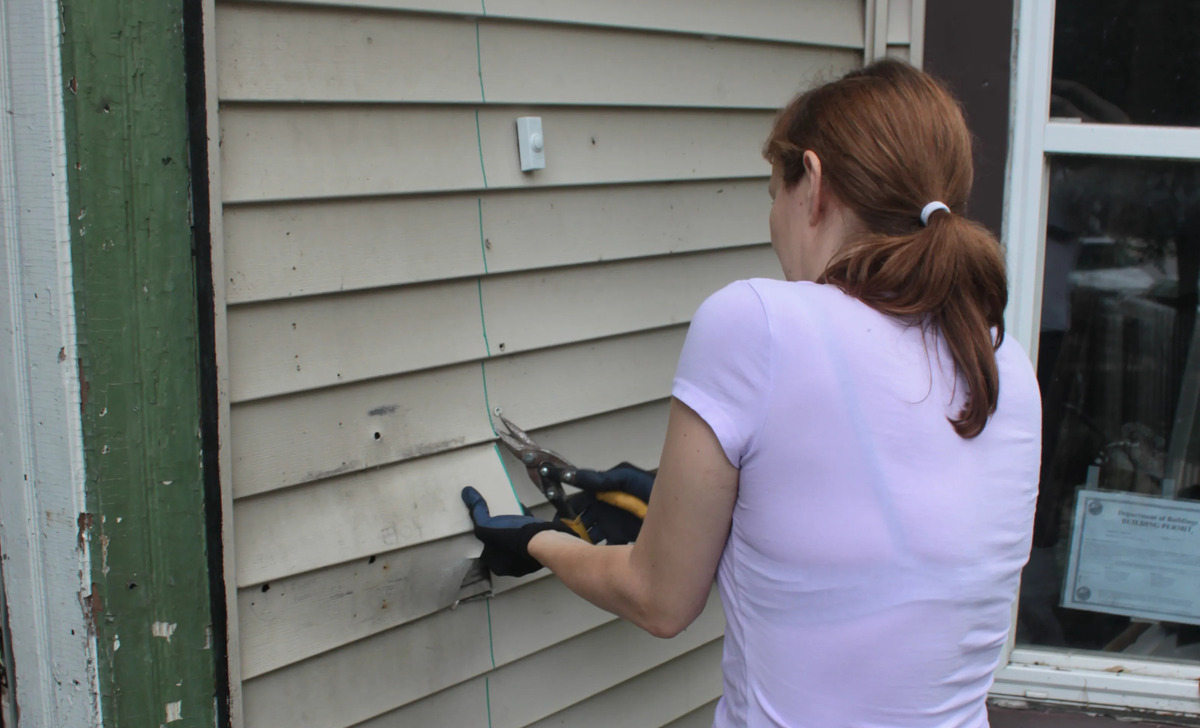
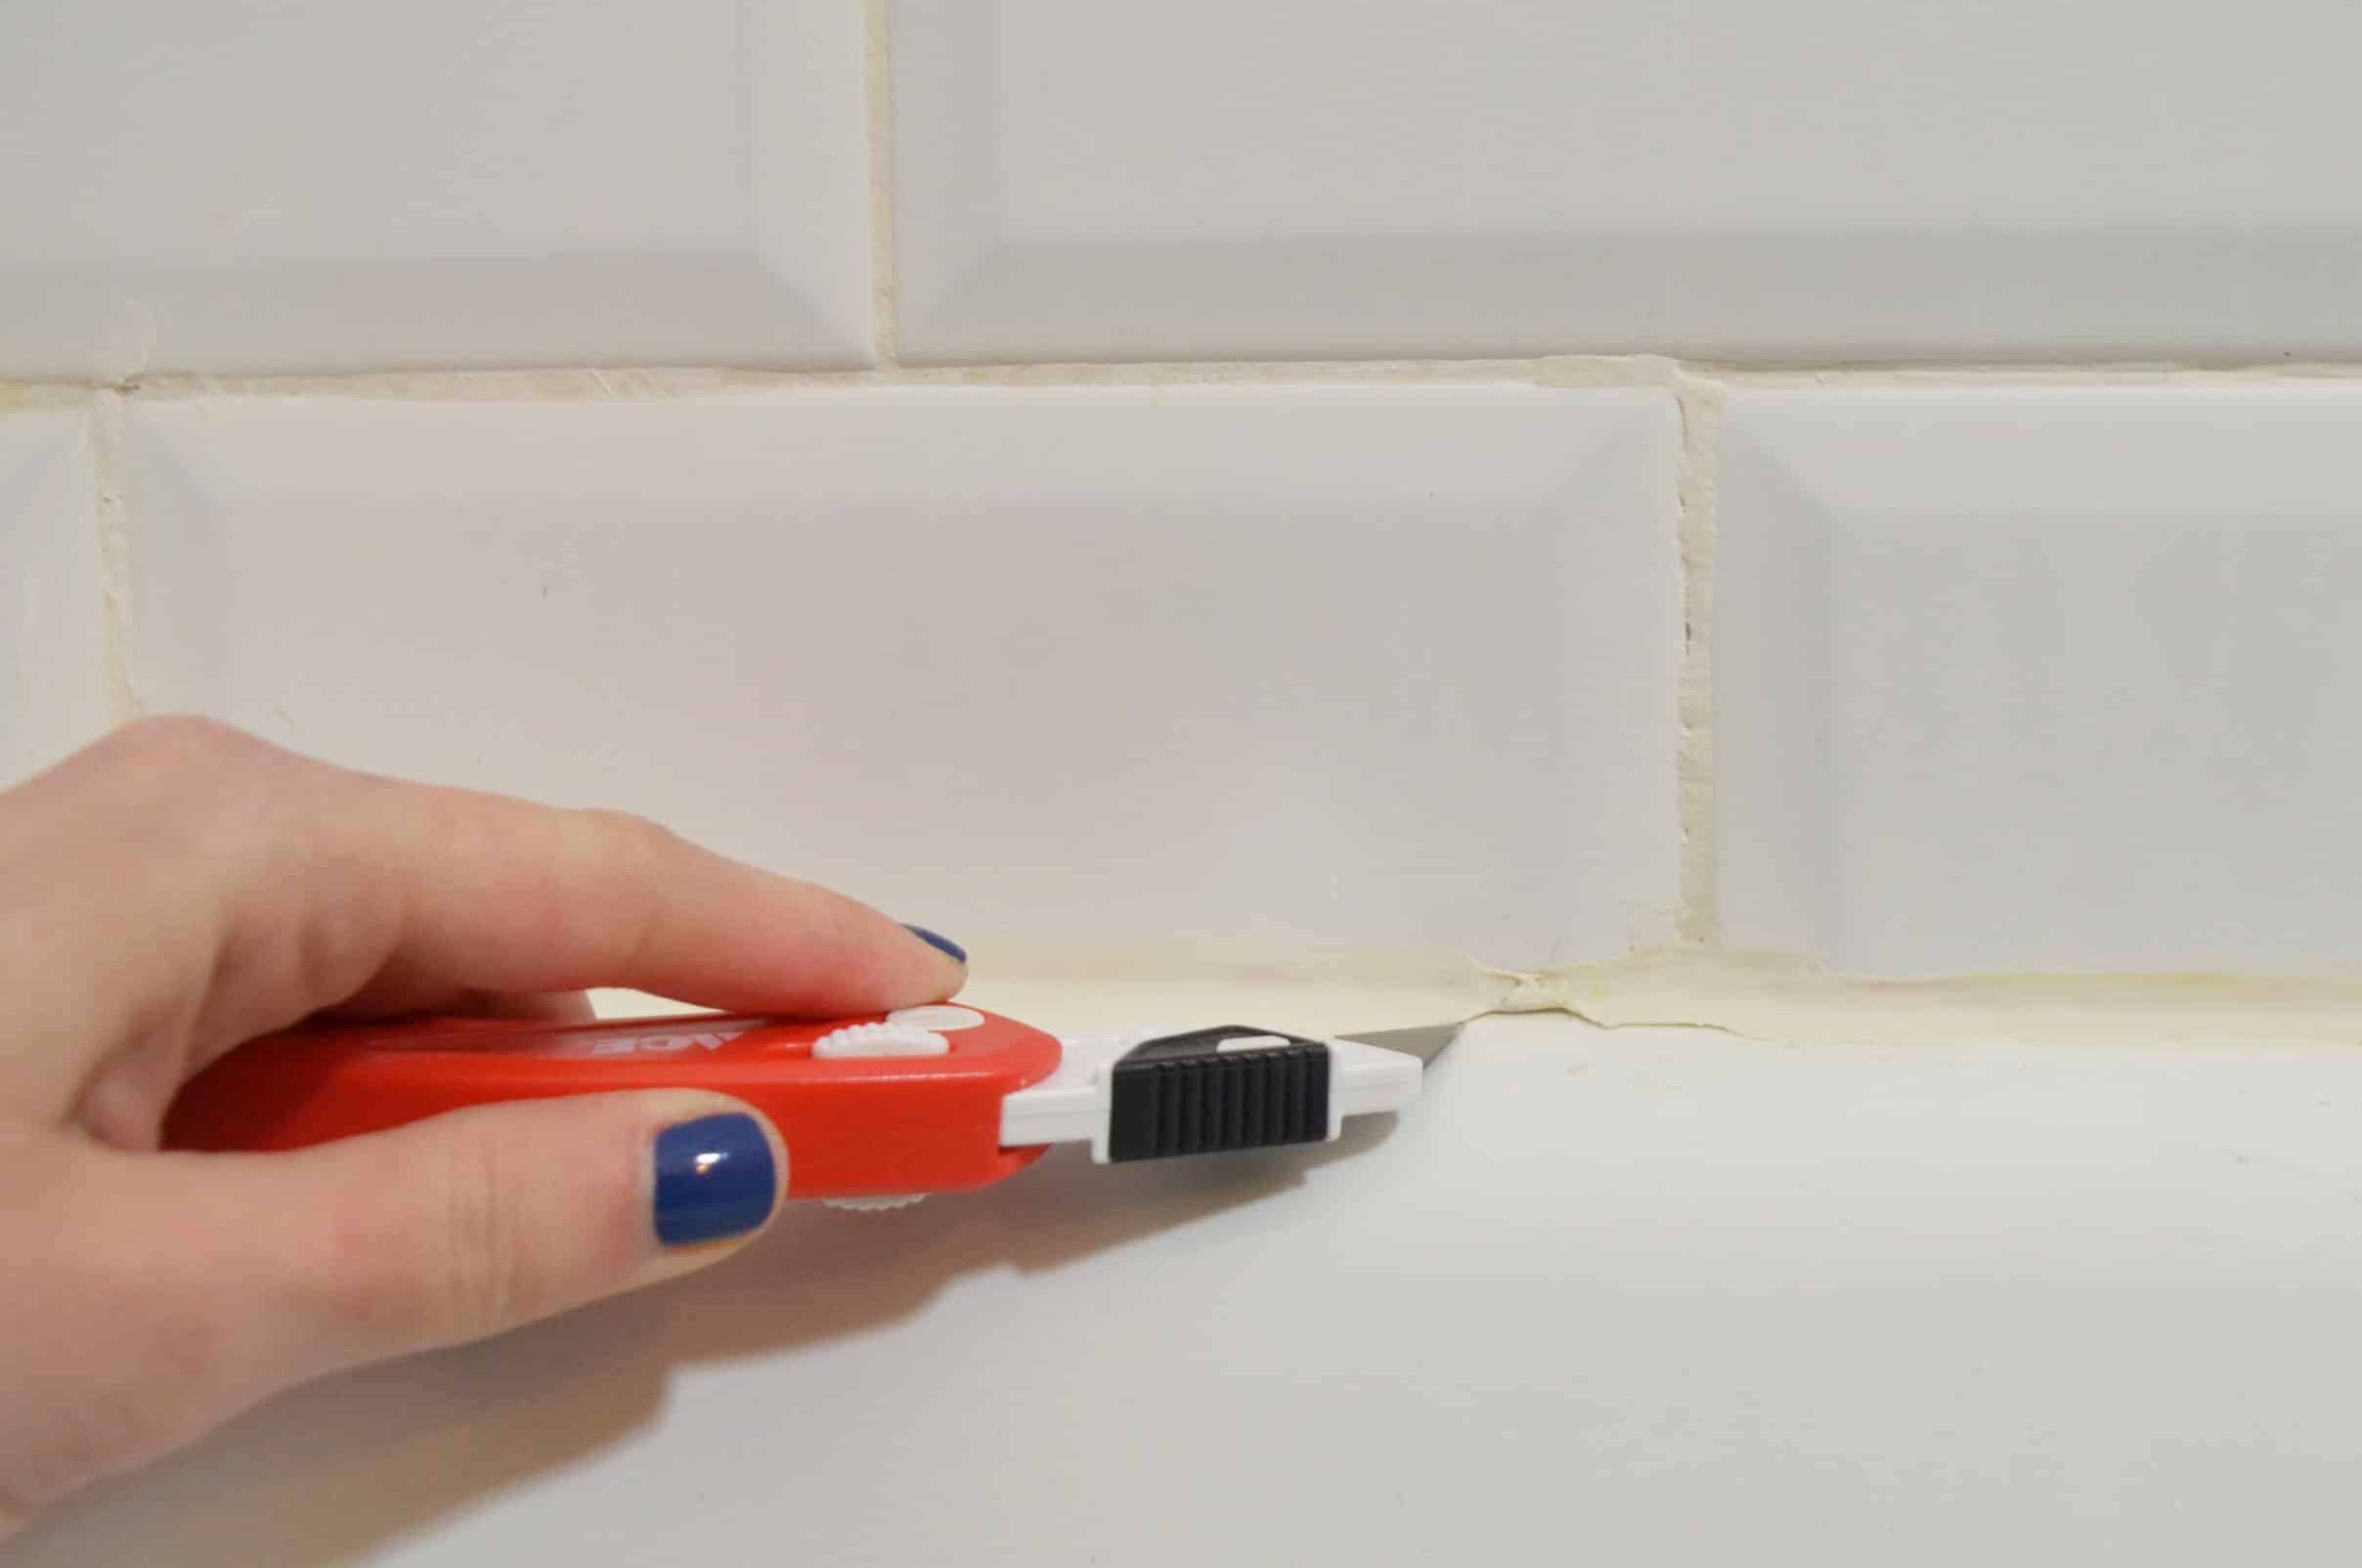
- Use a utility knife to cut away any caulking or sealant that may be securing the damaged siding in place. Be cautious not to scratch or damage the surrounding area.
- Locate and remove the fasteners holding the damaged siding in place. Depending on your RV’s construction, the fasteners may be screws, rivets, or other types of hardware. Use a drill or screwdriver to carefully remove them.
- Gently pry the damaged siding away from the RV, working your way from one end to the other. Take your time to ensure you don’t cause any further damage to the surrounding siding or structure of the RV.
- If the damaged siding is part of a larger panel, you may need to remove the entire panel. In this case, remove any additional fasteners or connectors as necessary.
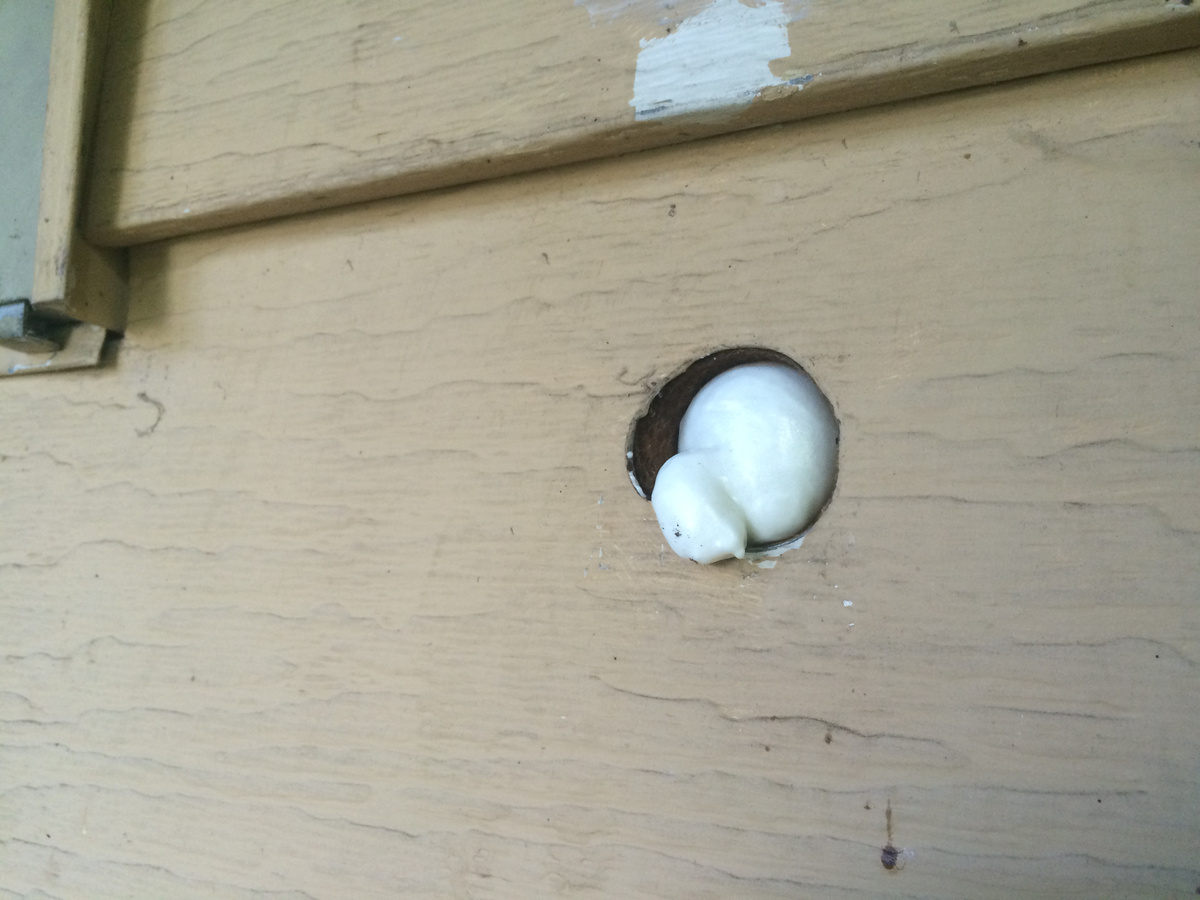
- Once the damaged siding or panel is removed, inspect the underlying area for any signs of damage, such as rot or water intrusion. It’s important to address these issues before proceeding with the installation of the new siding.
Remember to take caution while removing the damaged siding, as it can be fragile and may have sharp edges. Wear protective gloves and goggles to prevent any injuries.
Once the damaged siding is successfully removed, you are ready to move on to the next step: preparing the area for repair.
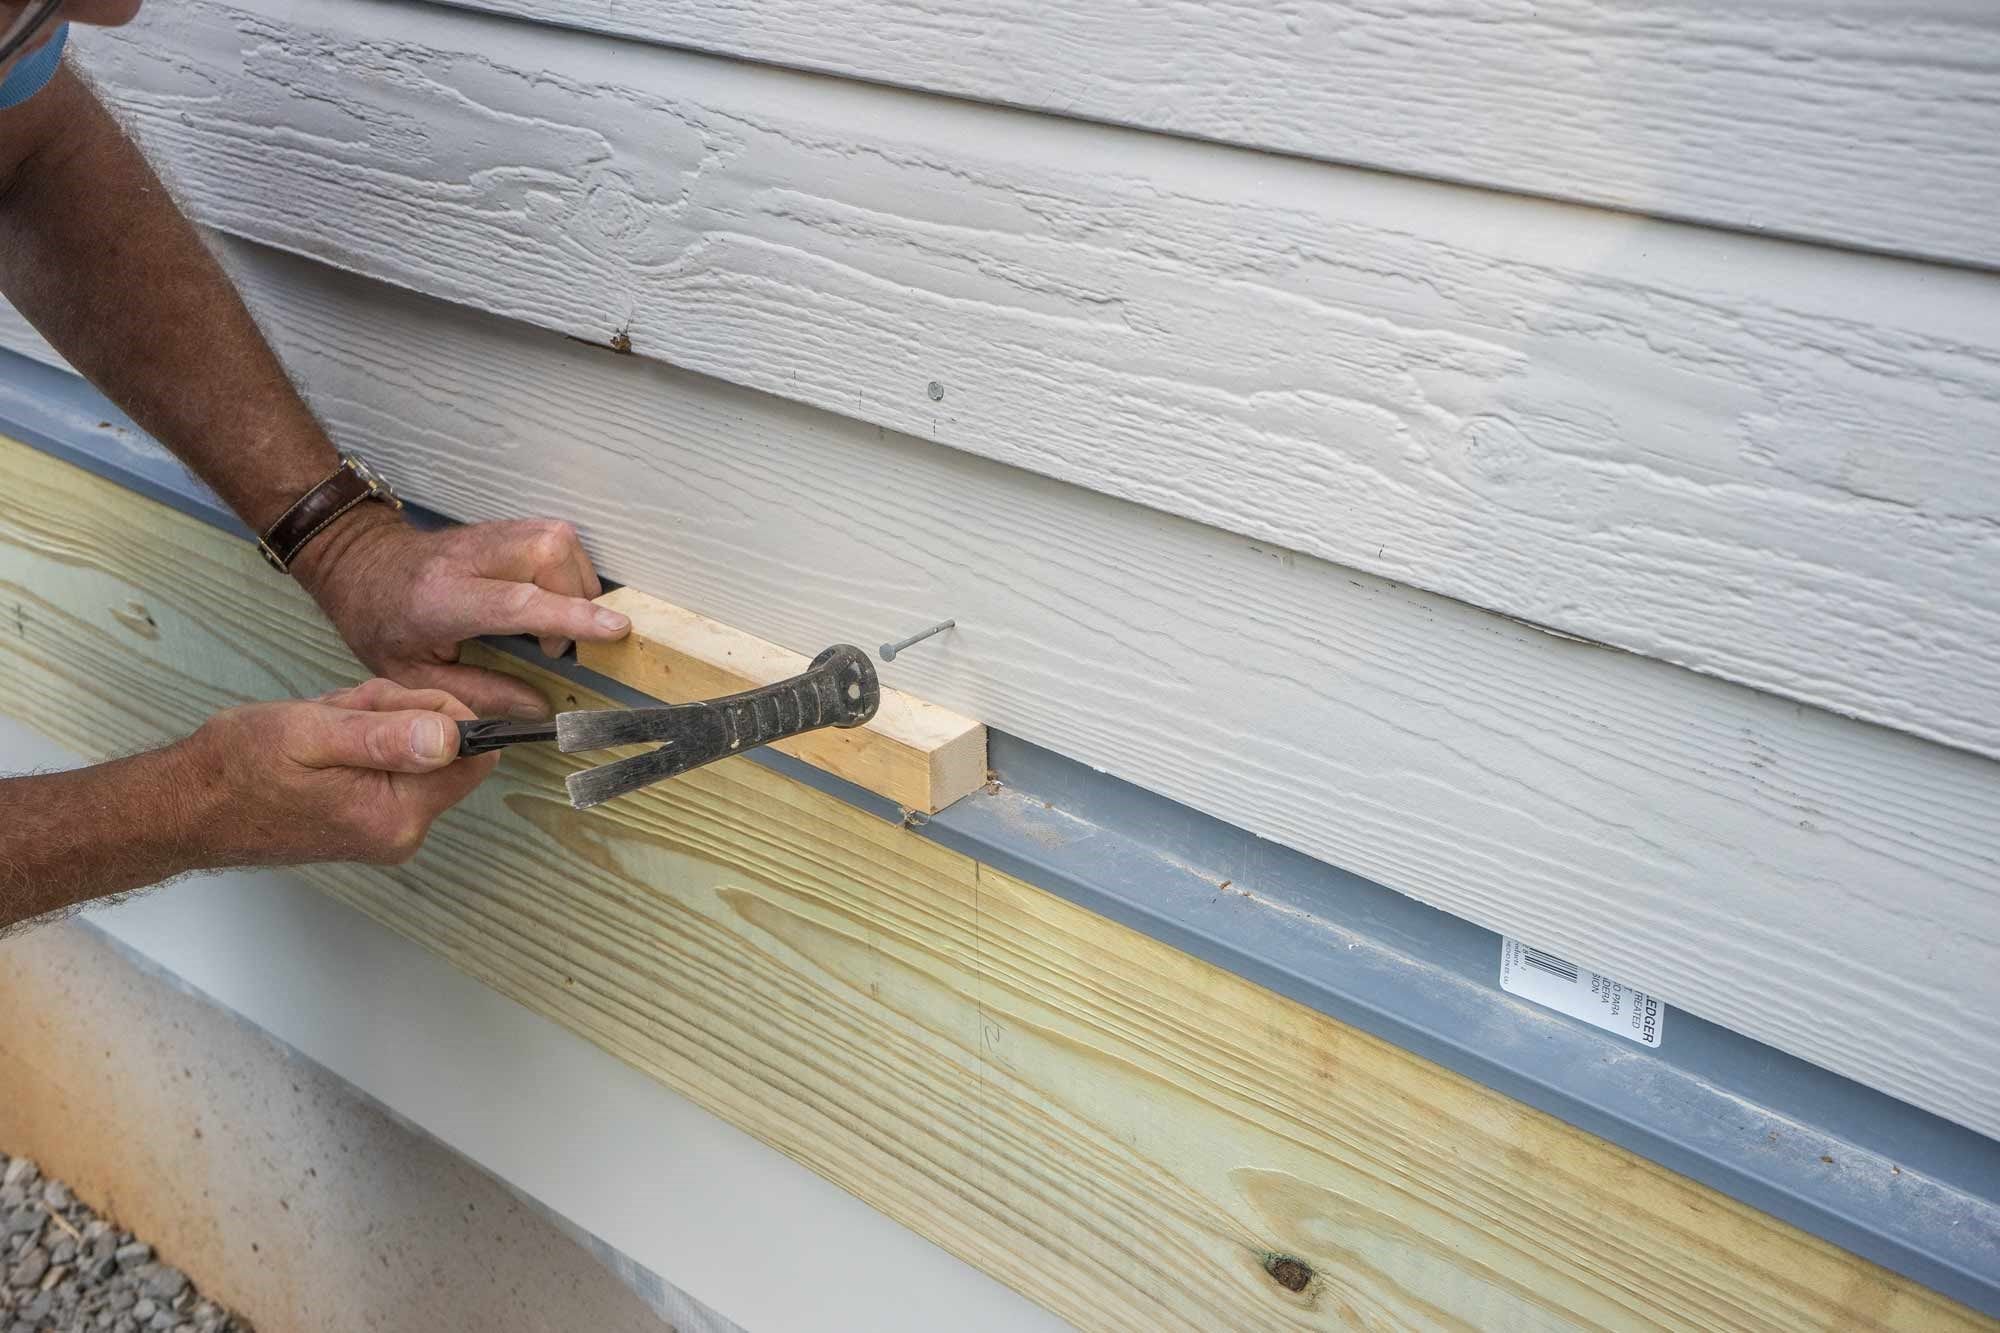
Preparing the Area for Repair
Now that you have removed the damaged siding from your RV, it’s important to properly prepare the area for the installation of the new siding. This step ensures a clean and stable surface for a successful repair.
Here are the steps to prepare the area for repair:
- Clean the underlying surface: Remove any dirt, debris, or adhesive residue from the area where the damaged siding was located. Use a surface cleaner or solvent that is safe for your RV siding material and carefully scrub the surface with a soft brush or cloth.
- Inspect for damage: Take a close look at the underlying structure or substrate of the area where the repair will take place. Look for any signs of rot, water damage, or other issues that may need to be addressed before proceeding. If needed, consult a professional for guidance.
- Make any necessary repairs: If you discover any structural issues or damage, it’s essential to repair them before installing the new siding. Depending on the severity of the damage, you may need to reinforce the area or replace any compromised materials. Ensure that the area is solid and secure.
- Apply a primer (if necessary): Some types of siding or specific repair products may require the application of a primer before installing the new siding. Check the manufacturer’s instructions to see if primer is recommended and apply it accordingly. Allow the primer to dry completely before moving on to the next step.
- Measure and mark the installation area: Use a measuring tape to accurately measure the dimensions of the area where the replacement siding will be installed. Mark these measurements on the surface to guide you during the installation process. Double-check the measurements to ensure a precise fit.
- Cut the replacement siding (if needed): If the replacement siding is not already pre-cut to the required size, use a saw or cutting tool to trim it to fit the marked dimensions. Be sure to follow the manufacturer’s instructions and use appropriate safety precautions when cutting the siding.
By properly preparing the area for repair, you set the foundation for a successful and long-lasting RV siding repair. Take your time during this step to ensure that the surface is clean, sturdy, and ready for the installation of the new siding. Now, you are ready to move on to the exciting part: applying the new siding!
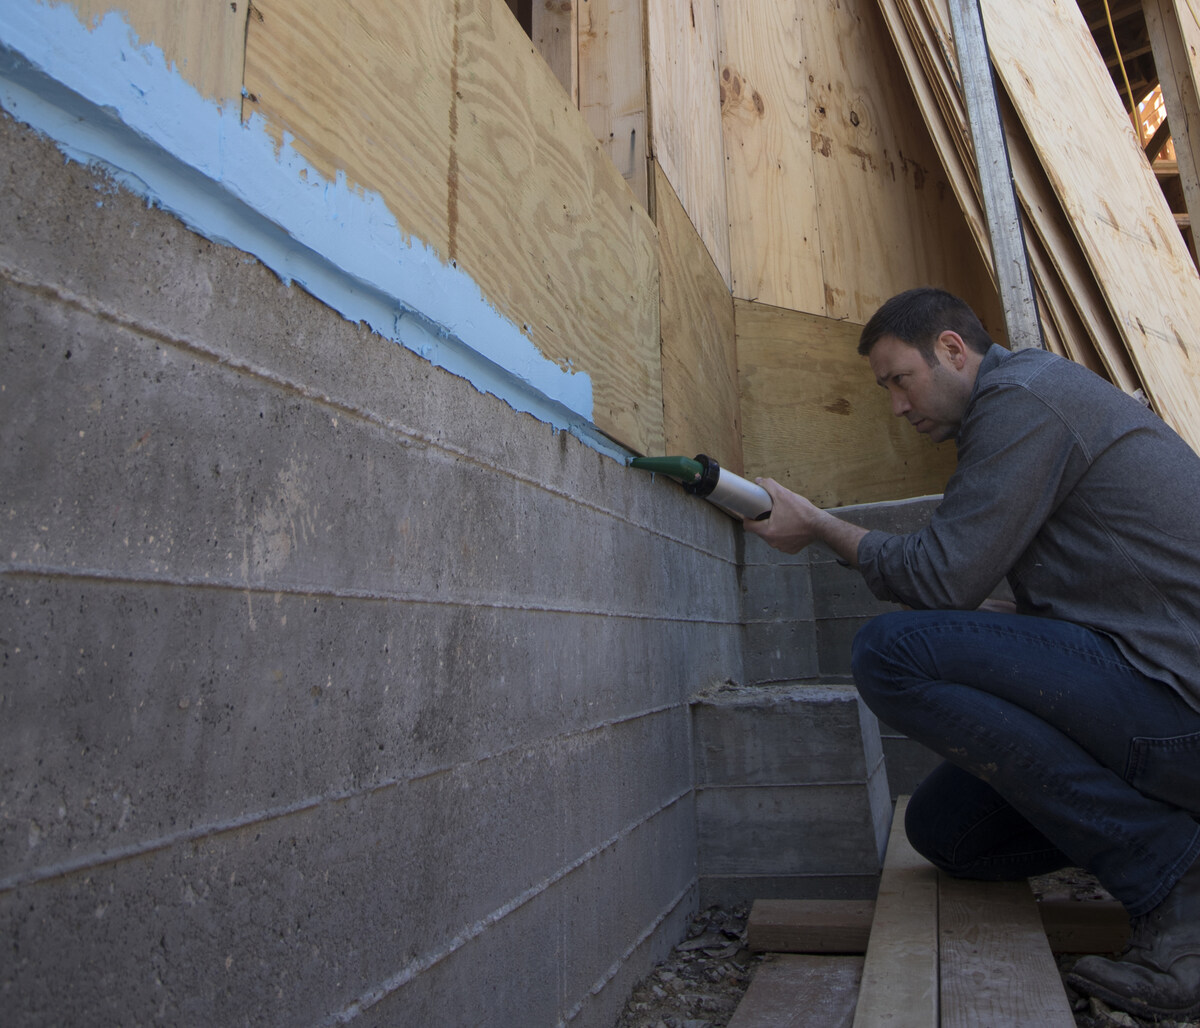
When repairing RV siding, be sure to thoroughly clean the area before applying any patch or sealant. This will ensure a strong and long-lasting repair.
Read more: How To Repair Wood Siding
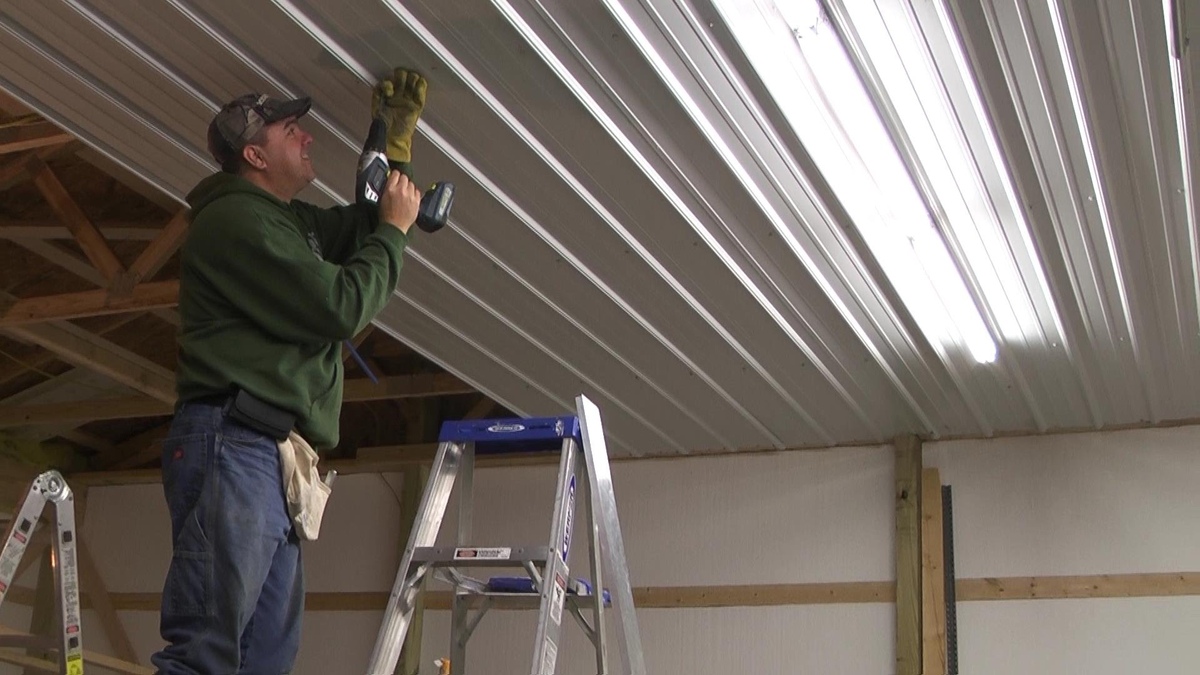
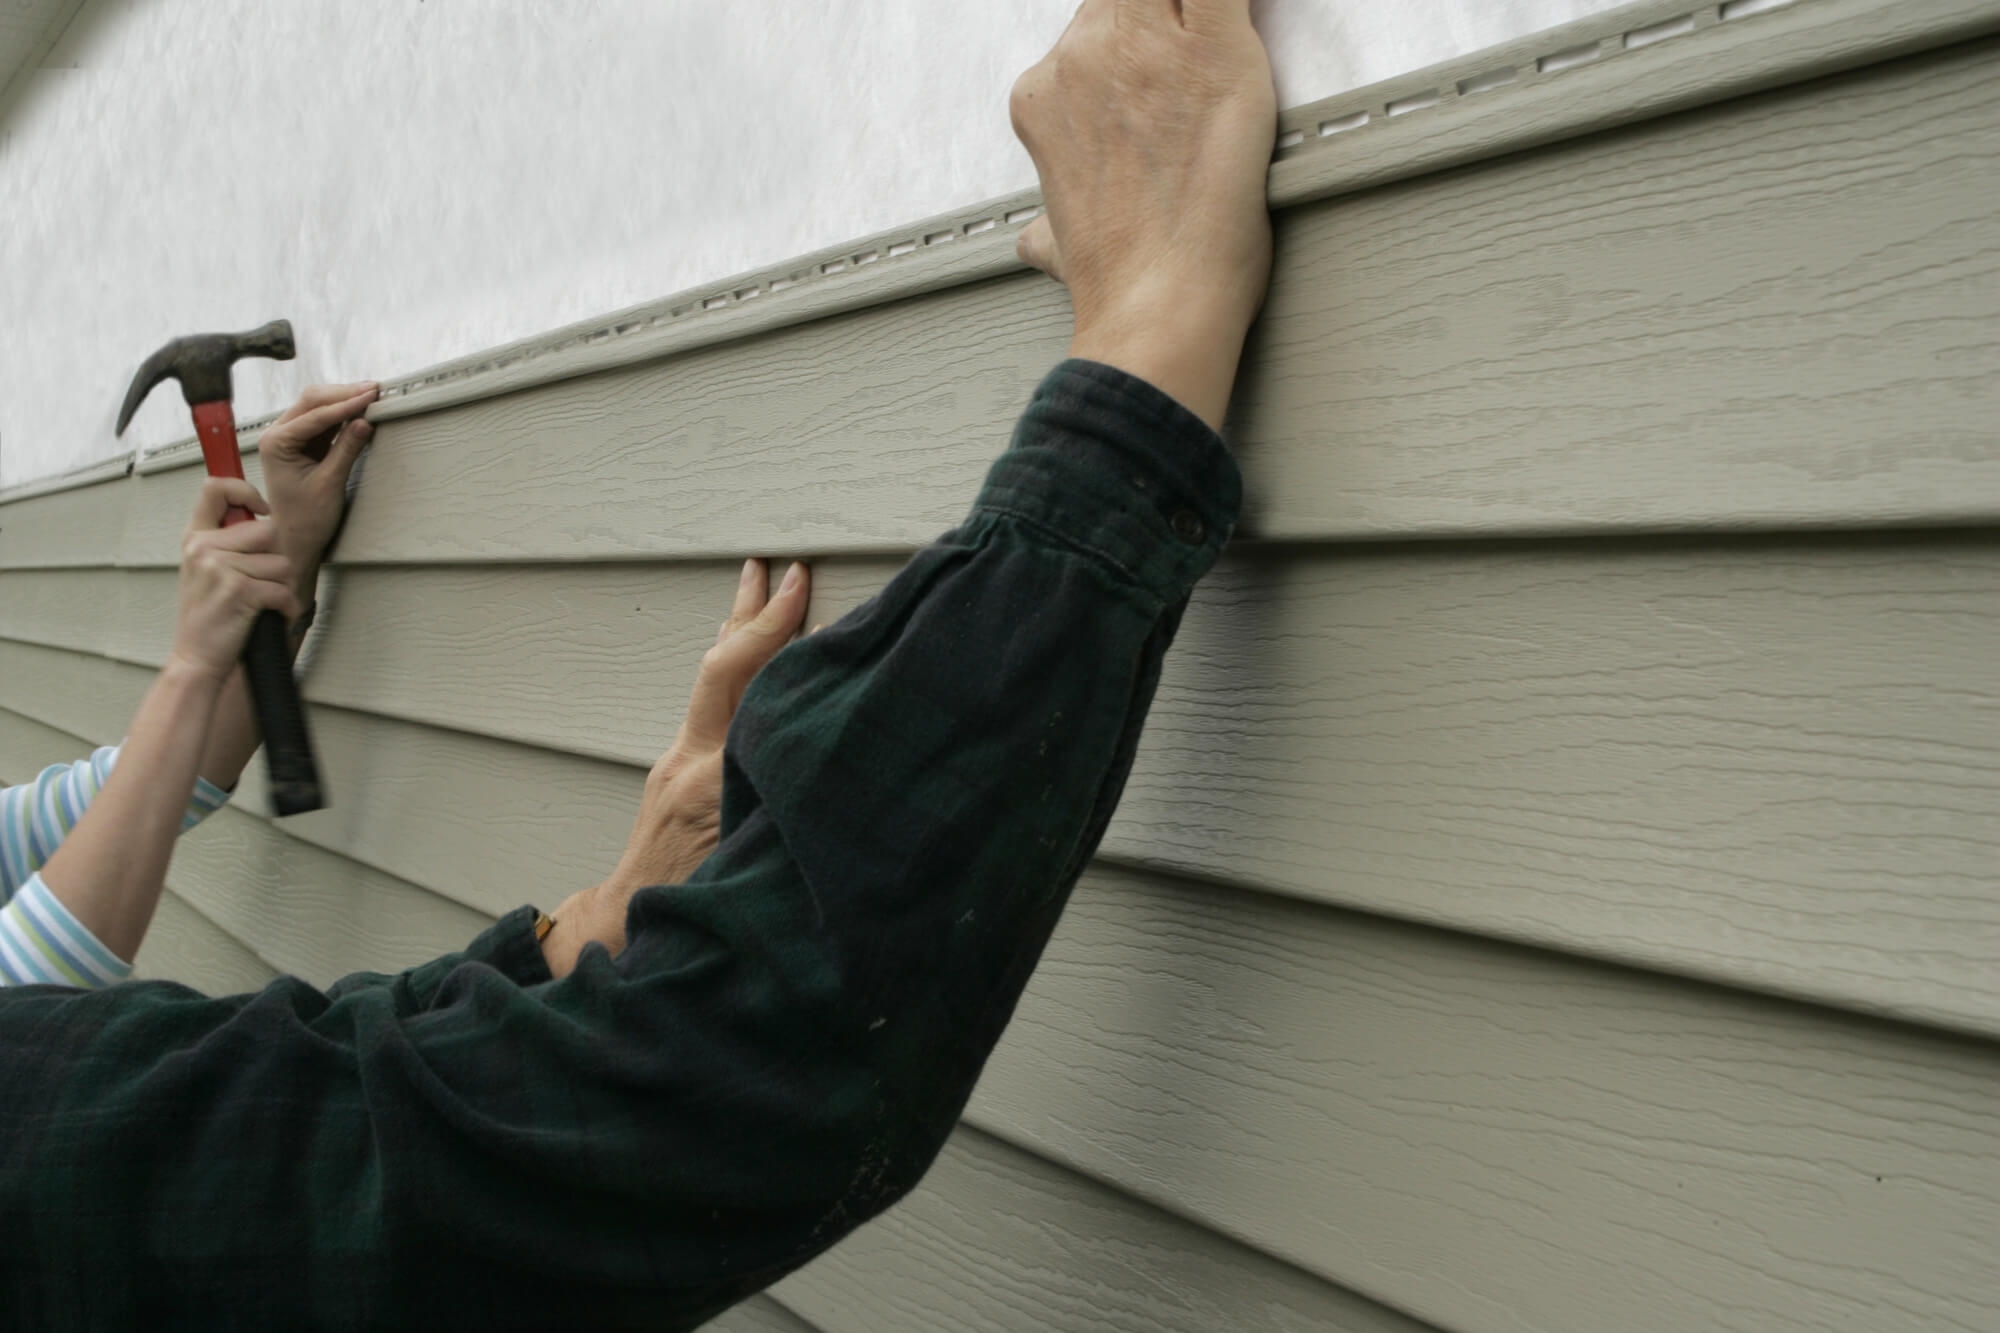
Applying the New Siding
With the area properly prepared, it’s time to move on to the exciting step of applying the new siding to your RV. This is where you will see your repair efforts come to life and restore the appearance of your vehicle.
Follow these steps to apply the new siding:
- Position the replacement siding: Carefully place the pre-cut or trimmed replacement siding onto the marked area, ensuring it aligns properly with the surrounding siding. Double-check the measurements and make any necessary adjustments.
- Secure the siding: Depending on the type of siding and the manufacturer’s recommendations, you will use either fasteners (such as screws or rivets) or adhesive to secure the replacement siding in place. Follow the instructions provided with the siding and use the appropriate tools to secure it firmly.
- Apply adhesive if necessary: If the siding requires adhesive for installation, apply it according to the manufacturer’s instructions. Make sure to distribute the adhesive evenly, covering the necessary areas and ensuring a strong bond with the RV’s surface.
- Press the siding firmly: After securing the siding, press it firmly against the RV to ensure a tight seal and proper adherence. This will help prevent any gaps or water infiltration in the future. Use a roller or a similar tool if necessary to apply even pressure along the entire length of the replacement siding.
- Check for proper alignment: Step back and visually inspect the newly installed siding to ensure it is aligned correctly with the surrounding panels. Make sure there are no visible gaps or uneven edges.
- Double-check the fasteners: If you used screws or rivets to secure the siding, ensure they are tightened securely. Make any adjustments as needed to achieve a smooth and seamless appearance.
It’s important to work carefully and diligently during the application process to ensure a professional-looking result. Take your time to align and secure the new siding properly, as this will greatly contribute to the overall aesthetics and functionality of your RV.
Once you have successfully applied the new siding, it’s time to move on to the next step: securing the siding in place.
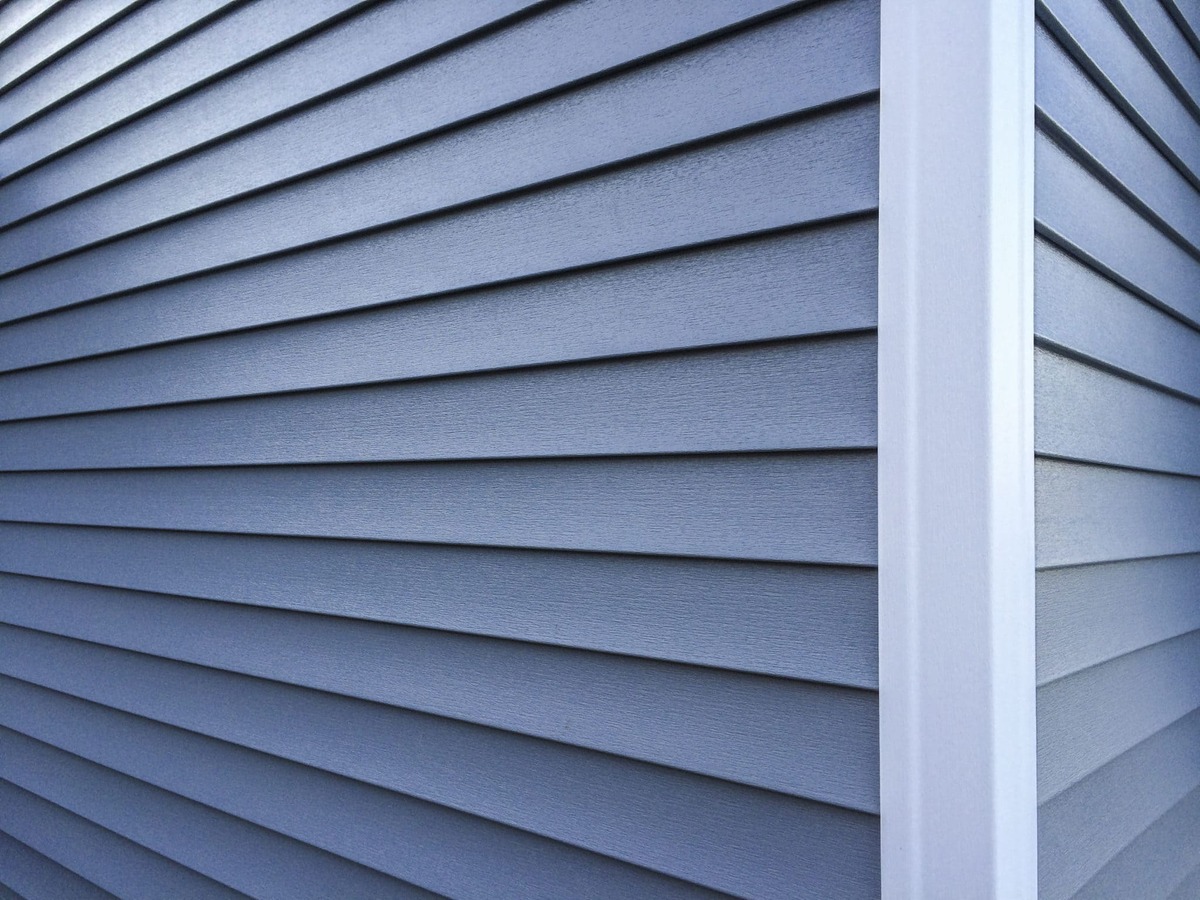
Securing the Siding in Place
Now that the new siding is applied to your RV, it’s important to ensure that it is securely fastened in place. This step will guarantee the longevity and stability of the repair, keeping your RV siding intact even during rough travels.
Follow these steps to properly secure the siding in place:
- Inspect the fasteners: Double-check that any screws, rivets, or other fasteners used to secure the siding are tightened securely. Make sure they are snug but not too tight, as overtightening may cause damage to the siding or the underlying structure.
- Apply additional fasteners if needed: Depending on the length and type of siding, you may need to add additional fasteners along the length of the panel. Follow the manufacturer’s recommendations regarding the spacing and quantity of fasteners to ensure proper support and stability.
- Check for gaps: Inspect the area where the new siding meets the adjacent panels for any visible gaps or misalignment. If you notice any gaps, adjust the siding as necessary and secure it in place to eliminate the space between panels.
- Inspect for weather resistance: Pay close attention to the edges and seams of the newly installed siding. Ensure that they are properly sealed and watertight. Apply an additional layer of caulk or sealant if needed to provide extra protection against moisture infiltration.
- Perform a final visual inspection: Step back and thoroughly examine the repaired area. Look for any imperfections, unevenness, or signs of loose siding. Make any necessary adjustments to ensure a seamless and secure installation.
It’s crucial to keep in mind that the specific requirements for securing the siding may vary depending on the type of siding and RV manufacturer’s instructions. Always refer to the recommended techniques and materials provided by your RV manufacturer to ensure the best results.
By taking the time to properly secure the new siding, you can have peace of mind knowing that your repair will withstand the rigors of travel and maintain the integrity of your RV.
With the siding now securely in place, it’s time to move on to the final step: adding the finishing touches.
Finishing Touches
With the new siding securely in place on your RV, it’s time to add the finishing touches to complete the repair. These final steps will help ensure a polished and professional-looking outcome.
Here are some essential finishing touches to consider:
- Trim any excess material: If there is any excess siding protruding beyond the edges of the repaired area, carefully trim it using a utility knife or appropriate cutting tool. This will give the repair a clean and finished appearance.
- Smooth the edges: Use a file, sandpaper, or a deburring tool to smooth out any rough or sharp edges along the repaired area. This will help prevent any accidental injuries and contribute to the overall aesthetics of the repair.
- Clean the repaired area: Wipe down the repaired area with a clean, damp cloth to remove any dust, debris, or fingerprints. This will leave the repaired section looking fresh and tidy.
- Paint or touch up (if desired): Depending on the condition of the surrounding siding and your personal preference, you may choose to paint or touch up the repaired area. Using a paint that matches the original color of the RV will help blend the repair seamlessly with the rest of the vehicle.
- Apply a protective coating: Consider applying a protective coating or wax to the repaired area to provide an extra layer of defense against UV rays, fading, and other environmental elements. This will help extend the lifespan of the siding and keep it looking its best for years to come.
- Inspect the entire RV: Take a moment to inspect the rest of your RV for any other areas of potential damage or wear. Addressing any issues before they escalate can help you avoid future repair projects and keep your RV in top shape.
By giving attention to these finishing touches, you can ensure that the repair not only functions well but also looks great. A well-executed repair will not only protect your RV but also enhance its overall appearance and value.
Finally, it’s important to note that regular maintenance and proper care of your RV siding will prolong its lifespan and minimize the need for future repairs. Make sure to clean your RV regularly, inspect it for any signs of damage, and address any issues promptly to keep your siding in optimal condition.
Congratulations on successfully completing the RV siding repair! Remember, if you encounter any difficulties or are unsure about the repair process, it’s always wise to consult a professional RV repair service for guidance.
Happy travels with your newly repaired RV!
Conclusion
Repairing RV siding may seem like a daunting task, but with the right knowledge and tools, you can restore your RV’s appearance and protect it from further damage. By following the steps outlined in this guide, you can confidently tackle the repair process and ensure a successful outcome.
Assessing the damage, gathering the necessary tools and materials, removing the damaged siding, preparing the area for repair, applying the new siding, securing it in place, and adding the finishing touches are all crucial steps in achieving a professional repair. Taking the time to properly evaluate the damage, gather the right supplies, and prepare the area will set the foundation for a smooth and effective repair.
Throughout the process, make sure to prioritize safety by wearing appropriate protective gear and taking necessary precautions. Additionally, following your RV manufacturer’s instructions and recommendations specific to your type of siding will help ensure the best results.
Remember, regular maintenance and care for your RV siding are essential in preventing future damage. Regularly inspect your RV for signs of wear, clean it, and address any issues promptly to extend the life of your siding and maintain the overall condition of your vehicle.
We hope this comprehensive guide has equipped you with the knowledge and confidence to repair your RV siding. By taking the time and effort to complete this repair, you are investing in the longevity and aesthetic appeal of your RV, allowing for many more enjoyable travel experiences.
Now, armed with this knowledge, go forth and repair your RV siding with confidence. Safe travels!
Frequently Asked Questions about How To Repair Rv Siding
Was this page helpful?
At Storables.com, we guarantee accurate and reliable information. Our content, validated by Expert Board Contributors, is crafted following stringent Editorial Policies. We're committed to providing you with well-researched, expert-backed insights for all your informational needs.

0 thoughts on “How To Repair Rv Siding”