Articles
How To Repair Underground Electrical Wire
Modified: October 20, 2024
Learn how to repair underground electrical wire with our comprehensive articles. Find step-by-step guides and expert tips to ensure a safe and efficient repair.
(Many of the links in this article redirect to a specific reviewed product. Your purchase of these products through affiliate links helps to generate commission for Storables.com, at no extra cost. Learn more)
Introduction
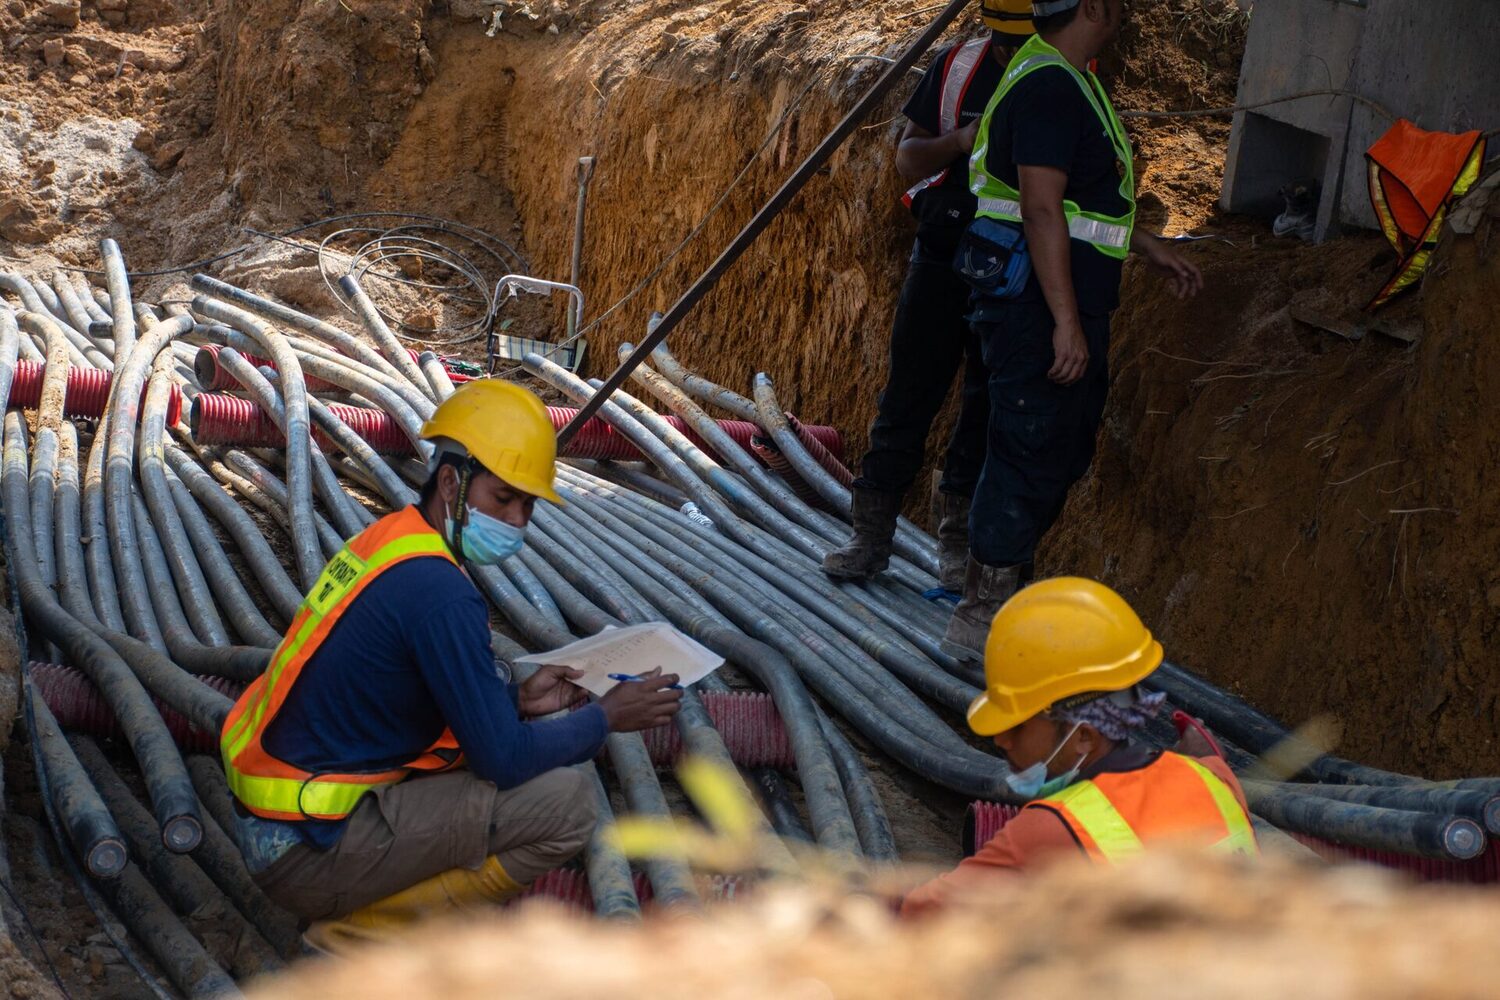
When it comes to electrical systems, underground wires play a crucial role in delivering power to our homes and buildings. However, these wires are susceptible to damage from various factors such as rodents, moisture, and even human error during construction or landscaping activities. In such cases, it becomes necessary to repair the underground electrical wire to ensure the uninterrupted flow of electricity and maintain safety.
Repairing an underground electrical wire may seem like a daunting task, but with the right knowledge and tools, it can be done efficiently and safely. This article aims to guide you through the process of repairing underground electrical wires, ensuring that you can restore power to your property without the need for costly professional assistance.
Please note that working with electrical systems can be dangerous, and if you do not feel comfortable or confident in your abilities, it is always best to seek the help of a licensed electrician. Safety should be the top priority when dealing with electrical repairs.
In the following sections, we will discuss safety precautions to keep in mind, the tools and materials needed for the repair, and the step-by-step process of repairing an underground electrical wire. By following these guidelines, you can tackle this task with confidence and restore power to your property.
Key Takeaways:
- Safety is paramount when repairing underground electrical wires. Always disconnect the power, wear protective gear, and follow proper procedures to avoid accidents and ensure a successful repair.
- Properly locating, exposing, cutting, splicing, insulating, and testing the repaired wire are crucial steps in the process. Following these steps diligently will help restore power safely and effectively.
Read more: What Electrical Wire To Run Underground
Safety Precautions
Before you begin any electrical repair, it is essential to observe proper safety precautions to protect yourself and prevent any accidents or injuries. Here are some key safety measures to keep in mind:
- Turn off the power: Before working on the underground electrical wire, make sure to disconnect the power supply. Locate the circuit breaker or fuse box and turn off the corresponding breaker or remove the fuse that controls the specific electrical circuit.
- Use personal protective equipment (PPE): Wear appropriate PPE, including safety goggles, gloves, and protective clothing, to shield yourself from any potential hazards.
- Work in a well-ventilated area: Ensure that the area where you are working is well-ventilated to prevent any accumulation of harmful gases or fumes.
- Check for gas or water lines: Before digging, check the location of gas and water lines in your property to avoid accidentally damaging them. Contact the relevant utility companies or consult professional locators if necessary.
- Use insulated tools: When working on electrical repairs, use insulated tools specifically designed for electrical work. Insulated tools help prevent the risk of electric shock and ensure your safety.
- Avoid working in wet conditions: Do not attempt to repair underground electrical wires during wet or rainy weather conditions. Moisture can further enhance the risk of electric shock and damage to the electrical system.
- Keep a fire extinguisher nearby: Have a working fire extinguisher readily accessible in case of any unforeseen accidents or electrical fires.
These safety precautions are crucial when working with underground electrical wires. Remember, if you are unsure or uncomfortable with any aspect of the repair process, it is always best to consult a professional electrician who can safely handle the task.
Tools and Materials Needed
Before repairing an underground electrical wire, it is essential to gather all the necessary tools and materials to ensure a smooth and successful repair process. Here are the tools and materials you will need:
- Shovel or trenching tool: A shovel or trenching tool will be needed to dig around the damaged wire and create a trench for access.
- Wire locator or underground cable locator: This tool can help you accurately locate the damaged section of the underground wire.
- Tape measure or ruler: Use a tape measure or ruler to determine the length of the damaged wire that needs to be cut and replaced.
- Wire cutters or wire strippers: These tools will be used to cut and strip the damaged section of the wire.
- Wire crimpers or connectors: Wire crimpers or connectors are essential for joining and securing the repaired section of the wire.
- Electrical tape or heat shrink tubing: These materials help insulate and protect the spliced wires from moisture and other elements.
- Waterproof electrical junction box: A waterproof electrical junction box will house the spliced wires and provide additional protection.
- Wire nuts or electrical connectors: These are used to secure the connections inside the junction box.
- Multimeter: A multimeter is helpful for testing the electrical continuity and integrity of the repaired wire.
- Goggles, gloves, and protective clothing: It is crucial to wear protective gear to safeguard yourself from any potential hazards.
Additionally, based on the specific requirements of your repair, you may need PVC conduit or electrical tubing, cable ties, and wire lubricant. It is always a good idea to have a organized workspace with proper lighting and access to a power source for testing purposes.
By having these tools and materials ready, you can ensure a smooth and efficient repair process for your underground electrical wire.
Step 1: Locating the Damaged Wire
The first step in repairing an underground electrical wire is to locate the exact point of damage. This is crucial as it will help you determine the scope of the repair and avoid unnecessary digging.
Here’s how you can locate the damaged wire:
- Use a wire locator or underground cable locator: These tools are specifically designed to detect underground wires. Follow the manufacturer’s instructions to locate the wire.
- If a wire locator is not available, you can try using a metal detector. Underground electrical wires are often installed with a metal conductor, which can be detected by a metal detector.
- If none of the above options are feasible, you may need to rely on visual inspection. Look for any visible signs of damage such as exposed wires, disturbed soil, or unusual vegetation growth near the electrical wire path.
Once you have located the damaged wire, mark the area to ensure you can easily locate it when you begin digging. Clear the area of any debris or vegetation that may hinder your repair process.
It is crucial to locate the exact point of damage to minimize the area of repair and reduce the potential disruption to your property. Taking the time to accurately locate the damaged wire will streamline the repair process and ensure a successful outcome.
Step 2: Digging Around the Wire
Once you have located the damaged underground electrical wire, the next step is to dig around the wire to provide access for the repair. This step requires caution and precision to avoid causing further damage to the wire or any surrounding utilities.
Follow these steps to dig around the wire safely:
- Before you start digging, ensure that you have obtained all the necessary permits and approvals, if required, to excavate in your area.
- Use a shovel or trenching tool to carefully dig around the wire. Start digging a few feet away from the marked area to avoid accidentally hitting the wire.
- When digging, be gentle and remove the soil in small increments. Take your time to avoid causing any unintentional damage and to ensure steady progress.
- As you dig, keep an eye out for any other utility lines, such as gas or water lines, as hitting them could lead to serious consequences. If you encounter any other utility lines, stop digging and consult with the respective utility company or hire professionals to locate and avoid them.
- Create a trench around the wire that is wide and deep enough to comfortably accommodate your repair work. The exact dimensions will depend on the size and depth of the damaged section of the wire.
- Once the trench is dug, use caution not to step on or damage the exposed wire.
Remember, safety is crucial throughout this process. Make sure you are wearing appropriate protective gear such as goggles and gloves.
Digging around the underground wire requires patience, precision, and attention to detail. By following these steps, you will create a safe and accessible space for the repair work in the next steps.
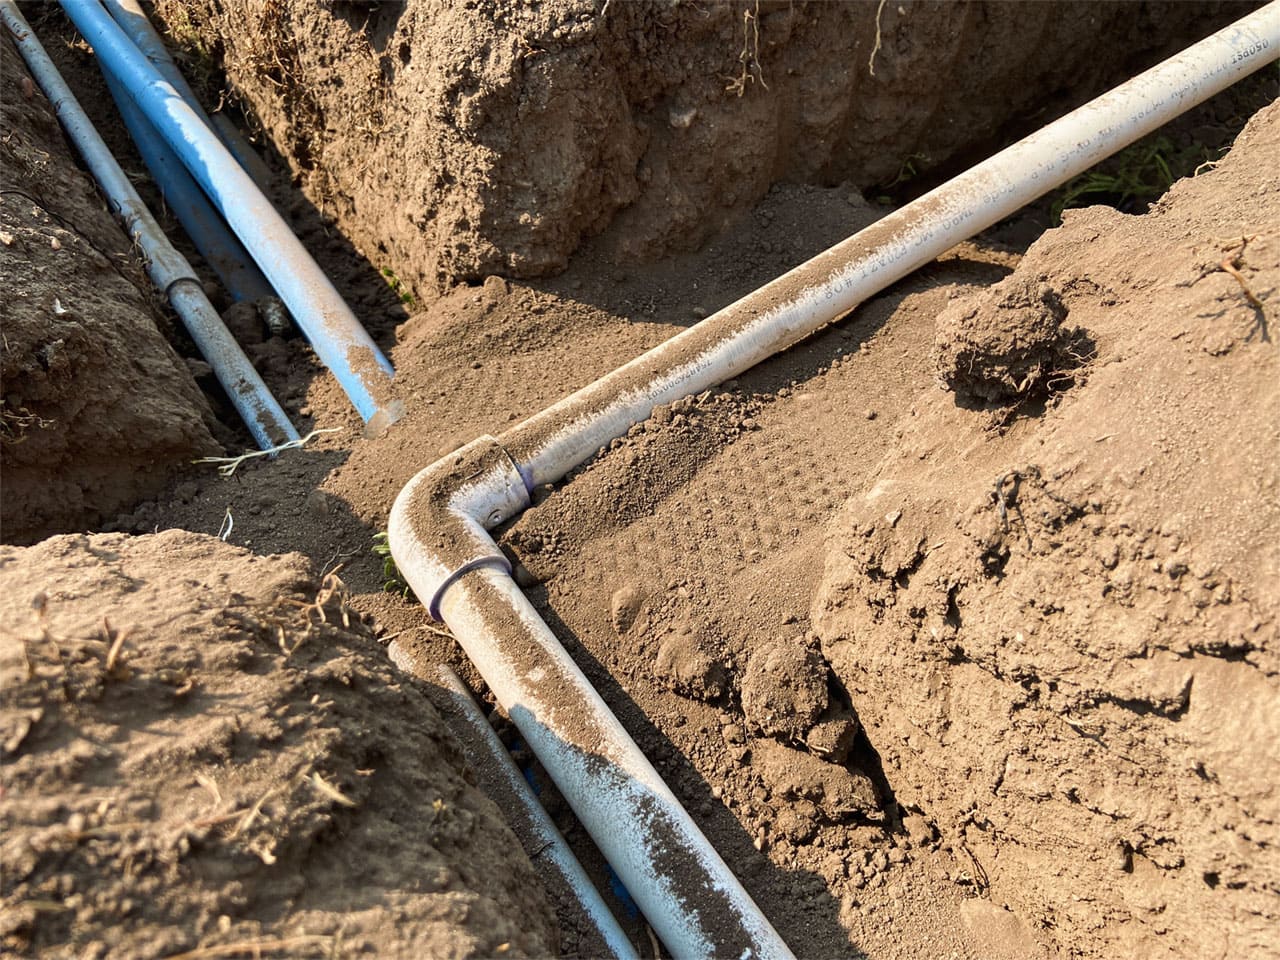
Step 3: Exposing the Damaged Section
Now that you have dug around the underground electrical wire, the next step is to expose the damaged section. This will allow you to assess the extent of the damage and determine the appropriate course of action for repair.
- Using your shovel or trenching tool, carefully remove the soil from around the wire to expose the damaged section.
- Clear the area around the damaged section to ensure you have enough workspace to work comfortably.
- Inspect the exposed wire carefully. Look for any visible signs of damage, such as cuts, frayed wires, or signs of corrosion.
- Take measurements of the damaged section and note the length that needs to be cut and replaced.
- If necessary, clean the exposed wire using a soft brush to remove dirt or debris that may impede the repair process.
It is important to take the time to thoroughly inspect and measure the damaged section of the wire. This will ensure that you have a clear understanding of the repairs needed and can proceed with confidence in the subsequent steps.
During this step, it is essential to handle the exposed wires with care to avoid accidental electric shock. Keep in mind that the wire may still be energized if you have not disconnected the power supply. Always prioritize safety and take the necessary precautions.
Once you have successfully exposed the damaged section of the underground electrical wire and assessed the extent of the damage, you are ready to move on to the next step: cutting the damaged section.
When repairing underground electrical wire, always make sure to locate the exact location of the break using a wire tracer or underground cable locator before digging to avoid causing further damage.
Step 5: Cutting the Damaged Section
With the damaged section of the underground electrical wire exposed, it is time to cut out the affected area. This step involves careful cutting to remove the damaged portion of the wire and prepare it for splicing with new wire.
- Measure the length of the damaged section that needs to be cut out. Use a tape measure or ruler to ensure accuracy.
- Using wire cutters or wire strippers, carefully cut the wire at each end of the damaged section. Make clean, straight cuts to ensure a proper connection later on.
- Remove the cut portion of the wire, taking care not to damage any surrounding wires or cables.
- Inspect the cut ends of the wire to ensure they are clean and free from any debris.
It is important to note that during this step, you may encounter multiple wires or cables in close proximity. Take caution to identify and cut only the damaged section, ensuring that you do not accidentally sever any other essential wires.
While cutting the damaged section of the wire, it is recommended to have the power supply disconnected to reduce the risk of electric shock. Ensure that the circuit breaker or fuse corresponding to the wire you are working on is turned off.
Once the damaged section has been cut out, you are ready to proceed to the next step: splicing the wire to restore continuity.
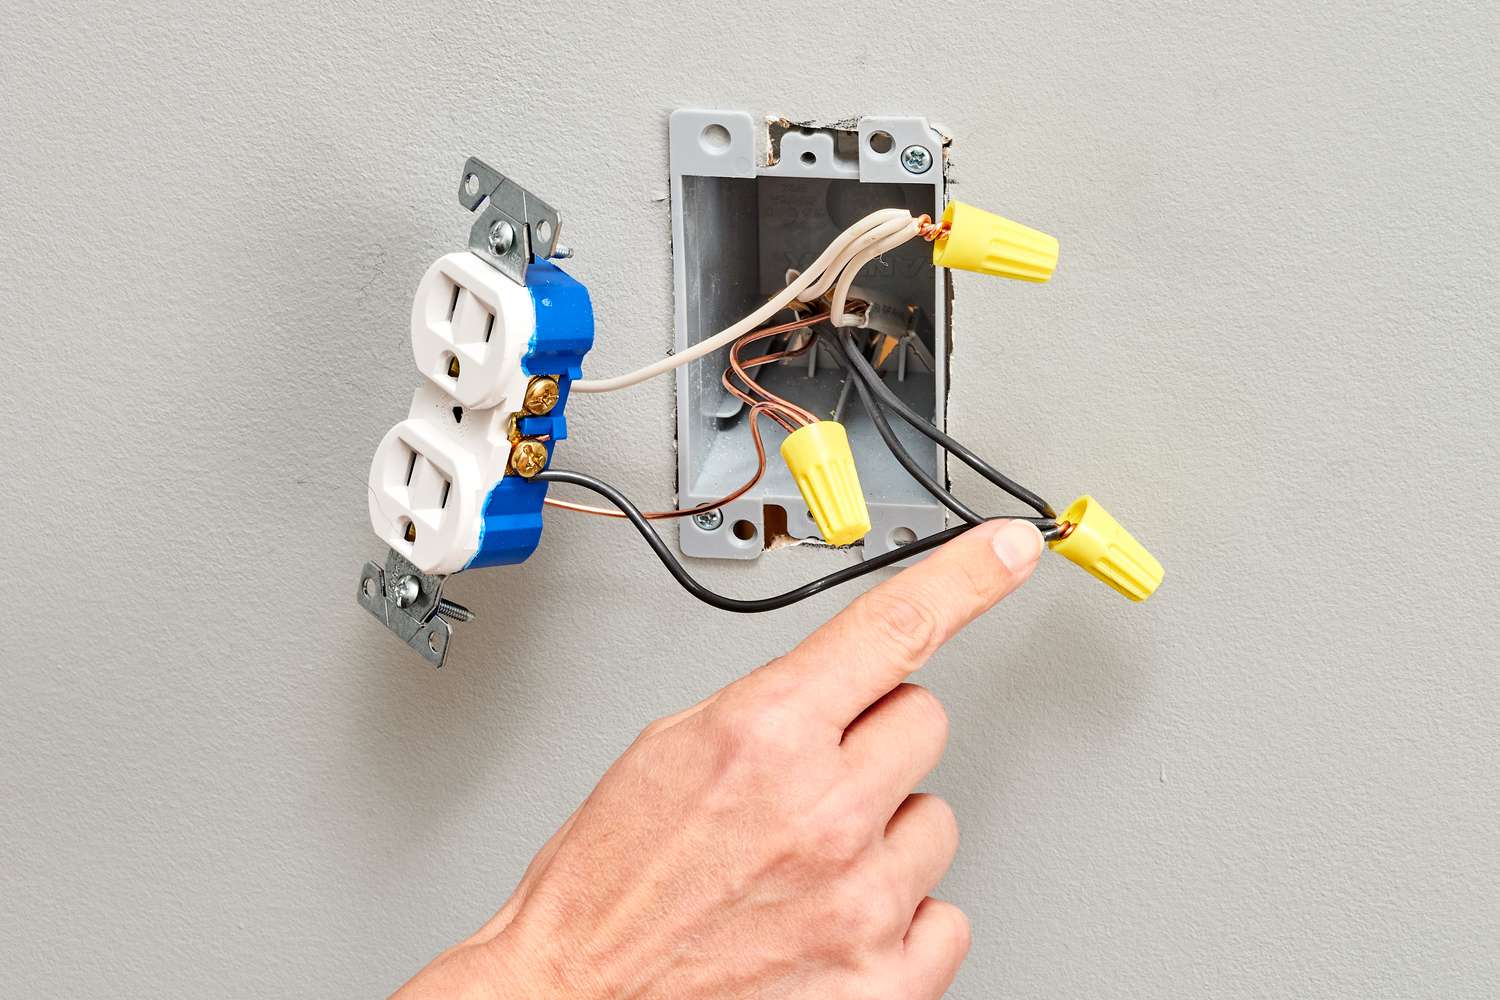
Step 6: Splicing the Wire
Now that the damaged section of the underground electrical wire has been cut out, it’s time to splice the wire to restore continuity. Splicing involves joining the existing wire with a new section to ensure a secure and reliable connection.
Follow these steps to properly splice the wire:
- Strip the insulation: Using wire strippers, carefully remove approximately 1 inch of insulation from the ends of the existing wire and the new section of wire. Ensure that the bare copper ends are clean and free from any debris.
- Twist the wires together: Take the corresponding ends of the existing wire and the new section of wire and twist them tightly together. Ensure a secure connection by completing several turns of twisting to create a solid bond between the wires.
- Secure the connection: To reinforce the splice, apply a wire connector or wire crimpers to secure the twisted junction. Follow the manufacturer’s instructions for proper crimping or use wire nuts if applicable.
- Tug the wires gently: Once the connection is secured, give the wires a gentle tug to ensure they are tightly connected and will not easily come apart. A secure and reliable connection is vital for the proper functioning of the underground electrical wire.
During the splicing process, ensure that the wires are properly aligned and that there is no excess twisting or fraying. A clean and tight splice will help maintain the integrity of the electrical connection.
It is important to note that the spliced wires should be protected from moisture and other potential environmental hazards. In the next step, we will cover how to insulate the spliced section for added protection.
Step 7: Insulating the Spliced Section
Once the splice has been made in the underground electrical wire, it is crucial to insulate the connection to protect it from moisture and other environmental factors. Insulating the spliced section helps prevent corrosion, shorts, and potential electrical hazards.
Follow these steps to properly insulate the spliced section:
- If using electrical tape, start by wrapping several layers of electrical tape tightly around the spliced section. Begin a few inches before the splice and continue a few inches beyond it.
- Ensure that the electrical tape completely covers the exposed wires and extends beyond the splice area to provide ample protection.
- For added durability, you can use heat shrink tubing. Slide the heat shrink tubing over the spliced section before making the splice. Once the wires are joined and secure, use a heat gun to shrink the tubing around the connection until it fits snugly.
- Check for any gaps or exposed wires. If necessary, add additional layers of electrical tape or use smaller heat shrink tubing to ensure complete coverage and insulation.
- Inspect the insulation to ensure a tight, secure, and well-protected spliced section.
Proper insulation is essential to maintain the integrity of the spliced section and protect it from moisture, dirt, and other potential hazards. It is important to note that depending on the specific requirements and local electrical codes, additional steps or materials may be necessary for insulation. Always consult relevant guidelines or consult a professional electrician if you have any doubts.
Once the spliced section is properly insulated, you are ready to move on to the next step: covering and securing the repaired wire.
Read more: How To Run Electrical Conduit Underground
Step 8: Covering and Securing the Repaired Wire
Once you have completed splicing and insulating the underground electrical wire, the next step is to cover and secure the repaired wire to provide additional protection and ensure its longevity.
Follow these steps to cover and secure the repaired wire:
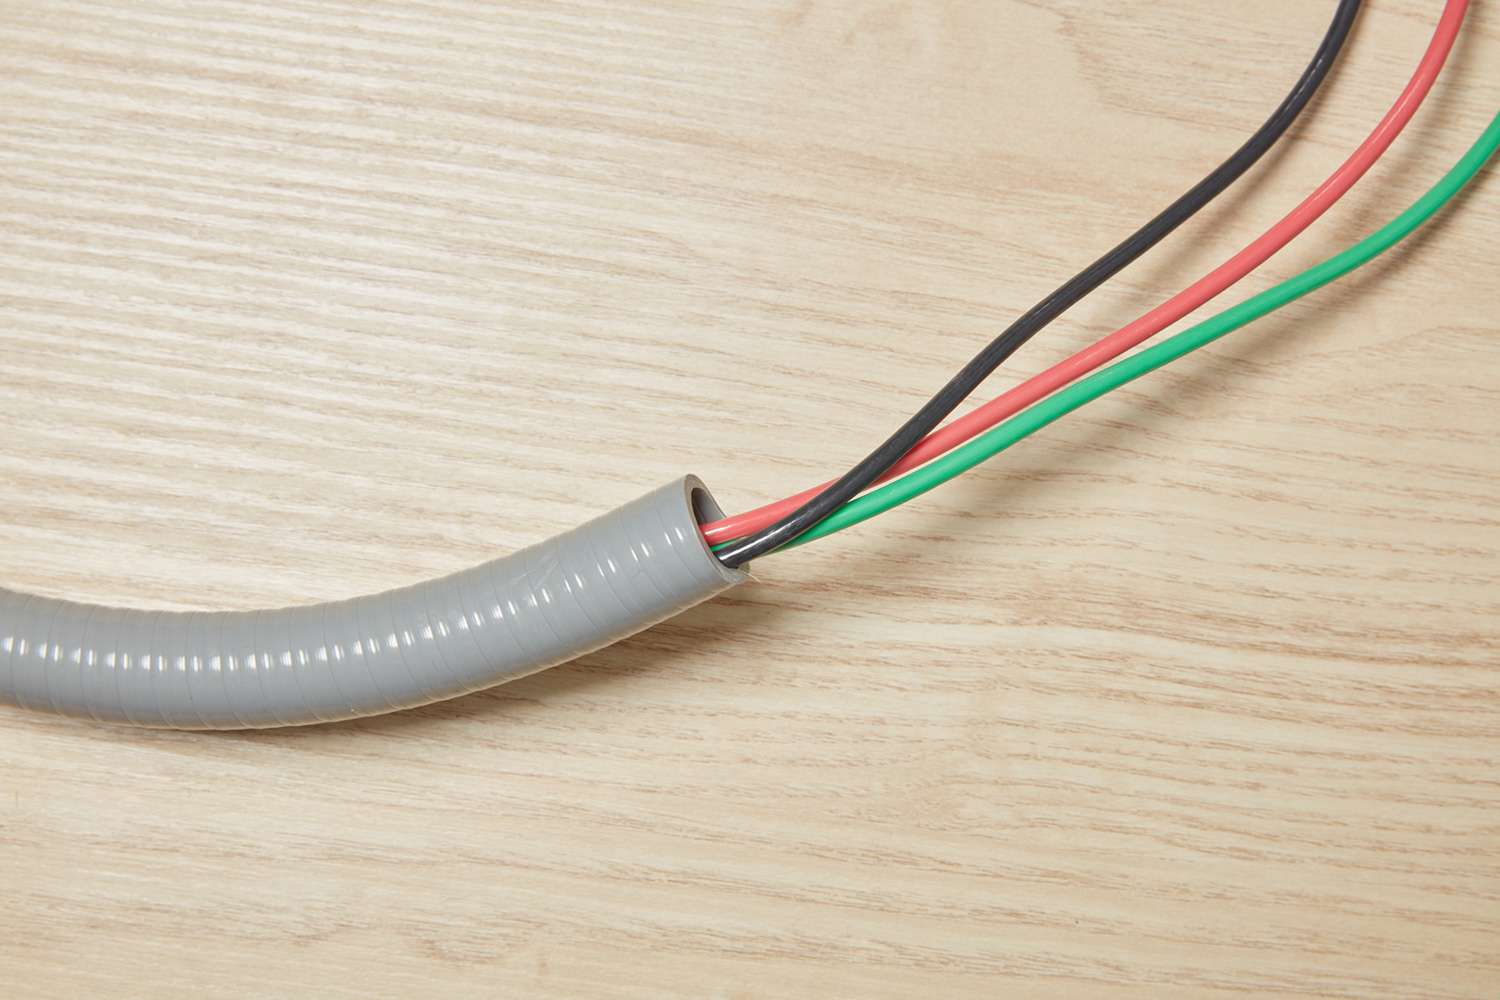
- Use PVC conduit or electrical tubing: If the repaired wire is exposed and vulnerable to potential damage, it is recommended to encase it in PVC conduit or electrical tubing. This will provide an extra layer of protection against physical impact, moisture, and other environmental elements.
- Measure and cut the PVC conduit or electrical tubing to the appropriate length, ensuring that it will completely cover the repaired section.
- Slide the PVC conduit or electrical tubing over the repaired wire, making sure it fits snugly. Use couplings or connectors to join multiple lengths of conduit if needed.
- If using PVC conduit, secure it to the ground using stakes or clamps to prevent it from shifting or being exposed.
- If using electrical tubing, secure it using cable ties or clamps at both ends to keep it in place and prevent it from coming loose.
- Ensure that the repaired wire is well-protected and securely covered by the PVC conduit or electrical tubing.
By covering and securing the repaired wire, you are safeguarding it against potential damage and prolonging its lifespan. This step is crucial, especially if the repaired wire is located in an area prone to disturbances or where it is likely to come into contact with external elements.
Next, we will proceed to the final step: testing the repair to ensure its functionality and safety.
Step 9: Testing the Repair
Testing the repair of the underground electrical wire is a critical step to ensure that it has been successfully restored and is functioning safely. Testing ensures that the repaired wire is capable of carrying electrical current without any issues or faults.
Follow these steps to test the repair:
- Turn off the power supply: Before conducting any tests, ensure that the power is turned off at the circuit breaker or fuse box to prevent any potential electrical hazards.
- Reconnect the power: Once you have confirmed that the power supply is off, reestablish the connection at the circuit breaker or fuse box.
- Use a multimeter or voltage tester: Set the multimeter or voltage tester to the appropriate range for measuring voltage. Carefully touch the probes to the exposed ends of the repaired wire on either side of the splice.
- Check for continuity: A properly repaired wire should show continuity, indicating an unbroken path for the flow of electricity. The multimeter should display a reading of the expected voltage for the specific electrical circuit.
- If there is no continuity or the voltage reading is not as expected, double-check all connections and ensure that the splice is secure and well-insulated. Also, verify that the power supply is turned on.
- Inspect the repair visually: After conducting the tests, visually inspect the repaired wire, connections, and insulation to ensure there are no loose wires, exposed areas, or signs of damage.
- If everything looks and functions as expected, you can conclude that the repair has been successful.
Testing the repair is crucial to ensure that the underground electrical wire is functioning correctly and can safely carry electrical current. If you encounter any issues with the test results or notice any abnormalities, it is recommended to seek the assistance of a licensed electrician to further diagnose and resolve the problem.
By testing the repair, you can have peace of mind knowing that the underground electrical wire has been successfully repaired and is ready to provide reliable power once again.
Conclusion
Repairing an underground electrical wire may seem like a daunting task, but with the right knowledge and tools, it is a task that can be accomplished effectively and safely. By following the step-by-step process outlined in this article, you can successfully repair an underground electrical wire and restore power to your property.
Throughout the repair process, safety should be your top priority. Always ensure that the power supply is disconnected before beginning any work, and wear appropriate personal protective equipment to minimize the risk of accidents or injuries.
Remember to locate the damaged wire accurately, dig around it carefully, and expose the damaged section before proceeding with cutting and splicing. Insulate the spliced section properly to protect it from moisture and other environmental factors, and cover and secure the repaired wire with PVC conduit or electrical tubing, if necessary.
Once the repair is completed, it is crucial to test the repaired wire to ensure its functionality and safety. Use a multimeter or voltage tester to check for continuity and visually inspect the repair to ensure there are no loose wires or exposed areas.
In conclusion, repairing an underground electrical wire requires attention to detail, patience, and adherence to proper safety precautions. If you are unsure or uncomfortable with any aspect of the repair process, it is always advisable to consult a licensed electrician for assistance.
By following the steps outlined in this article, you can successfully repair an underground electrical wire and enjoy the uninterrupted flow of electricity to your property.
Now that you've mastered repairing underground electrical wires, you might wonder about the best types of wire for subterranean use. Our next guide delves into choosing the right underground wiring, ensuring your installations are safe, efficient, and up to code. Don't miss out on these essential insights to elevate your electrical projects!
Frequently Asked Questions about How To Repair Underground Electrical Wire
Was this page helpful?
At Storables.com, we guarantee accurate and reliable information. Our content, validated by Expert Board Contributors, is crafted following stringent Editorial Policies. We're committed to providing you with well-researched, expert-backed insights for all your informational needs.


0 thoughts on “How To Repair Underground Electrical Wire”