Home>Furniture & Design>Bathroom Accessories>How To Replace A Bathtub Valve
Bathroom Accessories
How To Replace A Bathtub Valve
Modified: August 17, 2024
Learn how to replace a bathtub valve with our step-by-step guide. Find the best bathroom accessories and upgrade your space today!
(Many of the links in this article redirect to a specific reviewed product. Your purchase of these products through affiliate links helps to generate commission for Storables.com, at no extra cost. Learn more)
Introduction
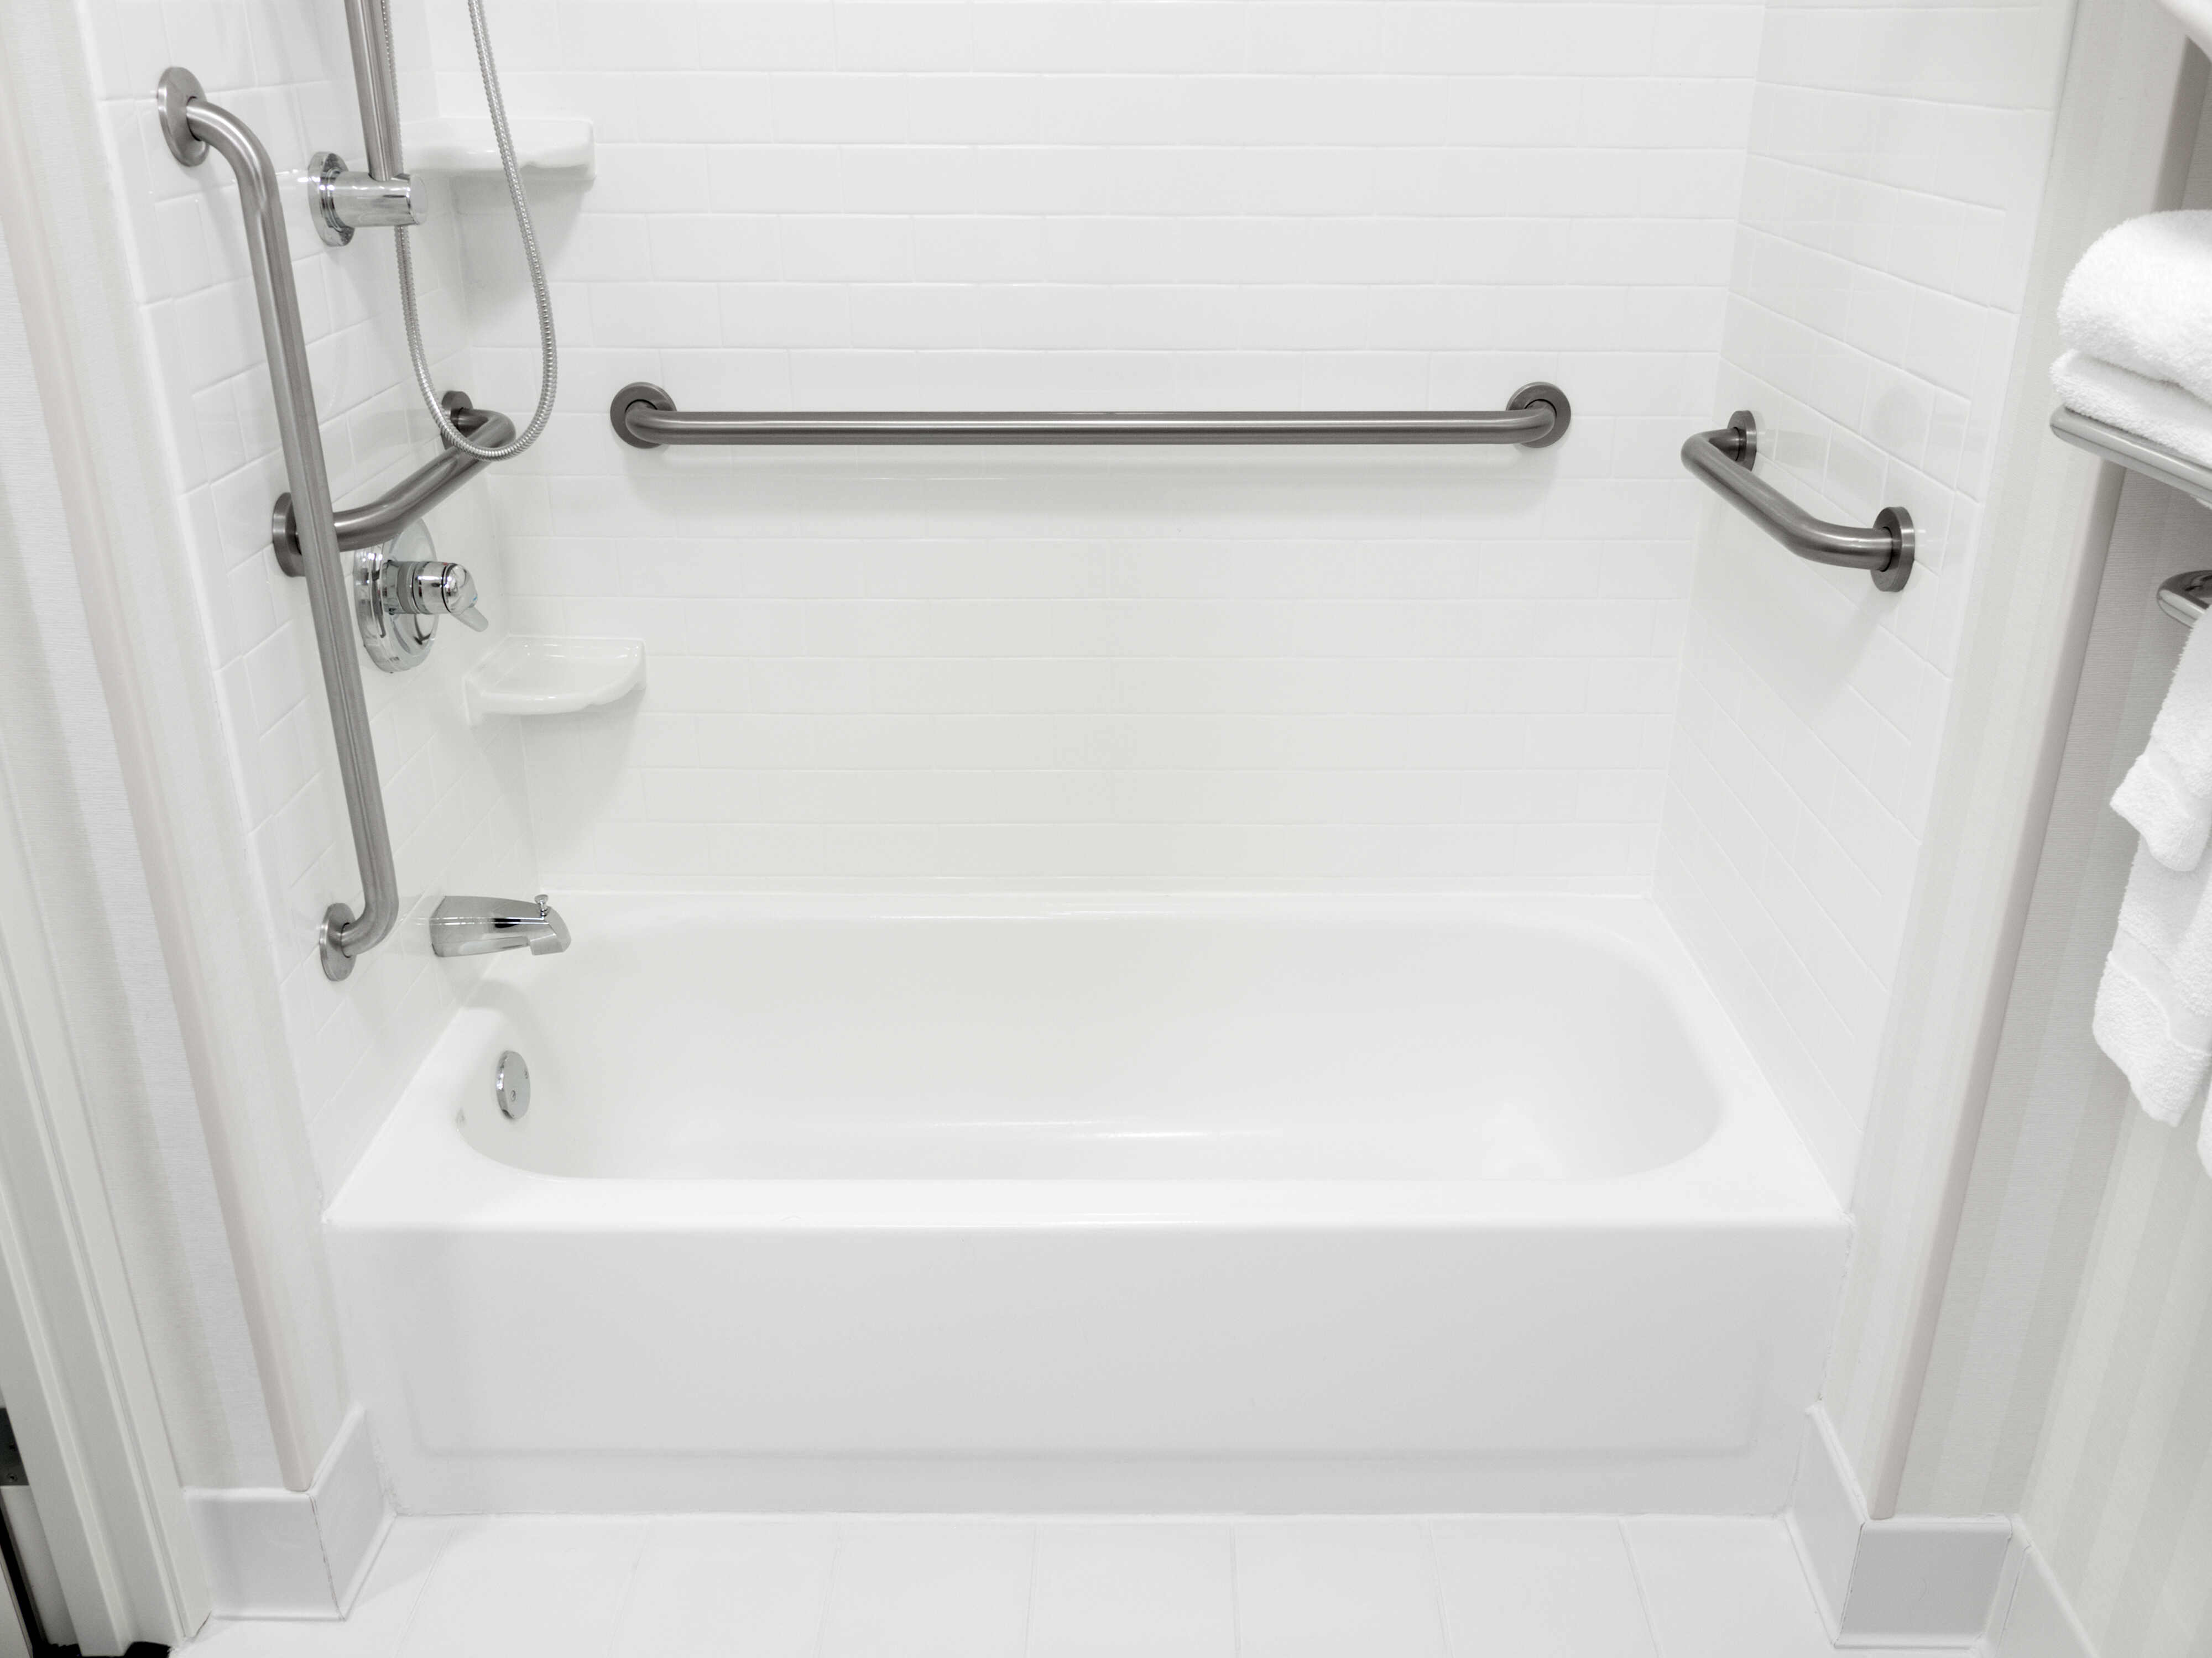
Replacing a bathtub valve is a common yet essential task for maintaining a fully functional and efficient bathroom. Over time, bathtub valves can deteriorate due to wear and tear, leading to leaks, reduced water pressure, or difficulty in adjusting the temperature. Fortunately, with the right tools, materials, and a systematic approach, you can successfully replace a bathtub valve without the need for professional assistance.
By following the step-by-step guide provided in this article, you will gain the confidence and knowledge needed to tackle this project with ease. Whether you are a seasoned DIY enthusiast or a novice looking to expand your home improvement skills, this comprehensive guide will equip you with the essential information to complete the task effectively.
Before diving into the process of replacing a bathtub valve, it's crucial to understand the significance of this component within your bathroom. The bathtub valve serves as the control center for regulating water flow and temperature, playing a pivotal role in ensuring a comfortable and enjoyable bathing experience. A faulty or outdated valve can not only disrupt the functionality of your bathtub but also lead to water wastage and potential damage to surrounding fixtures.
As you embark on this DIY endeavor, it's important to approach the task with patience and attention to detail. While the process may seem daunting at first, the satisfaction of successfully installing a new bathtub valve and restoring optimal functionality to your bathroom will make the effort worthwhile.
With a clear understanding of the importance of the bathtub valve and a commitment to following the outlined steps, you are ready to embark on this rewarding home improvement project. Let's gather the necessary tools and materials and begin the journey toward a seamlessly functioning bathtub valve.
Key Takeaways:
- Replacing a bathtub valve is essential for a fully functional bathroom. With the right tools and steps, you can confidently tackle this DIY project and enhance your home.
- By following the detailed process, you can revitalize your bathtub’s functionality. From turning off the water supply to testing the new valve, each step contributes to a rewarding home improvement journey.
Read more: How To Replace Shower Faucet Valve
Step 1: Gather the necessary tools and materials
Before initiating the process of replacing a bathtub valve, it is crucial to gather all the essential tools and materials to ensure a smooth and efficient workflow. Having the right equipment at your disposal will not only streamline the task but also minimize the risk of interruptions or delays. Here's a comprehensive list of the necessary items you will need:
Tools:
- Adjustable wrench: This versatile tool will be instrumental in loosening and tightening various fittings during the valve replacement process.
- Pipe wrench: Essential for securely gripping and turning pipes and fittings, the pipe wrench is indispensable for handling the plumbing components.
- Screwdriver set: A set of flathead and Phillips screwdrivers will enable you to remove screws and access internal components of the bathtub valve.
- Tubing cutter: This specialized tool is essential for cleanly cutting through copper pipes, ensuring precise and accurate modifications during the replacement.
- Plumber's tape: Also known as Teflon tape, this thin, white tape is used to seal pipe threads, preventing leaks and ensuring a secure connection.
- Plumber's putty: A moldable sealant used to create watertight seals around plumbing fixtures, such as the faucet and drain, to prevent water leakage.
Materials:
- New bathtub valve: Ensure that the replacement valve is compatible with your existing plumbing system and meets the specific requirements of your bathtub setup.
- Replacement gaskets or O-rings: These small but crucial components help create a watertight seal and prevent leaks in the valve assembly.
- Cleaning solution: A mild cleaning solution or vinegar can be used to remove any accumulated grime, mineral deposits, or corrosion from the surrounding areas before installing the new valve.
- Rags or towels: Having a supply of clean rags or towels on hand will allow you to wipe away excess water, clean surfaces, and maintain a tidy workspace throughout the replacement process.
By assembling these tools and materials, you will be well-prepared to embark on the subsequent steps of replacing the bathtub valve. With a focus on organization and readiness, you can approach the project with confidence, knowing that you have everything necessary to complete the task efficiently and effectively.
Step 2: Turn off the water supply
Before commencing the process of replacing the bathtub valve, it is imperative to turn off the water supply to the bathtub. This crucial step ensures that you can work on the valve without the risk of water flow, minimizing potential mess and preventing accidental water damage. Here's a detailed guide on how to effectively turn off the water supply:
-
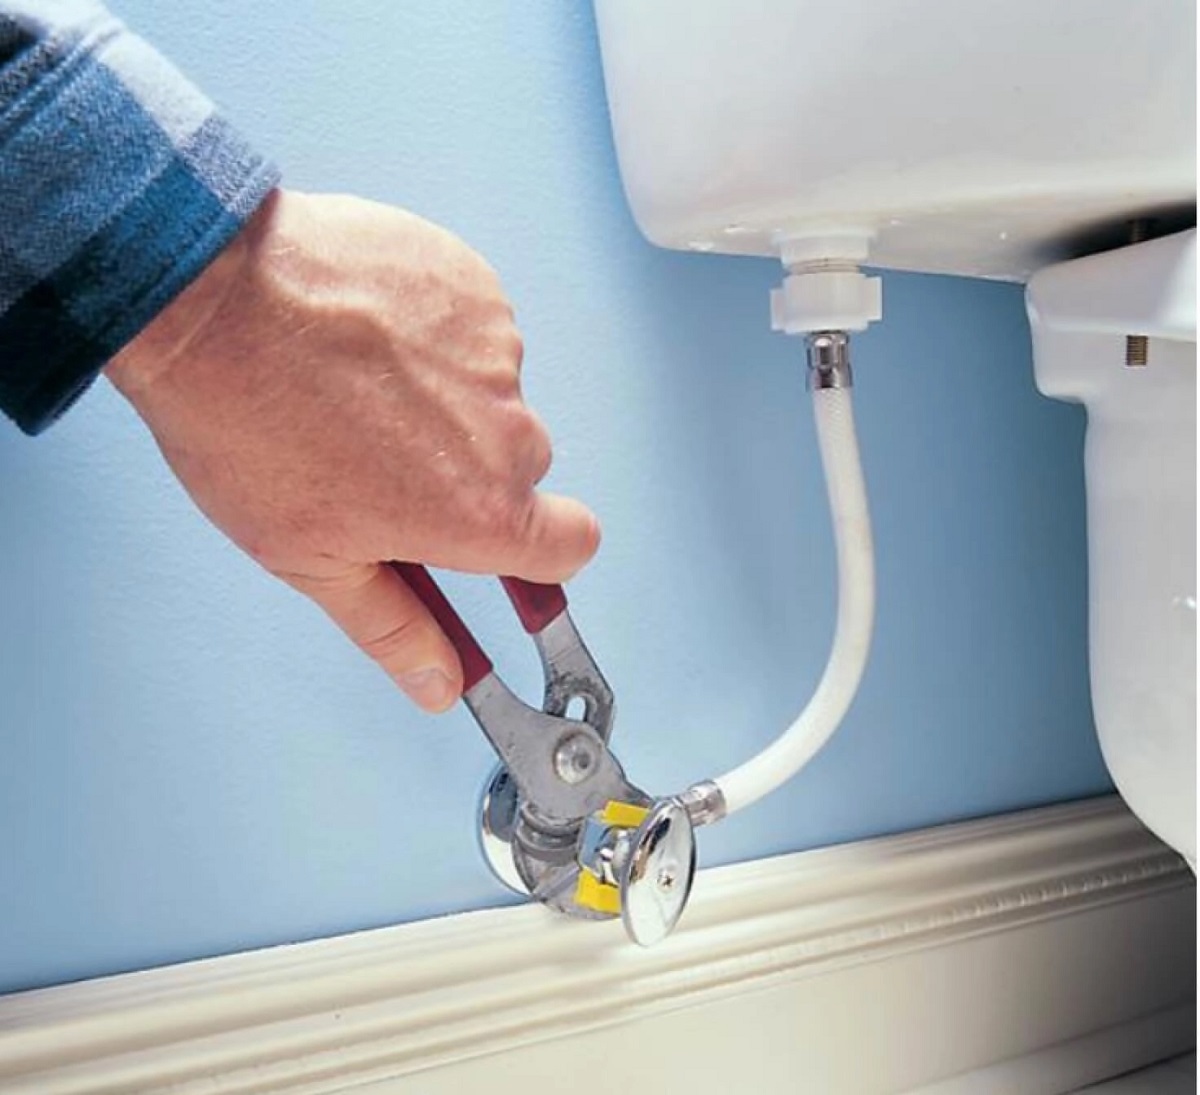
Locate the Water Shut-Off Valve: The water shut-off valve for the bathtub is typically situated near the tub or within the vicinity of the bathroom. It may be found on the wall behind the tub, in a nearby utility room, or in the basement. In some cases, the shut-off valve may be integrated into a panel access near the tub.
-
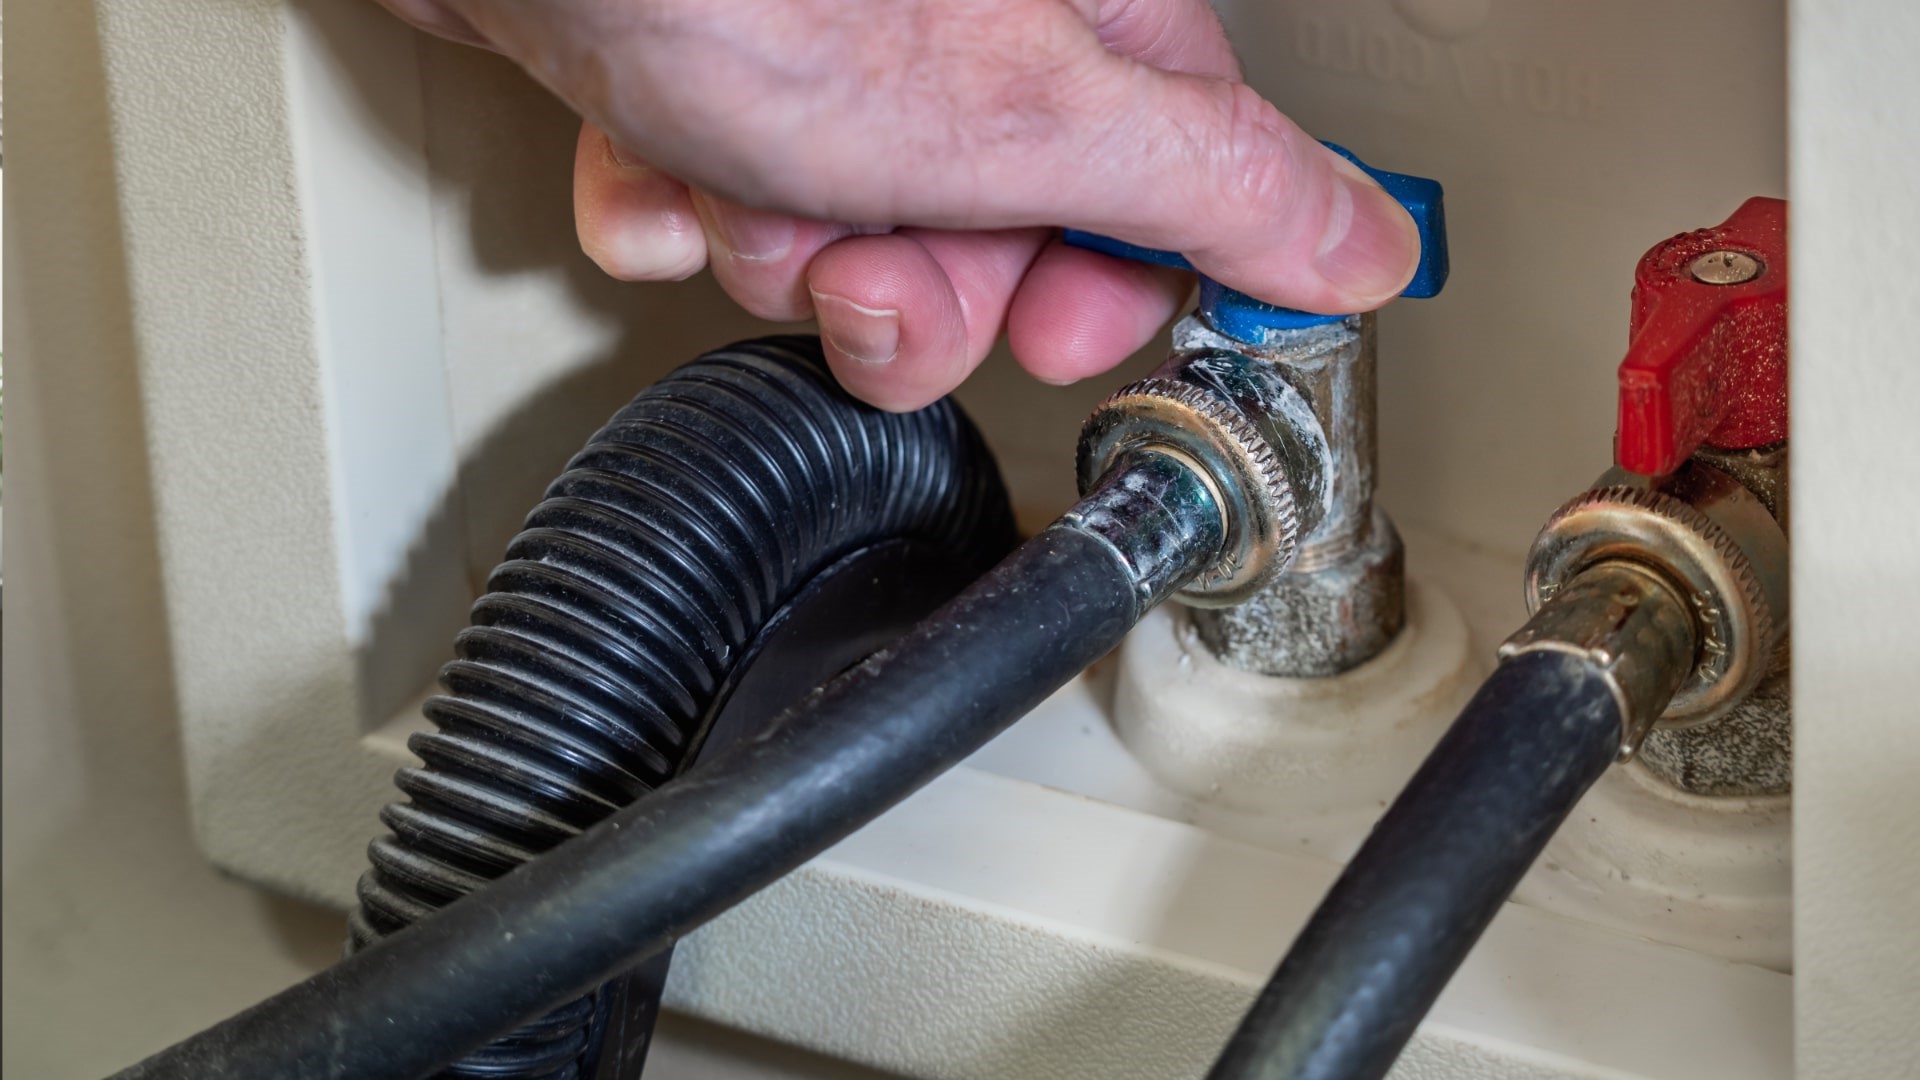
Turn Off the Main Water Supply: If the shut-off valve for the bathtub is not readily accessible or if there is no dedicated valve for the tub, you may need to shut off the main water supply to the entire house. The main shut-off valve is commonly located near the water meter, often in the basement, garage, or exterior of the house. Turning off the main water supply will ensure that no water flows into the entire plumbing system, including the bathtub.
-
Verify the Water Supply is Turned Off: After turning the shut-off valve or main water supply, it is essential to verify that the water flow to the bathtub has ceased. Open the bathtub faucet to confirm that no water is running. Additionally, check other faucets and fixtures connected to the same water supply to ensure that they are not dispensing water. This verification step is crucial to guarantee that the water supply is effectively turned off before proceeding with the valve replacement.
By diligently following these steps to turn off the water supply, you can create a safe and controlled environment for replacing the bathtub valve. This proactive measure not only minimizes the risk of water-related mishaps but also sets the stage for a focused and efficient valve replacement process. With the water supply successfully turned off, you are now ready to proceed to the next step of removing the old bathtub valve.
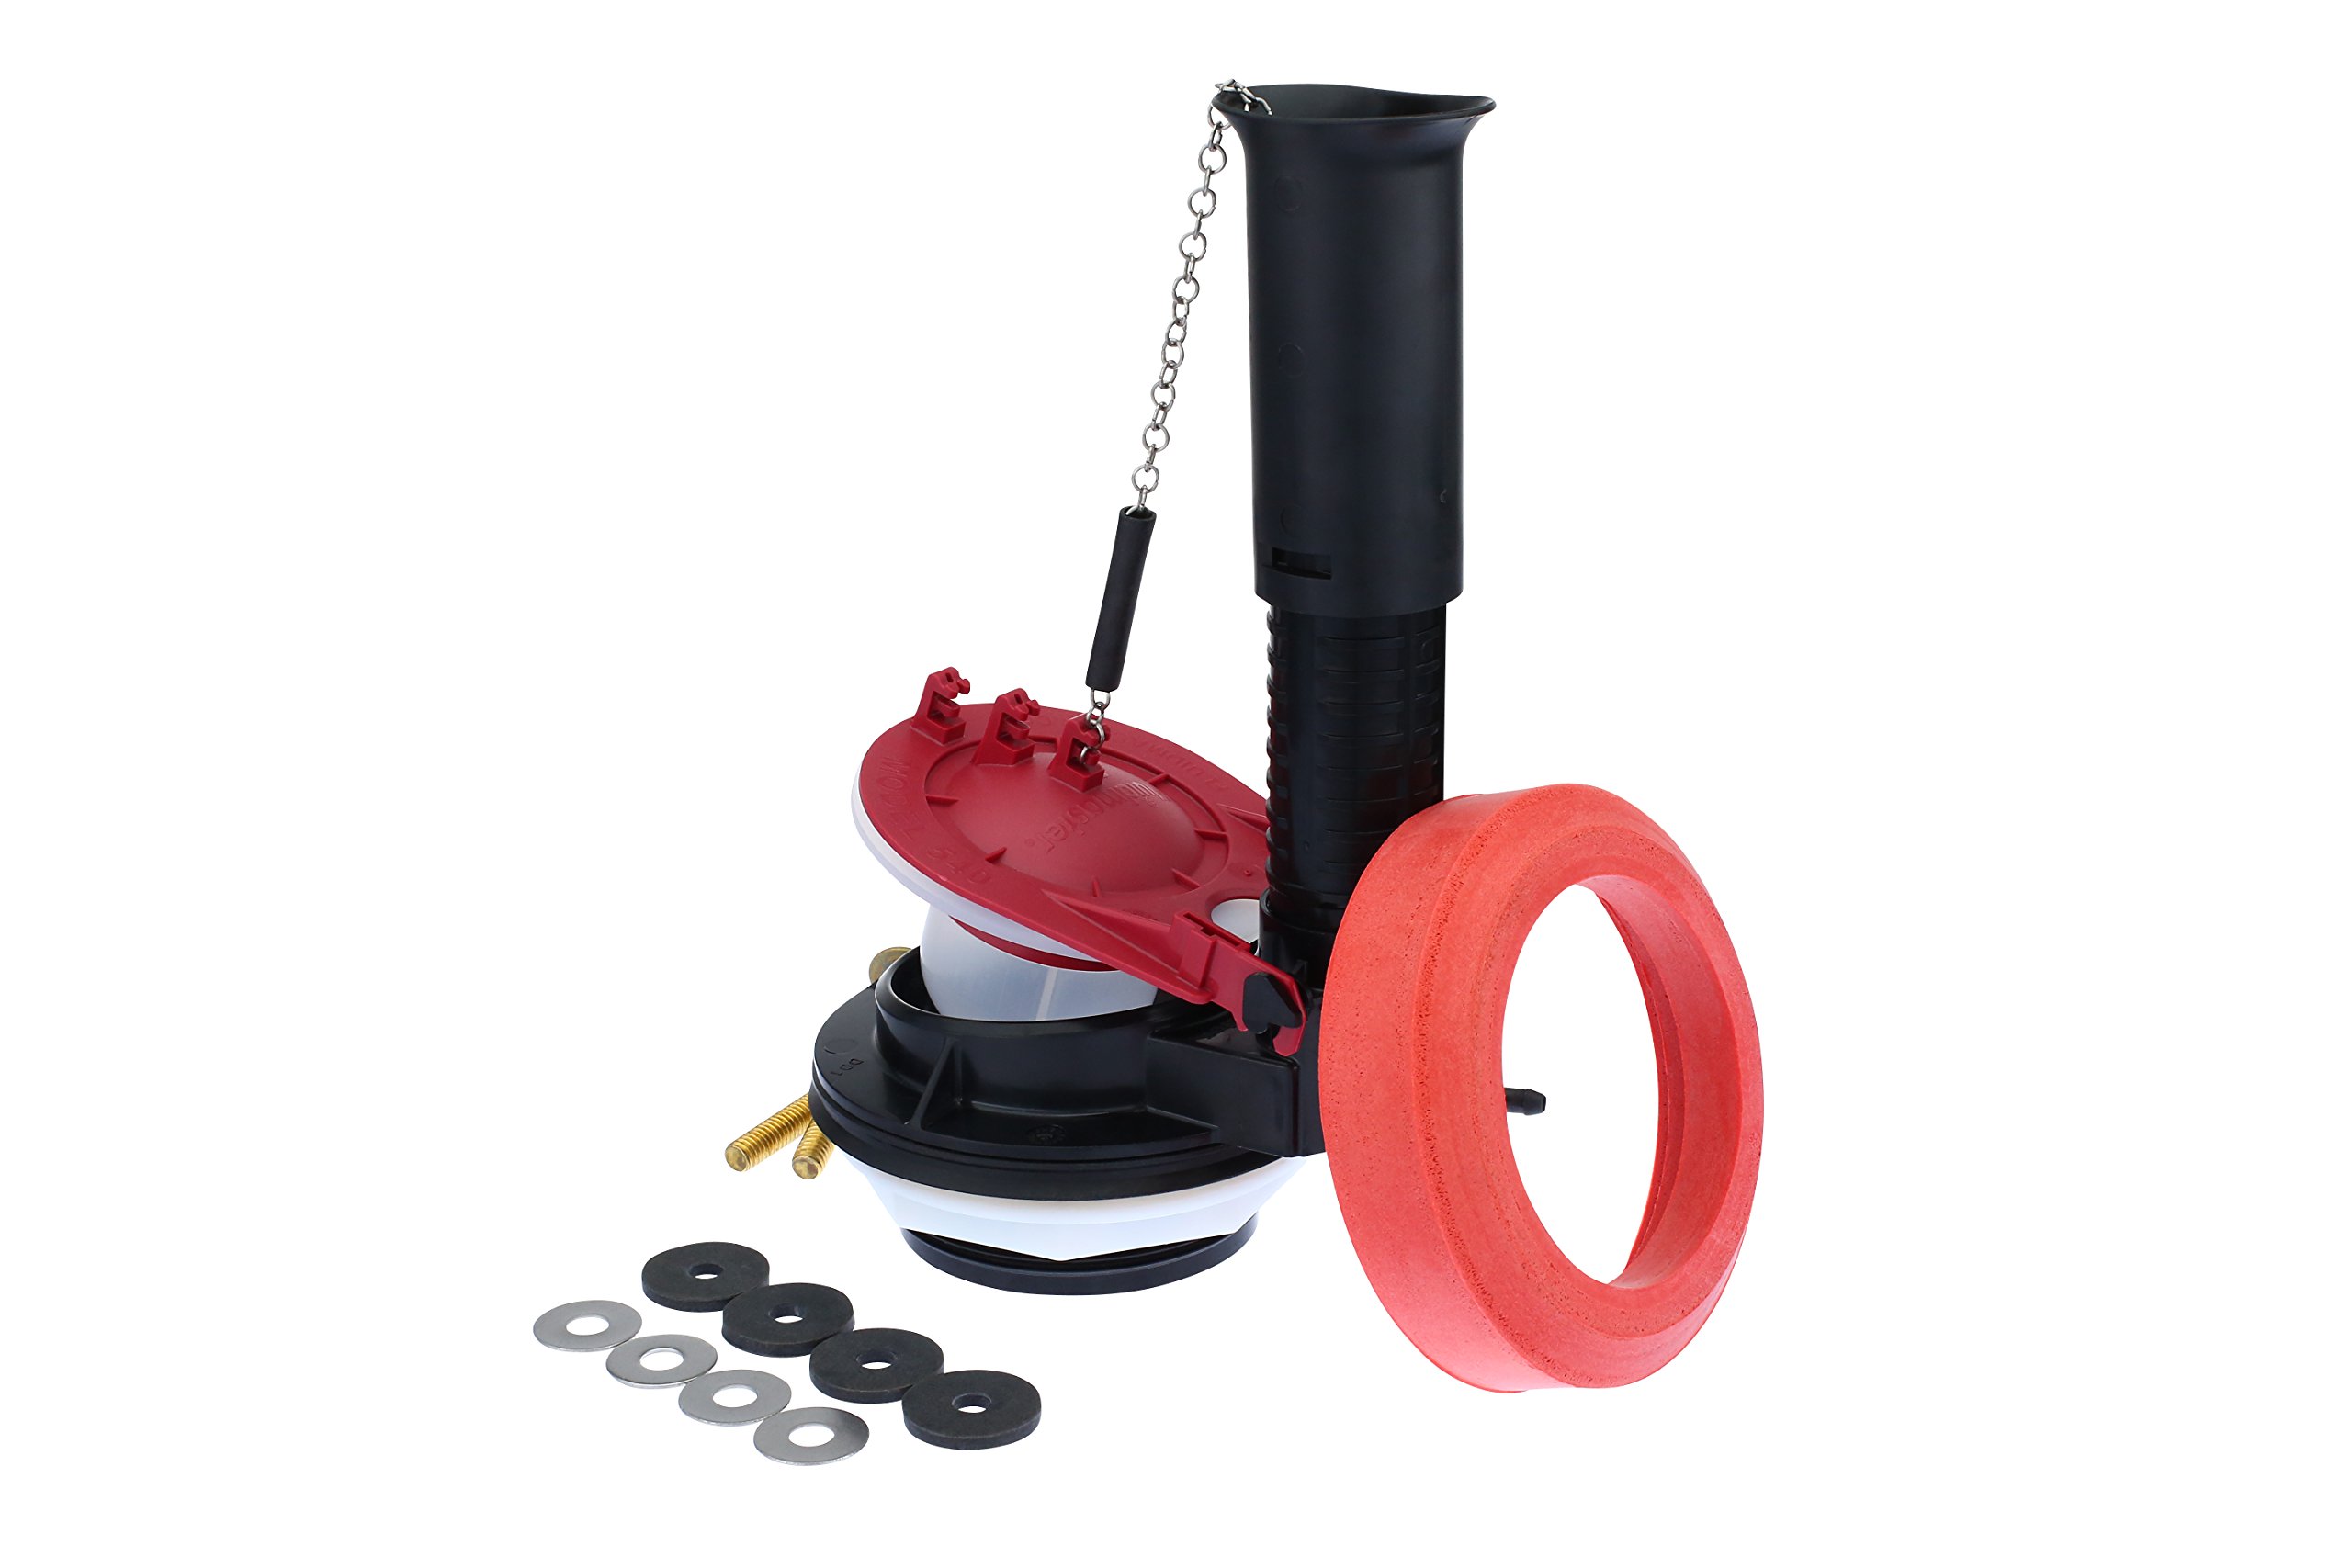
Read more: How To Replace A Toilet Fill Valve
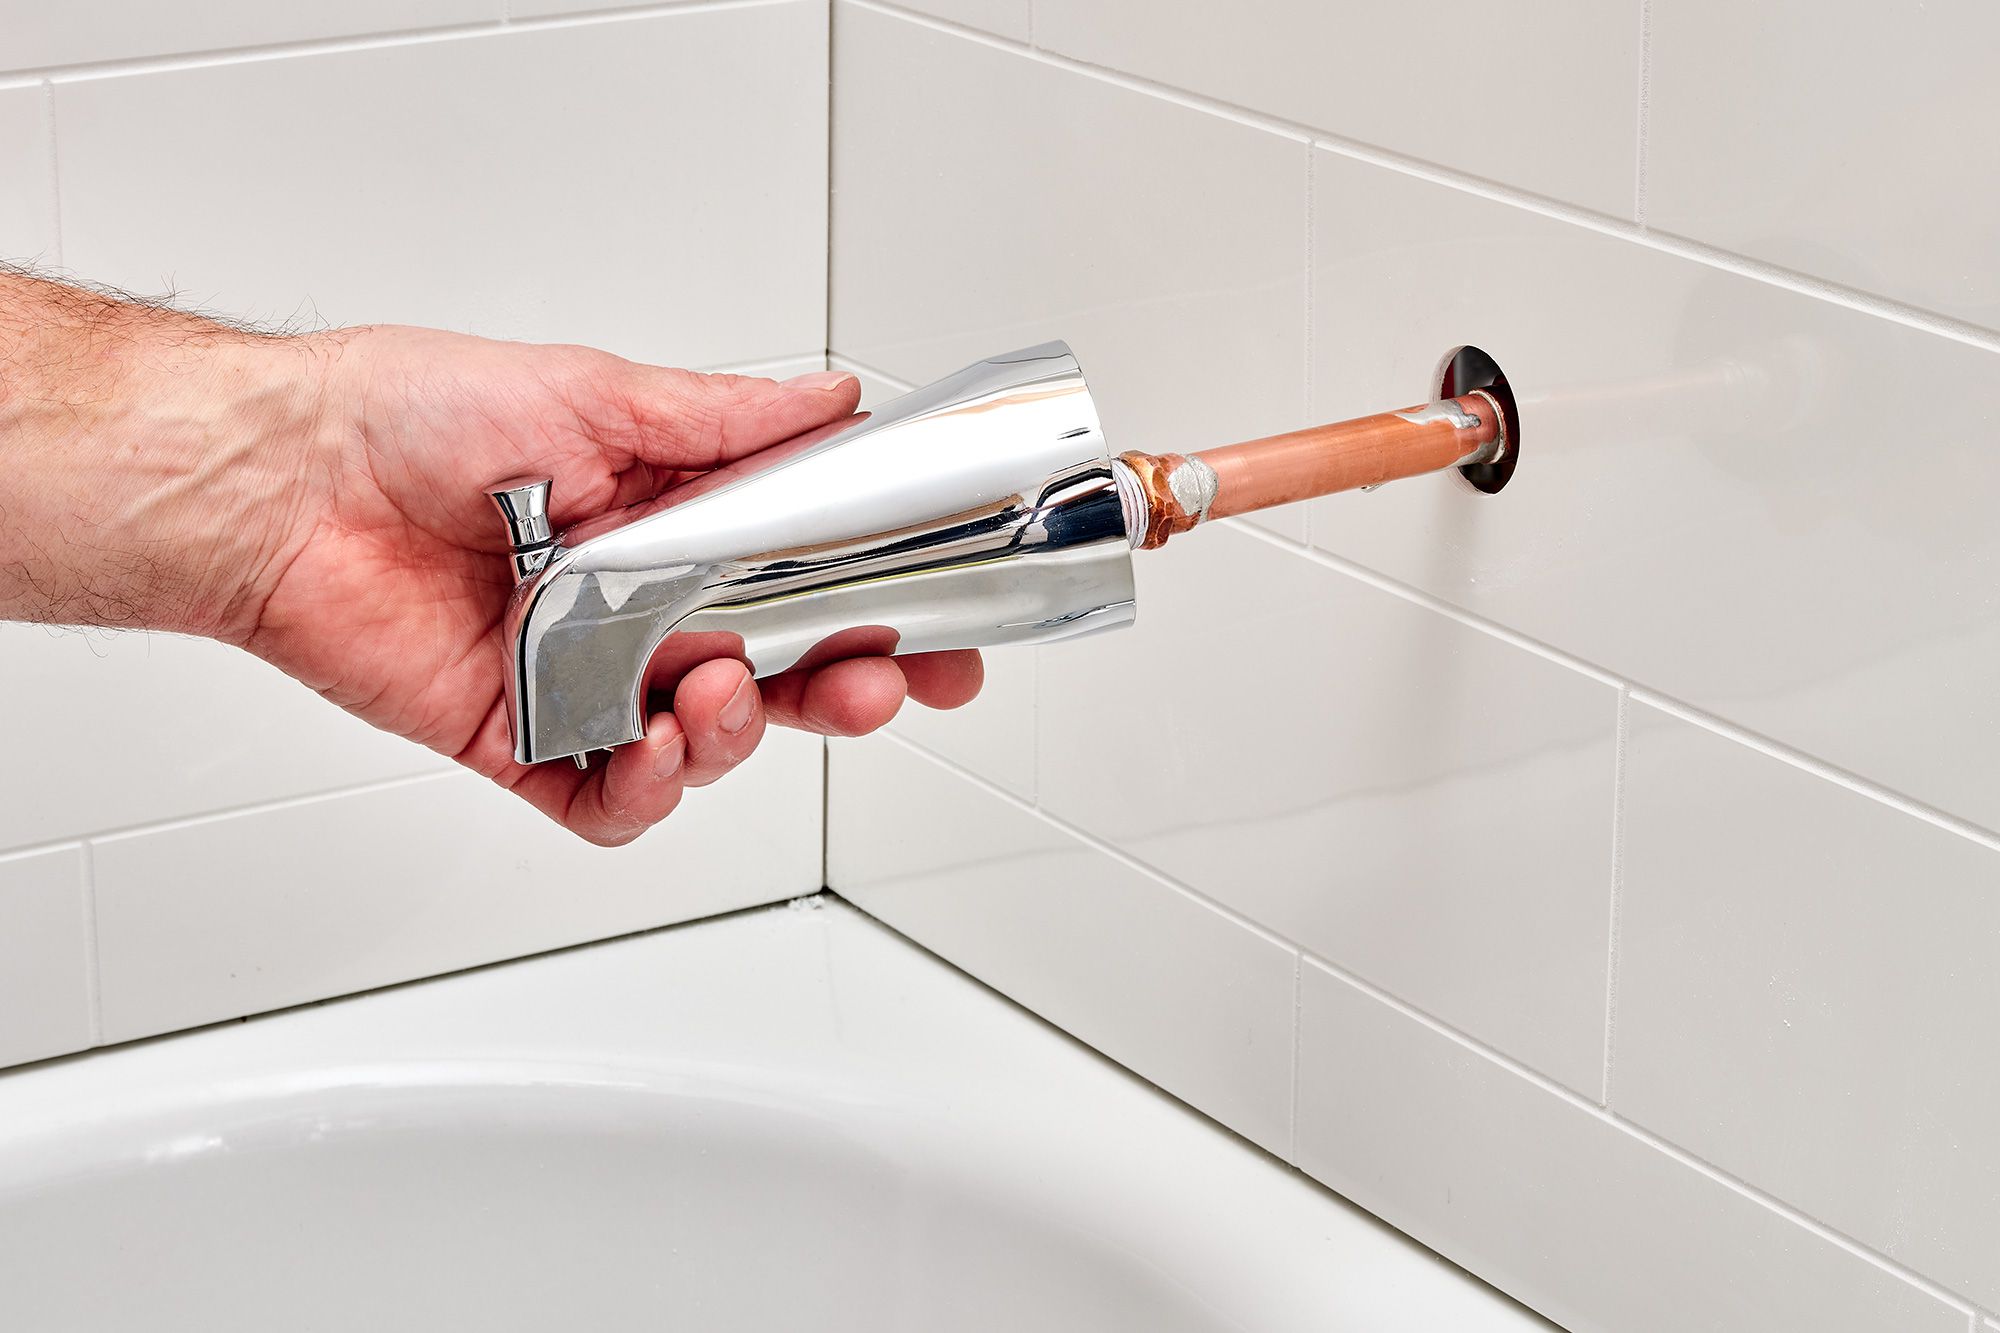
Step 3: Remove the old bathtub valve
Removing the old bathtub valve is a critical phase in the process of replacing the valve. This step requires precision and careful attention to detail to ensure the seamless extraction of the existing valve. Here's a comprehensive guide on how to effectively remove the old bathtub valve:
-
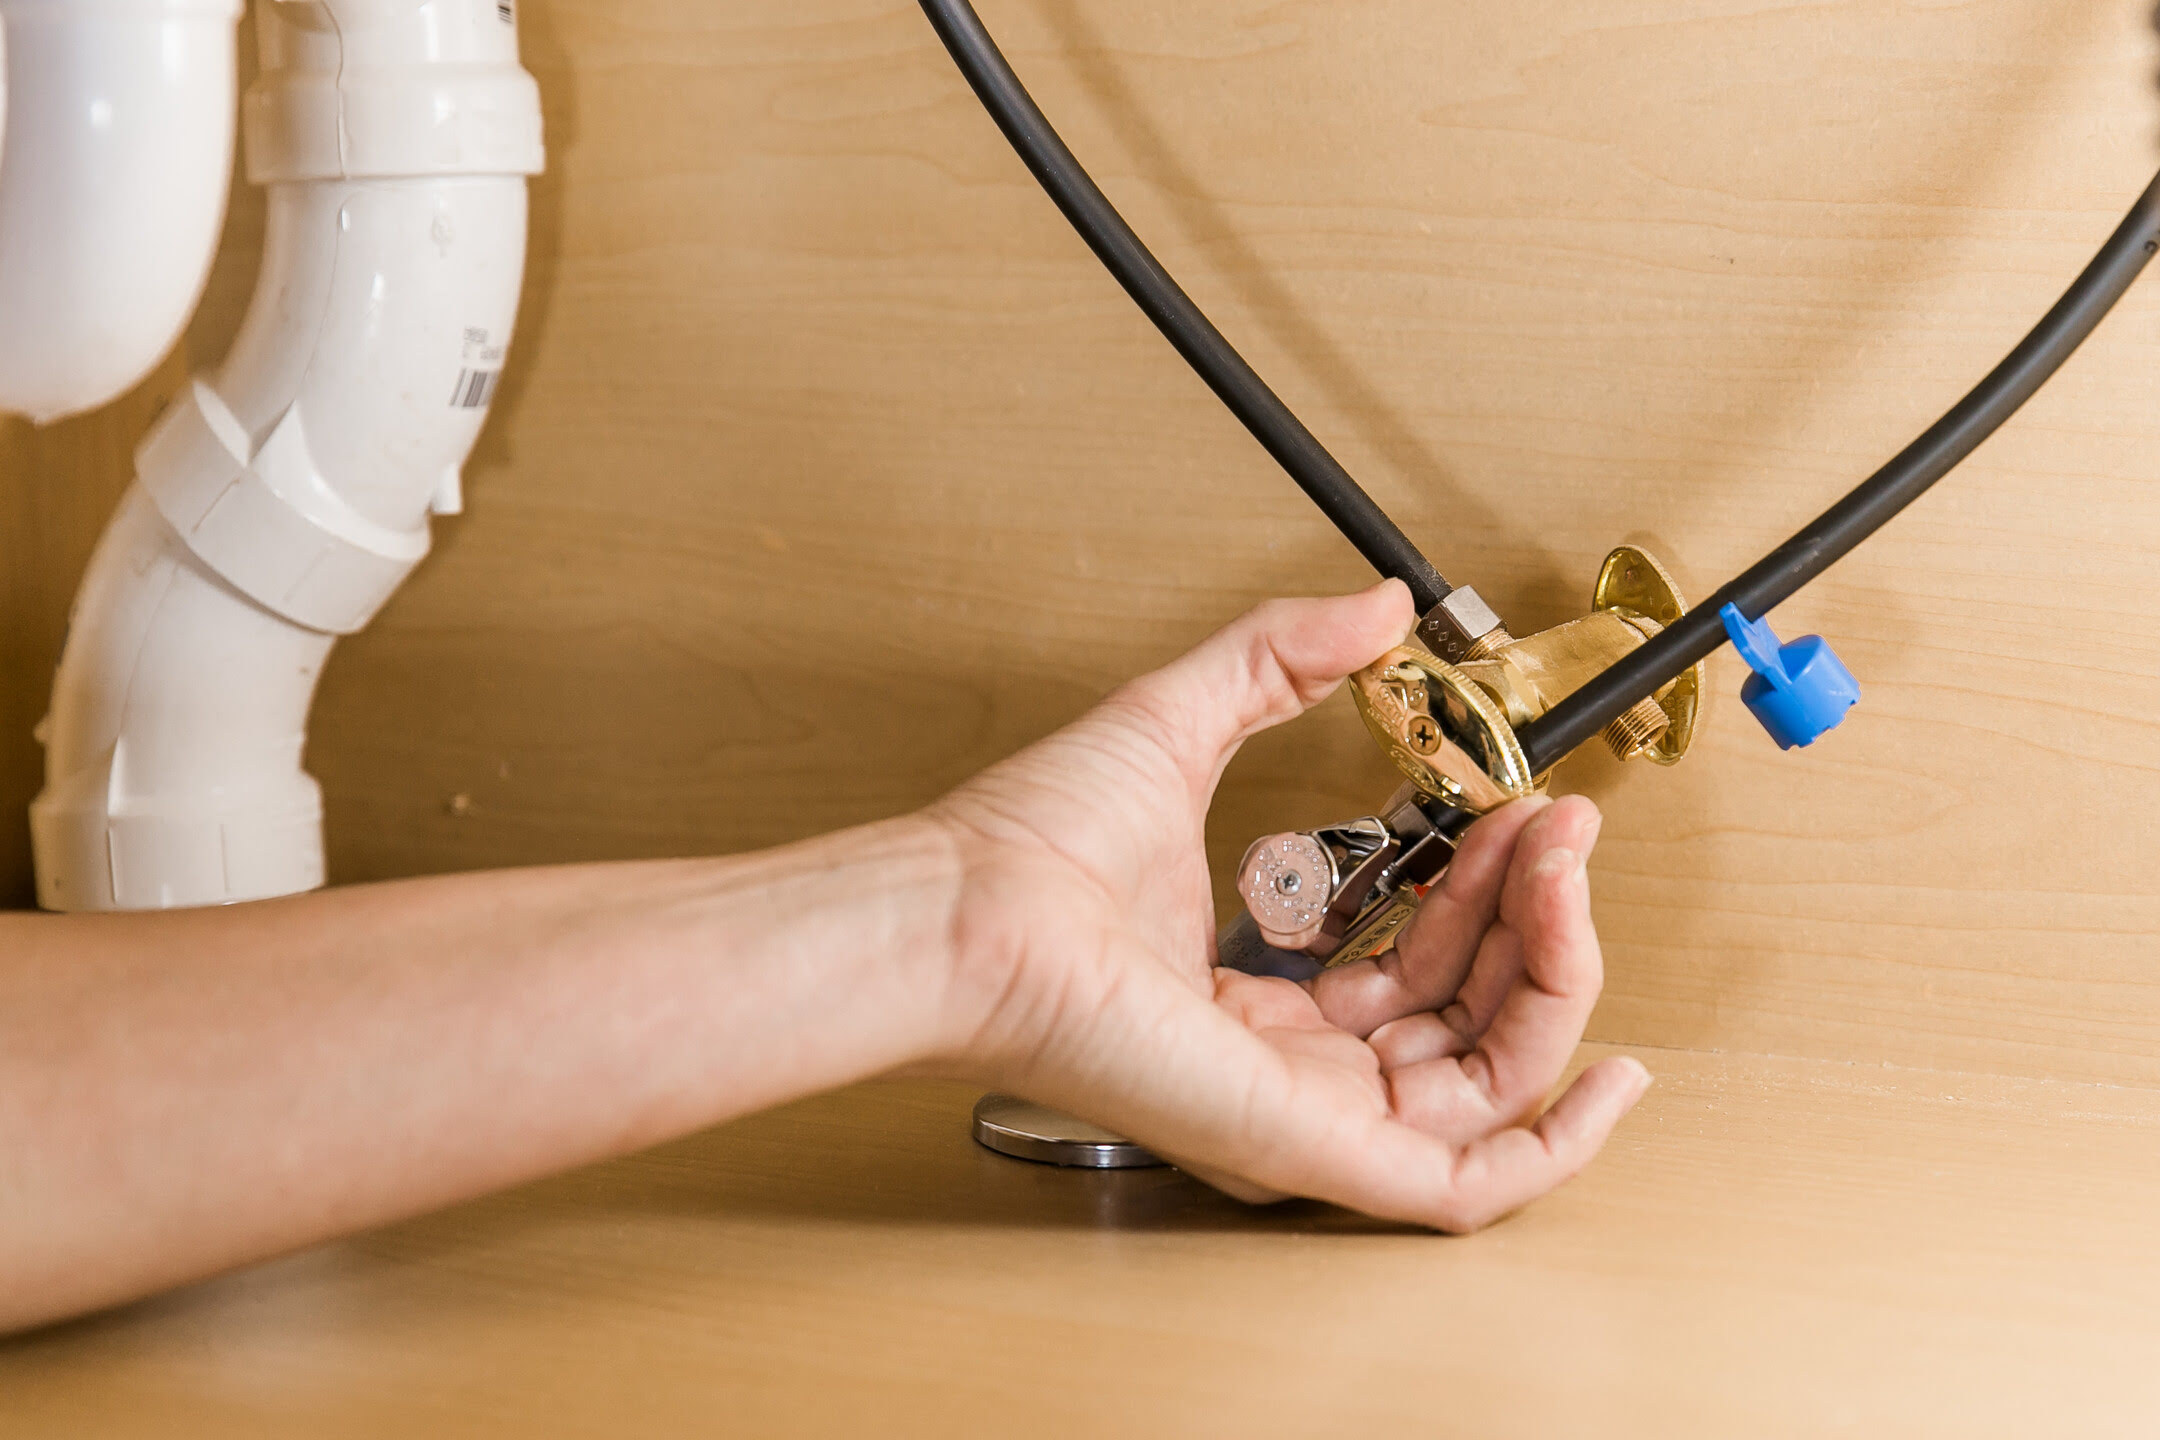
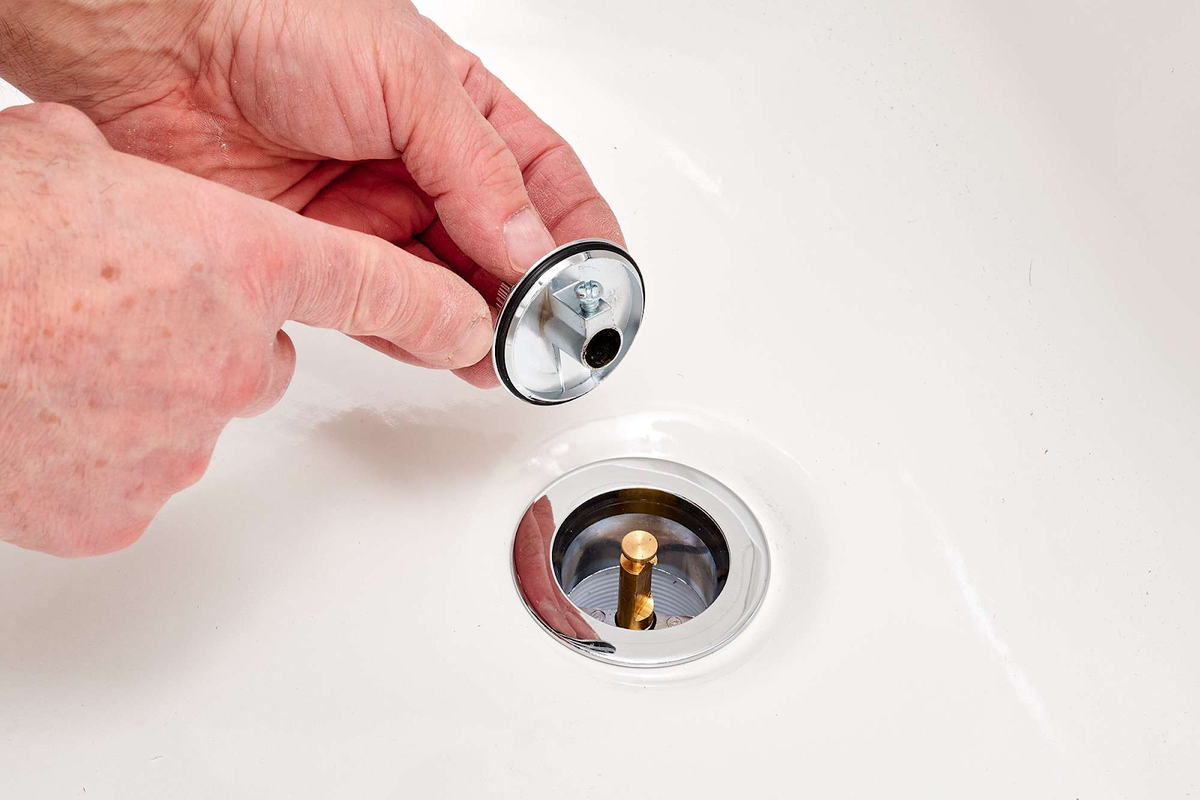
Access the Valve Assembly: Begin by accessing the area around the bathtub valve. This may involve removing any decorative coverings, such as the handle or escutcheon plate, to expose the valve assembly. Use a screwdriver to carefully detach any screws or fasteners holding these components in place.
-
Disconnect the Water Supply: With the valve assembly exposed, locate the water supply lines connected to the valve. Use an adjustable wrench to carefully loosen and disconnect the water supply lines from the valve. It's essential to have a rag or towel on hand to catch any residual water that may drain from the disconnected lines.
-
Remove the Valve Components: Once the water supply lines are disconnected, proceed to remove the remaining components of the old valve. This may involve unscrewing the valve stem, cartridge, or other internal parts using the appropriate tools. Take note of the sequence in which the components are removed, as this will be helpful when installing the new valve.
-
Inspect and Clean the Valve Cavity: After removing the old valve components, take a moment to inspect the valve cavity for any debris, corrosion, or mineral buildup. Use a mild cleaning solution or vinegar and a rag to carefully clean the interior of the valve cavity, ensuring that it is free from any obstructions that could affect the installation of the new valve.
-
Prepare the Valve Cavity for Installation: Once the valve cavity is clean and free from debris, it's important to dry the area thoroughly with a clean towel or rag. This preparation ensures that the new valve will be installed in a clean and well-maintained environment, promoting optimal functionality and longevity.
By following these detailed steps, you can effectively remove the old bathtub valve, paving the way for the subsequent installation of the new valve. This meticulous approach sets the stage for a successful valve replacement process, allowing you to proceed with confidence and precision. With the old valve removed and the valve cavity prepared, you are now ready to embark on the next phase of installing the new bathtub valve.
Step 4: Install the new bathtub valve
Installing the new bathtub valve marks a pivotal phase in the process of rejuvenating the functionality of your bathtub. This step requires meticulous attention to detail and a systematic approach to ensure the seamless integration of the new valve. Here's a comprehensive guide on how to effectively install the new bathtub valve:
-
Prepare the New Valve: Before proceeding with the installation, carefully inspect the new bathtub valve to familiarize yourself with its components and design. Ensure that the replacement valve is compatible with your existing plumbing system and meets the specific requirements of your bathtub setup. Additionally, check for any included gaskets or O-rings that may need to be installed to create a watertight seal.
-
Position the New Valve: With the new valve prepared, position it into the valve cavity, aligning it with the corresponding water supply lines. Take care to orient the valve correctly, ensuring that any labeled indicators for hot and cold water are positioned appropriately. This initial positioning sets the foundation for the subsequent steps of securing the valve in place.
-
Secure the Valve in Place: Once the new valve is positioned within the valve cavity, use the appropriate tools, such as a wrench or screwdriver, to secure it in place. Tighten any mounting brackets or fasteners to ensure that the valve is stable and properly aligned. Pay close attention to the manufacturer's guidelines regarding the recommended torque or fastening specifications to prevent over-tightening or damage to the valve.
-
Reconnect the Water Supply Lines: With the new valve securely in place, reconnect the water supply lines to the corresponding inlet ports on the valve. Use an adjustable wrench to carefully tighten the connections, ensuring that they are snug and leak-free. Take note of any included gaskets or O-rings and verify that they are properly positioned to create an effective seal.
-
Test the Valve Operation: Before proceeding with the final steps, it's essential to test the operation of the newly installed valve. Turn on the water supply and carefully observe the flow and temperature adjustments facilitated by the new valve. Check for any leaks or irregularities in the water flow, and make any necessary adjustments to the connections or valve components as needed.
-
Reassemble the Decorative Coverings: Once the functionality of the new valve has been verified, reassemble any decorative coverings, such as the handle or escutcheon plate, to conceal the valve assembly. Use a screwdriver to securely fasten any screws or fasteners, ensuring that the coverings are firmly in place.
By diligently following these detailed steps, you can effectively install the new bathtub valve, revitalizing the functionality of your bathtub and ensuring a reliable and efficient water control system. This meticulous approach sets the stage for a successful valve replacement process, allowing you to proceed with confidence and precision. With the new valve seamlessly integrated, you are now ready to proceed to the final step of testing the new bathtub valve.
When replacing a bathtub valve, make sure to turn off the water supply before starting the process. This will prevent any water from leaking and causing a mess during the replacement.
Step 5: Test the new bathtub valve
Testing the new bathtub valve is a crucial phase that ensures the successful integration and functionality of the replacement component. This step involves a systematic evaluation of the valve's performance, water flow, and temperature control to verify its seamless operation. Here's a comprehensive guide on how to effectively test the new bathtub valve:
-
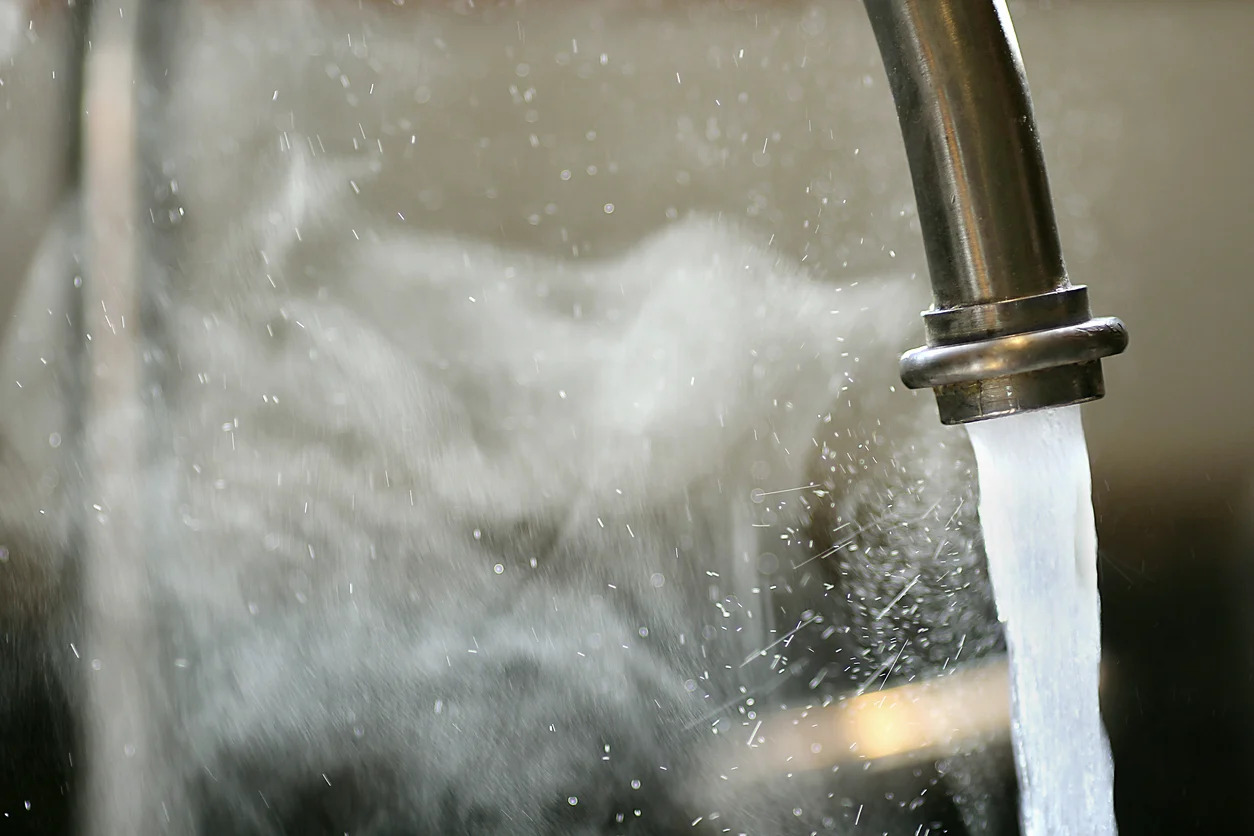
Turn on the Water Supply: Begin by turning on the water supply to the bathtub, allowing water to flow into the newly installed valve. Carefully observe the initial water flow to ensure that it is consistent and free from any irregularities. This step provides an initial assessment of the valve's ability to facilitate water flow without leaks or disruptions.
-
Adjust the Temperature: Test the temperature control functionality of the new valve by adjusting the hot and cold water settings. Gradually transition between hot and cold settings while monitoring the water temperature coming out of the faucet. Verify that the valve accurately regulates the water temperature according to your adjustments, providing a comfortable and reliable bathing experience.
-
Check for Leaks: Thoroughly inspect the connections and surrounding areas of the new valve for any signs of leaks. Pay close attention to the water supply lines, inlet ports, and any seals or gaskets to ensure that they are effectively preventing water leakage. Address any leaks promptly by tightening connections or adjusting components as needed.
-
Test Water Pressure: Assess the water pressure facilitated by the new valve by turning on the faucet to its maximum flow. Observe the strength and consistency of the water stream, ensuring that the valve maintains optimal water pressure without fluctuations or restrictions. Consistent water pressure is essential for a satisfying bathing experience.
-
Verify Smooth Operation: Operate the valve's handle or control mechanism to confirm its smooth and responsive operation. The handle should move easily and precisely, allowing for seamless adjustments in water flow and temperature. Any stiffness or resistance in the valve's operation should be addressed to ensure user-friendly functionality.
-
Final Inspection: Conduct a final visual inspection of the newly installed valve and its surrounding components. Verify that all connections are secure, the decorative coverings are properly reassembled, and the overall appearance is tidy and well-maintained. This comprehensive inspection ensures that the new valve is fully integrated and functioning optimally.
By meticulously following these testing procedures, you can confidently verify the successful installation and functionality of the new bathtub valve. This thorough evaluation ensures that the replacement valve meets the highest standards of performance, reliability, and user satisfaction, culminating in a seamlessly functioning bathtub valve ready to enhance your bathing experience.
Conclusion
In conclusion, the process of replacing a bathtub valve is a rewarding endeavor that empowers homeowners to maintain and enhance the functionality of their bathroom fixtures. By following the comprehensive guide outlined in this article, you have gained valuable insights into the essential steps required to successfully replace a bathtub valve. From gathering the necessary tools and materials to testing the new valve, each phase of the process contributes to the seamless integration of a reliable and efficient water control system.
As you reflect on the journey of replacing the bathtub valve, it's important to recognize the significance of this undertaking. The bathtub valve serves as a central component in regulating water flow and temperature, directly impacting the comfort and convenience of your bathing experience. By taking proactive measures to replace a deteriorating or outdated valve, you are not only ensuring optimal functionality but also contributing to the longevity and efficiency of your bathroom fixtures.
Throughout the process, attention to detail, precision, and a methodical approach have been instrumental in achieving a successful outcome. From turning off the water supply to carefully installing the new valve, each step has been guided by a commitment to excellence and a dedication to enhancing the functionality of your bathtub.
As you admire the newly installed bathtub valve, take pride in the knowledge and skills you have acquired through this DIY project. The confidence to tackle home improvement tasks and the ability to maintain essential fixtures are invaluable assets that contribute to the overall well-being and functionality of your living space.
Moving forward, the experience gained from replacing a bathtub valve can serve as a foundation for future home improvement endeavors. Whether it's addressing other plumbing fixtures, tackling maintenance tasks, or embarking on creative projects, the skills and insights acquired from this undertaking will continue to empower you as a proactive and capable homeowner.
In essence, the process of replacing a bathtub valve transcends the mere act of installation; it embodies a commitment to maintaining a functional and harmonious living environment. By embracing the principles of diligence, attention to detail, and a proactive mindset, you have not only revitalized your bathtub but also cultivated a sense of empowerment and capability in the realm of home maintenance.
As you embark on future endeavors, may the knowledge and experiences gained from this project continue to inspire and guide you in creating a living space that reflects your dedication to excellence and functionality. With a newly installed bathtub valve and a wealth of newfound expertise, you are well-equipped to embrace the rewards of proactive home maintenance and the satisfaction of a seamlessly functioning living space.
Frequently Asked Questions about How To Replace A Bathtub Valve
Was this page helpful?
At Storables.com, we guarantee accurate and reliable information. Our content, validated by Expert Board Contributors, is crafted following stringent Editorial Policies. We're committed to providing you with well-researched, expert-backed insights for all your informational needs.
0 thoughts on “How To Replace A Bathtub Valve”