Articles
How To Replace Moen Kitchen Faucet Cartridge
Modified: February 22, 2024
Discover step-by-step instructions and expert tips for replacing the Moen kitchen faucet cartridge in our informative articles.##
(Many of the links in this article redirect to a specific reviewed product. Your purchase of these products through affiliate links helps to generate commission for Storables.com, at no extra cost. Learn more)
Introduction
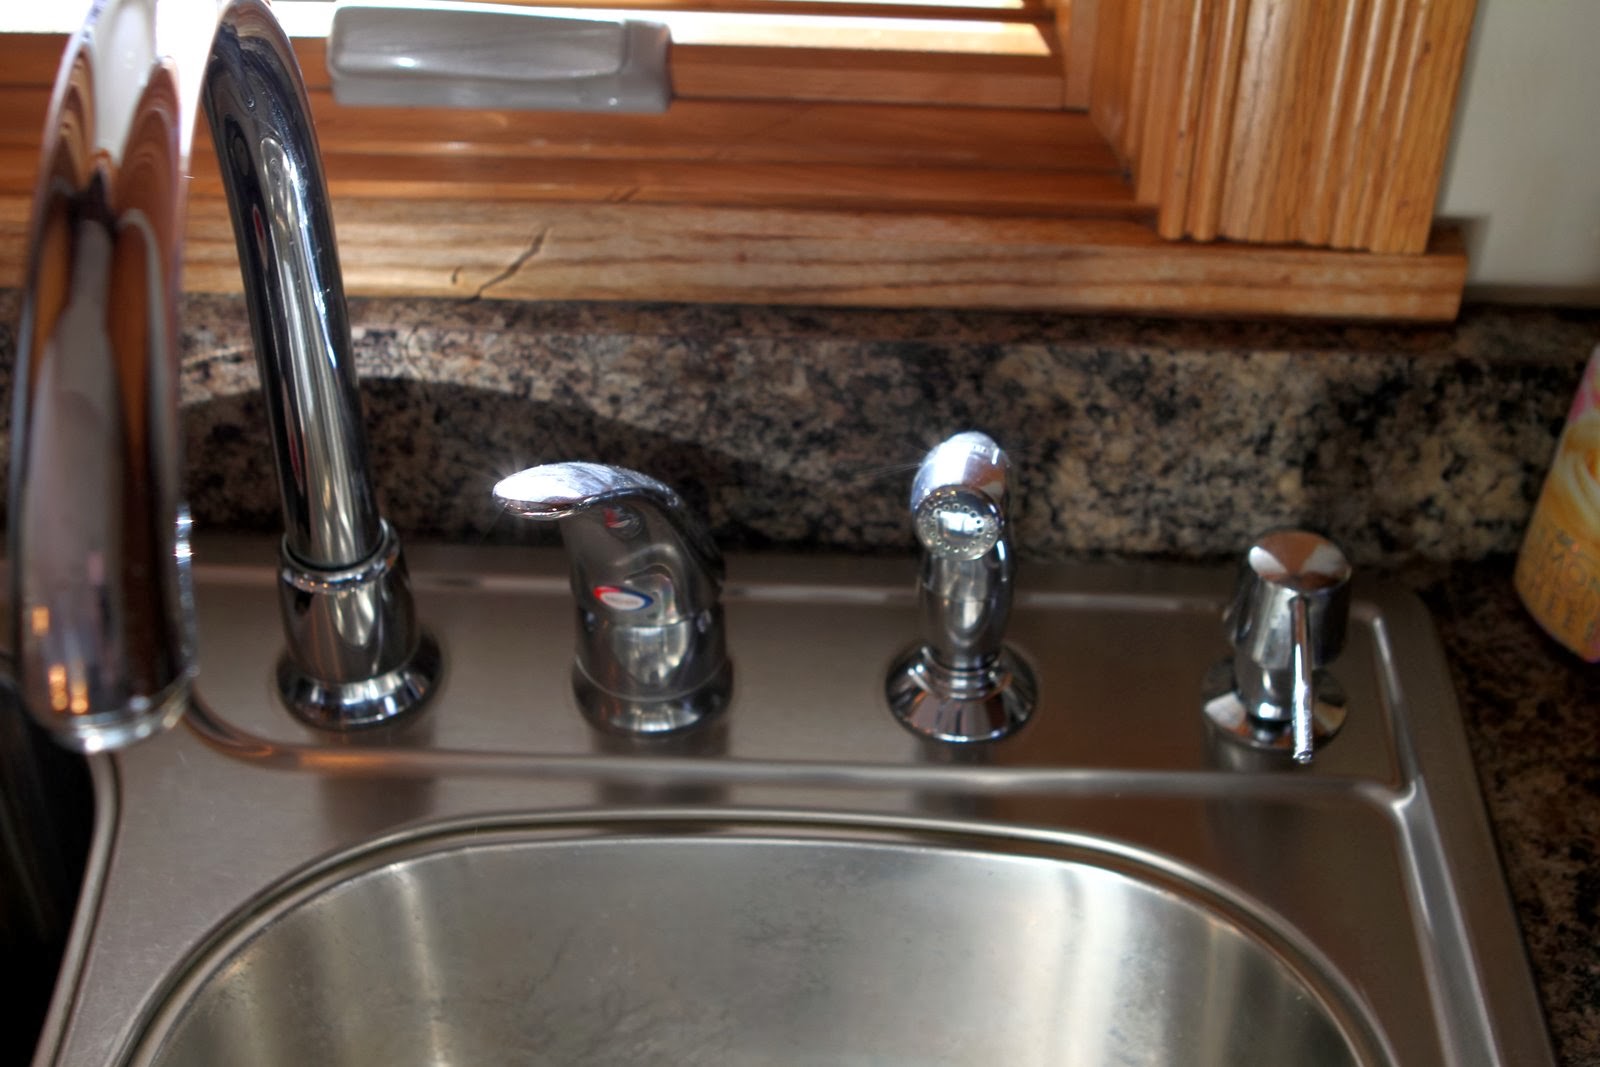
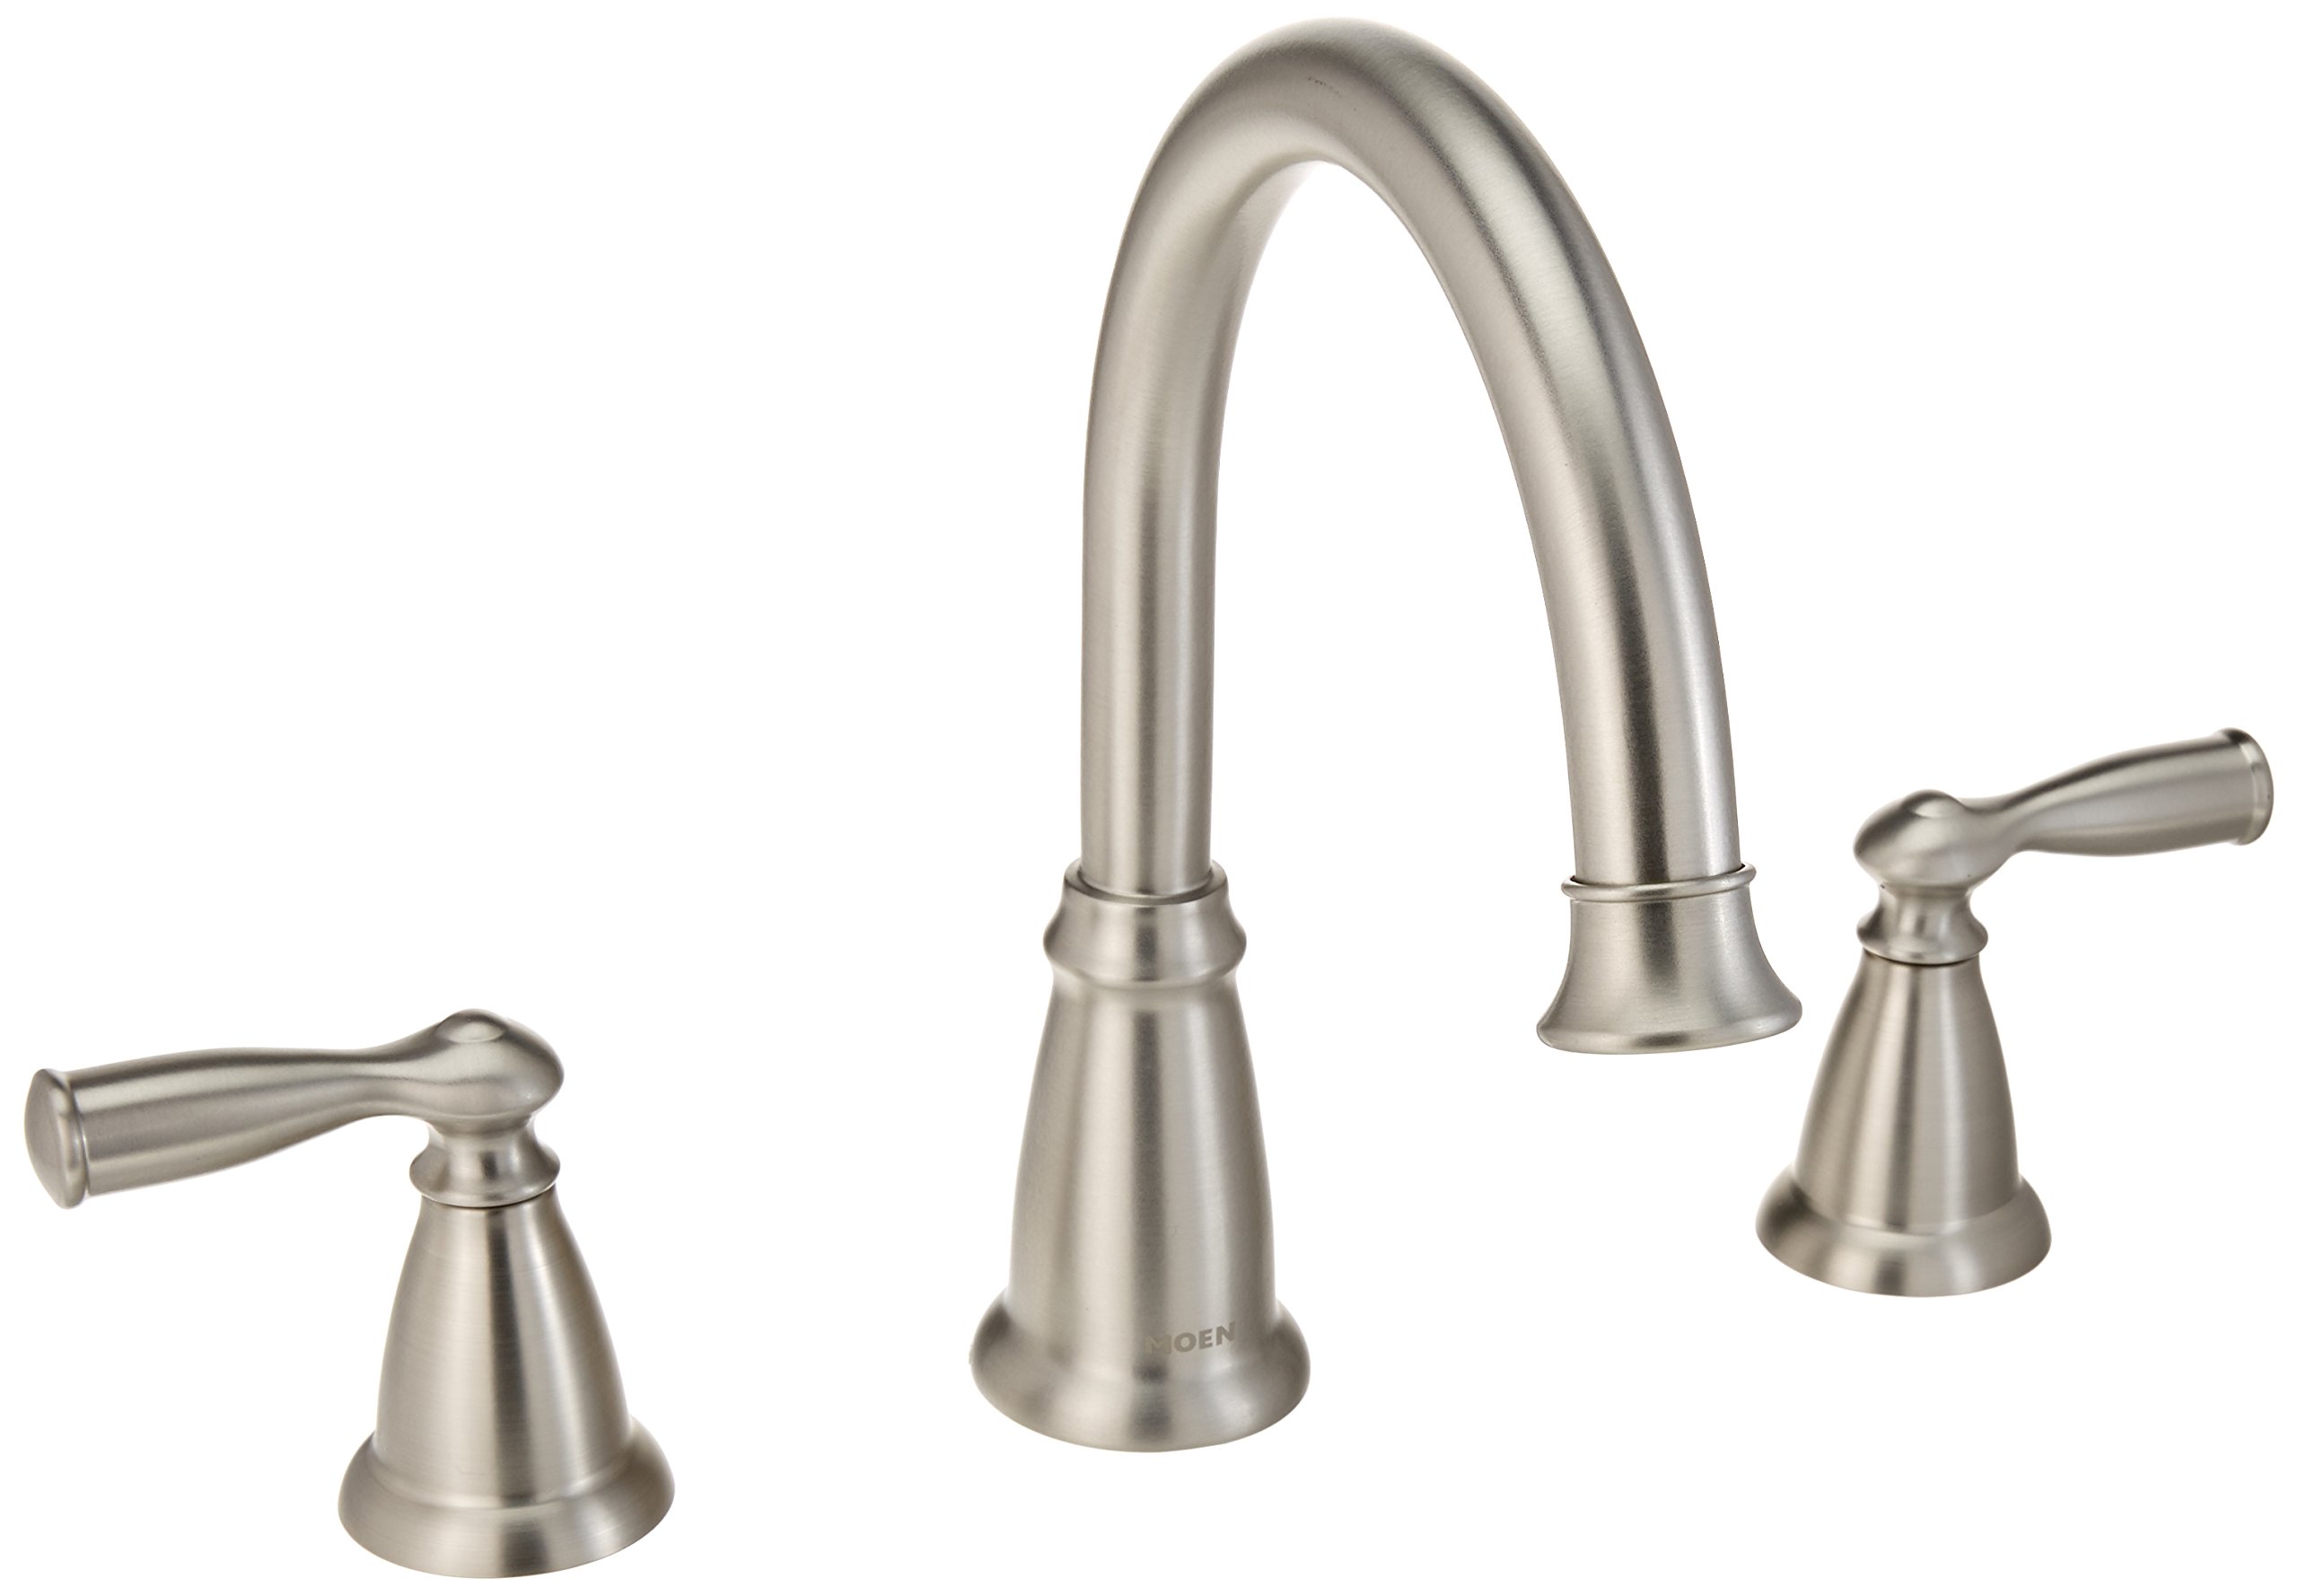
Replacing a Moen kitchen faucet cartridge is a simple and cost-effective solution to fix a leaky or malfunctioning faucet. The cartridge is the component responsible for controlling the flow of water and mixing hot and cold water. Over time, the cartridge can become worn out or damaged, resulting in leaks or difficulty in adjusting the water temperature.
In this article, we will walk you through the step-by-step process of replacing a Moen kitchen faucet cartridge. By following these instructions, you can save time and money by avoiding the need to hire a plumber.
Before you begin, it’s important to gather the necessary tools and materials. You will need:
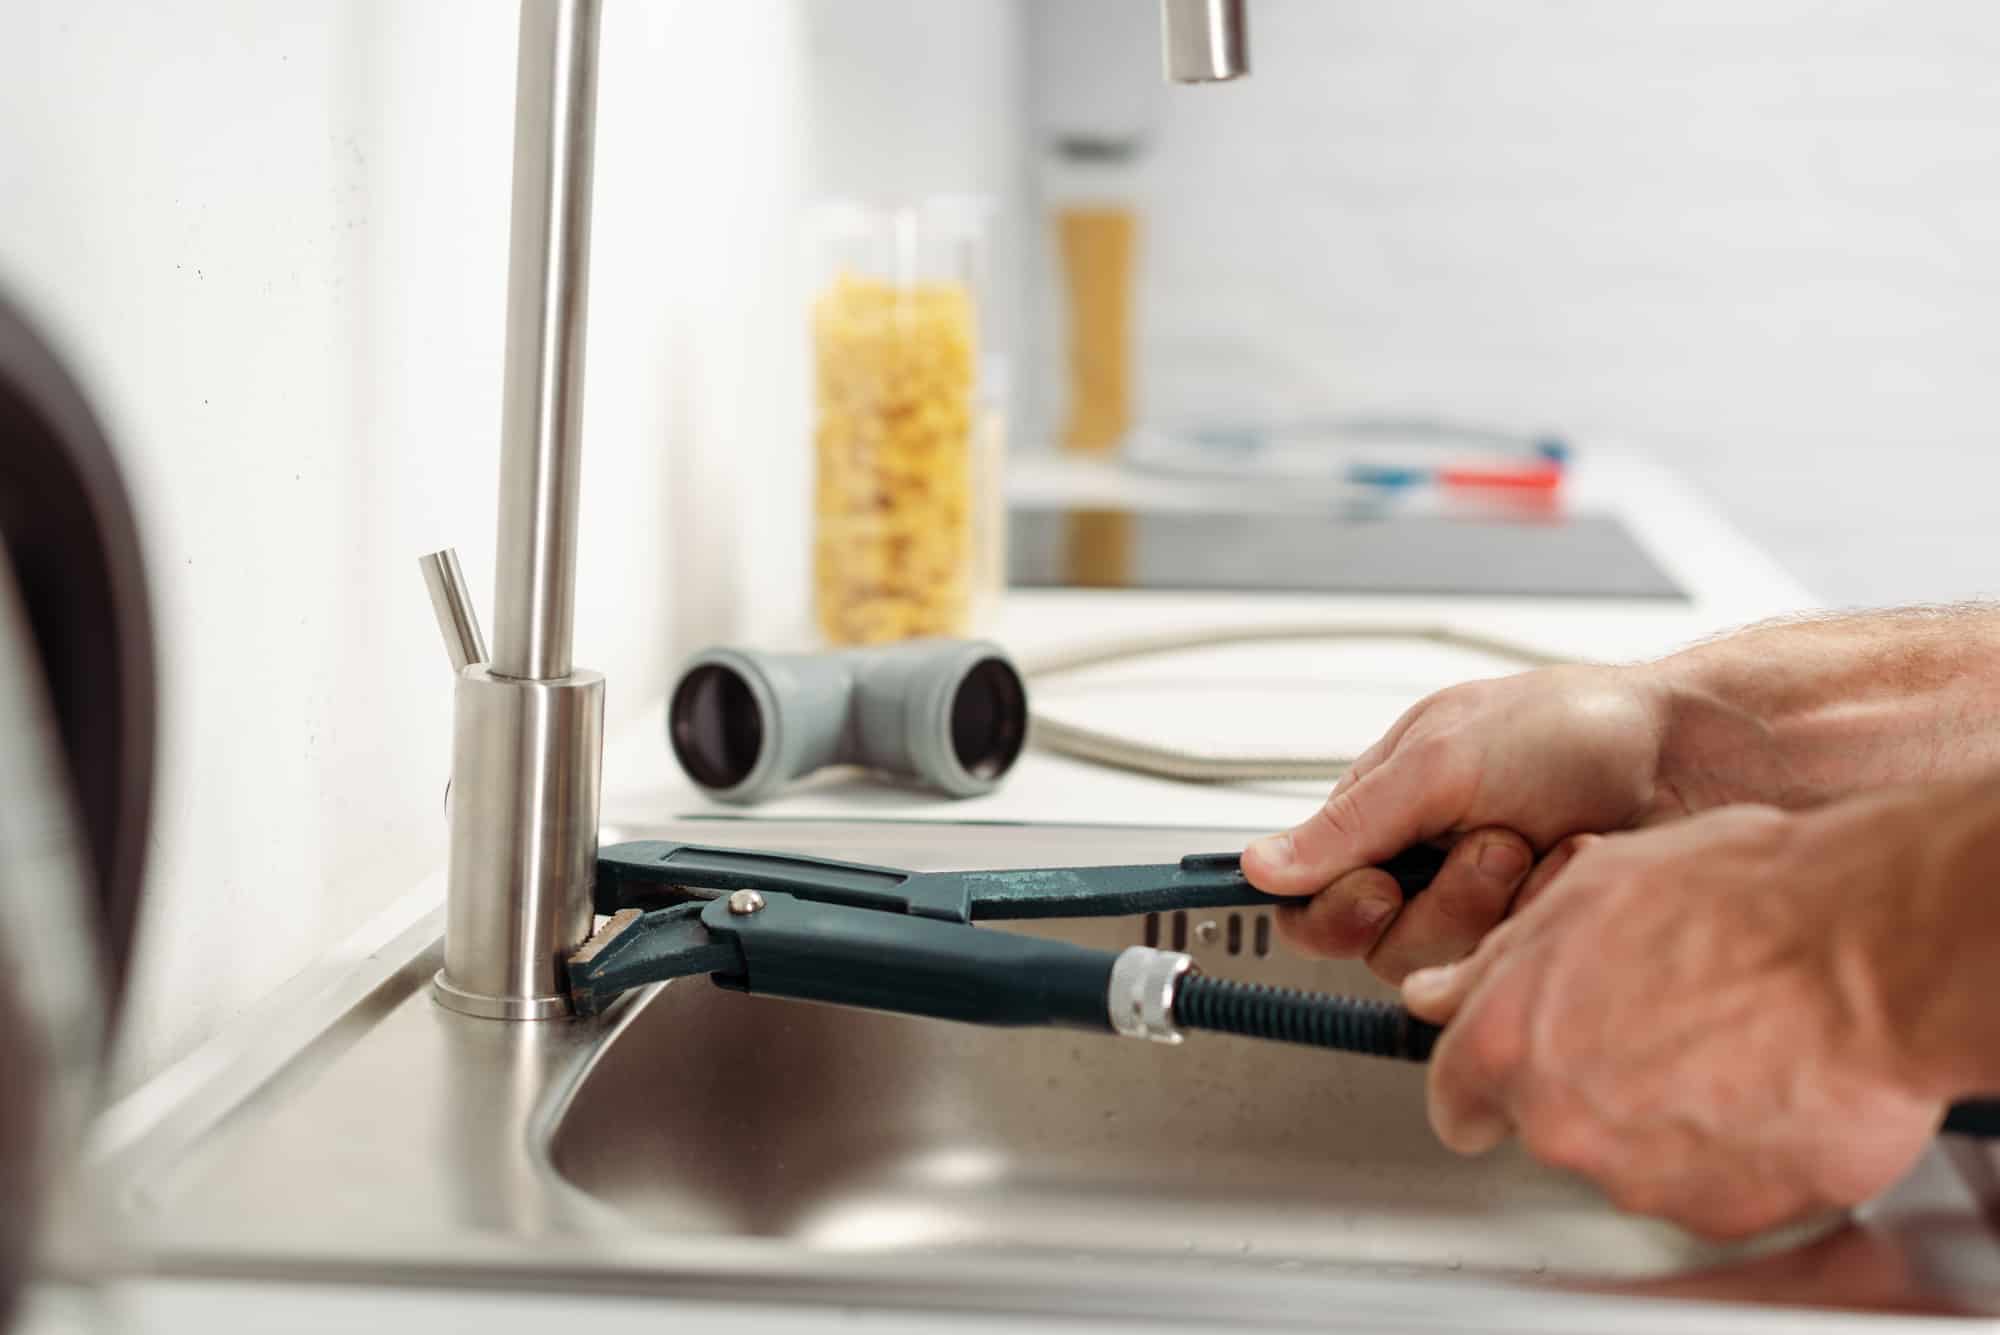
- Adjustable wrench
- Phillips head screwdriver
- Moentrol cartridge replacement
- Plumber’s tape
- Clean cloth or towel
Once you have everything you need, you are ready to start the process of replacing the Moen kitchen faucet cartridge. Before you begin, be sure to turn off the water supply to the faucet.
To do this, locate the shut-off valve for the kitchen faucet and turn it clockwise until it is fully closed. This will prevent any water from flowing while you work on the faucet.
Now that the water supply is turned off, it’s time to remove the handle of the kitchen faucet. To do this, locate the screw that secures the handle to the faucet.
Key Takeaways:
- Save time and money by replacing your Moen kitchen faucet cartridge yourself, following simple steps and using basic tools and materials. Enjoy a leak-free and properly functioning faucet without the need for a plumber.
- Ensure a smooth and efficient process by gathering the necessary tools and materials, turning off the water supply, and carefully following each step to remove and replace the cartridge. Enjoy the benefits of a well-maintained kitchen faucet.
Read more: How To Replace A Kitchen Faucet Cartridge
Step 1: Gather the necessary tools and materials
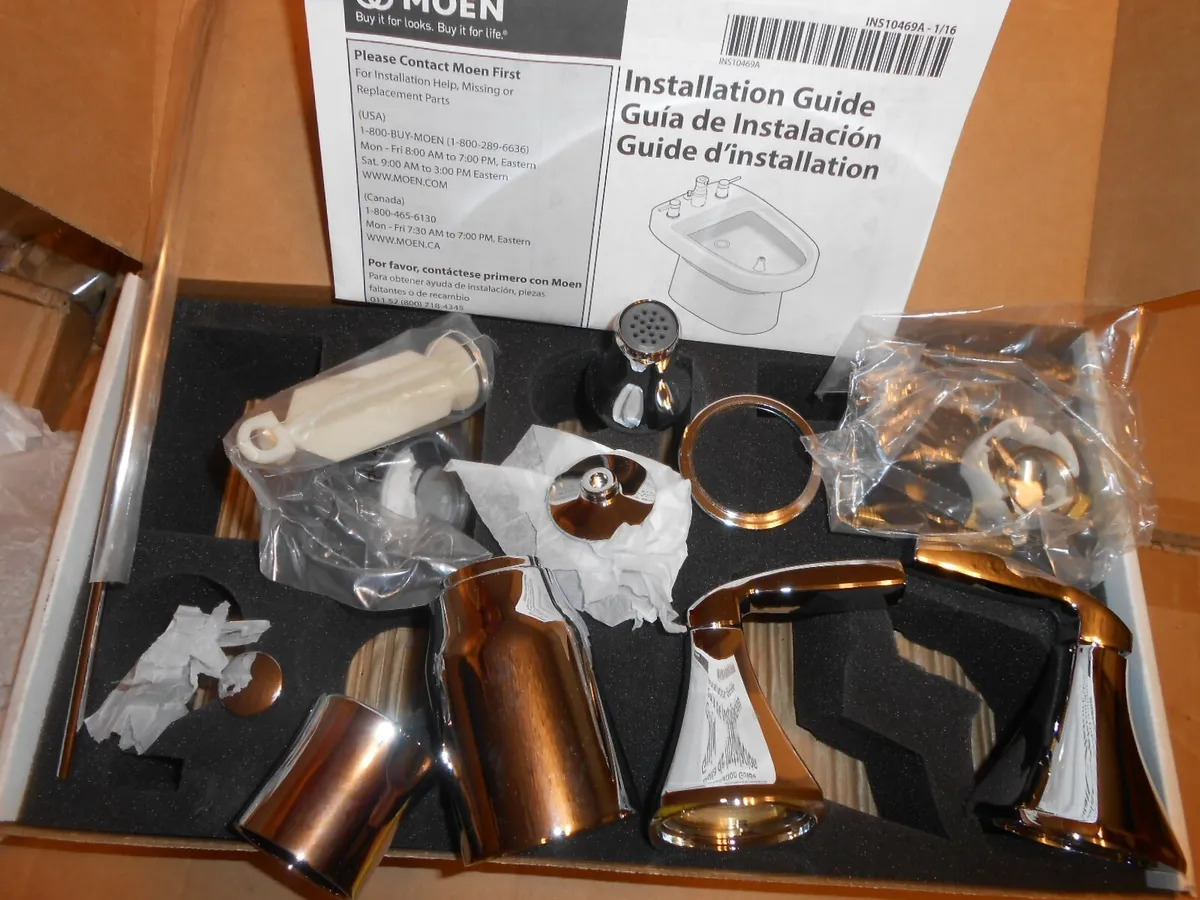
Before you begin the process of replacing the Moen kitchen faucet cartridge, it is important to gather all the necessary tools and materials. Having everything prepared in advance will make the process smoother and more efficient.
Here are the tools and materials you will need:
- Adjustable wrench: This tool will be used to loosen and tighten nuts and bolts.
- Phillips head screwdriver: This type of screwdriver is commonly used for many types of screws.
- Moentrol cartridge replacement: Be sure to purchase the correct replacement cartridge suitable for your specific Moen kitchen faucet model.
- Plumber’s tape: Also known as Teflon tape, this is used to create a watertight seal on threaded connections.
- Clean cloth or towel: This will come in handy for wiping away any excess water or debris.
It is essential to have these tools and materials readily available before you begin the cartridge replacement process. This will prevent any unnecessary delays or interruptions as you work on your faucet.
It is worth noting that the specific tools required may vary slightly depending on your particular faucet model or any additional components that need to be removed to access the cartridge. It’s always a good idea to consult the manufacturer’s instructions or do some research specific to your faucet model to ensure you have all the necessary tools.
Once you have gathered all the tools and materials, you can proceed to the next step, which involves turning off the water supply.
Step 2: Turn off the water supply
Before you start working on the Moen kitchen faucet cartridge replacement, it is crucial to turn off the water supply to prevent any leaks or water damage. Shutting off the water supply will ensure a safe and dry working environment.
Locating the water shut-off valves can vary depending on your kitchen’s plumbing setup. Generally, you will find shut-off valves under the sink or near the main water line leading into your home. Here’s how you can turn off the water supply:
- Start by locating the shut-off valve for your kitchen faucet. This valve is typically located underneath the sink.
- Turn the shut-off valve clockwise (to the right) until it is fully closed. This action will stop the water supply to the faucet.
- Check if the water supply is completely turned off by turning on the faucet. If no water comes out, you have successfully shut off the water supply. If water continues to flow, double-check the shut-off valve to ensure it is fully closed.
By turning off the water supply, you are preventing water from flowing through the faucet while you work on removing and replacing the cartridge. This step is essential as it will prevent any potential water damage and make the process much more manageable.
Once you have successfully turned off the water supply, you can proceed to the next step, which involves removing the handle of the kitchen faucet.
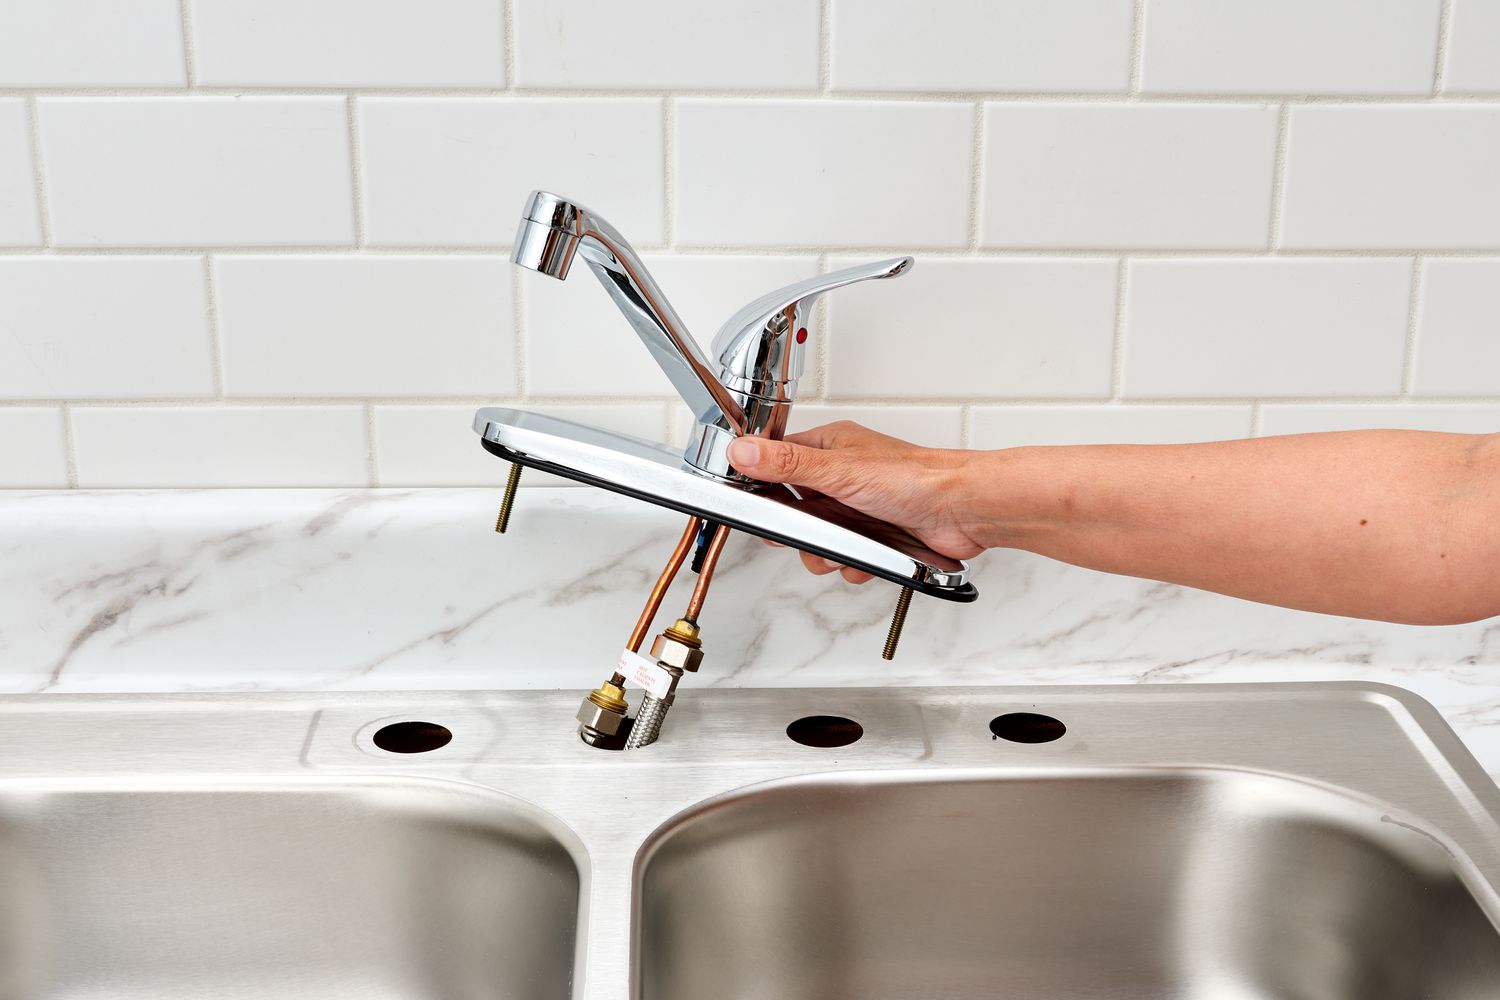
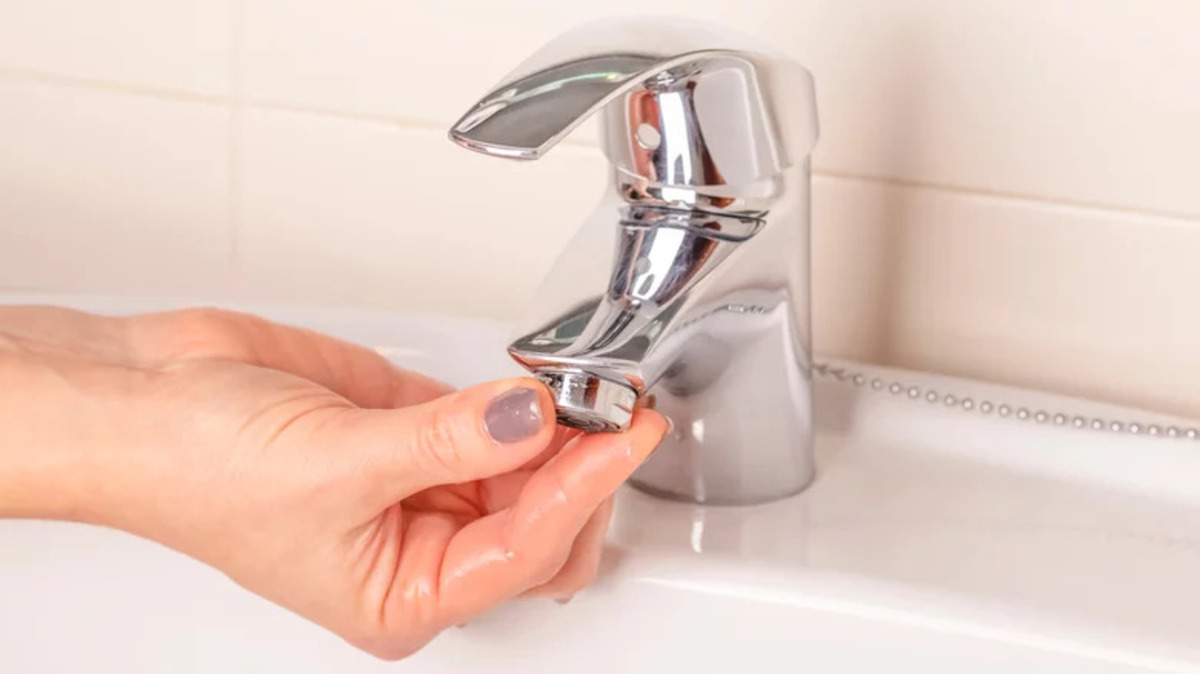
Step 3: Remove the handle
Now that you have turned off the water supply, the next step in replacing the Moen kitchen faucet cartridge is to remove the handle. The handle is typically attached to the faucet with a screw or a set screw, depending on the model.
Follow these steps to remove the handle:
- Locate the screw or set screw that secures the handle to the faucet. This is usually found underneath or at the back of the handle.
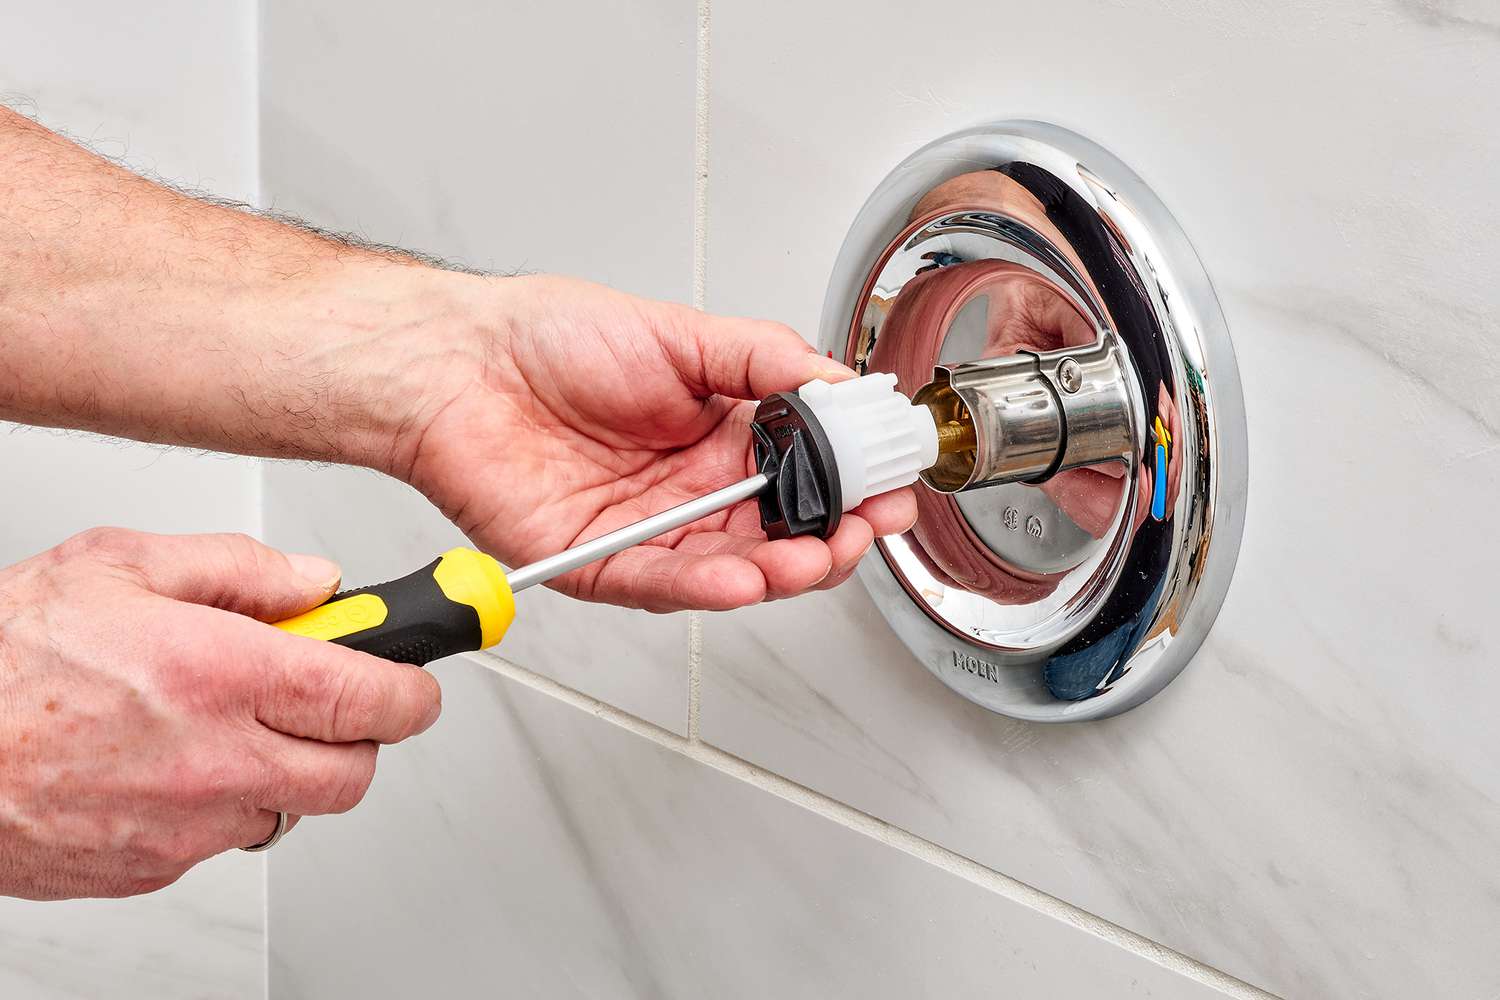
- Using a Phillips head screwdriver, loosen the screw counterclockwise (to the left) until it is completely removed. Keep the screw in a safe place, as you will need it later to reattach the handle.
- Gently pull the handle away from the faucet. It may require a bit of wiggling or twisting, as some handles can be snugly attached.
Once the handle is removed, you may find a decorative escutcheon plate covering the cartridge housing. This plate can usually be removed by hand or with the help of a flathead screwdriver.
Removing the handle gives you access to the cartridge housing where the old cartridge is located. It’s important to be careful during this step to avoid damaging any other components of the faucet.
With the handle successfully removed, you can now move on to the next step, which involves removing the cartridge retaining clip.
Step 4: Remove the cartridge retaining clip
After removing the handle, the next step in replacing the Moen kitchen faucet cartridge is to remove the cartridge retaining clip. This clip holds the cartridge in place inside the faucet housing.
Here’s how you can remove the cartridge retaining clip:
- Locate the cartridge retaining clip, which is a metal or plastic clip that secures the cartridge.
- Using your fingers or a pair of pliers, gently grasp the clip and carefully pull it straight out. Be cautious not to twist or bend the clip, as it may be reused when installing the new cartridge.
- If the retaining clip is stubborn or difficult to remove, you can try using a flathead screwdriver to pry it out. Place the screwdriver tip under the edge of the clip and leverage it out with controlled pressure.
Once the clip is removed, you can now proceed to the next step, which involves taking out the old cartridge.
It’s worth noting that some Moen faucet models may not have a retaining clip. Instead, they may have a threaded retaining nut that needs to be unscrewed to remove the cartridge. In such cases, you will need an adjustable wrench to loosen and remove the nut.
With the cartridge retaining clip successfully removed, you are now ready to move on to the next step, which will guide you through the process of removing the old cartridge.
Read more: How To Replace A Delta Faucet Cartridge
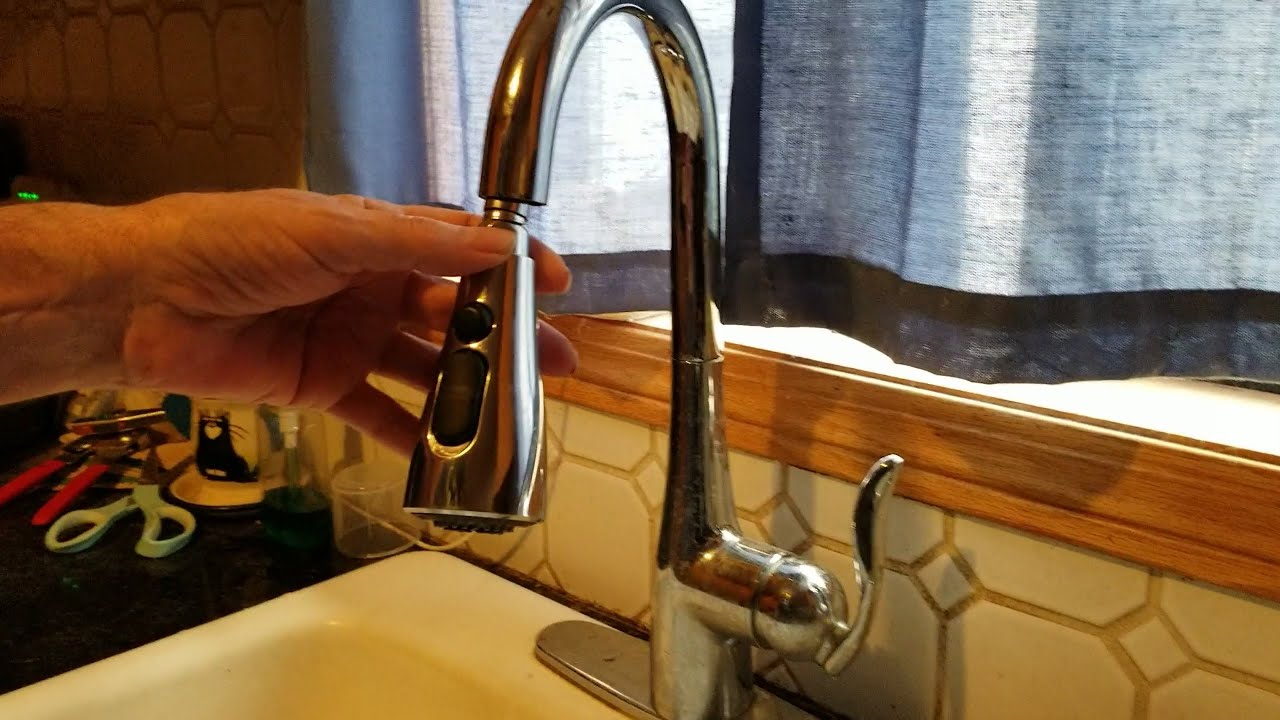
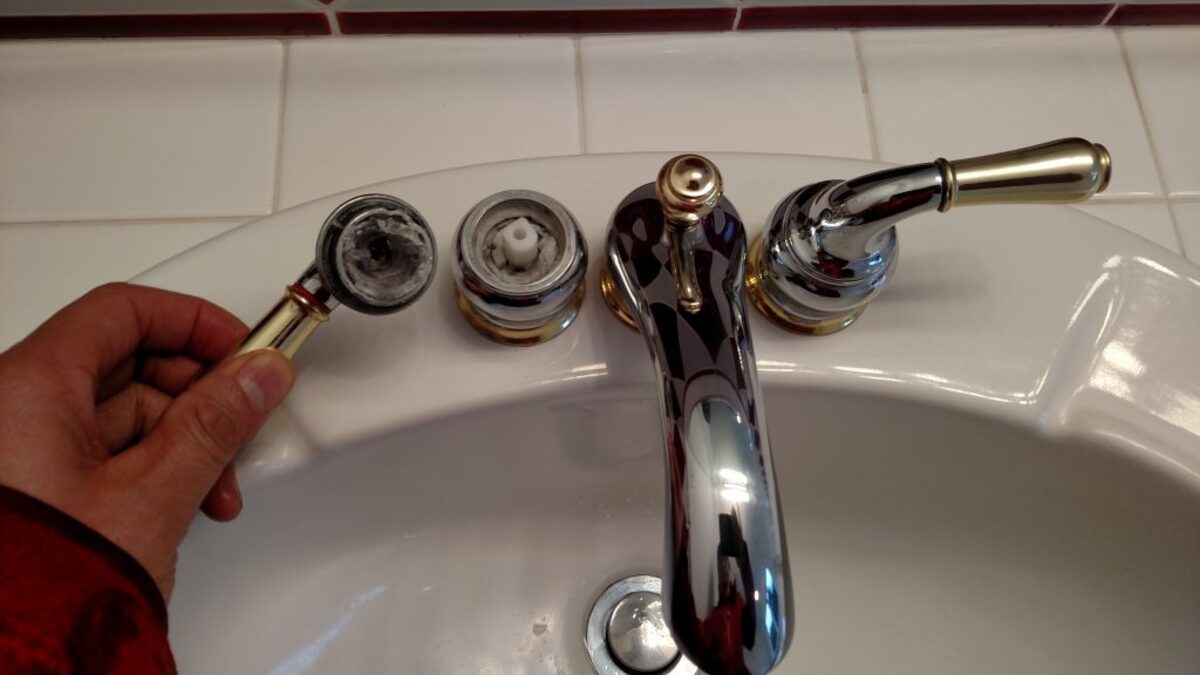
Step 5: Remove the old cartridge
Now that the cartridge retaining clip has been removed, it’s time to take out the old cartridge. The old cartridge may be stuck due to mineral buildup or years of use, so you may need some additional tools to help with its removal.
Follow these steps to remove the old cartridge:
- Grip the top of the cartridge firmly with a pair of pliers or use a cartridge puller specifically designed for Moen faucets.
- If using pliers, twist and pull the cartridge straight out. Apply gentle but firm pressure to loosen it from the housing. Be careful not to damage any surrounding components while doing so.
- If the cartridge is stubborn and difficult to remove, you can use a cartridge puller. Insert the puller into the cartridge and tighten it using an adjustable wrench. Slowly twist and pull the puller to dislodge the cartridge from the faucet housing.
If you encounter any resistance or the cartridge refuses to budge, you may need to apply some lubrication or use penetrating oil to loosen any mineral buildup. Allow the lubricant or oil to sit for a few minutes before attempting to remove the cartridge again.
Once the old cartridge is successfully removed, inspect it for any damage or signs of wear. This will help determine if a replacement is necessary or if any other repairs are needed.
With the old cartridge out, you can proceed to the next step of installing the new cartridge.
When replacing a Moen kitchen faucet cartridge, be sure to turn off the water supply before beginning. Use a cartridge puller tool for easier removal and installation. Lubricate the new cartridge with plumber’s grease before inserting.
Step 6: Install the new cartridge
Now that the old cartridge has been removed, it’s time to install the new cartridge in your Moen kitchen faucet. The new cartridge will ensure smooth water flow and proper temperature control in your faucet.
Follow these steps to install the new cartridge:
- Before inserting the new cartridge, clean the inside of the cartridge housing to remove any debris or mineral buildup. Use a clean cloth or a small brush to wipe away any residue.
- Take the new cartridge and align it with the housing. Ensure that the tabs or grooves on the cartridge match the corresponding slots in the housing.
- Push the cartridge straight into the housing until it is fully seated. Apply gentle pressure to ensure a secure fit.
- If your faucet model requires a retaining clip, insert the clip back into its original position. Make sure it snaps into place securely, holding the cartridge in position.
- Double-check that the cartridge is installed correctly by giving it a gentle tug to ensure it is firmly seated.
It’s important to note that some Moen faucet models may require additional steps or adjustments during the cartridge installation process. Always refer to the manufacturer’s instructions or specific documentation for your faucet model to ensure proper installation.
Once the new cartridge is installed, you can proceed to the next step, which involves reattaching the handle to the faucet.
Step 7: Reattach the handle
With the new cartridge successfully installed, it’s time to reattach the handle to your Moen kitchen faucet. Properly securing the handle will ensure the cartridge functions correctly and allows for smooth operation of your faucet.
Follow these steps to reattach the handle:
- Take the handle and align it with the valve stem or cartridge. Ensure that any grooves or notches on the handle match up with the corresponding features on the valve stem.
- Slide the handle onto the valve stem or cartridge and align it with the correct position. The handle should fit snugly and not wobble or move around.
- Insert the retaining screw or set screw back into its original position. Use a Phillips head screwdriver to tighten the screw clockwise (to the right) until it is secure. Be careful not to overtighten the screw, as this can cause damage to the handle or cartridge.
- If your faucet model has a decorative escutcheon plate, reattach it by aligning it with the handle and pressing it into place. Ensure it is properly aligned and sits flush against the surface of the faucet.
Once the handle is securely reattached, give it a test by turning it on and off to ensure smooth operation and proper water flow. If the handle feels loose or doesn’t function correctly, you may need to adjust the position of the handle or tighten the retaining screw further.
This step completes the process of reattaching the handle to your Moen kitchen faucet. Finally, you can proceed to the next step, which involves turning on the water supply.
Step 8: Turn on the water supply
Now that the handle is securely reattached, the next step in replacing the Moen kitchen faucet cartridge is to turn on the water supply. This allows water to flow through the faucet and ensures that everything is working properly.
Follow these steps to turn on the water supply:
- Locate the shut-off valve for your kitchen faucet. This valve is typically found underneath the sink or near the main water line leading into your home.
- Turn the shut-off valve counterclockwise (to the left) until it is fully open. This action allows water to flow to the faucet.
Once the shut-off valve is open, water will start flowing to the faucet. It’s important to check for any leaks around the handle, cartridge, or other connections. If you notice any leaks, turn off the water supply and double-check that all the components are properly installed and tightened.
With the water supply turned on, let the water run for a few seconds to flush out any air bubbles or debris that may have accumulated during the installation process. This will ensure a smooth and consistent flow of water.
With the water flowing properly and no signs of leaks, you can proceed to the final step, which involves testing the faucet.
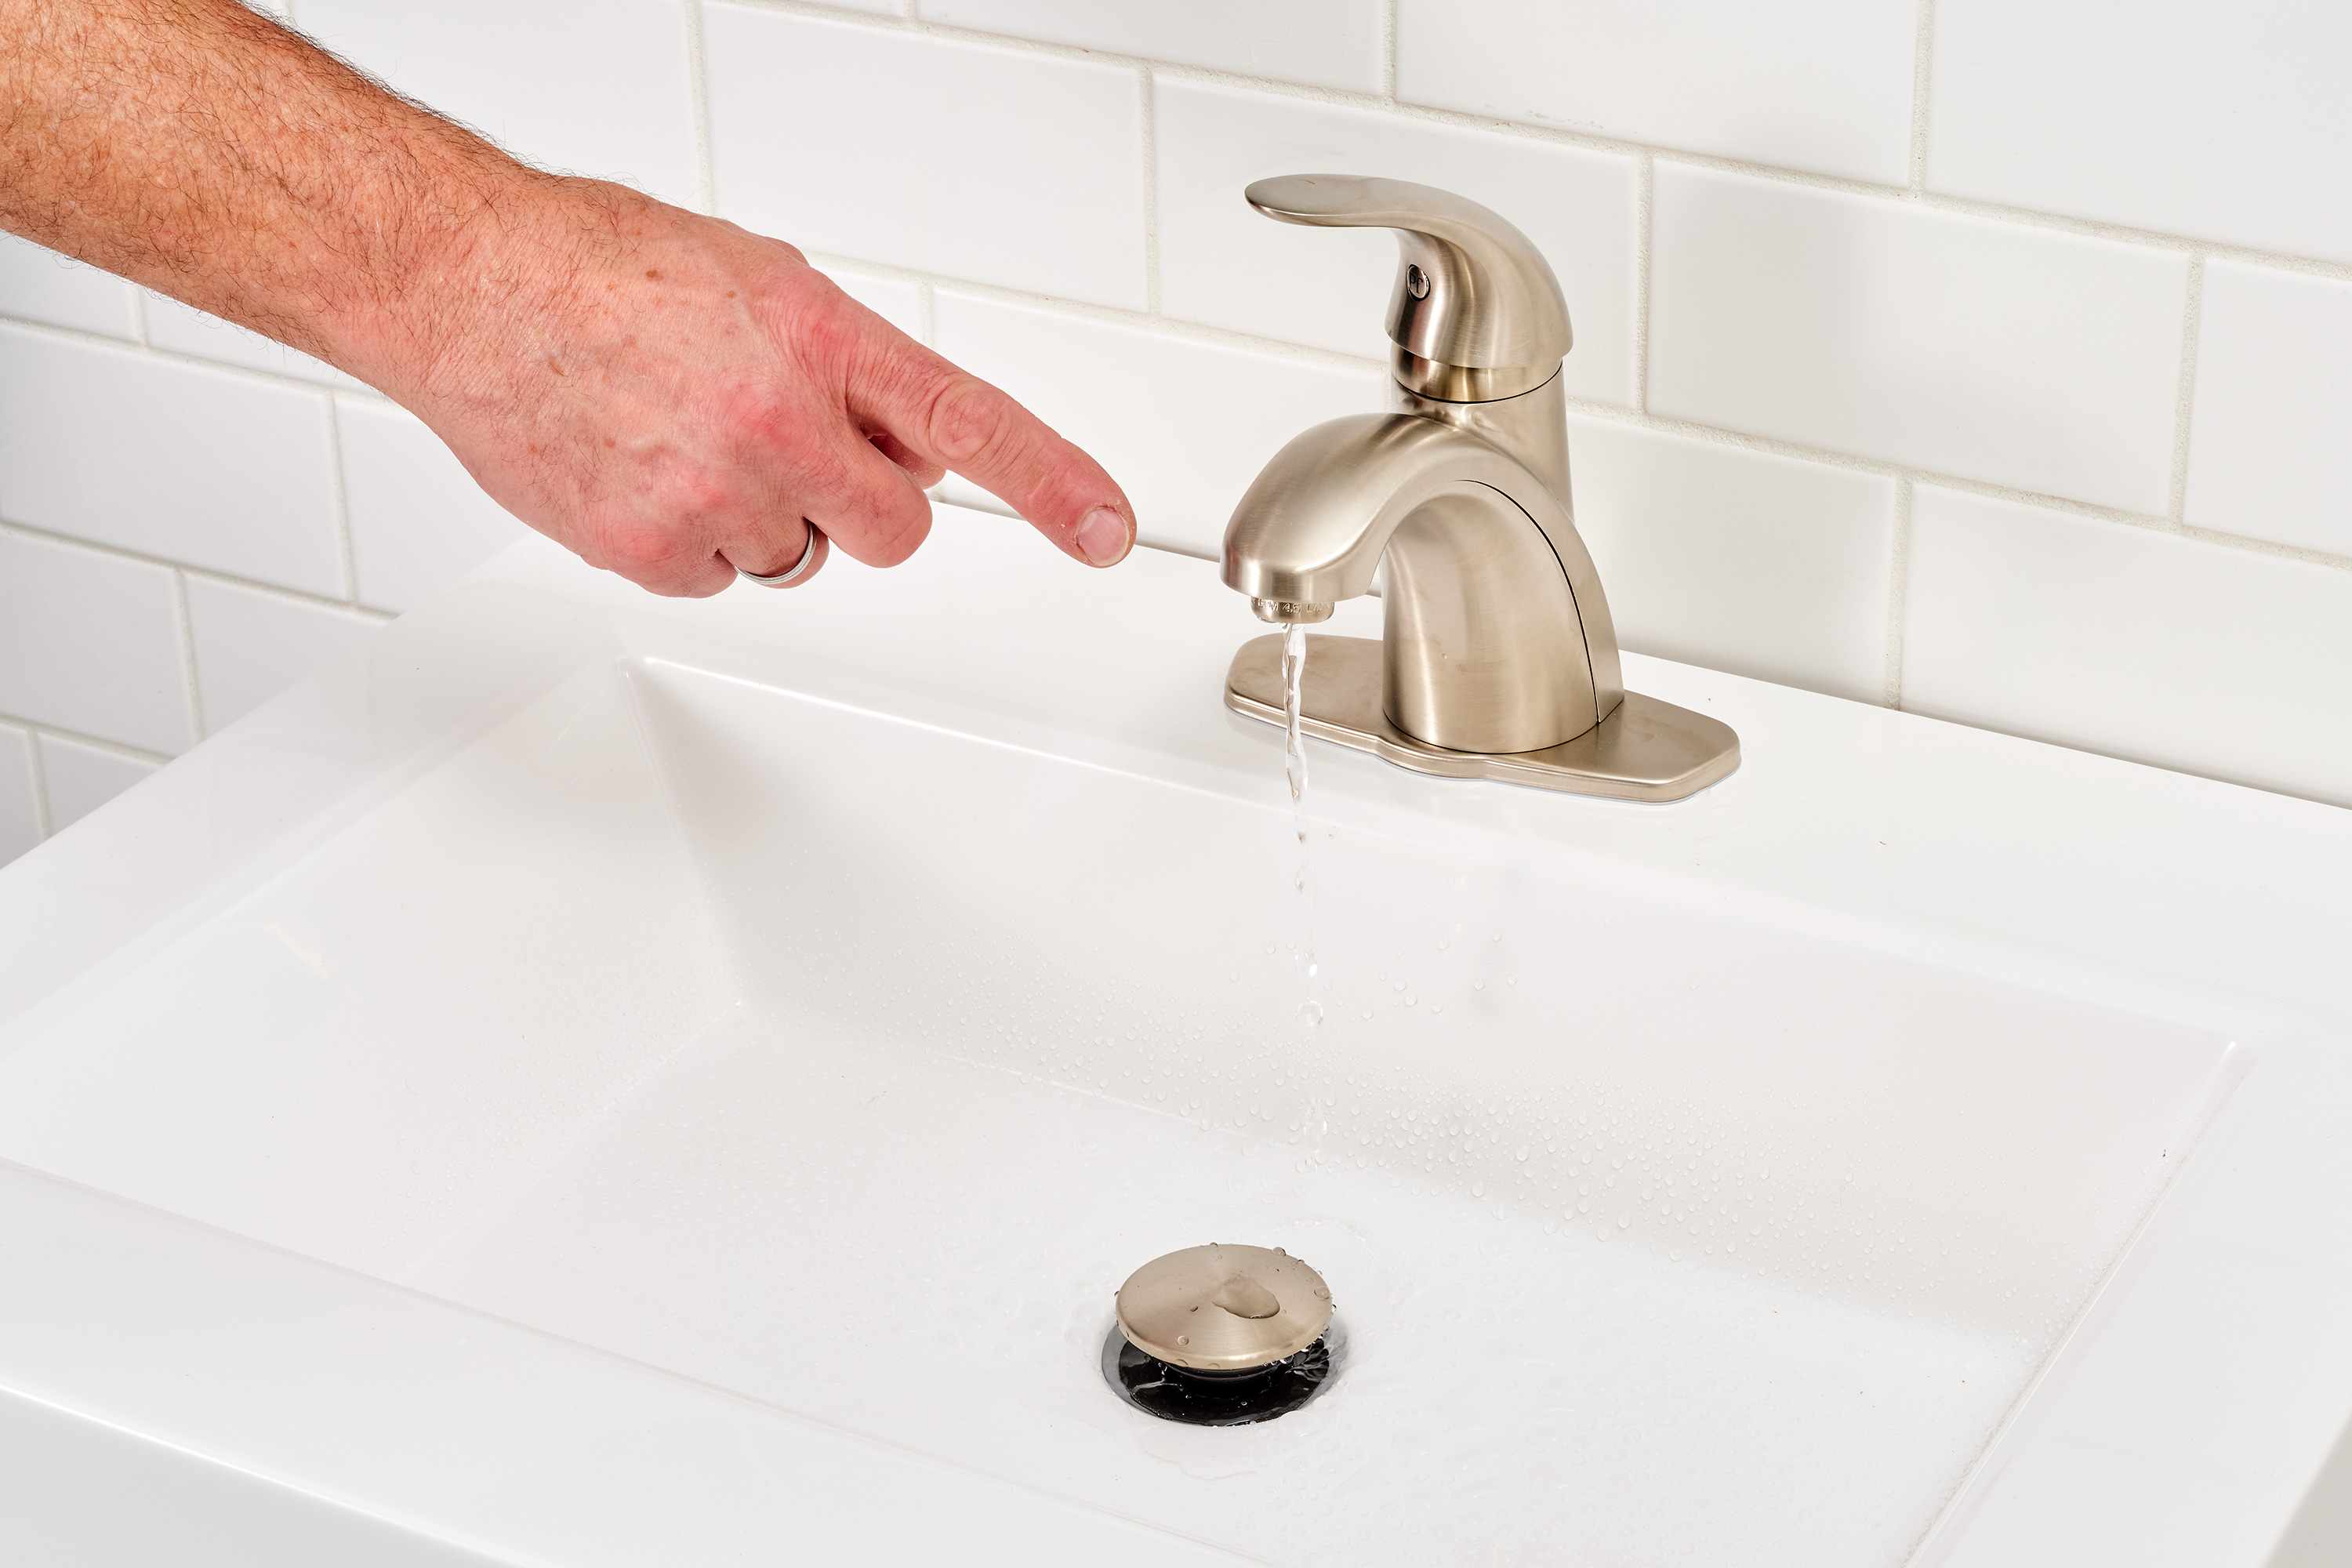
Step 9: Test the faucet
The final step in replacing the Moen kitchen faucet cartridge is to test the faucet to ensure that it is functioning correctly. Testing the faucet will help verify that the new cartridge is working efficiently and that there are no leaks or other issues.
Follow these steps to test the faucet:
- Turn the faucet handle to the “on” position and let the water run for a few minutes. Pay attention to the water flow and temperature.
- Test the hot and cold water separately to ensure that both sides are functioning correctly and that the temperature can be adjusted as desired.
- Check for any leaks around the handle, spout, or any other connections. If you notice any leaks, turn off the water supply and inspect the affected area. Tighten any loose connections or replace any faulty components if necessary.
- Ensure that the handle operates smoothly and without any stiffness or resistance. The handle should turn easily and allow for precise control of water flow and temperature.
If you encounter any issues during the testing process, such as leaks or difficulty in adjusting the temperature, you may need to reassess the installation and make any necessary adjustments. Double-check that all components are properly aligned, tightened, and functioning as expected.
If everything is working correctly with no leaks or other issues, congratulations! You have successfully replaced the Moen kitchen faucet cartridge. You can now enjoy a properly functioning and leak-free faucet.
Remember to periodically check for any signs of leaks or other problems after the cartridge replacement. Routine maintenance and inspections will help keep your faucet in good condition and prevent any potential issues from escalating.
With the testing complete and the faucet functioning properly, you have completed the entire process of replacing the Moen kitchen faucet cartridge. Great job!
Conclusion
Replacing the Moen kitchen faucet cartridge is a straightforward process that can save you time and money by avoiding the need to hire a plumber. By following the steps outlined in this guide, you can successfully replace a worn-out or malfunctioning cartridge and restore the functionality of your faucet.
Throughout the process, it’s essential to gather the necessary tools and materials, turn off the water supply, and carefully remove the handle, cartridge retaining clip, and old cartridge. Installing the new cartridge and reattaching the handle are critical steps that require attention to detail and proper alignment.
After completing the installation, turning on the water supply and testing the faucet is crucial to ensure proper functioning and identify any leaks or issues that may require further adjustments. It’s always important to be diligent in checking for leaks and performing routine maintenance to keep your faucet in excellent working condition.
Remember, it’s essential to consult the manufacturer’s instructions or specific documentation for your faucet model while replacing the cartridge. Different faucet models may have slight variations in the process, so it’s important to follow the recommended steps for your specific faucet.
By following these guidelines and taking the necessary precautions, you can successfully replace the Moen kitchen faucet cartridge and enjoy a leak-free faucet with optimal water flow and temperature control.
If at any point during the process you feel unsure or encounter difficulties, don’t hesitate to seek professional assistance from a licensed plumber. They have the expertise and experience to handle more complex scenarios and ensure a proper installation.
With the knowledge and confidence gained from this guide, you can tackle the task of replacing the Moen kitchen faucet cartridge with ease and enjoy the benefits of a well-functioning faucet in your kitchen.
Frequently Asked Questions about How To Replace Moen Kitchen Faucet Cartridge
Was this page helpful?
At Storables.com, we guarantee accurate and reliable information. Our content, validated by Expert Board Contributors, is crafted following stringent Editorial Policies. We're committed to providing you with well-researched, expert-backed insights for all your informational needs.


0 thoughts on “How To Replace Moen Kitchen Faucet Cartridge”