Home>diy>Architecture & Design>How Would You Design A House In A Temperate Biome
Architecture & Design
How Would You Design A House In A Temperate Biome
Modified: August 17, 2024
Explore innovative architecture design ideas for houses in temperate biomes. Discover sustainable and functional solutions to create the perfect home in a temperate climate.
(Many of the links in this article redirect to a specific reviewed product. Your purchase of these products through affiliate links helps to generate commission for Storables.com, at no extra cost. Learn more)
Introduction
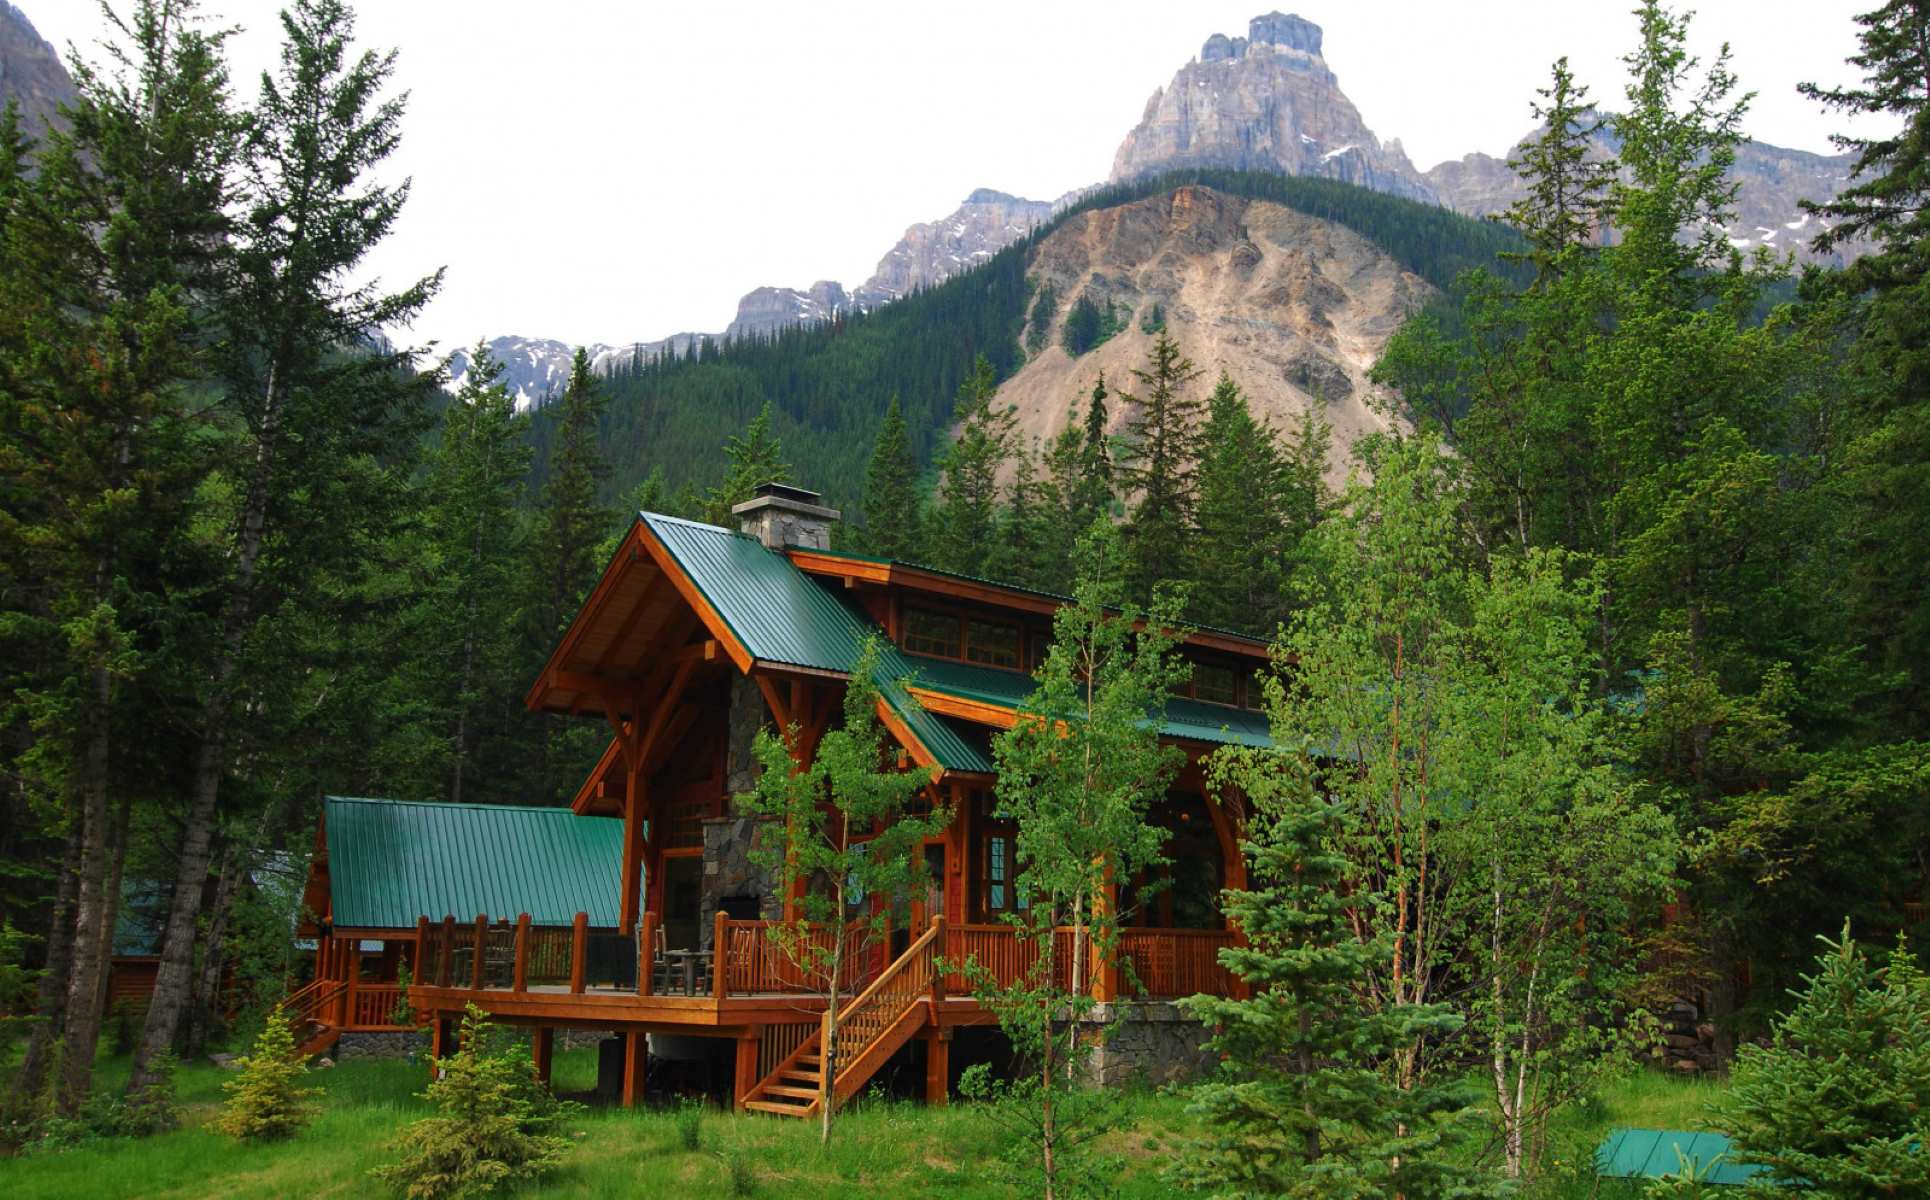
Designing a house in a temperate biome presents a unique set of challenges and opportunities. The temperate biome, characterized by moderate temperatures and distinct seasons, offers a diverse canvas for architectural innovation. In this article, we will explore the key considerations and strategies for creating a sustainable, comfortable, and visually appealing home in a temperate climate. From understanding the environmental factors to integrating energy-efficient systems and maximizing natural light, designing a house in a temperate biome requires a thoughtful approach that harmonizes with the surrounding landscape while prioritizing the well-being of its occupants.
Whether you are an architect, a homeowner, or simply passionate about sustainable design, this article will provide valuable insights into the principles and practices of architectural design in a temperate biome. By leveraging sustainable materials, optimizing natural resources, and embracing the beauty of the natural environment, we can create homes that not only withstand the elements but also contribute to the preservation of the delicate ecological balance of the temperate biome.
Key Takeaways:
- Designing a house in a temperate biome requires understanding seasonal changes, using sustainable materials, and maximizing natural light and ventilation for a comfortable and eco-friendly living environment.
- Architects can create homes in temperate biomes that harmonize with the natural surroundings, prioritize sustainability, and provide a seamless indoor-outdoor connection for a holistic and enriching living experience.
Read more: How Do You Cut Tempered Glass
Understanding the Temperate Biome
The temperate biome, also known as the mesothermal climate, is characterized by moderate temperatures and distinct seasonal changes. This biome is typically found between the polar regions and the tropics, encompassing a wide range of landscapes, including deciduous forests, grasslands, and coastal areas. The temperate climate is defined by its four distinct seasons: spring, summer, autumn, and winter, each offering unique environmental conditions that influence architectural design.
One of the defining features of the temperate biome is its moderate and balanced climate, which often includes comfortable temperatures, ample rainfall, and a rich diversity of flora and fauna. The seasonal variations, from the vibrant colors of autumn to the tranquility of a snowy winter, provide an ever-changing backdrop for architectural integration. Understanding the nuances of each season is crucial for designing a house that can adapt and respond to the dynamic environmental conditions.
Furthermore, the temperate biome often experiences temperature fluctuations, requiring homes to provide efficient insulation and climate control systems. From the warm embrace of summer to the chilly embrace of winter, a well-designed house should offer comfort and sustainability throughout the year. Additionally, the temperate biome is often characterized by its lush vegetation, which can be leveraged to enhance the aesthetics and ecological footprint of the house.
By understanding the intricate balance of the temperate biome, architects and homeowners can harness its potential to create homes that seamlessly integrate with the natural surroundings while providing a sustainable and harmonious living environment. From the rolling hills of the countryside to the coastal plains, the temperate biome offers a diverse and inspiring backdrop for architectural exploration and innovation.
Key Considerations for Designing a House in a Temperate Biome
Designing a house in a temperate biome requires a holistic approach that takes into account the unique environmental characteristics and seasonal variations. From the selection of sustainable materials to the integration of energy-efficient systems, several key considerations play a pivotal role in creating a comfortable and environmentally conscious home.
1. Climate Responsive Design: Understanding the seasonal variations in the temperate biome is essential for creating a climate-responsive design. By strategically positioning windows, shading elements, and outdoor living spaces, architects can optimize natural light and ventilation while mitigating the impact of extreme temperatures.
2. Thermal Insulation: Given the temperature fluctuations in a temperate climate, effective thermal insulation is crucial for maintaining a comfortable indoor environment. Utilizing high-quality insulation materials and designing for minimal thermal bridging can significantly reduce heating and cooling energy demands.
3. Sustainable Materials: Selecting locally sourced and sustainable materials not only reduces the environmental footprint but also enhances the resilience of the house. Timber, reclaimed wood, and recycled materials can be integrated into the design, blending functionality with aesthetic appeal.
4. Passive Solar Design: Leveraging passive solar design principles, such as orienting the house to maximize solar gain in the winter and implementing shading strategies for summer, can optimize natural heating and cooling, reducing the reliance on mechanical systems.
5. Rainwater Harvesting and Greywater Recycling: Incorporating rainwater harvesting systems and greywater recycling technologies can reduce water consumption and contribute to sustainable water management, especially in regions with seasonal rainfall patterns.
6. Landscape Integration: Integrating the house with the surrounding landscape, including native vegetation and natural topography, can enhance the visual appeal, promote biodiversity, and provide natural shading and wind protection.
7. Flexibility and Adaptability: Designing for flexibility and adaptability allows the house to respond to seasonal changes and evolving lifestyle needs. Multi-functional spaces, movable partitions, and adaptable outdoor areas can accommodate varying requirements throughout the year.
By carefully considering these key factors, architects and homeowners can collaborate to design houses that not only withstand the dynamic nature of the temperate biome but also contribute to its preservation and sustainable development.
Sustainable Materials and Construction Techniques
When designing a house in a temperate biome, the selection of sustainable materials and construction techniques plays a critical role in ensuring environmental responsibility and long-term resilience. By prioritizing eco-friendly materials and innovative building methods, architects can create homes that minimize their impact on the surrounding ecosystem while maximizing energy efficiency and durability.
1. Locally Sourced Materials: Utilizing locally sourced materials reduces the carbon footprint associated with transportation and supports the regional economy. From locally quarried stone to sustainably harvested timber, incorporating indigenous materials adds a sense of authenticity to the house while promoting sustainable practices.
2. Recycled and Reclaimed Materials: Integrating recycled and reclaimed materials, such as reclaimed wood, salvaged bricks, or repurposed metal, not only reduces waste but also adds character and uniqueness to the house. Embracing the imperfections and history of these materials can contribute to the overall aesthetic appeal of the design.
3. Engineered Wood Products: Engineered wood products, including cross-laminated timber (CLT) and laminated veneer lumber (LVL), offer sustainable alternatives to traditional timber, providing strength, stability, and design flexibility while promoting responsible forest management practices.
4. High-Performance Insulation: Investing in high-performance insulation materials, such as recycled cellulose insulation or natural wool insulation, enhances the thermal efficiency of the house, reducing energy consumption and creating a comfortable indoor environment throughout the changing seasons.
5. Prefabrication and Modular Construction: Embracing prefabrication and modular construction techniques minimizes construction waste, accelerates the building process, and allows for precision manufacturing of building components, leading to cost savings and reduced environmental impact.
6. Green Roof Systems: Integrating green roof systems, which consist of vegetation layers planted over a waterproofing membrane, not only provides insulation and stormwater management but also contributes to biodiversity, air purification, and visual harmony with the natural surroundings.
7. Passive Design Strategies: Implementing passive design strategies, such as thermal mass construction and natural ventilation techniques, reduces the reliance on mechanical heating and cooling systems, resulting in long-term energy savings and improved indoor comfort.
By embracing sustainable materials and construction techniques, architects can create houses that not only resonate with the natural beauty of the temperate biome but also serve as exemplars of sustainable living, inspiring future generations to prioritize environmental stewardship in architectural design.
When designing a house in a temperate biome, consider using large windows to maximize natural light and passive solar heating. Also, use insulation and thermal mass to regulate indoor temperature.
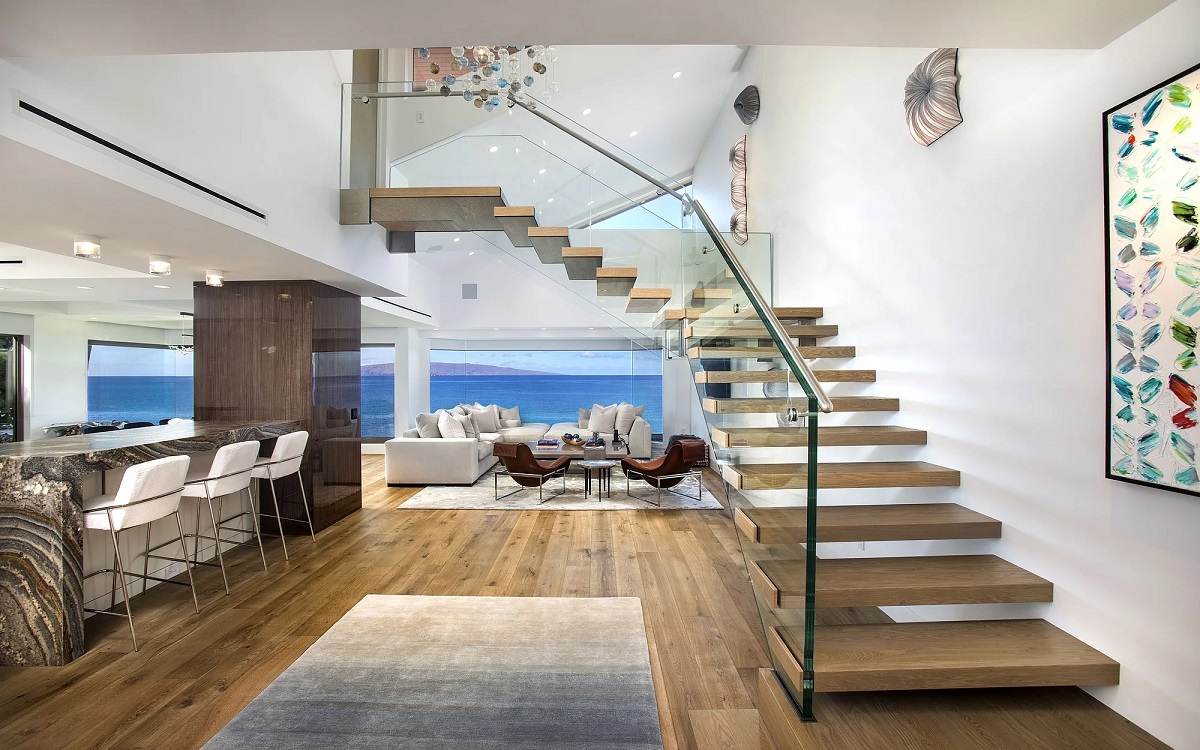
Maximizing Natural Light and Ventilation
Optimizing natural light and ventilation is paramount when designing a house in a temperate biome, as it not only enhances the visual appeal of the interior spaces but also contributes to energy efficiency and occupant well-being. By strategically integrating daylighting and natural ventilation strategies, architects can create homes that are bright, airy, and responsive to the dynamic climatic conditions of the temperate biome.
1. Orientation and Window Placement: Orienting the house to maximize exposure to natural light, while carefully considering the path of the sun throughout the seasons, allows for effective daylight penetration. Strategic placement of windows, skylights, and clerestory openings ensures a well-lit interior while minimizing the need for artificial lighting during daylight hours.
2. Light Shelf and Reflective Surfaces: Incorporating light shelves and reflective surfaces, such as polished concrete floors or light-colored finishes, helps distribute and amplify natural light deep into the interior, reducing the reliance on artificial lighting and creating a visually inviting ambiance.
3. Operable Windows and Ventilation Strategies: Implementing operable windows, louvers, and ventilation stacks facilitates natural airflow, allowing for cross-ventilation and passive cooling during warmer seasons while promoting air exchange and indoor air quality throughout the year.
4. Atriums and Courtyards: Introducing atriums, internal courtyards, or light wells within the house design not only serves as focal points but also acts as light and ventilation conduits, bringing natural elements deep into the interior and fostering a connection with the outdoors.
5. Glazing Performance and Shading Devices: Selecting high-performance glazing with low solar heat gain coefficients, coupled with external shading devices such as overhangs, awnings, and vegetation, mitigates solar heat gain in the summer while allowing for solar heat gain in the winter, optimizing thermal comfort year-round.
6. Skylights and Solar Tubes: Integrating skylights and solar tubes in key areas of the house, such as kitchens, bathrooms, and circulation spaces, introduces natural light from above, creating visual interest and reducing the need for artificial lighting in traditionally darker areas.
By prioritizing natural light and ventilation, architects can craft homes that celebrate the ever-changing natural light patterns and embrace the gentle breezes of the temperate biome, fostering a harmonious relationship between the built environment and the surrounding landscape.
Incorporating Energy-Efficient Systems
Integrating energy-efficient systems is crucial for designing a sustainable and environmentally responsible house in a temperate biome. By leveraging innovative technologies and design strategies, architects can create homes that minimize energy consumption, reduce carbon emissions, and prioritize long-term operational efficiency. From passive design principles to renewable energy solutions, a comprehensive approach to energy efficiency is essential for the holistic sustainability of the house.
1. Passive Solar Design: Harnessing the principles of passive solar design, including proper orientation, thermal mass, and shading elements, optimizes solar heat gain in the winter and minimizes it in the summer, reducing the reliance on mechanical heating and cooling systems.
2. High-Efficiency HVAC Systems: Selecting high-efficiency heating, ventilation, and air conditioning (HVAC) systems, such as heat pumps or geothermal heating, ensures optimal indoor comfort while minimizing energy consumption and operational costs.
3. Energy-Efficient Lighting: Embracing LED lighting fixtures, daylight sensors, and automated controls reduces electricity usage for lighting, while maximizing natural light penetration and creating visually appealing and energy-conscious interior spaces.
4. Smart Home Technologies: Implementing smart home technologies, including programmable thermostats, occupancy sensors, and energy monitoring systems, allows for precise control and optimization of energy usage, leading to significant energy savings over time.
5. Renewable Energy Integration: Incorporating renewable energy sources, such as solar panels or wind turbines, provides a sustainable and cost-effective means of generating electricity, further reducing the environmental impact of the house while promoting energy independence.
6. Energy-Efficient Appliances and Equipment: Selecting ENERGY STAR-rated appliances and energy-efficient equipment, including water heaters, refrigerators, and laundry machines, minimizes energy consumption and reduces the overall carbon footprint of the house.
7. Building Envelope Optimization: Enhancing the thermal performance of the building envelope through advanced insulation, airtight construction, and high-performance windows and doors minimizes heat loss and air infiltration, resulting in reduced energy demand for heating and cooling.
By integrating these energy-efficient systems and design strategies, architects can create houses that not only provide a comfortable and healthy living environment but also contribute to the global effort to mitigate climate change and promote sustainable living practices within the temperate biome.
Creating Outdoor Living Spaces
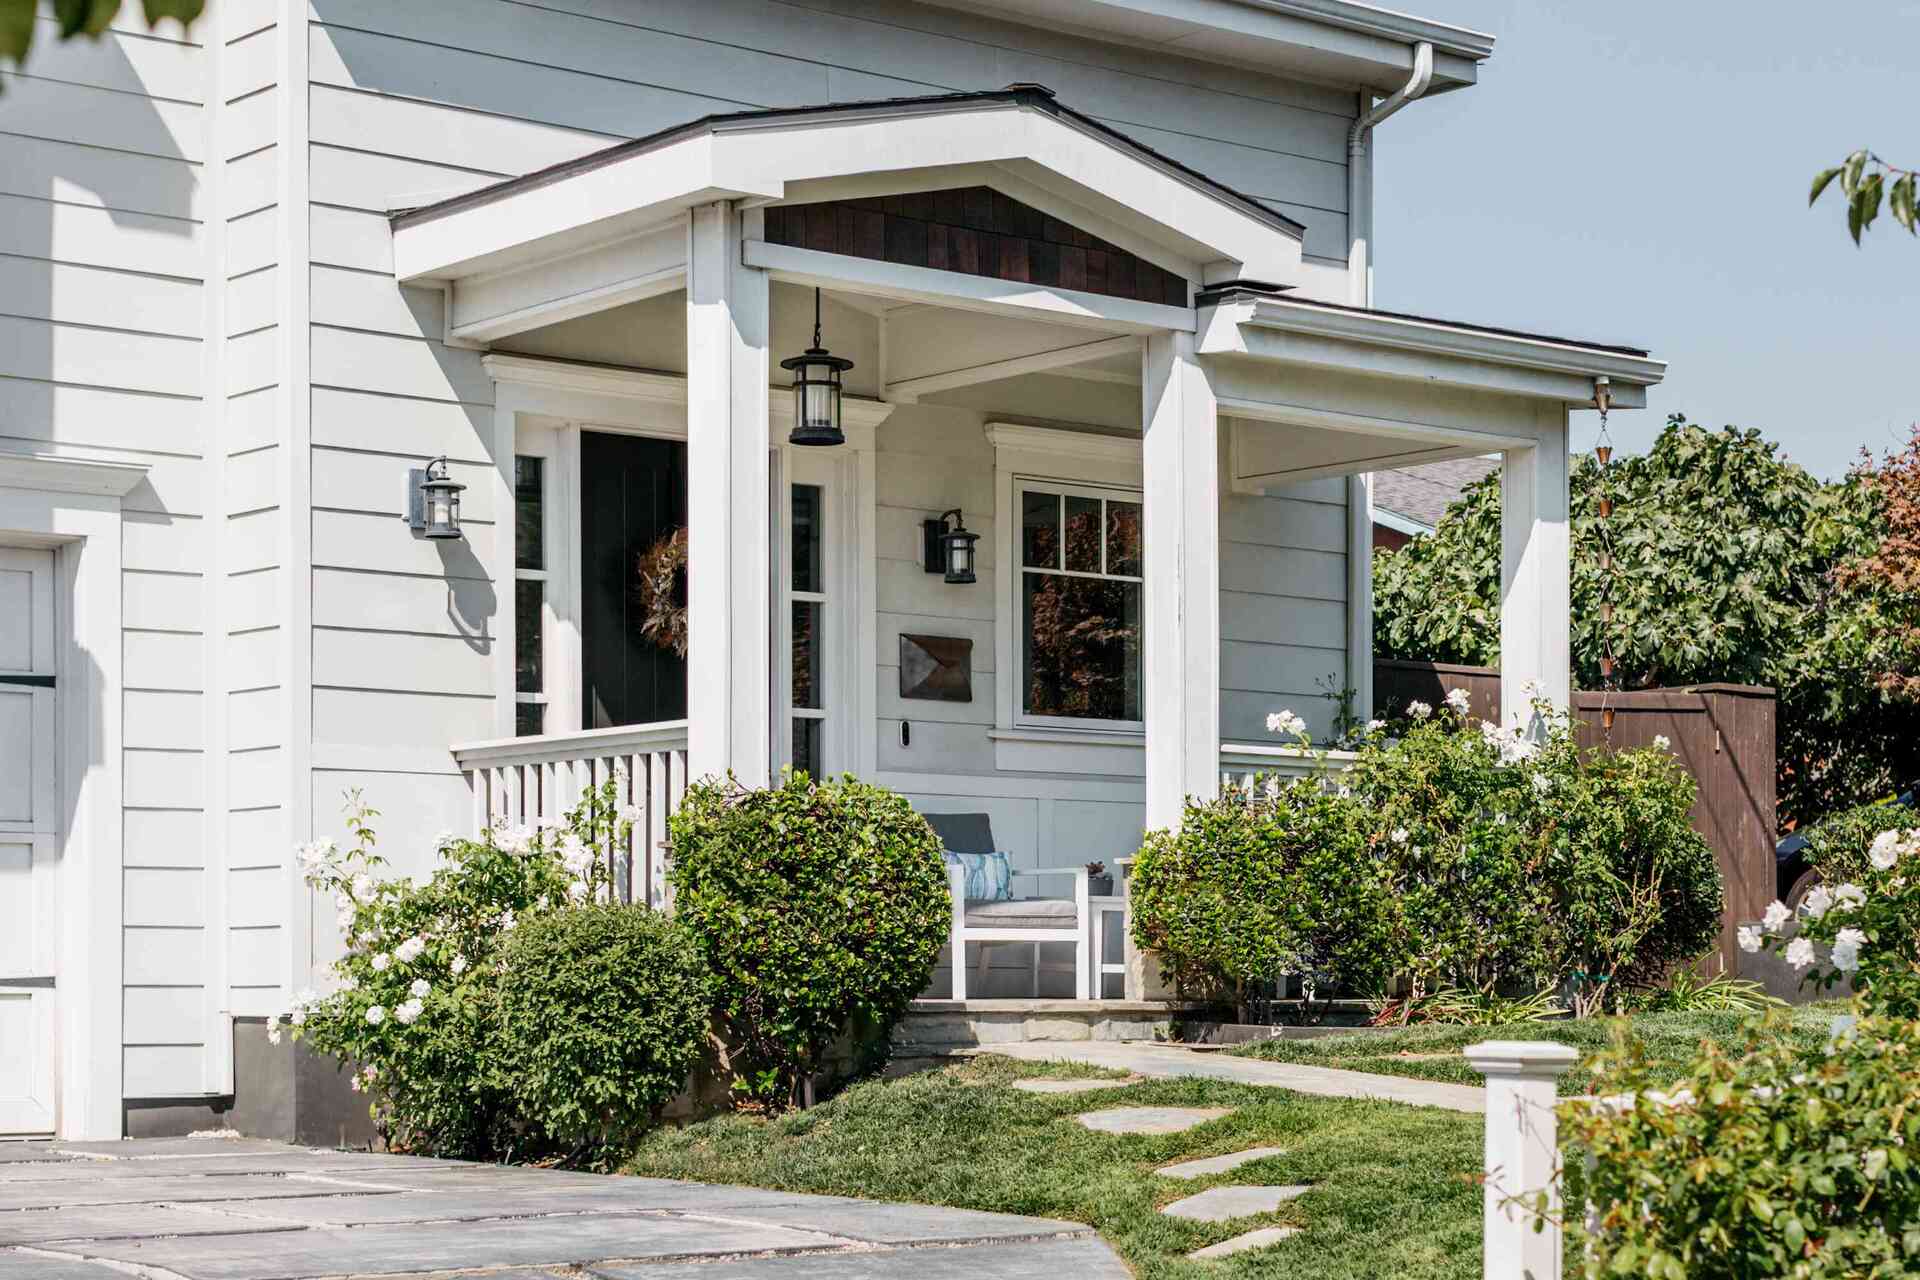
Embracing outdoor living spaces is a fundamental aspect of designing a house in a temperate biome, where the distinct seasons and moderate climate offer abundant opportunities for connecting with nature and enjoying the outdoor environment. By thoughtfully integrating outdoor living areas, architects can extend the functional footprint of the house, blur the boundaries between indoor and outdoor spaces, and provide residents with immersive experiences that celebrate the beauty of the temperate biome.
1. Multi-Functional Outdoor Areas: Designing versatile outdoor spaces that can accommodate various activities, such as dining, relaxation, gardening, and social gatherings, ensures that residents can fully engage with the natural surroundings throughout the year.
2. Seasonal Flexibility: Creating outdoor spaces that are adaptable to seasonal changes, such as providing shade in the summer and warmth in the winter, allows for year-round enjoyment and fosters a deeper connection with the natural rhythms of the temperate climate.
3. Integration of Natural Elements: Incorporating natural elements, such as water features, native vegetation, and natural stone or wood materials, enhances the sensory experience and promotes a sense of tranquility and harmony within the outdoor living areas.
4. Seamless Indoor-Outdoor Transitions: Designing the house with large operable doors, expansive windows, and covered outdoor areas facilitates a seamless flow between the indoor and outdoor spaces, blurring the boundaries and creating a sense of spatial continuity.
5. Sustainable Landscaping: Implementing sustainable landscaping practices, such as xeriscaping, rain gardens, and native plantings, reduces water consumption, promotes biodiversity, and establishes a cohesive link between the house and its natural surroundings.
6. Outdoor Cooking and Dining: Incorporating outdoor kitchens, dining areas, and fire pits encourages outdoor culinary experiences and social gatherings, allowing residents to fully embrace the temperate climate while creating memorable moments with family and friends.
7. Wellness and Recreation Spaces: Designing outdoor spaces that support wellness activities, such as yoga decks, meditation gardens, or recreational amenities, promotes a healthy and balanced lifestyle that is deeply connected to the natural environment.
By prioritizing the creation of inviting and functional outdoor living spaces, architects can enrich the residential experience, foster a deeper appreciation for the natural beauty of the temperate biome, and inspire a harmonious coexistence between the built environment and the surrounding landscape.
Conclusion
Designing a house in a temperate biome is a captivating journey that intertwines architectural creativity with a deep respect for the natural environment. By understanding the nuances of the temperate climate, embracing sustainable materials, and integrating energy-efficient systems, architects can craft homes that harmonize with the ever-changing seasons and offer a sustainable sanctuary for their occupants.
Throughout this exploration, we have delved into the essential considerations for designing houses in temperate biomes, from climate-responsive design principles to the incorporation of outdoor living spaces that celebrate the beauty of the natural surroundings. The temperate biome, with its moderate temperatures, seasonal transitions, and diverse landscapes, presents an inspiring canvas for architectural innovation and sustainable living.
As we navigate the complexities of modern living, the integration of sustainable materials, passive design strategies, and renewable energy solutions has become paramount in creating homes that not only provide comfort and functionality but also contribute to the broader goals of environmental stewardship and climate resilience. By prioritizing natural light, ventilation, and outdoor connections, architects can foster a deep sense of connection between residents and the surrounding natural landscape, promoting a holistic and enriching living experience.
Ultimately, the design of houses in temperate biomes is a testament to the harmonious coexistence between human habitation and the delicate ecosystems that define the region. By embracing sustainable practices, respecting the natural rhythms of the environment, and fostering a strong sense of community and well-being, architects can create homes that stand as beacons of sustainable living, inspiring future generations to prioritize environmental consciousness and celebrate the intrinsic beauty of the temperate biome.
Through the fusion of innovative design, sustainable technologies, and a deep reverence for nature, houses in temperate biomes can serve as models of resilience, elegance, and environmental responsibility, leaving a lasting legacy that honors the timeless connection between architecture and the natural world.
Frequently Asked Questions about How Would You Design A House In A Temperate Biome
Was this page helpful?
At Storables.com, we guarantee accurate and reliable information. Our content, validated by Expert Board Contributors, is crafted following stringent Editorial Policies. We're committed to providing you with well-researched, expert-backed insights for all your informational needs.


0 thoughts on “How Would You Design A House In A Temperate Biome”