Articles
How To Replace Water Pump On 97 Honda Accord
Modified: August 31, 2024
Learn how to replace the water pump on a 97 Honda Accord with our informative articles. Step-by-step instructions and tips for a successful DIY repair.
(Many of the links in this article redirect to a specific reviewed product. Your purchase of these products through affiliate links helps to generate commission for Storables.com, at no extra cost. Learn more)
Introduction
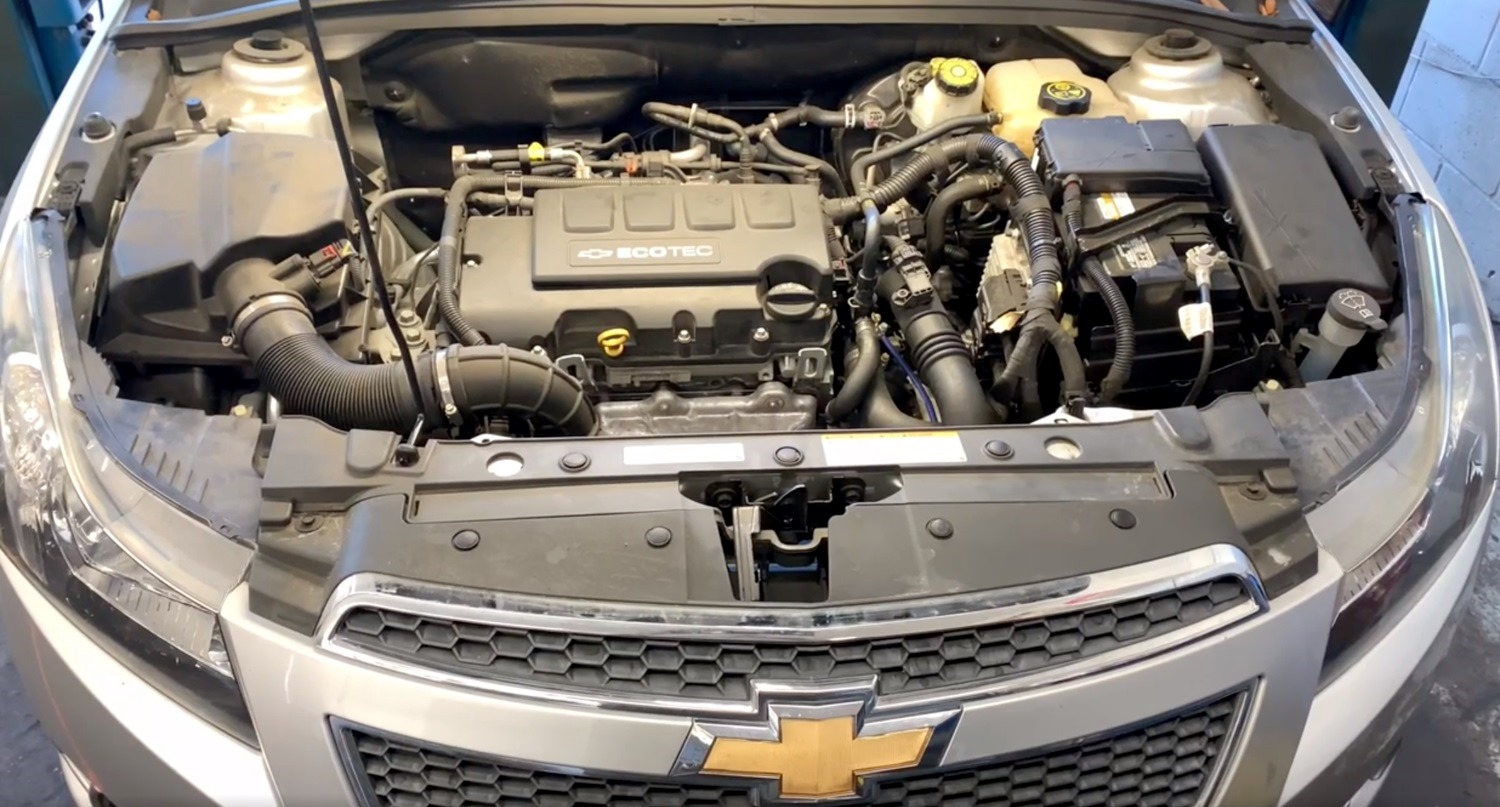
Welcome to this step-by-step guide on how to replace the water pump on a 1997 Honda Accord. The water pump is a crucial component of the cooling system, responsible for circulating coolant throughout the engine to regulate its temperature. Over time, the water pump may begin to wear out or develop leaks, leading to reduced cooling efficiency and potential engine damage. Replacing the water pump is a necessary maintenance task that should be done periodically to ensure the longevity and optimal performance of your Honda Accord.
Before we dive into the detailed instructions, it’s important to note that working on a car can be complex and potentially dangerous if not done correctly. It’s always recommended to consult your vehicle’s owner’s manual and seek professional assistance if you are unsure or uncomfortable with any part of the process. With that being said, if you feel confident and equipped to tackle this task on your own, let’s get started!
Key Takeaways:
- Regular water pump replacement is crucial for maintaining your 1997 Honda Accord’s cooling system and preventing potential engine damage. Follow the step-by-step guide for a smooth and efficient replacement process.
- Prioritize safety, accuracy, and proper disposal of waste materials when replacing the water pump. Ensure the longevity and optimal performance of your Honda Accord by performing necessary maintenance tasks.
Read more: How Much It Cost To Replace Water Pump
Tools and Materials Needed
Before you begin the water pump replacement, make sure you have the following tools and materials on hand:
- Socket set
- Wrench set
- Ratchet
- Pliers
- Screwdriver
- Drain pan
- Coolant/antifreeze
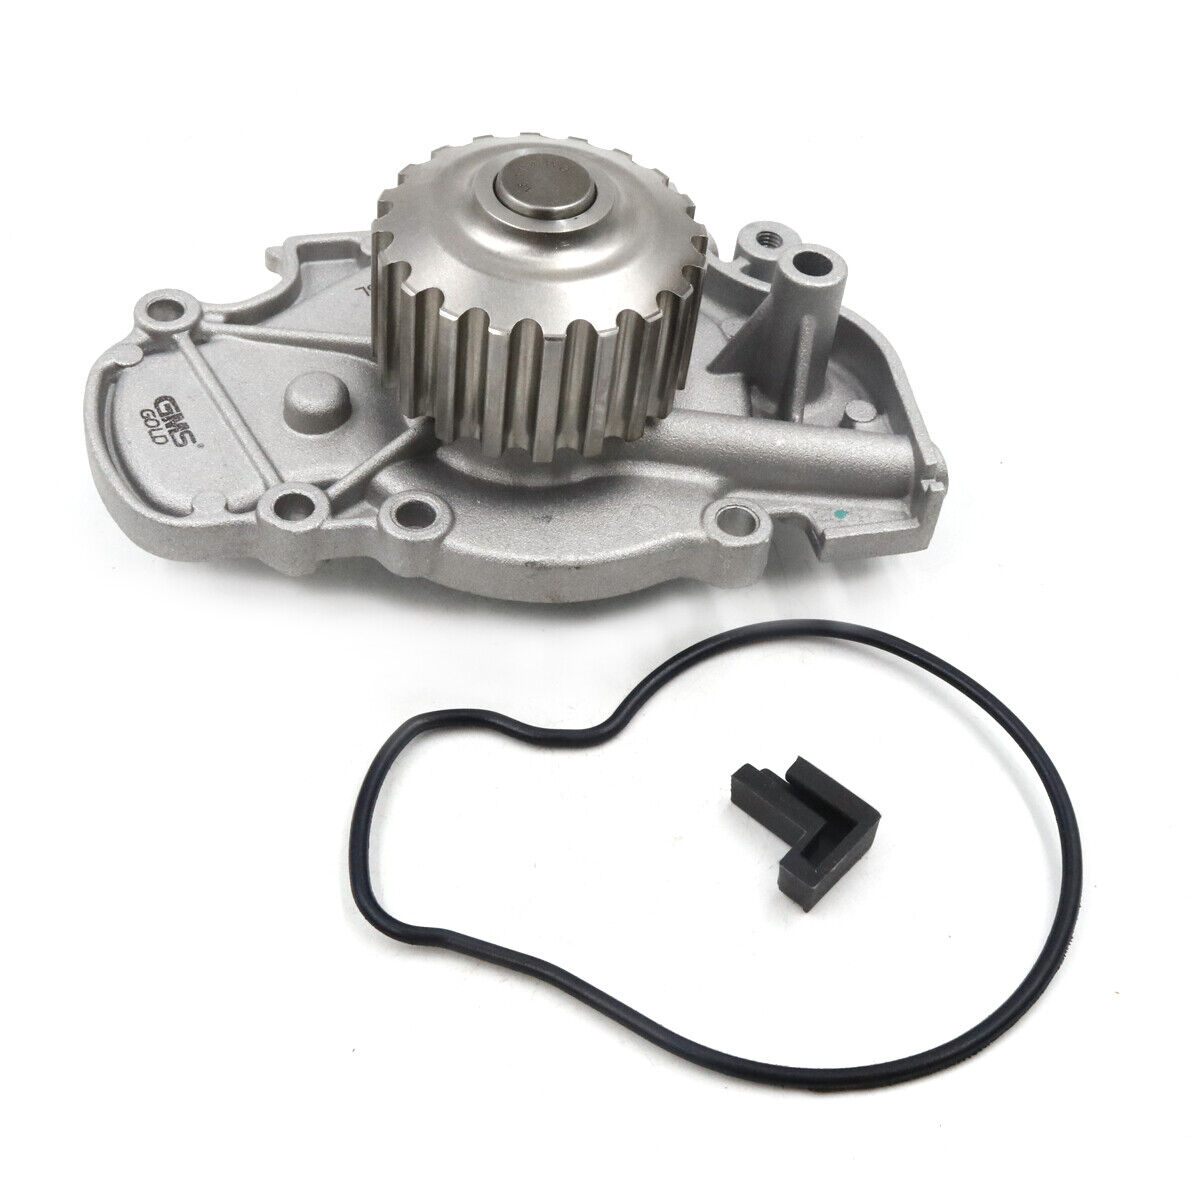
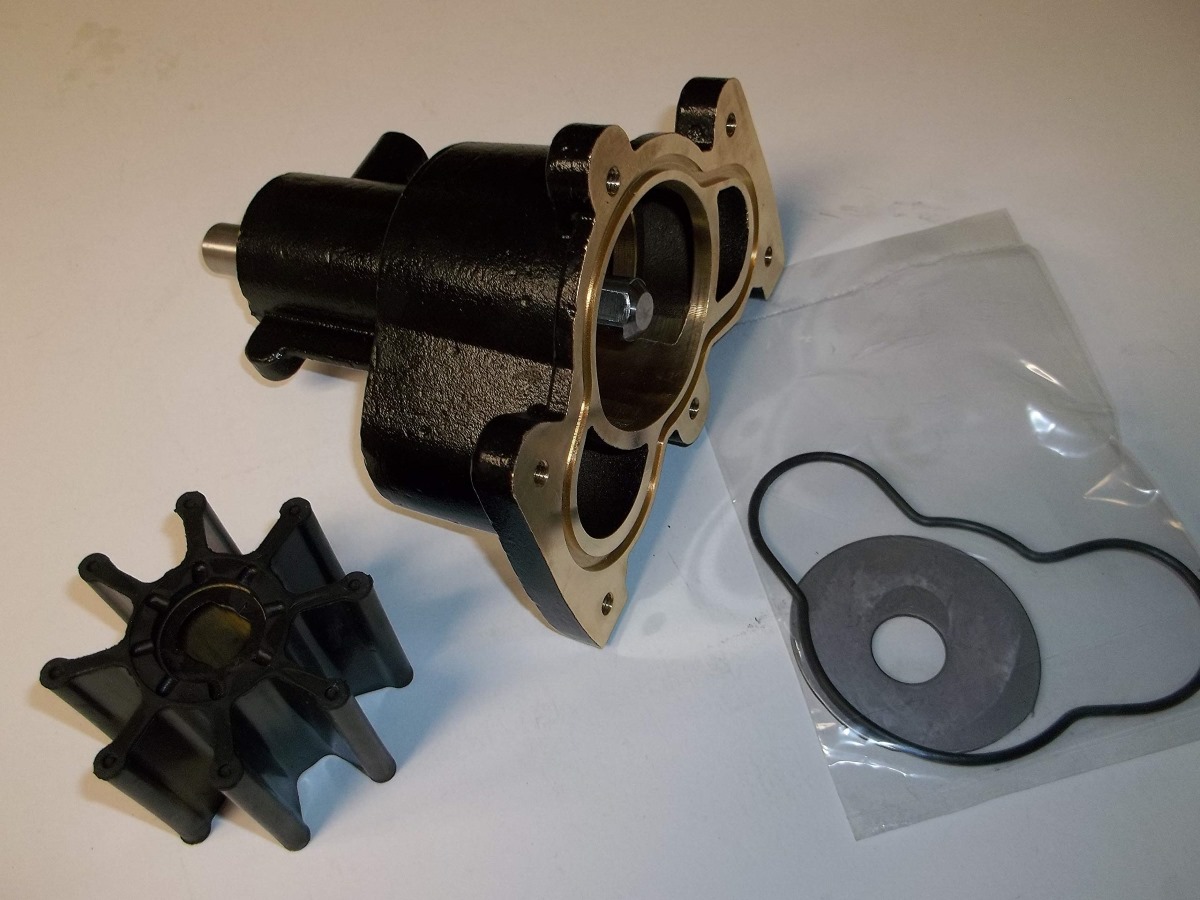
- Water pump gasket
- New water pump
- New serpentine belt (optional, but recommended)
Having these tools and materials ready will ensure a smooth and efficient water pump replacement process. It’s important to use high-quality replacement parts to ensure the longevity and reliability of your Honda Accord’s cooling system.
Step 1: Preparing the Vehicle
Before you can begin the process of replacing the water pump, it’s crucial to prepare your Honda Accord to ensure a safe and efficient work environment. Follow these steps:
- Start by parking the vehicle on a level surface and engaging the parking brake. Make sure the engine is cool to the touch before proceeding.
- Open the hood and locate the positive (+) and negative (-) terminals of the battery. Use a wrench to disconnect the negative terminal to prevent any electrical accidents during the process.
- Next, locate the radiator cap and carefully remove it. This will help in the draining process later on.
- Place a drain pan under the radiator drain plug, which is typically located on the bottom of the radiator. Loosen the plug using pliers or a wrench. Allow the coolant to drain completely into the pan.
- Once the coolant has drained, tighten the radiator drain plug securely.
- Proceed to the engine compartment and locate the serpentine belt. This belt is responsible for driving multiple components, including the water pump. If the serpentine belt shows signs of wear or damage, it is highly recommended to replace it while performing the water pump replacement.
With these preparations complete, you are now ready to move on to the next steps of replacing the water pump on your Honda Accord.
Step 2: Draining the Cooling System
Now that you have prepared the vehicle, the next step is to drain the coolant from the cooling system. Follow these steps:
- Make sure the engine is cool to the touch before proceeding.
- Locate the radiator drain plug at the bottom of the radiator and place a drain pan beneath it to catch the coolant.
- Using pliers or a wrench, carefully loosen the drain plug and allow the coolant to drain into the pan.
- Once the coolant has completely drained, tighten the drain plug securely.
- Dispose of the old coolant properly, following local regulations and guidelines.
By draining the cooling system, you ensure that no coolant spills or leaks occur during the water pump replacement process. This step is crucial for a clean and safe work environment.
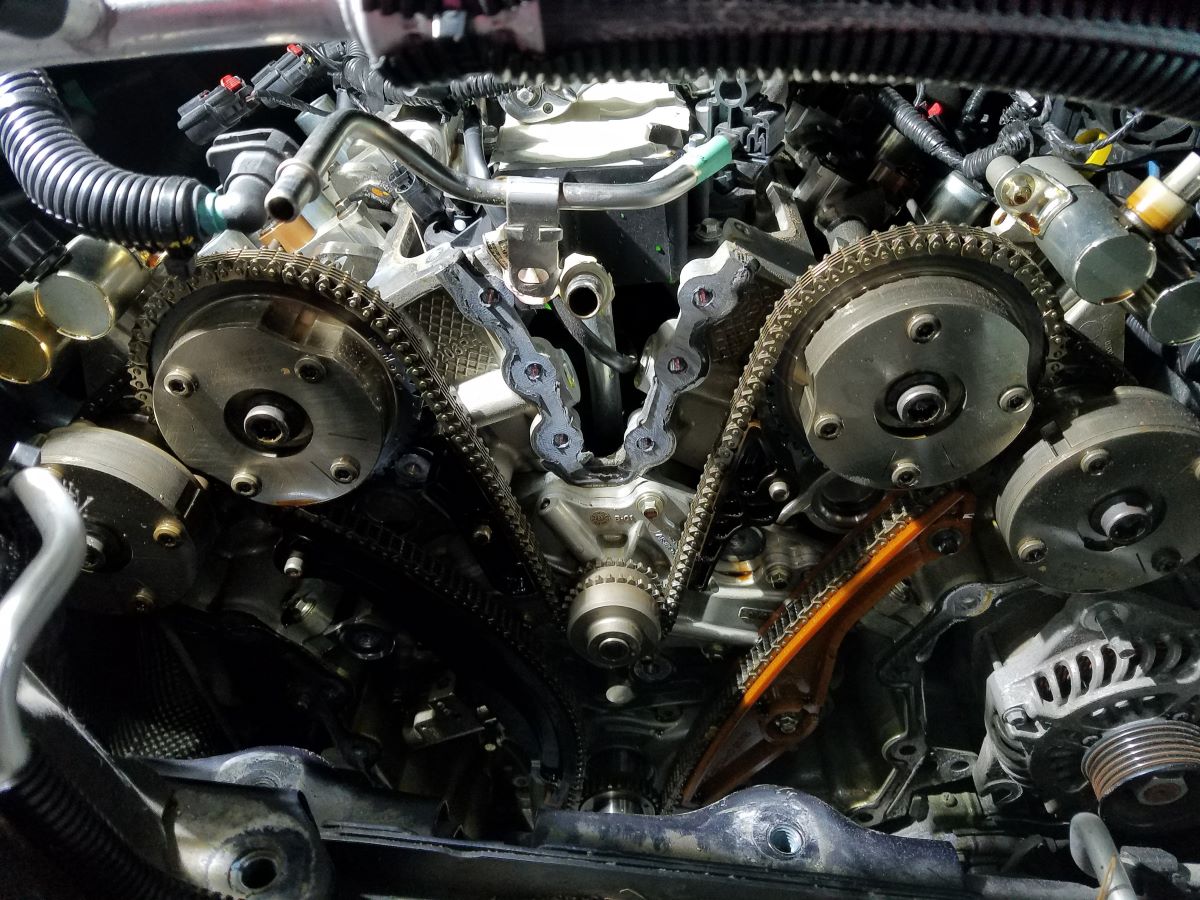
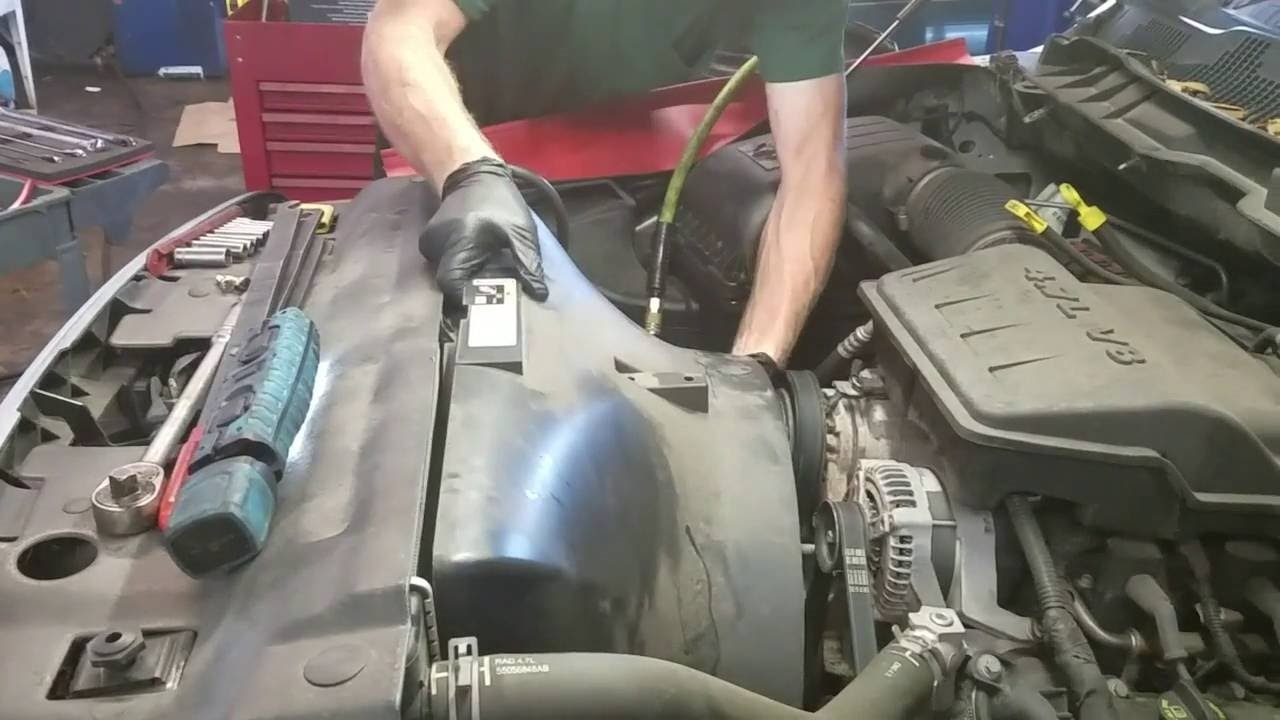
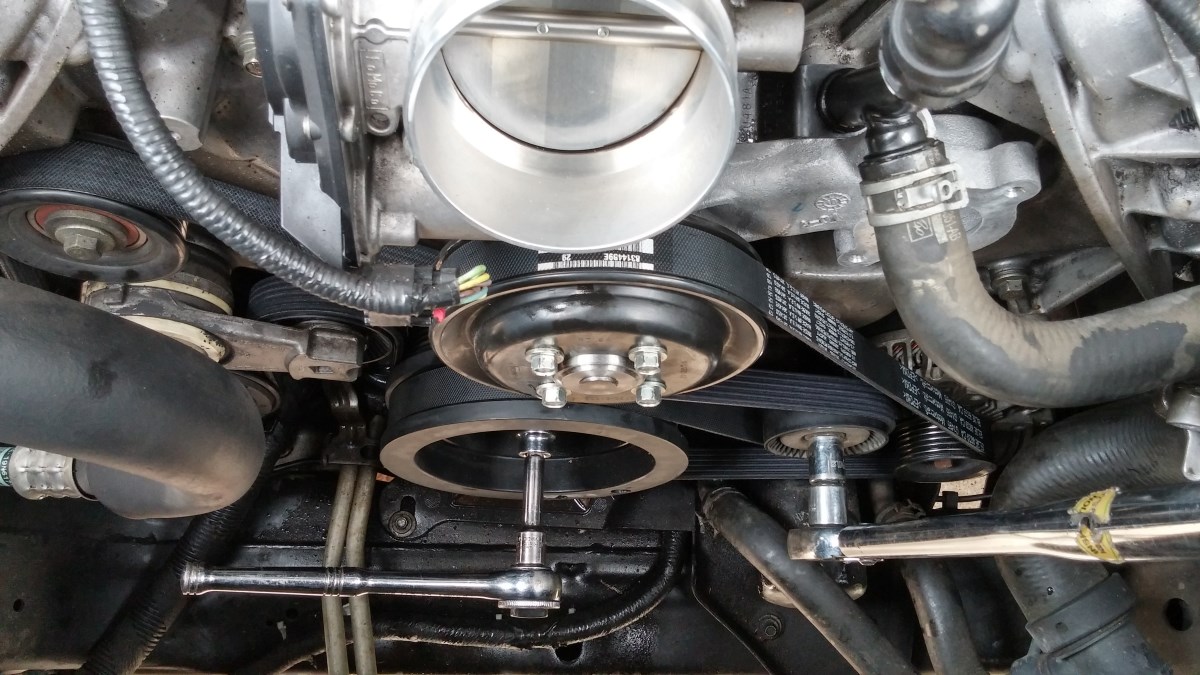
Step 3: Removing the Serpentine Belt
With the cooling system drained, it’s time to remove the serpentine belt that drives the water pump and other components. Follow these steps:
- Locate the belt tensioner, which is typically located near the top of the engine and easily accessible.
- Using a wrench or ratchet, apply pressure to the belt tensioner in the appropriate direction to release tension on the belt. Refer to your vehicle’s owner’s manual for specific instructions on how to release the tension.
- While holding the tensioner in the released position, carefully slide the serpentine belt off the pulleys.
- Slowly release the tensioner, allowing it to rest in its normal position.
- Inspect the serpentine belt for any signs of wear, such as cracks or fraying. If the belt shows signs of damage, it is recommended to replace it with a new one to ensure optimal performance.
By removing the serpentine belt, you gain access to the water pump and can proceed with its removal and replacement. Take care not to damage any other components during this step.
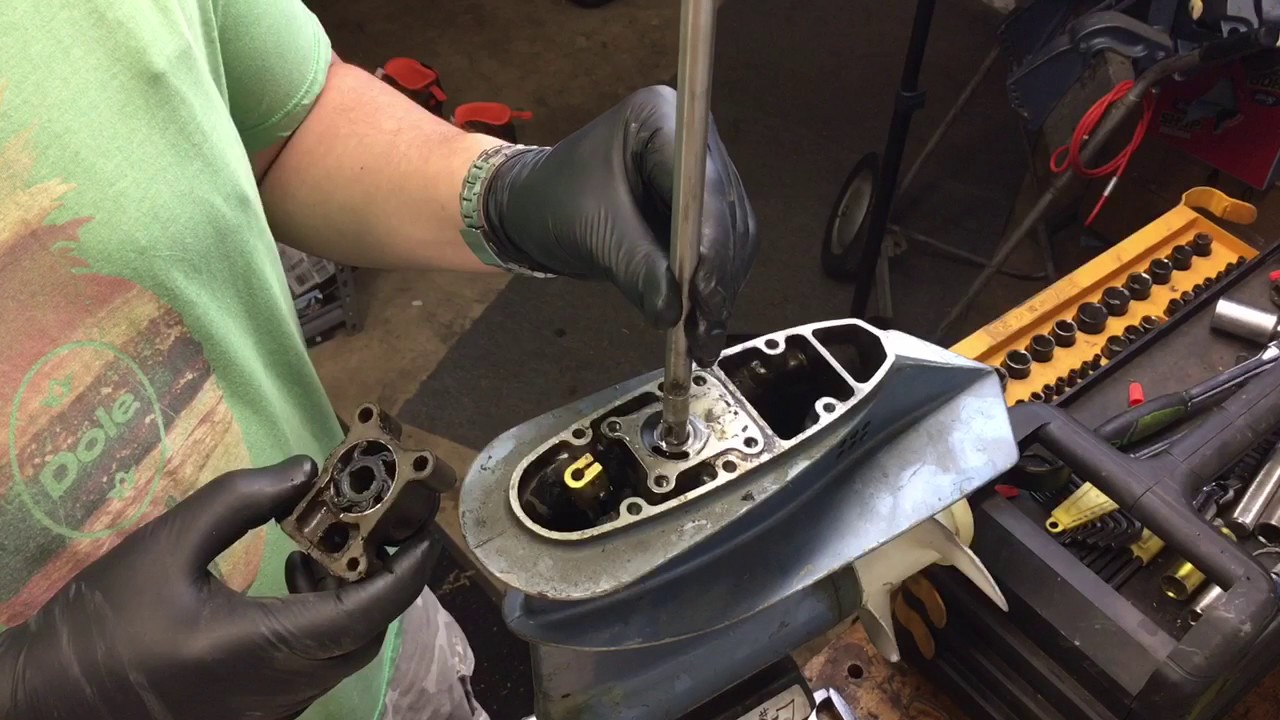
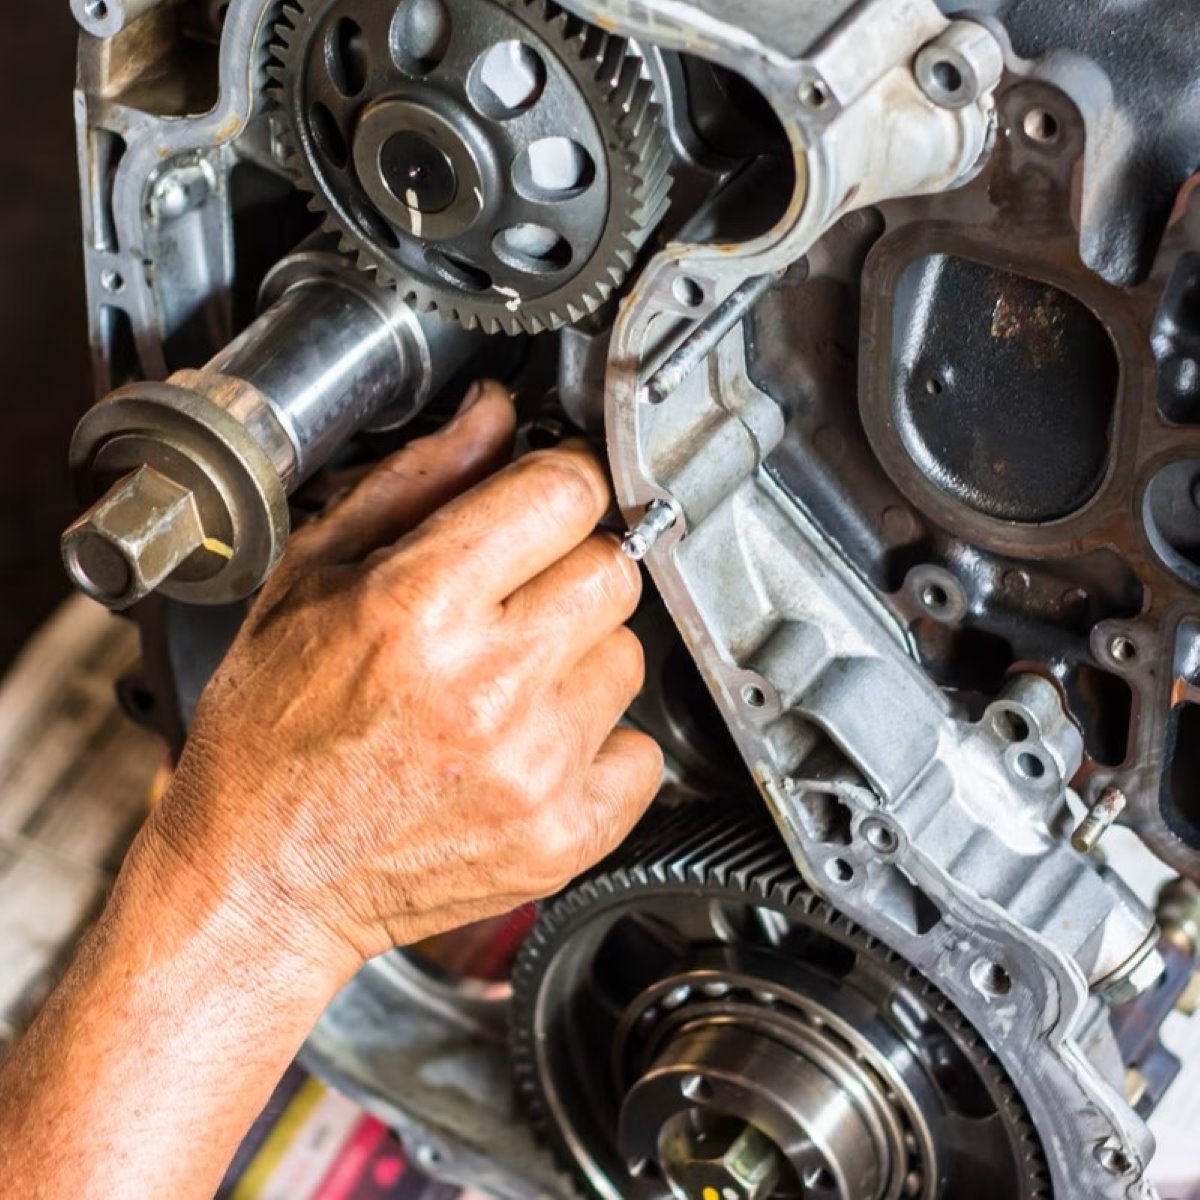
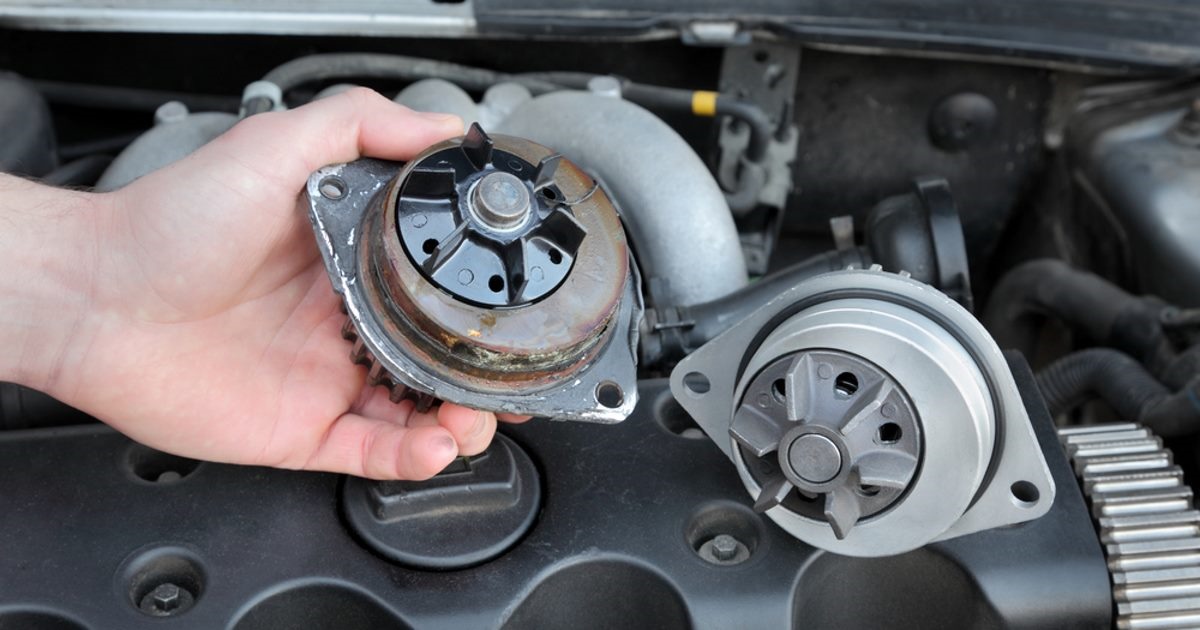
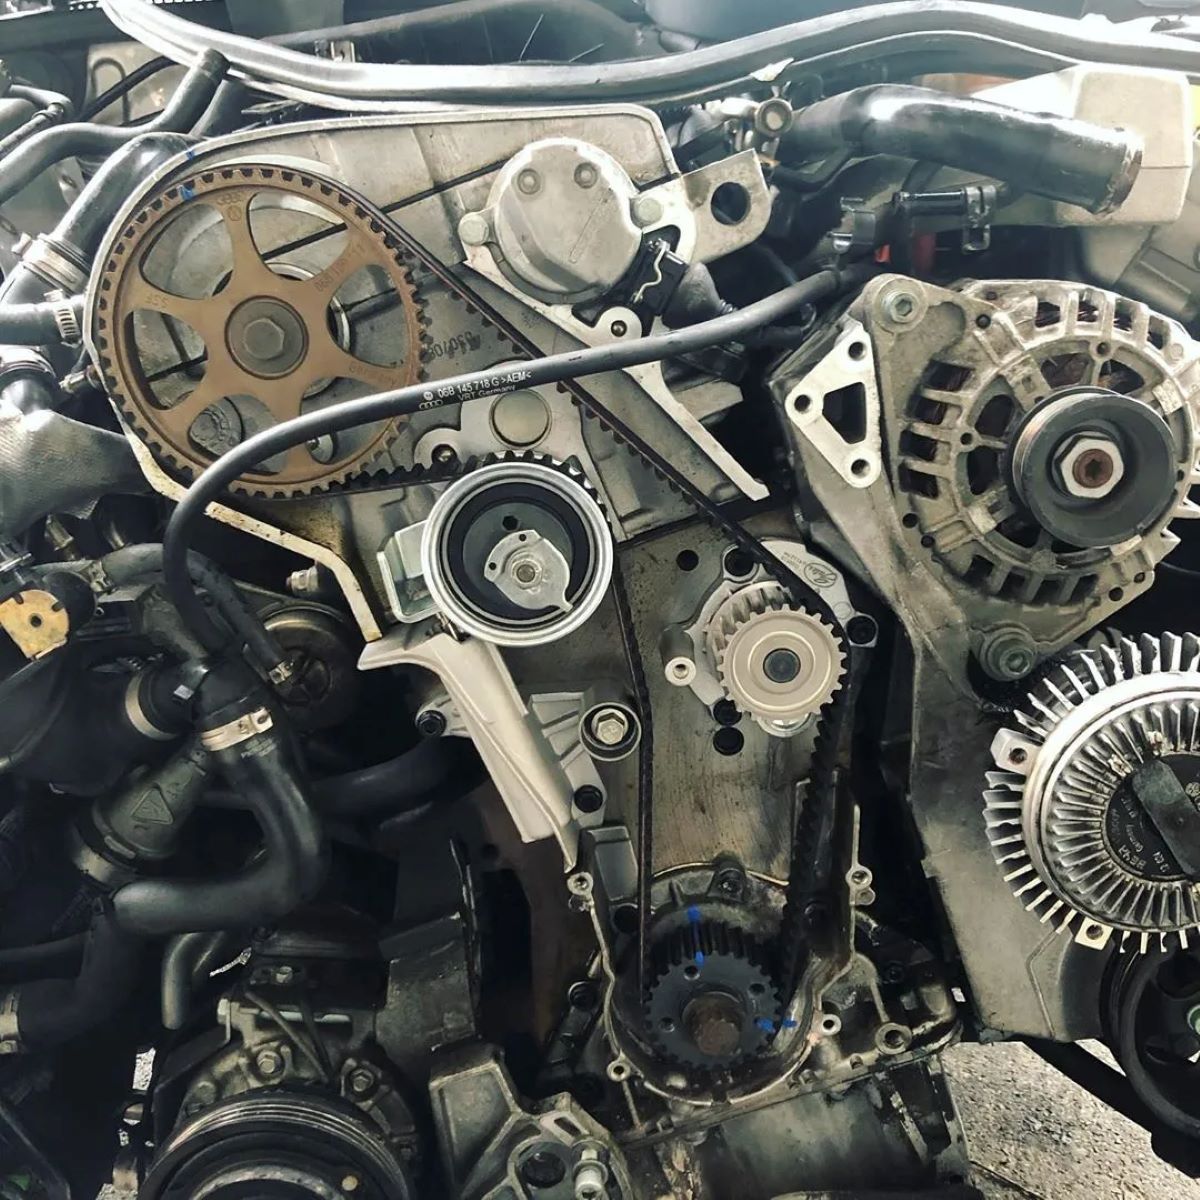
Step 4: Removing the Old Water Pump
Now that you have removed the serpentine belt, it’s time to proceed with removing the old water pump. Follow these steps:
- Before removing any hoses or bolts, take a moment to familiarize yourself with the water pump’s location and the attached components.
- Start by disconnecting any hoses connected to the water pump. Depending on your specific model, there may be one or more hoses to disconnect. Use pliers or a screwdriver to loosen any clamps securing the hoses, and carefully pull them off the water pump.
- Next, locate the bolts securing the water pump to the engine. Depending on your vehicle, there may be several bolts to remove. Use the appropriate socket or wrench to loosen and remove these bolts one by one.
- Once all the bolts are removed, carefully pry the old water pump away from the engine. Take note of any gaskets or seals that may be stuck to either the water pump or the engine, as these will need to be replaced with the new water pump.
- Thoroughly clean the area where the water pump was installed to remove any old gasket material or debris. This will ensure a proper seal when installing the new water pump.
By following these steps, you will successfully remove the old water pump, making way for the installation of the new one. Take your time and be cautious to avoid damaging any other components during this process.
When replacing the water pump on a 97 Honda Accord, make sure to drain the coolant first to avoid a mess. Also, take note of the position of the old pump before removing it to ensure the new one is installed correctly.
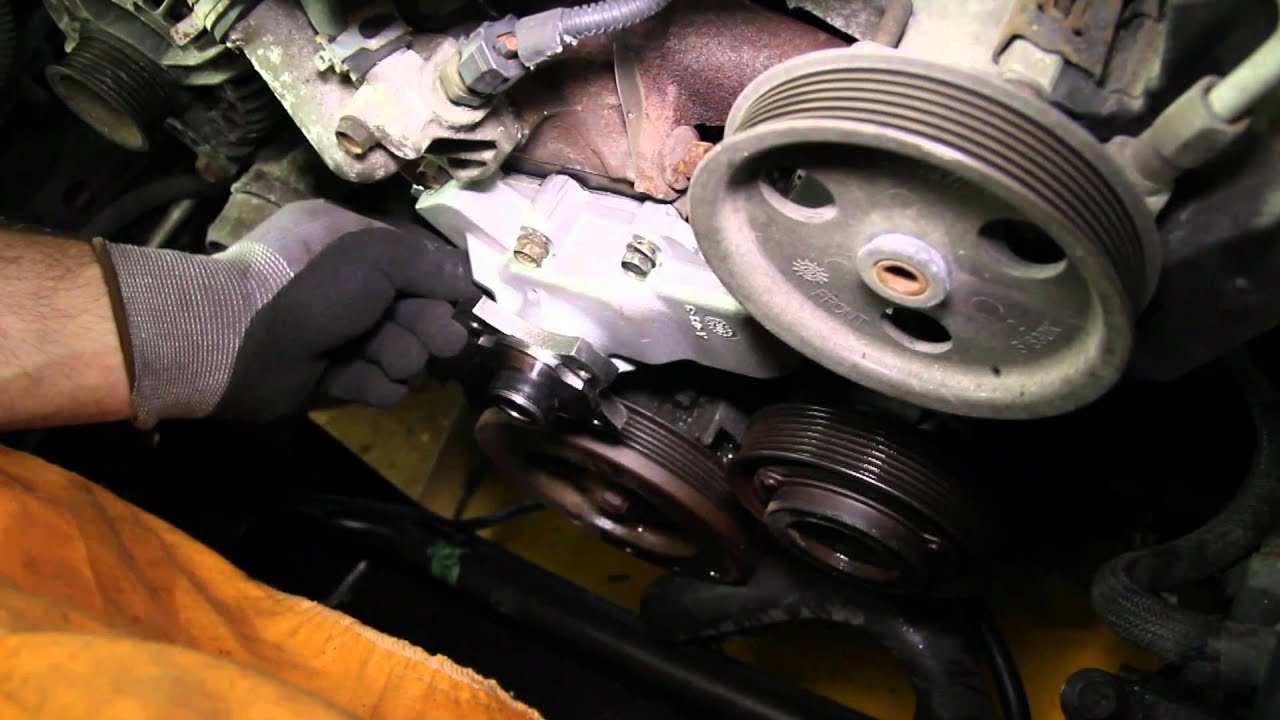
Step 5: Installing the New Water Pump
Now that you have removed the old water pump, it’s time to install the new one. Follow these steps:
- Start by applying a thin layer of gasket sealant or silicone to one side of the new water pump gasket. This will help create a proper seal between the water pump and the engine.
- Place the gasket onto the back of the new water pump, ensuring it lines up with the bolt holes.
- Carefully position the new water pump against the engine, aligning it with the bolt holes.
- Insert and hand-tighten the bolts to secure the water pump in place. Make sure to tighten the bolts evenly, following the pattern specified in your vehicle’s service manual.
- Once the bolts are hand-tightened, use a socket or wrench to tighten them to the specified torque setting. Be cautious not to over-tighten the bolts, as this can damage the gasket or the water pump housing.
- Reconnect any hoses that were disconnected earlier, ensuring they are properly seated and secured with clamps.
With the new water pump properly installed, you are one step closer to completing the replacement process. Take your time and double-check that everything is securely in place before moving on to the next step.
Step 6: Reinstalling the Serpentine Belt
With the new water pump installed, it’s time to reconnect the serpentine belt. Follow these steps:
- Refer to your vehicle’s belt routing diagram to ensure the proper placement of the serpentine belt. If the diagram is not available, take note of the belt’s path before removing it.
- Using a wrench or ratchet, apply pressure to the belt tensioner and release tension on the belt.
- Carefully guide the serpentine belt back onto the pulleys, following the proper routing as determined by the diagram or your previous observation.
- Once the belt is in place, slowly release the tensioner, allowing it to apply the necessary tension to the belt.
- Inspect the belt to ensure it is properly seated on all the pulleys. It should fit snugly without any twists or misalignment.
By reinstalling the serpentine belt correctly, you ensure that the water pump and other components driven by the belt will function properly. Take your time to ensure the belt is properly routed and tensioned before continuing to the next step.
Step 7: Refilling the Cooling System
Now that the water pump and serpentine belt are in place, it’s time to refill the cooling system with coolant. Follow these steps:
- Make sure the radiator drain plug is tightened securely to prevent any leaks.
- Locate the radiator cap and remove it.
- Using a funnel, slowly pour the appropriate coolant/antifreeze mixture into the radiator. Refer to your vehicle’s owner’s manual for the recommended coolant type and mixing ratio.
- Continue pouring coolant until the radiator is filled to the proper level. Take note of any markings on the radiator or use a coolant tester to ensure the coolant level is within the recommended range.
- With the radiator filled, replace the radiator cap securely.
- Proceed to the engine compartment and locate the coolant reservoir. Open the cap and add coolant to the reservoir until it reaches the designated fill line.
- Once the coolant reservoir is filled, replace the cap securely.
By refilling the cooling system with the appropriate coolant, you ensure that the engine will be properly cooled and protected from overheating. Take care not to overfill the system, as this can lead to pressure buildup and potential coolant leaks.
Read more: How To Replace Omc Cobra Water Pump
Step 8: Testing for Leaks
After completing the water pump replacement and refilling the cooling system, it’s important to test for any potential leaks. Follow these steps:
- Start the engine and let it run for a few minutes. Observe the engine bay for any signs of coolant leakage.
- Carefully inspect all the connections and components around the water pump for any signs of coolant dripping or seepage.
- Check for any unusual noises or vibrations that may indicate a problem with the newly installed water pump.
- Monitor the coolant temperature gauge on your dashboard while the engine is running. Ensure the temperature remains within the normal operating range.
- If you notice any leaks, abnormal behavior, or overheating, immediately turn off the engine and address the issue. It could indicate a faulty installation or a need for further repairs.
Testing for leaks provides peace of mind that the water pump replacement was successful and that the cooling system is functioning properly. It is important to address any issues promptly to avoid further damage to the engine.
Conclusion
Congratulations! You have successfully replaced the water pump on your 1997 Honda Accord. By following the step-by-step instructions outlined in this guide, you have ensured the proper functioning of your vehicle’s cooling system and protected your engine from potential damage.
Remember, the water pump plays a crucial role in maintaining the engine’s temperature and preventing overheating. Regular maintenance and timely replacement of the water pump are essential to keep your Honda Accord running smoothly and efficiently.
Throughout the process, it’s important to prioritize safety and accuracy. Make sure to refer to your vehicle’s owner’s manual for specific instructions and seek professional assistance if needed. Working on a car requires skill and knowledge, and it’s always better to be cautious and seek help if you are uncertain about any step.
Lastly, don’t forget to dispose of the old coolant and any other waste materials properly. Consult local regulations and guidelines for the proper disposal methods to protect the environment.
By taking care of your Honda Accord and performing necessary maintenance tasks like water pump replacement, you are ensuring the longevity and optimal performance of your vehicle. Regular inspections and timely repairs will keep your Accord on the road for many more miles to come.
Happy driving!
Frequently Asked Questions about How To Replace Water Pump On 97 Honda Accord
Was this page helpful?
At Storables.com, we guarantee accurate and reliable information. Our content, validated by Expert Board Contributors, is crafted following stringent Editorial Policies. We're committed to providing you with well-researched, expert-backed insights for all your informational needs.


0 thoughts on “How To Replace Water Pump On 97 Honda Accord”