Articles
How To Seal A Concrete Floor
Modified: January 5, 2024
Discover the best articles on how to seal a concrete floor and protect it from damage. Learn step-by-step techniques and get expert advice.
(Many of the links in this article redirect to a specific reviewed product. Your purchase of these products through affiliate links helps to generate commission for Storables.com, at no extra cost. Learn more)
Introduction
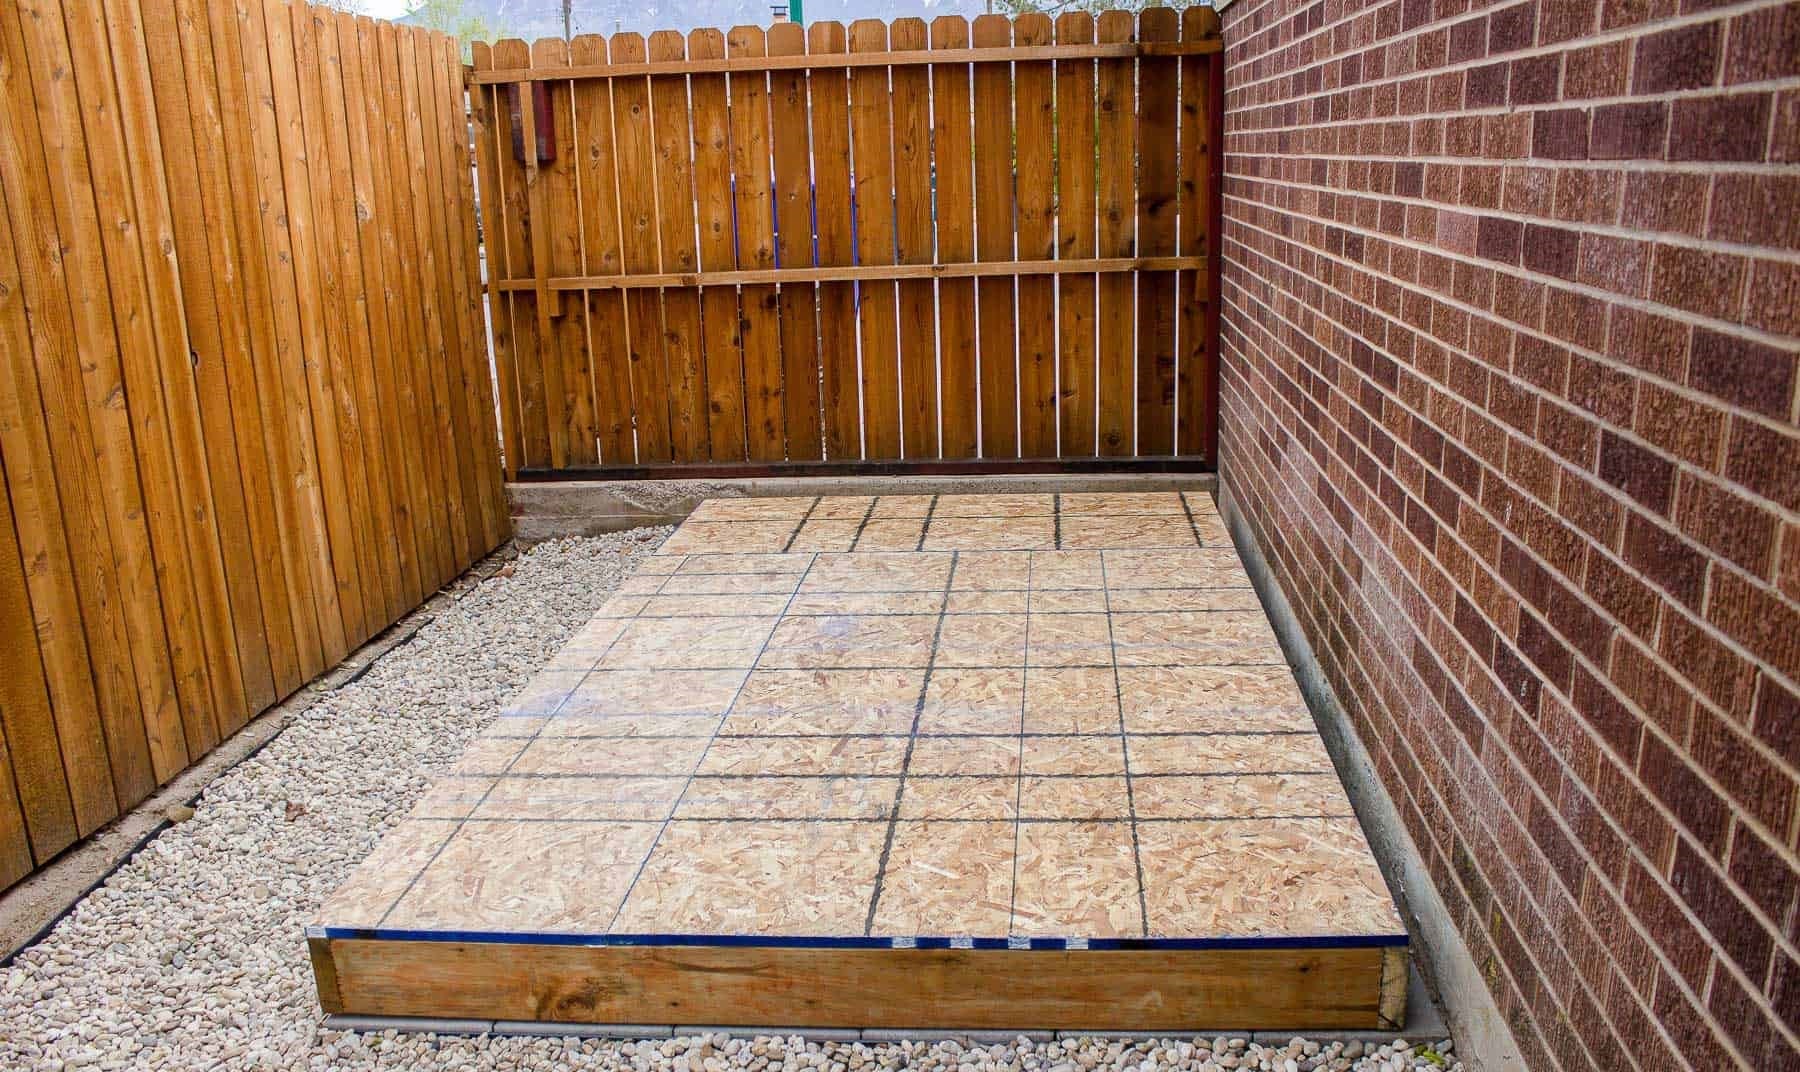
Sealing a concrete floor is an essential step in both protecting and enhancing its appearance. Whether you have a concrete floor in your garage, basement, or patio, sealing it can help prevent stains, moisture damage, and deterioration over time. Additionally, a properly sealed concrete floor can give it a polished and professional look.
In this article, we will guide you through the process of sealing a concrete floor. We will cover everything from cleaning and repairing the floor to the application of the sealer and its subsequent drying. By following these steps, you can ensure a long-lasting and visually appealing result.
Before we begin, let’s take a look at the materials you will need for this project.
Key Takeaways:
- Properly sealing a concrete floor involves thorough cleaning, repairing any damages, choosing the right sealer, and applying it with care. This process ensures long-lasting protection and a polished appearance.
- After sealing, follow proper curing and maintenance practices to preserve the integrity of the concrete floor. Regular cleaning, protective measures, and prompt repairs will extend the lifespan of the sealed surface.
Read more: How To Seal Concrete Basement Floor
Materials Needed
Before starting the process of sealing your concrete floor, make sure you have the following materials on hand:
- Concrete cleaner or degreaser
- Stiff-bristle brush or broom
- Pressure washer or garden hose
- Concrete patching compound
- Trowel or putty knife
- Concrete sealer (choose the appropriate type for your specific floor)
- Paint roller or sprayer
- Paint tray
- Paintbrush (for edges and corners)
- Protective gloves and goggles
- Drop cloths or plastic sheets
- Large bucket or container for mixing the sealer
- Clean rags or towels
Having these materials ready will ensure a smooth and efficient sealing process.
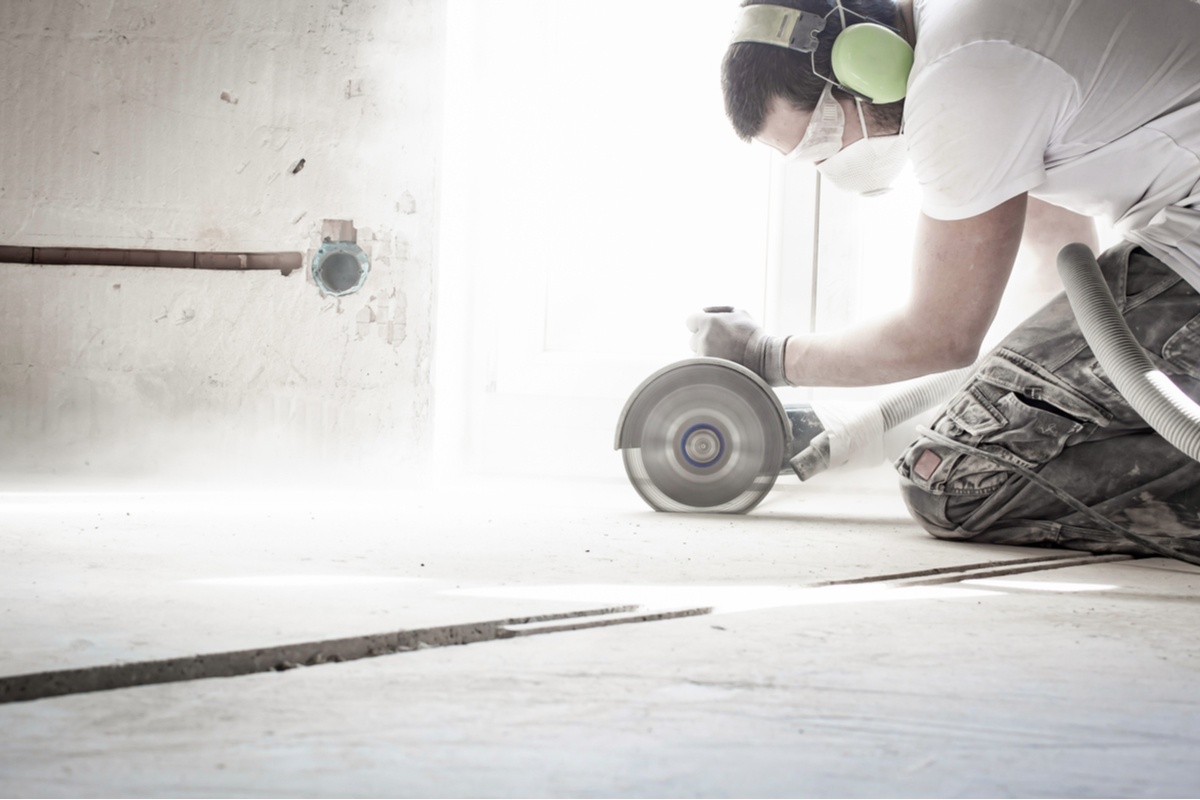
Step 1: Cleaning the Concrete Floor
The first step in sealing a concrete floor is to thoroughly clean it. This is important to remove any dirt, dust, debris, oil, or other contaminants that may prevent the sealer from properly adhering to the surface.
Here’s how to clean your concrete floor:
- Sweep or use a stiff-bristle brush to remove loose dirt and debris.
- If there are any oil or grease stains, use a concrete cleaner or degreaser to remove them. Follow the manufacturer’s instructions for best results.
- Rinse the floor with a pressure washer or garden hose to remove any remaining dirt or cleaner residue. Pay special attention to corners and edges, as they tend to collect more dirt.
- Allow the floor to fully dry before proceeding to the next step. This is crucial, as applying the sealer to a damp surface can result in poor adhesion and compromised effectiveness.
By thoroughly cleaning your concrete floor, you are ensuring a clean and receptive surface for the sealer application.
Step 2: Repairing Cracks and Damages
Before applying the sealer, it’s important to inspect the concrete floor for any cracks, holes, or other damages. Repairing these issues will help ensure a smooth and uniform surface for the sealer.
Follow these steps to repair cracks and damages:
- Identify any cracks or damaged areas on the concrete floor.
- Use a concrete patching compound to fill in the cracks and holes. Apply the compound using a trowel or putty knife, following the product instructions.
- Smooth out the patched areas and ensure they are level with the rest of the floor surface.
- Allow the patching compound to fully cure according to the manufacturer’s instructions. This usually takes a few hours or overnight.
- Once the repaired areas are completely dry, inspect them for any rough or uneven spots. Use sandpaper or a sanding block to smooth out any imperfections.
Repairing cracks and damages will not only improve the appearance of the floor but also prevent the sealer from seeping into these areas and compromising its effectiveness.
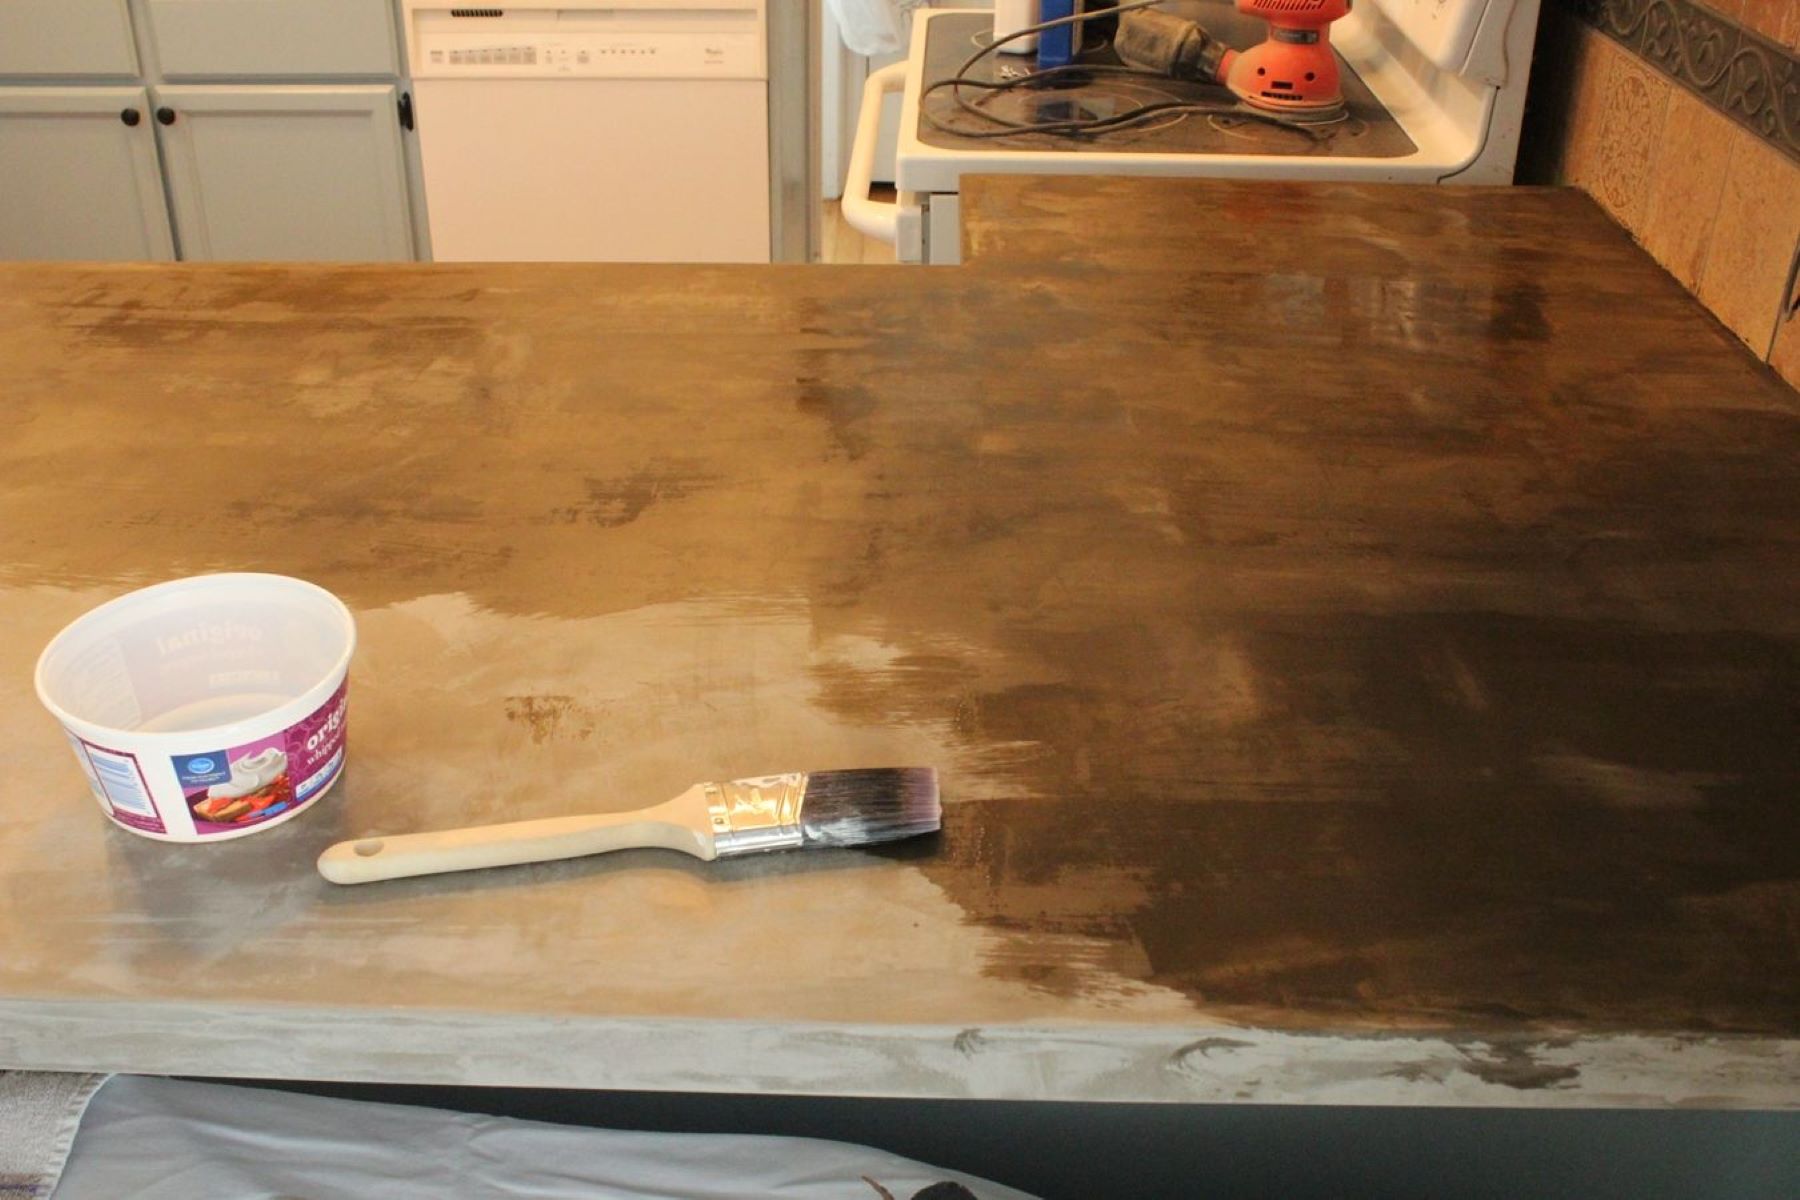
Step 3: Choosing the Right Sealer
Choosing the right sealer for your concrete floor is crucial to achieve the desired results. There are different types of sealers available, each with its own qualities and application methods. Consider the following factors when selecting a sealer:
- Type of Concrete: Determine the type of concrete you have, whether it’s interior or exterior, decorative or plain. This will help you select a sealer that is suitable for your specific needs.
- Sealer Types: There are two main types of concrete sealers – penetrating sealers and film-forming sealers. Penetrating sealers penetrate the concrete surface to provide protection against water, stains, and chemicals. Film-forming sealers create a protective film on the surface and are available in various finishes, such as matte, satin, or gloss.
- Application Method: Consider the application method that works best for you. Sealers can be applied using a paint roller, sprayer, or brush. Choose a method that you are comfortable with and ensure you have the necessary tools for the application.
- Desired Look: Think about the aesthetic you want to achieve. Some sealers enhance the natural color of concrete, while others offer a glossy or matte finish. Consider your preferences and the overall style of the area where the concrete floor is located.
- Durability and Longevity: Consider the durability and longevity of the sealer. Look for a product that offers long-lasting protection and is resistant to UV rays, chemicals, abrasion, and water damage.
Research different sealers and consult with professionals if needed to determine the best sealer for your specific concrete floor.
Before sealing a concrete floor, make sure to thoroughly clean and degrease the surface to ensure proper adhesion of the sealer. This will help to prevent any imperfections or blemishes from showing through the sealed surface.
Read more: How To Seal Concrete Floor From Moisture
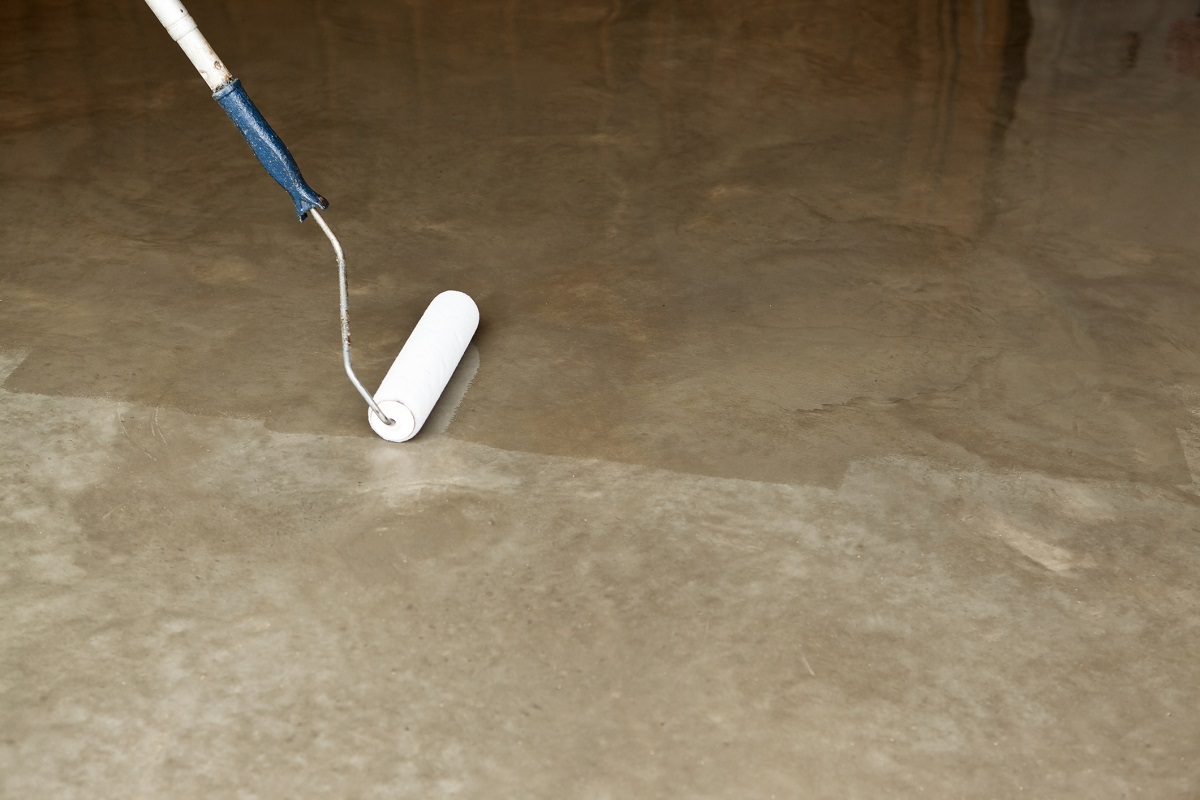
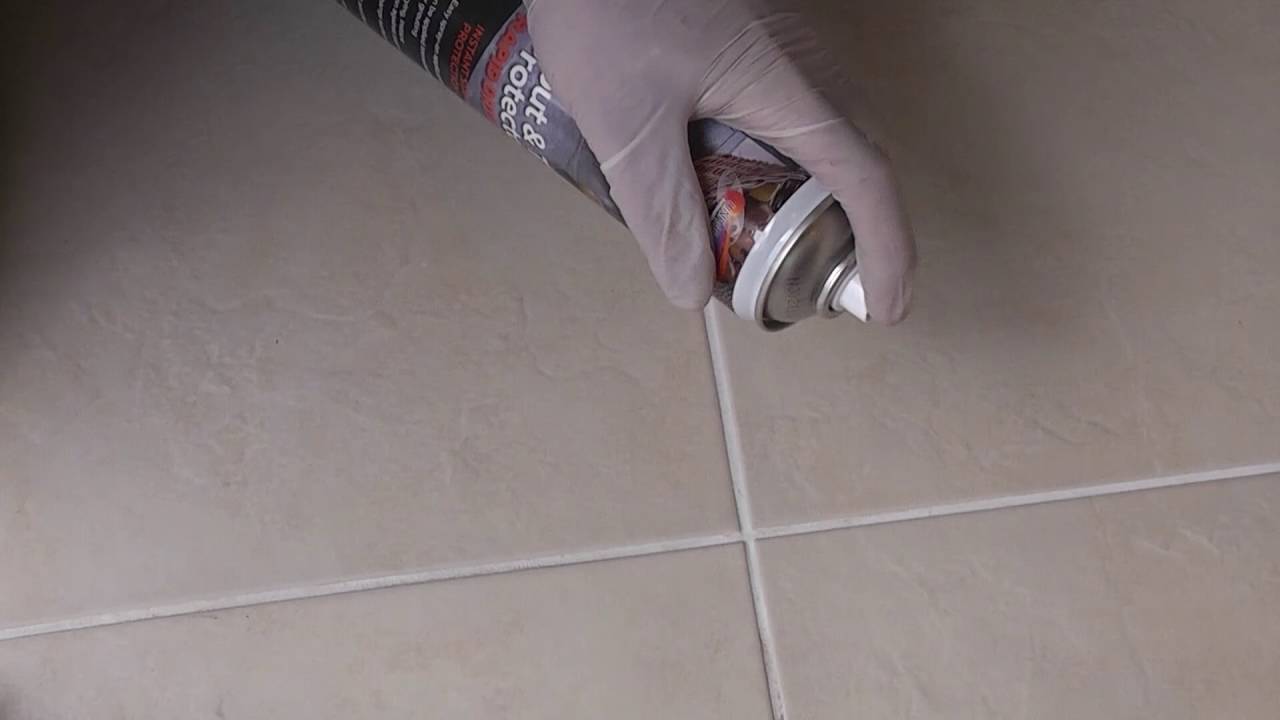
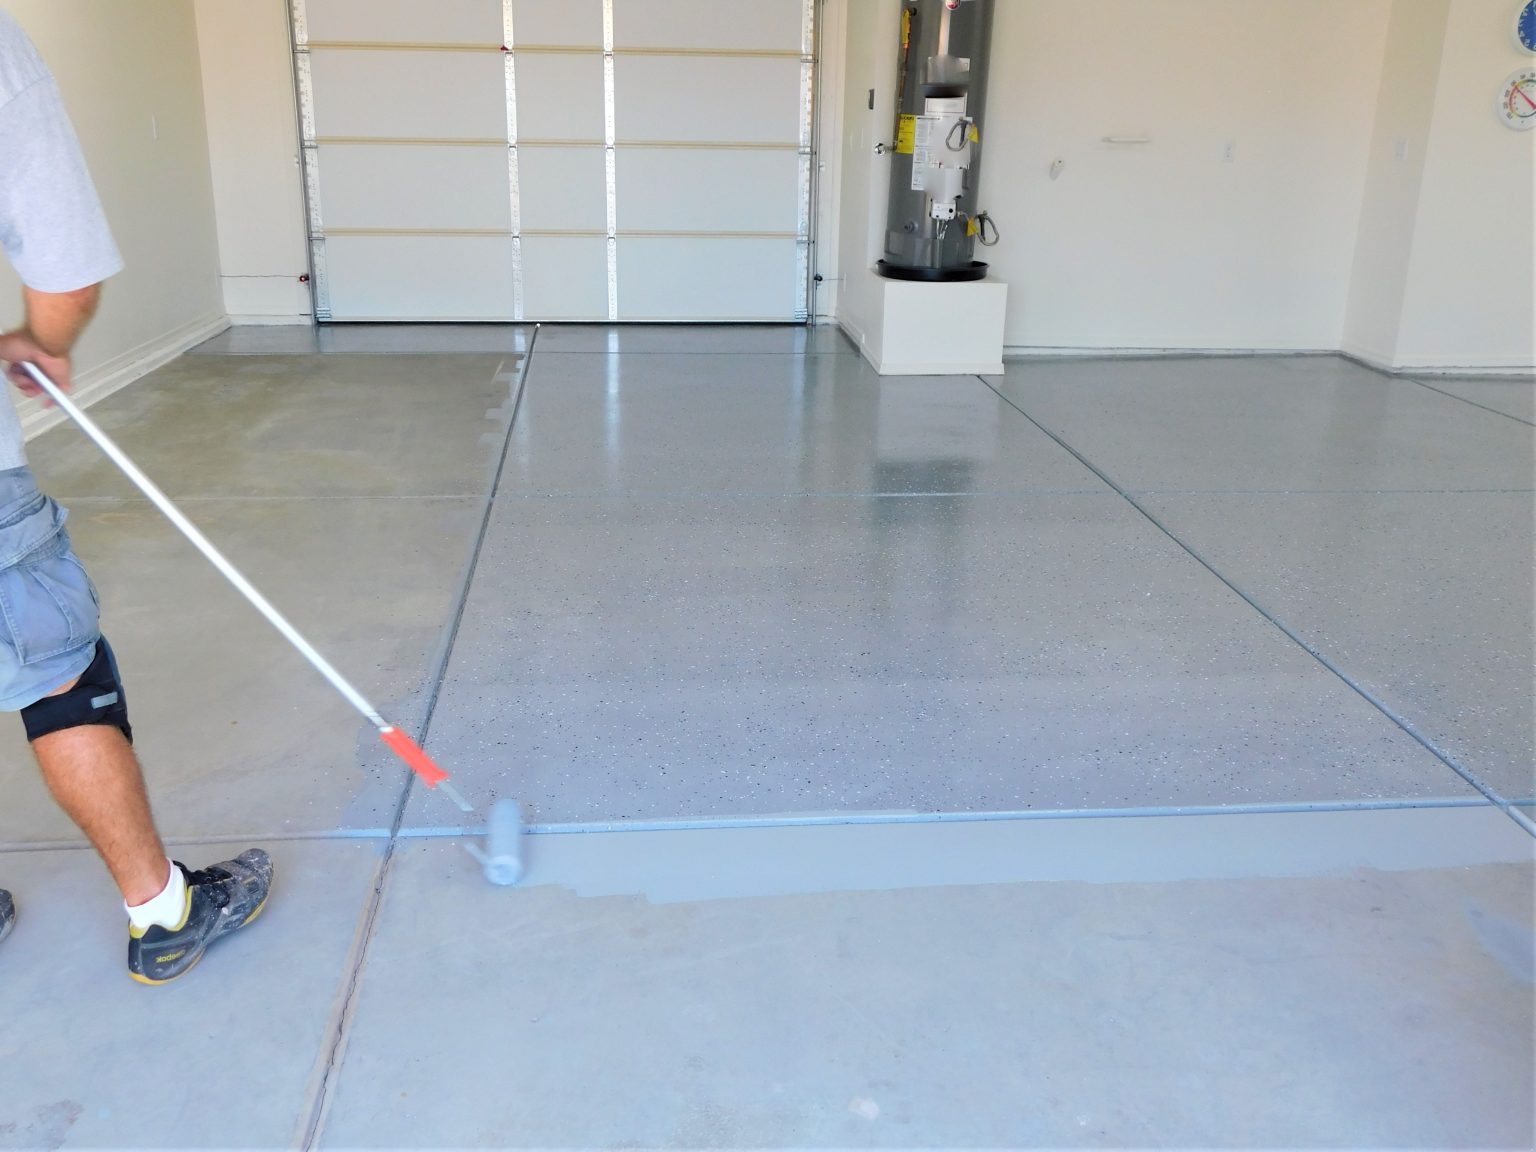
Step 4: Applying the Sealer
Now that you have chosen the right sealer for your concrete floor, it’s time to apply it. Follow these steps to ensure a proper application:
- Prepare the area: Clear the space of any furniture, objects, or obstacles. Cover nearby walls and surfaces with drop cloths or plastic sheets to protect them from accidental sealer splatters.
- Mix the sealer: Follow the manufacturer’s instructions to mix the sealer. Use a large bucket or container and stir gently to avoid creating bubbles.
- Start from the furthest point: Begin applying the sealer from the furthest point in the room and work your way towards the exit. This way, you won’t need to step on the freshly sealed areas.
- Apply the sealer: Pour the sealer onto the floor in a long strip, and spread it out using a paint roller or sprayer. Work in small sections, ensuring an even and consistent coat. Use a paintbrush to reach the edges and corners that the roller or sprayer may have missed.
- Work systematically: Apply the sealer in a back-and-forth motion, slightly overlapping each stroke. This will help achieve an even application and avoid streaks or patchy areas.
- Allow for proper drying time: Follow the manufacturer’s recommended drying time before applying a second coat or allowing foot traffic on the sealed floor. This typically ranges from a few hours to a full day.
Remember to wear protective gloves and goggles while handling the sealer, and ensure proper ventilation in the area during application.
By following these steps, you’ll be able to apply the sealer to your concrete floor effectively, creating a protective and visually appealing finish.
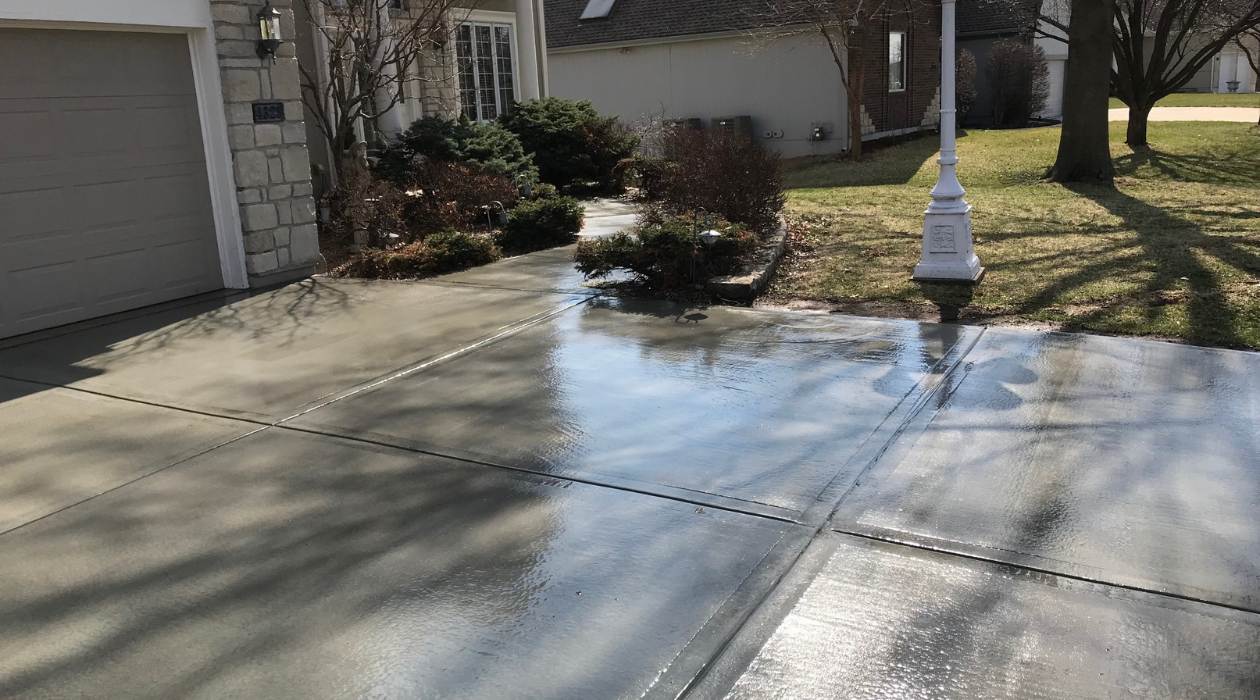
Step 5: Allowing the Sealer to Dry
After applying the sealer to your concrete floor, it’s crucial to allow it ample time to dry and cure. This will ensure that the sealer properly bonds with the surface and provides the desired level of protection.
Here’s what you need to do to allow the sealer to dry:
- Check the manufacturer’s instructions: Refer to the sealer’s packaging or instructions provided by the manufacturer. It will provide specific guidelines on the recommended drying time.
- Avoid foot traffic: During the drying period, it’s essential to prevent any foot traffic or heavy objects from coming into contact with the freshly sealed floor. This will prevent any damage or premature wear on the sealer.
- Maintain proper ventilation: Ensure that the room or area where the concrete floor is sealed has adequate ventilation. This will help speed up the drying process and prevent any lingering odors.
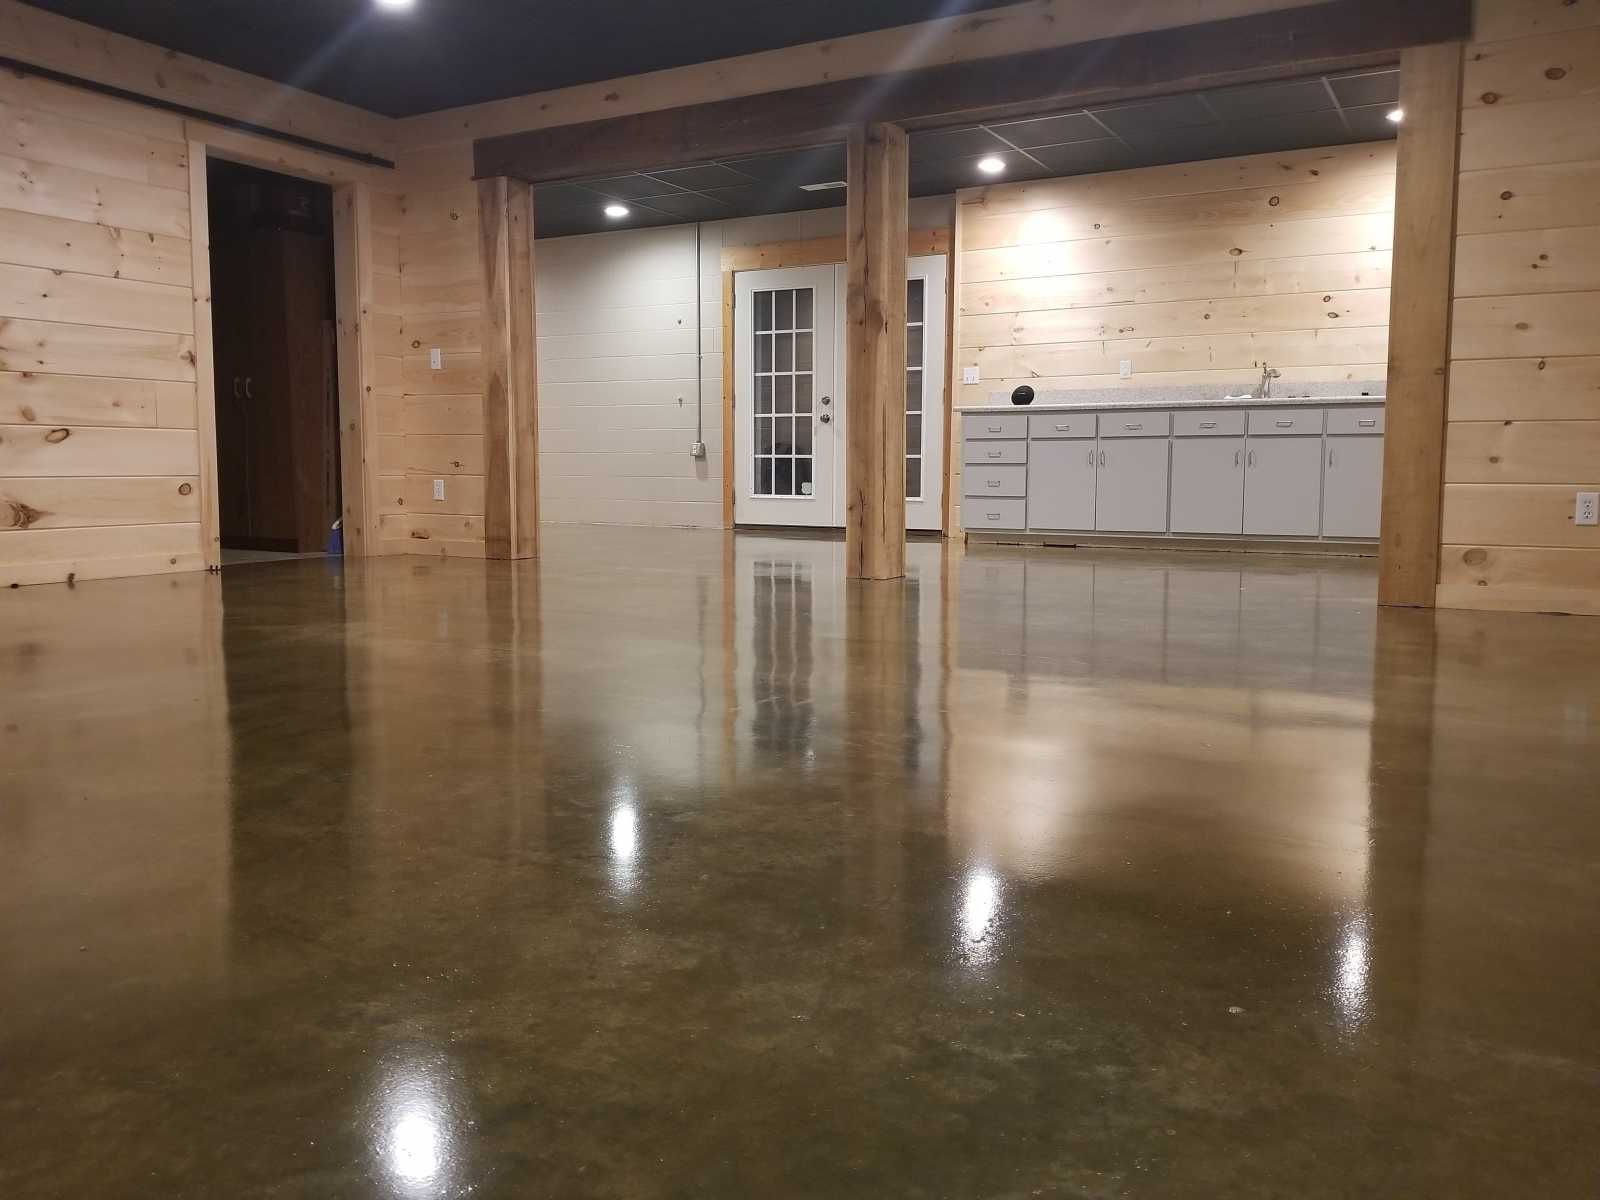
- Monitor drying progress: Keep an eye on the floor’s appearance as the sealer dries. It should go from a wet and glossy look to a matte or satin finish.
- Additional drying time: Depending on the sealer’s type and the environmental conditions, you may need to allow additional drying time beyond the manufacturer’s recommendation. Factors such as humidity and temperature can affect the drying process.
By allowing the sealer to dry properly, you are ensuring its effectiveness in protecting your concrete floor and extending its lifespan.
Step 6: Applying a Second Coat (Optional)
Applying a second coat of sealer to your concrete floor is optional but recommended. A second coat can provide an extra layer of protection and enhance the overall durability of the sealed surface.
If you decide to proceed with a second coat, follow these steps:
- Ensure proper drying of the first coat: Before applying a second coat, make sure that the first coat of sealer has completely dried and cured. Refer to the manufacturer’s instructions for the recommended drying time.
- Inspect the first coat: Take a close look at the first coat of sealer. Check for any areas that may have been missed or appear less protected. These areas might require additional attention during the second coat application.
- Prepare the sealer: Mix the sealer following the same instructions as for the first coat. Use a clean bucket or container to avoid any contaminants from the first coat affecting the second coat.
- Apply the second coat: Apply the second coat of sealer following the same techniques and methods used for the first coat. Pay special attention to any missed spots or areas that need additional coverage.
- Allow for proper drying time: After applying the second coat, allow it to dry and cure according to the manufacturer’s instructions. This might require the same amount of time or slightly longer than the first coat.
Applying a second coat of sealer can further enhance the protection and longevity of your concrete floor, ensuring its durability for years to come.
Step 7: Curing and Maintenance Tips
After you have applied the sealer to your concrete floor, it is important to follow proper curing and maintenance practices to ensure its longevity and performance. Here are some tips:
- Allow for sufficient curing time: Give the sealed floor ample time to cure and harden before subjecting it to heavy use or placing furniture on it. Follow the manufacturer’s recommendations for curing time, which can range from a few days to a week.
- Avoid harsh cleaning chemicals: When cleaning the sealed floor, use mild cleaners that are specifically formulated for use on sealed concrete. Avoid using abrasive or acidic cleaners, as they can damage the sealer and compromise its effectiveness.
- Regular cleaning: Keep the sealed floor clean by sweeping or vacuuming regularly to remove dirt and debris. Also, mop the floor with a mild cleaner and water as needed to maintain its appearance and cleanliness.
- Protective measures: Place protective mats or rugs in high-traffic areas or under furniture to prevent excessive wear and tear on the sealed floor. This will help maintain its smooth and polished appearance.
- Minimize moisture exposure: Avoid prolonged exposure to standing water or excessive moisture on the sealed floor. Wipe up spills promptly and use mats or waterproof coatings in areas prone to moisture, such as bathrooms or laundry rooms.
- Regular maintenance checks: Periodically inspect the sealed floor for any signs of wear, damage, or areas that may need resealing. Address any issues promptly to prevent further damage and maintain the floor’s protection.
By following these curing and maintenance tips, you can ensure that your sealed concrete floor remains in optimal condition and retains its protective qualities for years to come.
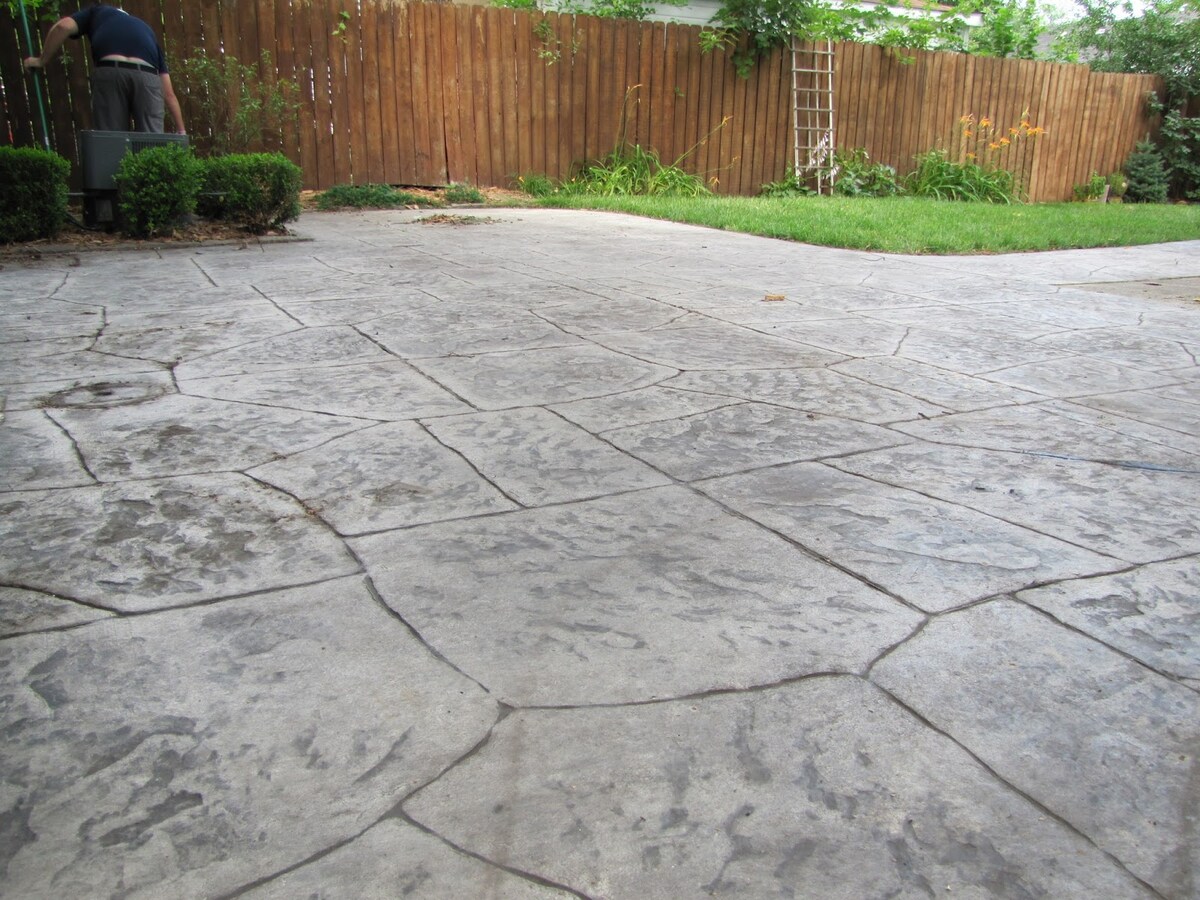
Read more: How To Seal A Concrete Patio
Conclusion
Sealing a concrete floor is a crucial step in protecting and enhancing its durability and appearance. By following the steps outlined in this article, you can successfully seal your concrete floor and enjoy the benefits it brings.
Starting with thorough cleaning and repairing any cracks or damages, you create a smooth and receptive surface for the sealer. Next, choosing the right sealer for your specific needs ensures optimal protection and aesthetic appeal. Applying the sealer using proper techniques and allowing for sufficient drying time guarantees a successful application.
For those looking for added protection and longevity, applying a second coat of sealer is recommended. It provides an extra layer of defense against daily wear and tear. Once the sealer has dried, following proper curing and maintenance practices is essential for preserving the sealed floor’s integrity.
Remember to regularly clean the floor using mild cleaners, use protective measures to prevent damage, and promptly address any issues that arise. With proper care and maintenance, your sealed concrete floor will provide years of protection and enhance the overall aesthetic of your space.
Sealing a concrete floor may require some time and effort, but the long-term benefits and enhanced appearance make it a worthwhile investment. So, go ahead and confidently seal your concrete floor, knowing that you have taken the necessary steps to protect and enhance it for years to come.
Frequently Asked Questions about How To Seal A Concrete Floor
Was this page helpful?
At Storables.com, we guarantee accurate and reliable information. Our content, validated by Expert Board Contributors, is crafted following stringent Editorial Policies. We're committed to providing you with well-researched, expert-backed insights for all your informational needs.


0 thoughts on “How To Seal A Concrete Floor”