Articles
How To Shorten Drapes
Modified: March 1, 2024
Learn how to quickly and easily shorten your drapes with these helpful articles. Discover expert tips and tricks for achieving the perfect length for your window treatments.
(Many of the links in this article redirect to a specific reviewed product. Your purchase of these products through affiliate links helps to generate commission for Storables.com, at no extra cost. Learn more)
Introduction
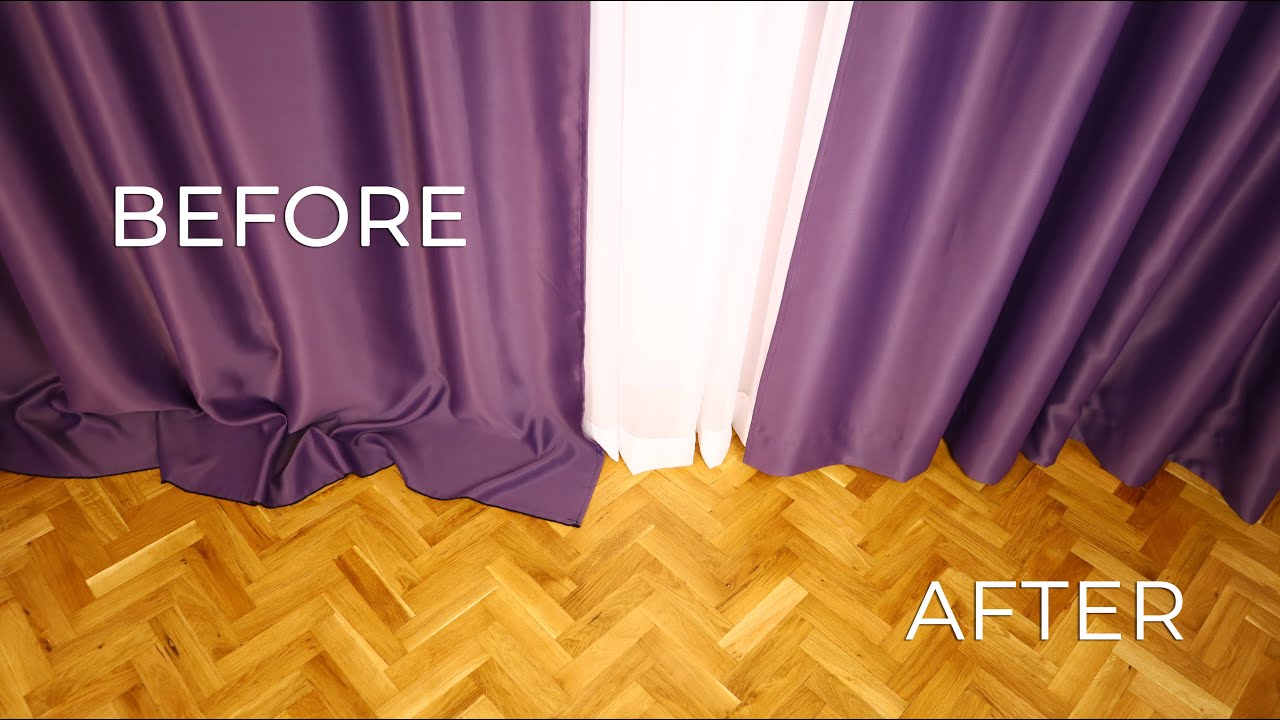
When it comes to decorating your home, curtains play a significant role in enhancing the aesthetic appeal of your space. However, it’s not uncommon to come across drapes that are too long for your windows or simply need a new look. In such cases, learning how to shorten drapes can be a valuable skill. By tailoring your curtains to the perfect length, you can achieve a polished and professional look in any room.
Shortening drapes may seem like a daunting task, but with the right approach and a few simple techniques, you can accomplish it successfully. This article will guide you through the step-by-step process of shortening your drapes, ensuring that you achieve the desired length without compromising the overall look and feel of your curtains.
Before you begin, gather the necessary tools for the job. You will need a measuring tape, fabric scissors, sewing pins, a sewing machine or needle and thread, an iron or steamer, and a sturdy work surface. Once you have everything you need, you’re ready to embark on your drapery transformation journey.
Shortening your drapes not only allows you to achieve the desired length, but it can also breathe new life into your curtains. By customizing the fit, you can create a tailored and cohesive look that complements your decor. So, let’s dive into the process and learn how to shorten drapes like a pro!
Key Takeaways:
- Shortening drapes is a manageable DIY project that can breathe new life into your space. By following simple steps like measuring, cutting, and hemming, you can achieve a polished and professional look without compromising the overall aesthetic appeal of your curtains.
- Customizing the length of your drapes allows you to create a tailored and cohesive look that complements your decor. With the right tools and techniques, you can confidently tackle the task of shortening drapes, giving your space a fresh and personalized touch.
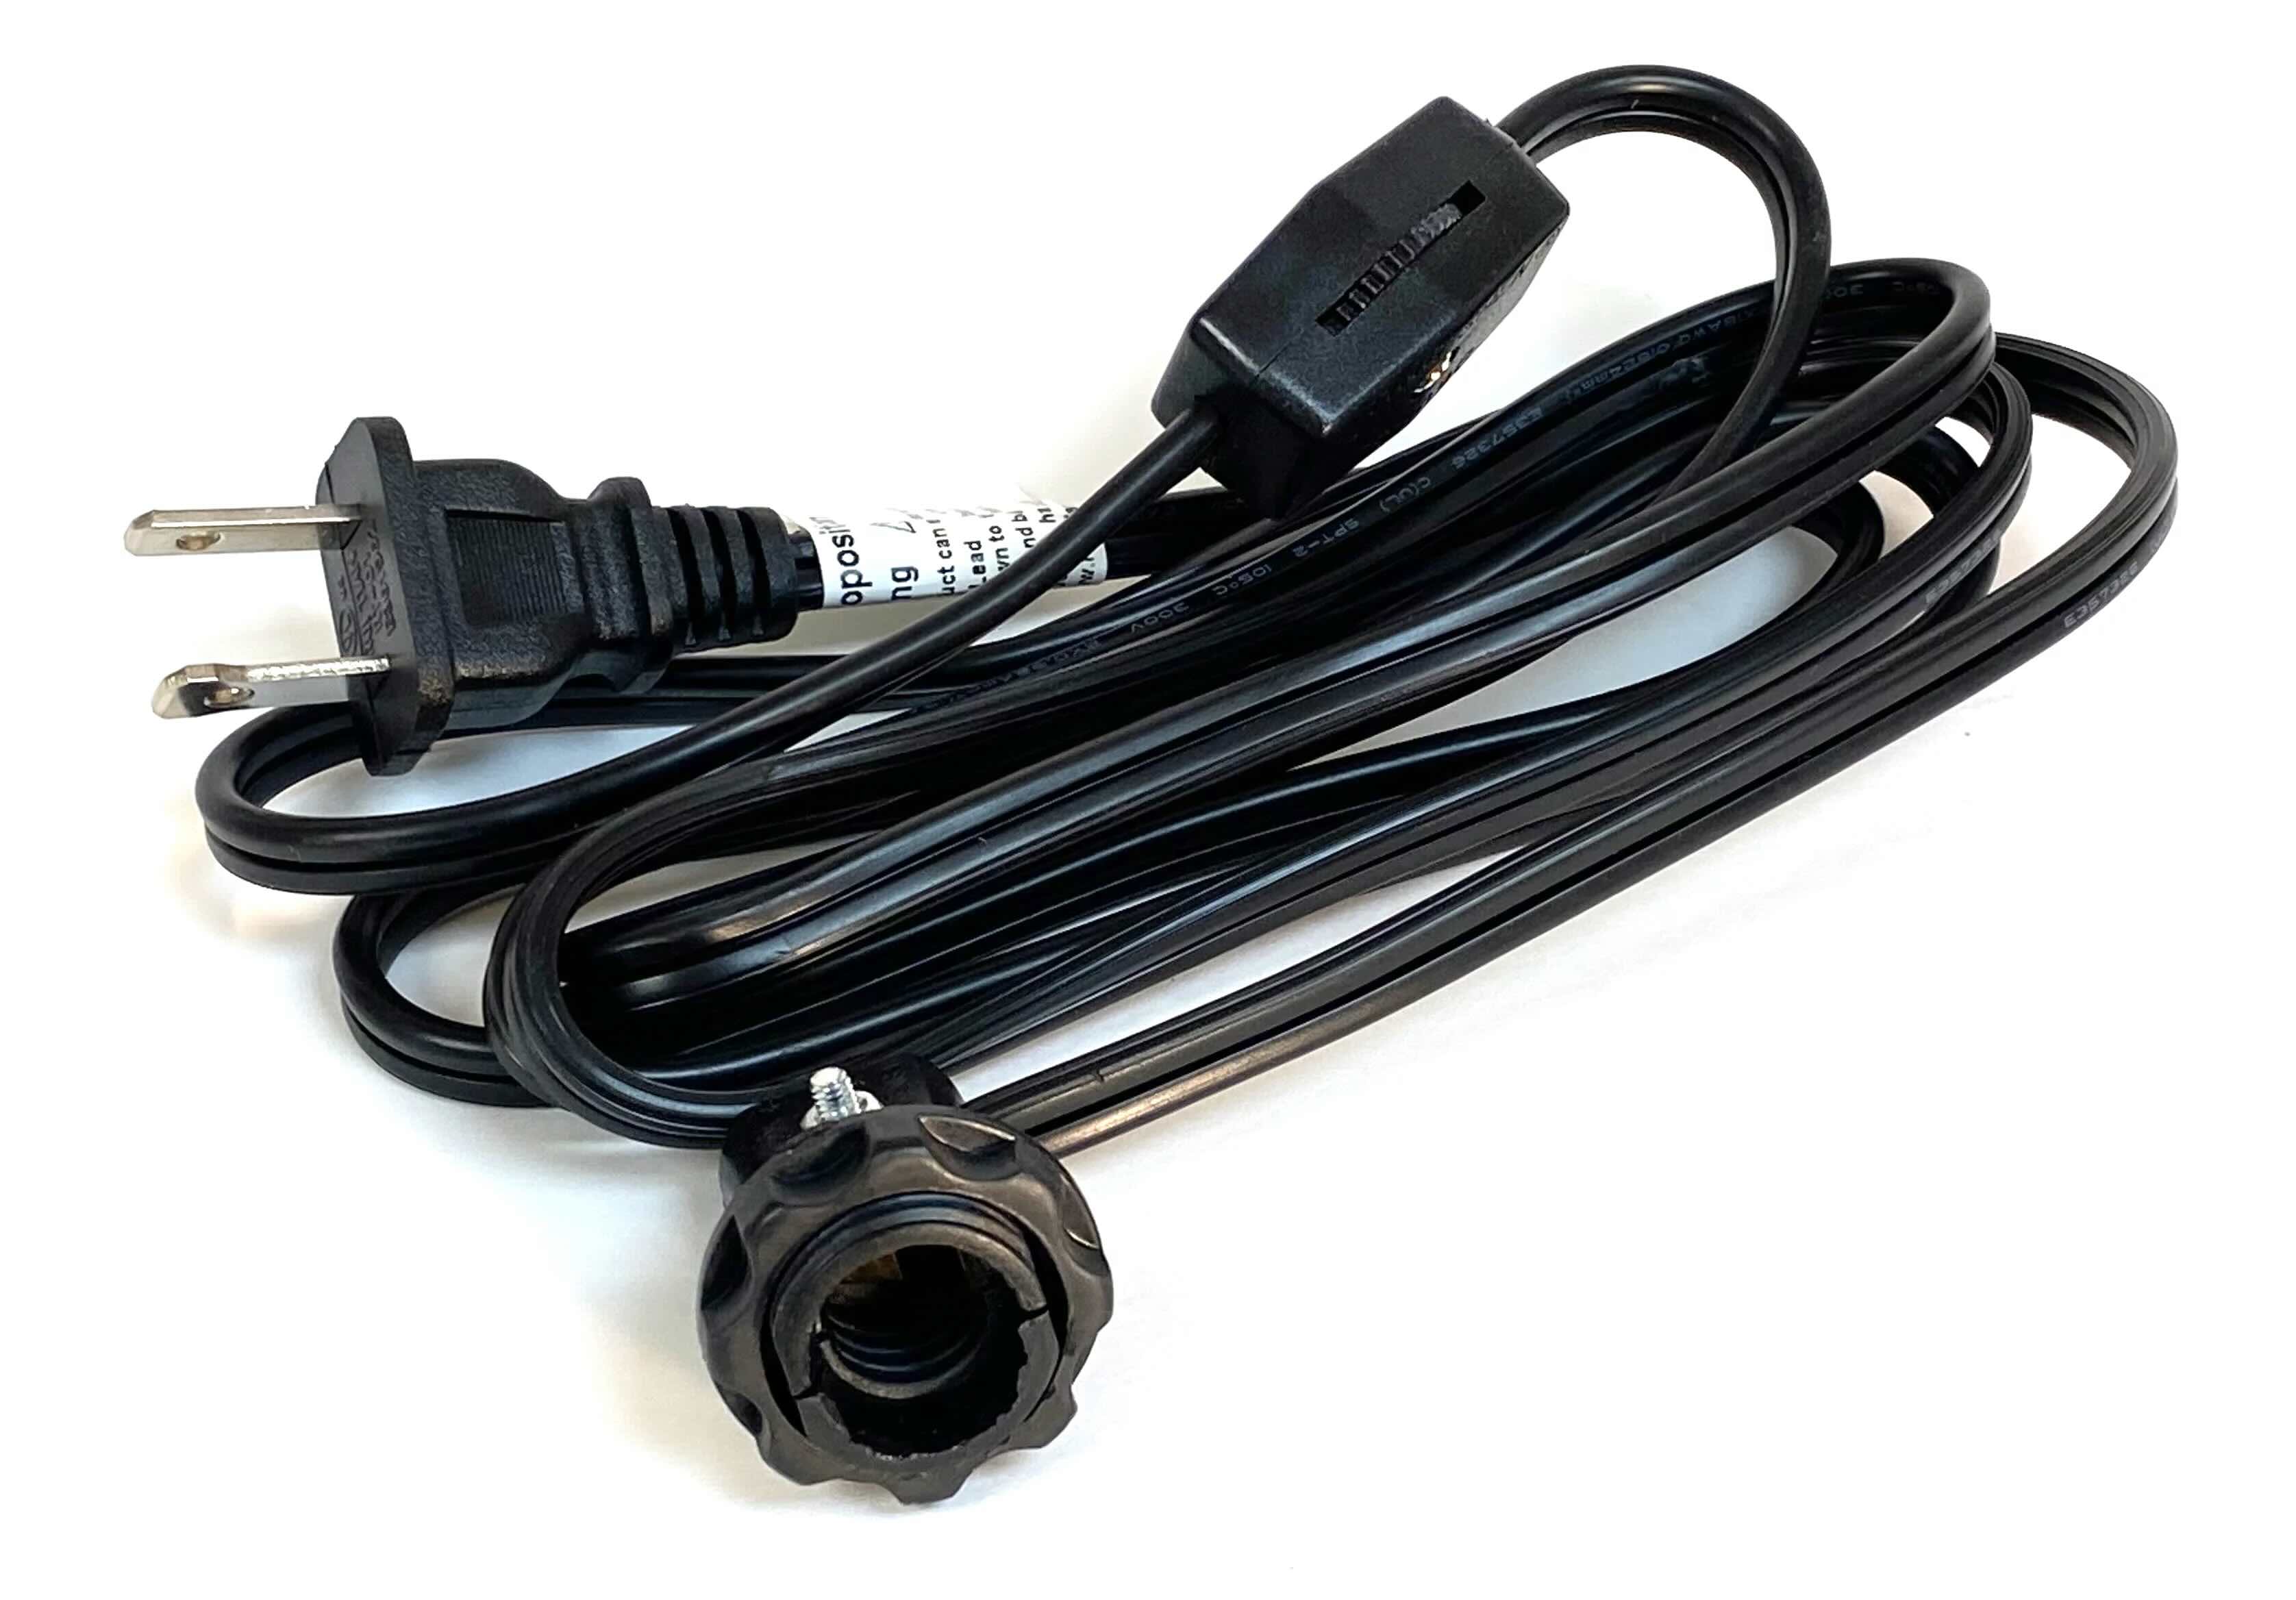
Read more: How To Shorten An Electrical Cord
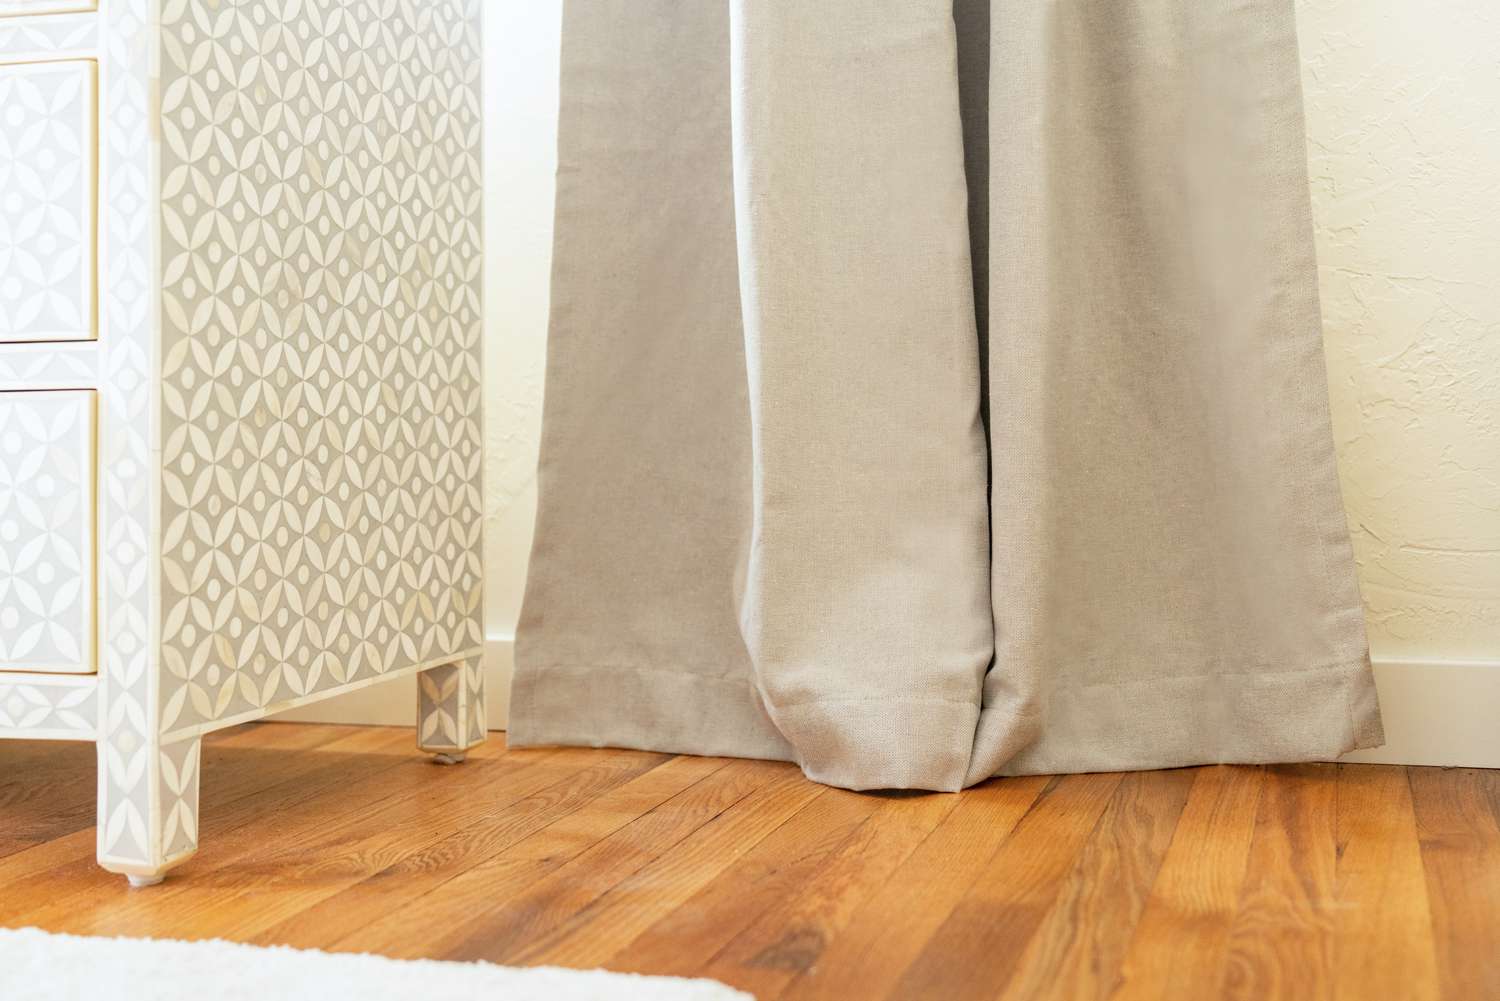
Measure and Mark the Desired Length
The first step in shortening your drapes is determining the desired length. Measure the distance from the top of the curtain rod to where you want the new hem to be. Keep in mind any factors that may affect the length, such as floor length, sill length, or any specific design preferences you may have.
Once you have the measurements, mark the desired length on each individual drape using fabric chalk or removable fabric markers. It’s important to mark the same length on every panel to ensure consistency.
Before cutting, it’s always a good idea to add an extra inch or two to the marked length. This additional fabric will be used for the hemming process and will provide a more polished and finished look to your drapes.
Remember, it’s better to cut the drapes a little longer than necessary than to cut them too short. You can always make additional adjustments later, but once the fabric is cut, there’s no going back.
Once you have marked the desired length, it’s time to move on to the next step: removing any extra fabric from the bottom of the drape.
Remove Extra Fabric
Now that you have measured and marked the desired length for your drapes, it’s time to remove the extra fabric from the bottom. This step is crucial for achieving the perfect fit and ensuring that your curtains hang beautifully.
Start by laying your drape flat on a sturdy work surface. Smooth out any wrinkles or creases to ensure accurate cutting. If your drape has a pattern or design, make sure to align the fabric so that it remains consistent after shortening.
Using a pair of fabric scissors, carefully cut along the marked line to remove the excess fabric. Take your time and make precise cuts to maintain a clean edge. If your drapes have a lining, be sure to cut through both layers of fabric simultaneously.
It’s important to note that if your drapes have a wide hem, you may need to remove the stitching from the existing hem before cutting. This will allow you to shorten the drape without compromising the finished edge.
After you have removed the extra fabric, give the bottom edge of the drape a gentle shake to ensure that it falls naturally. Take a step back and assess the length. If you’re satisfied with the initial cut, you can proceed to the next step. If you prefer a shorter length, make the necessary adjustments by cutting off additional fabric.
Remember, it’s always better to err on the side of caution and cut a little less than necessary. It’s easier to make further adjustments later than to add fabric back once it’s been cut.
Now that you have shortened your drapes to the desired length, it’s time to move on to hemming the bottom edge for a clean and professional finish.
Hem the Bottom
After removing the extra fabric and achieving the desired length for your drapes, the next step is to hem the bottom edge. Hemming not only provides a clean and polished finish but also prevents fraying and ensures the longevity of your curtains.
Start by folding the bottom edge of the drape up to create the desired hem length. Use your original inch or two of extra fabric as a guide for the fold. You can use sewing pins or clips to secure the folded fabric in place temporarily.
Next, evaluate the type of hem you want to create. There are a few different options to choose from, including a traditional double-fold hem or a blind hem. If you’re using a sewing machine, consult the machine’s manual or online tutorials for specific instructions on the desired hem style.
If you prefer to sew by hand, use a needle and thread that matches the color of your drapes. Take small, even stitches along the folded edge, ensuring that the hem remains secure. Keep your stitches as inconspicuous as possible, especially if your fabric is light or sheer.
For added strength and durability, it’s recommended to sew a second line of stitches about ¼ inch from the folded edge. This double-stitched hem will provide extra reinforcement and prevent the fabric from unravelling over time.
When you reach the end of the hem, secure your thread with a knot or backstitch to keep it from unraveling. If using a sewing machine, remember to backstitch at the beginning and end of the hem to keep it securely in place.
Once the hem is complete, gently press or steam the bottom edge of the drape to remove any wrinkles or creases. This will give your curtains a polished and professional appearance.
Now that the hemming process is finished, it’s time to reattach the curtain hooks if necessary and prepare your drapes for hanging.
To shorten drapes, measure the desired length and mark with pins. Then, remove the excess fabric and hem the bottom to the new length using a sewing machine or fabric glue.
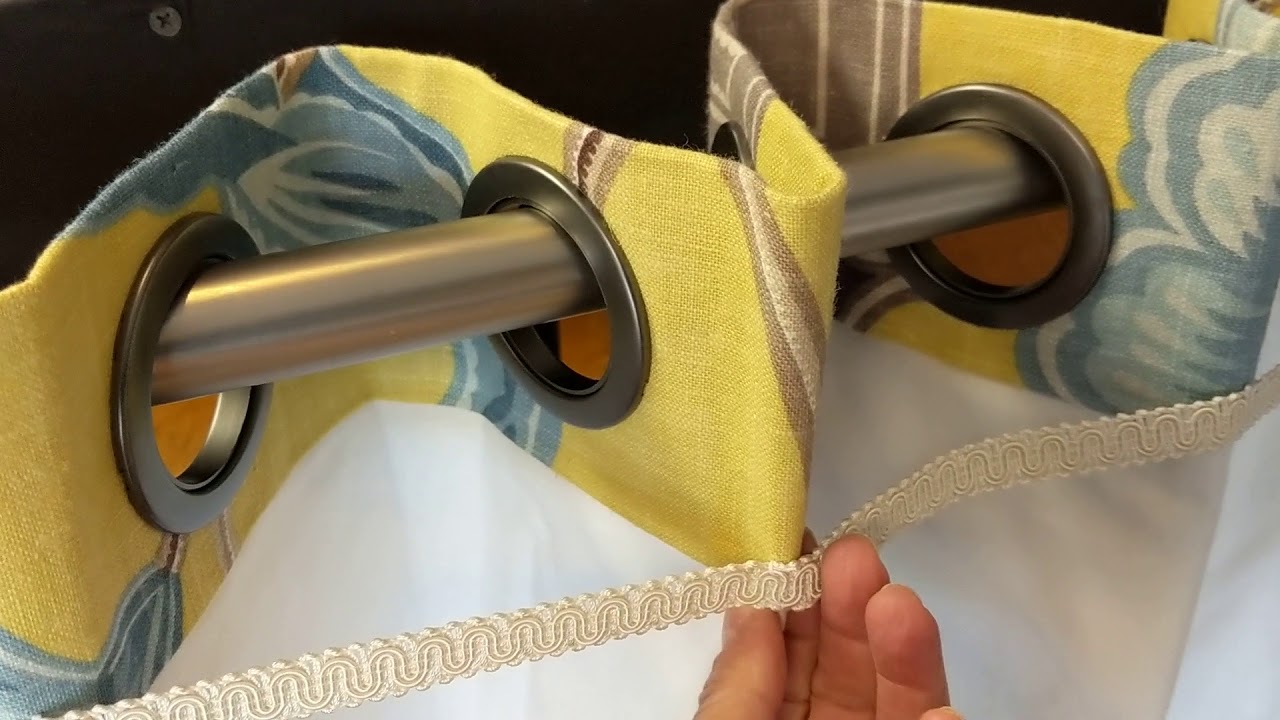
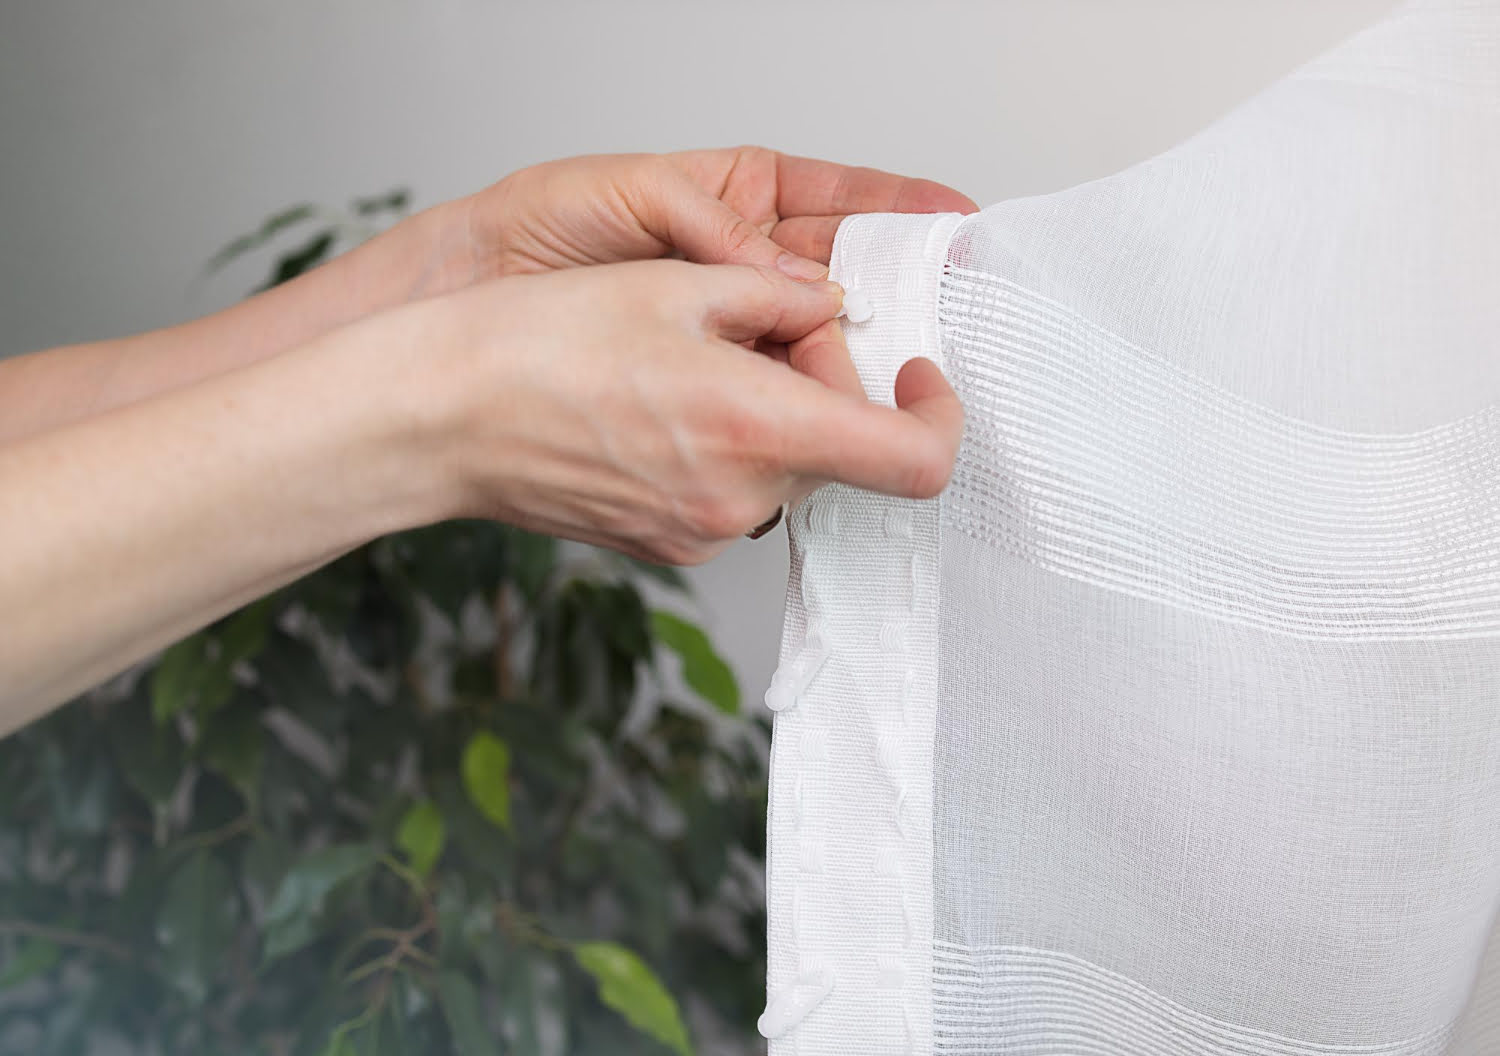
Reattach Curtain Hooks
Reattaching curtain hooks is an essential step in completing the process of shortening your drapes. These hooks are crucial for hanging the curtains and ensuring a secure and polished look.
If your drapes are designed to be hung with curtain hooks, carefully remove them from the original hem before shortening the length. Set them aside in a safe place to avoid misplacing them during the process.
Now that you have hemmed the bottom of the drape, it’s time to reattach the curtain hooks. Start by unfolding the hemmed edge and locating the top of the drape where the hooks will be inserted.
Take your curtain hooks and position them evenly along the top edge of the drape. The number of hooks you will need depends on the width and fullness of your curtains. Typically, you will need one hook for every 4-6 inches of fabric.
Insert the sharp end of the hook into the fabric, ensuring that it is securely positioned. Be gentle to avoid damaging the fabric or creating visible holes. Repeat this process for all the hooks, spacing them evenly across the top of the drape.
Once all the hooks are reattached, carefully refold the hemmed edge and secure it in place. Ensure that the hooks are hidden within the folds, and the top of the drape appears smooth and even.
Take a moment to step back and check the overall appearance of the drapes. Adjust the folds and positioning of the hooks if needed to create a balanced and visually pleasing look.
With the curtain hooks reattached, your drapes are now ready to be styled and hung in their designated space. However, before hanging them, it’s a good idea to give your drapes a final touch-up with an iron or steamer.
Let’s move on to the next step of ironing or steaming the drapes for a crisp and professional look.
Read more: How To Shorten A Shower Curtain
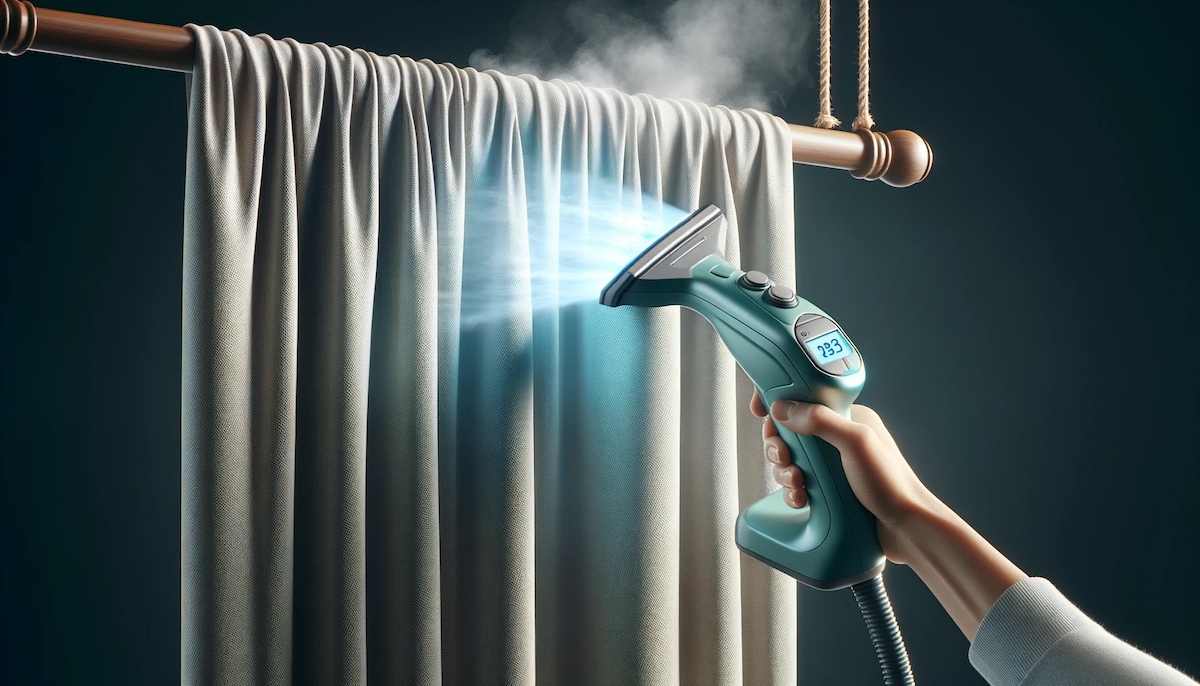
Iron or Steam the Drapes
After shortening your drapes and reattaching the curtain hooks, it’s time to give them a final touch-up with an iron or steamer. This step will help remove any remaining wrinkles and creases, leaving your drapes looking crisp and polished.
Before you begin, check the fabric care instructions to ensure that ironing or steaming is suitable for your drapes. Different fabrics may require different heat settings or steam options, so it’s important to follow the manufacturer’s recommendations.
If using an iron, set it to the appropriate temperature for your fabric. Ensure that the iron is clean and free from any residue that could transfer onto the drapes. If necessary, you can place a clean, thin cloth or press cloth between the iron and the fabric to protect delicate materials.
Begin at the top of the drape and work your way down, applying the iron in gentle, smooth motions. Take care not to press too hard or leave the iron in one spot for too long, as this can damage or discolor the fabric.
If using a steamer, fill it with distilled water and allow it to heat up according to the manufacturer’s instructions. Hold the steamer a few inches away from the fabric and move it up and down, releasing bursts of steam to relax the wrinkles. Be cautious of hot steam and avoid direct contact with your skin.
Pay special attention to any remaining wrinkles along the hemline, as these can be more noticeable after shortening the drapes. Take your time to ensure that the fabric is smooth and wrinkle-free, especially in areas that will be highly visible when the drapes are hung.
Once you’ve ironed or steamed the drapes, let them cool down and settle for a few minutes. This will allow the fabric to regain its shape and ensure that the length remains consistent.
Now that your drapes are perfectly pressed and wrinkle-free, you’re ready for the final step: hanging and enjoying the fruits of your labor.
Hang and Enjoy
Congratulations! You have successfully shortened your drapes and prepared them for hanging. Now it’s time to step back and admire your handiwork as you complete the final step: hanging and enjoying your beautifully transformed curtains.
Start by gathering the necessary hardware for hanging the drapes. This may include curtain rods, curtain rings, or any other hardware specific to your window treatment. Ensure that your curtain rod is properly installed and securely fastened to the wall or window frame.
If you’re using curtain rings, carefully attach them to the hooks sewn into the top of the drapes. Slide each ring onto the curtain rod, spacing them evenly along its length. If your drapes have grommets or tabs, simply slide them directly onto the curtain rod without the need for additional rings.
Once the drapes are aligned and evenly distributed along the curtain rod, step back and assess their appearance. Adjust the folds and positioning of the fabric if necessary to create a balanced and symmetrical look. Ensure that the hems are level and touching the floor or sill as desired.
Take a moment to bask in the satisfaction of your work. Your shortened drapes now complement your space, giving it a fresh and personalized touch.
When you’re happy with the arrangement, step back once again and assess the overall effect. Observe how the drapes enhance the room’s ambiance, control the light, and provide privacy as needed. Take the time to appreciate how your shortened drapes contribute to the overall aesthetic and functionality of the space.
Now, it’s time to sit back, relax, and enjoy the fruits of your labor. Whether it’s enjoying a cozy evening by yourself or hosting guests in your stylishly decorated home, your shortened drapes will enhance the atmosphere and provide a sense of comfort and beauty.
Remember, the process of shortening drapes allows you to customize your window treatments to your desired length, creating a tailored and cohesive look. So, take pride in your accomplishment and revel in the joy of having curtains that perfectly fit your space.
Now that you know how to shorten drapes, you can confidently tackle this task whenever the need arises. So go ahead, get creative, and transform your drapes to suit your evolving style and home decor.
Frequently Asked Questions about How To Shorten Drapes
Was this page helpful?
At Storables.com, we guarantee accurate and reliable information. Our content, validated by Expert Board Contributors, is crafted following stringent Editorial Policies. We're committed to providing you with well-researched, expert-backed insights for all your informational needs.
0 thoughts on “How To Shorten Drapes”