Articles
How To Store Sand
Modified: May 6, 2024
Learn the best techniques and methods for storing sand with our informative articles. Discover how to keep your sand in optimal condition and prevent any issues.
(Many of the links in this article redirect to a specific reviewed product. Your purchase of these products through affiliate links helps to generate commission for Storables.com, at no extra cost. Learn more)
Introduction
When it comes to storing sand, whether it’s for construction, gardening, or arts and crafts, proper storage is crucial to maintain its quality and usability. Sand can easily get contaminated, absorb moisture, or become a breeding ground for pests if not stored correctly. In this article, we will explore the best practices for storing sand to ensure its longevity and effectiveness.
Before we delve into the nitty-gritty details of sand storage, it’s essential to understand the different types of sand available. Depending on your specific needs, you may be dealing with beach sand, play sand, construction sand, or specialty sands like silica sand or aquarium sand. Each type requires specific storage considerations to maintain its desired characteristics.
Now that we have a basic understanding of the importance of proper sand storage and the different types available, let’s get into the nitty-gritty of how to store sand effectively.
Key Takeaways:
- Properly storing sand involves determining the type, choosing the right container, cleaning and drying, maintaining a dry environment, preventing contamination and pests, sealing the container, and labeling for easy identification.
- Different types of sand require specific storage considerations to maintain their quality and usability, from cleaning and drying to preventing contamination and pests.
Read more: How To Store Sand Fleas
Determine the Type of Sand
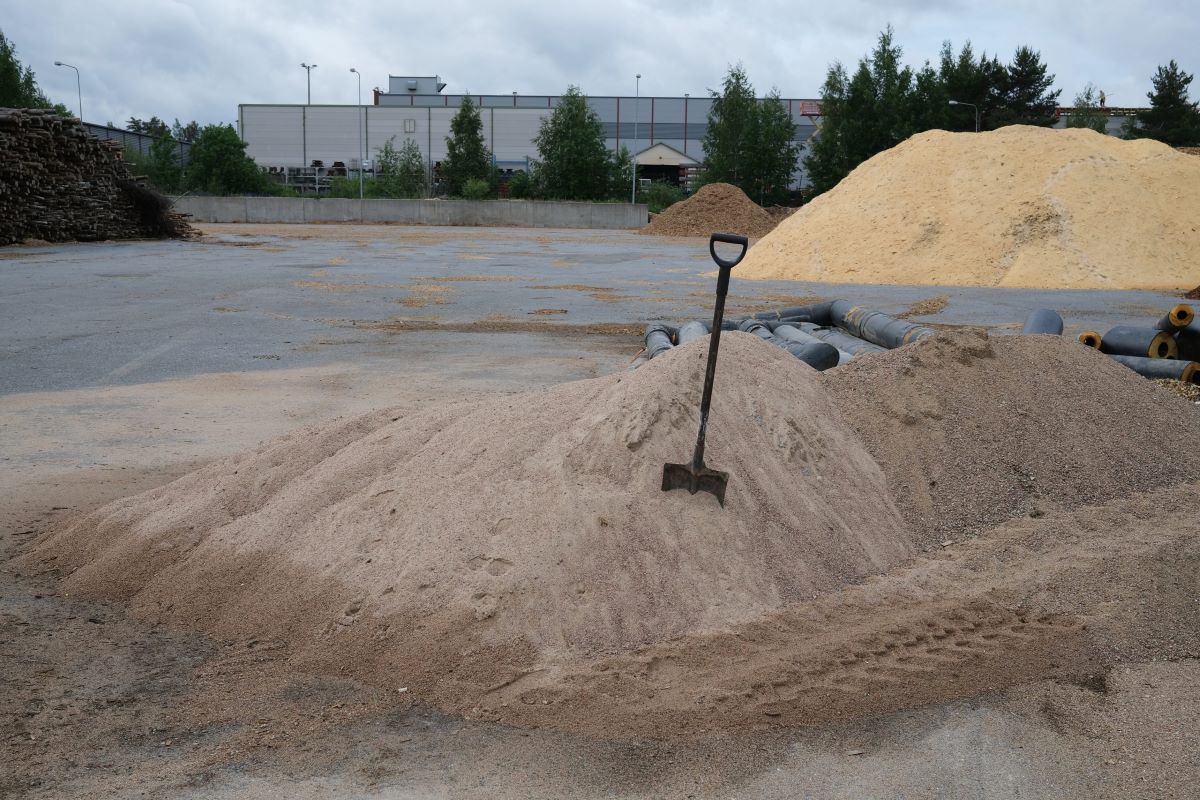
The first step in storing sand is to determine the type you’re dealing with. As mentioned earlier, there are various types of sand, each with its own specific storage requirements. Understanding the type of sand you have will help you make informed decisions on how best to store it.
If you’re working with beach sand, it’s essential to remove any debris like shells, rocks, or seaweed before storing it. Beach sand often contains salt, which can cause corrosion if not properly taken care of. Rinse the sand thoroughly with fresh water and allow it to dry completely before placing it in a storage container.
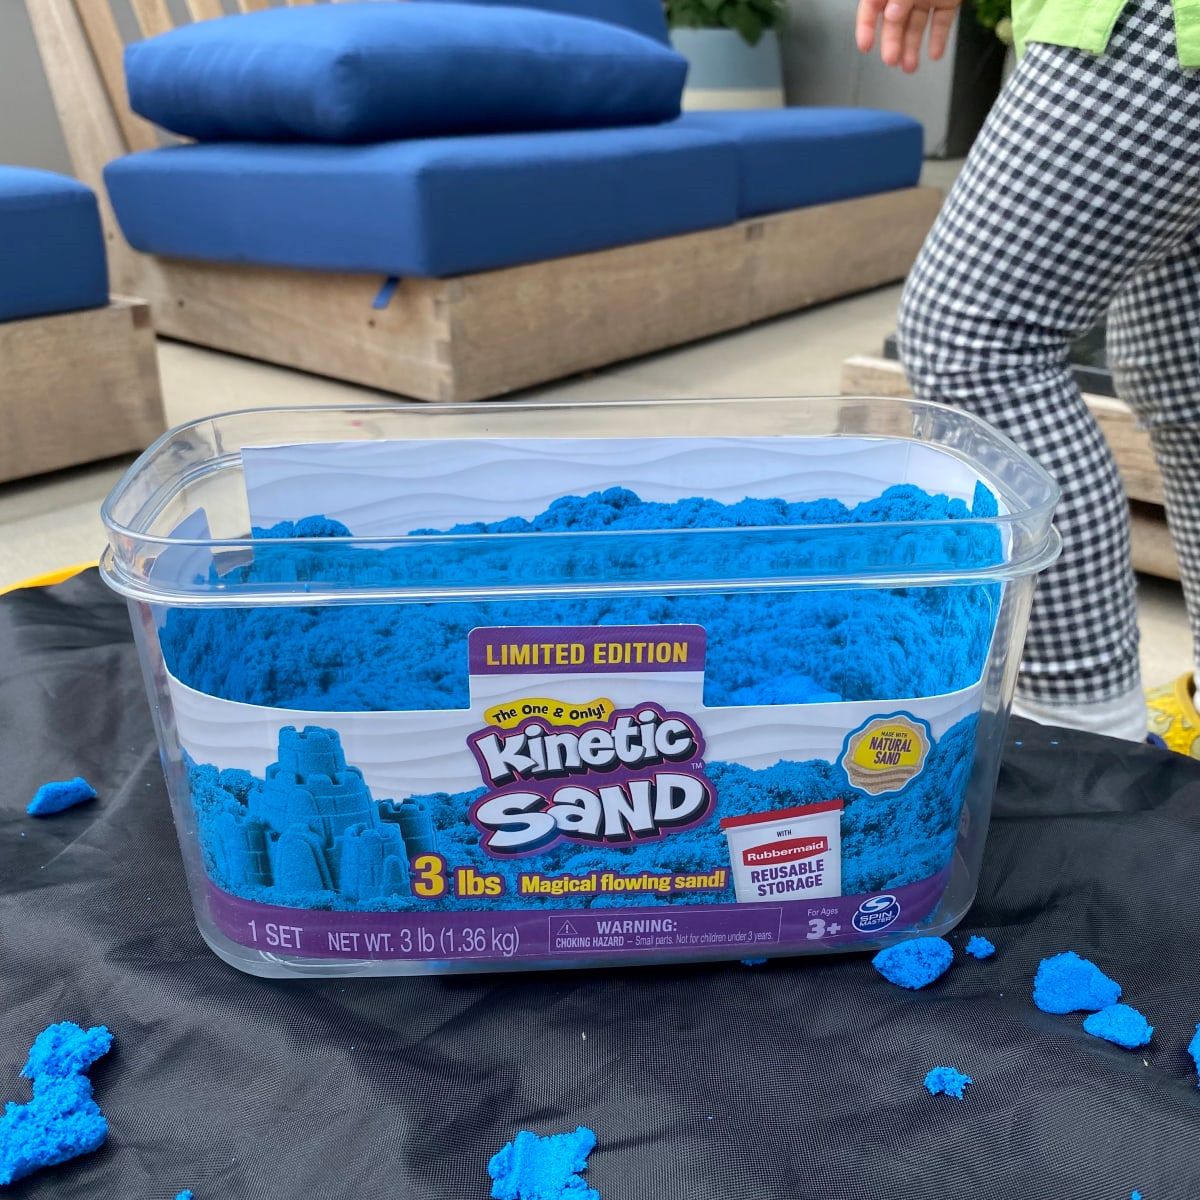
Play sand, commonly used in sandboxes or for children’s activities, is usually clean and free of contaminants. However, it’s still important to check for any foreign objects or particles that could affect its quality. Playground sand can be stored in large bins or plastic containers with secure lids to keep it clean and protected.
Construction sand, typically used for building projects, may contain a higher percentage of fine particles. It’s crucial to check for excessive moisture content in construction sand, as damp sand can lead to mold growth or clumping. If moisture is present, spread the sand out in a well-ventilated area until it dries out completely before storing it in a suitable container.
Specialty sands, like silica sand or aquarium sand, require specific storage conditions due to their unique properties. Silica sand, often used in sandblasting or filtration systems, should be stored in airtight containers to prevent moisture absorption, which can cause clumping. Aquarium sand should be stored in containers that are free of any harmful chemicals or residues that may contaminate the water in the aquarium.
Before proceeding to the actual storage of sand, take the time to identify its type and carry out any necessary preparation steps to ensure optimal storage conditions.
Choose the Right Container
Once you have determined the type of sand you are working with, the next step is to choose the right container for storage. The container you select will depend on the quantity of sand you need to store and the specific requirements of the sand type.
For small quantities of sand, such as play sand or specialty sands, plastic bins with secure lids are an excellent choice. These bins are readily available, affordable, and offer protection against moisture, pests, and contaminants. Make sure to choose a bin that is large enough to hold the amount of sand you have, leaving some space for easy mixing or retrieval.
If you are storing larger quantities of sand, such as construction sand or beach sand, consider using heavy-duty plastic bags or woven polypropylene bags. These bags are durable and resistant to tearing. Fill the bags with sand, making sure not to overload them, and securely seal the bags with twist ties or zip ties. Remember to label the bags to identify the type of sand they contain.
Another option for storing sand is using airtight containers made of materials like plastic or metal. These containers provide a high level of protection against moisture, pests, and contaminants. Make sure the containers have tight-fitting lids to prevent any air or moisture from entering. Clear plastic containers are ideal for sand storage as they allow for easy visibility of the contents.
Before transferring the sand into the chosen container, make sure that it is clean and free from any residues or contaminants. Wash the container with mild detergent and rinse it thoroughly to ensure it is completely clean and dry before filling it with sand.
Remember that the container you choose should be appropriate for the quantity and type of sand you are storing, offering sufficient protection and ease of access when needed.
Clean and Dry the Sand
Before storing sand, it is essential to clean and dry it to maintain its quality and prevent any potential issues. Cleaning the sand will remove debris, impurities, and any organic matter that may affect its usability. Drying the sand thoroughly is crucial to prevent moisture build-up, which can lead to clumping, mold growth, or the formation of bacteria.
If you are dealing with beach sand, start by removing any large debris like shells or rocks. Next, rinse the sand thoroughly with fresh water to remove salt and any other impurities. A gentle stream of water can be used to wash the sand while stirring it with a shovel or rake to ensure an even cleaning. Once the sand is clean, spread it out in a thin layer on a clean, dry surface to allow it to air dry. This process may take several days, depending on the weather conditions.
For play sand or specialty sands, you can clean them by sifting them through a mesh screen to remove any foreign particles or clumps. This process will help ensure that the sand is clean and ready for storage. Afterward, spread the sand in a thin layer to allow it to dry completely before transferring it to the storage container.
In the case of construction sand, it is crucial to check for excess moisture content before storing it. Spread the sand out in a well-ventilated area, such as a tarp or concrete surface, and let it dry completely. If you encounter clumps or damp areas, break them up and continue drying until the sand is uniformly dry. It is important to note that storing damp sand can lead to mold growth, musty odors, and a compromised quality of the sand.
Regardless of the type of sand, it is essential to ensure that it is thoroughly dry before transferring it to the storage container. Moisture can attract pests, cause clumping, and lead to a decrease in the overall quality of the sand. Taking the time to clean and dry the sand properly will help maintain its usability and effectiveness over time.
Store sand in a dry, covered area to prevent moisture buildup and clumping. Use airtight containers or bags to keep it clean and free of debris.
Keep the Sand in a Dry Environment
To ensure the longevity and quality of stored sand, it is essential to maintain a dry environment. Moisture is one of the biggest enemies of sand, as it can cause clumping, mold growth, and the degradation of its overall quality. Here are some tips to keep the sand in a dry environment:
- Choose a dry storage location: Select a space in your home, garage, or storage area that is dry and well-ventilated. Avoid areas prone to leaks or high humidity, such as basements or areas near water sources. A dry environment will help prevent moisture from seeping into the sand.
- Avoid exposing the sand to moisture: When handling the sand, make sure your hands are dry to avoid introducing moisture. Additionally, avoid storing the sand near water sources or areas where it may get wet, such as windows or doors. Preventing contact with moisture will help preserve the quality of the sand.
- Consider using desiccants: Desiccants are substances that absorb moisture from the surrounding environment. Placing a few desiccant packs or silica gel packets inside the sand container can help absorb any excess moisture and keep the sand dry. Make sure to replace the desiccants regularly to maintain their effectiveness.
- Monitor humidity levels: Consider using a hygrometer to monitor the humidity levels in the storage area. Ideally, the humidity should be below 50% to prevent moisture-related issues. If the humidity rises, use dehumidifiers or fans to lower the humidity levels and maintain a dry environment.
By keeping the sand in a dry environment, you can prevent clumping, mold growth, and degradation, ensuring that the sand remains usable and of high quality over time.
Read more: How To Store Carrots In Sand
Prevent Contamination and Pests
Preventing contamination and pests is crucial when storing sand to maintain its cleanliness, usability, and overall quality. Contamination can occur from various sources, such as dust, debris, and foreign particles, while pests like insects or rodents can cause damage to the sand. Here are some tips to prevent contamination and pests when storing sand:
- Keep the storage area clean: Before storing the sand, ensure that the storage area is clean and free from dust, dirt, or any other contaminants. Regularly sweep or vacuum the area to remove any potential sources of contamination.
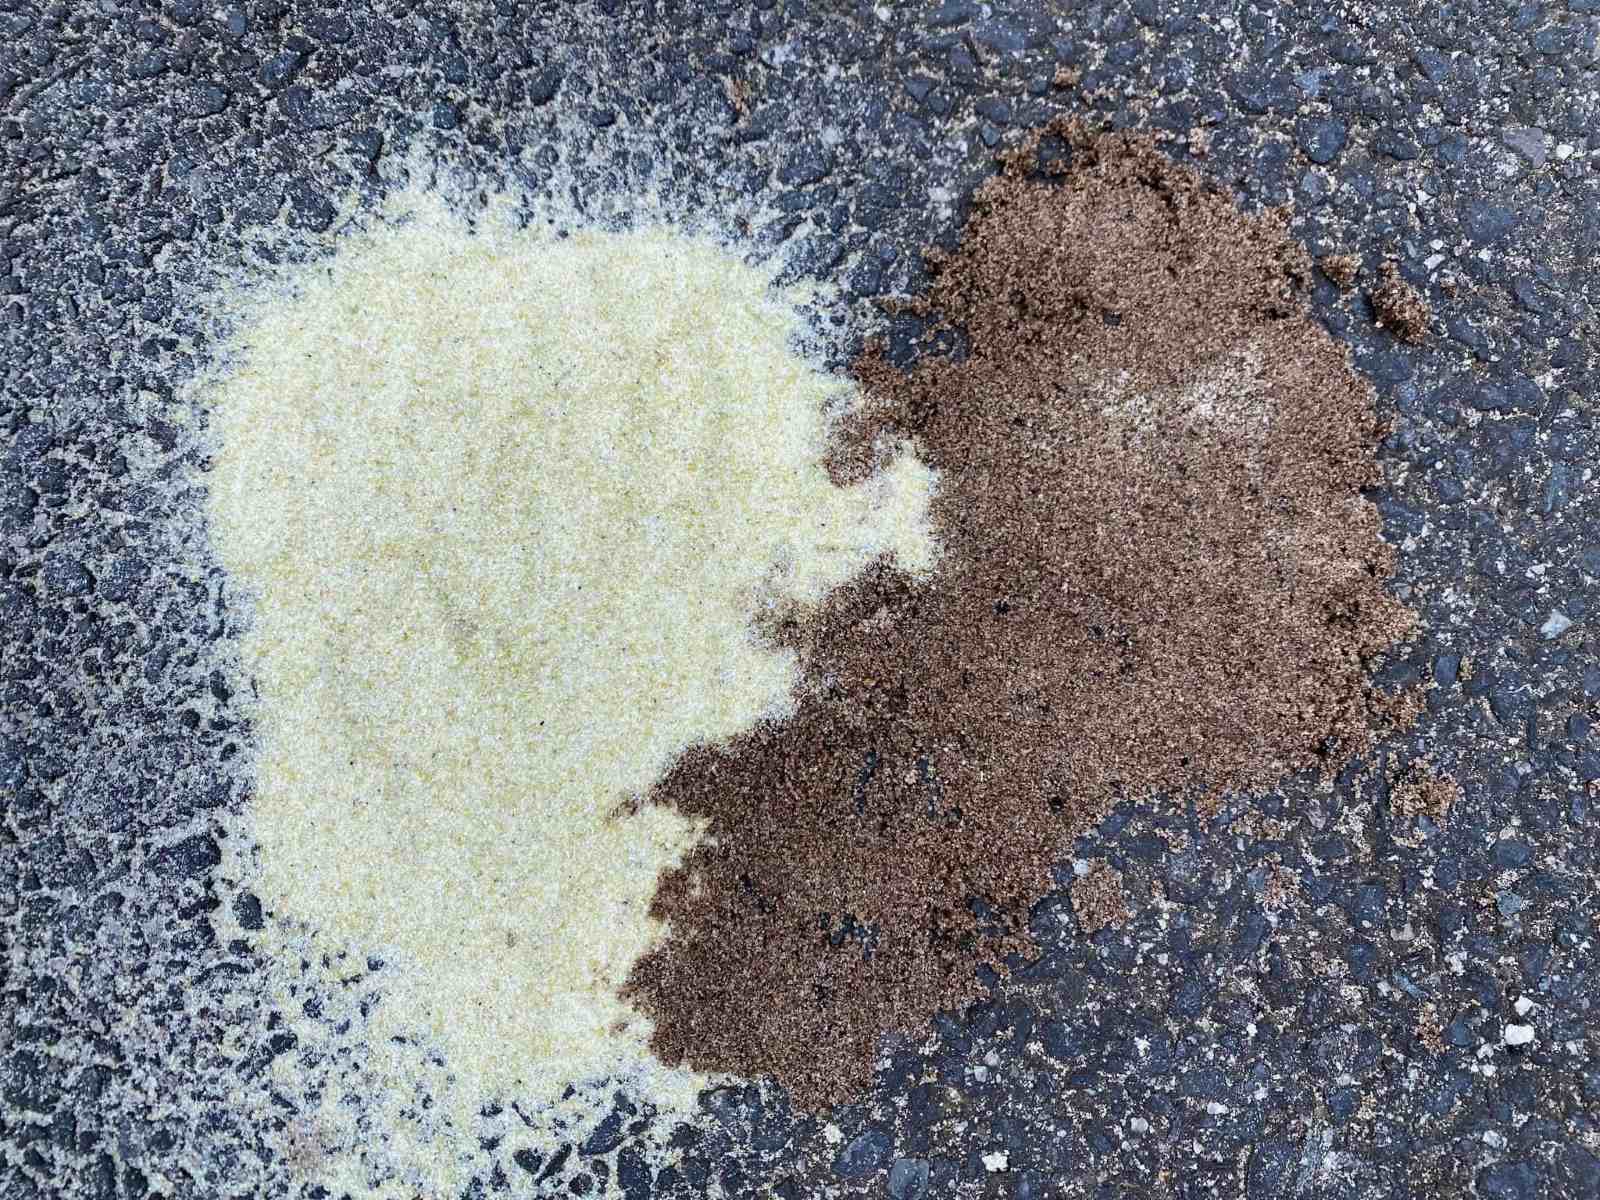
- Avoid mixing different types of sand: Mixing different types of sand can lead to contamination or the alteration of desired properties. Store each type of sand in separate containers to prevent cross-contamination.
- Seal any openings: Ensure that the storage containers are tightly sealed to prevent entry by pests. Use containers with secure lids that fit snugly to keep bugs, rodents, and other pests out.
- Store sand above ground: Whenever possible, store sand off the ground to minimize the risk of pests infiltrating the storage containers. Use pallets or raised platforms to keep the sand elevated.
- Avoid storing near food or organic material: Keep the sand storage area separate from areas where food or organic materials are stored. This will help discourage pests from venturing closer to the sand.
- Inspect regularly: Regularly inspect the sand storage containers for signs of pests or contamination. Look for any droppings, holes, or unusual markings that may indicate the presence of pests. If any issues are detected, address them promptly by cleaning the container and removing any pests.
- Use pest deterrents: Consider using natural pest deterrents, such as cedar chips or sachets of lavender or mint, inside the storage containers. These scents are known to repel certain pests and can help keep them away from the sand.
By taking preventive measures to avoid contamination and pests, you can ensure that the stored sand remains clean, uncontaminated, and free from any damage caused by pests.
Seal the Sand Container Properly
Ensuring proper sealing of the sand container is essential for maintaining the quality and usability of the stored sand. A well-sealed container prevents moisture, contaminants, and pests from entering, preserving the sand’s integrity. Here are some tips to seal the sand container properly:
- Choose a container with a secure lid: Select a container with a lid that fits tightly and securely. This will prevent any air or moisture from entering and affecting the sand. Clear plastic containers with snap-on or screw-on lids are often a good choice as they offer visibility and a watertight seal.
- Check for any gaps or openings: Before storing the sand, inspect the container for any gaps, cracks, or openings. Ensure that there are no cracks or holes in the container that could compromise the seal. If necessary, patch or repair any openings to maintain a secure seal.
- Use sealing materials: For extra security, consider using sealing materials such as plastic wraps or rubber gaskets. Place a layer of plastic wrap over the opening of the container before closing the lid to create an additional barrier against air and moisture. Alternatively, use rubber gaskets or silicone sealants to create a tight seal.
- Avoid overfilling the container: When filling the container with sand, avoid packing it too tightly or overfilling it. Allow for some empty space in the container to minimize pressure on the seal and prevent any potential bursting or leakage.
- Label the container: Clearly label the container with the type of sand it contains and any other relevant information. This will help you identify the contents quickly and avoid opening multiple containers unnecessarily.
Remember to inspect the container regularly to ensure that the seal remains intact. If you notice any signs of damage or compromised sealing, address it promptly by repairing or replacing the container as needed.
Properly sealing the sand container will help maintain the sand’s quality, prevent moisture absorption, and protect it from external contaminants and pests, ensuring it remains clean and usable over an extended period.
Label the Sand Container
Labeling the sand container is a crucial step in proper sand storage. Clear and accurate labeling not only helps you identify the type of sand quickly but also ensures that the sand is used for its intended purpose. Here are some tips for effectively labeling the sand container:
- Include the type of sand: Clearly indicate the type of sand stored in the container. This could be beach sand, play sand, construction sand, or any other specific type. Knowing the type of sand will help you select the appropriate sand for your needs without opening multiple containers.
- Add relevant details: If there are any specific characteristics or special considerations associated with the sand, include that information on the label. For example, if the sand is pre-washed or needs to be kept dry, mention it on the label to remind yourself and others of the specific requirements.
- Note the date of storage: It can be helpful to include the date the sand was stored on the label. This information will give you an idea of how long the sand has been stored and when it may need to be checked for any potential issues like moisture or degradation.
- Use clear and legible handwriting or printing: Ensure that the label is written or printed clearly and legibly. Use a waterproof marker or label maker to avoid the label from smudging or fading over time. This will make it easier to read the label and prevent any confusion or mix-up with other containers.
- Attach the label securely: Make sure the label is securely attached to the container to prevent it from getting lost or damaged. If using adhesive labels, ensure they are properly stuck to the container. Alternatively, you can use clear packing tape or a plastic sleeve to protect the label from moisture or wear.
- Consider color-coding: To further enhance organization and easy identification, you may consider color-coding the labels based on the type of sand or the purpose it serves. This will make it visually easier to differentiate between different sand containers at a glance.
By labeling the sand container, you can maintain proper inventory management, streamline the selection of sand for specific projects, and ensure that the sand remains in optimal condition for its intended use.
Now that you've mastered storing sand, why not spruce up your garden's perimeter with some creative flair? Our next article provides a treasure of garden fence ideas that enhance any outdoor space. Whether you're aiming for a modern look or something more traditional, these options cater to all tastes. Get inspired and transform your garden into a delightful outdoor haven.
Frequently Asked Questions about How To Store Sand
Was this page helpful?
At Storables.com, we guarantee accurate and reliable information. Our content, validated by Expert Board Contributors, is crafted following stringent Editorial Policies. We're committed to providing you with well-researched, expert-backed insights for all your informational needs.


0 thoughts on “How To Store Sand”