Articles
How To Harden A Sand Driveway
Modified: March 2, 2024
Looking for articles on how to harden a sand driveway? Discover effective methods and expert tips to strengthen your driveway and prevent erosion.
(Many of the links in this article redirect to a specific reviewed product. Your purchase of these products through affiliate links helps to generate commission for Storables.com, at no extra cost. Learn more)
Introduction
Having a sand driveway can be a cost-effective and visually appealing option for many homeowners. However, sand driveways can be prone to erosion and becoming uneven over time. If you’re looking to harden your sand driveway and improve its durability, you’ve come to the right place.
In this article, we will provide you with a step-by-step guide on how to harden a sand driveway and ensure that it remains sturdy for years to come. By following these simple yet effective steps, you can transform your sandy pathway into a solid, reliable surface that can withstand the test of time.
Before we dive into the steps, it’s important to note that for this process to be successful, you will need some basic tools and materials. These may include a shovel, a rake, a vibratory plate compactor, a water hose, and binding material such as gravel or crushed stone. Additionally, be sure to wear protective gear, such as gloves and safety glasses, to ensure your safety throughout the process.
With that being said, let’s get started on transforming your sand driveway into a hardened surface that you can rely on.
Key Takeaways:
- Transform your sand driveway into a solid, reliable surface by following these steps: prepare the area, remove weeds, compact the sand, add binding material, use a vibratory plate compactor, water and roll the driveway, allow time to settle, and maintain regularly.
- Achieve a durable and visually appealing sand driveway by investing time in proper maintenance. Regularly clean the surface, address weed growth, fill cracks, prevent erosion, and consider sealing the surface for added protection.
Read more: How To Sand A Dresser
Step 1: Prepare the Sand Driveway
The first step in hardening your sand driveway is to prepare the area properly. This involves removing any debris, smoothing out uneven spots, and ensuring a level surface for the next steps.
Start by using a shovel to remove any large rocks, sticks, or other debris that may be on the surface of your driveway. This will help create a clean foundation for the hardening process.
Next, use a rake to even out any rough or uneven areas. This will help to create a smooth and level surface, which is crucial for the binding material to adhere properly.
If you notice any dips or low spots in your driveway, you may need to add additional sand to fill in these areas. Use the shovel to distribute the sand evenly and then use the rake to level it out.
It’s important to take your time during this step and ensure that the entire surface of your driveway is well-prepared. This will lay the foundation for the hardening process and ensure better results in the end.
Step 2: Remove Weeds and Grass
Before you can proceed with hardening your sand driveway, it’s important to get rid of any weeds, grass, or other vegetation that may be growing in the area. These unwanted plants can cause cracks and unevenness in your driveway, compromising its durability.
Start by manually pulling out any visible weeds or grass that are growing through the sand. Use a garden tool, such as a hand trowel or weed puller, to get a good grip on the roots and remove them completely.
If you’re dealing with a larger area or stubborn weeds that keep coming back, you may need to use a herbicide. Look for a herbicide that is specifically formulated to kill weeds and grass in gravel or sand driveways. Follow the instructions carefully and apply it to the affected areas.
After applying the herbicide, give it some time to work and then use a rake to remove any dead vegetation. This will ensure that your driveway is clear of any plants that could hinder the hardening process.
Keep in mind that regular maintenance will be necessary to prevent weeds and grass from reappearing. Consider using a weed barrier or applying herbicide as a preventive measure to keep your driveway weed-free in the long run.
By removing weeds and grass from your sand driveway, you can create a clean and even surface that is ready for the next steps of the hardening process.
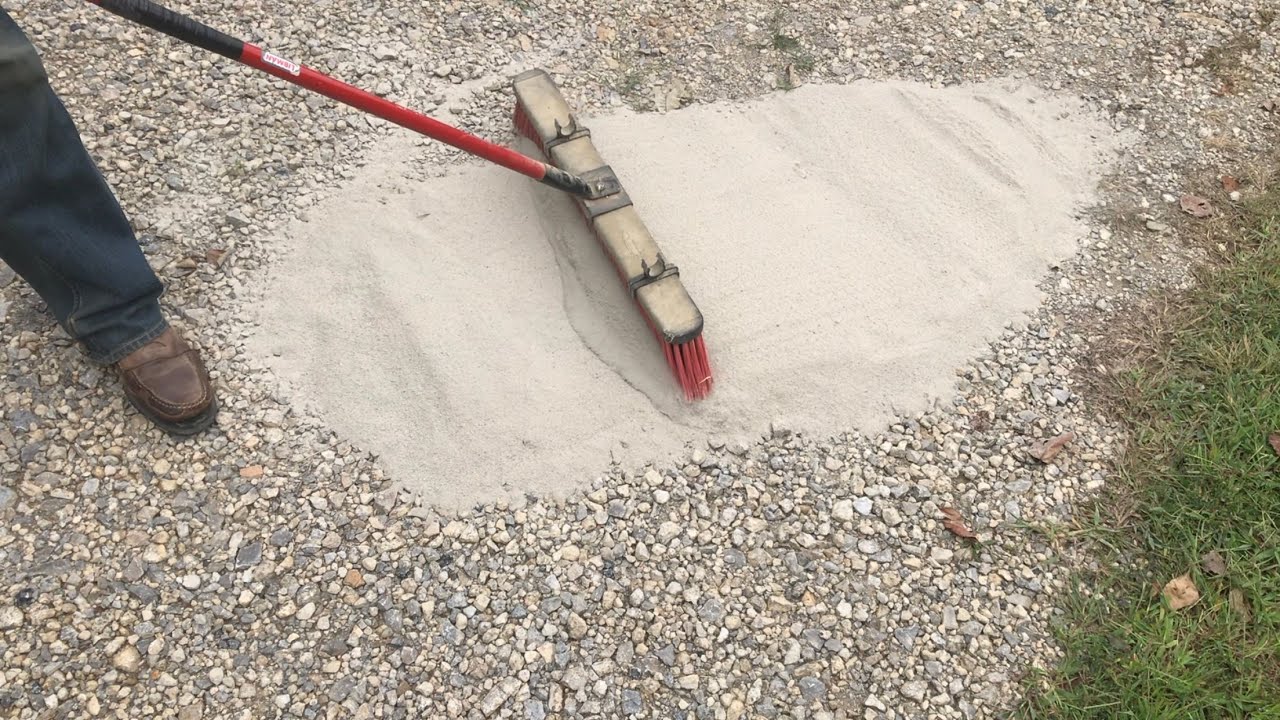
Step 3: Compact the Sand
After preparing the surface and removing any weeds or grass, the next step in hardening your sand driveway is to compact the sand. This step will help create a solid and stable foundation for the binding material.
First, ensure that the sand is evenly spread across the entire area of your driveway. Use a rake or a shovel to distribute the sand uniformly and ensure that there are no high or low spots.
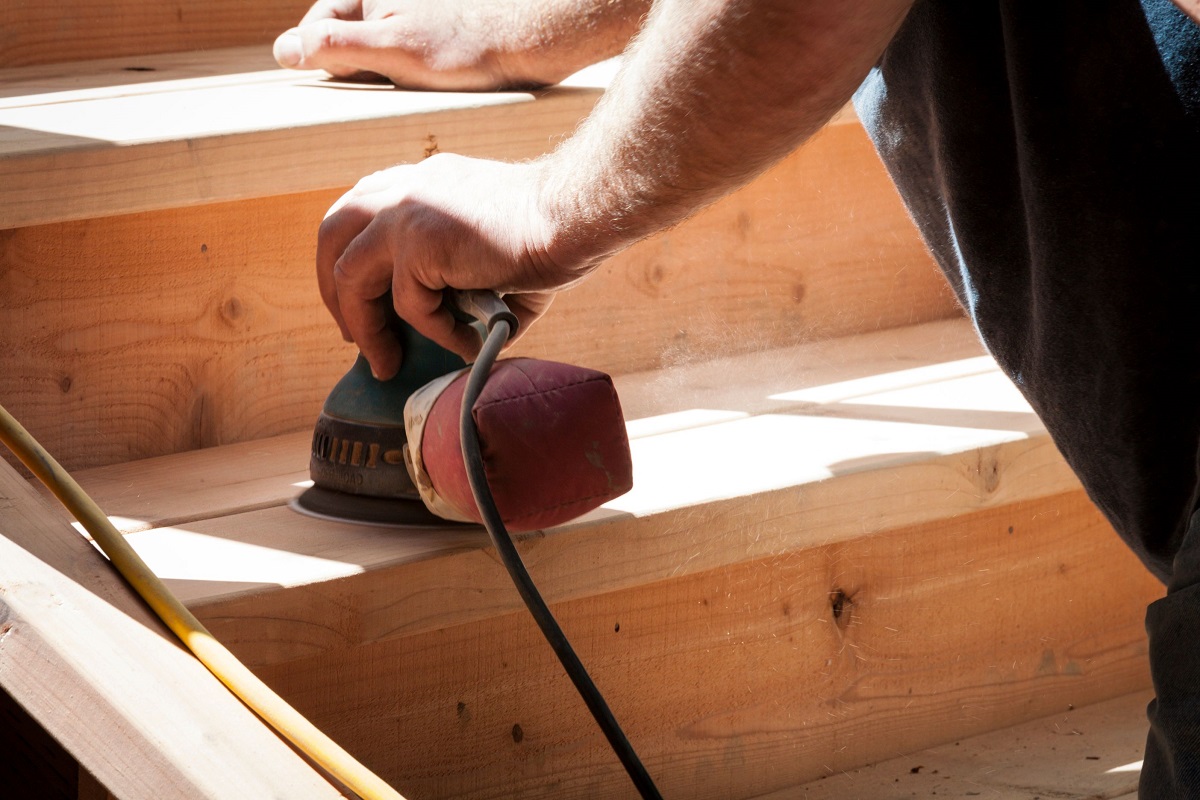
Once the sand is properly distributed, it’s time to compact it. This can be done using a vibratory plate compactor or a hand tamper. Start at one end of the driveway and work your way towards the other end, applying even pressure as you go.
If you’re using a vibratory plate compactor, follow the manufacturer’s instructions for proper operation. Typically, you will need to make multiple passes over the entire driveway to ensure thorough compaction.
If you’re using a hand tamper, grip it firmly and begin tapping the surface of the sand with it. Move systematically from one end of the driveway to the other, ensuring that each section is adequately compacted.
During this process, the sand particles will settle and become more tightly packed together, creating a more stable and solid surface. This will greatly enhance the durability of your sand driveway.
Keep in mind that proper compaction is key to achieving the desired results. Take your time and make sure to cover the entire driveway to ensure uniformity in compaction.
Step 4: Add Binding Material
Adding binding material to your sand driveway is an essential step in the hardening process. This material helps to stabilize the sand, preventing it from shifting or eroding over time.
The most commonly used binding material for sand driveways is gravel or crushed stone. These materials provide excellent stability and drainage, making them ideal for enhancing the solidity of your driveway.
To add the binding material, start by spreading a layer of gravel or crushed stone over the compacted sand. Use a shovel to distribute the material evenly, ensuring that it covers the entire surface of the driveway.
The thickness of the binding material layer will depend on your specific needs and preferences. A typical recommendation is a layer of 2-4 inches, but you can adjust it based on the desired level of hardness and stability.
Once the binding material is spread evenly, use a rake to level it out and ensure a uniform distribution. This will further enhance the stability and consistency of your sand driveway.
It’s important to choose a binding material that is compatible with your sand and climate conditions. Consult with a local supplier or a landscaping professional to determine the best type of gravel or crushed stone for your specific needs.
By adding the appropriate binding material, you can significantly improve the strength and durability of your sand driveway, making it more resistant to erosion and shifting.
Consider adding a stabilizing agent, like gravel or crushed stone, to the sand to improve its stability and prevent erosion. This will help harden the driveway and make it more durable.
Read more: How To Store Sand
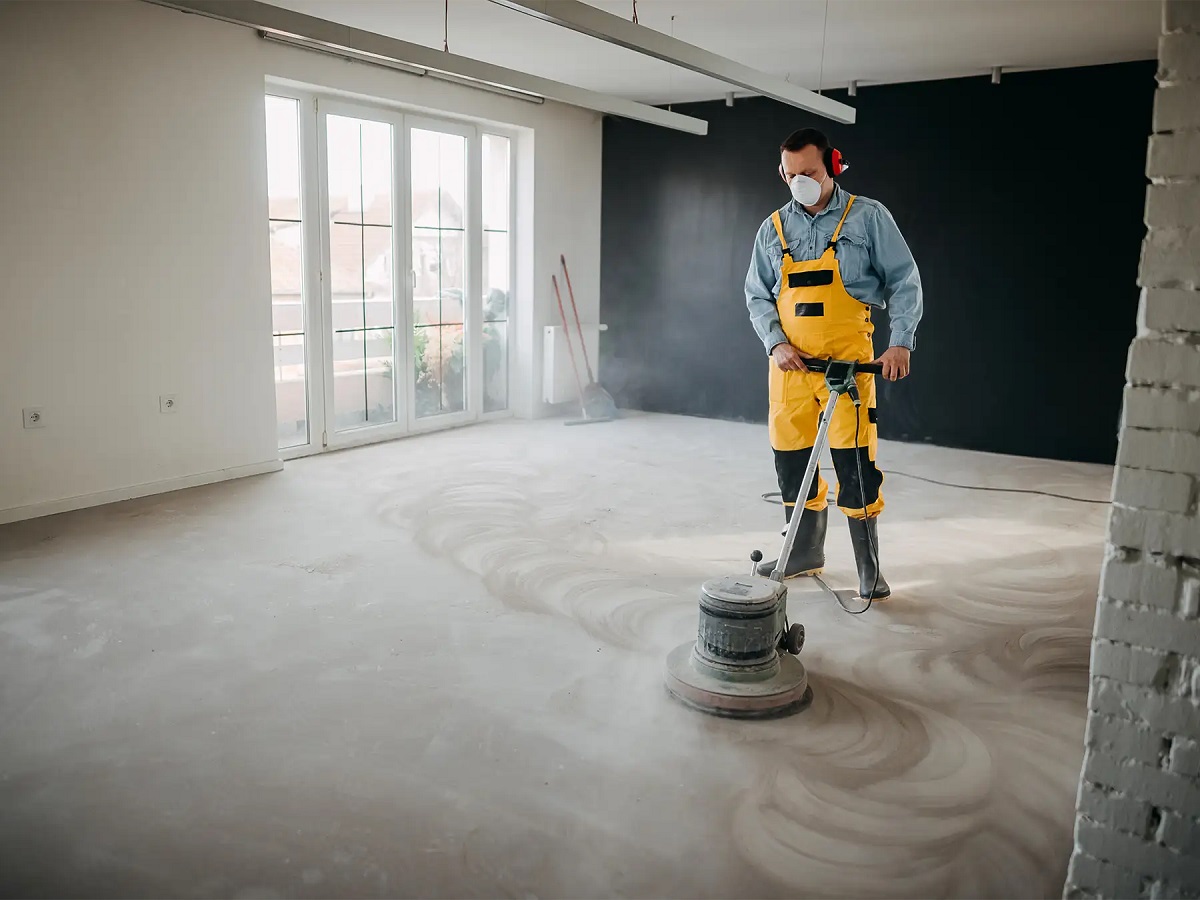
Step 5: Use a Vibratory Plate Compactor
Using a vibratory plate compactor is a crucial step in the process of hardening your sand driveway. This powerful tool helps to further compact the binding material and ensure a solid and durable surface.
Before using the vibratory plate compactor, it’s important to ensure that the binding material is evenly spread and level across the entire driveway. Use a rake to make any necessary adjustments and create a smooth surface.
Start the vibratory plate compactor and gently guide it over the surface of the driveway. Apply steady pressure as you move the compactor in overlapping passes, covering the entire area to ensure even compaction.
The vibrations generated by the plate compactor will help to settle the binding material and remove any air pockets, creating a more solid and stable surface. This will significantly improve the durability and strength of your sand driveway.
Pay close attention to any edges or corners of the driveway as you use the vibratory plate compactor. These areas may require extra attention to ensure proper compaction and a uniform finish.
It’s essential to follow the manufacturer’s instructions for the specific plate compactor you’re using. Each model may have different settings and operating procedures, so be sure to read the manual thoroughly and take any necessary safety precautions.
Using a vibratory plate compactor will help to achieve optimal compaction of the binding material, ensuring that your sand driveway remains solid and resistant to shifting and erosion.
Step 6: Water and Roll the Driveway
After using the vibratory plate compactor, the next step in hardening your sand driveway is to water and roll the surface. This will help to further settle and bind the materials together, creating an even stronger and more stable driveway.
Start by thoroughly watering the entire surface of the driveway. Use a hose with a sprinkler attachment or a watering can to evenly distribute water across the entire area. The water will penetrate the binding material and help it to bind together, enhancing its stability.
After watering, use a roller to compact and smooth the driveway. A lawn roller, typically filled with water or sand, can be used to effectively achieve this. As you roll the driveway, apply even pressure and make multiple passes to ensure thorough compaction.
Rolling the driveway helps to further solidify the binding material and eliminate any remaining air pockets. It also creates a smoother surface, making your sand driveway more visually appealing and easier to maintain.
If you don’t have access to a roller, you can use a hand tamper or even the back of a shovel to manually compact the wet surface. This may require more effort and time, but it can still achieve effective results.
Repeat the watering and rolling process at least once, or as necessary, to achieve optimal compaction and stability. This will help to ensure that your sand driveway remains durable and resistant to erosion and shifting.
Remember to allow the driveway to dry completely before using it or applying any additional layers of material, as this will prevent any potential damage to the surface.
Step 7: Allow Time to Settle
After completing the previous steps, it’s important to allow your newly hardened sand driveway to settle and cure. This step is crucial for ensuring the long-term stability and durability of the surface.
Allowing time for the driveway to settle will help the binding material and sand to fully compact and solidify. This will enhance the strength and resistance of the driveway against shifting, erosion, and damage from heavy usage.
It’s recommended to avoid driving or parking heavy vehicles on the newly hardened driveway for at least a week. During this time, the materials will continue to settle and bind together, creating a stronger and more stable surface.
It’s also important to note that weather conditions can affect the settling process. If it’s particularly hot or dry, consider lightly watering the driveway to prevent excessive drying and cracking of the surface. Conversely, if it’s raining heavily, take measures to protect the driveway from erosion.
While waiting for the driveway to settle, perform regular visual inspections to ensure that there are no signs of cracking, shifting, or erosion. If you notice any issues, take appropriate steps to address them, such as adding additional binding material or performing necessary repairs.
Patience is key during this step. Allowing your sand driveway ample time to settle will ensure a more durable and long-lasting surface, providing you with years of reliable use and minimal maintenance.
Step 8: Maintain Regularly
Maintaining your hardened sand driveway is essential to keep it in optimal condition and prolong its lifespan. Regular maintenance will help prevent issues such as erosion, weed growth, and surface damage, ensuring that your driveway remains sturdy and visually appealing.
Here are some important maintenance tasks to incorporate into your routine:
1. Clean the Surface: Regularly sweep or use a leaf blower to remove debris, leaves, and dirt from the surface of your driveway. This will prevent them from accumulating and potentially causing damage or blocking drainage channels.
2. Address Weed Growth: Keep an eye out for any weeds that may start to emerge in the cracks or edges of your driveway. Remove them promptly to prevent them from spreading and causing damage to the surface.
3. Fill Cracks and Potholes: As your driveway ages, cracks or potholes may develop. Fill them with appropriate patching material or additional sand to prevent further deterioration and maintain a smooth surface.
4. Reapply Binding Material: Over time, the binding material on your sand driveway may wear down. Regularly inspect the surface and add more gravel or crushed stone as needed to maintain its stability.
5. Prevent Erosion: Keep an eye out for signs of erosion, especially after heavy rain or strong winds. If erosion occurs, add additional binding material and consider using erosion-control techniques, such as installing landscape edging or retaining walls.
6. Seal the Surface (Optional): Consider applying a sealant to your hardened sand driveway to provide an extra layer of protection against water penetration and extend its lifespan. Consult with a professional to determine the best type of sealant for your specific driveway.
By implementing these maintenance tasks on a regular basis, you can ensure that your hardened sand driveway remains in top condition for years to come. Regular maintenance will also help you catch any potential issues early on and address them promptly, avoiding costly repairs or replacements in the future.
Read more: How To Sand Glass
Conclusion
Transforming your sand driveway into a hardened and durable surface is achievable with the right steps and proper maintenance. By following the step-by-step guide outlined in this article, you can significantly enhance the strength, stability, and longevity of your driveway.
From preparing the sand and removing weeds to compacting the surface and adding binding material, each step plays a vital role in creating a solid foundation. Using a vibratory plate compactor and watering and rolling the driveway further solidifies the surface, making it more resistant to erosion and shifting.
It’s important to allow ample time for the driveway to settle and cure after completing the hardening process. This will ensure optimal compaction and long-term durability. Regular maintenance, including cleaning the surface, addressing weed growth, and filling cracks or potholes, will help preserve the driveway’s condition and prevent major issues.
Remember to consult with professionals or local suppliers for advice on appropriate materials and techniques tailored to your specific environment and requirements. By regularly maintaining and caring for your hardened sand driveway, you can enjoy years of reliable and visually appealing use.
Take pride in your home’s exterior by implementing these steps and investing time in proper maintenance. A well-maintained and hardened sand driveway not only adds value to your property but also provides a functional and aesthetically pleasing entrance.
With patience, consistency, and attention to detail, you can achieve a hardened sand driveway that is both practical and durable for years to come.
Frequently Asked Questions about How To Harden A Sand Driveway
Was this page helpful?
At Storables.com, we guarantee accurate and reliable information. Our content, validated by Expert Board Contributors, is crafted following stringent Editorial Policies. We're committed to providing you with well-researched, expert-backed insights for all your informational needs.


0 thoughts on “How To Harden A Sand Driveway”