
Articles
How To Install Solar Electric Fence
Modified: August 24, 2024
Learn how to install a solar electric fence with our informative articles. Protect your property and keep your livestock safe.
(Many of the links in this article redirect to a specific reviewed product. Your purchase of these products through affiliate links helps to generate commission for Storables.com, at no extra cost. Learn more)
Introduction
Installing a solar electric fence is a great way to protect your property and keep your animals safe. Whether you have livestock, a garden, or simply want to keep out unwanted pests, a solar electric fence provides an effective, eco-friendly solution. With the advancements in solar technology, installing and maintaining a solar electric fence has become easier and more affordable than ever before.
Not only does a solar electric fence provide a reliable means of containment, but it also offers the added benefit of being powered by the sun. This renewable energy source eliminates the need for traditional electricity and reduces your carbon footprint. Plus, with a solar electric fence, you won’t have to worry about power outages impacting its functionality.
In this article, we will guide you through the steps to install a solar electric fence. From gathering the required materials to troubleshooting potential issues, we’ve got you covered. By the end of this guide, you’ll have the knowledge and confidence to set up a solar electric fence efficiently and effectively.
Note: Before starting the installation process, it’s important to consult with local authorities or your homeowner’s association to ensure compliance with any zoning or permitting requirements that may be in place.
Key Takeaways:
- Harness the power of the sun to create an effective, eco-friendly solar electric fence that provides reliable containment or deterrence for your animals or property. Follow the step-by-step guide for a successful installation and maintenance.
- Prioritize safety, proper planning, and regular maintenance to ensure the longevity and optimal performance of your solar electric fence. Embrace sustainability and enjoy the benefits of a secure, eco-friendly barrier.
Read more: How To Install An Electric Fence For Horses
Step 1: Gather the Required Materials
The first step in installing a solar electric fence is to gather all the necessary materials. Having everything you need in advance will save you time and ensure a smooth installation process. Here are the essential materials you’ll need:
- Solar electric fence charger: This is the heart of your solar electric fence system. It converts the solar energy into electrical pulses that deter animals from crossing the fence.
- Fence posts: These are used to support the fence wires and keep them in place. The type and quantity of fence posts will depend on the size and layout of your fence.
- Insulators: Insulators are used to secure the fence wires to the fence posts and prevent them from touching the ground or other objects.
- Fence wires: These are the conductive wires that create the electric barrier. The number and length of fence wires will depend on your specific needs.
- Grounding rods: Grounding rods are essential for establishing a proper ground connection for the electric fence. The number of grounding rods needed will depend on the size of your fence.
- Wire connectors: These are used to connect the fence wires and make a secure electrical connection.
- Tools: You’ll need basic tools such as a hammer, pliers, wire cutters, and a screwdriver for installing the fence.
- Solar panels and mounting hardware: These are required if your solar electric fence charger doesn’t come with integrated solar panels. The number and wattage of solar panels will depend on the power requirements of your fence charger.
- Battery: A deep-cycle battery is needed to store the solar energy and provide power to the fence charger during periods of low sunlight.
It’s important to choose high-quality materials that are specifically designed for solar electric fencing. This ensures durability and optimal performance of the fence system. Additionally, be mindful of the length and height of the fence you plan to install and purchase materials accordingly.
With all the necessary materials gathered, you’re ready to move on to the next step: determining the location of your solar electric fence.
Step 2: Determine the Fence Location
Before starting the installation of your solar electric fence, it’s crucial to determine the desired location for the fence. The location will depend on the specific purpose of your fence, whether it’s to contain livestock, protect a garden, or prevent animals from entering a specific area. Here are some factors to consider when selecting the fence location:
- Property boundaries: Ensure that your fence is installed within the legal boundaries of your property. Check local regulations and consult with neighbors if necessary.
- Topography: Assess the terrain of your land to determine the best location for the fence. Consider any slopes, ditches, or obstacles that may affect the installation.
- Access to sunlight: As you are installing a solar electric fence, it’s essential to position it in an area that receives an adequate amount of sunlight throughout the day. This will ensure proper charging of the batteries and optimal functionality of the fence charger.
- Animal behavior: Study the behavior of the animals you are trying to contain or deter. Identify their typical paths and habits to strategically position the fence in areas where they are most likely to encounter it.
- Consider neighboring properties: If your property is adjacent to or near other properties, be mindful of any potential impact the fence may have on your neighbors. Discuss your plans with them and ensure that the fence respects their boundaries and privacy.
Once you have selected the general location for your solar electric fence, mark the perimeter using stakes or string to visualize the layout. This will help you assess the quantity of materials needed and plan the placement of fence posts.
It’s important to note that some animals may attempt to dig under the fence to escape or gain access. In such cases, you may need to incorporate additional measures like burying wire mesh along the fence line or installing an underground barrier to prevent animals from tunneling under the fence.
By carefully determining the fence location, you’ll be able to maximize the efficiency of your solar electric fence and meet your specific needs for containing or deterring animals effectively.
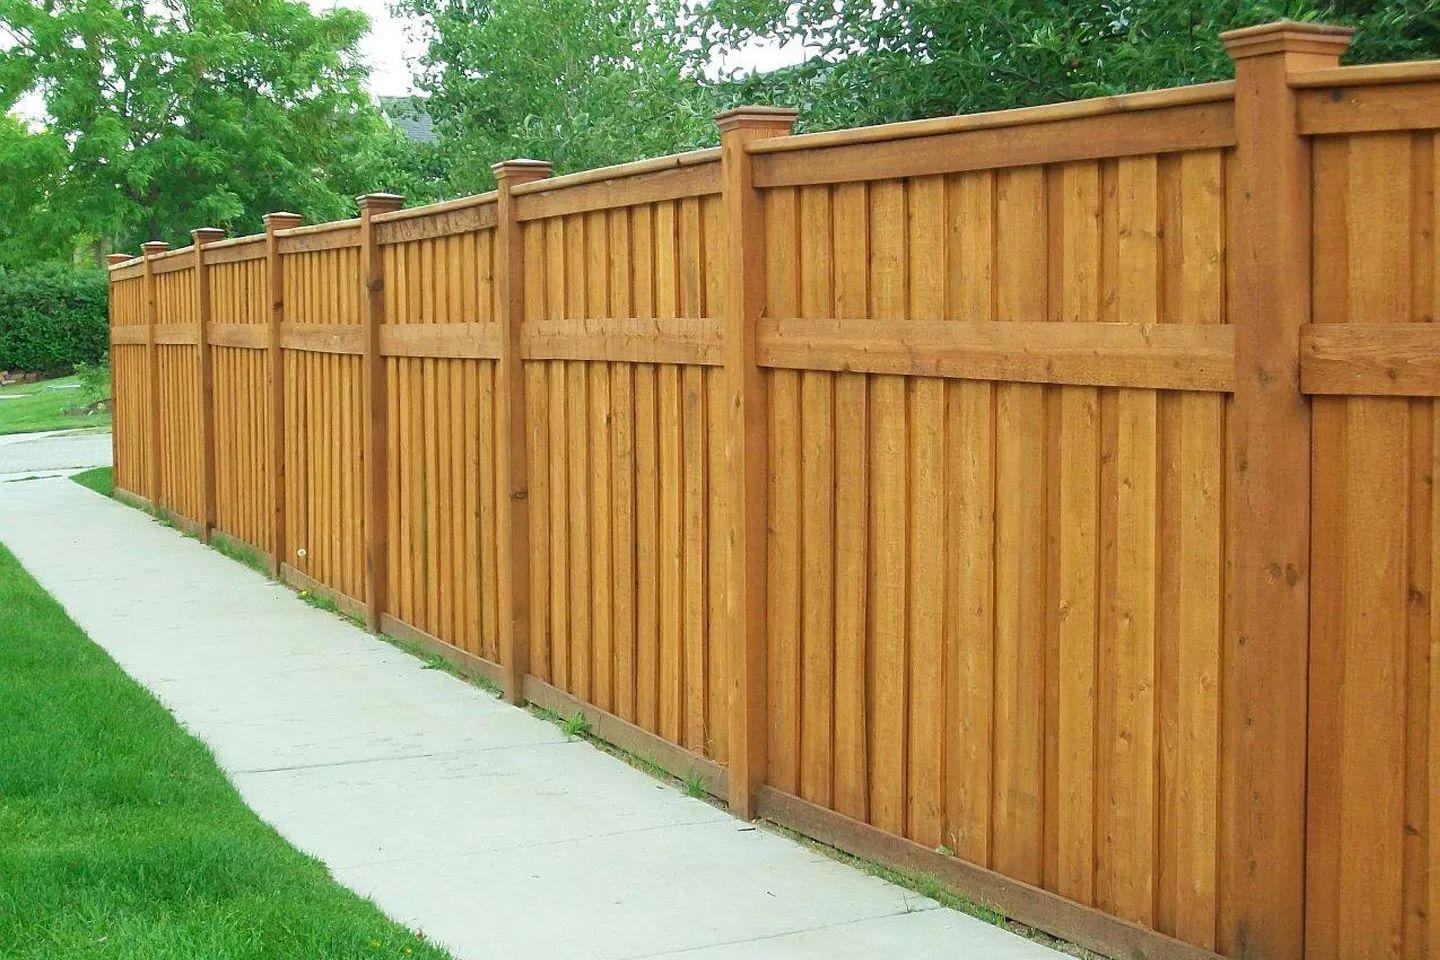
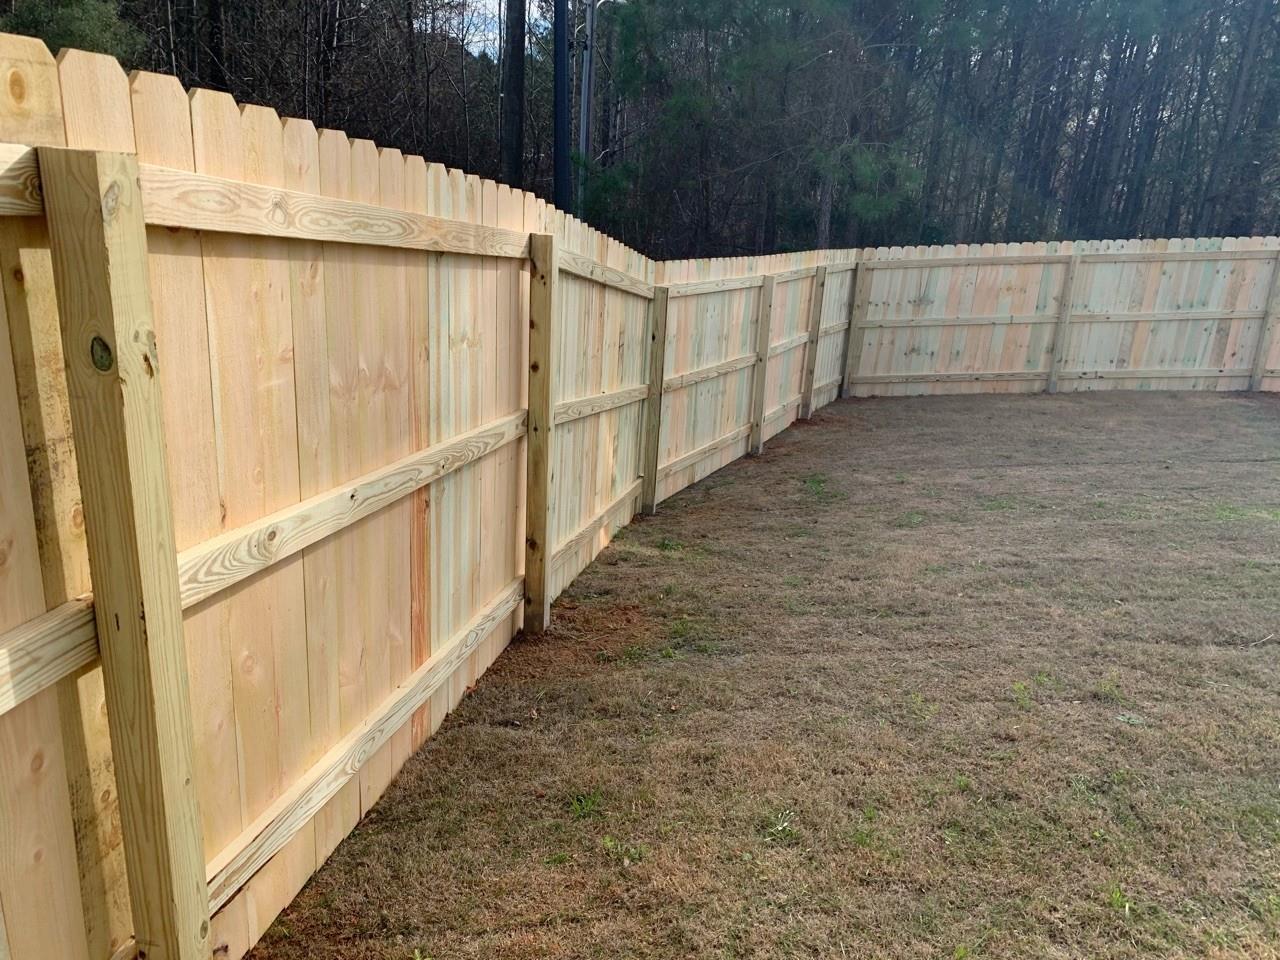
Step 3: Install the Fence Posts
Now that you have determined the location of your solar electric fence, it’s time to install the fence posts. The fence posts provide support for the fence wires and help keep them securely in place. The specific method of installing fence posts may vary depending on the type of posts you choose, such as wooden or metal posts. Here are the general steps to follow:
1. Measure and mark: Start by measuring and marking the spacing for your fence posts. The distance between each post will depend on the length of your fence and the level of stability required. Typically, posts are spaced between 8 to 12 feet apart, but it’s essential to consult the manufacturer’s recommendations for your specific fence system.
2. Dig holes: Use a post hole digger or an auger to dig holes for the fence posts. The depth of the holes should be approximately one-third of the total length of the post, but it’s advisable to check the manufacturer’s guidelines for your specific fence posts. Ensure that the holes are deep enough to provide stability and support.
3. Insert and secure the posts: Place the fence posts into the holes and make sure they are level. You can use a spirit level to ensure that the posts are plumb. Fill the holes with concrete or use tamped soil to secure the posts in place. Allow the concrete to dry and set according to the manufacturer’s instructions.
4. Install insulators: Attach insulators to the fence posts at the desired height for your electric wires. Insulators help prevent the electrical current from flowing into the ground or other objects, ensuring an effective deterrent for animals.
5. Repeat the process: Repeat these steps for each fence post, ensuring that they are evenly spaced and properly aligned. Take your time to ensure the posts are securely installed, as they will provide the foundation for your solar electric fence.
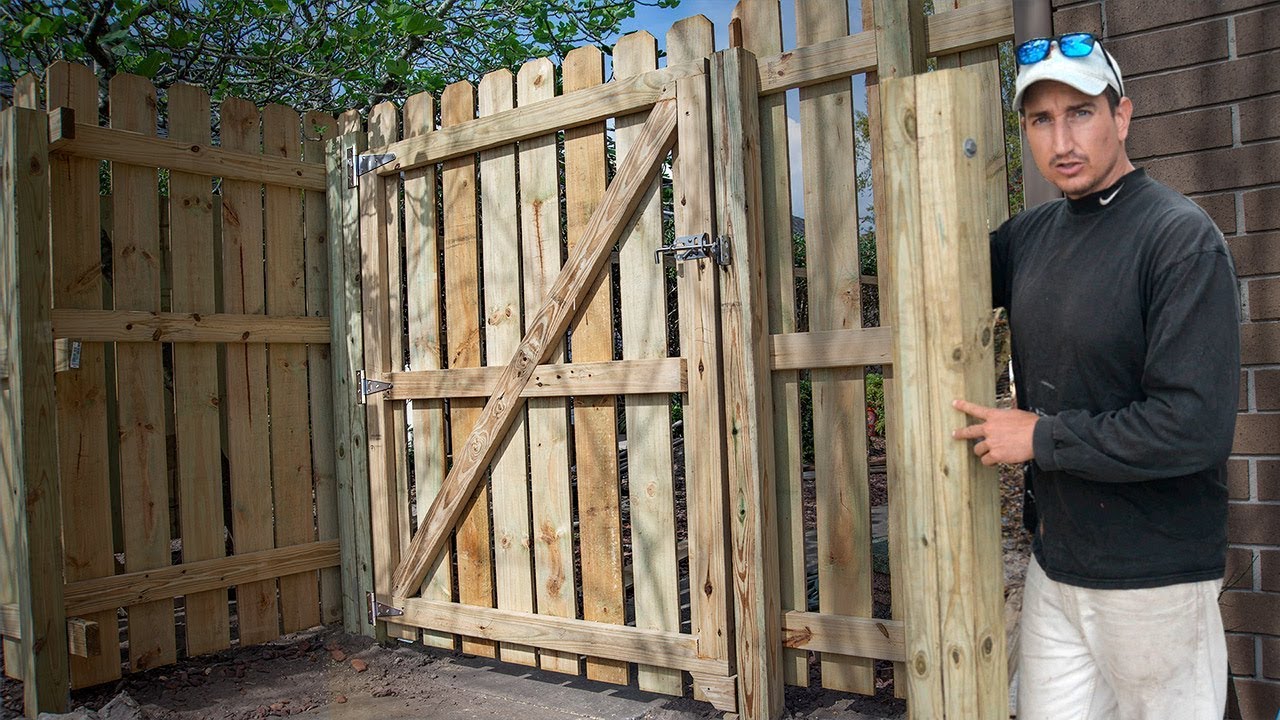
6. Gate installation: If your fence requires a gate for access, install it at this stage. Follow the manufacturer’s instructions to assemble and install the gate, ensuring that it is sturdy and properly aligned with the fence.
Remember to consider the height of your fence posts and the visibility requirement for the specific animals you want to contain or deter. Some animals may require a taller fence or additional measures to prevent them from jumping over or going under the fence.
By following these steps, you’ll have solid and secure fence posts in place, ready to support the electric wires of your solar electric fence. This brings us to the next step: installing the solar electric fence charger.
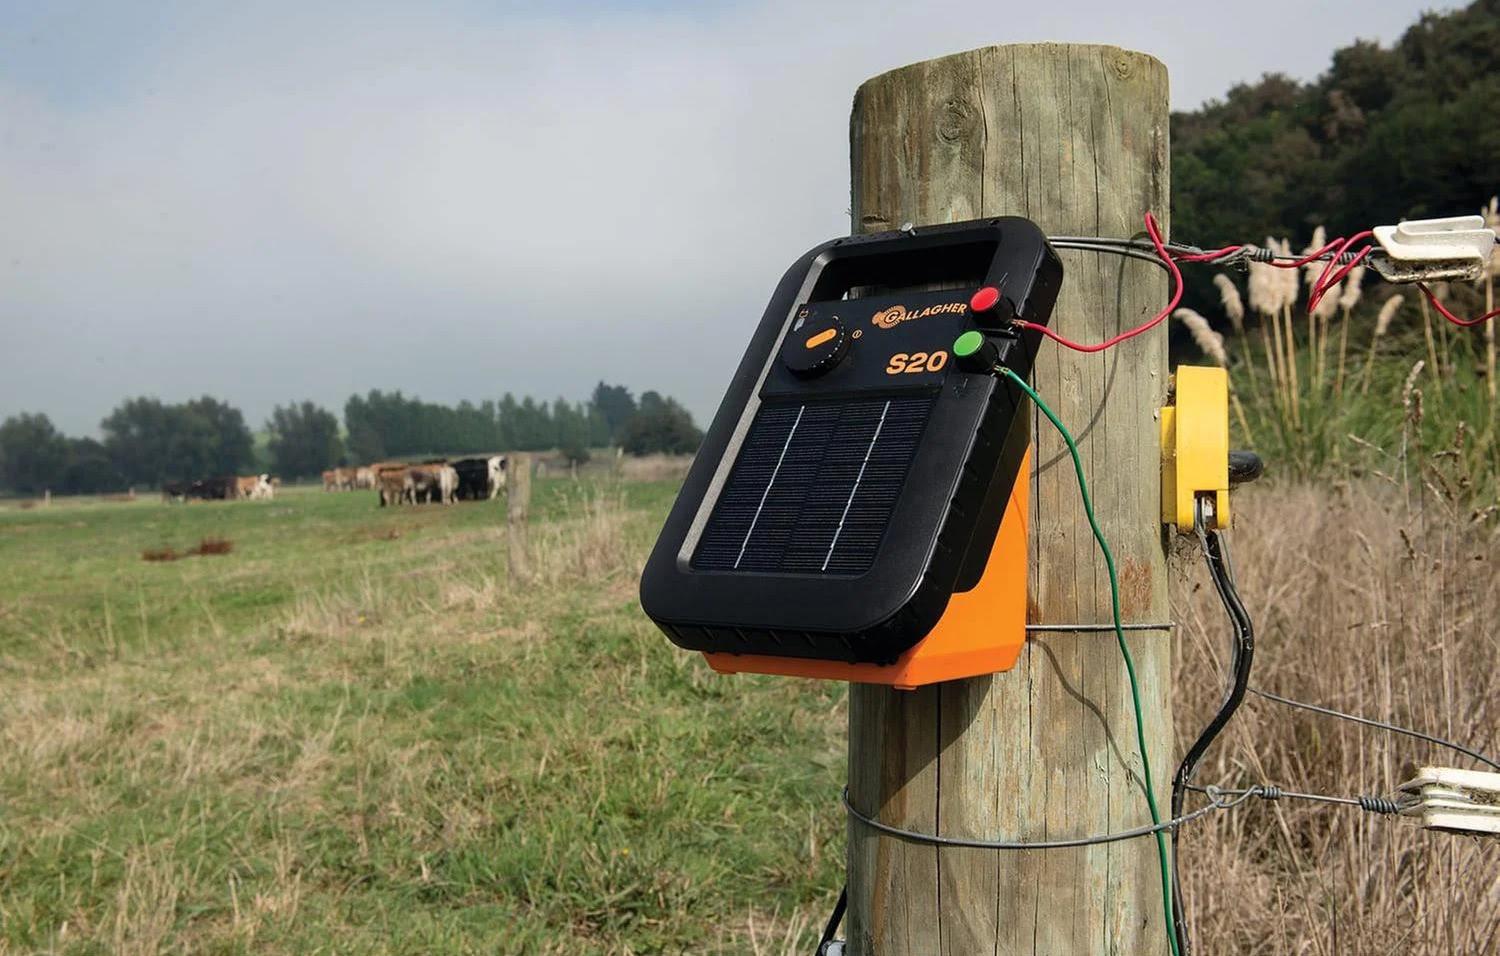
Step 4: Install the Solar Electric Fence Charger
The solar electric fence charger is the heart of your solar electric fence system. It converts the sunlight captured by the solar panels into electrical pulses that power the fence wires. Installing the solar electric fence charger correctly is crucial for the optimal functioning of your fence. Here’s how to do it:
1. Choose the location: Select a suitable location for the solar electric fence charger. It should be near the fence and receive ample sunlight throughout the day. Ensure that there are no obstructions, such as trees or buildings, casting shadows over the solar panels, as this can affect the charging efficiency.
2. Mount the solar panels: If your solar electric fence charger comes with separate solar panels, mount them in a location that offers maximum sun exposure. Follow the manufacturer’s instructions for the specific mounting hardware and placement. The solar panels should be securely mounted and positioned at an angle that allows for efficient sunlight absorption.
3. Connect the solar panels: Connect the wires from the solar panels to the input terminals on the fence charger. Pay attention to the polarity (positive and negative) to ensure the correct connection. Follow the manufacturer’s instructions for proper wiring and connection.
4. Prepare the battery: If your solar electric fence charger uses a battery to store the solar energy, ensure the battery is properly charged and connected. Follow the manufacturer’s instructions for battery preparation and connection. It’s important to use a deep-cycle battery designed for solar applications for optimal performance.
5. Mount the fence charger: Mount the fence charger on a secure surface, such as a post or wall, near the solar panels and battery. Ensure that the location is protected from the elements, such as rain or direct sunlight, to prevent damage to the charger. Use the appropriate mounting hardware provided by the manufacturer.
6. Connect the fence wires: Connect the fence wires to the output terminals on the fence charger. Again, pay attention to the polarity to ensure the correct connection. Follow the manufacturer’s instructions for proper wiring and connection. It’s important to use appropriate wire connectors and ensure a secure connection to prevent any power loss.
7. Ground the fence charger: Proper grounding is essential for the effective operation of the electric fence. Follow the manufacturer’s instructions to ground the fence charger. This usually involves connecting a grounding wire from the fence charger’s grounding terminal to one or more grounding rods driven into the ground. The number of grounding rods required will depend on the manufacturer’s recommendations and the size of your fence.
8. Test the fence charger: Before proceeding to connect the fence wires to the fence posts, it’s important to test the fence charger to ensure it is operating correctly. Follow the manufacturer’s instructions for testing procedures. Use a voltmeter or a specialized fence tester to check for the presence of electrical current in the fence wires.
By following these steps, you’ll have successfully installed the solar electric fence charger. Next, we’ll move on to connecting the electric wires to complete the installation process.
Before installing a solar electric fence, ensure that the solar panel is placed in a location that receives direct sunlight for optimal charging. This will ensure that the fence operates at its maximum capacity.
Read more: How To Install Fence On A Slope
Step 5: Connect the Electric Wires
Now that you have installed the solar electric fence charger, it’s time to connect the electric wires to create the electrified barrier. Ensuring proper and secure connections is essential for the efficient functioning of your solar electric fence. Here’s how to connect the electric wires:
1. Plan the wire layout: Before connecting the electric wires, plan the layout of your fence. Determine the number of strands of wire you will need and the desired spacing between them. This will depend on the type of animals you want to contain or deter. Keep in mind that some animals may require a higher number of wires or a closer spacing.
2. Connect the perimeter wire: Start by connecting the perimeter wire around the entire area enclosed by the fence. Attach the wire to the insulators on the fence posts, making sure it is taut and secure. Use wire connectors to make a strong and reliable connection. Repeat this step for each strand of wire you plan to install.
3. Connect the wires to the fence charger: Once the perimeter wire is connected, run a wire from each strand to the corresponding output terminal on the solar electric fence charger. Ensure that the wires are connected to the correct terminals, following the manufacturer’s instructions. Use wire connectors to make a secure and insulated connection.
4. Insulate the wire connections: After making the connections, insulate them properly to prevent accidental contact and short circuits. Use electrical tape or wire nuts to cover the wire connectors, ensuring they are completely covered and protected from the elements.
5. Test the electric wires: Before deploying the electric wires along the fence, it’s essential to test them to ensure they are properly connected and carrying an electric charge. Use a voltmeter or a specialized fence tester to check the voltage along each wire. Ensure that there are no breaks or weak areas in the electric circuit.
6. Deploy the electric wires: Once you have confirmed that the electric wires are carrying an electric charge, it’s time to deploy them along the fence. Attach the wires to the insulators on the fence posts, making sure they are properly tensioned and spaced according to your planned layout. Use additional insulators or tensioners, if needed, to maintain the desired wire placement.
7. Secure the wires: Ensure that the electric wires are securely attached to the insulators and properly tensioned. This will prevent them from sagging or coming loose over time. Regularly inspect the wires for any signs of wear or damage and make necessary repairs as needed.
By following these steps, you will have successfully connected the electric wires and created a functional electric barrier for your solar electric fence. It’s important to regularly check the fence wires for any faults or issues and address them promptly to maintain the effectiveness of the fence.
Step 6: Test the Fence
Testing the effectiveness of your solar electric fence is crucial to ensure it is functioning correctly and providing the desired level of containment or deterrence for your animals. Testing the fence involves verifying the electrical charge, identifying any potential issues, and making adjustments as necessary. Follow these steps to test your solar electric fence:
1. Safety precautions: Before testing the fence, ensure that you take the necessary safety precautions. Make sure you are wearing appropriate protective gear, such as gloves, and keep bystanders, especially children and pets, at a safe distance.
2. Check the voltage: Use a voltmeter or a specialized fence tester to measure the voltage along the fence wires. Touch one probe of the voltmeter to the ground or a grounding rod, and the other probe to each strand of the fence wire. The voltmeter should indicate a voltage within the range specified by the manufacturer. If the voltage is lower than expected or shows zero, there may be an issue with the fence charger, connection, or grounding.
3. Inspect the fence: While testing the fence, visually inspect the entire length of the fence for any signs of wear, damage, or vegetation touching the wires. Ensure that the wires are properly tensioned and securely attached to the insulators. Make any necessary repairs or adjustments to maintain the integrity of the fence.
4. Test its effectiveness: To test the barrier’s effectiveness, introduce a testing tool, such as a fiberglass post or a specialized tester, to the fence. Touch the tester to the electric wires while standing outside the fence. The tester should emit a visible or audible signal, indicating that the fence is delivering a deterrent electrical shock. If the tester does not indicate a deterrent shock, there may be an issue with the charger, wire connection, or overall fence system.
5. Adjustments and troubleshooting: If there are any issues identified during the testing process, refer to the manufacturer’s instructions for troubleshooting and making any necessary adjustments. This may involve checking the charger, inspecting and repairing wire connections, and reinforcing grounding.
6. Re-test the fence: After making adjustments or troubleshooting the identified issues, re-test the fence to ensure that the necessary changes have resolved the problems and that the fence is functioning as desired. Test the voltage along the fence wires and, if necessary, repeat the effectiveness test with the testing tool to confirm that the fence is delivering the intended deterrent shock.
7. Regular maintenance and monitoring: To ensure the ongoing effectiveness of your solar electric fence, establish a regular maintenance schedule. This includes inspecting the fence for any wear or damage, clearing vegetation away from the wires, and checking the charger and battery for proper operation. Regularly monitor the fence’s effectiveness and address any issues promptly to maintain a reliable deterrent barrier.
By following these steps, you can thoroughly test and ensure the functionality of your solar electric fence. Regular testing and maintenance will help maintain the effectiveness of the fence and provide peace of mind that your animals are safely contained or deterred.
Step 7: Maintain and Troubleshoot the Fence
Maintaining and troubleshooting your solar electric fence is essential to ensure its continued effectiveness and longevity. Regular maintenance will help identify and address any issues promptly, while troubleshooting will help diagnose and fix problems that may occur. Here are some steps to maintain and troubleshoot your solar electric fence:
1. Regular inspections: Schedule regular inspections of your fence to check for any signs of wear, damage, or loose connections. Inspect the fence wires, insulators, fence posts, and the solar electric fence charger. Look for any vegetation touching the wires, loose insulators, or visible damage to the fence system.
2. Clear vegetation: Remove any vegetation, such as grass, weeds, or branches, that may be touching the electric wires. Vegetation can create a pathway for the electric current to ground, reducing the effectiveness of your fence. Regularly clear the area around the fence to maintain optimal performance.
3. Test the voltage: Periodically test the voltage along the fence wires using a voltmeter or a specialized fence tester. Ensure that the voltage is within the recommended range specified by the manufacturer. If the voltage is too low or shows zero, it may indicate a problem with the fence charger, battery, or wire connections.
4. Check battery condition: If your solar electric fence charger uses a battery, regularly check its condition. Ensure that the battery is properly charged and functioning. Clean the battery terminals and check for any signs of corrosion. Replace the battery if it becomes weak or fails to hold a charge.
5. Maintain grounding: Proper grounding is crucial for the effective operation of your fence. Regularly check the grounding rods and connections to ensure they are secure and free of corrosion. Add additional grounding rods if necessary to maintain a strong ground connection.
6. Address wire issues: If you encounter any issues with the electric wires, such as breaks, loose connections, or weak spots, promptly address them. Repair or replace any damaged sections of wire and ensure all connections are secure and insulated. Use proper wire connectors and electrical tape to prevent any power loss or shorts.
7. Troubleshooting: If you experience any problems with the performance of your solar electric fence, consult the manufacturer’s troubleshooting guide or contact their customer support. Common issues may include charger malfunction, battery failure, wire damage, or poor grounding. Follow the troubleshooting steps recommended by the manufacturer to diagnose and address the problem effectively.
8. Keep documentation: Maintain a record of all maintenance and troubleshooting activities, including any repairs or replacements made. This will help you track the history of your solar electric fence and enable you to identify any recurring issues or patterns.
By following these maintenance and troubleshooting steps, you can ensure your solar electric fence remains in optimal condition. Regular inspections, clearing vegetation, testing voltage, checking the battery, maintaining grounding, and addressing wire issues will help keep your fence functioning effectively. Troubleshooting with the manufacturer’s guidance will help resolve any problems that may arise, allowing you to maintain a reliable and efficient solar electric fence system.
Conclusion
Installing a solar electric fence is an excellent way to protect and contain your animals or safeguard your property. By harnessing the power of the sun, you can create a reliable and eco-friendly barrier that deters animals and provides peace of mind. Throughout this guide, we have outlined the essential steps to install and maintain a solar electric fence.
Starting with gathering the required materials, planning the fence location, and installing the fence posts, each step is crucial for setting up a strong foundation. Moving on to installing the solar electric fence charger and connecting the electric wires, you ensure the proper functioning and effectiveness of the fence. Finally, testing the fence and performing regular maintenance and troubleshooting will help maintain its optimal performance over time.
Remember, safety should always be a priority when working with electric fences. Take appropriate precautions and refer to the manufacturer’s instructions at all times. Additionally, be aware of local regulations and any necessary permits required for the installation of your solar electric fence.
By taking the time to plan, gather the appropriate materials, and follow each step carefully, you can create a solar electric fence that provides effective containment or deterrence. Not only does a solar electric fence offer peace of mind in protecting your animals or property, but it also promotes sustainability by harnessing clean, renewable energy.
Remember to regularly maintain and monitor your solar electric fence, ensuring proper functioning and addressing any issues promptly. With consistent care and attention, your solar electric fence will continue to serve its purpose effectively for years to come.
So go ahead, take the necessary steps, and enjoy the benefits of a reliable, eco-friendly, and efficient solar electric fence.
Frequently Asked Questions about How To Install Solar Electric Fence
Was this page helpful?
At Storables.com, we guarantee accurate and reliable information. Our content, validated by Expert Board Contributors, is crafted following stringent Editorial Policies. We're committed to providing you with well-researched, expert-backed insights for all your informational needs.


0 thoughts on “How To Install Solar Electric Fence”