Articles
How To Put Bowl In Kitchenaid Mixer
Modified: August 25, 2024
Discover easy steps on how to put a bowl in your Kitchenaid mixer with this helpful article. Gain insights and expert tips to make your baking experience a breeze.
(Many of the links in this article redirect to a specific reviewed product. Your purchase of these products through affiliate links helps to generate commission for Storables.com, at no extra cost. Learn more)
Introduction
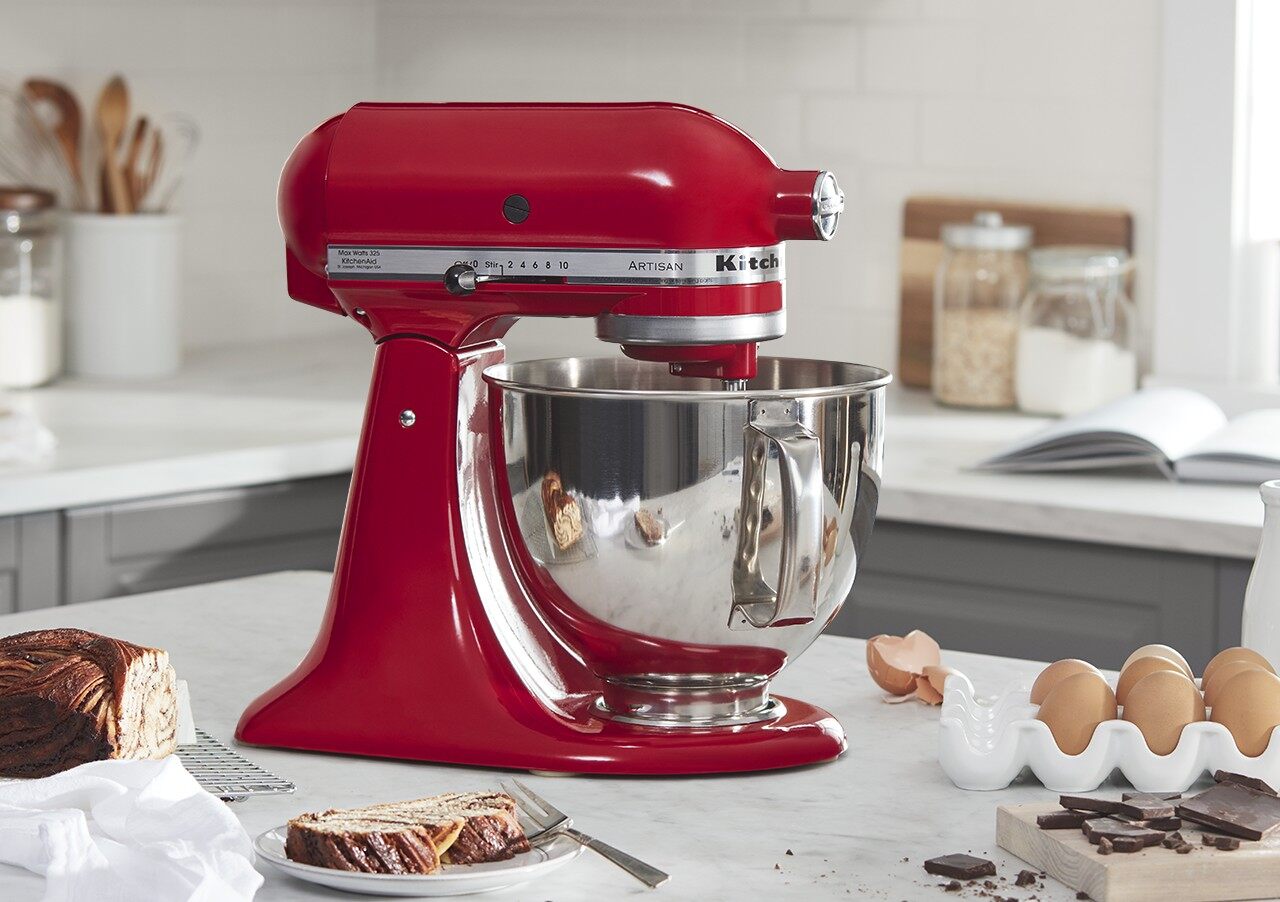
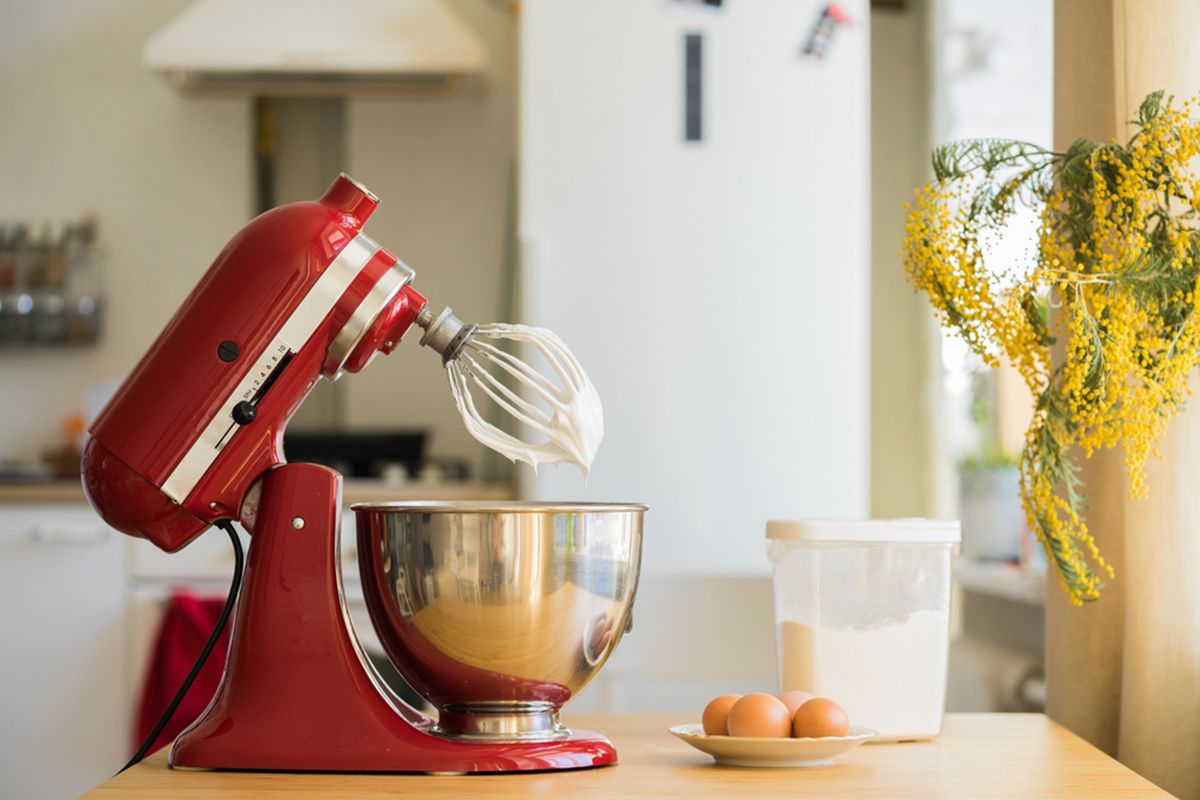
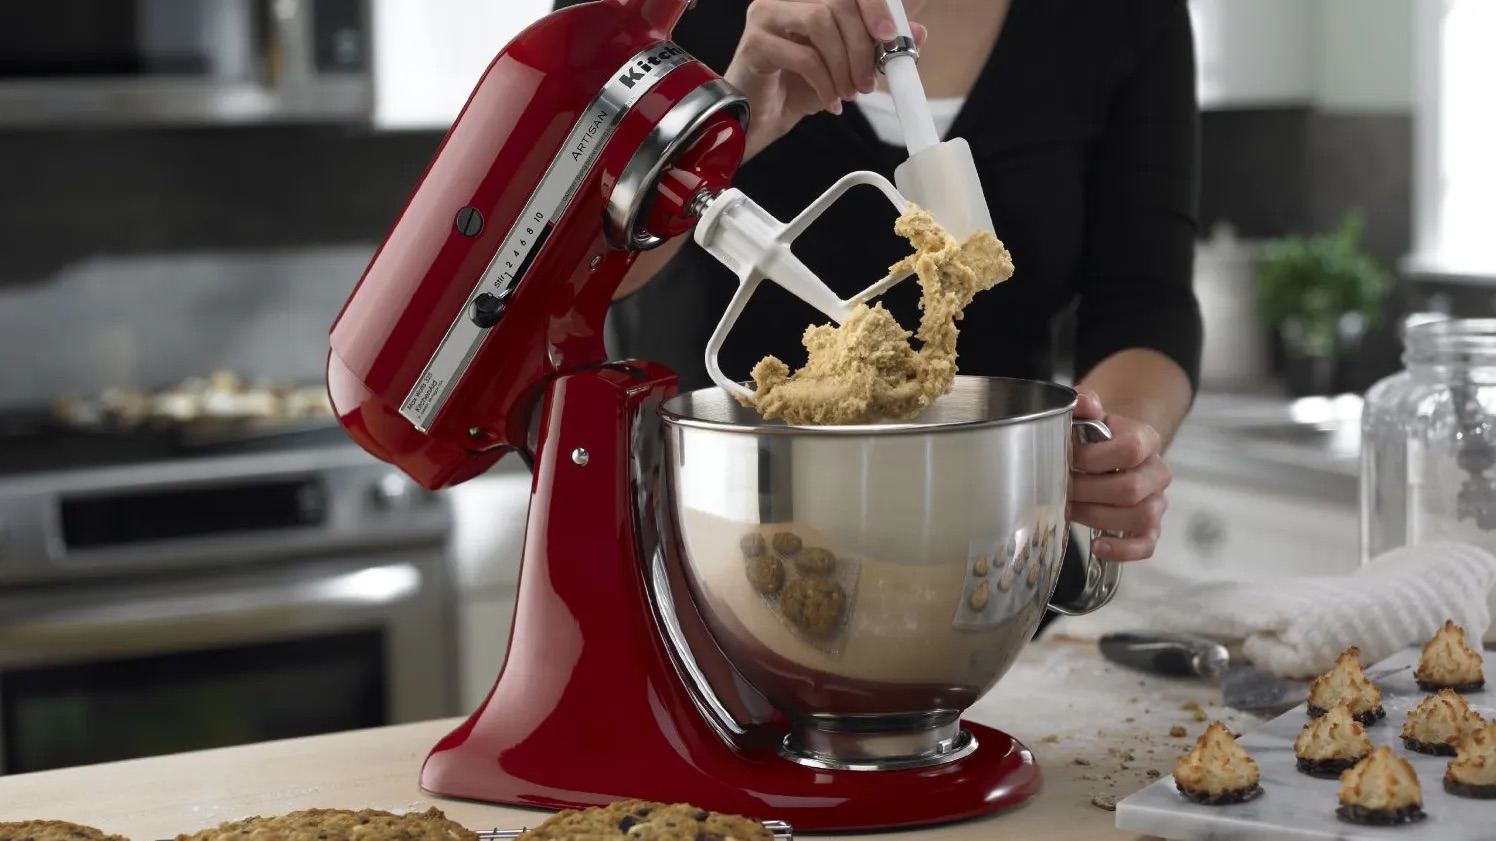
Welcome to this comprehensive guide on how to put a bowl in your KitchenAid mixer. The KitchenAid mixer is a versatile and powerful appliance that can be used for a wide range of tasks in the kitchen, from mixing batter for cakes and cookies to kneading dough for bread. One of the first steps in using your KitchenAid mixer is to properly attach the bowl to the mixer base.
This may seem like a simple task, but it is important to do it correctly to ensure the safety and effectiveness of your mixer. In this guide, we will walk you through the step-by-step process of how to securely and effortlessly put a bowl in your KitchenAid mixer.
Before we begin, it’s essential to note that there are various models and types of KitchenAid mixers available. Some may have subtle differences in the design and attachment mechanisms. However, the overall process is quite similar for all models, so you can follow this guide regardless of which KitchenAid mixer you have.
Additionally, it is crucial to prioritize safety when using any kitchen appliance. Always make sure to familiarize yourself with the specific safety instructions provided by the manufacturer in the user manual of your KitchenAid mixer. This will ensure that you have a safe and enjoyable experience while using your mixer.
Now that we have covered the basics, let’s dive into the step-by-step process of how to put a bowl in your KitchenAid mixer.
Key Takeaways:
- Safely and confidently attach your KitchenAid mixer bowl by following step-by-step instructions and essential safety precautions outlined in this comprehensive guide.
- Prioritize safety, gather necessary tools, and follow specific attachment steps to securely place and remove the bowl from your KitchenAid mixer for a seamless baking experience.
Read more: How To Remove The Bowl From Kitchenaid Mixer
Safety Precautions
Before we begin, it’s essential to understand and follow proper safety precautions when handling your KitchenAid mixer. By doing so, you can ensure the safety of yourself and those around you. Here are some important safety guidelines to keep in mind:
- Read the User Manual: Familiarize yourself with the user manual that comes with your KitchenAid mixer. It contains valuable information about the specific safety guidelines and usage instructions for your model.
- Unplug the Mixer: Always make sure that the mixer is unplugged from the power source when attaching or detaching the bowl. This helps avoid any accidental activations or electrical shocks.
- Keep Hands Clear: When attaching the bowl, make sure your hands are clear from any moving parts or areas that may pinch or trap your fingers.
- Check for Damage: Before using the mixer, ensure that both the bowl and the mixer base are in good condition. Check for any cracks, chips, or other damage that may affect the stability and performance of the mixer.
- Use Stable Surface: Place your KitchenAid mixer on a sturdy and stable surface to prevent it from tipping over during use.
- Proper Power Cord Placement: Ensure that the power cord is placed in such a way that it does not pose a tripping hazard or come into contact with any hot surfaces.
- Avoid Overloading: Do not overload the bowl with ingredients. Follow the recommended capacity guidelines provided by the manufacturer to prevent strain on the mixer motor.
- Use the Bowl Shield: If your KitchenAid mixer comes with a bowl shield, make sure to use it when mixing to prevent any splattering or spilling of ingredients.
- Clean and Maintain: Regularly clean and maintain your mixer according to the manufacturer’s instructions. This includes proper cleaning of the bowl and attachments to ensure safe and hygienic usage.
- Keep Children Away: Keep children away from the mixer when it is in operation. The moving parts and attachments can be hazardous, and it is important to prioritize their safety.
By following these safety precautions, you can use your KitchenAid mixer with confidence, knowing that you are taking the necessary steps to prevent accidents and ensure a safe cooking experience.
Step 1: Gather the Necessary Tools and Equipment
Before you can begin attaching the bowl to your KitchenAid mixer, it’s important to gather all the necessary tools and equipment. By having everything prepared beforehand, you can complete the process smoothly and efficiently. Here are the items you’ll need:
- KitchenAid Mixer: Ensure that you have your KitchenAid mixer ready and easily accessible.
- Bowl: Locate the appropriate bowl for your model of KitchenAid mixer. The bowl should match the size and specifications recommended by the manufacturer.
- Mixer Base: Make sure the mixer base is clean and free from any debris or residue from previous use. This will ensure a secure and stable connection between the bowl and the base.
- Bowl Cover (Optional): If your KitchenAid mixer comes with a bowl cover, have it ready. The bowl cover can be used to protect your ingredients from dust or to prevent any splattering.
Once you have gathered these tools and equipment, you are ready to proceed to the next step: preparing the KitchenAid mixer for bowl attachment.
Step 2: Preparing the KitchenAid Mixer
Before attaching the bowl to your KitchenAid mixer, it’s important to prepare the mixer for the attachment process. This step ensures that the mixer is in the correct position and ready to securely hold the bowl. Follow these steps to prepare your KitchenAid mixer:
- Place the Mixer on a Flat Surface: Find a stable and flat surface for your KitchenAid mixer. This will ensure that the mixer remains steady and doesn’t tip over during the attachment process.
- Unplug the Mixer: Before making any adjustments or attaching the bowl, ensure that the mixer is unplugged from the power source. This step is crucial to prevent any accidental activation or electrical shocks.
- Lower the Stand Mixer Head: Gently lower the mixer head until it is in the down position. This will allow easier access to the attachment area and ensure that you have enough clearance to insert the bowl.
- Check the Attachment Hub: Take a moment to inspect the attachment hub located at the front of the mixer. Ensure that it is clean and free from any debris or leftover ingredients to facilitate a smooth attachment process.
Once you have completed these steps, your KitchenAid mixer will be properly prepared for the bowl attachment process. Proceed to the next step to learn how to insert the bowl onto the mixer base.
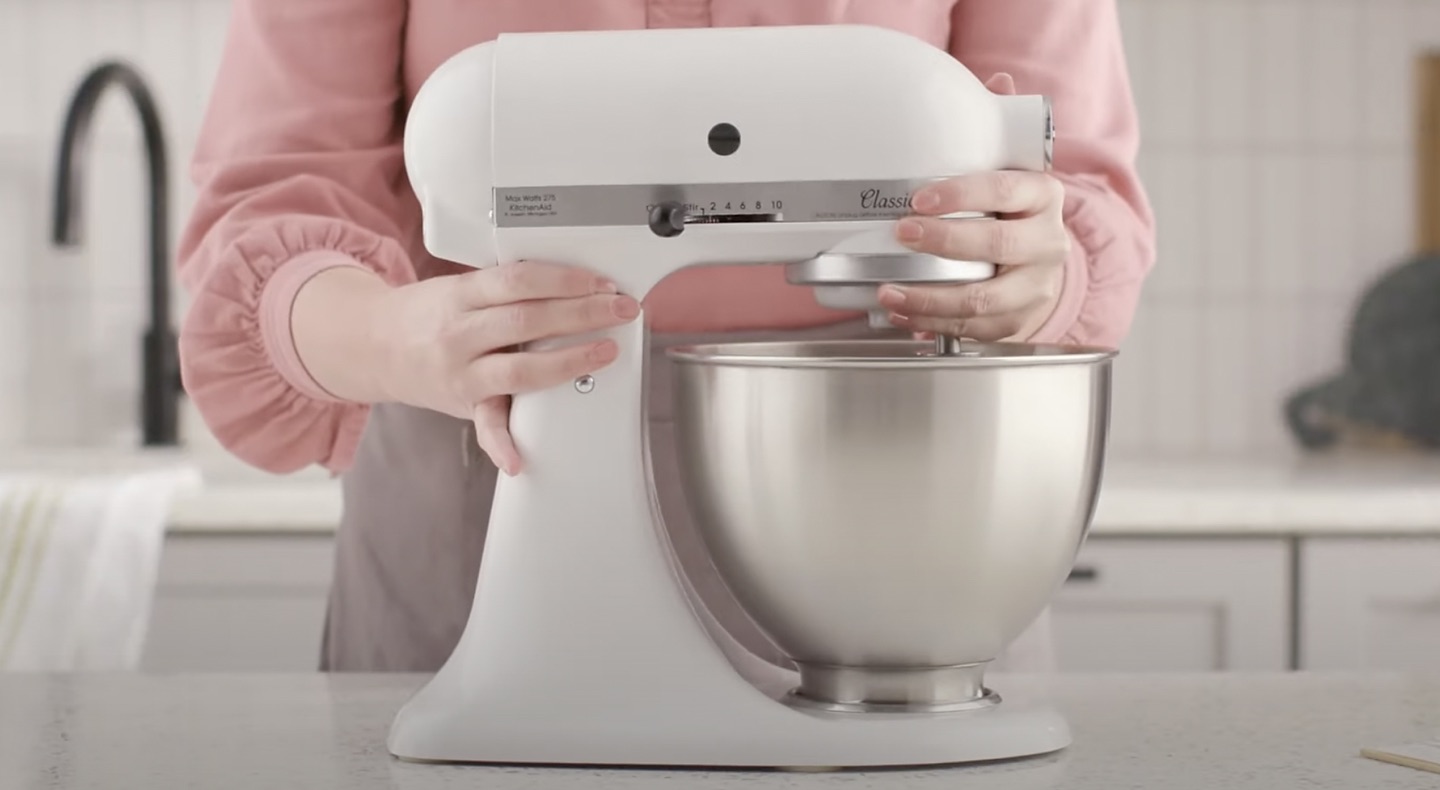
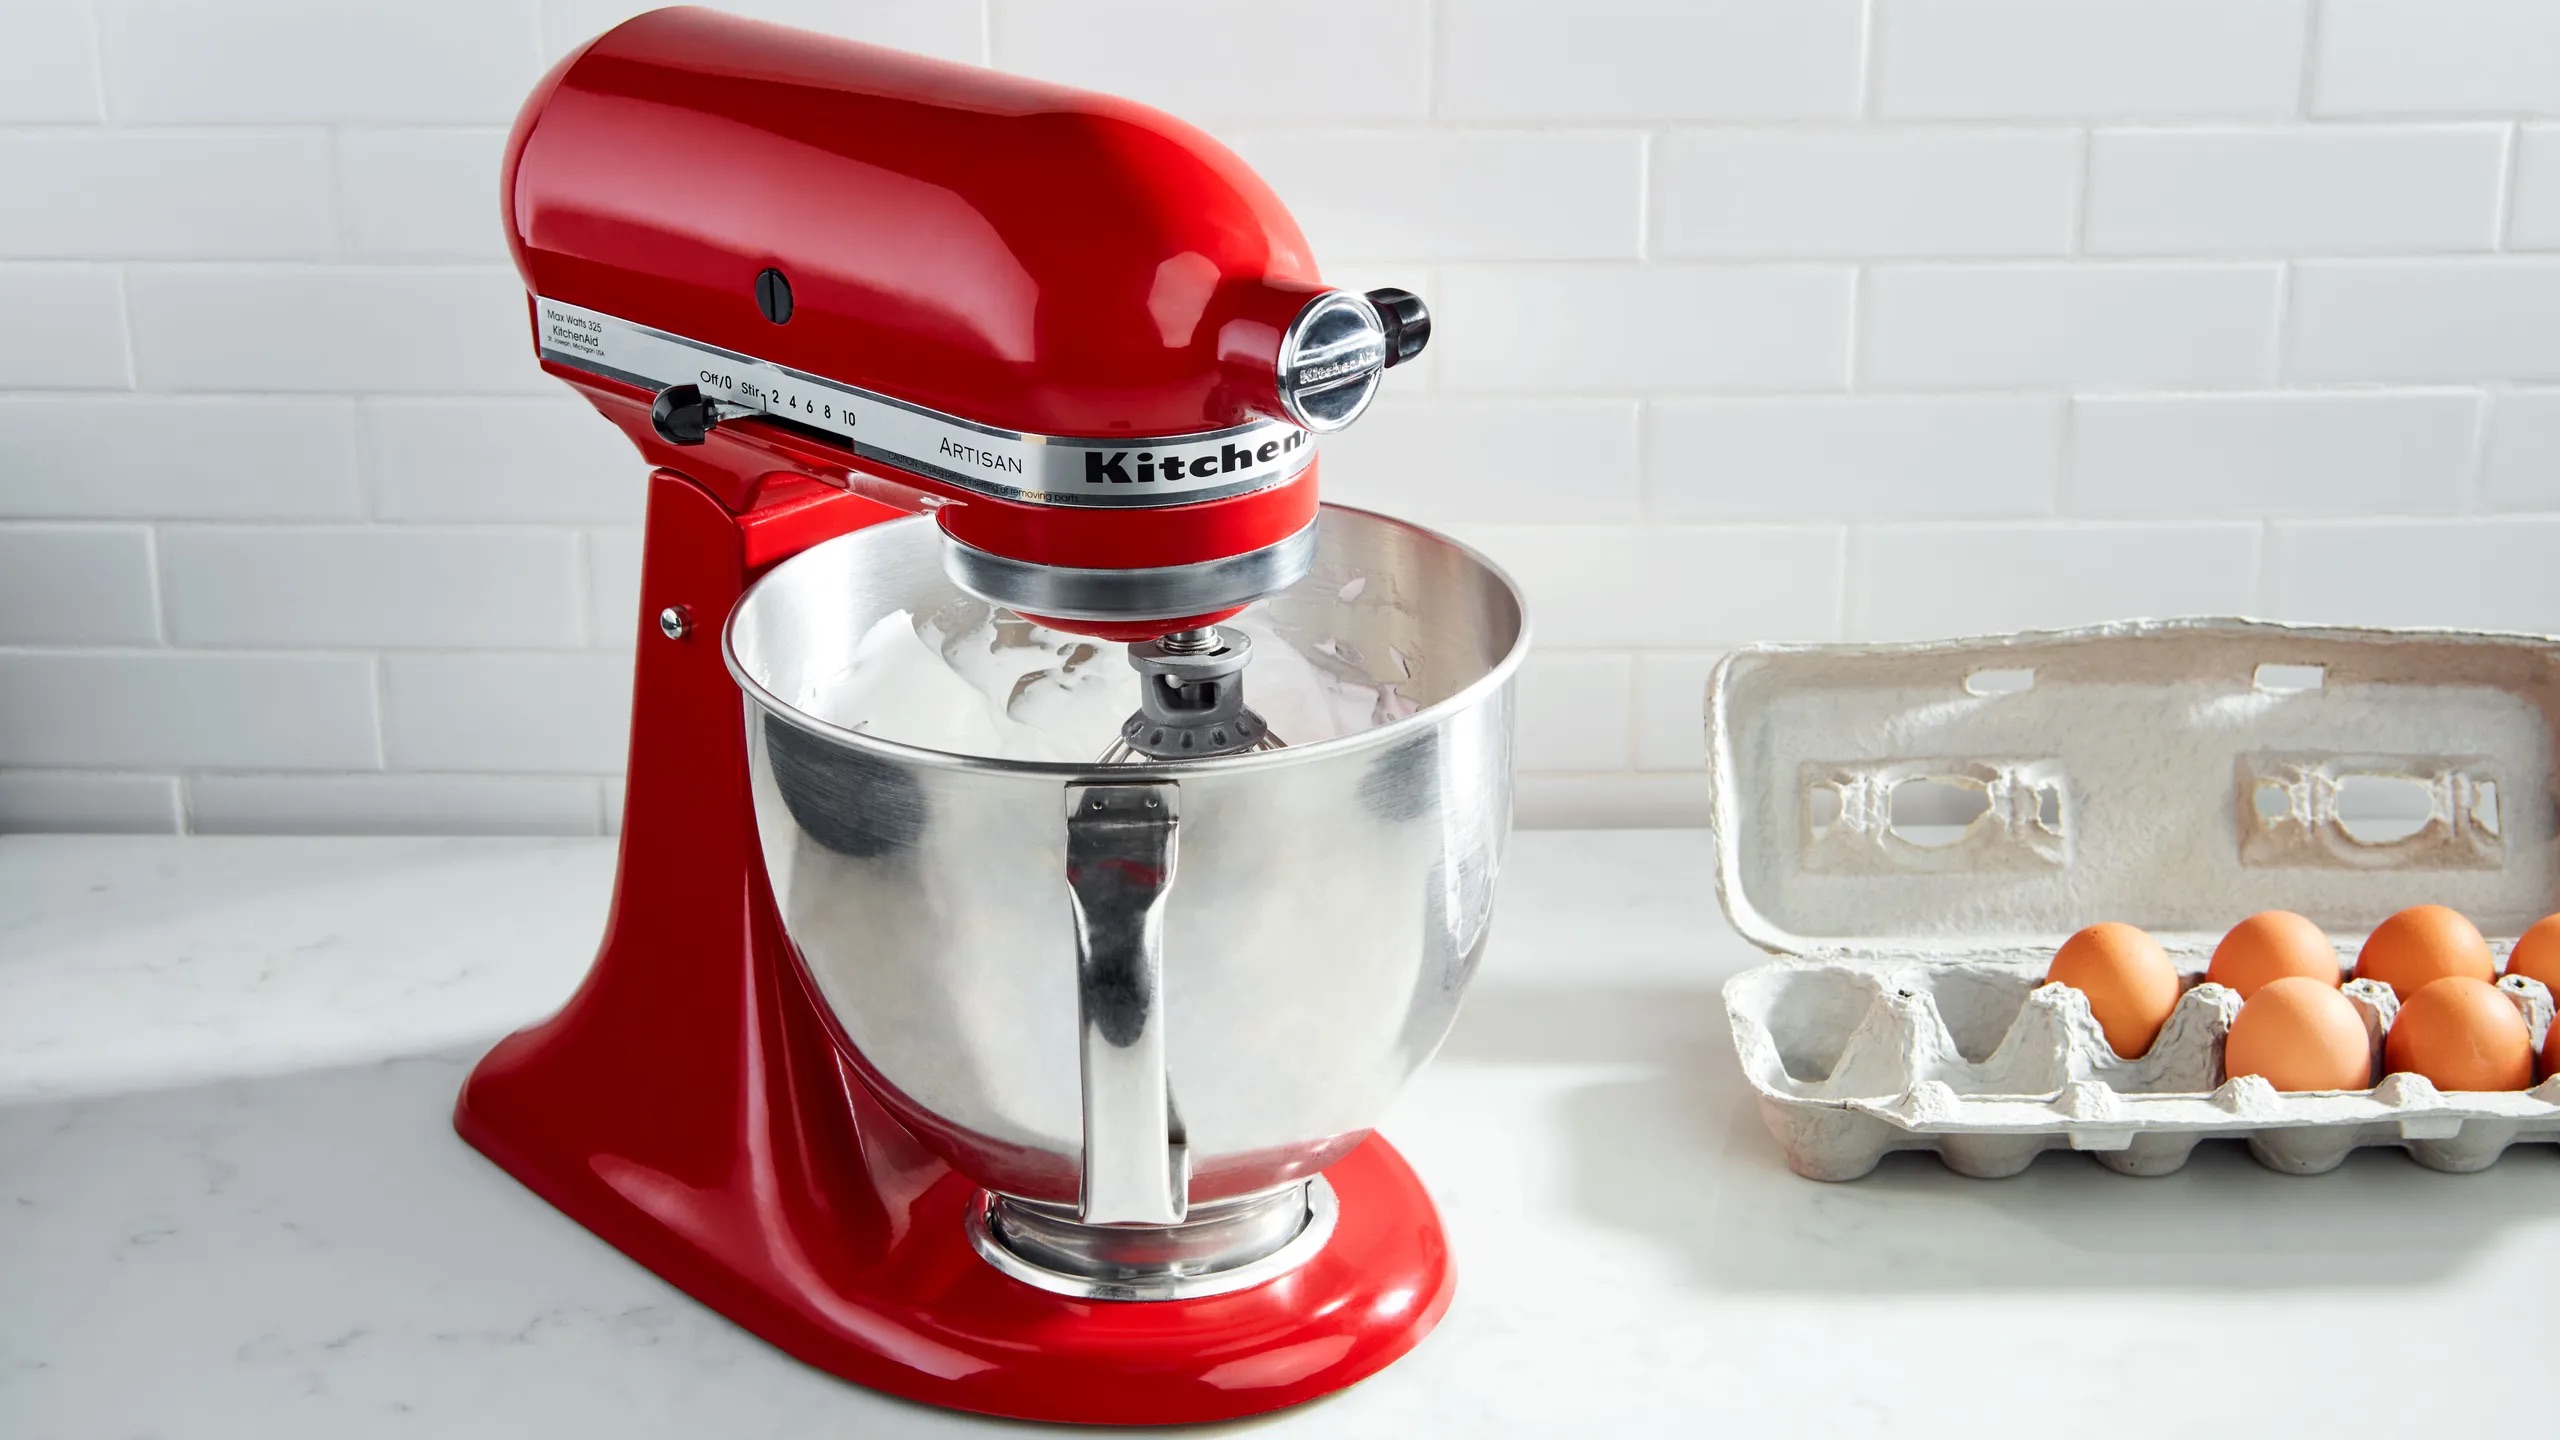
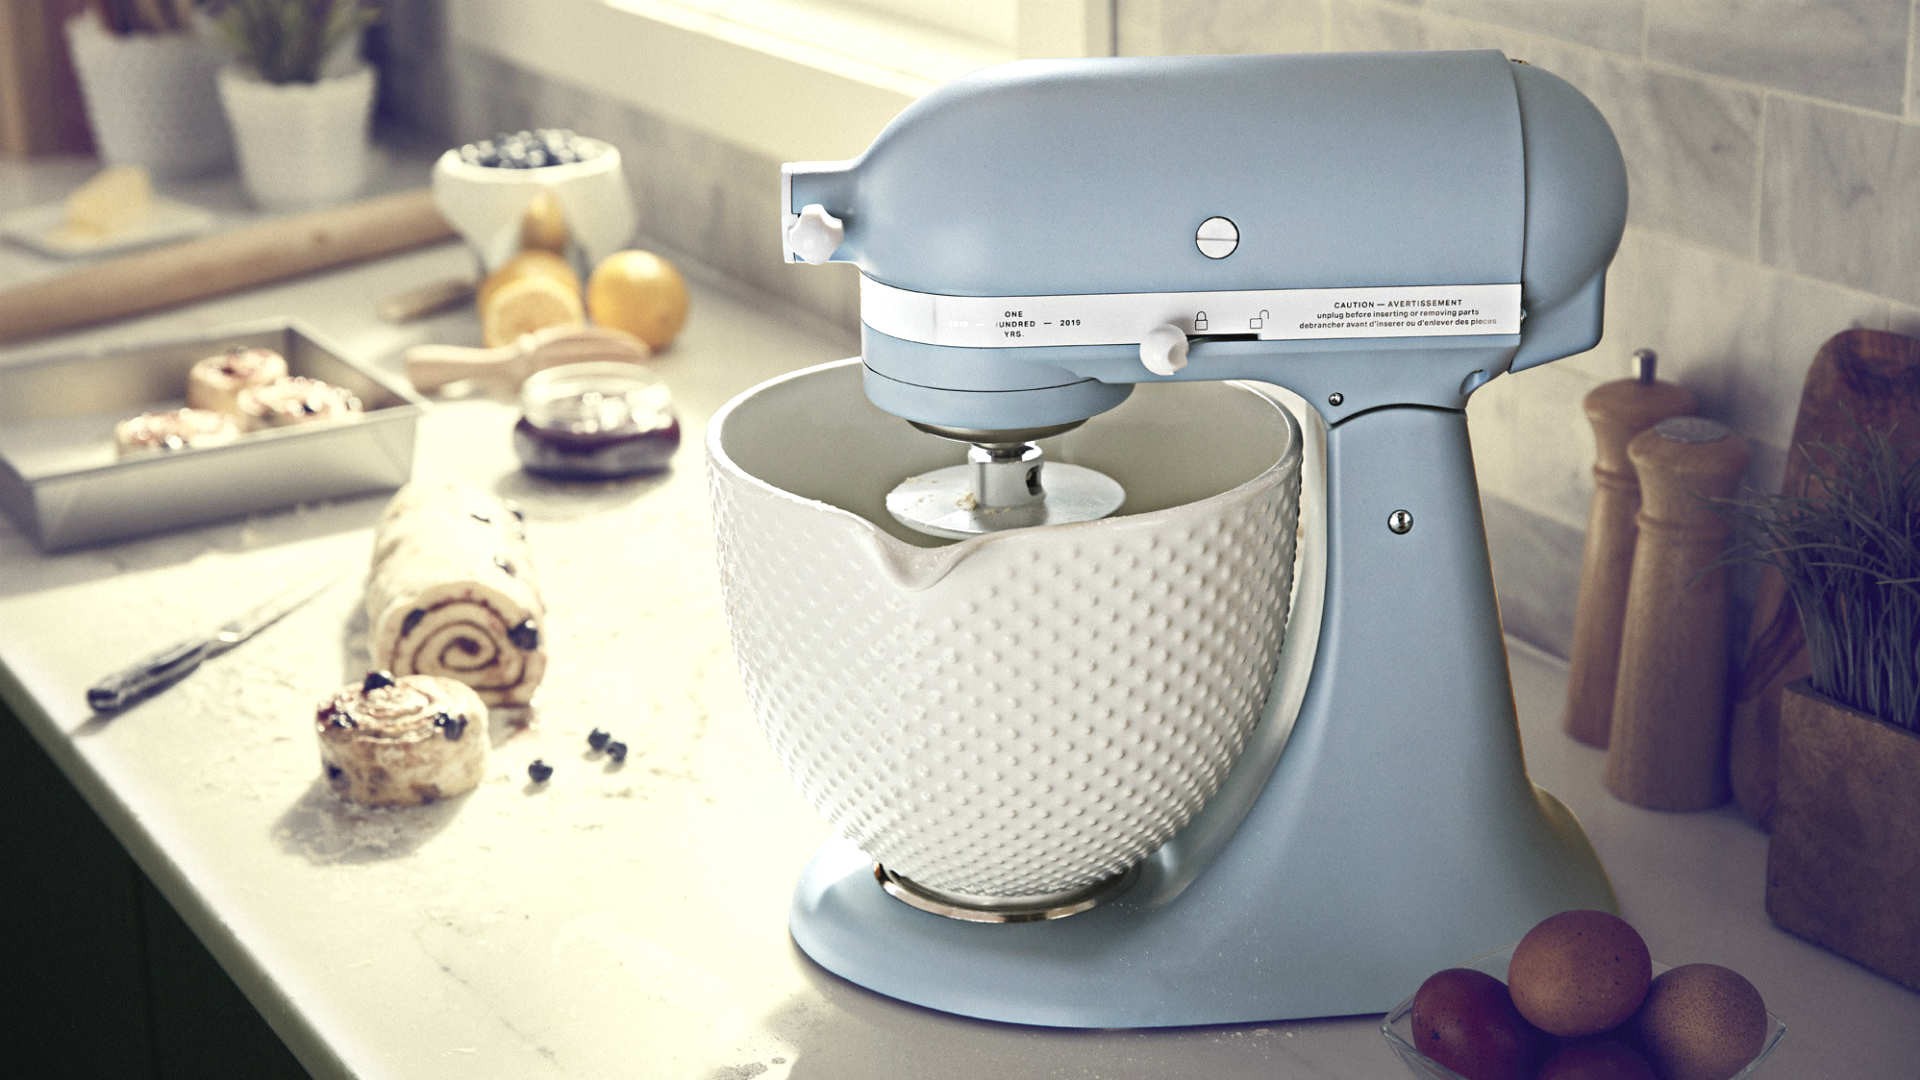
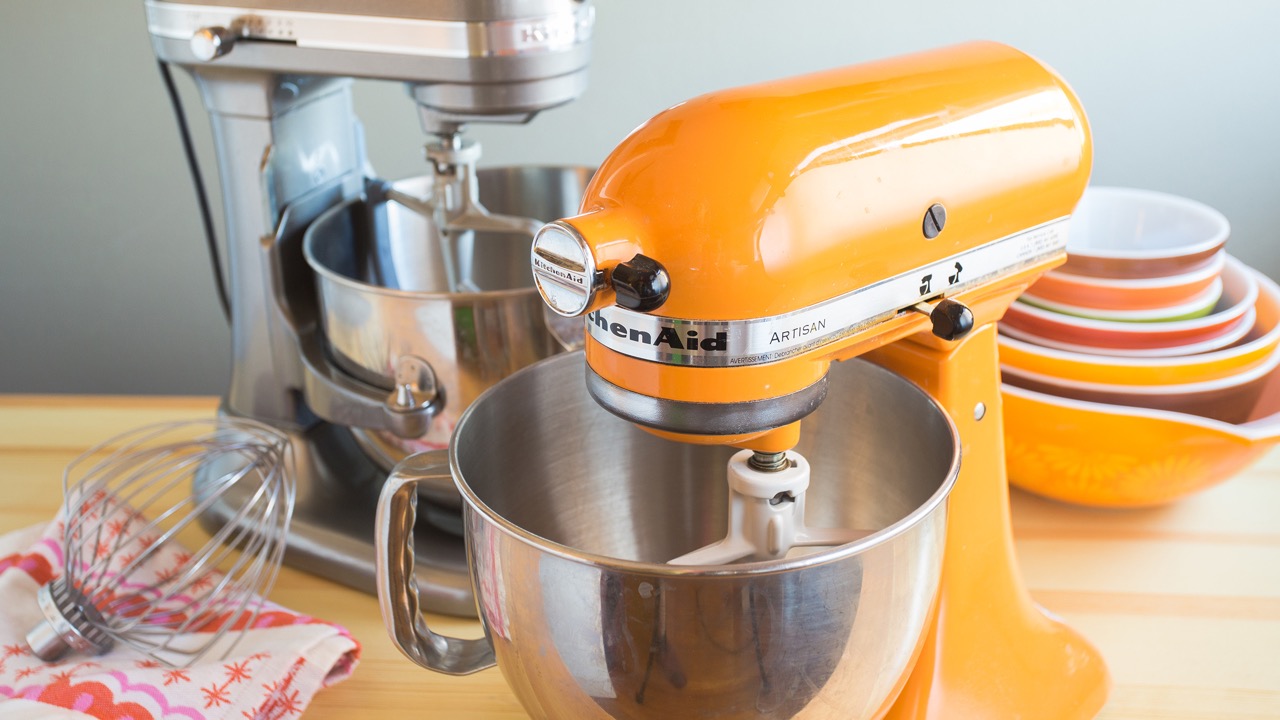
Step 3: Inserting the Bowl Onto the Mixer Base
Now that you have prepared your KitchenAid mixer, it’s time to attach the bowl to the mixer base. Follow these steps to insert the bowl securely:
- Hold the Bowl Handle: Pick up the bowl by firmly gripping the handle or handles located on the sides of the bowl. Make sure your grip is secure and comfortable.
- Align the Bowl: Position the bowl right above the mixer base, aligning the bowl’s attachment pins with the attachment slots on the base. These pins and slots are designed to ensure a proper fit and stability.
- Lower the Bowl: Gently lower the bowl onto the mixer base, ensuring that the attachment pins slide into the corresponding slots. You may need to rotate the bowl slightly to find the correct alignment.
- Push Down: With a firm but gentle pressure, push down on the bowl until it seats firmly onto the mixer base. You should feel a slight click or snap as the bowl locks into place.
It’s important to note that different models of KitchenAid mixers may have slightly different attachment mechanisms. Some models may require a twist or a latch to secure the bowl in place. Refer to your user manual for any specific instructions regarding the bowl attachment process.
Once you have successfully inserted the bowl onto the mixer base, you are ready to move on to the next step: locking the bowl in place.
When placing the bowl in a KitchenAid mixer, make sure to align the bowl with the grooves on the base and twist it into place until it locks securely. This will ensure that the bowl is properly seated and the mixer operates smoothly.
Read also: 10 Best Kitchenaid Bowls For Mixer for 2025
Step 4: Locking the Bowl in Place
After attaching the bowl to the mixer base, the next step is to lock the bowl in place. This ensures that the bowl remains securely attached to the mixer during use. Follow these steps to lock the bowl:
- Locate the Bowl Locking Mechanism: Look for the bowl locking lever or switch on your KitchenAid mixer. This mechanism is typically located on the side or back of the mixer head, close to where the bowl attaches to the base.
- Unlock the Lever or Switch: If the lever or switch is in the locked position, you will need to unlock it to proceed. This may involve sliding the lever or flipping the switch to the unlocked position.
- Secure the Bowl: With the lever or switch in the unlocked position, lift the bowl slightly to ensure it is properly seated on the mixer base. Then, push the bowl up towards the mixer head until it locks into place.
- Check for Stability: Once the bowl is locked in place, gently wiggle it to ensure it is securely attached. The bowl should not move or come loose during this test.
It’s important to note that some KitchenAid mixer models have different locking mechanisms. For example, instead of a lever, they may have a bowl lift handle that needs to be lifted or lowered to lock or unlock the bowl. Refer to your user manual for any specific instructions regarding the bowl locking process for your particular model.
Once you have successfully locked the bowl in place, you’re almost ready to start using your KitchenAid mixer. However, before you do, it’s crucial to perform a quick stability test to ensure the bowl is securely attached.
Step 5: Testing the Bowl Stability
Before you start using your KitchenAid mixer, it’s essential to test the stability of the bowl to ensure it is securely attached. Performing a quick stability test will provide added peace of mind and prevent any accidents during your mixing tasks. Follow these steps to test the bowl stability:
- Ensure the Mixer is Off: Before conducting the stability test, make sure that the KitchenAid mixer is turned off and unplugged from the power source. This ensures your safety during the testing process.
- Hold the Bowl Handle: Firmly grip the handle or handles of the bowl, ensuring a secure grip.
- Gently Shake the Bowl: While holding the bowl handle, give it a gentle shake from side to side. Apply slight pressure to determine if the bowl remains stable and securely attached to the mixer base.
- Check for Movement: During the shake test, observe the bowl for any movement or signs of insecurity. The bowl should stay firmly in place without wobbling or detaching from the mixer base.
If the bowl passes the stability test and remains securely attached throughout the shaking process, you can proceed with confidence to use your KitchenAid mixer. However, if you notice any instability or movement, stop using the mixer and refer to the troubleshooting section in your user manual for assistance. It’s important to address any issues before continuing to use the mixer to ensure your safety and prevent any damage to the appliance.
Now that you have tested the stability of the bowl, you’re ready to move on to the final step: removing the bowl from the mixer.
Step 6: Removing the Bowl from the Mixer
When you’re finished using your KitchenAid mixer, it’s important to know how to properly remove the bowl from the mixer base. This ensures that you can safely detach the bowl without any risk of damage to the mixer or injury to yourself. Follow these steps to remove the bowl:
- Turn off the Mixer: Before you start removing the bowl, make sure the mixer is turned off and unplugged from the power source. This ensures your safety during the process.
- Unlock the Bowl: Locate the bowl locking lever or switch on your KitchenAid mixer. Move the lever or switch to the unlocked position to release the bowl.
- Lift the Bowl: Firmly grip the handle or handles of the bowl and lift it straight up from the mixer base.
- Check for Residue: After removing the bowl, inspect the bowl and the attachment area for any residue or leftover ingredients. Wipe them away with a clean cloth or sponge.
It’s important to note that some models of KitchenAid mixers may have a bowl release button or latch instead of a locking lever or switch. Refer to your user manual for any specific instructions regarding the bowl removal process for your particular model.
Once you have successfully removed the bowl from the mixer base and cleaned any residue, you can store the bowl or proceed with any additional steps required for your specific recipe or task.
Congratulations! You have successfully learned how to put a bowl in your KitchenAid mixer. By following these steps and taking proper precautions, you can enjoy the versatility and convenience of your KitchenAid mixer in your culinary adventures.
Remember to always refer to your user manual for any model-specific instructions or safety guidelines and to prioritize your safety when using any kitchen appliance.
Happy mixing!
Conclusion
In conclusion, knowing how to properly put a bowl in your KitchenAid mixer is essential for a safe and enjoyable baking experience. By following the steps outlined in this guide and observing the necessary safety precautions, you can attach the bowl to your mixer with ease and confidence.
We started by emphasizing the importance of reading the user manual and familiarizing yourself with the specific safety guidelines for your model of KitchenAid mixer. Safety should always be a top priority when using any kitchen appliance.
Throughout the guide, we walked you through the step-by-step process, from gathering the necessary tools and preparing the mixer to inserting the bowl onto the mixer base, locking it in place, and testing its stability. These steps ensure that the bowl is securely attached, minimizing the risk of accidents during use.
We also provided instructions on how to remove the bowl safely when you’re finished using your KitchenAid mixer. This ensures that you can detach the bowl without any damage to the mixer or injury to yourself.
Remember, each model of KitchenAid mixer may have slight variations in the attachment mechanisms, so consult your user manual for specific instructions that apply to your model.
By following these guidelines and prioritizing safety, you can confidently use your KitchenAid mixer to create delicious culinary masterpieces, whether it be mixing batter for cakes, kneading dough for bread, or any other culinary venture that calls for the use of your reliable KitchenAid mixer.
We hope this guide has been informative and helpful in teaching you how to put a bowl in your KitchenAid mixer. Enjoy your mixing adventures and happy cooking!
Frequently Asked Questions about How To Put Bowl In Kitchenaid Mixer
Was this page helpful?
At Storables.com, we guarantee accurate and reliable information. Our content, validated by Expert Board Contributors, is crafted following stringent Editorial Policies. We're committed to providing you with well-researched, expert-backed insights for all your informational needs.


0 thoughts on “How To Put Bowl In Kitchenaid Mixer”