Articles
How To Untwist A Twisted Electrical Cord
Modified: October 20, 2024
Discover simple steps to untwist a twisted electrical cord with our helpful articles. Say goodbye to tangled wires and save time with our expert tips.
(Many of the links in this article redirect to a specific reviewed product. Your purchase of these products through affiliate links helps to generate commission for Storables.com, at no extra cost. Learn more)
Introduction
Electrical cords are an essential part of our daily lives, providing power to our electronic devices and appliances. However, it’s not uncommon for these cords to become twisted and tangled over time. Twisted electrical cords not only look unsightly but can also be a safety hazard. They can cause strain on the cord itself, leading to damage and potential electrical hazards. Untwisting a twisted electrical cord may seem like a daunting task, but with the right tools and techniques, it can be easily done.
In this article, we will guide you through the process of untwisting a twisted electrical cord, ensuring its safety and longevity. We will provide step-by-step instructions, highlighting the tools and materials needed for the job. Whether it’s a cord for your smartphone charger, laptop adapter, or any other device, this article will equip you with the knowledge to untwist it effectively.
Key Takeaways:
- Untwisting a twisted electrical cord is a simple process that can be done with basic tools and patience. Prioritize safety, inspect for damage, and test the cord before regular use to ensure functionality and safety.
- Regularly inspect and untwist electrical cords to maintain the safety and reliability of your electronic devices. Prioritize safety, assess for damage, and perform a safe test before using the untwisted cord.
Read more: How To Keep Hair Dryer Cord From Twisting
Tools and Materials Needed
Before you begin the process of untwisting a twisted electrical cord, it’s important to gather the necessary tools and materials. Here’s what you’ll need:
- Twisted electrical cord
- Work gloves (optional, but recommended for added safety)
- Table or flat surface
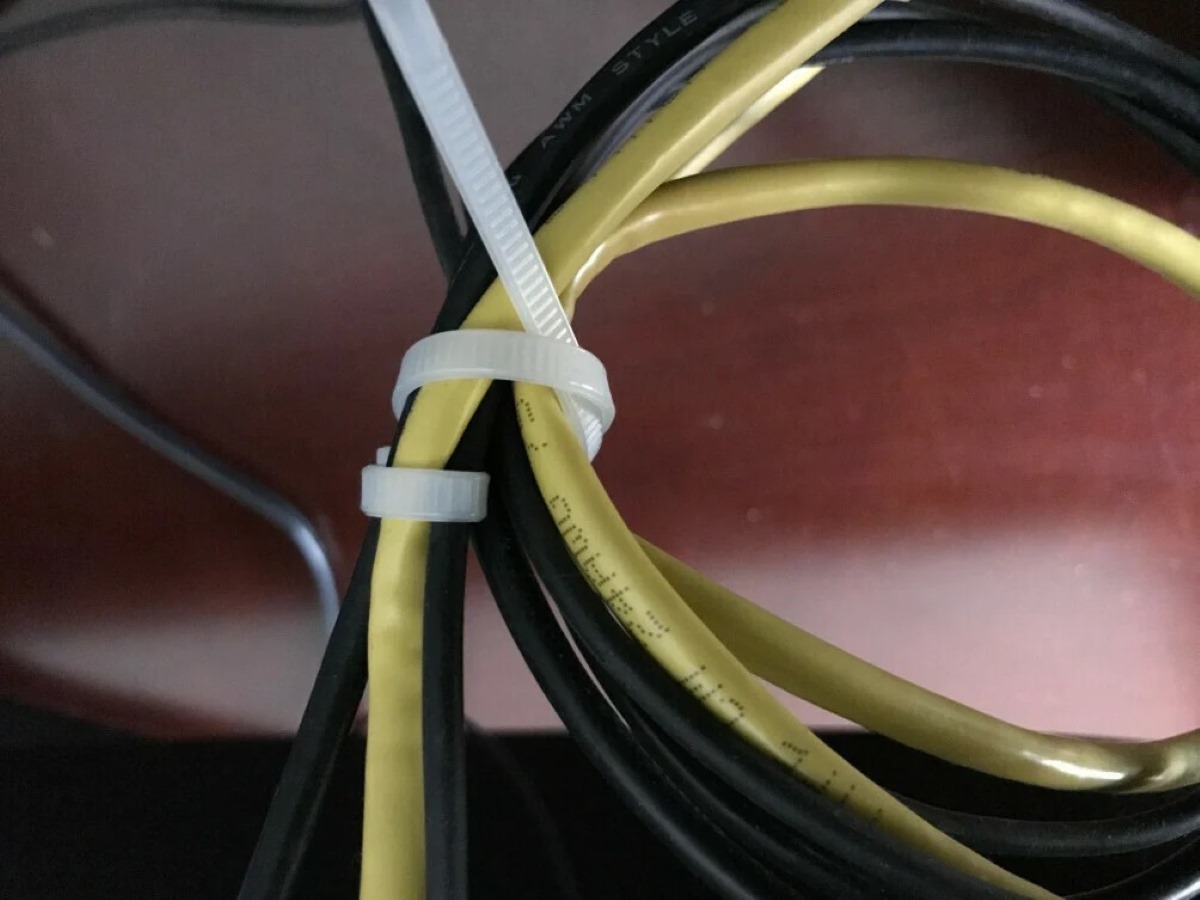
- Tape or cable ties
Now that you have your tools and materials ready, let’s move on to the step-by-step process of untwisting a twisted electrical cord.
Key Takeaways:
- Untwisting a twisted electrical cord is a simple process that can be done with basic tools and patience. Prioritize safety, inspect for damage, and test the cord before regular use to ensure functionality and safety.
- Regularly inspect and untwist electrical cords to maintain the safety and reliability of your electronic devices. Prioritize safety, assess for damage, and perform a safe test before using the untwisted cord.
Read more: How To Keep Hair Dryer Cord From Twisting
Tools and Materials Needed
Before you begin the process of untwisting a twisted electrical cord, it’s important to gather the necessary tools and materials. Here’s what you’ll need:
- Twisted electrical cord: Identify the cord that needs untwisting. It could be the power cord of your laptop, smartphone charger, or any other device. Make sure the cord is disconnected from the power source before proceeding.
- Work gloves (optional, but recommended for added safety): It’s a good idea to wear work gloves while handling electrical cords. This will protect your hands from any sharp edges or potential electrical shocks.
- Table or flat surface: Find a suitable table or flat surface to lay out the twisted electrical cord. This will provide stability and support during the untwisting process.
- Tape or cable ties: These will come in handy to secure the cord and prevent it from getting tangled again while untwisting.
Having these tools and materials ready will ensure a smooth and efficient untwisting process for your electrical cord. Now let’s move on to the step-by-step instructions.
Step 1: Assess the Twisted Cord
Before you start untwisting the cord, take a moment to assess its condition. Look for any visible damage such as frayed wires or exposed insulation. If you notice any signs of damage, it’s important to replace the cord instead of attempting to untwist it. Damaged cords can be a safety hazard and should not be used.
Next, check if there are any knots or tight twists along the length of the cord. These can increase the difficulty of untwisting and may require additional steps to resolve. It’s essential to identify any troublesome areas before proceeding with the untwisting process.
Additionally, consider the length of the cord and the extent of its twisting. Longer cords or cords with multiple twists may require more time and effort to untwist. It’s important to remain patient throughout the process to avoid causing any damage while untwisting.
By assessing the twisted cord before you begin, you can determine if it’s safe to proceed with untwisting and understand any potential challenges that may arise. Let’s move on to the next step of unplugging the cord.
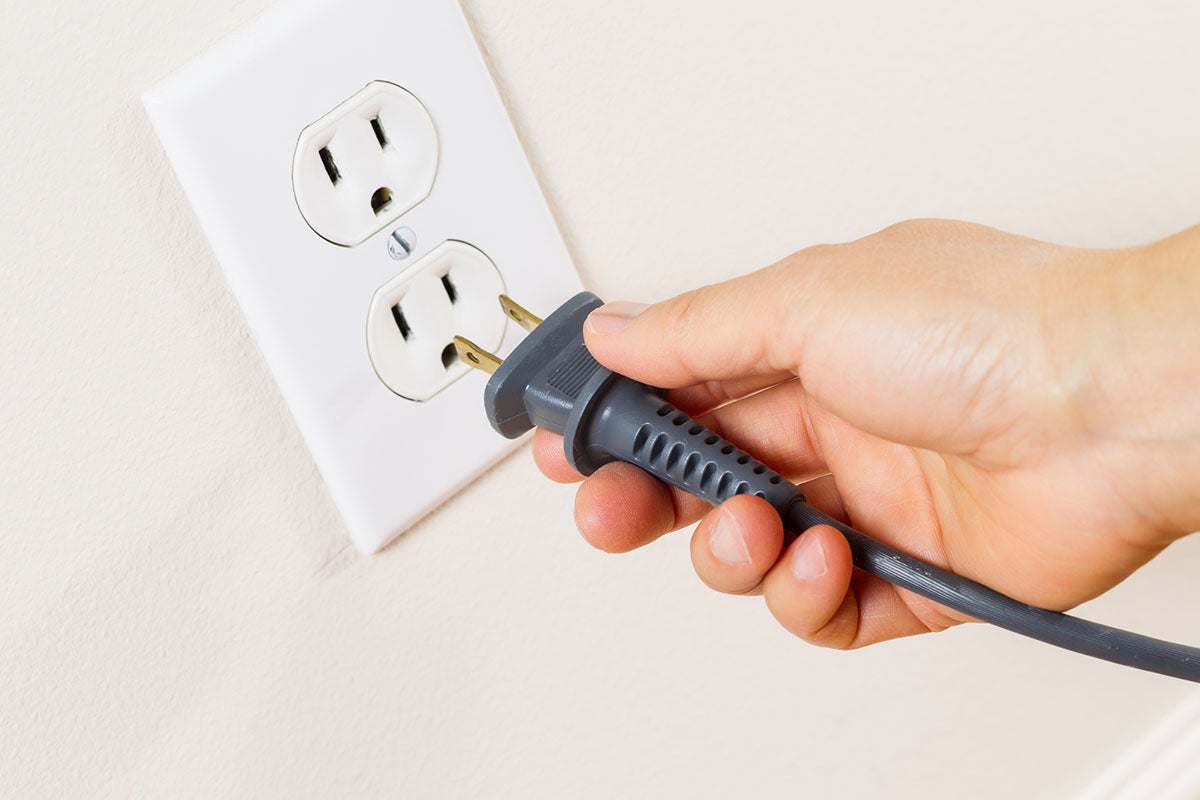
Step 2: Unplug the Cord
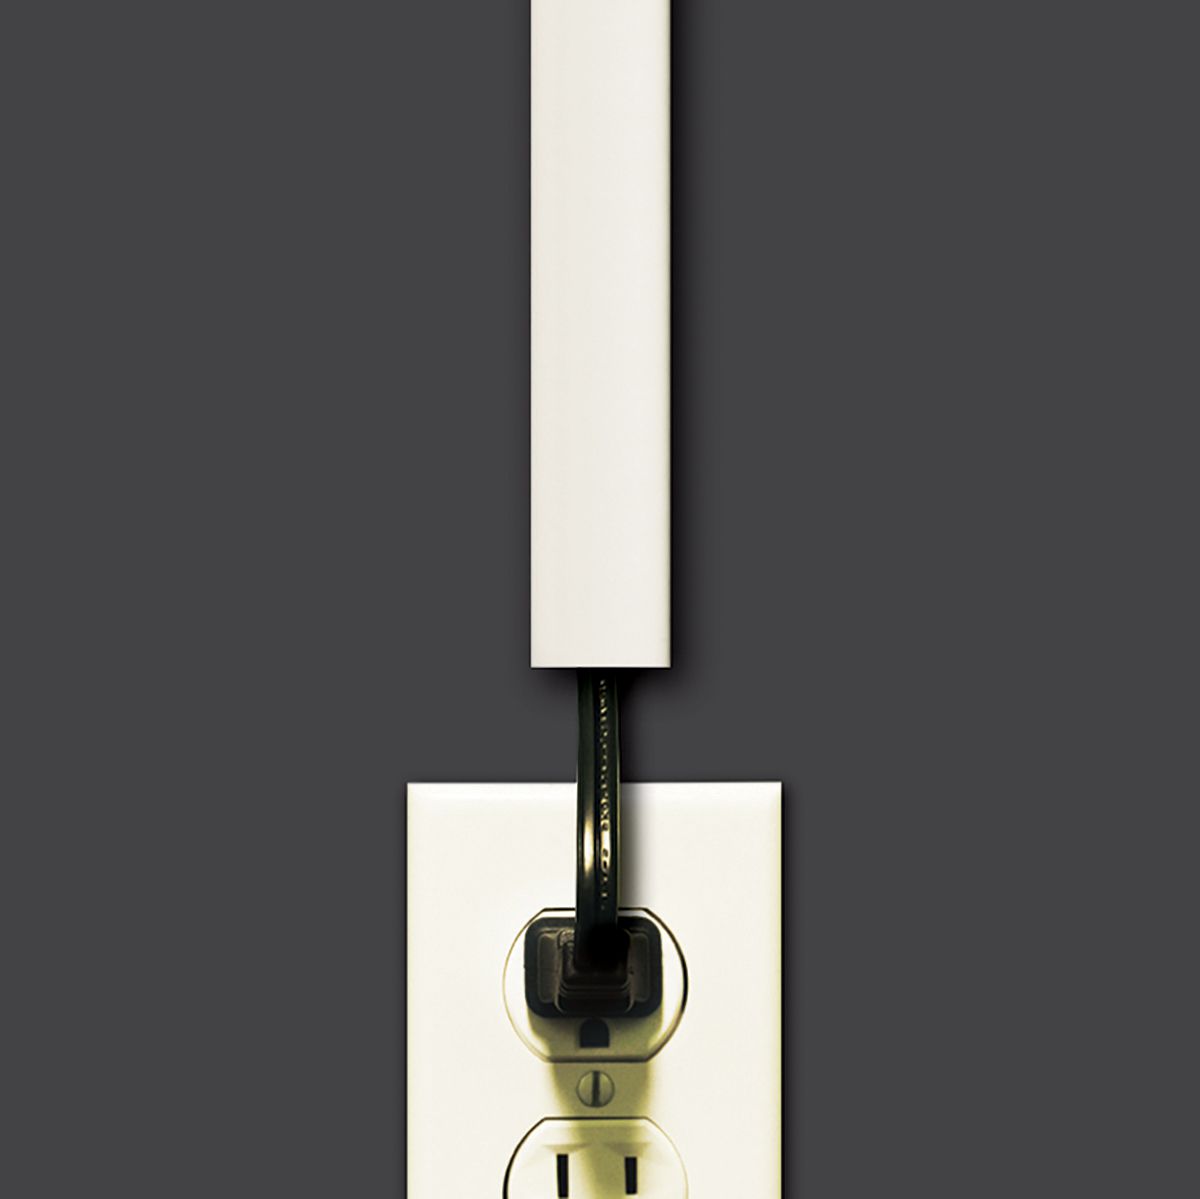
Before starting the untwisting process, it’s crucial to ensure the cord is completely disconnected from the power source. Unplugging the cord prevents any potential electrical shocks or accidents while handling the twisted cord.
Locate the end of the cord that is connected to the device or power outlet. Gently pull out the plug from the socket or device, ensuring a firm grip on the plug itself, not the cord. Give it a gentle tug to disconnect it completely.
Once the cord is unplugged, double-check that there is no power running through it. You can do this by inspecting the prongs of the plug. If they are still hot, it means the cord was recently in use and may still be carrying electricity. Wait for the prongs to cool down before proceeding.
Unplugging the cord ensures your safety during the untwisting process and minimizes the risk of electrical shock or injury. Now that the cord is disconnected, we can move on to the next step of untwisting the cord.
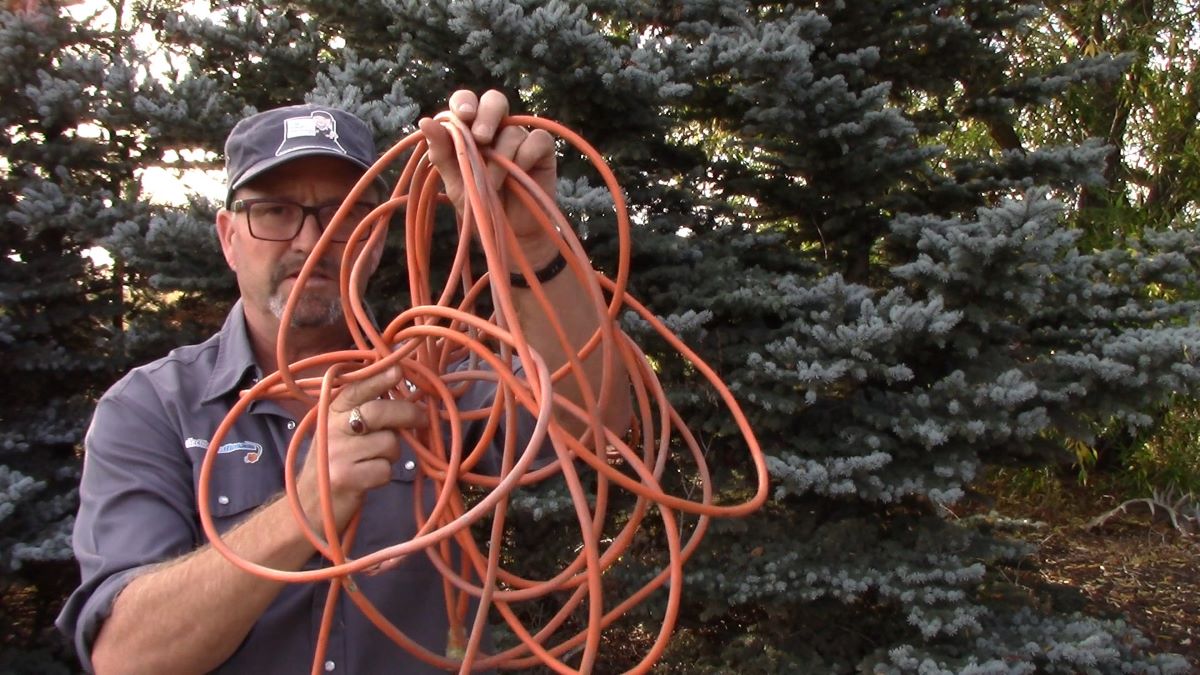
To untwist a twisted electrical cord, hold one end of the cord and let the other end dangle freely. Slowly rotate the dangling end in the opposite direction of the twist until the cord is straightened out.
Read more: How To Tie An Electrical Cord
Step 3: Untwist the Cord
Now that the cord is unplugged, it’s time to start untwisting it. Follow these steps to effectively untwist the twisted electrical cord:
- Lay out the cord: Find a flat surface such as a table or the floor and place the twisted cord on it. Ensure that the cord is spread out and not tangled further.
- Grip the cord: Hold one end of the cord firmly with one hand. You can also place your foot on the end of the cord to provide stability.
- Rotate in the opposite direction: Using your other hand, start rotating the cord in the opposite direction of the twist. If the cord has multiple twists, focus on one twist at a time.
- Apply gentle tension: As you rotate the cord, apply gentle tension along its length. This will help the twist gradually unwind. Be careful not to pull too hard as it can cause the cord to snap or get damaged.
- Continue untwisting: Keep rotating the cord in the opposite direction until the twist is completely removed. Take your time and be patient, especially if the cord is tightly twisted.
- Repeat for other twists: If the cord has multiple twists, repeat the above steps for each twist until all the twists are untwisted.
- Check for any remaining tangles: Once the twists are untwisted, inspect the cord for any remaining tangles or knots. Gently separate any tangled sections using your fingers or a small tool.
By following these steps, you can effectively untwist the cord and restore it to its original straight shape. However, keep in mind that certain cords may have a natural twist due to their construction. If that’s the case, you may not be able to completely straighten the cord.
Now that you’ve successfully untwisted the cord, it’s important to inspect it for any damage in the next step.
Step 4: Inspect for Damage
After untwisting the electrical cord, it’s essential to inspect it thoroughly for any signs of damage. Damage to the cord can compromise its safety and functionality. Here are the steps to inspect the cord:
- Look for frayed or exposed wires: Examine the entire length of the cord, checking for any frayed or exposed wires. If you spot any, it’s crucial to replace the cord to avoid electrical hazards. Do not attempt to repair a damaged cord as it can pose a risk of electrocution.
- Check for cracks or cuts in the insulation: Inspect the outer insulation of the cord for any cracks, cuts, or punctures. Damaged insulation can lead to the exposure of live wires, increasing the risk of electrical shock. If you find any compromised insulation, it’s best to replace the cord.
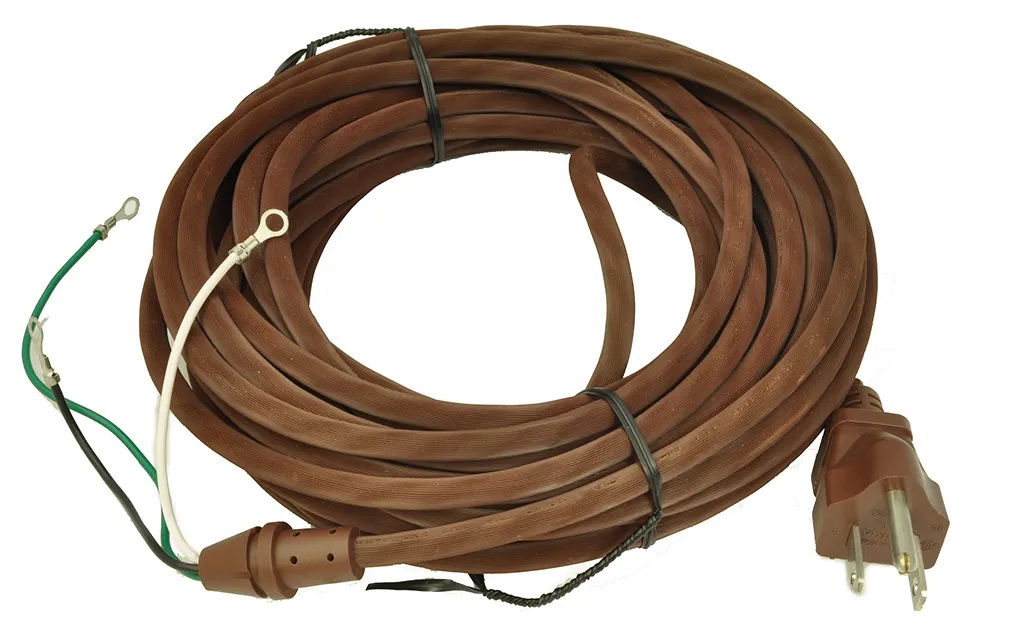
- Ensure proper grounding: For cords with a three-pronged plug, ensure that the grounding prong is intact and not broken. The grounding prong is crucial for safety and prevents electrical shocks. If the grounding prong is damaged, avoid using the cord and replace it with a new one.
- Test the cord: Now that the cord is untwisted and inspected, perform a quick test to check its functionality. Plug it into a power outlet and connect it to a device to ensure it is providing a stable and reliable power supply. If the cord is not working correctly, consider replacing it with a new one.
By inspecting the cord for damage, you can ensure its safety and avoid potential electrical hazards. If you find any issues during the inspection, it’s best to replace the cord to prevent any accidents or damage to your devices.
Now that you’ve inspected the cord, the final step is to safely test it before regular use.
Step 5: Safely Test the Cord
After untwisting and inspecting the electrical cord, it’s important to perform a safe and reliable test before using it regularly. Testing the cord will ensure that it is functioning properly and delivering a stable power supply to your devices. Here’s how to safely test the cord:
- Choose a suitable device: Select a device that requires the same type of power input as the cord you untwisted. It can be a smartphone, laptop, lamp, or any other electronic device.
- Plug in the cord: Insert the plug of the cord into a power outlet securely.
- Connect it to the device: Connect the other end of the cord to the device you’ve chosen for testing. Make sure the connection is secure.
- Power on the device: Turn on the device and ensure it is receiving the expected power supply without any fluctuations or disruptions.
- Observe for any issues: Keep an eye out for any signs of malfunction, such as flickering lights, unusual sounds, or device instability. If you notice any issues, immediately disconnect the cord and discontinue its use.
- Monitor the cord during use: Use the device for a short period while monitoring the cord for any signs of overheating, unusual odor, or sparks. If you notice any of these signs, disconnect the cord and replace it immediately.
By testing the cord in a safe and controlled manner, you can ensure its reliability and avoid potential hazards. If the cord passes the test and functions as expected, you can now use it for your devices with confidence.
Congratulations! You’ve successfully untwisted and tested the electrical cord. By following these steps, you have restored the cord’s functionality and safety. Remember to regularly inspect your cords for any signs of damage or twisting to prevent future issues.
Concluding Thoughts
Untwisting a twisted electrical cord is a simple process that can be done with the right tools and techniques. By following the steps outlined in this article, you can effectively untwist a cord and ensure its safety and functionality. Remember to always prioritize safety and inspect the cord for any damage before use. If in doubt, it’s best to replace the cord to prevent any potential electrical hazards.
With a properly untwisted and tested cord, you can enjoy the convenience and reliability of your electronic devices without any tangles or safety concerns.
Conclusion
Untwisting a twisted electrical cord is a relatively simple process that can be done with a few basic tools and some patience. By following the steps outlined in this article, you can effectively untwist a cord and restore its safety and functionality.
It’s important to always prioritize safety when dealing with electrical cords. Before starting the untwisting process, assess the cord for any visible damage. If you notice frayed wires, exposed insulation, or any other signs of damage, it’s crucial to replace the cord to avoid potential electrical hazards.
Once you have ensured the cord is safe to proceed, unplug it from the power source and lay it out on a flat surface. Begin untwisting it by rotating the cord in the opposite direction of the twist, applying gentle tension along its length. Take your time and be patient, especially with tightly twisted cords.
After untwisting the cord, inspect it thoroughly for any remaining tangles or knots, as well as any signs of damage. Look for frayed wires and cracked or cut insulation. Ensure the grounding prong is intact for cords with a three-pronged plug. Perform a safe and reliable test by plugging the cord into a power outlet and connecting it to a suitable device.
If the cord passes the test and functions as expected without any issues, you can use it with confidence. However, if you notice any signs of malfunction, overheating, or electrical sparks during the test, it’s crucial to immediately disconnect the cord and replace it.
Remember to regularly inspect your cords for any signs of damage or twisting to prevent future issues. By maintaining the integrity of your cords, you can ensure the safety of your electronic devices and minimize the risk of electrical hazards.
With a properly untwisted and tested cord, you can enjoy the convenience and reliability of your electronic devices without any tangles or safety concerns.
So go ahead, untwist those cords, and experience the smooth and hassle-free operation of your electrical devices once again!
Frequently Asked Questions about How To Untwist A Twisted Electrical Cord
Was this page helpful?
At Storables.com, we guarantee accurate and reliable information. Our content, validated by Expert Board Contributors, is crafted following stringent Editorial Policies. We're committed to providing you with well-researched, expert-backed insights for all your informational needs.


0 thoughts on “How To Untwist A Twisted Electrical Cord”