Articles
How To Vent A Basement Bathroom
Modified: October 19, 2024
Learn how to properly vent a basement bathroom with our informative articles. Find expert tips and advice on installing ventilation systems for optimal air circulation and moisture control.
(Many of the links in this article redirect to a specific reviewed product. Your purchase of these products through affiliate links helps to generate commission for Storables.com, at no extra cost. Learn more)
Introduction
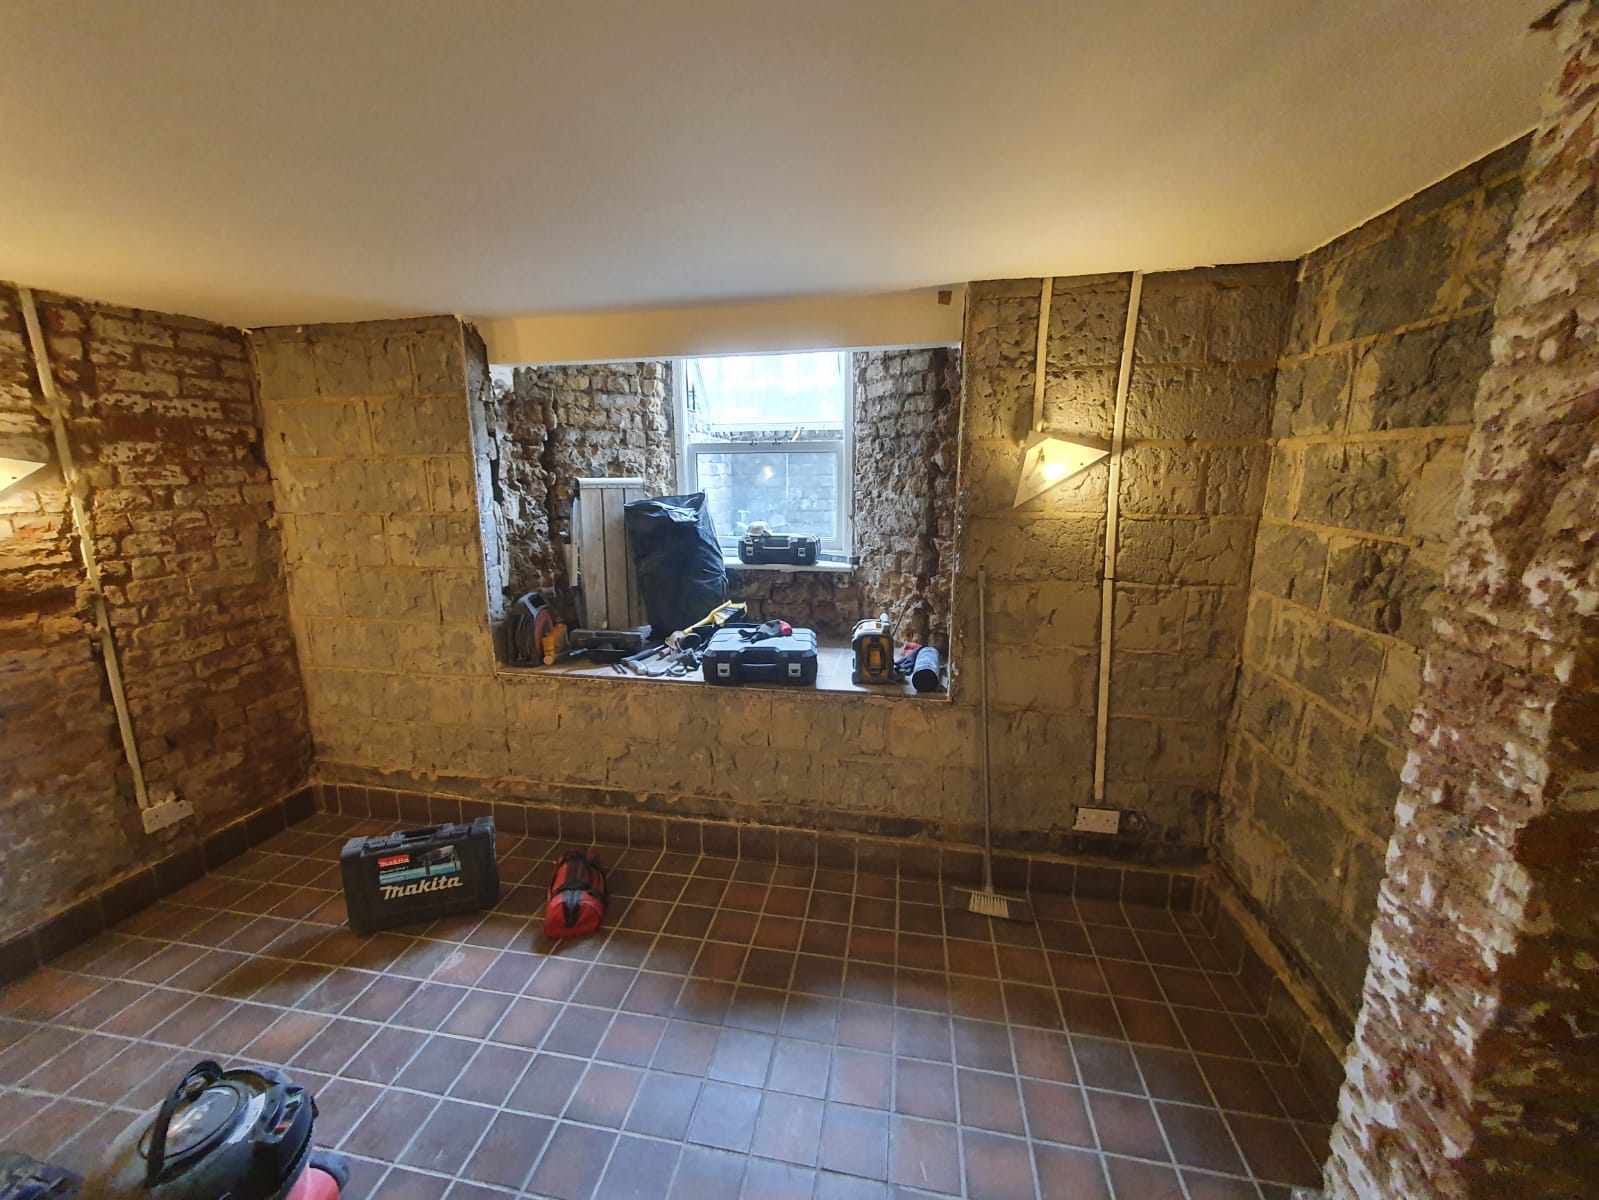
When it comes to renovating or building a basement bathroom, proper ventilation is a crucial aspect to consider. Without adequate ventilation, your basement bathroom can quickly become a damp and musty space, prone to mold and mildew growth. In addition, poor ventilation can lead to unpleasant odors and poor air quality.
In this article, we will guide you through the process of effectively venting your basement bathroom. We’ll cover the key steps to ensure that your bathroom stays fresh, dry, and free from any potential health hazards.
So, let’s get started on creating a well-ventilated basement bathroom that will not only enhance your comfort but also protect your investment in the long run.
Key Takeaways:
- Proper ventilation is crucial for a healthy basement bathroom, preventing mold, odors, and moisture-related issues. Choose the right system, plan ductwork, and test for optimal performance.
- Installing and connecting the ventilation system correctly is essential for effective airflow. Regular maintenance ensures long-term functionality and a comfortable, fresh basement bathroom.
Read more: How To Vent A Dryer In The Basement
Step 1: Determine the Location of the Ventilation
The first step in venting your basement bathroom is to determine the best location for the ventilation system. Ideally, you want to place the ventilation fan as close to the source of moisture as possible, which in this case is the bathroom itself.
Look for an area where you can install the ventilation fan that allows for easy access to vent the moist air outside. This location should be away from any windows or doors to prevent the moist air from circulating back into the bathroom.
Consider the layout of your basement bathroom and the proximity to an exterior wall or the main ventilation system. If the bathroom is situated near an exterior wall, you can opt for a wall-mounted ventilation fan. However, if the basement bathroom is located further away from an exterior wall, you will need to install a ceiling-mounted ventilation fan.
Take into account the size of the bathroom as well. Larger bathrooms may require more powerful fans or multiple fans to ensure efficient ventilation. Consult a professional or refer to the manufacturer’s guidelines to determine the appropriate fan size for your specific needs.
Once you have identified the ideal location for the ventilation fan, mark the spot on the ceiling or wall. This will serve as a reference point for the installation process.
By carefully determining the location of the ventilation system, you can ensure that the moist air is effectively expelled from your basement bathroom, preventing any potential damage or discomfort.
Step 2: Choose the Right Ventilation System
Choosing the right ventilation system for your basement bathroom is crucial to ensure effective air quality control. There are several types of ventilation systems available, each with its own advantages and considerations. Let’s explore the options:
- Exhaust Fans: These are the most common type of ventilation systems for bathrooms. Exhaust fans work by drawing out the moist air from the bathroom and expelling it outside. They are typically mounted on the ceiling or wall and come in various sizes and capacities. When selecting an exhaust fan, make sure to choose one that is specifically designed for bathroom use, as it will be equipped with features such as moisture resistance and built-in timers.
- Heat Recovery Ventilators (HRVs) and Energy Recovery Ventilators (ERVs): HRVs and ERVs are more advanced ventilation systems that not only expel moist air but also recover the heat or energy from the outgoing air to pre-condition the incoming fresh air. These systems are particularly beneficial in colder climates where heat retention is important. However, they may be more expensive to install and require professional assistance for proper setup.
- Inline Fans: If your basement bathroom is located far away from an exterior wall or the main ventilation system, an inline fan may be a suitable option. Inline fans are installed in the ductwork, usually in the attic or utility room, and are connected to the bathroom by ducting. This setup allows for efficient air extraction without the need for a fan directly mounted in the bathroom.
- Window Fans: In some cases, it may be feasible to use a window fan as a temporary ventilation solution. Window fans can be placed in the bathroom window to help exhaust the moist air. However, they are less effective than dedicated bathroom ventilation systems and may not be suitable for long-term use.
Consider the size, noise level, energy efficiency, and maintenance requirements of each ventilation system before making a decision. It’s also recommended to consult with a professional to ensure that the chosen system meets the specific needs of your basement bathroom.
By choosing the right ventilation system, you can create a healthy and comfortable environment in your basement bathroom while minimizing energy consumption and maximizing the efficiency of air circulation.
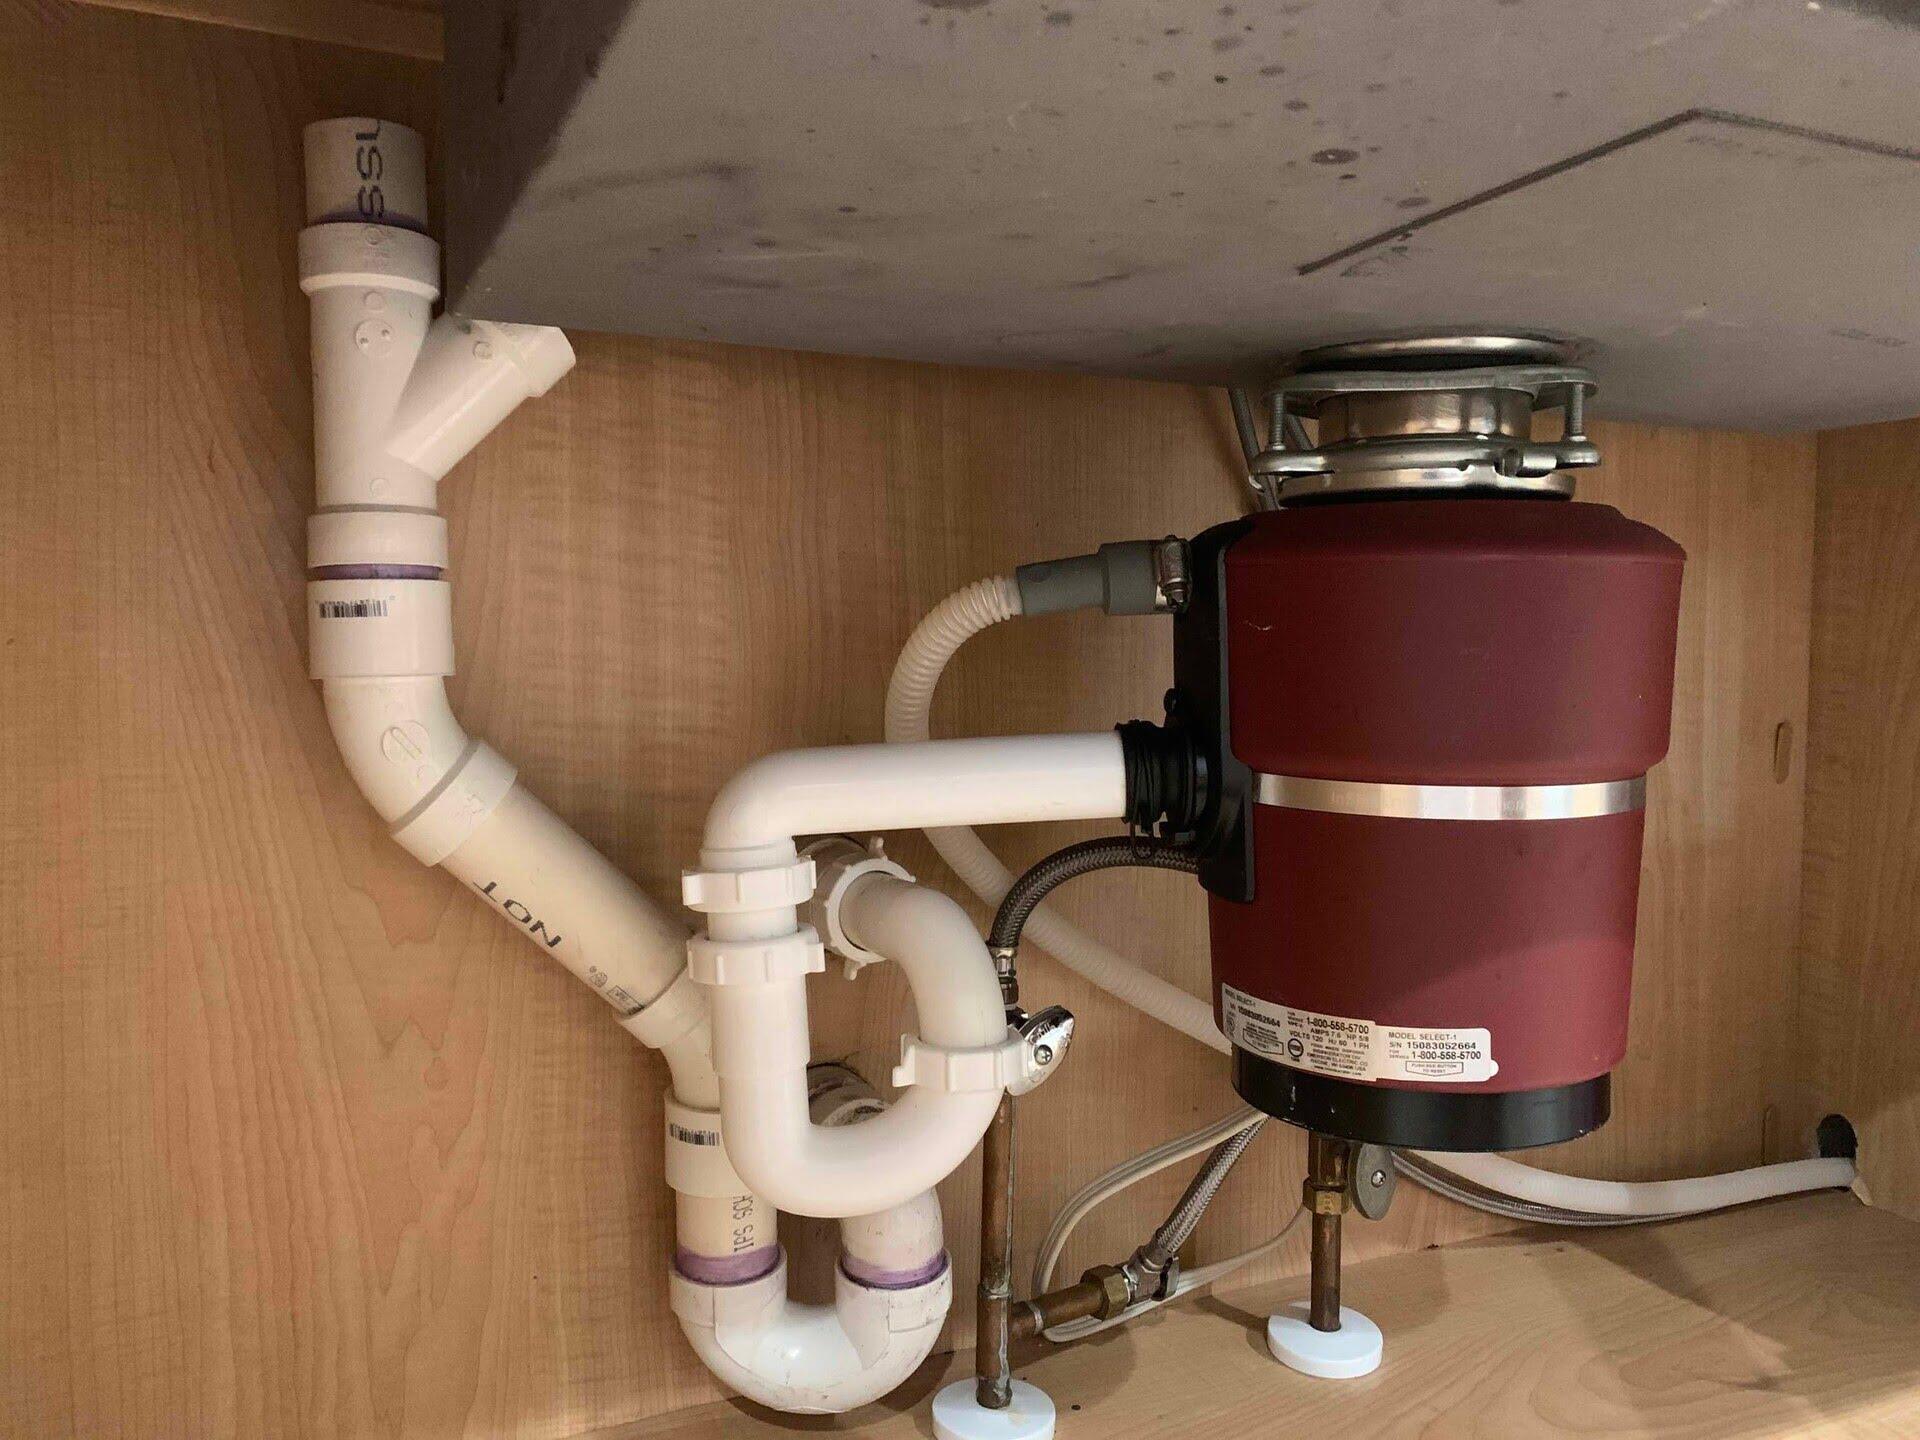
Step 3: Plan the Ventilation Ductwork
Once you have chosen the ventilation system for your basement bathroom, the next step is to plan out the ductwork. Proper planning and design of the ductwork will ensure efficient airflow and prevent any issues such as condensation, leaks, or inadequate ventilation. Here’s how to go about it:
- Determine the Route: Assess the layout of your basement and identify the most direct and accessible route for the ventilation ductwork. Ideally, the ductwork should run vertically and horizontally without any sharp turns or obstructions.
- Choose the Duct Material: Select the appropriate duct material based on the requirements of your ventilation system. Common options include flexible aluminum or plastic ducts. Ensure that the chosen material is suitable for bathroom use, resistant to moisture, and meets local building codes.
- Calculate the Duct Size: The size of the ductwork will depend on the airflow requirements of your ventilation system. Refer to the manufacturer’s guidelines or consult a professional to determine the appropriate duct size for your specific setup. Undersized ducts can impede airflow, while oversized ducts can lead to inefficient ventilation and increased noise levels.
- Minimize Obstructions: Avoid routing the ductwork through areas with obstacles such as electrical wiring, plumbing pipes, or structural components. Keep it as straight and clear as possible to ensure smooth airflow.
- Insulate the Ducts: To prevent condensation and heat loss, insulate the ductwork, especially if it runs through unconditioned spaces such as the attic or crawl space. Insulation will help maintain the temperature of the air inside the ducts and improve overall energy efficiency.
- Consider Fire Safety: Ensure that the duct material is fire-resistant and meets local fire safety codes. Install fire dampers where ducts pass through fire-rated walls or floors to prevent the spread of flames in case of a fire.
By carefully planning the ventilation ductwork, you can ensure proper airflow and optimal performance of your basement bathroom ventilation system. Be sure to double-check local building codes and consult with professionals if needed to ensure compliance and the best possible results.
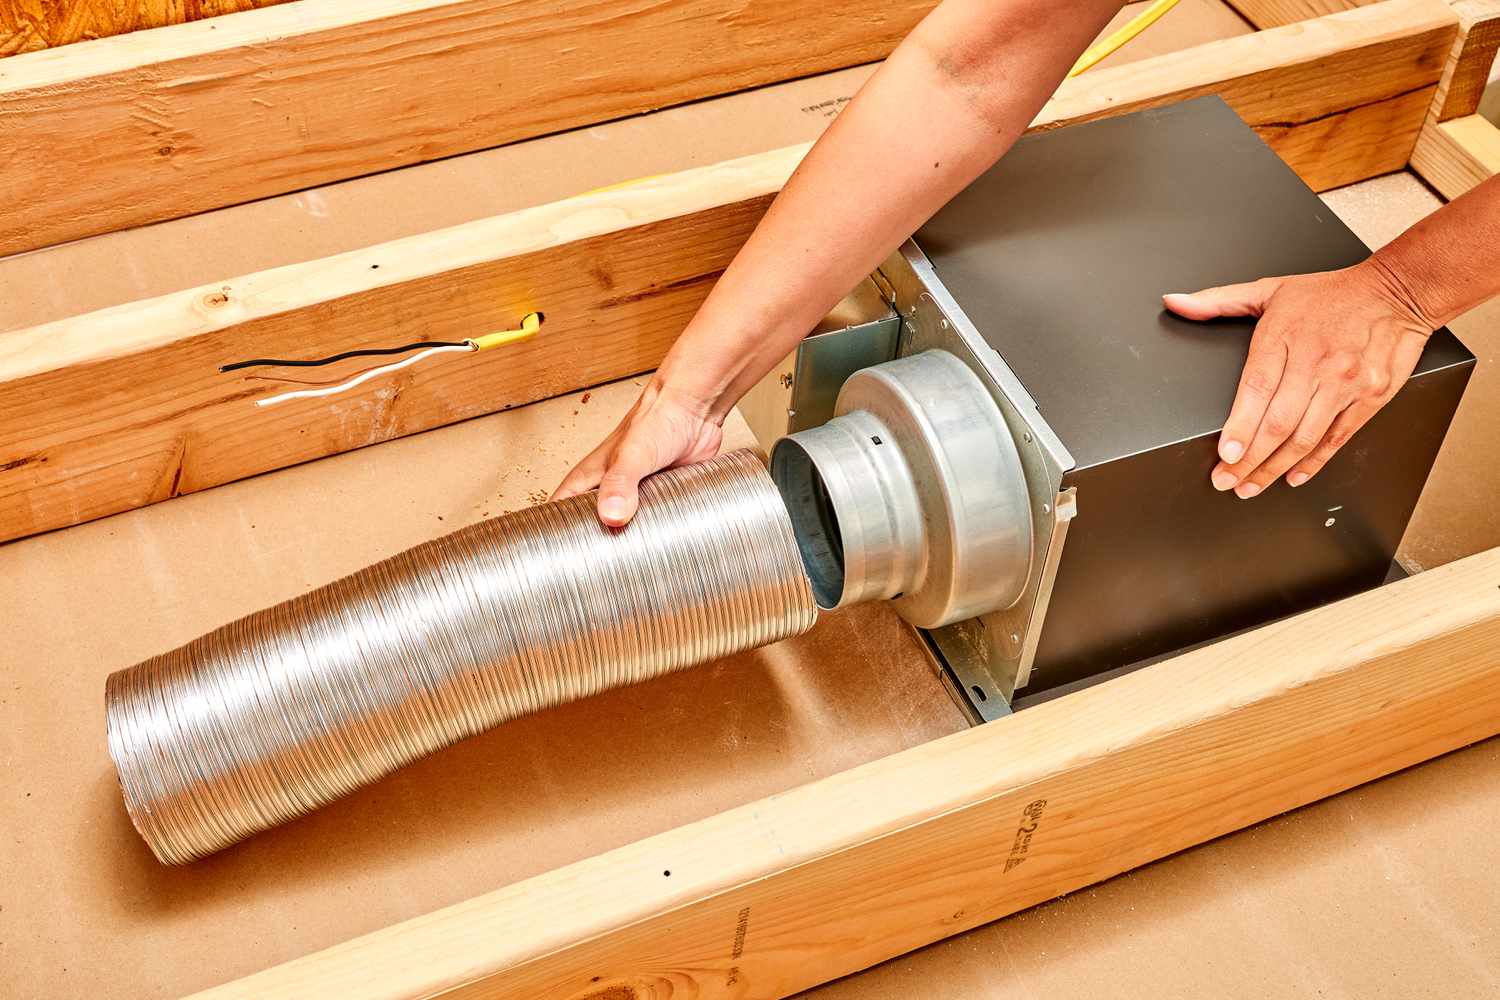
When venting a basement bathroom, consider installing a vent fan to help remove moisture and odors. Make sure the fan is properly sized for the space and vented to the outside to prevent mold and mildew.
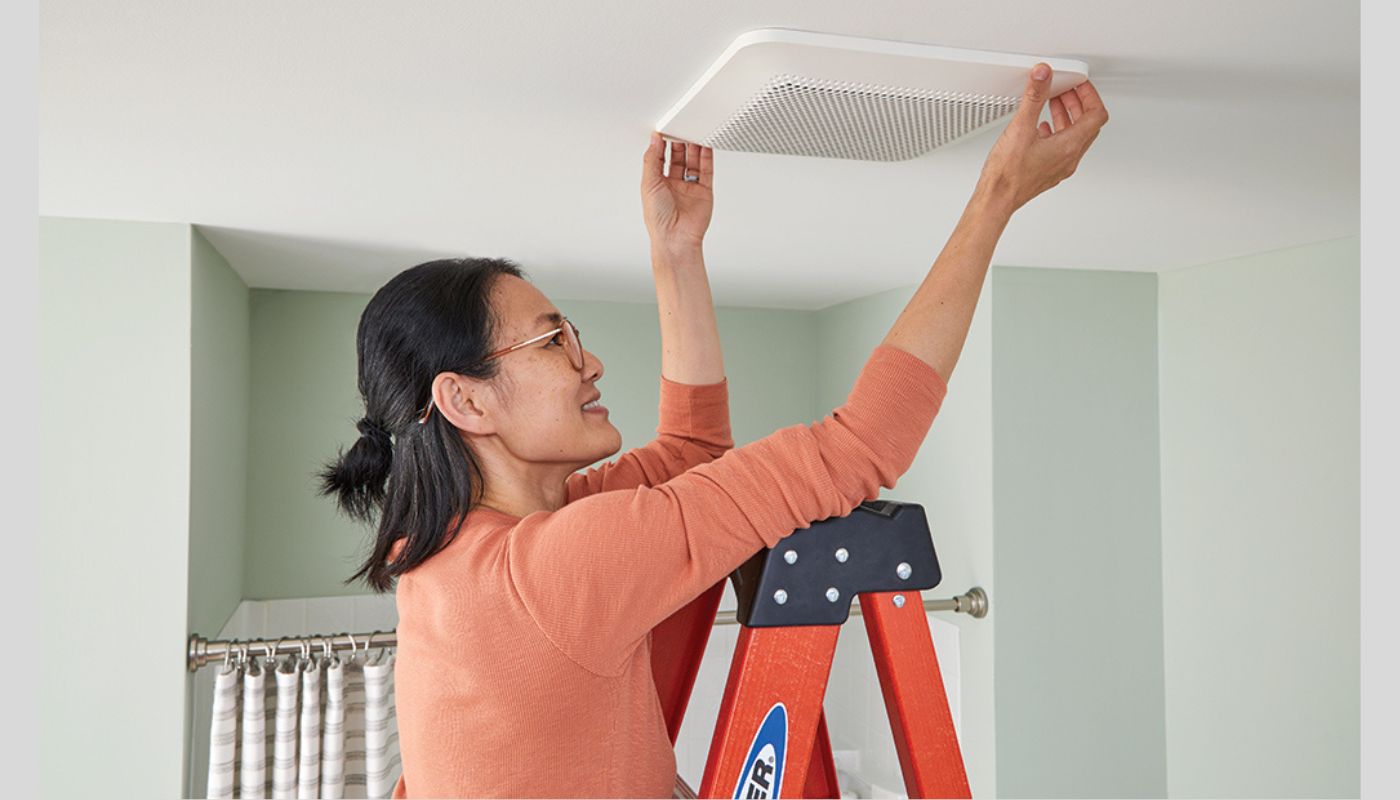
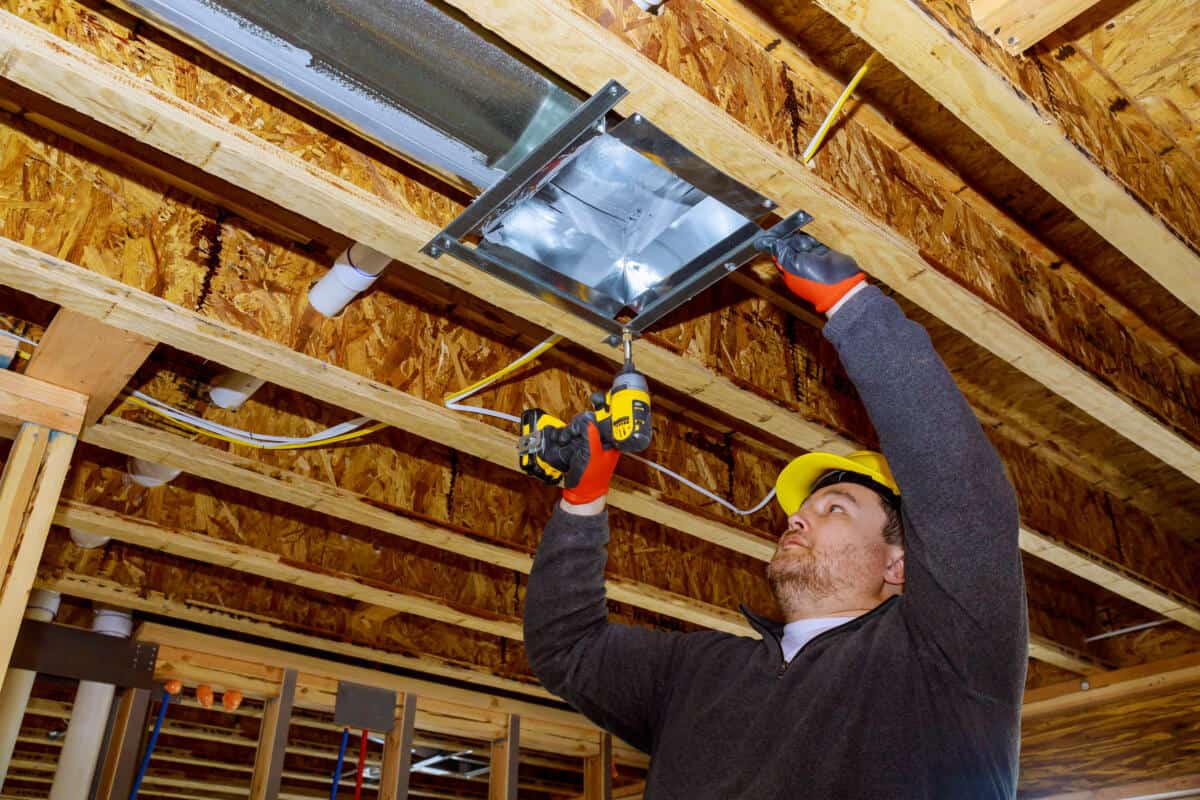
Step 4: Install the Ventilation Fan
Now that you have planned out the ductwork, it’s time to install the ventilation fan in your basement bathroom. Proper installation ensures that the fan operates efficiently and effectively. Follow these steps for a successful installation:
- Gather the Necessary Tools: Before you begin, make sure you have all the tools required for the installation, such as a screwdriver, wire stripper, electrical tape, and a ladder if needed.
- Turn Off the Power: Ensure that the power to the bathroom is turned off at the circuit breaker panel. This step is crucial for your safety during the installation process.
- Position the Fan Frame: Using the reference point you marked earlier, position the fan frame on the ceiling or wall according to the manufacturer’s instructions. Make sure it is centered and level.
- Attach the Fan Housing: Securely attach the fan housing to the frame using the provided screws. Follow the specific instructions provided by the manufacturer for your particular model.
- Connect the Wiring: Carefully follow the manufacturer’s instructions to connect the wiring from the fan to the electrical supply. Use wire connectors to join the corresponding wires together and secure them with electrical tape.
- Mount the Fan Cover: Place the fan cover onto the housing and secure it in place using the provided screws or clips. Double-check that it is properly aligned and securely fastened.
- Test the Fan: Once the fan is installed, turn the power back on and test the fan to ensure it is working correctly. Ensure that it is drawing air out effectively and that the fan blades are spinning without any obstructions. If needed, make any necessary adjustments or repairs.
- Replace the Cover: Once you are satisfied with the fan’s performance, replace the cover and secure it in place. This will protect the fan from dust and debris and ensure its longevity.
Remember to consult the manufacturer’s instructions for any additional steps or considerations specific to your ventilation fan model. Professional assistance may be necessary for more complex installations, or if you are not comfortable with electrical work.
By installing the ventilation fan properly, you’ll ensure effective airflow and eliminate excess moisture and odors from your basement bathroom.
Read more: How To Close Vents In Basement
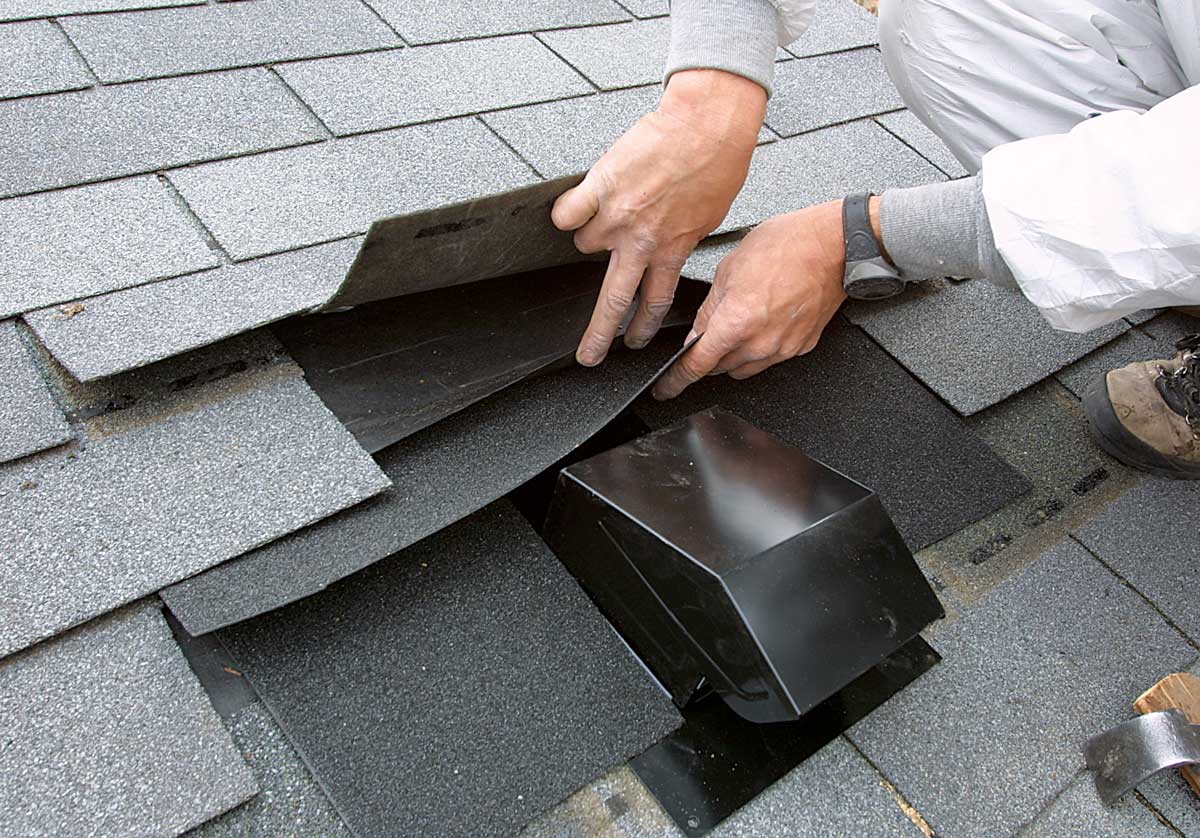
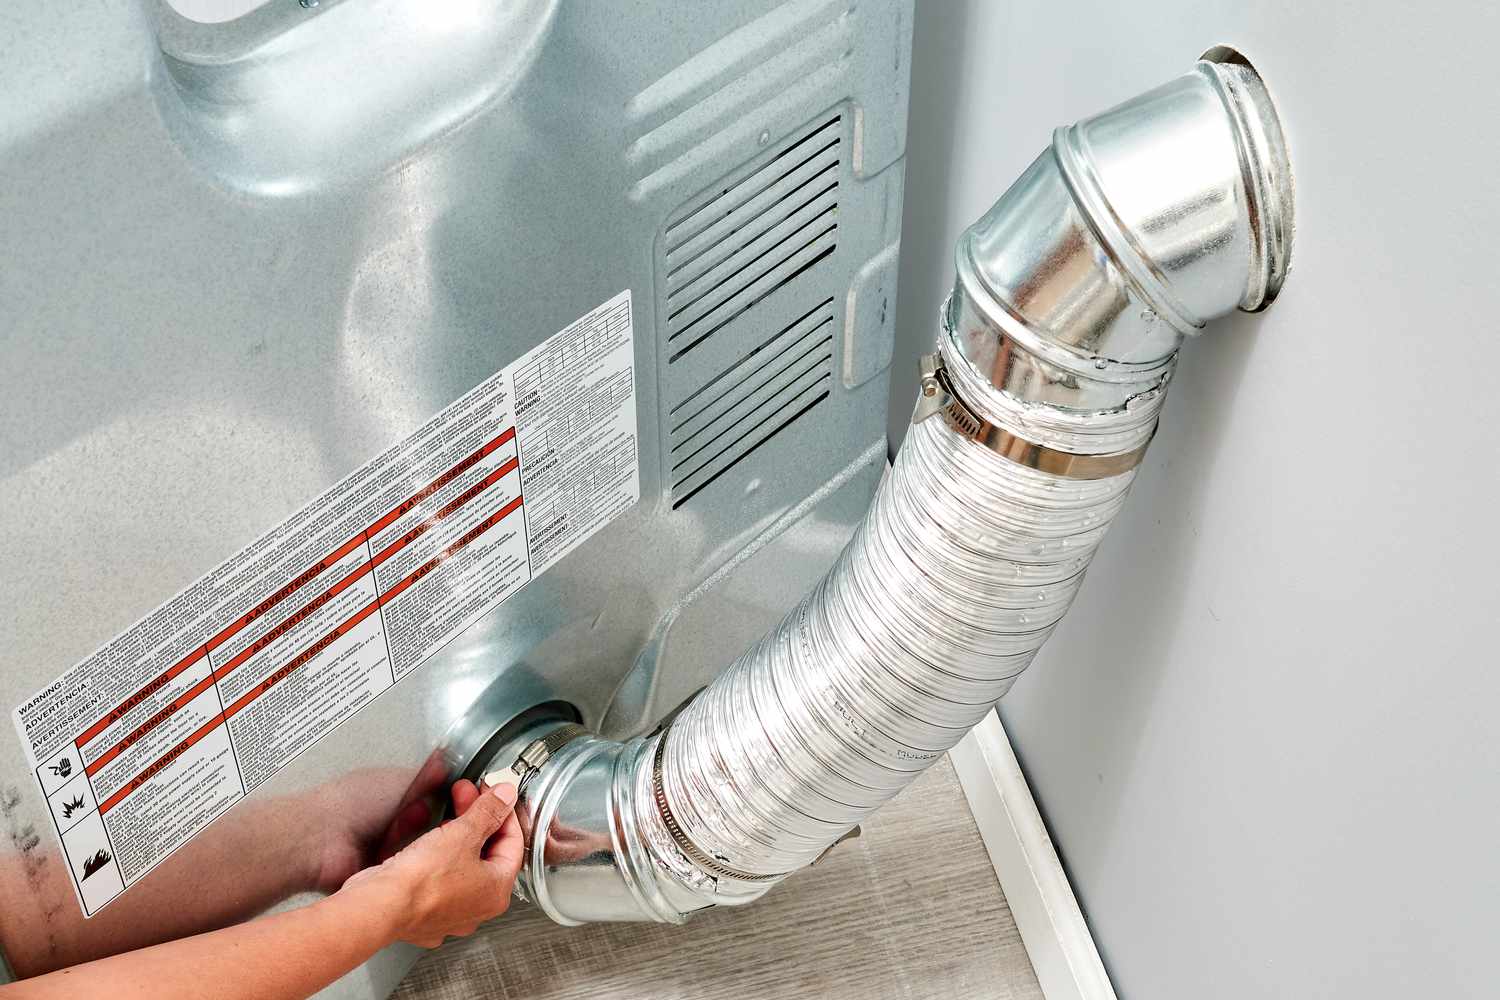
Step 5: Connect the Ductwork to the Main Ventilation System
Now that the ventilation fan in your basement bathroom is installed, it’s time to connect the ductwork to the main ventilation system. This step ensures that the moist air is properly directed outside, improving the overall air quality in your home. Follow these steps to connect the ductwork:
- Locate the Main Ventilation System: Identify the main ventilation system in your home, such as an existing duct leading to the exterior or a ventilation shaft. This is where you will connect the ductwork from your basement bathroom.
- Measure and Cut the Duct: Measure the distance between the ventilation fan and the main ventilation system. Using appropriate duct material and tools, cut a section of ductwork to the measured length. Make sure to leave a little extra length for adjustments during installation.
- Attach Duct Connectors: At each end of the cut duct, attach duct connectors or adapters that are compatible with the main ventilation system and the duct material you are using. Secure them tightly to create a proper seal.
- Position the Ductwork: Carefully position the ductwork from the basement bathroom to the main ventilation system. Ensure that the duct is straight and free from any sharp bends or kinks that could obstruct the airflow. Use appropriate hangers or supports to hold the duct in place and prevent sagging.
- Secure the Ductwork: Use screws or clamps to securely fasten the duct connectors to the main ventilation system and the ductwork from the bathroom. Double-check that all connections are tight and properly sealed to prevent air leaks.
- Check for Airflow: Once the ductwork is connected, turn on the ventilation fan and check for proper airflow. Stand near the main ventilation system to feel if air is being expelled properly. If there is inadequate airflow, double-check all connections and make any necessary adjustments.
- Insulate the Ductwork: If the main ventilation system runs through unconditioned areas, such as an attic or crawl space, consider insulating the ductwork to prevent condensation and improve energy efficiency. Insulation helps maintain the temperature of the air and reduces the risk of moisture issues.
Remember to refer to local building codes and consult with professionals if you are unsure about any aspects of connecting the ductwork to the main ventilation system. Properly connecting the ductwork ensures effective air extraction and helps maintain optimal air quality in your basement bathroom and throughout your home.
Step 6: Test and Adjust the Ventilation System
After completing the installation of the ventilation system for your basement bathroom, it is important to test and adjust it to ensure optimal performance. This final step will help you fine-tune the system and address any potential issues. Follow these guidelines to test and adjust your ventilation system:
- Run a Test Cycle: Turn on the ventilation fan and let it run for a considerable amount of time while monitoring its performance. Observe if it effectively removes moist air from the bathroom and expels it outside. Pay attention to any unusual noises, vibrations, or odors that may indicate a problem.
- Check for Airflow: Stand near the ventilation fan outlet and main ventilation system to feel the airflow. Ensure that the air is being properly extracted and expelled. Verify that there are no obstructions or blockages in the ductwork that could hinder airflow.
- Assess Noise Levels: Listen for any excessive noise from the ventilation fan. While some noise is normal, loud or persistent noise may indicate a problem with the fan or ductwork. Consider adjusting the fan speed or contacting a professional for further evaluation if necessary.
- Monitor Humidity Levels: Keep an eye on the humidity levels in your basement bathroom using a hygrometer or moisture meter. A properly functioning ventilation system should help maintain humidity levels below 50% to prevent mold and mildew growth. If the humidity levels remain high, consider upgrading to a more powerful fan or installing a dehumidifier as needed.
- Make Adjustments: Based on your observations during the test run, make any necessary adjustments. This may include fine-tuning the fan speed, adjusting the position of the ductwork to optimize airflow, or addressing any issues that arise. Consult the manufacturer’s instructions or seek professional advice for guidance on specific adjustments.
- Maintain the System: Regularly clean and maintain your ventilation system to ensure its continued effectiveness. Clean the fan blades, inspect and replace filters if applicable, and remove any debris or dust that accumulates in the ductwork. This will help promote proper airflow and prevent potential issues.
Remember, the ventilation system in your basement bathroom plays a crucial role in maintaining a healthy and comfortable environment. By testing and adjusting the system, you can ensure its optimal function and enjoy the benefits of clean and fresh air throughout your basement space.
Conclusion
Venting a basement bathroom is a crucial step in ensuring proper air quality and preventing moisture-related issues. By following the steps outlined in this guide, you can create a well-ventilated and comfortable space. Here’s a recap of the key points:
First, determine the location of the ventilation system, keeping in mind the proximity to the bathroom and an exterior wall or the main ventilation system. Choose the right ventilation system that suits your needs, whether it’s an exhaust fan, an HRV/ERV, an inline fan, or a window fan.
Next, plan the ventilation ductwork, considering the route, duct material, size, and insulation. Take care to avoid obstructions and ensure compliance with fire safety regulations. Install the ventilation fan properly, following the manufacturer’s instructions and wiring it correctly.
Connect the ductwork to the main ventilation system, ensuring a secure and airtight connection. Check for proper airflow and consider insulating the ductwork for better energy efficiency. Finally, test and adjust the ventilation system, monitoring its performance and making any necessary adjustments to optimize its operation.
Remember to maintain the ventilation system regularly, cleaning fan blades, replacing filters, and clearing out any debris in the ductwork. This will help keep the system functioning effectively in the long run.
Properly venting your basement bathroom is essential for maintaining a healthy and comfortable living space. From preventing mold and mildew growth to eliminating unpleasant odors, a well-ventilated bathroom contributes to a more enjoyable basement experience. By following these steps, you can ensure that your basement bathroom remains fresh, dry, and free from any potential health hazards.
So go ahead and start venting your basement bathroom today, and enjoy the benefits of improved air quality and a more pleasant environment.
Curious about keeping your home's air fresh and moisture-free? Ventilation is key, and knowing which system suits your space makes all the difference. For those eager to dive deeper, our detailed guide on choosing the right ventilation system will shed light on the best options available. Meanwhile, if you're planning a kitchen upgrade, understanding how to lay out and implement ductwork is crucial. Our step-by-step guide on ductwork installation for range hoods covers everything needed to ensure efficient, effective airflow.
Frequently Asked Questions about How To Vent A Basement Bathroom
Was this page helpful?
At Storables.com, we guarantee accurate and reliable information. Our content, validated by Expert Board Contributors, is crafted following stringent Editorial Policies. We're committed to providing you with well-researched, expert-backed insights for all your informational needs.
0 thoughts on “How To Vent A Basement Bathroom”