Articles
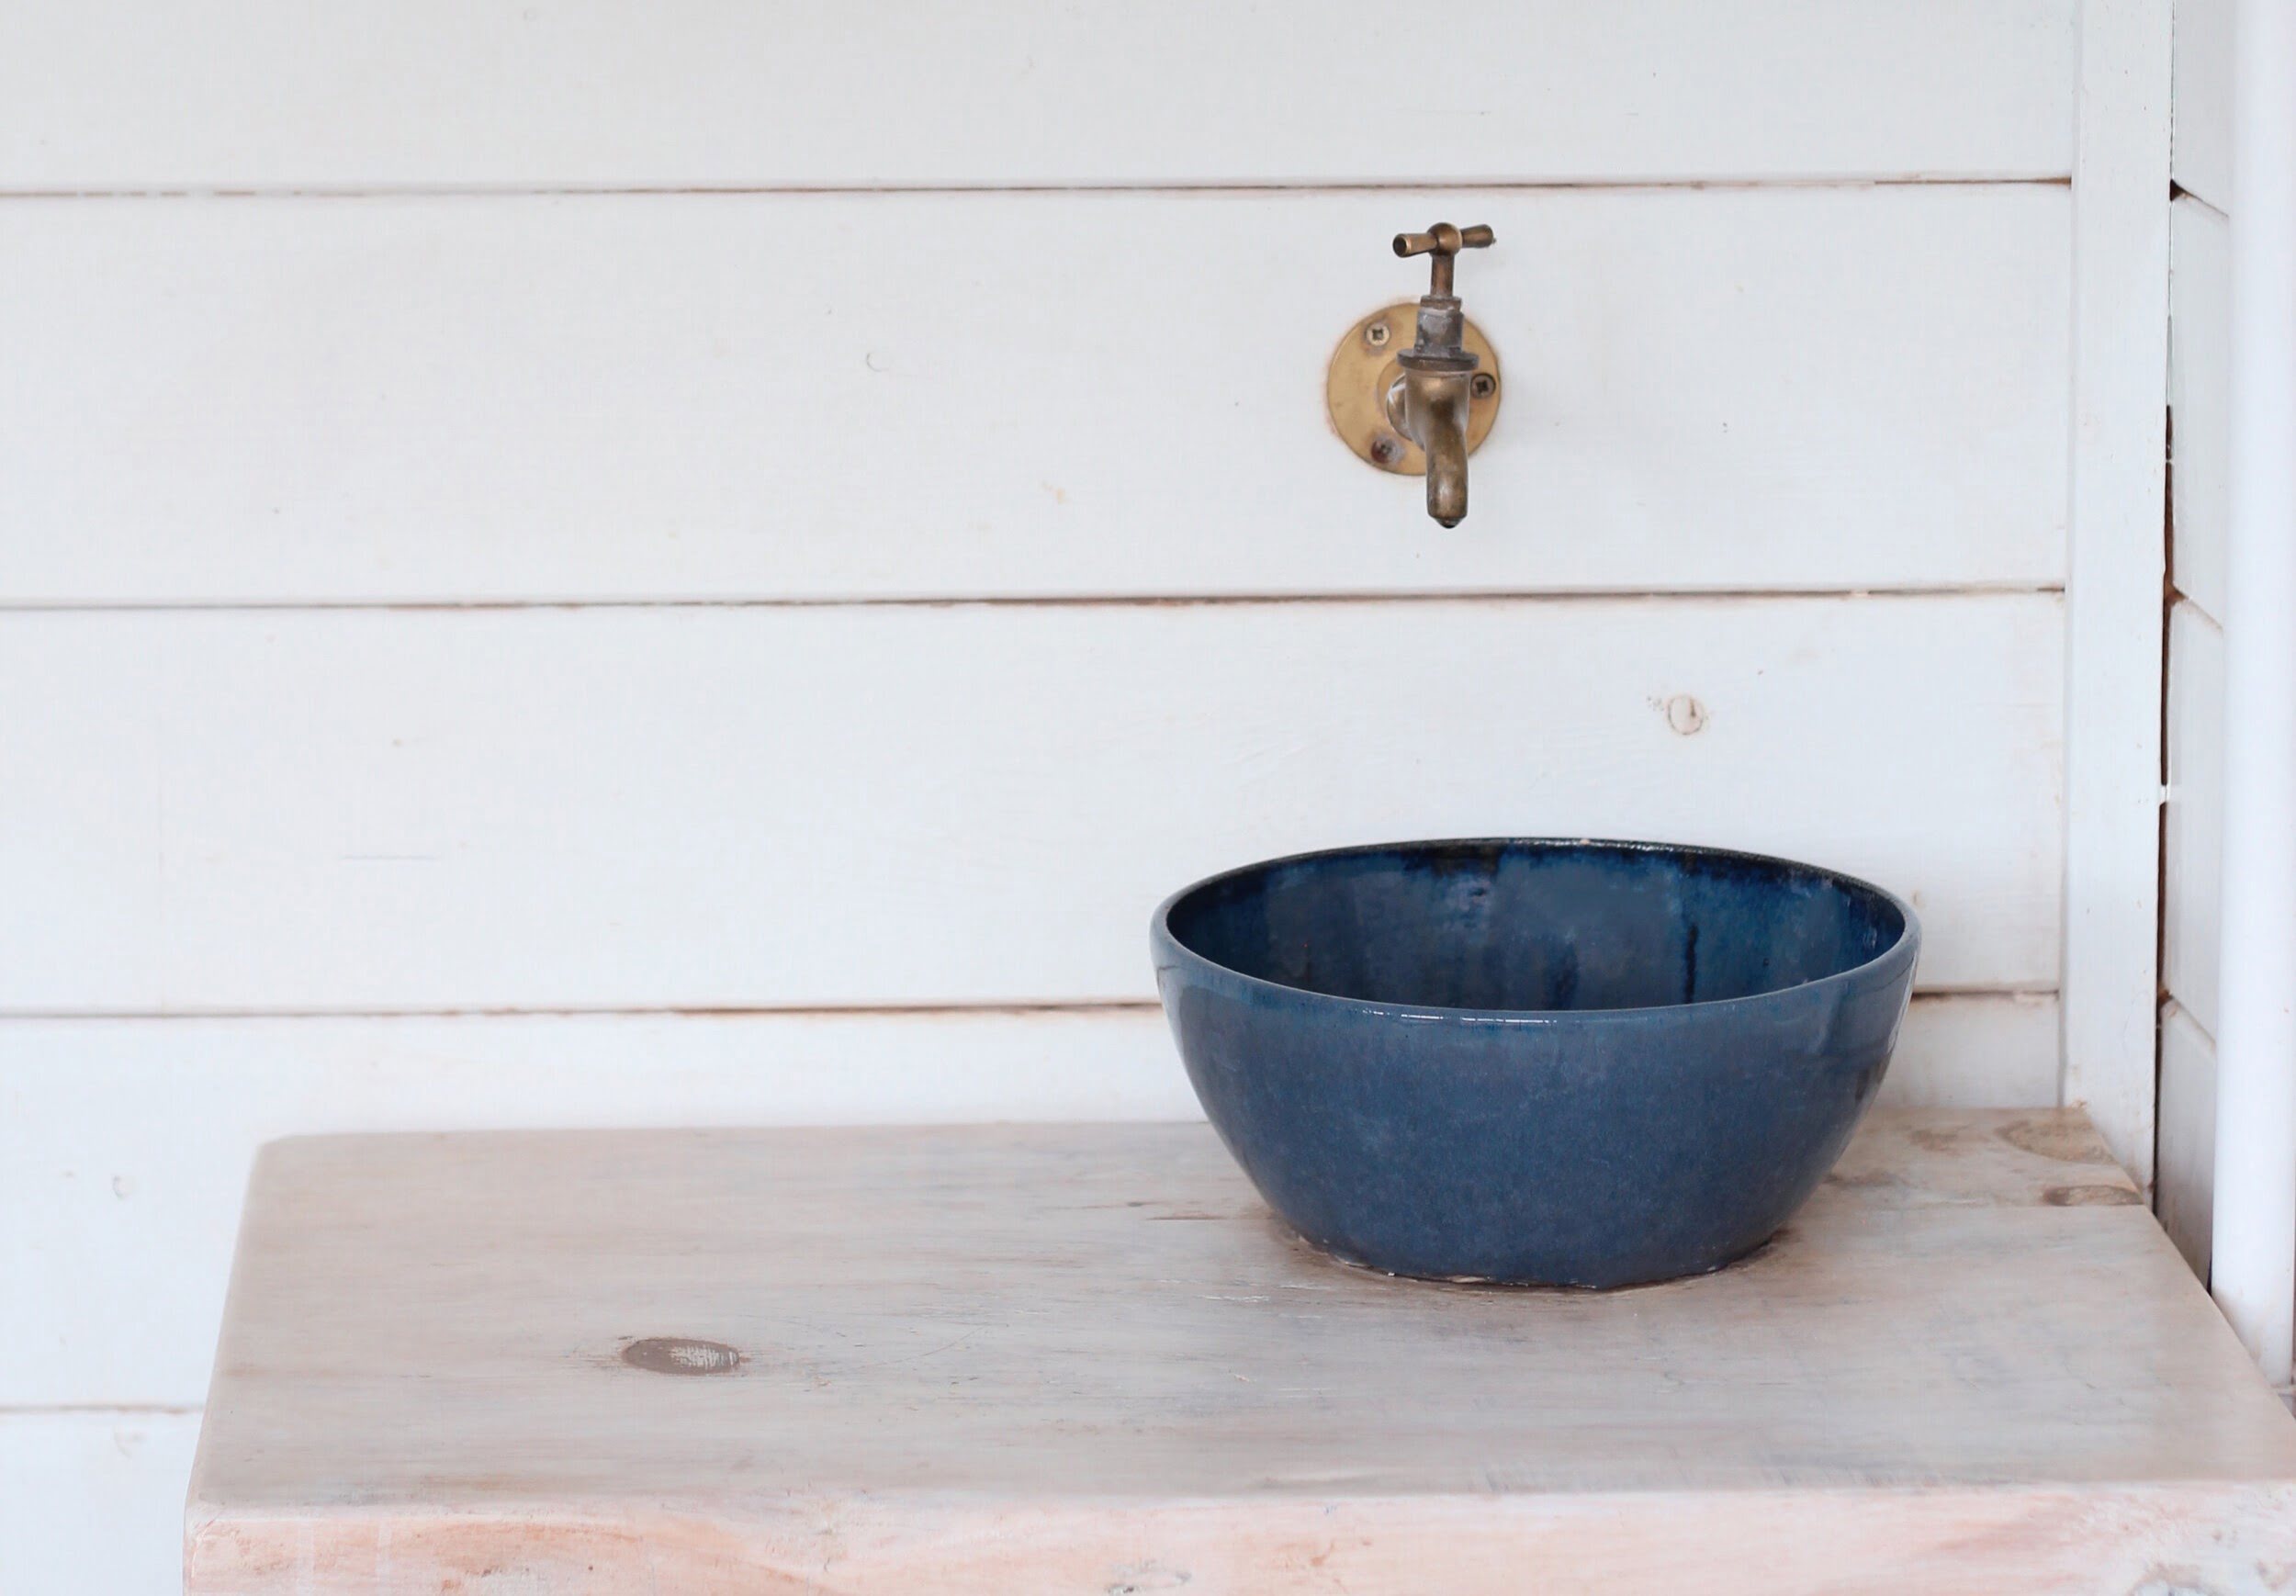
How To Vent Sink
Modified: December 7, 2023
Discover the best articles on how to vent a sink and ensure proper drainage. Learn expert tips and tricks to prevent clogs and keep your sink functioning flawlessly.
(Many of the links in this article redirect to a specific reviewed product. Your purchase of these products through affiliate links helps to generate commission for Storables.com, at no extra cost. Learn more)
Introduction
When it comes to plumbing, ensuring proper ventilation is essential for the efficient and effective functioning of your sink. Without proper ventilation, your sink may experience issues such as slow drainage, foul odors, and even potential damage to the plumbing system. That’s why knowing how to properly vent your sink is crucial.
In this article, we will guide you through the steps to successfully vent your sink. Whether you are installing a new sink or looking to improve the ventilation of an existing one, this guide will provide you with the knowledge and skills necessary to complete the task.
Venting a sink involves creating a pathway for air to enter and exit the plumbing system. This allows for the equalization of air pressure, preventing airlocks that can hamper the flow of water. Additionally, proper ventilation allows noxious gases to escape, keeping your home safe and odor-free.
Before we begin, it is important to note that the process of venting a sink may vary depending on the specifics of your plumbing system and local building codes. It is always recommended to consult with a professional plumber or research local regulations before undertaking any plumbing projects.
Now that we have the necessary disclaimers out of the way, let’s dive into the steps to vent your sink and enjoy a well-functioning, odor-free plumbing system.
Key Takeaways:
- Proper ventilation is essential for sink functionality, preventing slow drainage and foul odors. Follow the steps to vent your sink and enjoy a well-ventilated, odor-free plumbing system.
- Ensure a secure and leak-free venting system by testing, inspecting, and finishing the installation. Enjoy a well-functioning sink with proper air circulation and no potential plumbing issues.
Read more: How To Vent An Island Sink
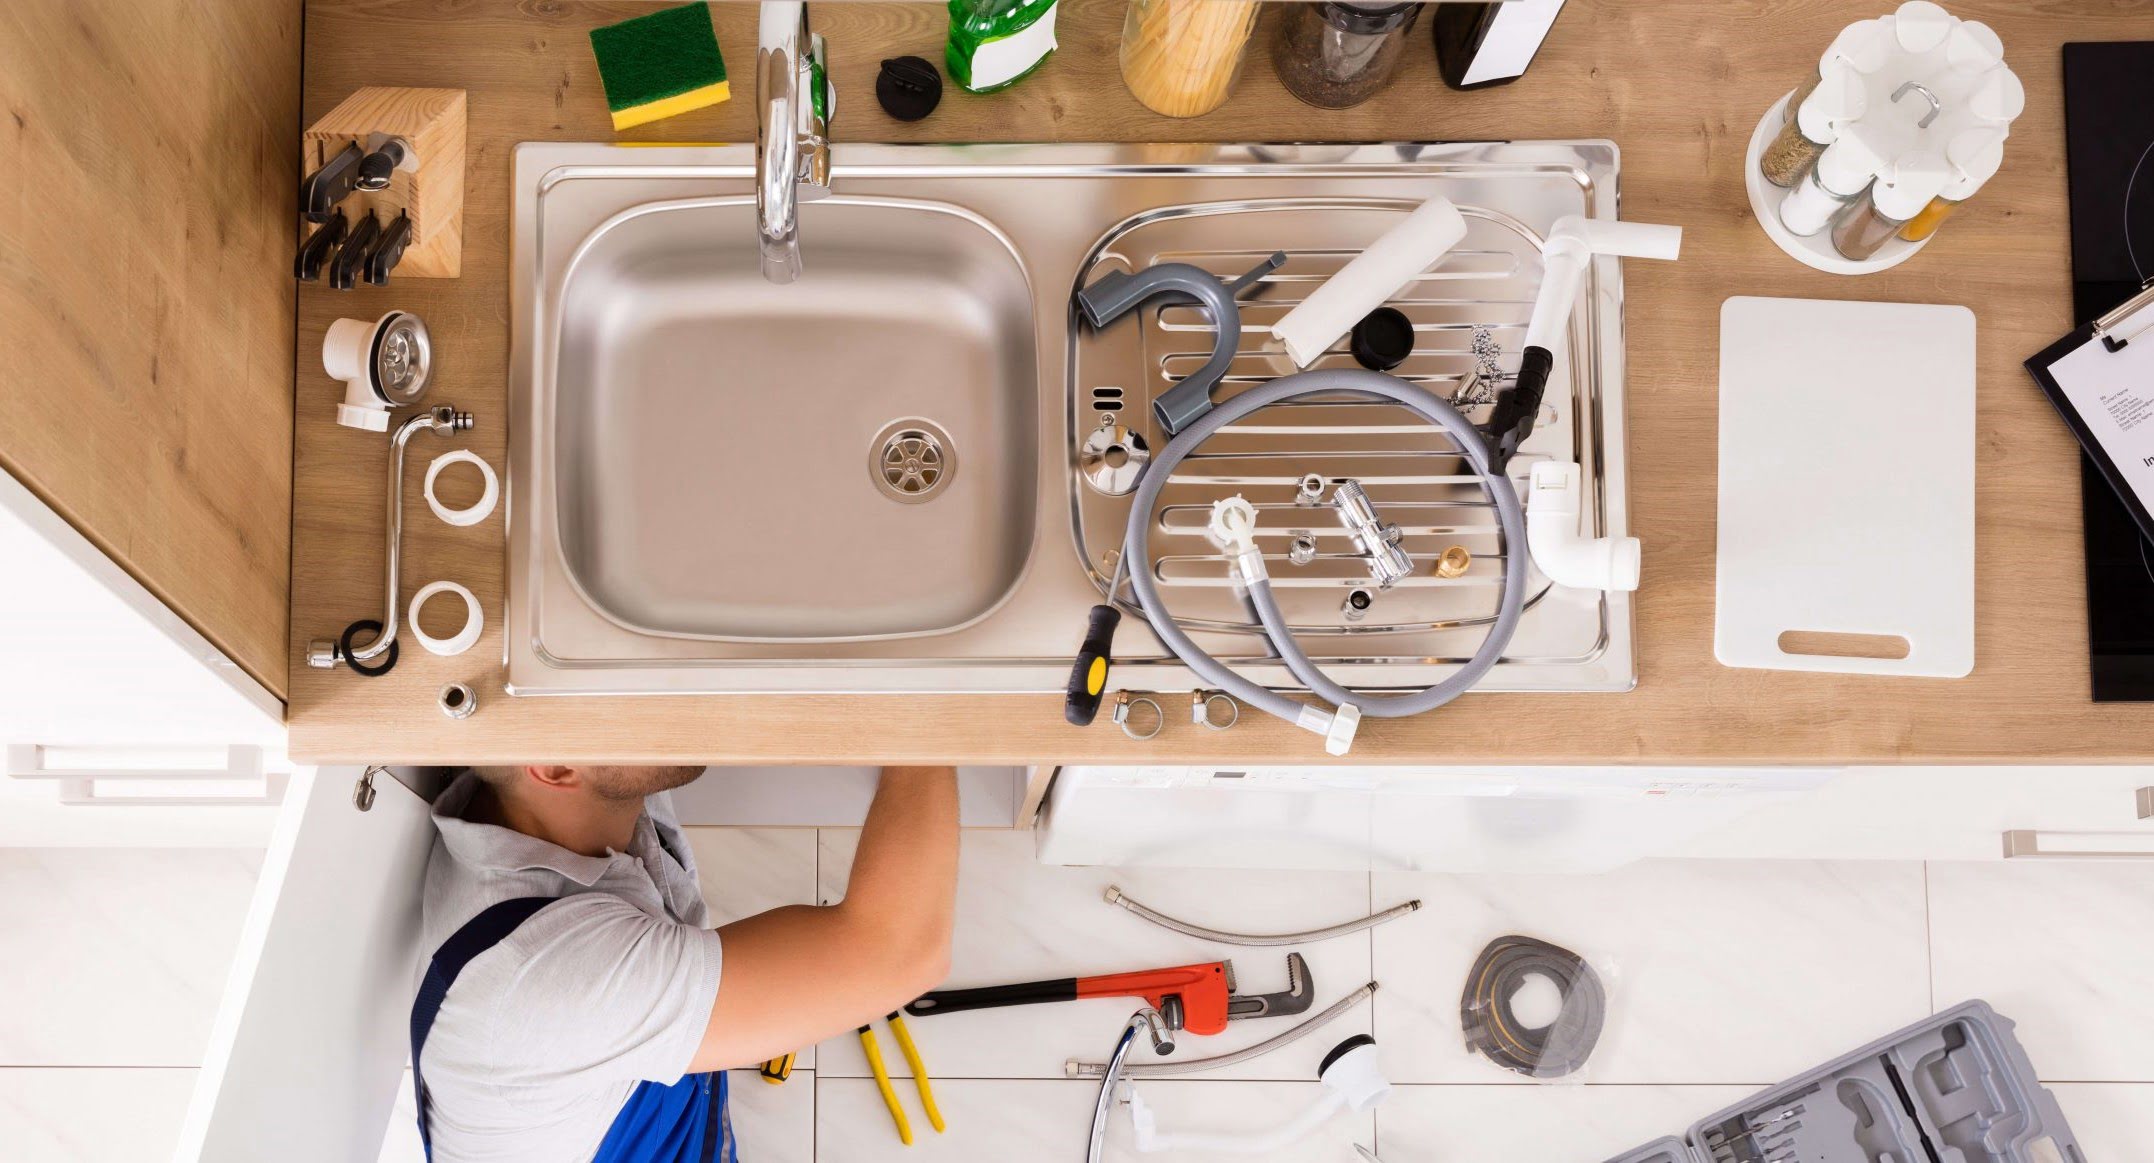
Step 1: Gather the necessary tools and materials
Before you begin venting your sink, it is important to ensure that you have all the necessary tools and materials. Here is a list of items you will need:
- Power drill
- Hole saw attachment
- Screwdriver
- Pipe wrench
- Teflon tape
- Vent pipe
- PVC pipe and fittings
- Hacksaw or PVC pipe cutter
- Pipe hangers or straps
- Plumber’s putty
- Silicone caulk
Having these tools and materials readily available will ensure a smooth and efficient installation process. Make sure to gather everything before you start working on venting your sink.
If you are unsure about the specific size and type of vent pipe and fittings you need, it’s best to consult a professional plumber or refer to your local plumbing code for guidance.
Once you have all the necessary tools and materials, you can move on to the next step of determining the location for the vent.
Step 2: Determine the location for the vent
Choosing the right location for the vent is crucial for its proper functioning. The vent should be positioned in a way that allows for optimal air circulation and prevents any potential issues. Here are some factors to consider when determining the location for the vent:
- Proximity to the sink: The vent should be placed as close as possible to the sink. This ensures that any air trapped in the plumbing system can escape easily.
- Distance from windows and doors: It is important to avoid venting near windows or doors, as it may lead to unpleasant smells entering your living space. The vent should be positioned away from areas where people gather or spend a significant amount of time.
- Accessibility: Choose a location that is easily accessible for future maintenance and repairs. This will save you time and effort in case you need to inspect or clean the vent.
- Building regulations: Consult your local building codes and regulations to ensure compliance with any specific guidelines regarding vent location. These regulations are in place to ensure the safety and functionality of your plumbing system.
Once you have considered these factors, you can proceed to mark the chosen location for the vent. Use a pencil or marker to make a clear indication on the wall or cabinet where the vent will be installed.
With the location determined, you are now ready to move on to the next step of cutting a hole for the vent.
Step 3: Cut a hole for the vent
Now that you have determined the location for the vent, it’s time to cut a hole to accommodate the vent pipe. Follow these steps to cut the hole:
- Measure and mark the size of the hole: Using a measuring tape, determine the diameter of the vent pipe. Transfer this measurement onto the wall or cabinet surface, centered on the location you previously marked.
- Prepare your power drill: Attach a hole saw of the appropriate size to your power drill. Make sure the hole saw is securely fastened and aligned properly.
- Drill the hole: Position the drill over the marked spot and apply steady pressure to start drilling. Slowly and carefully guide the drill through the surface, allowing the hole saw to cut through the material. Keep the drill at a perpendicular angle to ensure a clean and precise cut.
- Remove the cutout: Once the hole is fully cut, stop the drill and remove the cutout piece from the hole saw. Set it aside for later use or discard it if not needed.
- Inspect the hole: Examine the hole to ensure that it is free from any debris or rough edges. Use sandpaper or a file to smooth out any rough edges if necessary.
It’s important to take safety precautions while cutting the hole. Wear protective goggles to shield your eyes from any flying debris, and work in a well-ventilated area to minimize dust inhalation.
With the hole cut, you’re ready to proceed to the next step: installing the vent pipe.
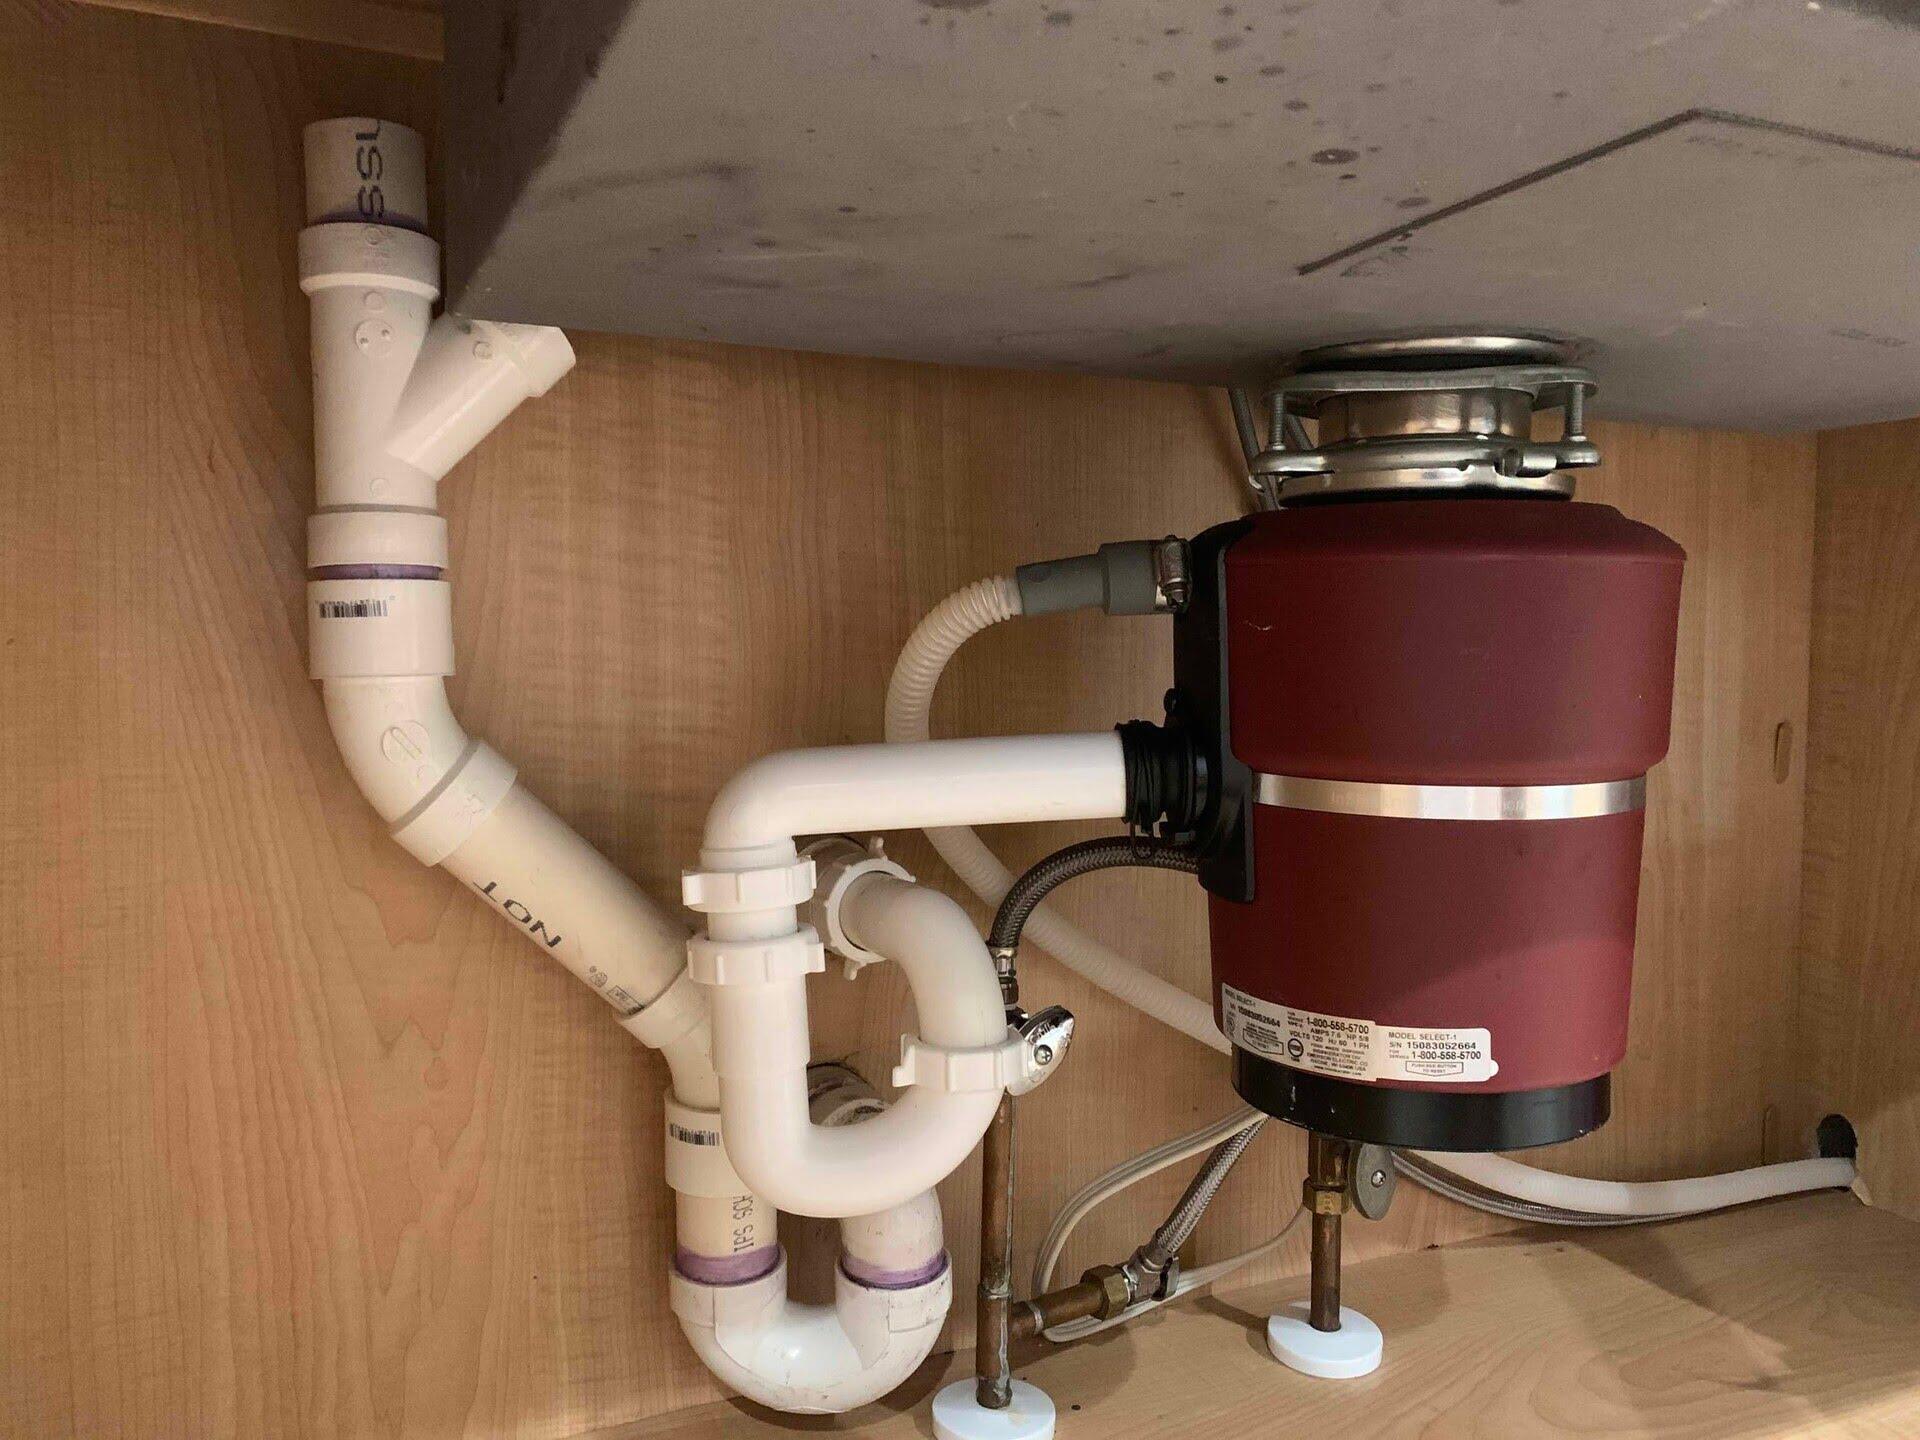
Step 4: Install the vent pipe
With the hole cut, it’s time to install the vent pipe. Follow these steps to ensure proper installation:
- Measure the length of the vent pipe: Measure the distance from the hole you cut to the point where the vent pipe will connect to the main plumbing system. Make sure to factor in any bends or angles in the pipe.
- Cut the vent pipe: Using a hacksaw or PVC pipe cutter, carefully cut the vent pipe to the measured length. Take into account any fittings or connectors that need to be attached.
- Apply Teflon tape: Wrap a few layers of Teflon tape around the threads of the vent pipe where it will connect to other fittings. This ensures a tight and leak-free seal.
- Attach fittings: Depending on your plumbing system and the specific requirements of your venting setup, you may need to attach elbows, tees, or other fittings to the vent pipe. Follow manufacturer instructions for proper installation.
- Insert the vent pipe into the hole: Insert the vent pipe into the hole you cut earlier. Ensure that it fits snugly and is securely positioned.
- Secure the vent pipe: Use pipe hangers or straps to secure the vent pipe to the wall or cabinet. This will prevent it from moving or shifting over time.
During the installation process, make sure to align the vent pipe properly to ensure optimal airflow. Avoid any sharp bends or kinks in the pipe, as these can hinder proper ventilation.
With the vent pipe installed, you’re ready to move on to the next step of connecting the vent pipe to the sink.
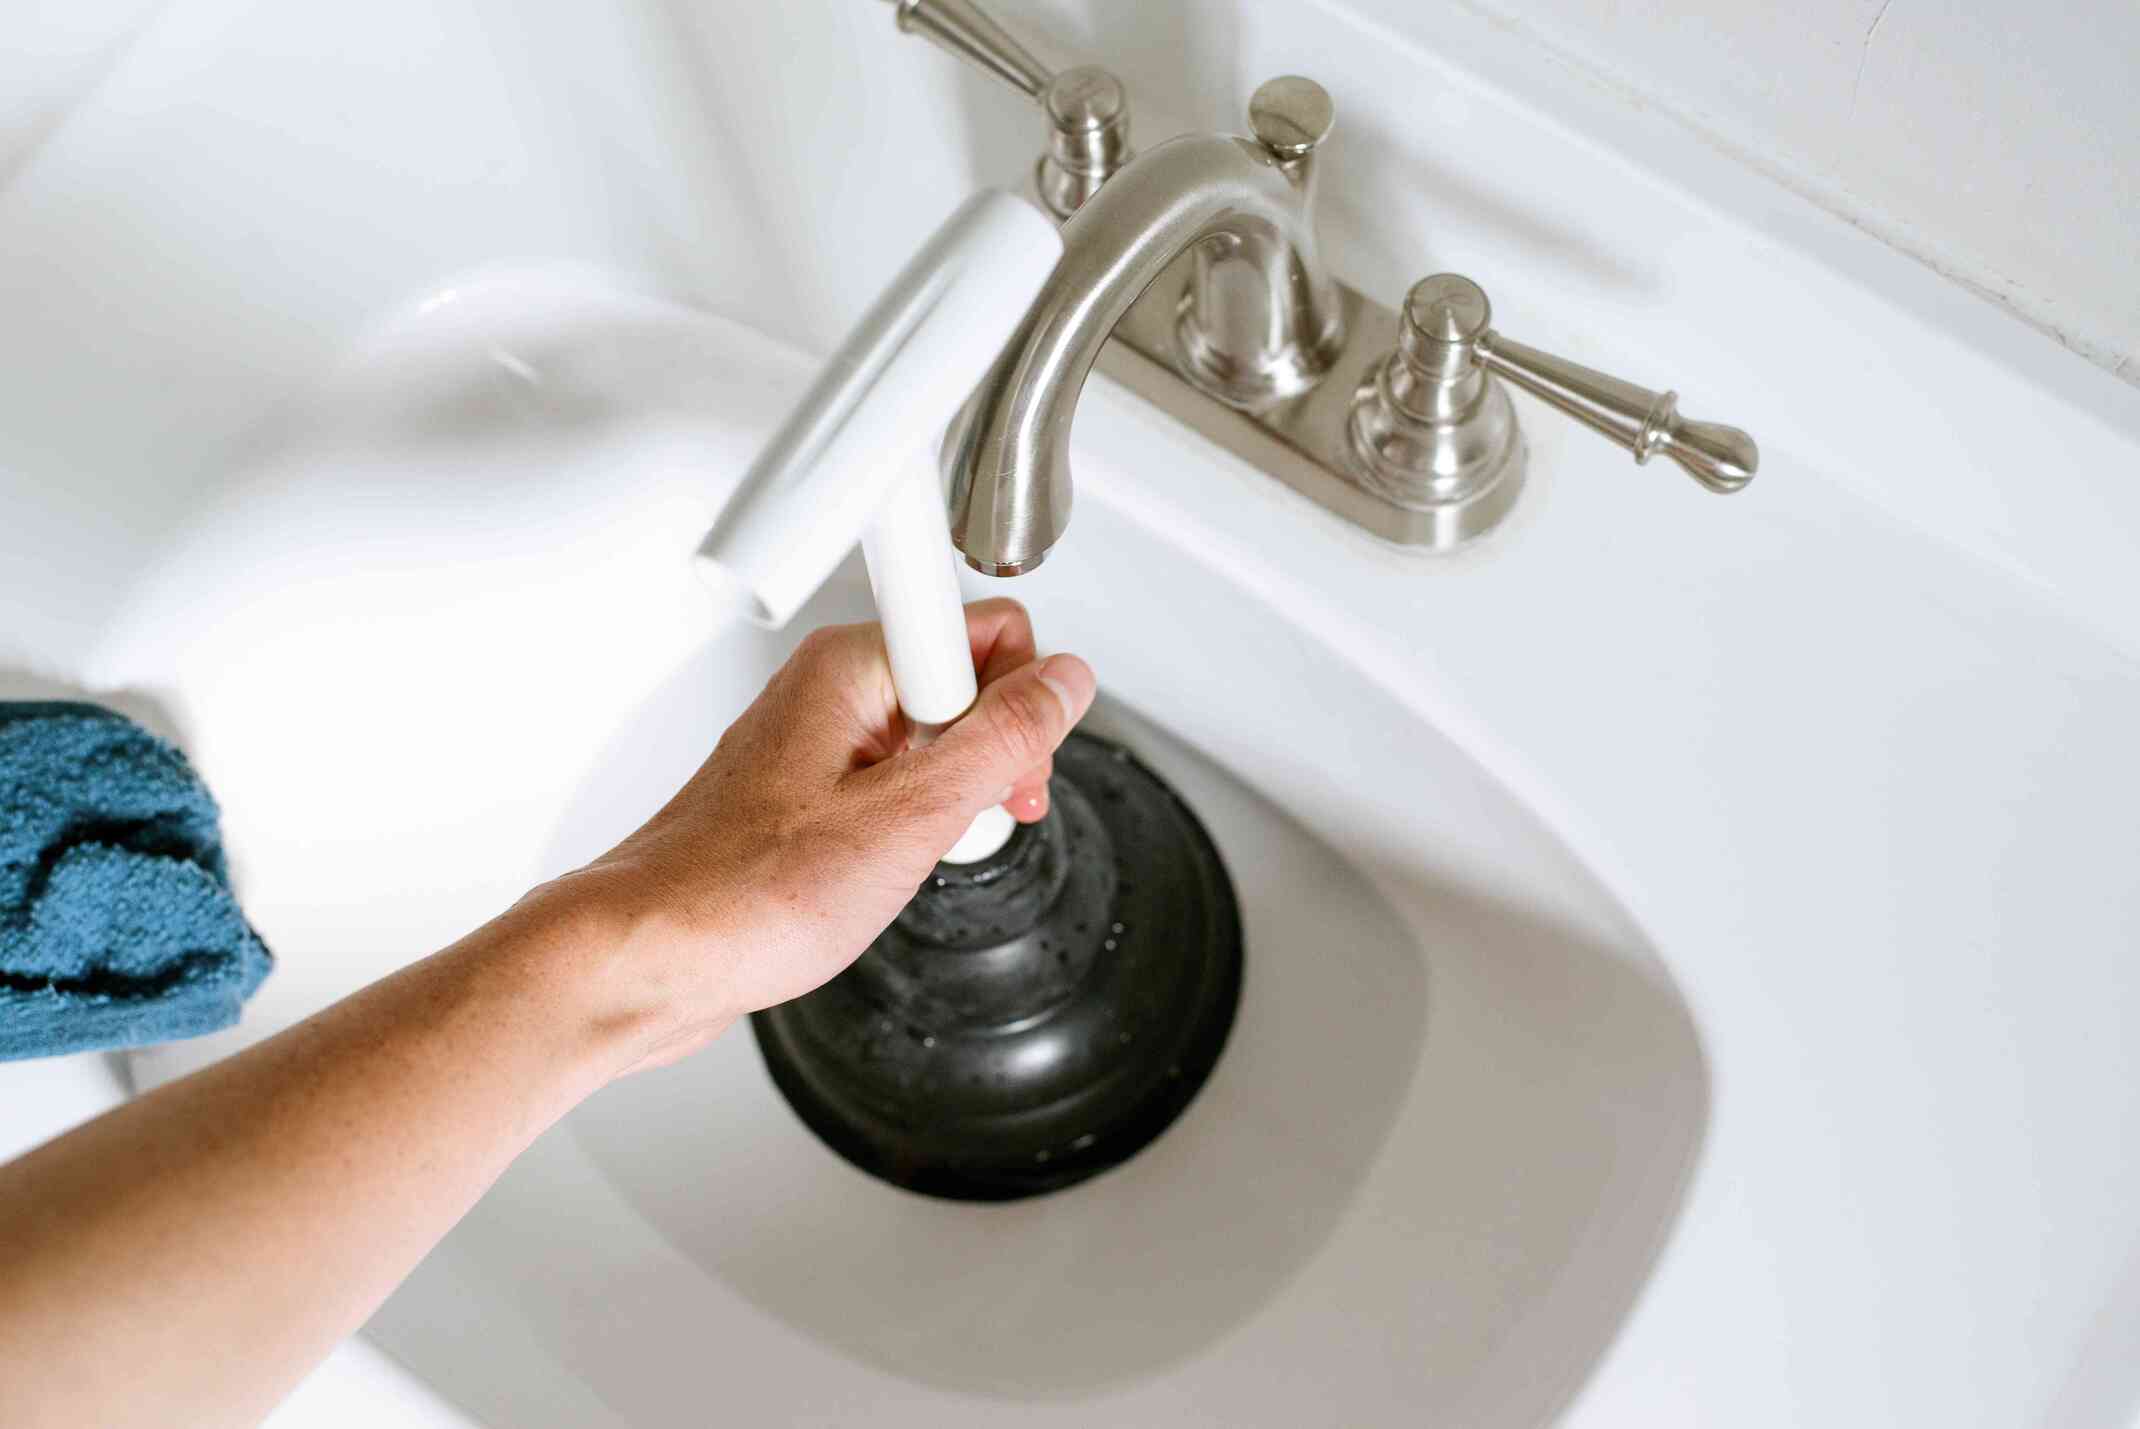
Use a plunger to clear a clogged sink. Cover the overflow opening with a wet cloth and plunge the drain several times to dislodge the blockage.
Read more: How To Vent A Dryer
Step 5: Connect the vent pipe to the sink
Now that the vent pipe is securely installed, it’s time to connect it to the sink. Follow these steps to ensure a proper connection:
- Locate the vent inlet on the sink: Look for the vent inlet, which is usually located at the back of the sink, near the drain. This is where the vent pipe will connect.
- Prepare the vent pipe: Ensure that the end of the vent pipe is clean and free from any debris. If necessary, use sandpaper to smooth out any rough edges.
- Apply plumber’s putty: Take a small amount of plumber’s putty and roll it into a thin rope. Press this putty onto the rim of the vent inlet on the sink. This will create a watertight seal when the vent pipe is connected.
- Insert the vent pipe into the vent inlet: Carefully insert the end of the vent pipe into the vent inlet on the sink. Apply slight pressure to ensure a snug fit.
- Tighten the connection: Use a pipe wrench or adjustable pliers to tighten the connection between the vent pipe and the vent inlet. Be careful not to overtighten, as it can damage the materials or create leaks.
It’s important to ensure a secure and leak-free connection between the vent pipe and the sink. Take the time to double-check the tightness of the connection, using a towel to catch any potential leaks while testing.
With the vent pipe properly connected to the sink, you’re almost done! The next step is to test the venting system.
Step 6: Test the venting system
After connecting the vent pipe to the sink, it’s crucial to test the venting system to ensure its proper functioning. Here’s how you can test the system:
- Close all drain openings: Make sure that all the sink drains and other plumbing fixtures connected to the venting system are closed.
- Fill the sink with water: Fill the sink with enough water to create a steady flow when draining. This will help simulate a real-life scenario and allow you to observe the venting system’s effectiveness.
- Observe the draining process: Slowly release the water by opening the sink drain. Watch how the water flows and listen for any gurgling sounds or signs of slow drainage.
- Check for proper air circulation: While the water is draining, check other fixtures connected to the venting system, such as nearby drains or toilets. Ensure that there is no gurgling or airlock happening and that the water is flowing smoothly.
If you notice any issues during the testing process, such as slow drainage or gurgling sounds, it may indicate a problem with the venting system. In such cases, you may need to consult a plumber to assess and resolve the issue.
On the other hand, if the water drains smoothly and there are no signs of airlock or malfunction, it indicates that the venting system is working effectively.
With the venting system tested and confirmed to be in good working order, move on to the next step: inspecting for any leaks.
Step 7: Inspect for any leaks
After testing the venting system, it’s important to inspect for any potential leaks that may occur. Here’s how you can perform a thorough inspection:
- Check all connections: Examine all the connections between the vent pipe, sink, and any other components of the venting system. Look for any signs of water leakage, such as drips or puddles.
- Inspect the vent pipe: Inspect the entire length of the vent pipe, paying close attention to joints and fittings. Look for any signs of water seepage, cracks, or loose connections.
- Observe the sink area: Look around the sink and the vent pipe location for any signs of water damage or moisture buildup. This may indicate a leak that needs to be addressed.
- Test the connections: Run water through the sink while observing the vent pipe connections. Look for any sudden or continuous water leaks that may occur when the water is draining.
If you find any leaks during the inspection process, it’s crucial to address them promptly to prevent further damage. Depending on the severity of the leak, you may need to tighten connections, replace faulty fittings, or seek assistance from a professional plumber.
By ensuring there are no leaks in the venting system, you can maintain the efficiency and functionality of your sink while preventing potential water damage and other plumbing issues.
Once you’ve completed the inspection and resolved any leaks, you can move on to the final step: securing and finishing the installation.
Step 8: Secure and Finish the Installation
After successfully venting the sink and ensuring there are no leaks, it’s time to secure and finish the installation. Here are the final steps:
- Secure the vent pipe: Use pipe hangers or straps to secure the vent pipe along its path. This will prevent the pipe from sagging or shifting over time.
- Trim any excess pipe: If necessary, trim any excess length from the vent pipe using a hacksaw or PVC pipe cutter. This will help ensure a neat and tidy appearance.
- Apply silicone caulk: Use silicone caulk to seal any gaps or openings around the vent pipe and the hole in the wall or cabinet. This will provide an additional layer of protection against leaks and help create a finished look.
- Clean up and test again: Clean up any debris or tools from the work area and test the sink and venting system once more. Ensure that there are no new leaks or issues.
- Double-check local regulations: Before considering the installation complete, verify that your venting system complies with local building codes and regulations. This will ensure that your installation meets the necessary standards.
By taking these final steps, you’ll ensure that the venting system is securely in place and properly finished. This will not only enhance the functionality of your sink but also provide a clean and professional installation.
Remember, if you have any concerns or are unsure about any aspect of the installation, it’s always best to consult with a professional plumber for guidance and assistance.
Congratulations! You have now successfully vented your sink, allowing for proper air circulation and preventing potential plumbing issues. Enjoy your well-functioning, odor-free plumbing system!
Read more: How To Fix A Sink
Conclusion
Venting your sink is a crucial step in maintaining a properly functioning plumbing system. It not only prevents issues such as slow drainage and foul odors but also ensures the safety of your home by allowing noxious gases to escape. By following the steps outlined in this guide, you can successfully vent your sink and enjoy the benefits of a well-ventilated plumbing system.
Throughout the process, it’s important to gather all the necessary tools and materials, determine the optimal location for the vent, cut a hole accurately, install the vent pipe securely, and connect it to the sink correctly. Testing the venting system and inspecting for leaks are crucial steps to ensure its proper functioning. Finally, securing and finishing the installation adds the finishing touches to the project.
Remember to follow local building codes and regulations when venting your sink, as they vary from region to region. If you’re unsure about any aspect of the installation, it’s always a good idea to consult with a professional plumber who can provide expert guidance and assistance.
By properly venting your sink, you can enjoy peace of mind knowing that your plumbing system is working efficiently and effectively. Say goodbye to slow drainage, foul odors, and the potential for plumbing issues. With a well-ventilated sink, you can confidently carry out daily tasks without any hindrances or concerns.
So, take the necessary steps to vent your sink and enjoy a cleaner, more functional plumbing system in your home. Happy plumbing!
Frequently Asked Questions about How To Vent Sink
Was this page helpful?
At Storables.com, we guarantee accurate and reliable information. Our content, validated by Expert Board Contributors, is crafted following stringent Editorial Policies. We're committed to providing you with well-researched, expert-backed insights for all your informational needs.


0 thoughts on “How To Vent Sink”