Articles
How To Install Timber And Brick Paver Steps
Modified: May 6, 2024
Learn how to install timber and brick paver steps with our comprehensive articles. Discover step-by-step instructions and expert tips for a successful installation.
(Many of the links in this article redirect to a specific reviewed product. Your purchase of these products through affiliate links helps to generate commission for Storables.com, at no extra cost. Learn more)
Introduction
Welcome to our comprehensive guide on how to install timber and brick paver steps. Whether you’re looking to enhance the beauty of your outdoor space or create a functional staircase, timber and brick paver steps can add both style and convenience to your landscape. This step-by-step tutorial will provide you with all the information you need to successfully install these steps.
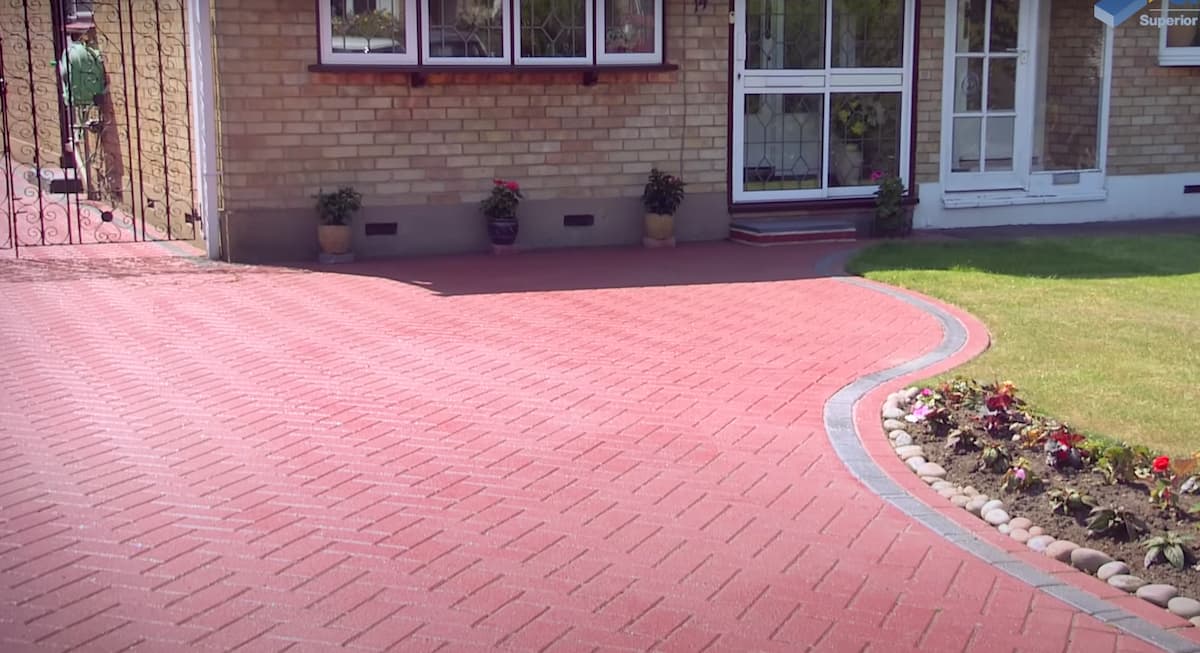
Before we delve into the installation process, let’s take a moment to understand the benefits of timber and brick paver steps. Timber steps have a natural and rustic appeal, offering a warm and inviting aesthetic. They are also durable, versatile, and relatively easy to work with. On the other hand, brick paver steps provide a timeless and elegant look. They are known for their longevity, low maintenance requirements, and slip-resistant surface. By combining both materials, you can create a visually stunning staircase that complements your outdoor space.
Now, without further ado, let’s dive into the step-by-step process of installing timber and brick paver steps.
Key Takeaways:
- Create a visually stunning and durable staircase by combining timber and brick paver steps. Enjoy the natural beauty and functionality they bring to your outdoor space, enhancing both aesthetics and convenience.
- From preparing the area to adding finishing touches, installing timber and brick paver steps is a rewarding project that adds value and beauty to your landscape. Pay attention to details and enjoy the craftsmanship that enhances your outdoor living space.
Read more: How To Install Brick Pavers
Step 1: Gather the necessary materials
Before you begin the installation process, it’s essential to gather all the necessary materials. Having everything on hand will save you time and ensure a smooth installation. Here’s a list of materials you’ll need:
- Timber boards: Choose high-quality pressure-treated or rot-resistant timber boards for the steps. The size and quantity will depend on the desired dimensions of your staircase.
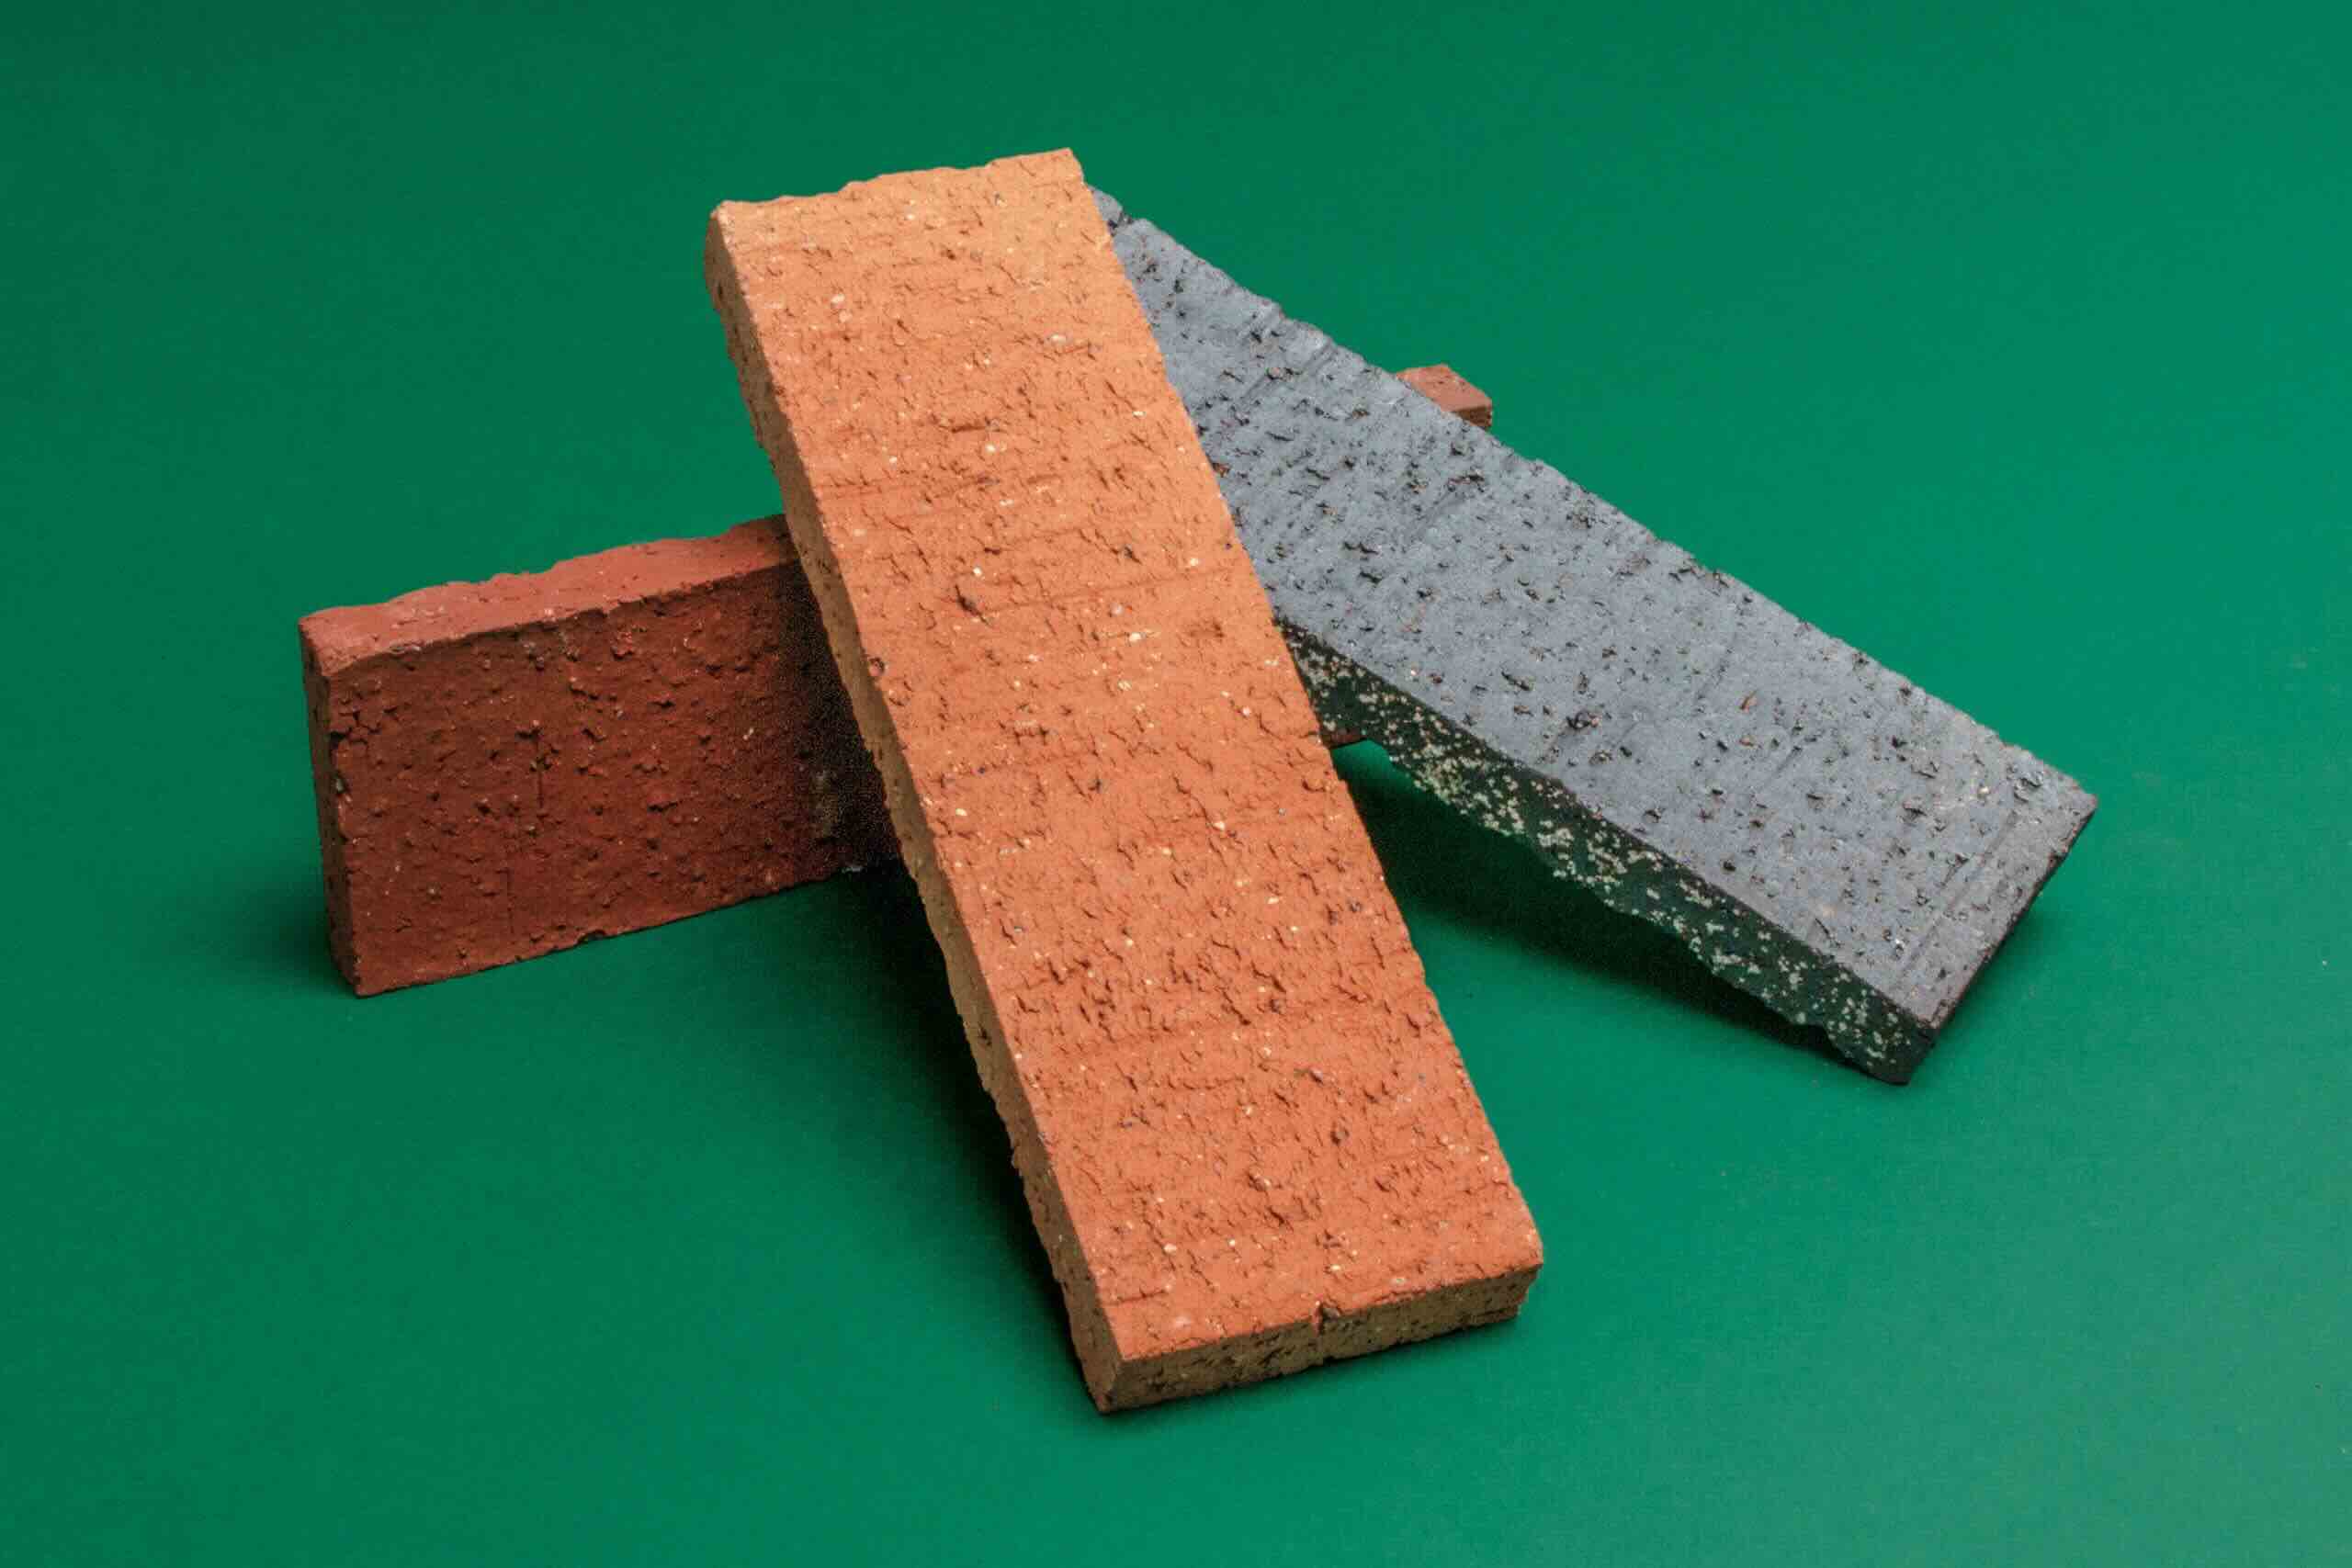
- Brick pavers: Select brick pavers that are suitable for outdoor use. Consider the style, color, and texture that will best complement your landscape design.
- Gravel or crushed stone: This will serve as the base material for the foundation of the steps.
- Sand: You’ll need sand to create a level and stable surface for laying the brick pavers.
- Landscaping fabric: Use landscaping fabric to prevent weed growth and ensure proper drainage below the steps.
- Concrete mix: For securing the timber steps and providing stability to the structure.
- Rebar or steel stakes: These will be used to reinforce the timber steps and prevent shifting.
- Hand saw or circular saw: To cut timber boards to the desired length and shape.
- Hammer or drill: For fastening the timber boards together and securing the brick pavers in place.
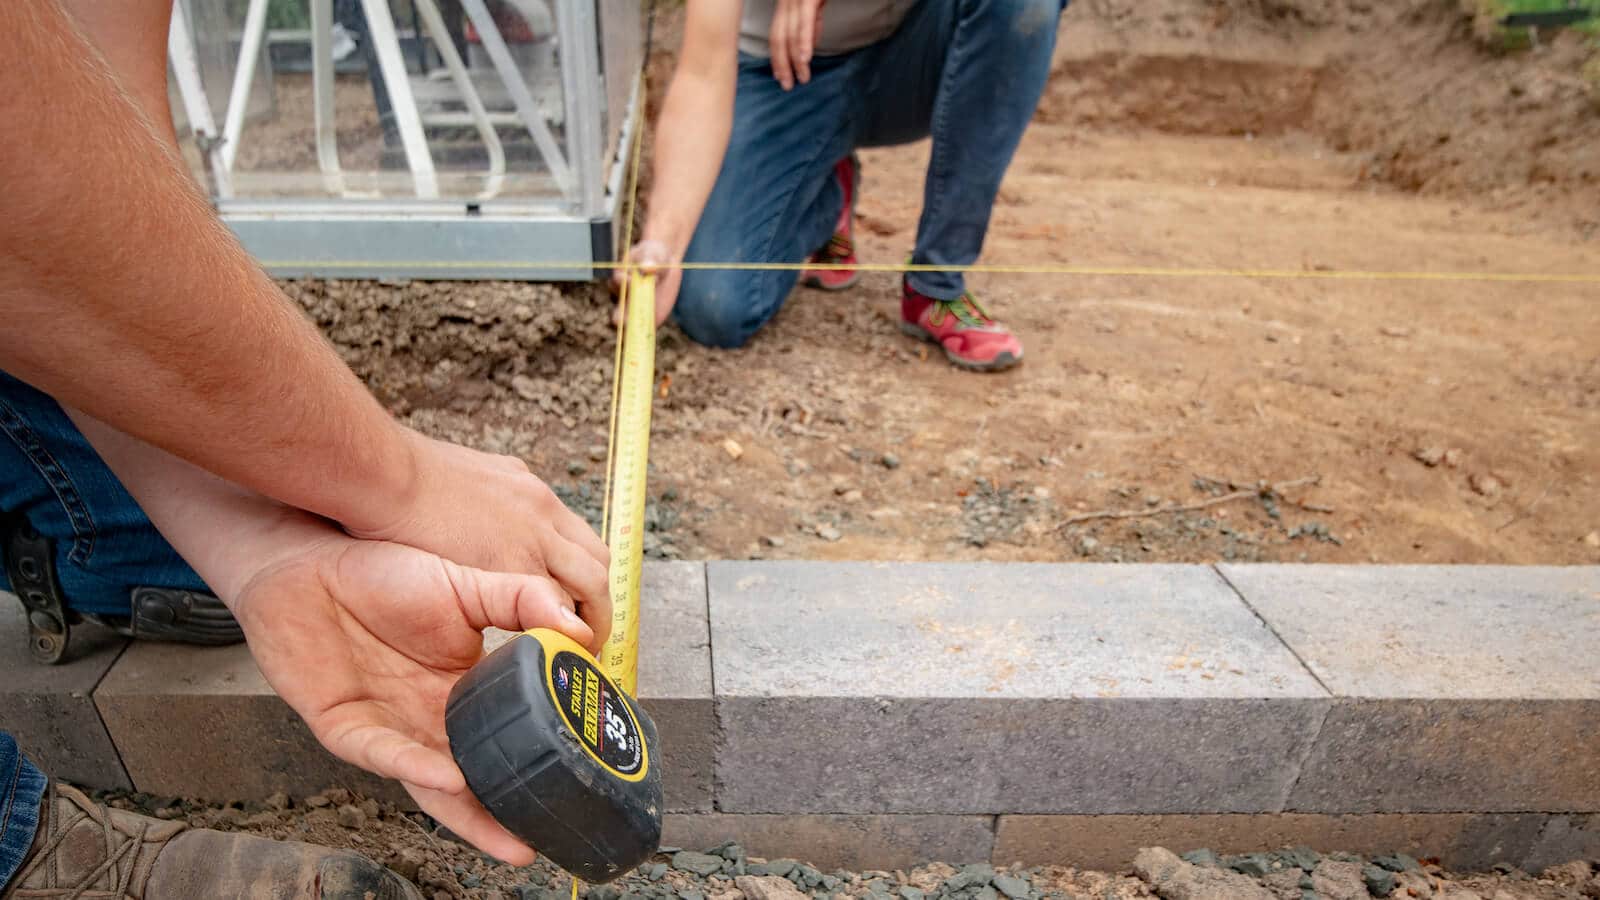
- Level and tape measure: Essential tools for ensuring accuracy and maintaining a level surface throughout the installation process.
- Safety gear: Don’t forget to wear gloves, safety glasses, and appropriate footwear to protect yourself during the installation.
Once you have gathered all the necessary materials, you’re ready to move on to the next step: preparing the area for installation.
Step 2: Prepare the area for installation
Before you can begin installing the timber and brick paver steps, it’s crucial to properly prepare the area where the steps will be placed. Follow these steps to ensure a stable and solid foundation:
- Clean the area: Remove any vegetation, debris, or obstacles from the installation site. Clearing the area will provide a clean surface to work on and prevent any hindrances during the installation process.
- Mark the area: Determine the placement and dimensions of your steps. Use stakes and string to mark the boundaries of the staircase, ensuring accurate alignment and measurement.
- Excavate the soil: Dig a trench to the desired depth and width of your steps. The depth will depend on the height of each step and the overall design of the staircase. A depth of 6-8 inches is usually sufficient for most projects.
- Create a level base: Once the trench is dug, use a hand tamper or plate compactor to compact the soil at the bottom. This will provide a firm and level base for the foundation.
- Add gravel or crushed stone: Pour a layer of gravel or crushed stone into the trench. This will act as a stable base for the steps and help with drainage. Compact the gravel layer to ensure even distribution and stability.
- Install landscaping fabric: Lay landscaping fabric over the gravel layer. This will prevent weed growth and provide additional stability to the foundation.
- Level the area: Use a level to ensure that the area is flat and even. Make any necessary adjustments to achieve a level surface, as this is crucial for the stability and safety of the steps.
By following these steps, you’ll create a solid and well-prepared foundation for your timber and brick paver steps. With the area prepared, you’re ready to move on to the next step: laying the foundation for the steps.
Step 3: Lay the foundation for the steps
With the area properly prepared, it’s time to lay the foundation for the timber and brick paver steps. Follow these steps to ensure a steady and durable base:
- Create a timber frame: Using the timber boards, create a frame to outline the shape and dimensions of the steps. Make sure the frame is securely in place and level. Use rebar or steel stakes to anchor the frame into the ground, preventing any movement or shifting.
- Add a layer of sand: Pour a layer of sand inside the timber frame. This will provide a cushioning layer and help with leveling the steps.
- Compact the sand: Use a hand tamper or plate compactor to compact the sand layer. This will ensure a solid and even surface for the steps.
- Check for level: Use a level to verify that the sand layer is level and adjust if necessary. A level surface is crucial for the stability of the steps and will prevent any imbalances.
- Compact the sand again: After making any adjustments, compact the sand layer once more to ensure optimum stability.
By following these steps, you will have successfully laid the foundation for your timber and brick paver steps. A solid and level foundation is essential for the longevity and stability of the staircase. Once the foundation is in place, you are ready to move on to the next step: installing the timber steps.
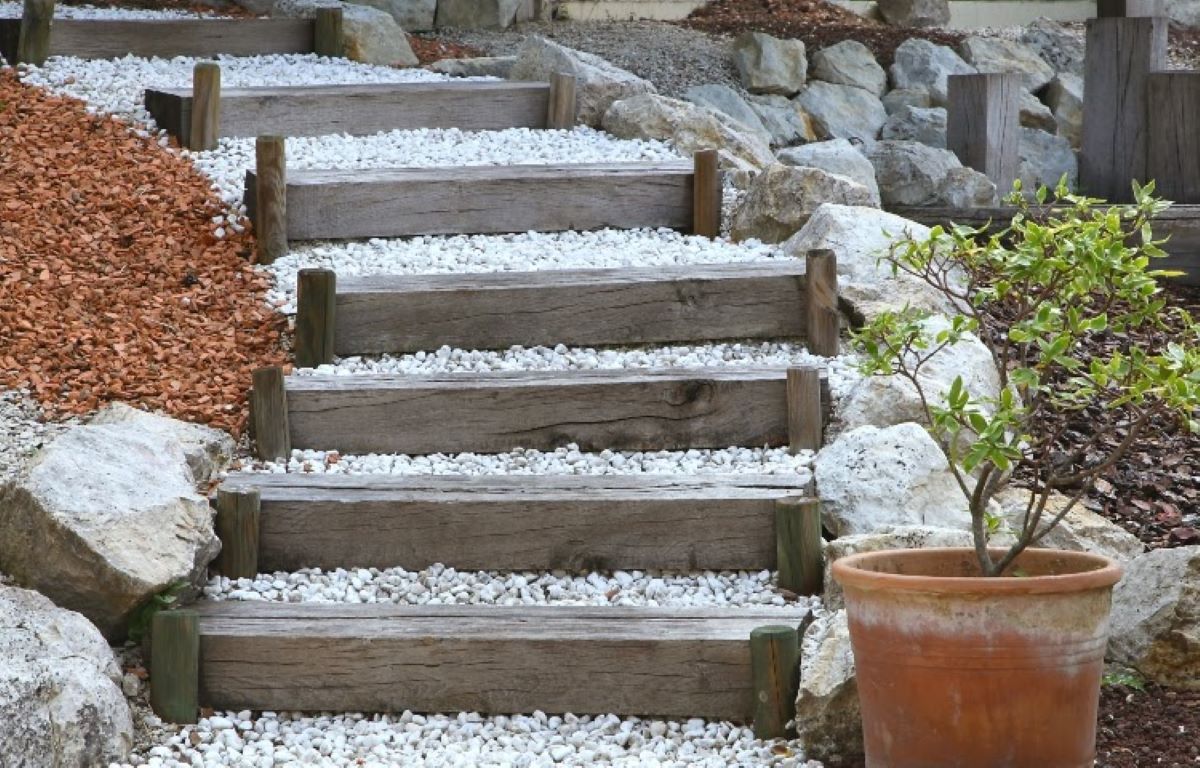
Step 4: Install the timber steps
Now that the foundation is ready, it’s time to install the timber steps. Follow these steps to securely and accurately install the timber boards:
- Measure and cut the timber boards: Measure and mark the desired length for each step on the timber boards. Use a hand saw or circular saw to carefully cut the boards to the appropriate length. Double-check your measurements to ensure accuracy.
- Position the first step: Place the first timber board at the bottom of the staircase, ensuring it is aligned with the timber frame and flush against the foundation. Use a level to check for proper alignment and adjust if needed.
- Secure the step: Use a drill or hammer to fasten the timber board to the foundation. Depending on the design, you may need to use screws or nails to secure the board in place. Repeat this process for each step, ensuring that each one is securely fastened.
- Space the steps: Leave a small gap between each step for water drainage. This will prevent any accumulation of water and help maintain the lifespan of the timber steps.
- Stabilize the steps: For added stability, insert rebar or steel stakes through the timber steps and into the foundation. This will prevent any shifting or movement. Make sure the stakes are properly inserted and do not protrude above the surface of the steps.
- Check for level: Use a level to verify that each step is level horizontally. Adjust as necessary to ensure uniformity and stability.
- Trim the excess: If there are any timber boards that extend beyond the desired length, use a saw to trim them down to size. This will create a clean and polished appearance.
By following these steps, you will successfully install the timber steps for your staircase. These steps provide a solid and visually appealing structure that serves as the foundation for the brick paver steps. With the timber steps in place, it’s time to move on to the next step: installing the brick pavers.
When installing timber and brick paver steps, make sure to properly prepare the base by compacting the soil and adding a layer of gravel for drainage. This will help ensure the stability and longevity of the steps.
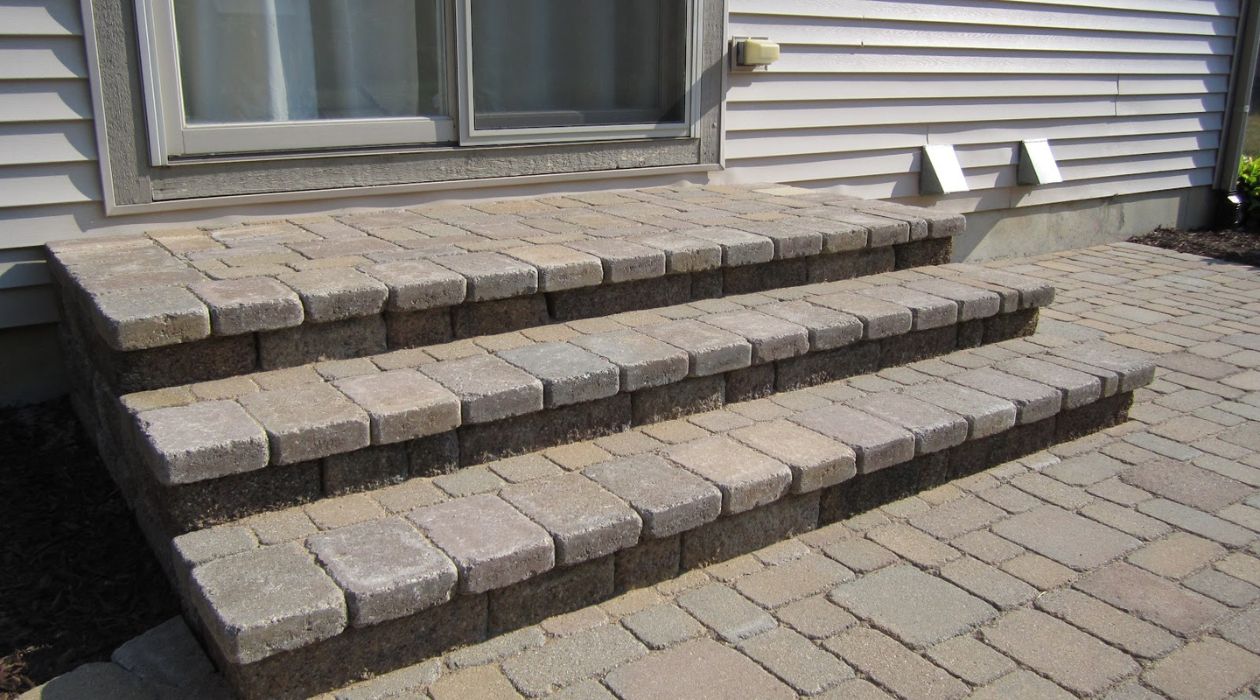
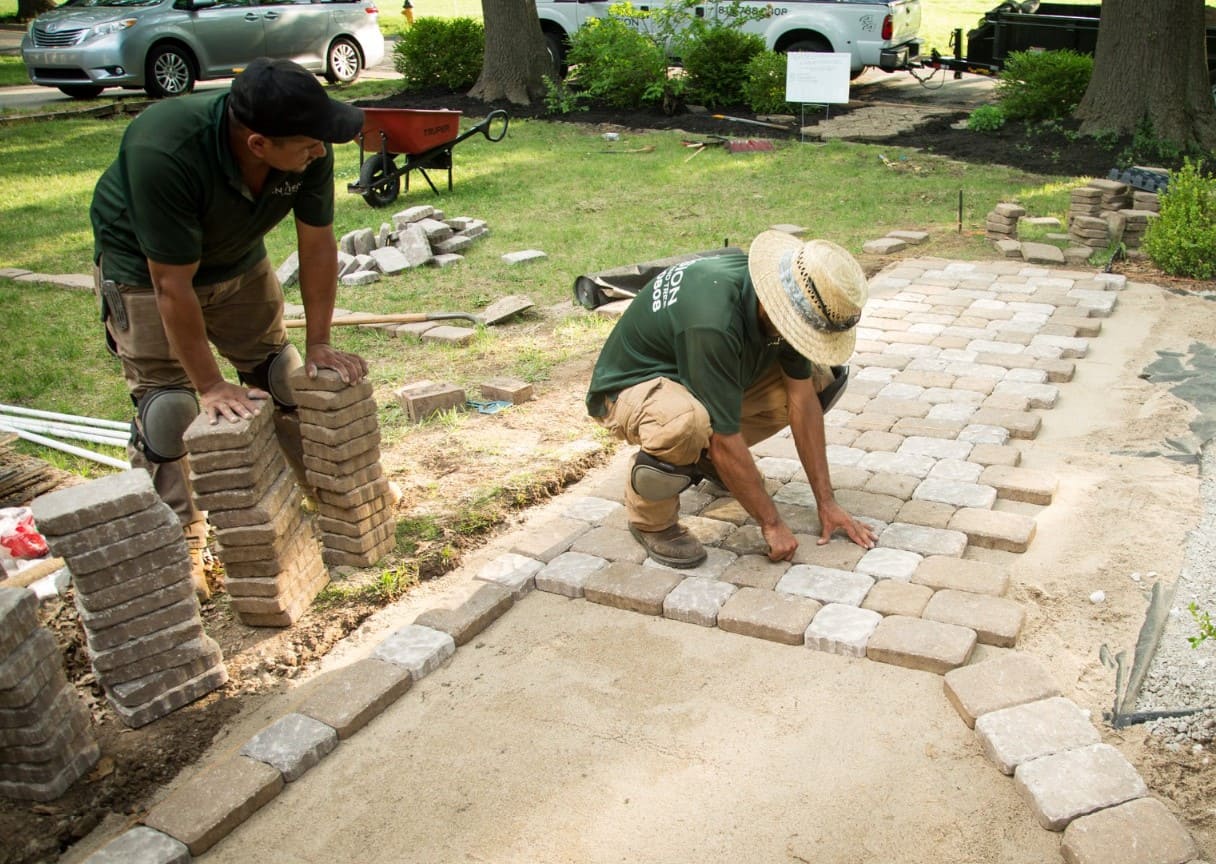
Step 5: Install the brick paver steps
With the timber steps in place, it’s time to add the aesthetic charm of brick pavers to your staircase. Follow these steps to install the brick paver steps:
- Prepare the sand bed: Spread a layer of sand over the timber steps, creating a smooth and level surface for the brick pavers. Use a rake or trowel to distribute the sand evenly and ensure proper coverage.
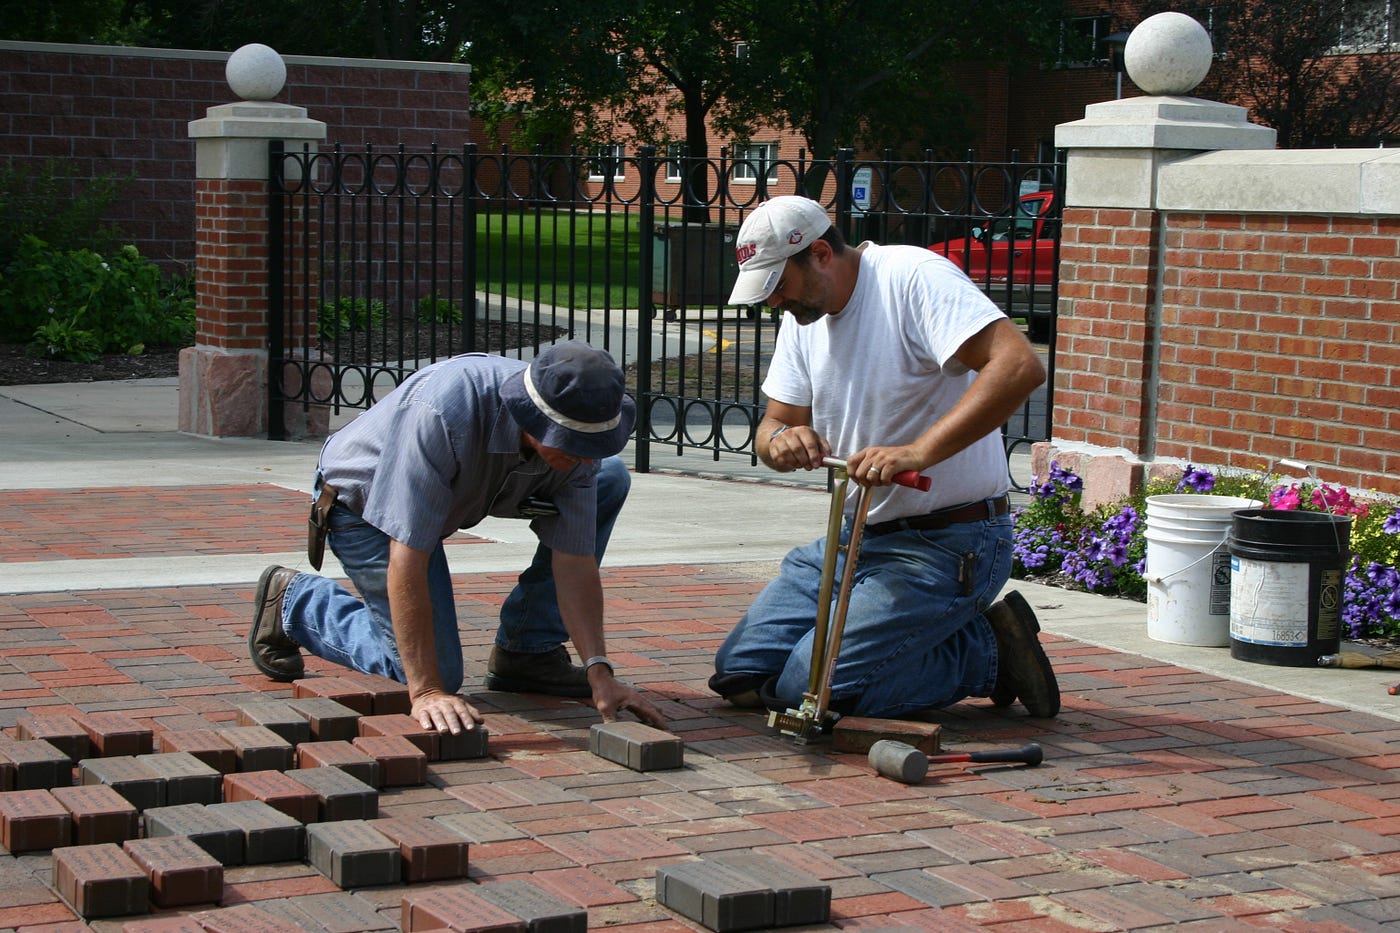
- Place the brick pavers: Carefully lay the brick pavers on top of the sand bed in the desired pattern or design. Use a level to ensure they are even and aligned correctly. Adjust as needed to maintain a uniform appearance.
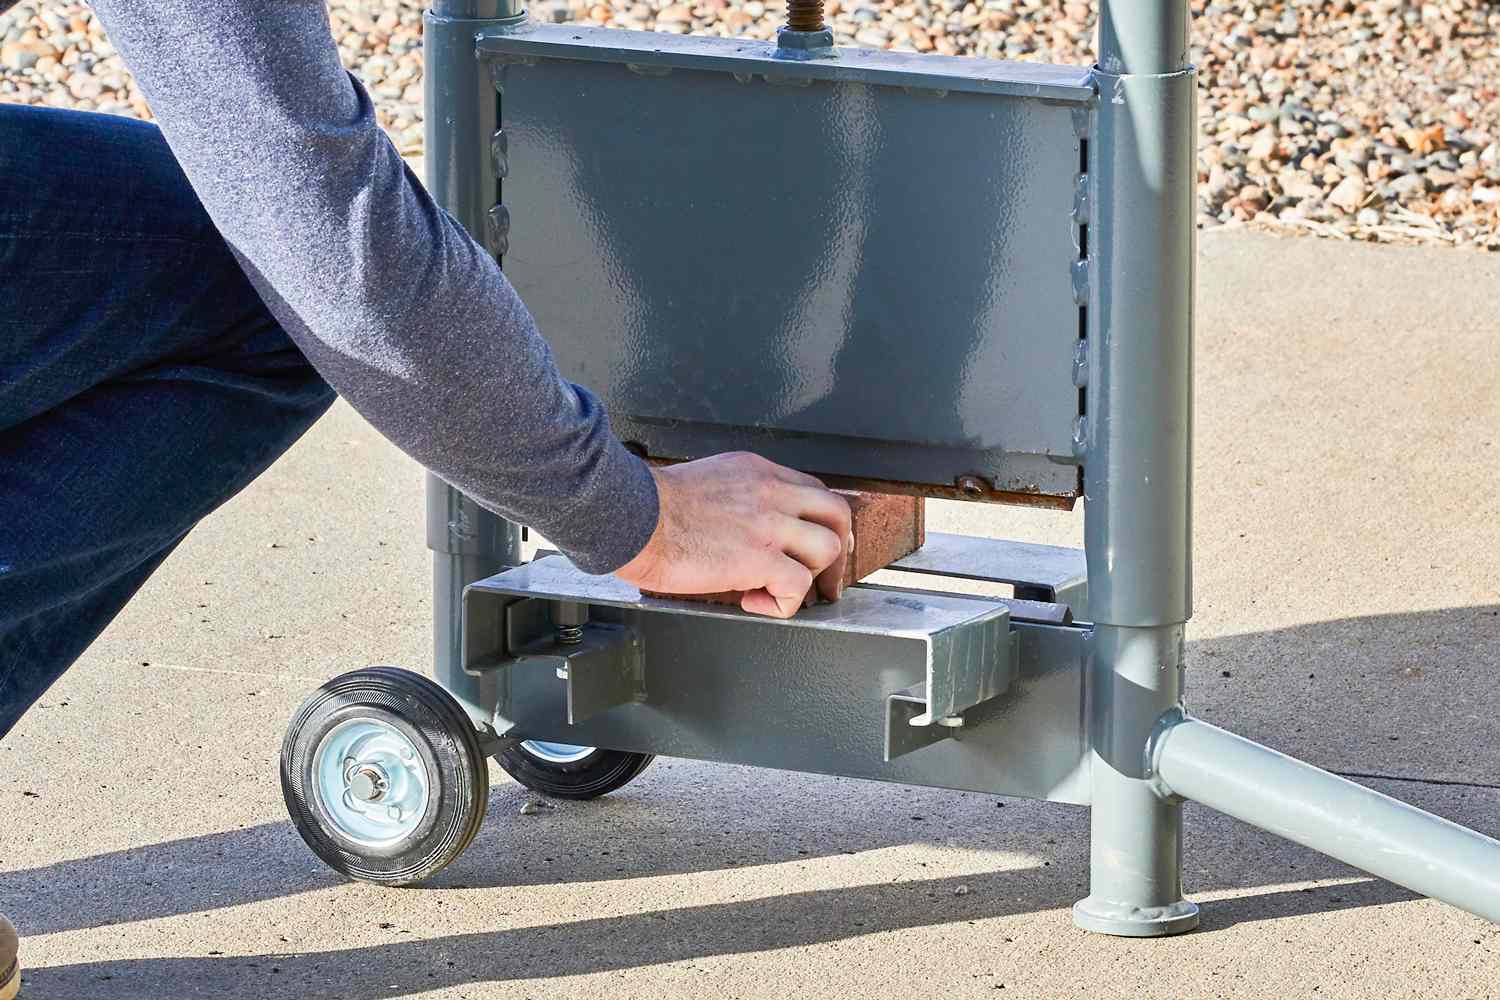
- Cut bricks if necessary: If you encounter any areas where a full brick will not fit, use a brick saw or chisel to cut the brick to the appropriate size. This will allow you to fill in the gaps and maintain a seamless look.
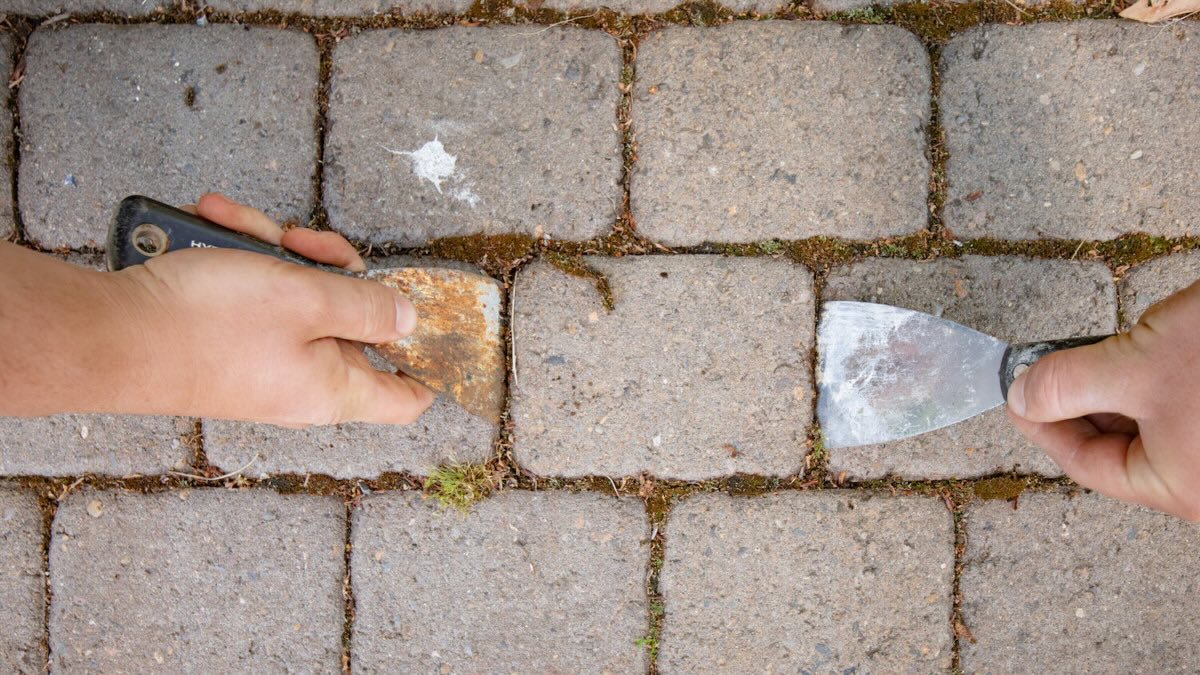
- Fill the gaps: Fill the gaps between the brick pavers with sand, making sure to sweep it into the joints until they are completely filled. This stabilizes the bricks and prevents shifting.
- Compact the bricks: Use a plate compactor or tamper to lightly compact the brick pavers. This helps settle them into place and ensures a stable surface. Refill any gaps with additional sand and compact again, if necessary.
- Clean up: Sweep away any excess sand or debris from the surface of the brick paver steps. This will create a neat and finished appearance.
By following these steps, you will have successfully installed the brick paver steps, adding a beautiful and durable element to your staircase. The brick pavers not only enhance the overall aesthetics but also provide a slip-resistant and long-lasting surface for your outdoor stairs.
With the brick paver steps installed, it’s time to move on to the next step: securing the steps in place.
Step 6: Secure the steps in place
After installing the timber and brick paver steps, it’s essential to secure them in place to ensure stability and longevity. Follow these steps to securely anchor the steps:
- Mix the concrete: Prepare a batch of concrete mix according to the manufacturer’s instructions. Make sure it has the appropriate consistency for easy pouring and spreading.
- Pour the concrete: Carefully pour the concrete into the gaps between the timber steps and around the edges of the brick paver steps. Use a trowel or shovel to spread the concrete evenly and fill any voids.
- Smooth the surface: Use a float or trowel to smooth the surface of the concrete, ensuring it is level with the surrounding steps and pavers. This will create a seamless transition and prevent any tripping hazards.
- Allow the concrete to cure: Let the concrete cure according to the manufacturer’s instructions. This typically takes a few days, during which you should avoid walking or placing heavy objects on the steps to ensure proper setting.
- Inspect for stability: Once the concrete has cured, carefully inspect the steps to ensure they are fully secured and stable. Test each step to ensure it does not shift or wobble under pressure.
- Make any necessary adjustments: If you notice any instability or movement, make the necessary adjustments by adding additional concrete or reinforcing with rebar. It’s important to address any issues promptly to prevent further problems down the line.
By following these steps, you will securely anchor your timber and brick paver steps in place. This ensures they withstand the test of time and daily use, providing a safe and reliable staircase for your outdoor space.
With the steps securely in place, it’s time to move on to the final step: adding the finishing touches.
Step 7: Finishing touches
Now that the timber and brick paver steps are securely installed, it’s time to add the finishing touches that will enhance their appearance and functionality. Follow these final steps for the perfect finishing touches:
- Fill in the gaps: Inspect the spaces between the timber steps and brick pavers. If there are any noticeable gaps or voids, use additional sand, soil, or gravel to fill them in. This will create a seamless and aesthetically pleasing look.
- Seal the timber steps (optional): To protect the timber steps from weathering and UV damage, consider applying a clear sealant. This will also enhance the natural beauty of the wood and extend its lifespan.
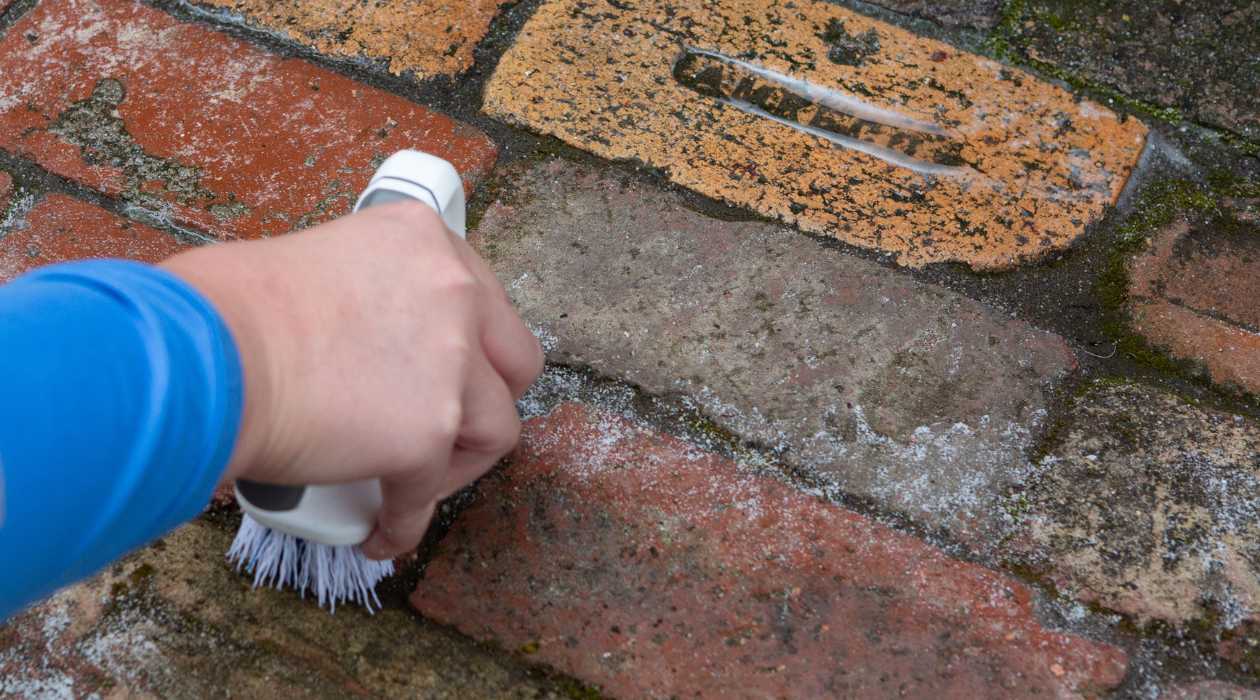
- Clean the surface: Give the entire staircase a thorough cleaning to remove any construction debris, dirt, or stains. Use a brush, water, and mild soap to gently scrub the surface, then rinse with water and allow the steps to dry completely.
- Landscaping and lighting: Add landscaping elements and lighting around the staircase to create a visually appealing and safe environment. Plant flowers or shrubs along the sides, install landscape edging, or incorporate solar-powered lights to illuminate the steps at night.
- Maintenance and care: Regularly inspect the steps for any damage or signs of wear. Perform routine maintenance tasks such as resealing the timber steps (if applicable), removing debris, and pressure washing the surface to keep it clean and free from hazards.
By completing these final steps, you will add the perfect finishing touches to your timber and brick paver steps. Not only will this enhance the overall appearance of your outdoor space, but it will also ensure the longevity and functionality of the steps for years to come.
Congratulations! You have successfully installed timber and brick paver steps, creating a stunning staircase that adds value and beauty to your landscape.
Remember, proper installation and regular maintenance are key to preserving the integrity and safety of your steps. Enjoy your newly installed timber and brick paver steps, and take pride in the craftsmanship that enhances your outdoor living space.
Conclusion
Installing timber and brick paver steps is a rewarding and worthwhile project that can transform the look and functionality of your outdoor space. By following the step-by-step guide outlined in this article, you now have the knowledge and tools needed to successfully install these steps.
From gathering the necessary materials to securing the steps in place, each step of the installation process plays a vital role in creating a solid and aesthetically pleasing staircase. The combination of timber and brick paver steps offers a harmonious blend of natural beauty and durability, adding value to your landscape.
Remember to pay attention to the small details, such as ensuring a level and stable foundation, accurately placing the timber boards, and properly aligning the brick pavers. These details contribute to the overall longevity and stability of the steps.
Once the installation is complete, don’t forget the finishing touches. Fill in any gaps, consider sealing the timber steps for added protection, and maintain the steps regularly to keep them looking their best for years to come.
By installing timber and brick paver steps, you have created a stylish and functional element in your outdoor space. Whether you’re looking to enhance the aesthetics of your garden or provide easy access to different levels of your landscape, timber and brick paver steps are an excellent choice.
Now, go ahead and enjoy your newly installed steps. Sit back, relax, and bask in the beauty and functionality they bring to your outdoor living area.
Now that you've mastered installing timber and brick paver steps, why not expand your skills with another exciting project? Sprucing up your home’s entry is simpler than you might think. Our next guide shows you how to build outdoor wooden steps, adding charm and accessibility to your front door. Perfect for weekend warriors looking to enhance their home's curb appeal, this guide offers practical advice and straightforward techniques.
Frequently Asked Questions about How To Install Timber And Brick Paver Steps
Was this page helpful?
At Storables.com, we guarantee accurate and reliable information. Our content, validated by Expert Board Contributors, is crafted following stringent Editorial Policies. We're committed to providing you with well-researched, expert-backed insights for all your informational needs.

0 thoughts on “How To Install Timber And Brick Paver Steps”