Home>Construction & Tools>Building Materials>How To Do A Stucco Wall
Building Materials
How To Do A Stucco Wall
Modified: October 20, 2024
Learn how to create a stunning stucco wall using high-quality building materials. Our step-by-step guide will help you achieve professional results.
(Many of the links in this article redirect to a specific reviewed product. Your purchase of these products through affiliate links helps to generate commission for Storables.com, at no extra cost. Learn more)
Introduction
So, you've decided to give your home a fresh, rustic look by adding a stucco wall. Congratulations! Stucco is a versatile and durable material that can transform the appearance of any surface, providing a timeless and elegant finish. Whether you're aiming to enhance the exterior of your house or create a striking focal point in your interior space, a stucco wall can add character and charm to your home.
In this comprehensive guide, we'll walk you through the process of creating a stunning stucco wall, from preparing the surface to applying the stucco and adding texture for a personalized touch. We'll provide step-by-step instructions, helpful tips, and insights into the materials and tools you'll need to achieve professional results.
Before we dive into the nitty-gritty of stucco application, let's take a moment to appreciate the beauty and versatility of this time-honored building material. Stucco has been used for centuries, adorning the walls of ancient civilizations and standing the test of time. Its enduring popularity can be attributed to its remarkable durability, weather resistance, and ability to create a seamless, monolithic finish.
Not only does stucco offer exceptional longevity, but it also provides excellent insulation, helping to regulate indoor temperatures and reduce energy costs. Furthermore, its fire-resistant properties make it a safe and reliable choice for both residential and commercial construction projects.
Whether you're a seasoned DIY enthusiast or a first-time stucco artisan, this guide is designed to equip you with the knowledge and confidence to tackle the stucco application process with ease. So, roll up your sleeves, gather your materials, and let's embark on this exciting journey to transform your space with the timeless allure of a stucco wall.
Key Takeaways:
- Embrace the art of stucco application by preparing the wall surface meticulously, mixing and applying stucco with precision, and adding personalized texture for a stunning, durable, and visually engaging finish.
- Achieve a timeless and elegant stucco wall by gathering high-quality materials and tools, meticulously preparing the wall surface, mastering the mixing and application process, and tending to the curing and finishing stages with care.
Read more: What Is A Stucco Wall
Materials and Tools Needed
Before embarking on your stucco wall project, it’s essential to gather the necessary materials and tools to ensure a smooth and efficient application process. Here’s a comprehensive list of what you’ll need:
Materials:
- Portland cement
- Lime
- Sand
- Water
- Concrete bonding agent
- Fiber mesh or wire mesh
- Acrylic admixture (optional for enhanced durability and adhesion)
- Masonry sealer (for finishing and protection)
Tools:
- Trowel (both square and rounded)
- Hawk (mud pan)
- Masonry hoe or shovel
- Mixing drill with a paddle attachment
- Mortar sprayer or stucco sprayer
- Stiff-bristled brush or broom
- Safety goggles and dust mask
- Protective gloves
- Measuring tools (bucket, measuring cup, etc.)
- Ladder or scaffolding (if working on a tall wall)
It’s important to use high-quality materials to ensure the longevity and integrity of your stucco wall. When selecting sand, opt for clean, well-graded sand free of organic matter. Additionally, choose Portland cement and lime from reputable suppliers to guarantee the best results.
Investing in the right tools is equally crucial for achieving a professional finish. A sturdy trowel, reliable mixing drill, and efficient sprayer will streamline the application process and contribute to the overall quality of your stucco wall. Safety gear, including goggles, a dust mask, and gloves, should always be worn to protect yourself during mixing and application.
By assembling these materials and tools, you’ll be well-prepared to embark on the exciting journey of creating a stunning stucco wall that will enrich the aesthetic appeal and durability of your living space.
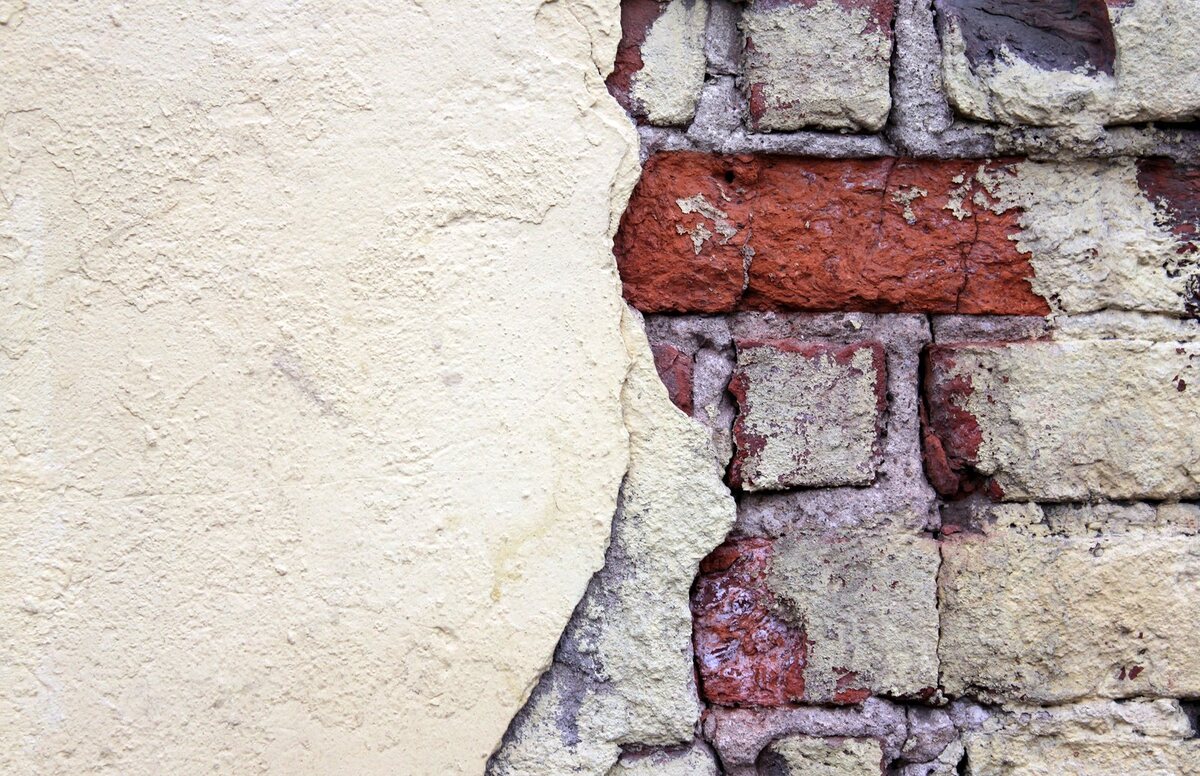
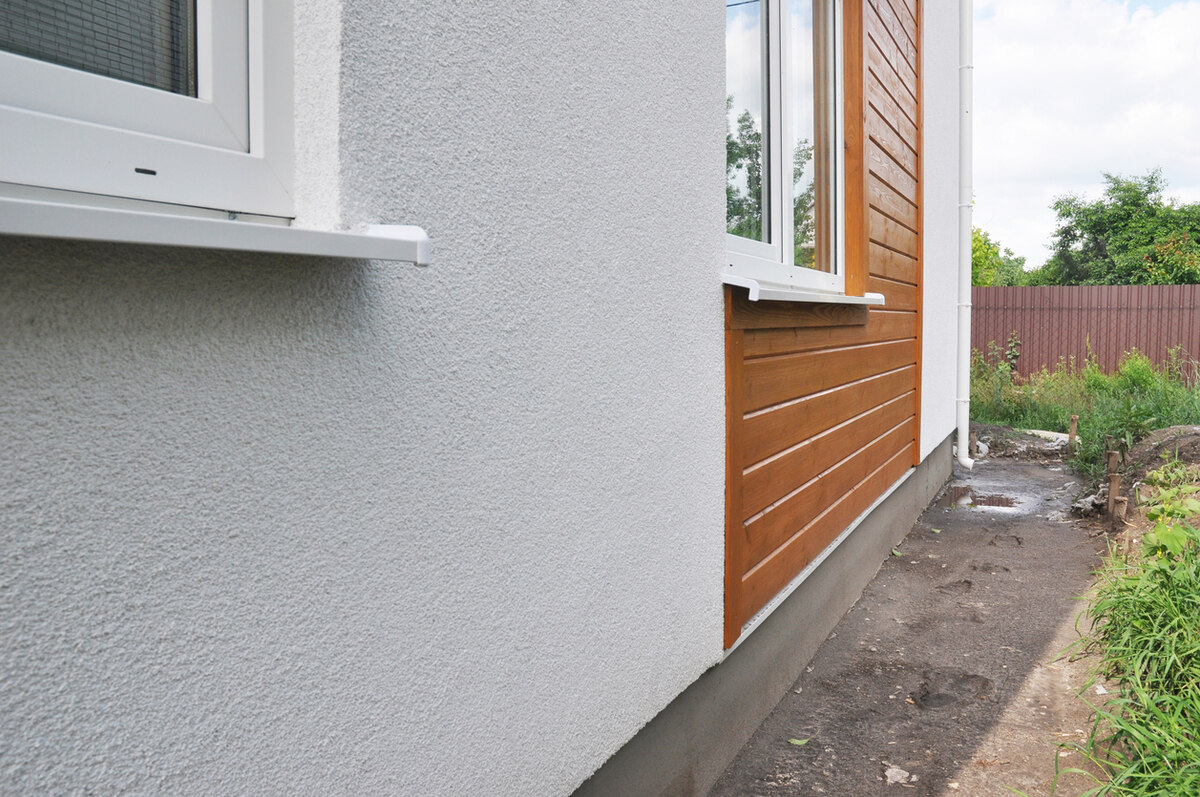
Preparing the Wall Surface
Before diving into the application of stucco, it’s crucial to ensure that the wall surface is properly prepared to promote adhesion and long-term durability. Here’s a step-by-step guide to preparing the wall surface for the stucco application:
Read more: How To Stucco Concrete Walls
1. Clean the Surface:
Begin by thoroughly cleaning the wall to remove any dirt, dust, or debris. Use a stiff-bristled brush or a power washer to eliminate all traces of dirt and ensure a clean, smooth substrate for the stucco.
2. Repair Any Damage:
Inspect the wall for any cracks, holes, or other imperfections. Repair these areas using a suitable patching compound or stucco repair mix. Ensure that the patched areas are level with the surrounding surface to achieve a seamless finish.
3. Apply a Bonding Agent:
Once the wall is clean and any repairs are completed, apply a high-quality concrete bonding agent to the surface. This bonding agent will enhance the adhesion of the stucco to the wall, providing a strong and long-lasting bond.
4. Install Mesh (if needed):
Depending on the condition of the wall and the type of stucco being applied, you may need to install a fiber mesh or wire mesh over the surface. This mesh helps to reinforce the stucco, particularly on surfaces prone to cracking or movement.
Read more: How To Stucco A Brick Wall
5. Dampen the Surface:
Prior to applying the stucco, dampen the wall surface with water. This prevents the substrate from drawing moisture from the stucco too quickly, which can compromise adhesion and curing.
By meticulously preparing the wall surface, you’re setting the stage for a successful stucco application. A clean, well-repaired, and properly primed surface will ensure that the stucco adheres securely and forms a resilient bond with the substrate, resulting in a flawless and enduring finish.
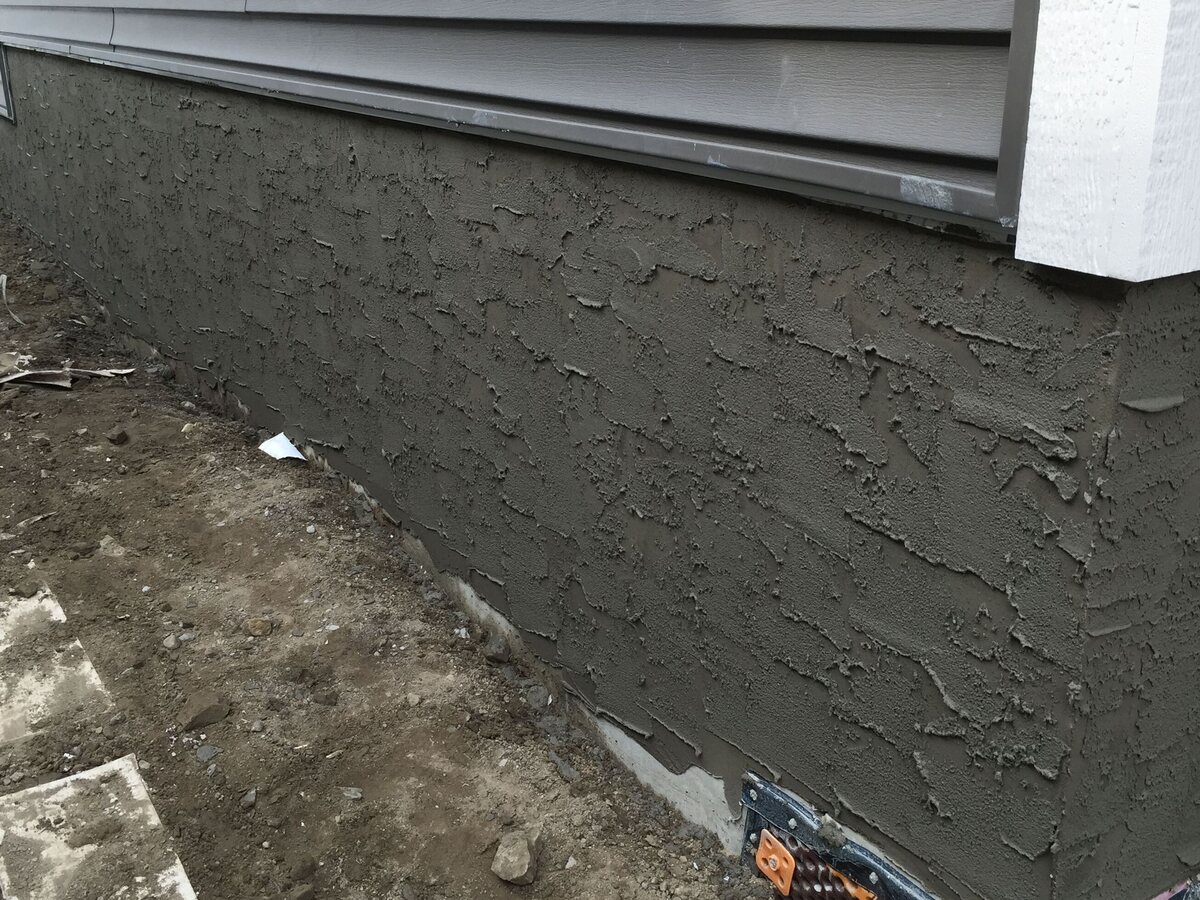
Mixing and Applying the Stucco
With the wall surface meticulously prepared, it’s time to mix and apply the stucco. This crucial phase requires precision and attention to detail to achieve a smooth, uniform finish. Follow these steps to master the mixing and application process:
1. Measure the Ingredients:
Begin by measuring the required amounts of Portland cement, lime, and sand according to the specific stucco recipe you’re using. The proportions may vary based on the desired texture and the characteristics of the surface being covered.
2. Mix the Stucco:
Combine the measured ingredients in a large mixing container, ensuring that they are thoroughly blended. For optimal results, consider using a mixing drill with a paddle attachment to achieve a consistent and lump-free stucco mix.
Read more: How To Spray Stucco Exterior Walls
3. Add Water Gradually:
Slowly add water to the stucco mix, using a measured approach to achieve the desired consistency. Be mindful not to overwater the mix, as excessive moisture can compromise the strength and adhesion of the stucco.
4. Load the Sprayer:
If using a mortar or stucco sprayer, carefully load the mixed stucco into the sprayer’s hopper. Ensure that the sprayer is clean and in good working condition to facilitate a smooth application process.
5. Apply the Stucco:
Begin applying the stucco to the dampened wall surface in a consistent, even manner. Use a trowel to spread the stucco, working from the bottom up to ensure proper coverage and adhesion. Maintain a steady pace to achieve a uniform thickness and texture across the entire surface.
6. Work in Sections:
If covering a large area, work in manageable sections to maintain control over the application process. Blend each new section with the previous one to create a seamless transition and uniform appearance.
Read more: How To Cover Stucco Interior Walls
7. Maintain a Wet Edge:
As you apply the stucco, ensure that the leading edge remains wet to facilitate a cohesive bond between sections. This technique helps prevent visible seams and promotes a smooth, professional finish.
By following these steps with precision and care, you’ll master the art of mixing and applying stucco, transforming the prepared wall surface into a stunning, textured masterpiece. The application process is a critical stage in achieving a flawless stucco wall, and attention to detail will yield impressive, long-lasting results.
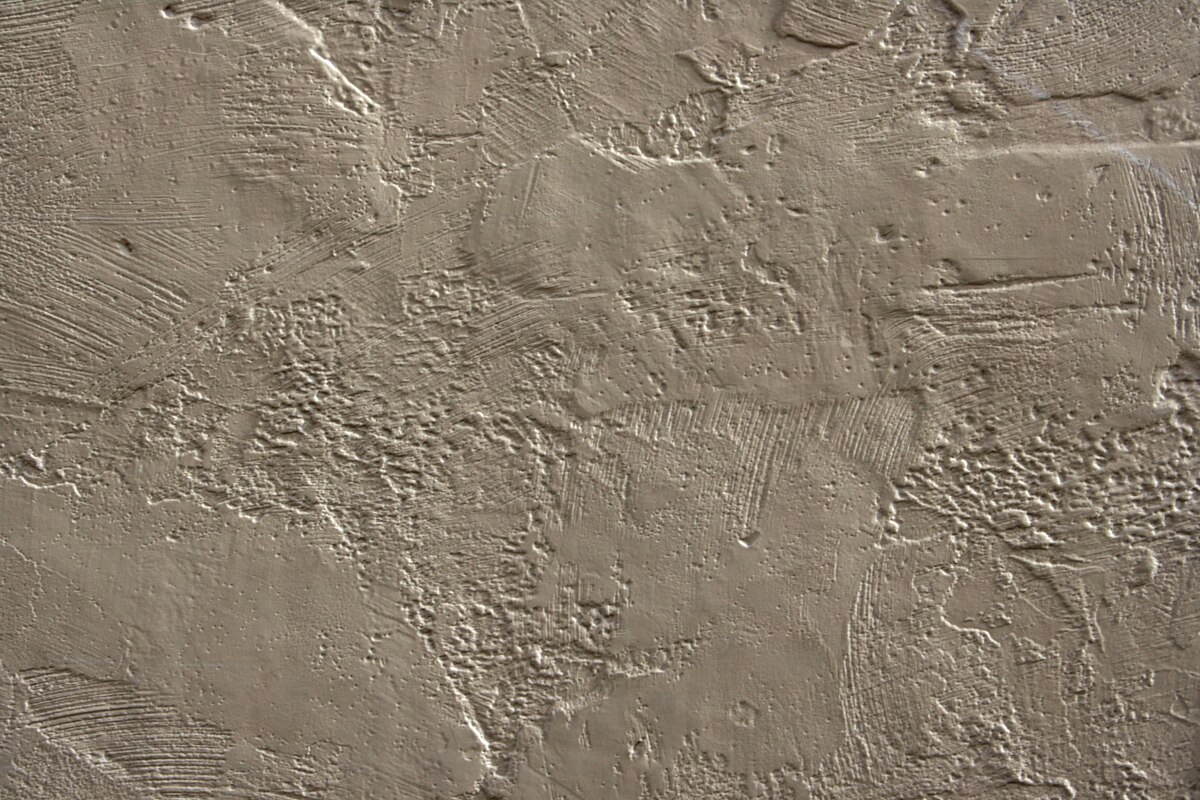
Texturing the Stucco
Texturing is where the true artistry of stucco application comes into play, allowing you to infuse your wall with personality and visual interest. Whether you prefer a smooth, sleek finish or a more textured, rustic look, the texturing process enables you to customize the appearance of your stucco wall. Here’s how to master the art of texturing:
1. Choose Your Texture:
Before applying the stucco, decide on the desired texture for your wall. Options range from a traditional smooth finish to a variety of textured patterns, including Spanish lace, dash, sand, or skip trowel textures. Each texture imparts a distinct visual and tactile quality to the stucco.
2. Experiment on Sample Boards:
If you’re unsure which texture best suits your vision, consider creating sample boards using the same stucco mix and wall surface as your project. This allows you to test different texturing techniques and patterns, helping you select the perfect texture for your stucco wall.
Read more: How To Attach Wood To Stucco Wall
3. Apply the Texture:
Once you’ve chosen your desired texture, it’s time to apply it to the stuccoed surface. Use specialized tools such as trowels, brushes, or combs to create the texture, depending on the pattern you’re aiming to achieve. Work methodically and consistently to ensure an even and harmonious texture across the entire wall.
4. Refine and Perfect:
As you texture the stucco, step back periodically to assess the overall appearance and make any necessary adjustments. Pay attention to the depth, consistency, and overall visual impact of the texture, refining it until you’re satisfied with the result.
5. Consider Multiple Layers:
For more intricate textures or a heightened sense of dimension, consider applying multiple layers of stucco, each with a slightly different texture or color. This layering technique can create a rich, multi-dimensional effect that adds depth and visual intrigue to your stucco wall.
6. Embrace Creativity:
Don’t be afraid to let your creativity shine during the texturing process. Experiment with different tools, techniques, and patterns to achieve a truly unique and personalized texture that reflects your individual style and vision.
By embracing the art of texturing, you’ll elevate your stucco wall from a simple surface covering to a captivating work of art. The texturing process allows you to imprint your personal touch on the stucco, creating a visually engaging and tactilely appealing finish that enhances the overall aesthetic of your living space.
Read more: How To Build Stucco Wall With Wood Frame
Curing and Finishing the Stucco Wall
As the stucco application nears completion, it’s essential to focus on the curing and finishing stages to ensure the longevity, resilience, and visual appeal of your stucco wall. Proper curing and finishing techniques are crucial for achieving a durable, polished, and aesthetically pleasing result. Let’s explore the final steps in the stucco application process:
1. Allow for Initial Drying:
After applying the stucco and texturing it to perfection, allow the wall to dry initially. Depending on the climate and environmental conditions, this initial drying phase typically takes several hours to a day. The stucco will begin to set and firm up during this time.
2. Keep the Surface Damp:
To promote proper curing, lightly mist the stuccoed surface with water multiple times a day for the first few days after application. This moisture helps the stucco cure gradually, minimizing the risk of cracking and ensuring a strong, resilient finish.
3. Apply a Sealer (Optional):
Consider applying a masonry sealer to the cured stucco to enhance its durability and resistance to moisture. A high-quality sealer can protect the stucco from the elements and prolong its lifespan, particularly in outdoor applications.
Read more: How To Apply Stucco To Cinder Block Wall
4. Monitor the Curing Process:
Keep a close eye on the curing stucco, observing any changes in texture, color, or moisture levels. Adjust the misting frequency as needed to maintain the ideal curing conditions and prevent premature drying or cracking.
5. Inspect and Touch Up:
Once the stucco has fully cured, inspect the wall for any imperfections or areas that may require touch-ups. Address any minor blemishes or inconsistencies to ensure a flawless, professional finish.
6. Admire Your Stucco Masterpiece:
With the curing and finishing process complete, take a moment to admire your stunning stucco wall. Revel in the transformation of your space, appreciating the timeless beauty and enduring allure of this traditional building material.
By meticulously tending to the curing and finishing of your stucco wall, you’ll ensure that it not only looks exquisite but also stands the test of time. The careful attention given to these final stages will result in a stucco wall that enhances the aesthetic appeal and durability of your home, creating a striking focal point that exudes timeless elegance and charm.
Frequently Asked Questions about How To Do A Stucco Wall
Was this page helpful?
At Storables.com, we guarantee accurate and reliable information. Our content, validated by Expert Board Contributors, is crafted following stringent Editorial Policies. We're committed to providing you with well-researched, expert-backed insights for all your informational needs.


0 thoughts on “How To Do A Stucco Wall”