Home>Furniture>Outdoor Furniture>How To Fix Brick Patio
Outdoor Furniture
How To Fix Brick Patio
Modified: December 12, 2023
Learn how to fix your brick patio and restore your outdoor furniture with our comprehensive guide. Get your outdoor space looking brand new!
(Many of the links in this article redirect to a specific reviewed product. Your purchase of these products through affiliate links helps to generate commission for Storables.com, at no extra cost. Learn more)
Introduction
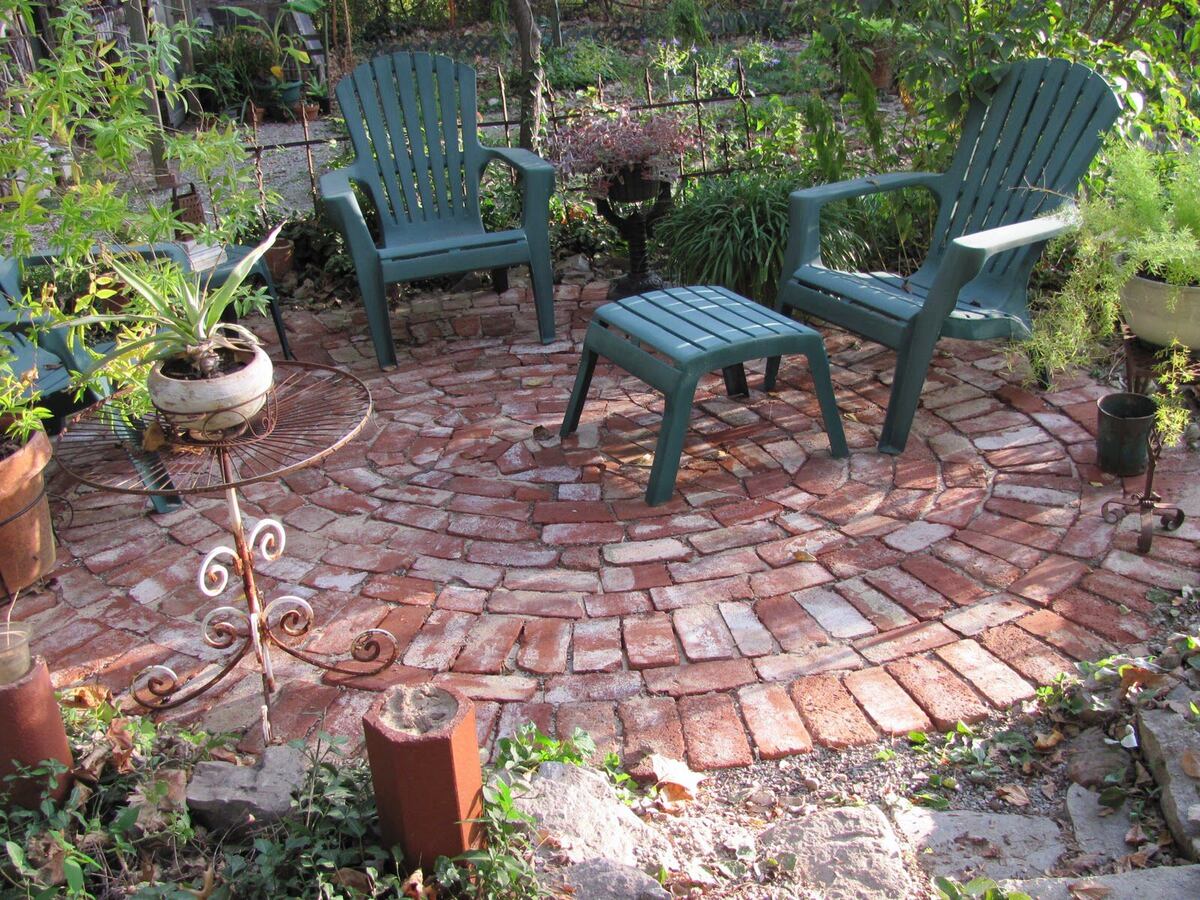
Welcome to the ultimate guide on reviving your outdoor space with a stunning brick patio! Whether your patio has succumbed to wear and tear over the years or has recently endured damage, this comprehensive guide will equip you with the knowledge and skills to restore it to its former glory. A brick patio is not only a functional outdoor living space but also a charming focal point that enhances the aesthetic appeal of your home.
In this article, we will delve into the step-by-step process of fixing a brick patio, providing you with valuable insights and practical tips to ensure a successful restoration project. From assessing the damage to leveling and sealing the patio, each stage is crucial in rejuvenating your outdoor oasis. So, roll up your sleeves and get ready to embark on a rewarding journey of transformation.
As we venture through the intricacies of brick patio repair, you will discover the satisfaction of revitalizing your outdoor haven while adding value to your property. With the right approach and a touch of creativity, you can turn a weathered patio into a captivating retreat that beckons you to unwind and entertain in style.
Join us as we unlock the secrets of brick patio restoration, empowering you to tackle this project with confidence and expertise. Let's breathe new life into your outdoor space and create enduring memories in a revitalized and enchanting setting.
Key Takeaways:
- Revive your outdoor space by assessing, clearing, replacing, leveling, and sealing your brick patio. Each step is crucial for restoring its beauty and durability, creating a captivating haven for relaxation and entertainment.
- Meticulously assess, clear, replace, level, and seal your brick patio to restore its charm and functionality. Embrace the joy of outdoor living in a revitalized space that stands the test of time.
Read more: How To Fix A Brick Patio
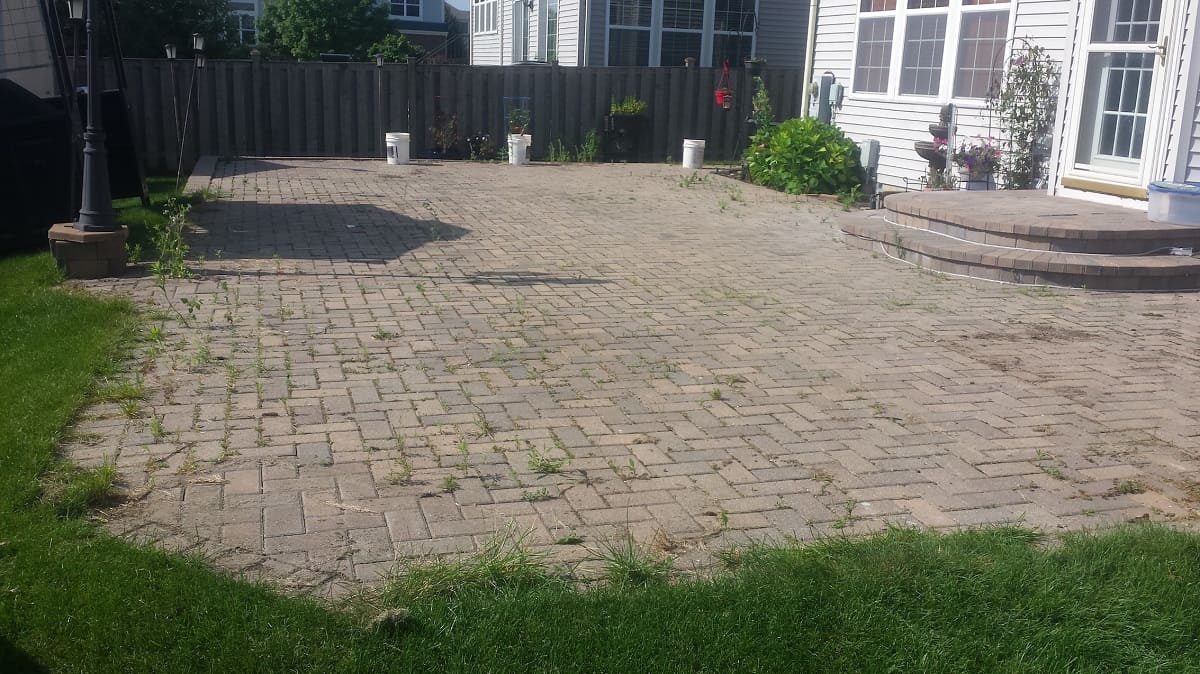
Assessing the Damage
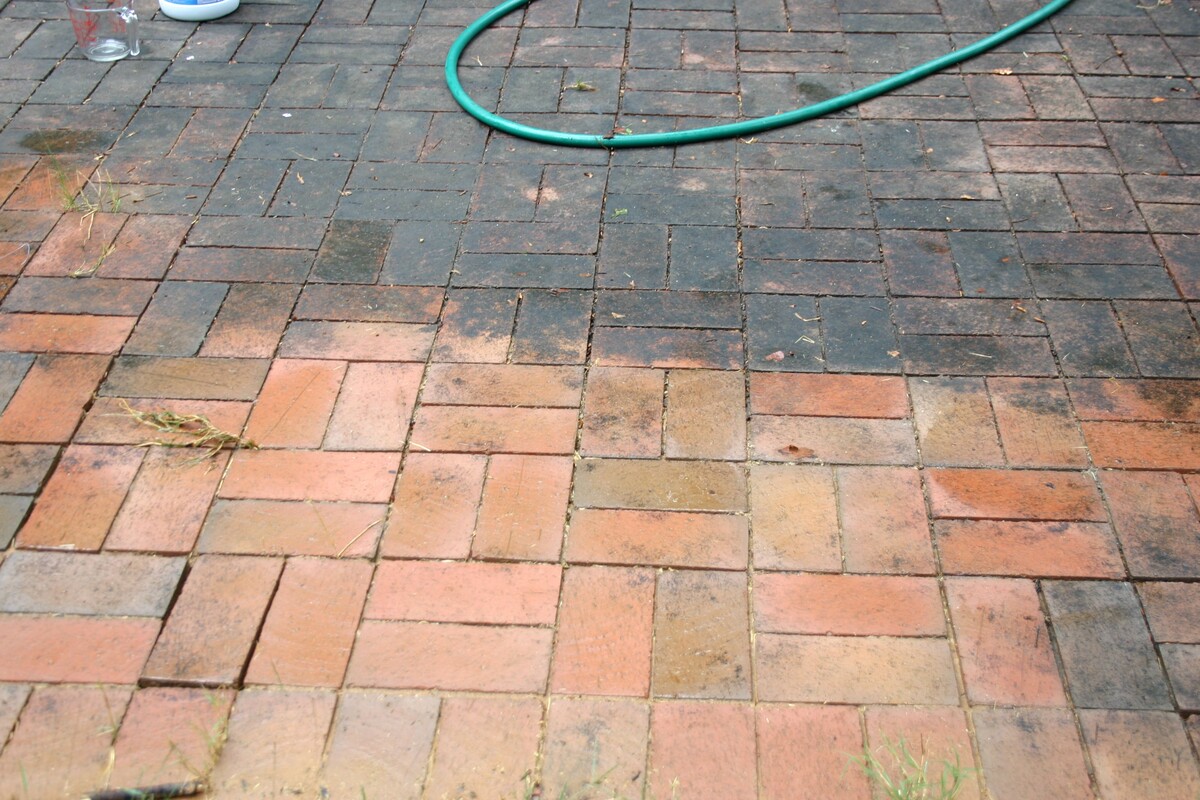
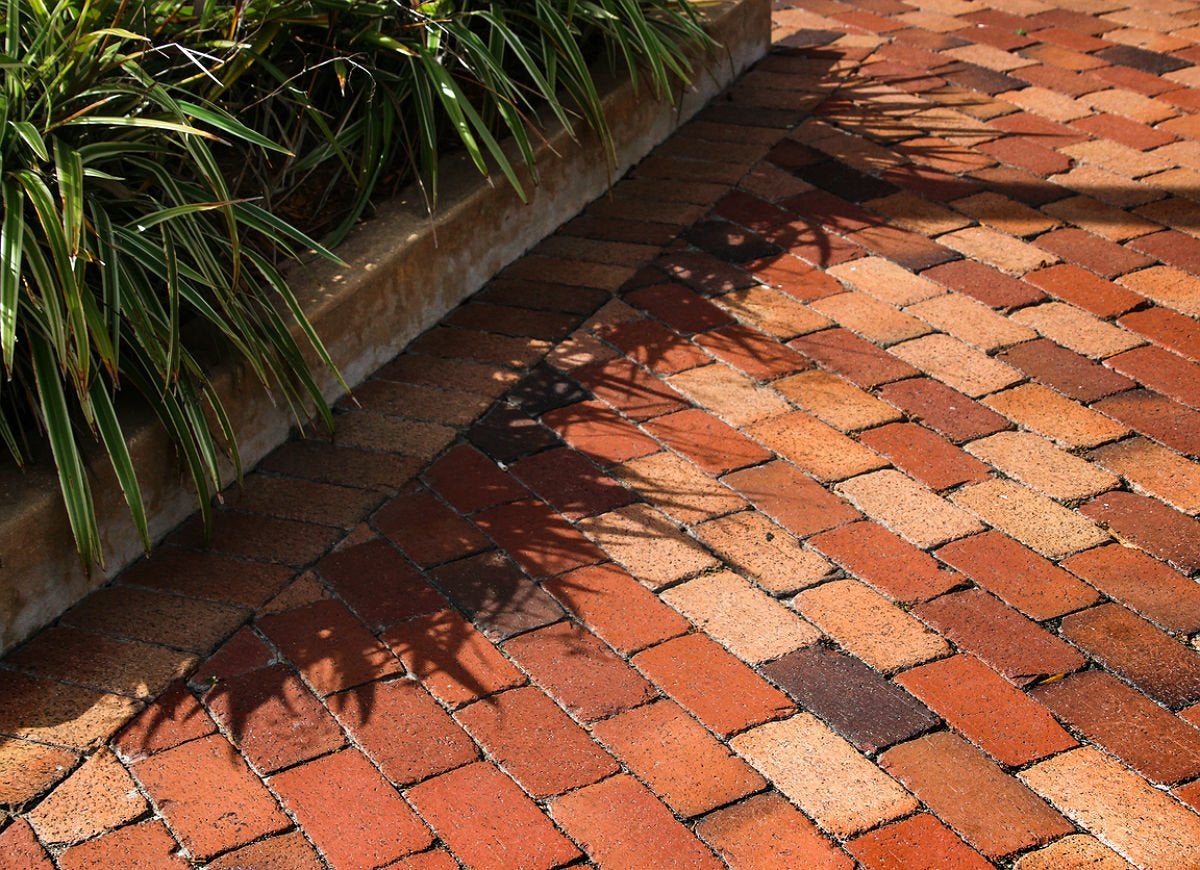
Before diving into the repair process, it’s essential to conduct a thorough assessment of your brick patio to identify the extent of the damage. Begin by inspecting the surface for any visible cracks, chips, or uneven areas. These imperfections can compromise the structural integrity and visual appeal of your patio, warranting prompt attention.
Look out for signs of erosion, such as worn mortar joints or loose bricks, which can result from exposure to harsh weather conditions or heavy foot traffic. Additionally, assess the drainage of the patio to determine if water accumulation has contributed to any deterioration.
Cracked or sunken areas may indicate underlying issues, such as soil erosion or inadequate foundational support. It’s crucial to address these concerns to prevent further damage and ensure the longevity of your patio.
Take note of any discoloration or efflorescence, a white powdery residue that can develop on the surface of bricks due to moisture exposure. This may signal water infiltration and the need for proper sealing to protect the patio from future water damage.
Furthermore, evaluate the surrounding landscape and vegetation for any overhanging branches or invasive roots that could be exerting pressure on the patio, leading to displacement or cracking of the bricks.
By thoroughly assessing the damage, you can gain valuable insights into the underlying causes and determine the appropriate course of action for effective repairs. Understanding the specific issues affecting your brick patio will guide you in formulating a tailored restoration plan, setting the stage for a successful rejuvenation process.
Clearing the Area
Before commencing the repair work on your brick patio, it’s crucial to clear the surrounding area to create a conducive and safe environment for the restoration process. Begin by removing any furniture, potted plants, or decorative items from the patio to facilitate unrestricted access to the entire surface.
Next, meticulously sweep the patio to eliminate debris, fallen leaves, and accumulated dirt. Pay close attention to the spaces between the bricks, ensuring that no foreign objects or organic matter remain lodged in the crevices. This thorough cleaning will prevent contaminants from interfering with the repair materials and procedures, promoting optimal adhesion and longevity of the restored patio.
If the patio is bordered by grass or landscaping, consider using protective coverings to shield these areas from potential damage during the repair activities. Lay down tarps or plastic sheets to safeguard the surrounding greenery and minimize the impact of dust, mortar, or sealant on the adjacent vegetation.
Moreover, inspect the drainage systems and gutters around the patio to ensure they are clear and functioning effectively. Proper drainage is essential for preventing water accumulation, which can compromise the integrity of the repaired patio and lead to future issues.
Lastly, establish a designated work area equipped with the necessary tools, safety gear, and materials for the repair project. Organizing your workspace in advance will streamline the restoration process and minimize disruptions, allowing you to focus on achieving exceptional results.
By clearing the area and preparing the surroundings for the repair work, you create an optimal foundation for revitalizing your brick patio. This meticulous approach sets the stage for a seamless and efficient restoration journey, ensuring that every detail is attended to with precision and care.
Replacing Damaged Bricks
When addressing a damaged brick patio, the process of replacing worn or broken bricks is a fundamental step in restoring its structural integrity and visual appeal. Begin by carefully examining the entire surface to identify individual bricks that exhibit signs of cracking, chipping, or displacement. These compromised bricks not only detract from the patio’s aesthetics but can also pose safety hazards and contribute to further deterioration if left unattended.
Once the damaged bricks have been identified, carefully remove them using a chisel and hammer, taking care to avoid causing additional harm to the surrounding bricks and mortar. Clear any debris and remnants from the vacant spaces to prepare them for the installation of new bricks.
Prior to installing the replacement bricks, it’s essential to ensure that they align seamlessly with the existing pattern and are of a matching color and texture. This attention to detail will result in a cohesive and visually pleasing outcome that seamlessly integrates the new bricks with the original layout.
Prepare a mortar mix according to the manufacturer’s instructions, ensuring the proper consistency for optimal adhesion and stability. Apply a layer of mortar to the base of the vacant space, using a trowel to create an even and uniform bed for the new brick. Gently press the replacement brick into place, ensuring that it sits flush with the surrounding bricks and aligns with the established pattern.
Once the replacement bricks are in position, carefully fill the joints with additional mortar, smoothing and compacting it to create a seamless transition between the new and existing bricks. Pay close attention to the alignment and spacing of the bricks, striving for a uniform and aesthetically pleasing finish.
After completing the replacement process, allow the mortar to cure according to the specified timeframe provided by the manufacturer. This crucial curing period ensures the strength and stability of the newly installed bricks, setting the stage for the subsequent steps in the patio restoration process.
By meticulously replacing damaged bricks with precision and attention to detail, you are revitalizing the foundation of your brick patio, laying the groundwork for a stunning and enduring outdoor space that exudes charm and functionality.
To fix a brick patio, start by removing any damaged bricks and leveling the ground. Then, replace the bricks and fill in the gaps with sand or mortar for a sturdy and even surface.
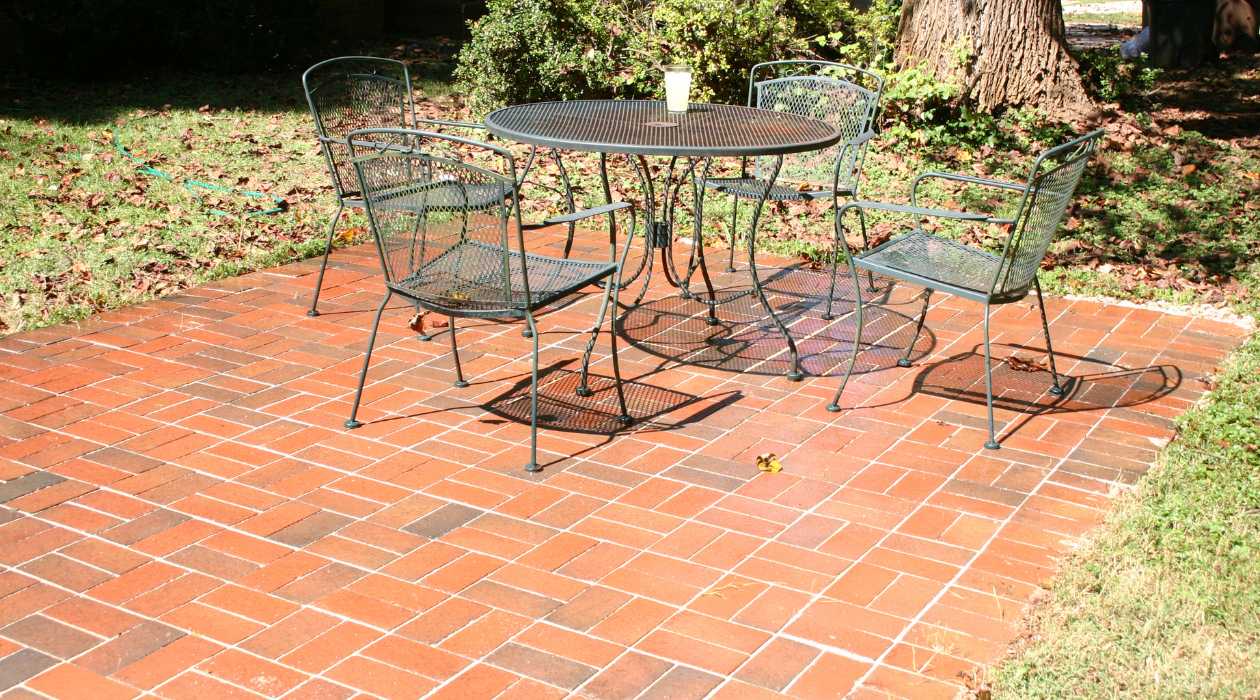
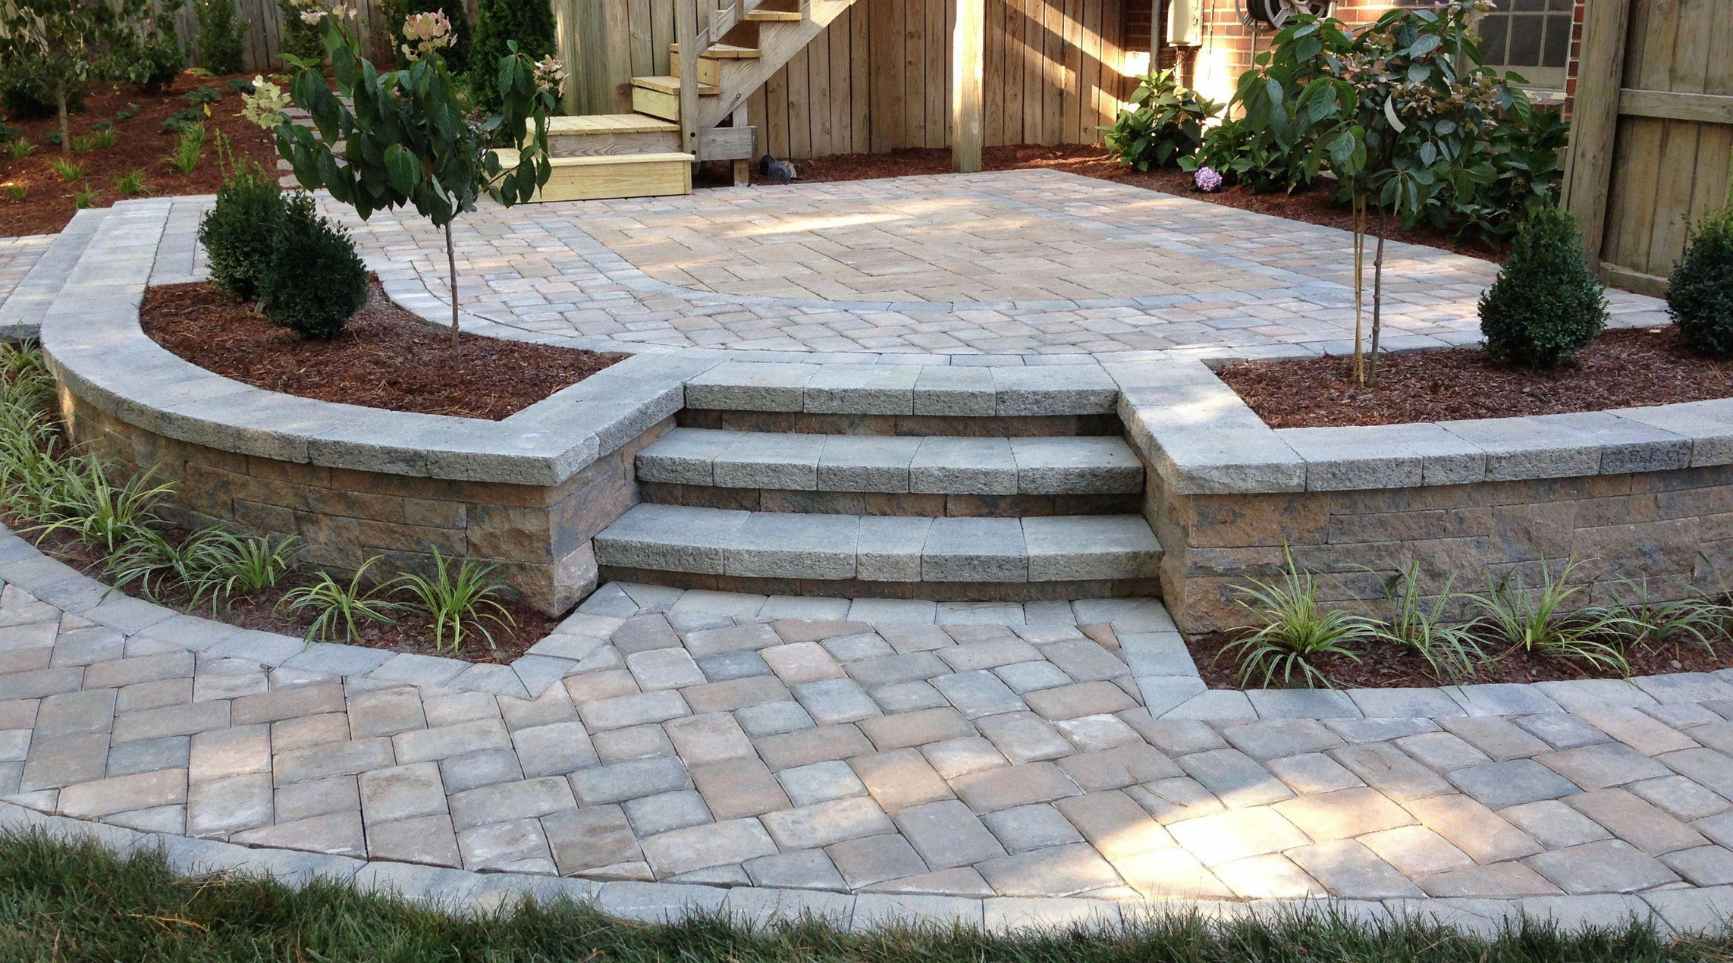
Leveling the Patio
Ensuring that your brick patio is level is essential for both its structural integrity and visual appeal. Over time, factors such as soil erosion, settling, or inadequate foundational support can lead to uneven surfaces, compromising the patio’s functionality and aesthetic allure. To address this, the process of leveling the patio is a critical step in the restoration journey, restoring balance and stability to the outdoor space.
Begin by thoroughly assessing the current state of the patio, identifying any areas that exhibit noticeable unevenness or sunken spots. These irregularities can not only detract from the patio’s visual appeal but also pose tripping hazards and impede the proper drainage of rainwater.
To address minor unevenness, consider using a rubber mallet to gently tap down any protruding bricks and ensure that they align with the surrounding surface. This careful adjustment can rectify minor discrepancies and promote a smoother, more uniform appearance.
For more significant leveling requirements, the use of a layer of sand or gravel can effectively address uneven areas and create a stable foundation for the patio. Distribute the sand or gravel evenly across the surface, using a level and a straight board to ensure uniformity and precision. This process not only addresses the immediate leveling needs but also provides a supportive base for the patio, enhancing its long-term durability.
In cases where substantial leveling is necessary, the addition of a thin layer of mortar or specialized leveling compound can be employed to achieve a consistent and level surface. This meticulous approach ensures that the patio is structurally sound and visually appealing, laying the groundwork for the subsequent stages of the restoration process.
By meticulously leveling the patio, you are not only enhancing its structural stability but also elevating its aesthetic allure, creating a captivating outdoor space that beckons you to unwind and entertain in style.
Read more: How To Lay Brick Patio
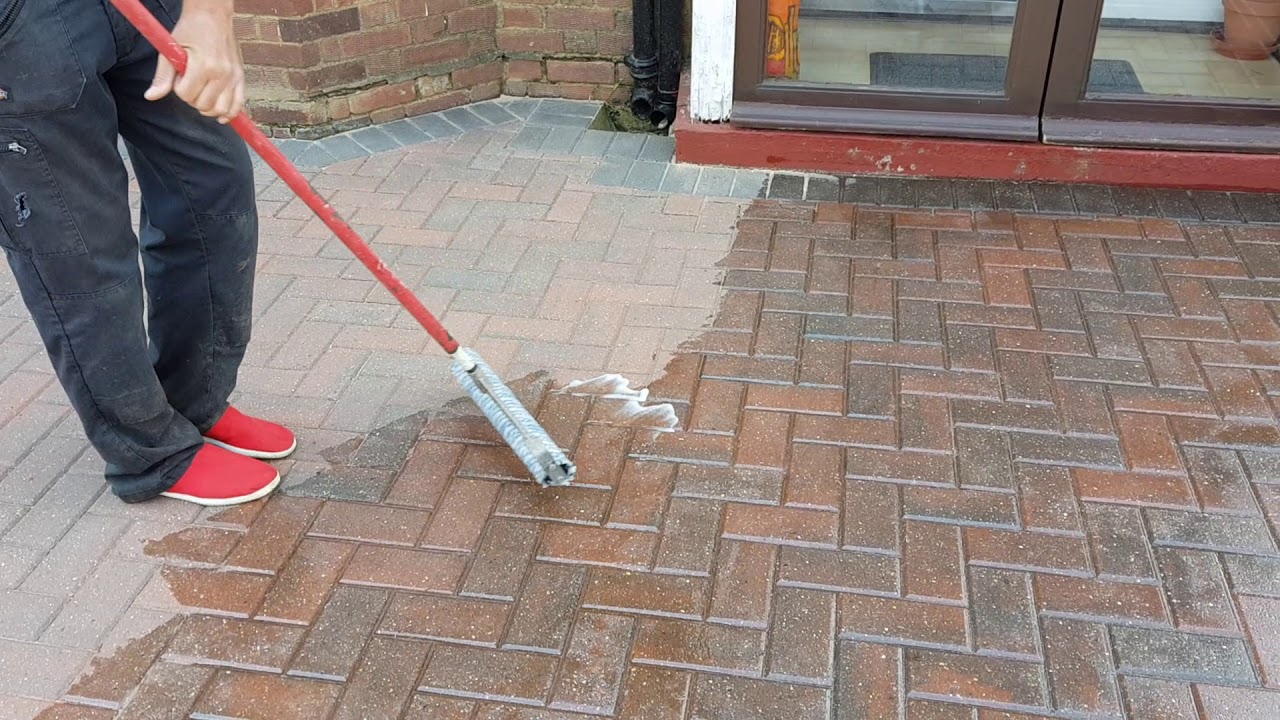
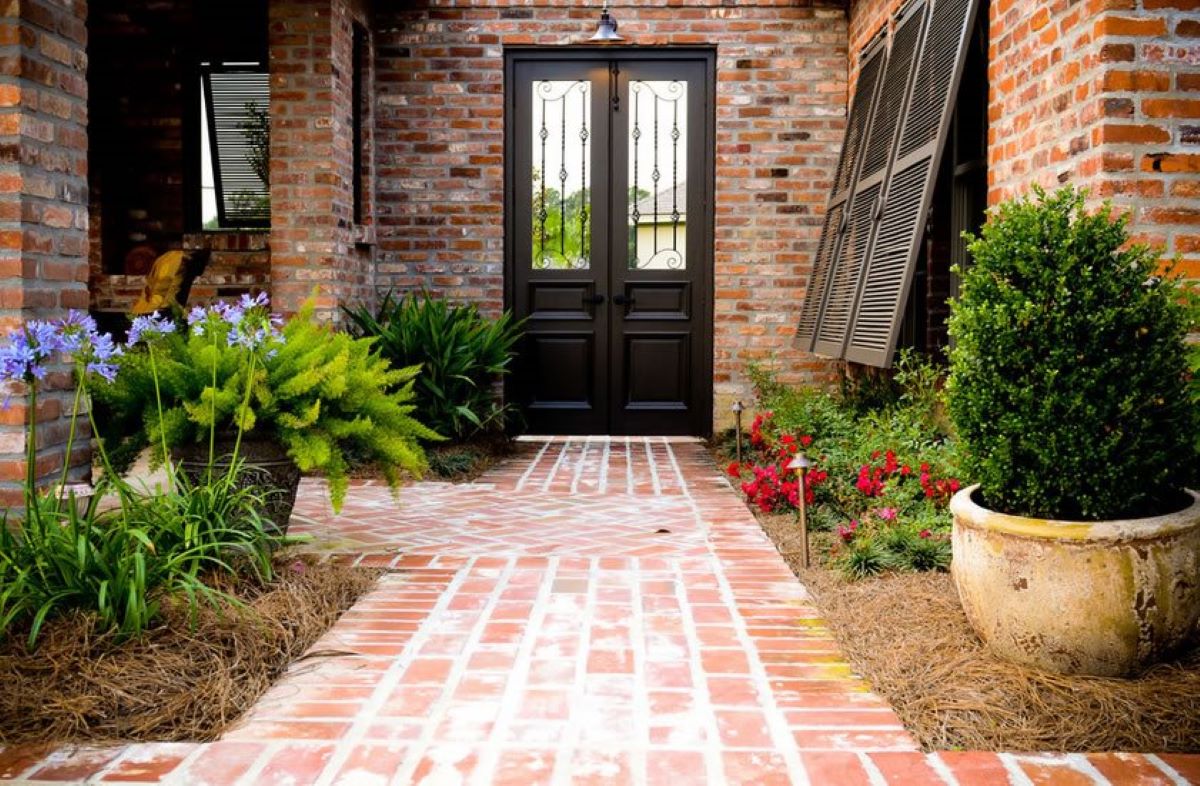
Sealing the Patio
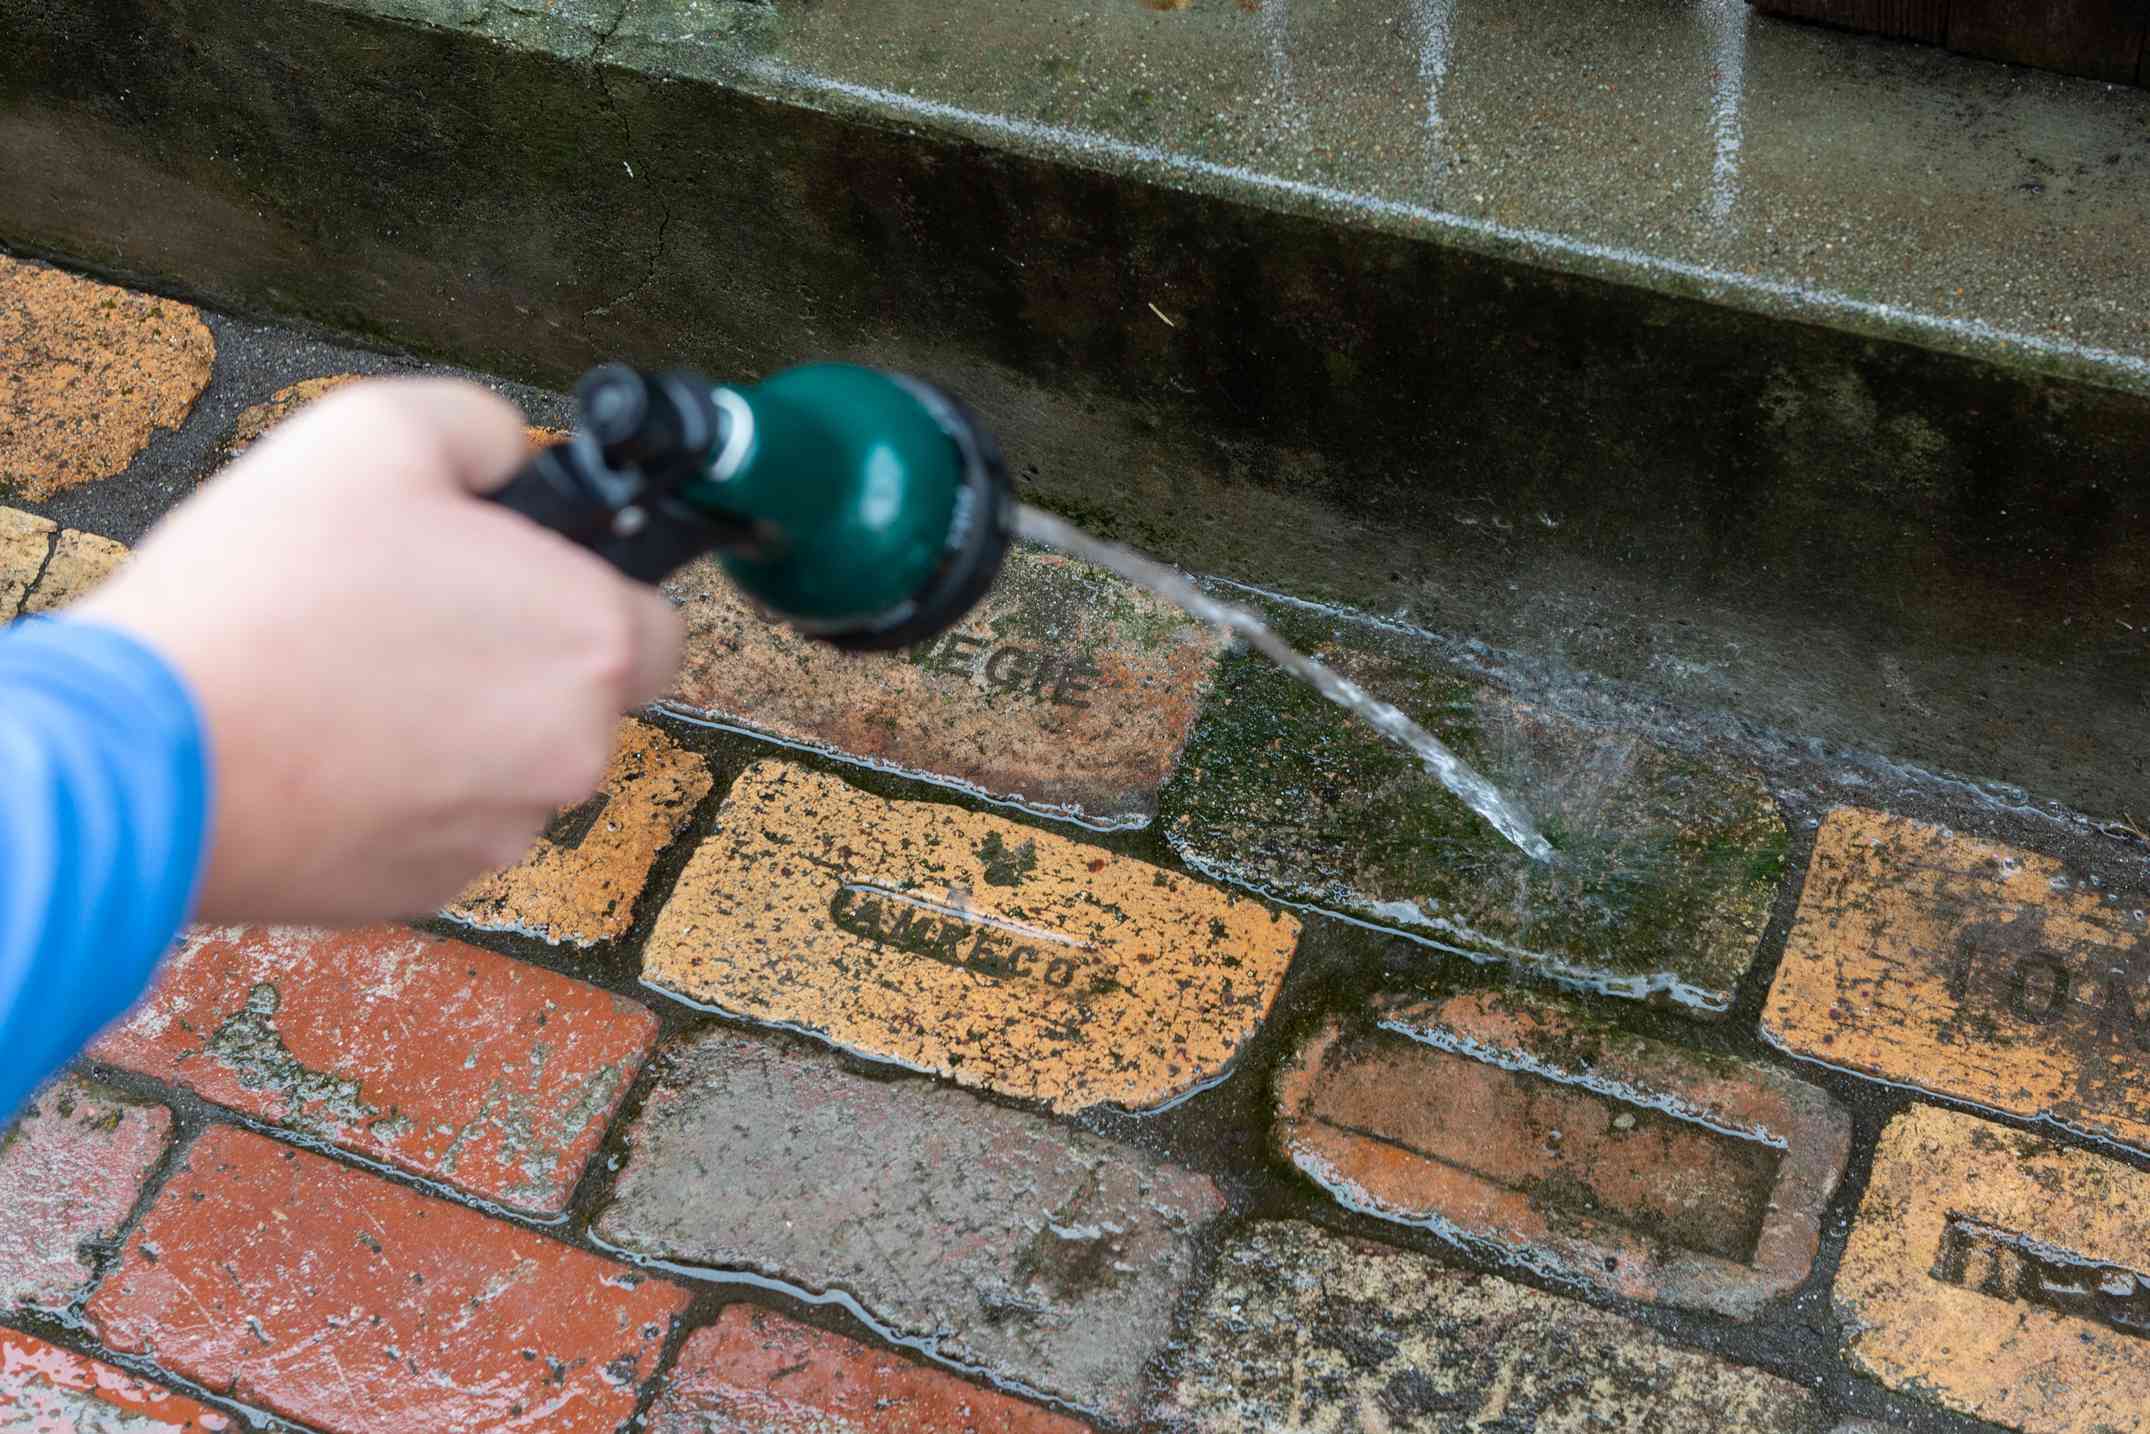
Sealing your brick patio is a crucial step in the restoration process, offering protection against the elements and enhancing the longevity of the surface. By applying a high-quality sealant, you can safeguard the bricks from moisture infiltration, UV exposure, and general wear and tear, ensuring that your patio maintains its beauty and integrity for years to come.
Prior to sealing, thoroughly clean the entire patio surface to remove any dirt, debris, and efflorescence. Use a pressure washer or a stiff-bristled brush to eliminate ingrained stains and contaminants, allowing the surface to dry completely before proceeding with the sealing process.
Select a premium-quality sealant that is specifically formulated for brick surfaces, offering superior protection and durability. Consider the type of finish you desire, whether it’s a natural look enhancer, a glossy appearance, or a matte finish, and choose a sealant that aligns with your aesthetic preferences.
Apply the sealant evenly across the entire patio surface, using a roller or sprayer for larger areas and a brush for intricate or hard-to-reach sections. Ensure thorough coverage, working in manageable sections to maintain consistency and avoid streaking or pooling of the sealant.
Allow the initial coat of sealant to dry according to the manufacturer’s specified timeframe, ensuring that the patio remains undisturbed during this critical curing period. Depending on the product, a second coat may be recommended to achieve optimal protection and longevity. Follow the application instructions meticulously to ensure the effectiveness of the sealant.
Once the sealant has fully cured, conduct a final inspection of the patio to ensure that the surface is uniformly sealed and free from imperfections. The sealed patio will exhibit enhanced color vibrancy, resistance to staining, and improved resistance to the effects of weathering, preserving its allure and functionality for years to come.
By meticulously sealing your brick patio, you are fortifying its resilience and enhancing its visual appeal, creating an enduring outdoor space that embodies charm, durability, and timeless elegance.
Conclusion
Congratulations on embarking on the transformative journey of reviving your brick patio! By navigating through the comprehensive steps outlined in this guide, you have gained valuable insights and practical skills to breathe new life into your outdoor space, creating a captivating haven for relaxation and entertainment.
Throughout this process, you have learned the importance of assessing the damage, clearing the area, replacing damaged bricks, leveling the patio, and sealing the surface. Each stage is integral to the overall restoration, ensuring that your brick patio not only regains its structural integrity but also radiates timeless charm and enduring beauty.
As you meticulously assessed the damage, you gained a deeper understanding of the underlying issues affecting your patio, paving the way for targeted and effective repairs. By clearing the area with precision and care, you created an optimal workspace, setting the stage for a seamless restoration process.
With meticulous attention to detail, you replaced damaged bricks, restoring the foundation of your patio and laying the groundwork for a visually cohesive and structurally sound surface. The process of leveling the patio not only rectified unevenness but also enhanced the stability and functionality of the outdoor space, ensuring a safe and inviting environment for leisure and gatherings.
Finally, by sealing the patio with a premium-quality sealant, you fortified its resilience against the elements, preserving its allure and integrity for years to come. The sealed surface not only exudes enhanced vibrancy and durability but also offers protection against moisture, UV exposure, and general wear and tear.
As you conclude this transformative journey, take pride in the revitalized beauty and functionality of your brick patio. Embrace the joy of outdoor living in a space that reflects your care and dedication, inviting you to savor moments of tranquility and create cherished memories with loved ones.
With the knowledge and expertise gained from this guide, you have unlocked the potential to transform your outdoor oasis into a captivating retreat that stands the test of time. Embrace the endless possibilities of your revitalized brick patio and revel in the enchanting allure of your outdoor haven.
Frequently Asked Questions about How To Fix Brick Patio
Was this page helpful?
At Storables.com, we guarantee accurate and reliable information. Our content, validated by Expert Board Contributors, is crafted following stringent Editorial Policies. We're committed to providing you with well-researched, expert-backed insights for all your informational needs.


0 thoughts on “How To Fix Brick Patio”