Home>Construction & Tools>Building Materials>How To Install A Brick Backsplash In Kitchen
Building Materials
How To Install A Brick Backsplash In Kitchen
Modified: October 20, 2024
Learn how to install a stunning brick backsplash in your kitchen using high-quality building materials. Follow our step-by-step guide for a beautiful and durable upgrade.
(Many of the links in this article redirect to a specific reviewed product. Your purchase of these products through affiliate links helps to generate commission for Storables.com, at no extra cost. Learn more)
Introduction
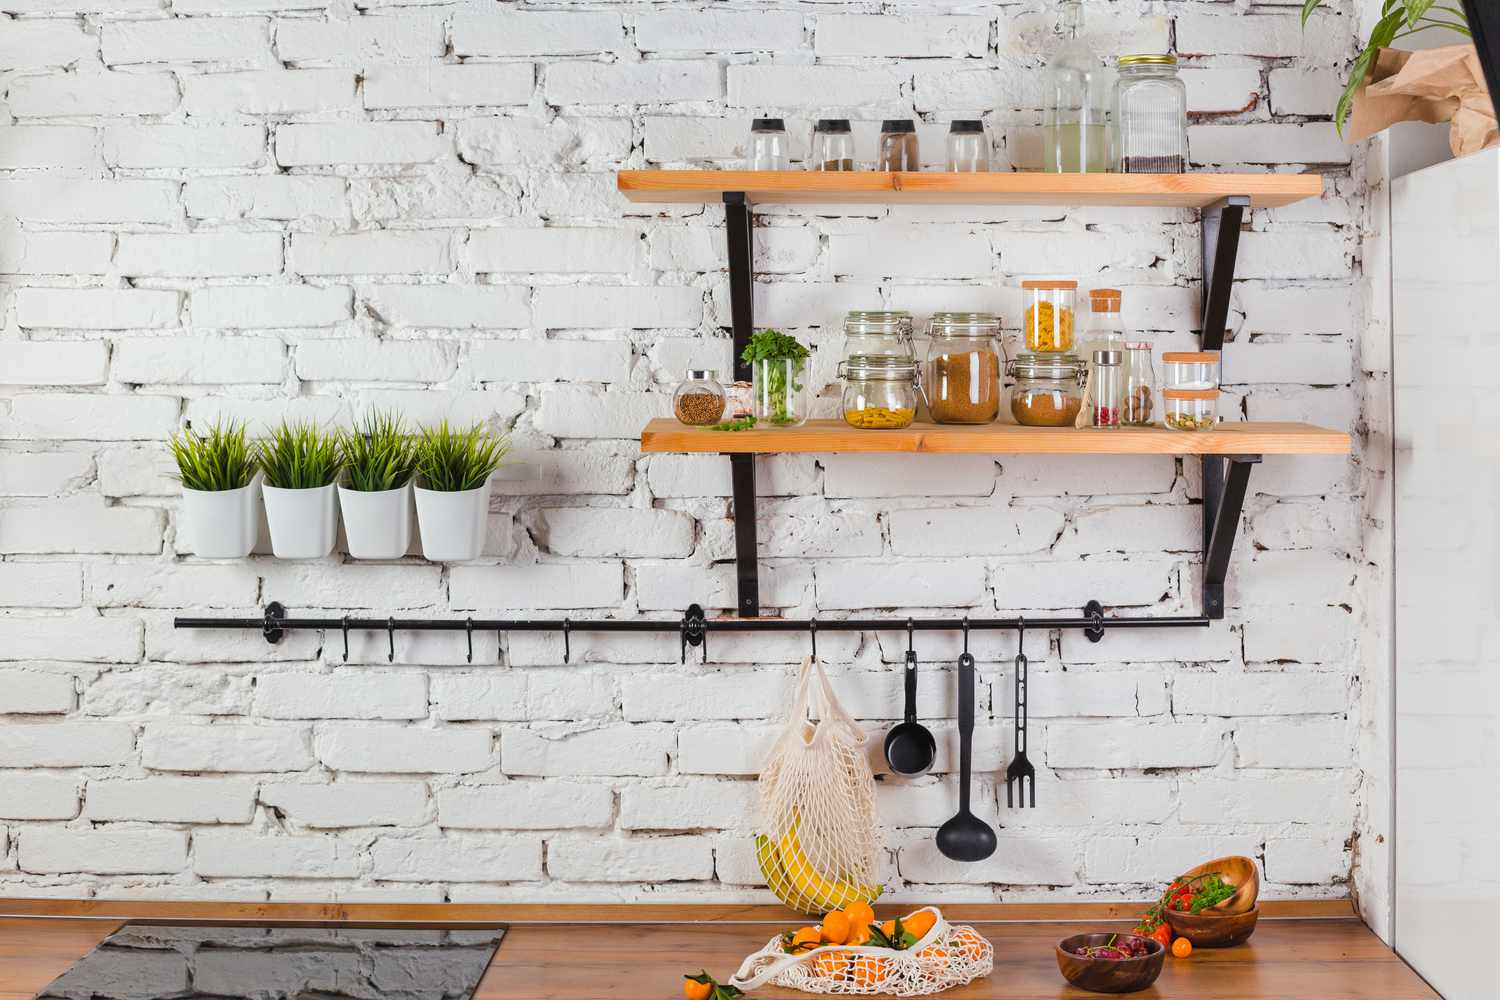
Welcome to the heart of the home – the kitchen. It’s a space where culinary creations come to life, and memories are made around the dinner table. If you’re looking to add a touch of warmth and character to your kitchen, a brick backsplash might be the perfect solution. Not only does it infuse a rustic charm into the space, but it also provides a durable and easy-to-clean surface that can withstand the inevitable splashes and spills of cooking.
Installing a brick backsplash is a rewarding and relatively straightforward DIY project that can transform the look and feel of your kitchen. Whether you’re a seasoned DIY enthusiast or a novice looking to embark on your first home improvement project, this guide will walk you through the step-by-step process of installing a brick backsplash in your kitchen. With the right materials, tools, and a bit of patience, you can achieve a professional-looking brick backsplash that adds a timeless appeal to your culinary haven.
So, roll up your sleeves, put on your creative hat, and let’s dive into the world of brick backsplashes. By the end of this guide, you’ll be ready to take on this DIY project with confidence, knowing that you’re creating a beautiful and functional space that reflects your personal style.
Key Takeaways:
- Transform your kitchen with a charming brick backsplash that adds warmth and durability. With the right materials and tools, you can achieve a professional-looking installation that reflects your personal style.
- By embracing the artistry of DIY home improvement, you can create a captivating focal point in your kitchen. The timeless allure of a brick backsplash not only enhances the space but also adds value to your home.
Materials Needed
Before embarking on your brick backsplash installation journey, it’s essential to gather all the necessary materials. Here’s a comprehensive list to ensure you have everything at your fingertips:
- Thin brick veneers: These are the star of the show, providing the rustic charm of traditional bricks in a lightweight and easy-to-install form.
- Adhesive: Look for a high-quality adhesive specifically designed for bonding veneer bricks to various surfaces. It’s crucial for a secure and lasting installation.
- Grout: Choose a grout color that complements your brick veneers and enhances the overall aesthetic of your kitchen. Ensure it’s suitable for use with brick surfaces.
- Sealer: A sealer will protect your brick backsplash from stains and make it easier to clean. Select a sealer specifically formulated for brick surfaces.
- Painter’s tape: This will help protect adjacent surfaces, such as countertops and cabinets, from accidental adhesive and grout smudges during installation.
- Primer: If you’re installing the brick veneers over a painted surface, a primer designed for both adhesion and stain blocking is essential to ensure a strong bond.
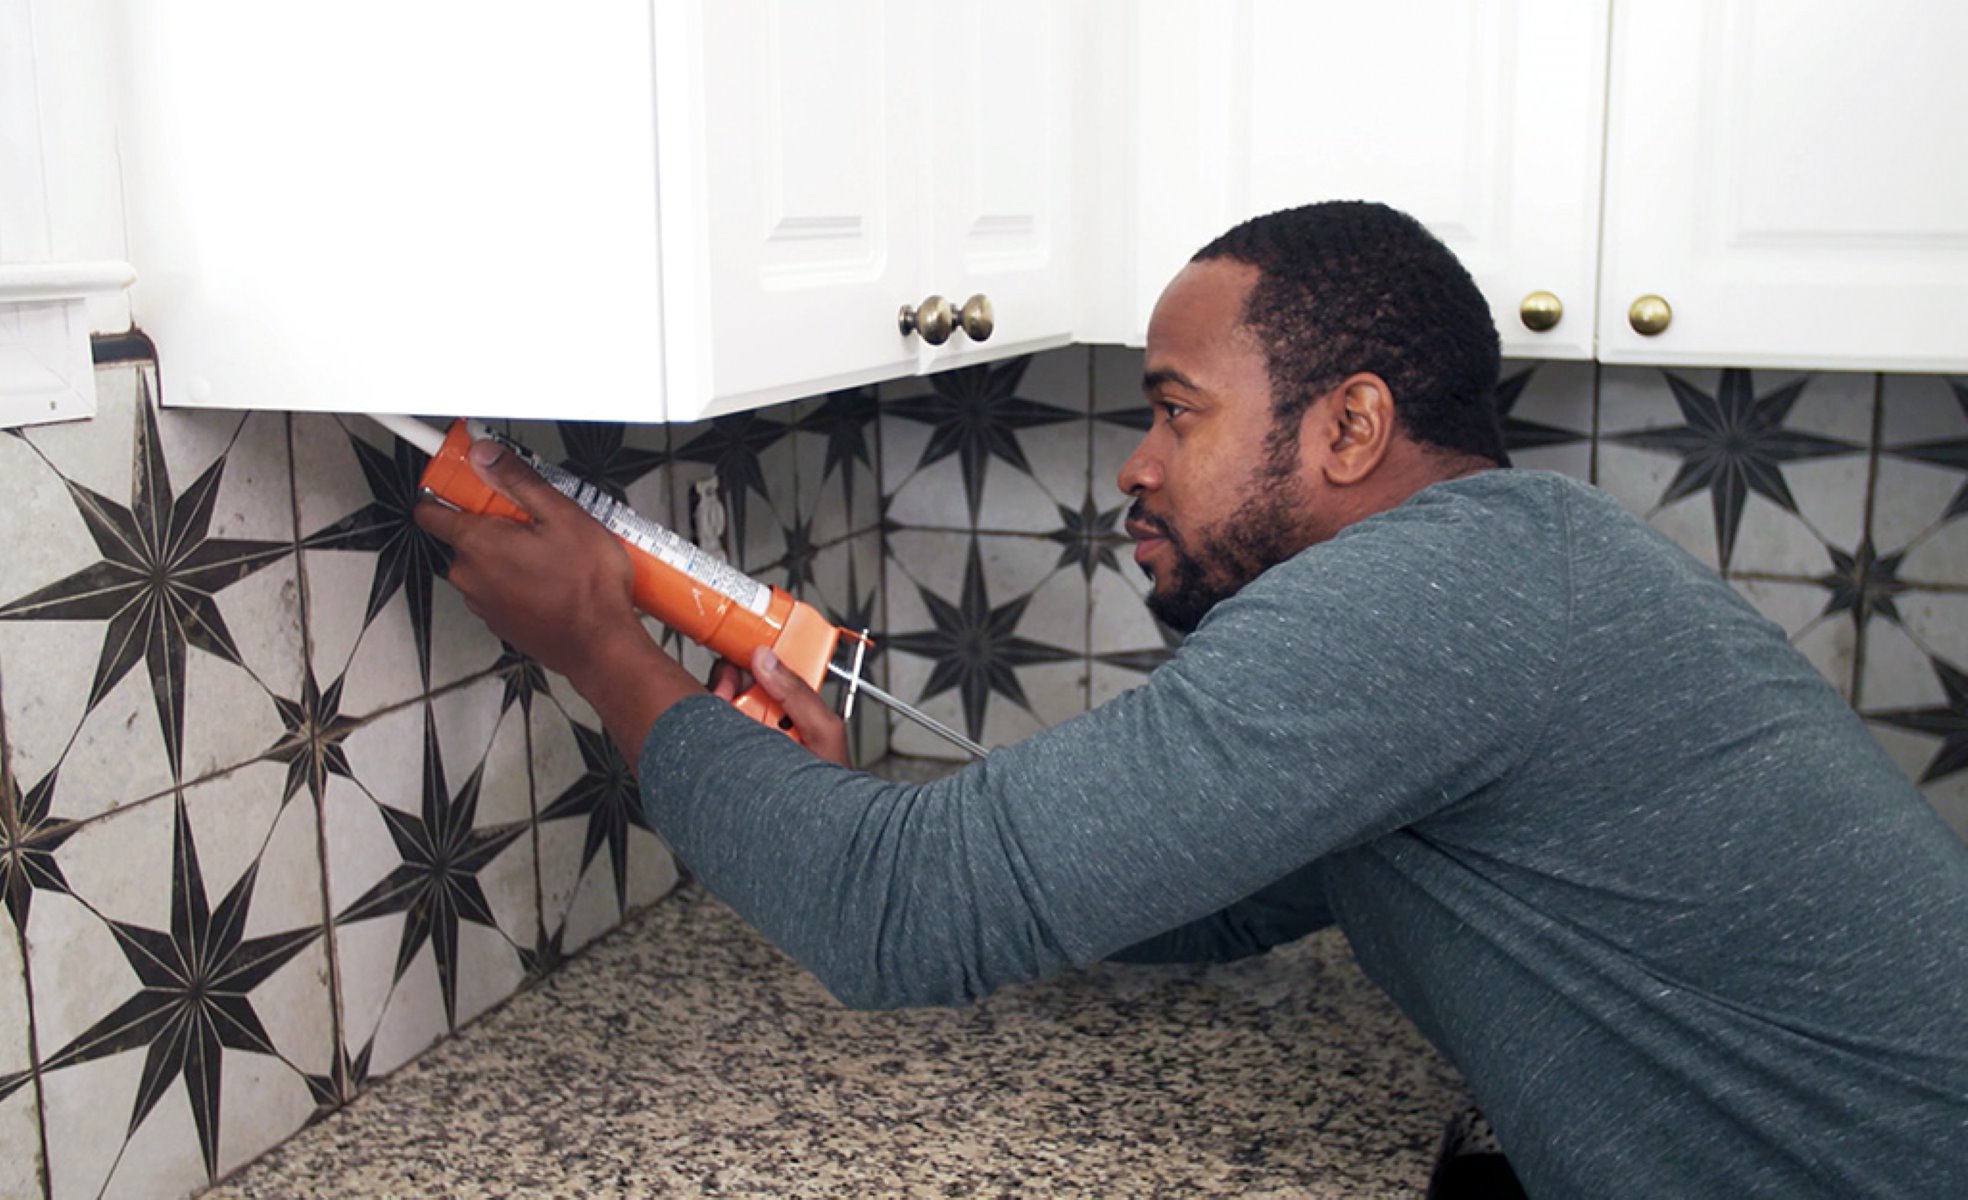
- Caulk: Choose a high-quality caulk that matches the color of your grout to seal the edges and corners of the backsplash, providing a finished look and protecting against moisture infiltration.
- Brick spacers: These handy tools help maintain consistent spacing between the bricks, ensuring a professional-looking installation.
- Clean rags and sponges: These are indispensable for wiping off excess grout and cleaning the bricks during and after installation.
- Protective gear: Safety first! Equip yourself with gloves, safety goggles, and a dust mask to protect against potential hazards during the installation process.
By having these materials ready, you’re setting the stage for a smooth and efficient brick backsplash installation. With everything in hand, you’ll be well-prepared to tackle each step of the process with confidence and precision.
Tools Needed
Equipping yourself with the right tools is crucial for a successful brick backsplash installation. Here’s a comprehensive list of tools you’ll need to bring your vision to life:
- Trowel: A notched trowel is essential for applying adhesive to the back of the brick veneers and ensuring proper coverage for a secure bond.
- Tile saw or wet saw: This tool is indispensable for cutting the brick veneers to fit around outlets, switches, and edges, ensuring a precise and seamless installation.
- Level: Achieving a straight and level brick pattern is a must for a professional-looking backsplash. A level will help you maintain the desired alignment throughout the installation process.
- Tile spacers: These small, cross-shaped spacers are essential for maintaining consistent spacing between the bricks, resulting in a uniform and visually appealing layout.
- Bucket and mixing paddle: You’ll need these to mix the grout to the desired consistency, ensuring smooth and efficient application.
- Grout float: This tool is used to apply grout to the brick joints, ensuring thorough coverage and a neat finish.
- Utility knife: A sharp utility knife will come in handy for trimming and shaping the brick veneers to fit around obstacles and achieve a precise fit.
- Paintbrush: Use a paintbrush to apply the sealer to the brick surface, ensuring comprehensive coverage and protection against stains.
- Sponge and clean rags: These are essential for wiping off excess grout and cleaning the brick surface during and after the grouting process.
- Painter’s tape: Use painter’s tape to protect adjacent surfaces, such as countertops and cabinets, from accidental adhesive and grout smudges during installation.
- Measuring tape: Accurate measurements are key to a successful installation. A measuring tape will help you plan and execute the layout with precision.
By having these tools at your disposal, you’ll be well-equipped to handle each phase of the installation process with confidence and efficiency. With the right materials and tools in hand, you’re ready to embark on the exciting journey of transforming your kitchen with a stunning brick backsplash.
Preparing the Surface
Before diving into the installation of your brick backsplash, it’s essential to prepare the surface to ensure a strong and lasting bond. Here’s a step-by-step guide to preparing the surface for your brick veneers:
- Clean the Wall: Begin by thoroughly cleaning the wall where the brick backsplash will be installed. Remove any grease, dirt, or debris using a mild detergent and water. Allow the wall to dry completely before proceeding.
- Inspect and Repair: Examine the wall for any imperfections, such as cracks or uneven areas. Repair any issues and ensure the surface is smooth and even. If the wall is painted, consider sanding it lightly to promote better adhesion.
- Apply Primer (if necessary): If you’re installing the brick veneers over a painted surface, applying a suitable primer is crucial to promote adhesion and ensure a strong bond. Follow the manufacturer’s instructions for the application of the primer and allow it to dry completely.
- Mark the Layout: Use a pencil and a level to mark the layout of the brick pattern on the wall. This step is crucial for ensuring a straight and visually appealing installation. Take your time to plan the layout and make any necessary adjustments before proceeding.
- Protect Adjacent Surfaces: Use painter’s tape to protect adjacent surfaces, such as countertops and cabinets, from accidental adhesive and grout smudges during the installation process.
By meticulously preparing the surface, you’re setting the stage for a successful and visually striking brick backsplash installation. Taking the time to clean, inspect, and prime the wall, as well as carefully plan the layout, will ensure that your brick veneers adhere securely and create a stunning focal point in your kitchen.
Applying the Adhesive
With the surface prepared and the layout in place, it’s time to apply the adhesive and bring your brick backsplash to life. Here’s a step-by-step guide to applying the adhesive for your brick veneers:
- Mix the Adhesive: Follow the manufacturer’s instructions to mix the adhesive to the proper consistency. Use a trowel to achieve a smooth and lump-free adhesive mixture.
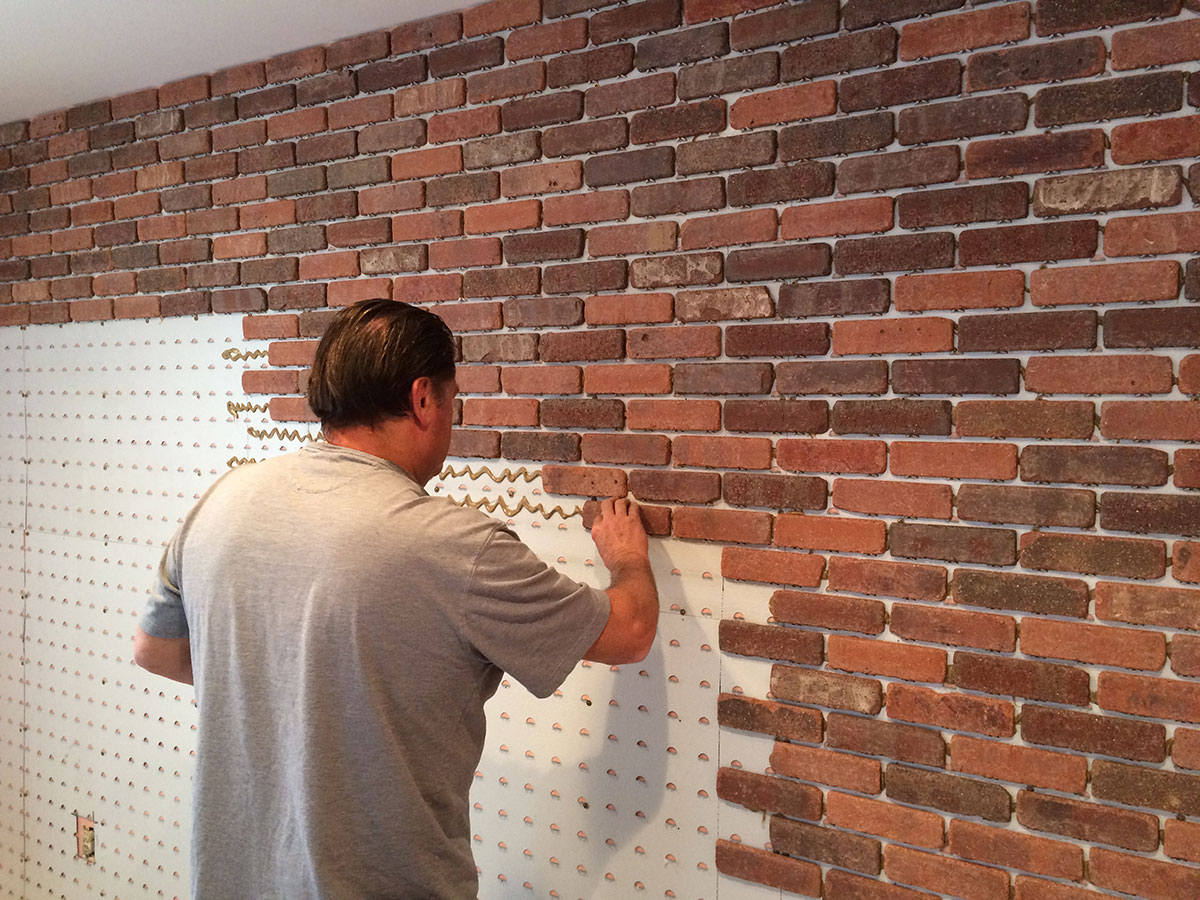
- Apply the Adhesive: Starting at the bottom of the wall, use the notched side of the trowel to spread the adhesive evenly over a small section of the wall. Work in manageable areas to ensure that the adhesive remains workable as you install the brick veneers.
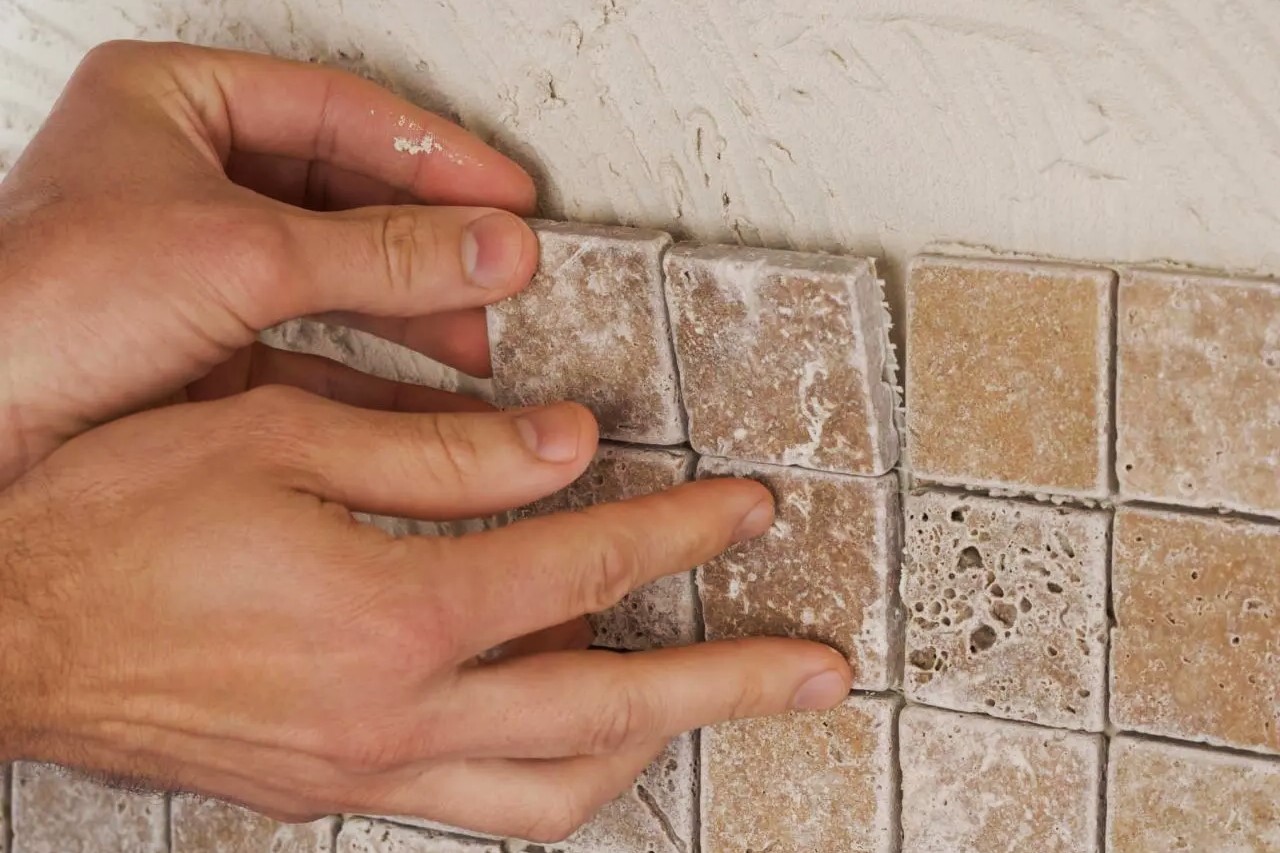
- Press and Position the Bricks: Press the brick veneers firmly into the adhesive, using a slight twisting motion to ensure a secure bond. Insert tile spacers to maintain consistent spacing between the bricks, creating a professional-looking pattern as you work your way up the wall.
- Check for Level and Alignment: Use a level to ensure that the bricks are aligned both horizontally and vertically as you progress. Making adjustments at this stage will result in a visually pleasing and symmetrical installation.
- Trim Bricks as Needed: Use a tile saw or wet saw to cut the bricks to fit around outlets, switches, and edges. Take precise measurements and make careful cuts to achieve a seamless and custom fit for your brick veneers.
By following these steps, you’ll effectively apply the adhesive and position the brick veneers with precision and care. Taking the time to ensure proper alignment and spacing will result in a beautifully installed brick backsplash that enhances the aesthetic appeal of your kitchen.
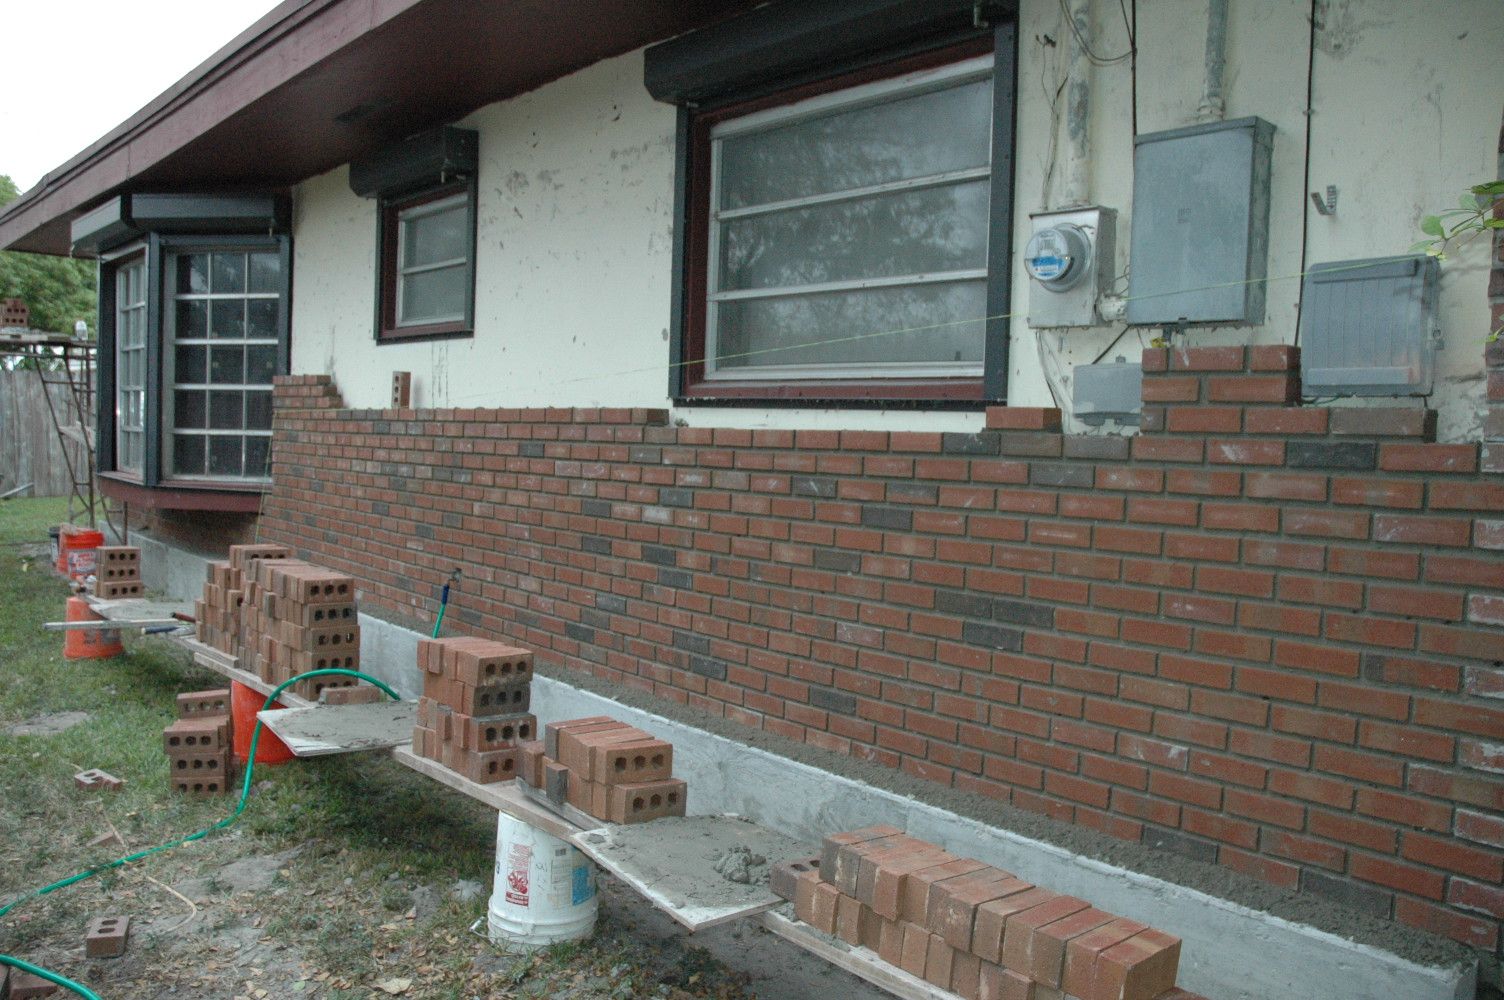
Before starting, ensure the wall is clean and smooth. Use a trowel to spread adhesive on the wall, then press the bricks into place. Let the adhesive dry before grouting.
Installing the Bricks
As the adhesive sets and the brick veneers take shape on your kitchen wall, the transformation of your space begins to unfold. Here’s a detailed guide to installing the bricks for your captivating backsplash:
- Continue the Application: Working in small sections, continue applying adhesive and positioning the brick veneers according to your predetermined layout. Take care to maintain consistent spacing and alignment for a professional finish.
- Ensure Secure Adhesion: Press each brick veneer firmly into the adhesive, ensuring that it adheres securely to the wall. The slight twisting motion during installation helps to create a strong bond between the brick and the wall surface.
- Adjust as Needed: Throughout the installation process, periodically step back and assess the overall appearance of the brick pattern. Make any necessary adjustments to maintain a visually appealing and balanced layout.
- Work Around Obstacles: When encountering obstacles such as outlets, switches, or corners, use a tile saw or wet saw to carefully cut the brick veneers to fit the specific dimensions. Precision and attention to detail are key to achieving a seamless and professional look.
- Step Back and Appreciate: As the brick pattern takes shape, take a moment to step back and appreciate the transformation. The timeless allure of the brick backsplash is coming to life, adding warmth and character to your kitchen space.
By following these steps, you’ll skillfully install the brick veneers, creating a visually stunning and enduring feature in your kitchen. The careful attention to detail and precision throughout the installation process will result in a brick backsplash that becomes the focal point of your culinary haven.
Cutting Bricks for Corners and Edges
As you near the completion of your brick backsplash installation, the meticulous process of cutting bricks for corners and edges becomes crucial for achieving a polished and seamless look. Here’s a comprehensive guide to expertly handling this essential step:
- Measure and Mark: Begin by carefully measuring the dimensions of the space where the brick veneers need to be cut to fit around corners, edges, outlets, or switches. Use a pencil to mark the precise cutting lines on the bricks.
- Use the Right Tool: Employ a tile saw or wet saw to make the necessary cuts. These tools are designed to provide precise and clean cuts, ensuring that the brick veneers fit seamlessly into the designated areas.
- Practice Safety Measures: Prioritize safety by wearing protective gear, including safety goggles and gloves, while operating the tile saw or wet saw. Follow all safety guidelines and instructions provided by the tool’s manufacturer.
- Make Precise Cuts: Carefully guide the brick veneers through the saw, following the marked cutting lines. Exercise patience and precision to achieve smooth and accurate cuts, resulting in a custom fit for the bricks.
- Test the Fit: After making the cuts, test the fit of the brick veneers around corners and edges to ensure a snug and seamless integration. Make any necessary adjustments to achieve the desired fit and alignment.
By meticulously cutting the bricks to fit around corners and edges, you’ll achieve a professional and tailored look for your brick backsplash. The precision and attention to detail during this phase will contribute to the overall visual appeal and cohesiveness of the installation, resulting in a stunning focal point in your kitchen.
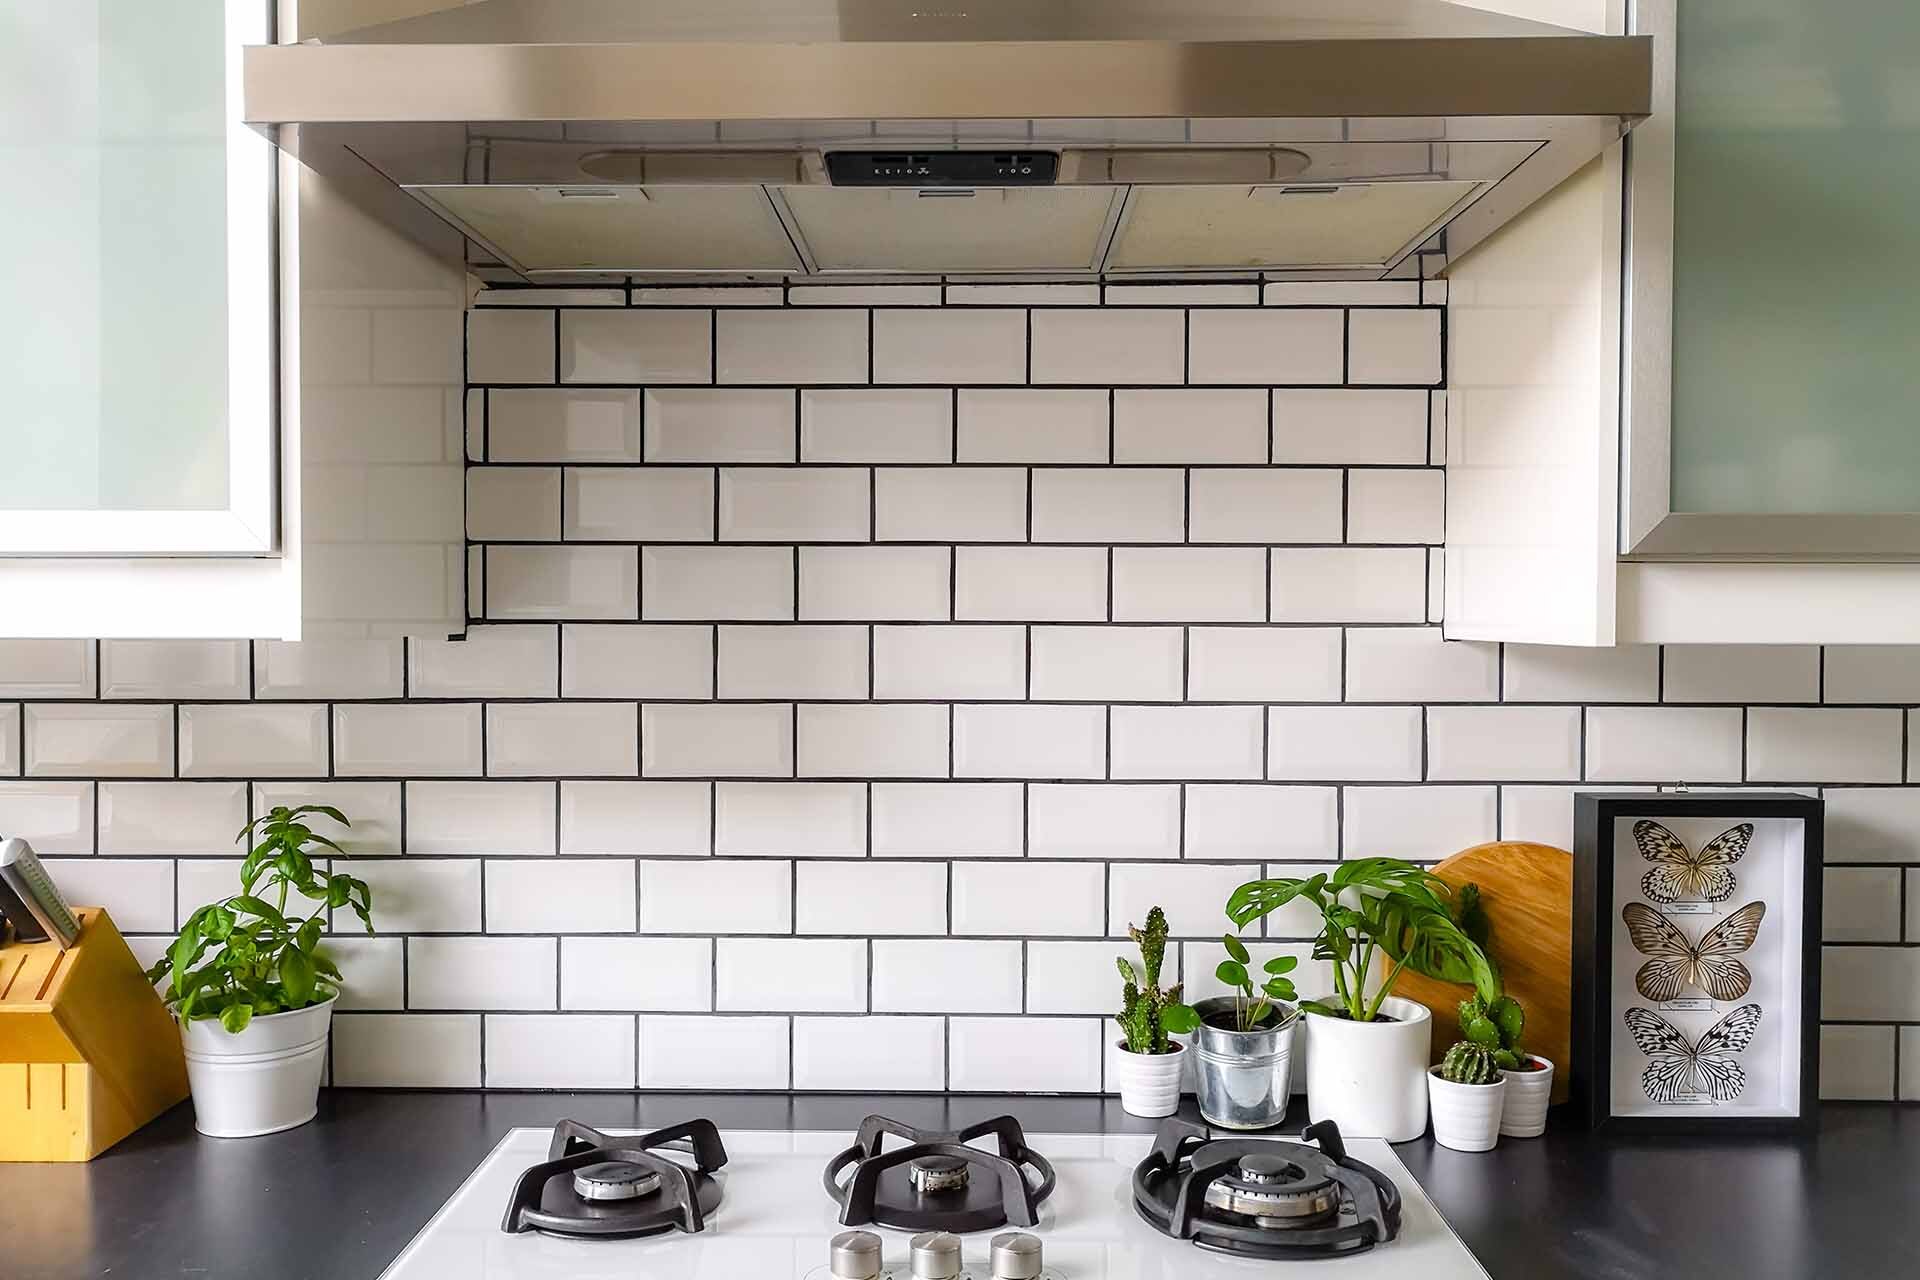
Grouting the Bricks
With the brick veneers securely in place, the next pivotal step in your brick backsplash installation journey is grouting. This process not only enhances the visual appeal of the backsplash but also ensures the durability and longevity of the installation. Here’s a comprehensive guide to grouting the bricks with finesse and precision:
- Mix the Grout: Follow the manufacturer’s instructions to mix the grout to the desired consistency. Use a bucket and mixing paddle to achieve a smooth and lump-free grout mixture.
- Apply the Grout: Using a grout float, apply the grout to the brick joints, ensuring thorough coverage and filling any gaps or spaces between the bricks. Work in small sections to prevent the grout from drying out before it can be smoothed and cleaned.
- Work in a Diagonal Motion: Use the grout float to spread the grout across the brick surface at a diagonal angle to the joints. This technique helps ensure that the grout fills the spaces completely and creates a uniform appearance.
- Remove Excess Grout: After applying the grout, use the edge of the grout float to remove excess grout from the surface of the bricks. Hold the float at a 45-degree angle and make smooth, sweeping motions to scrape away the excess grout while leaving the joints filled.
- Clean the Bricks: Once the grout has set for a short time according to the manufacturer’s instructions, use a damp sponge to gently clean the surface of the bricks, removing any grout residue and smoothing the joints. Rinse the sponge frequently to ensure a thorough cleaning process.
By following these steps, you’ll expertly grout the bricks, creating a cohesive and visually striking finish for your brick backsplash. The meticulous application and cleaning of the grout will contribute to the overall allure and durability of your kitchen’s newest focal point.
Sealing the Bricks
As the final touch to your brick backsplash installation, sealing the bricks is a crucial step that enhances their longevity and preserves their aesthetic appeal. Here’s a comprehensive guide to sealing the bricks, ensuring a durable and visually captivating finish for your kitchen masterpiece:
- Select the Appropriate Sealer: Choose a high-quality sealer specifically formulated for brick surfaces. Consider factors such as breathability, stain resistance, and ease of application when selecting the sealer.
- Prepare the Surface: Ensure that the brick surface is clean and free of any grout residue or debris before applying the sealer. Use a clean, dry cloth to remove any loose particles or dust from the bricks.
- Apply the Sealer: Using a paintbrush or roller, apply the sealer evenly to the brick surface, working in manageable sections. Ensure comprehensive coverage while avoiding excess pooling of the sealer on the bricks.
- Allow for Absorption: Allow the sealer to penetrate the bricks for the recommended amount of time specified by the manufacturer. This allows the bricks to absorb the sealer, enhancing their resistance to stains and moisture.
- Remove Excess Sealer: After the absorption period, use a clean, dry cloth to gently remove any excess sealer from the brick surface. This step ensures a uniform and natural appearance while preventing a sticky or tacky feel on the bricks.
By following these steps, you’ll effectively seal the bricks, safeguarding them against stains and moisture while accentuating their natural beauty. The application of a high-quality sealer adds a layer of protection to your brick backsplash, ensuring that it remains a timeless and enduring feature in your kitchen for years to come.
Read more: How To Paint Brick Backsplash
Conclusion
Congratulations on successfully completing the installation of your brick backsplash! As you step back and admire the transformation, you’ve not only added a touch of timeless elegance to your kitchen but also infused it with warmth and character. The rustic charm of the brick backsplash serves as a captivating focal point, setting the stage for culinary creativity and cherished gatherings in your home.
Throughout this journey, you’ve embraced the artistry of DIY home improvement, skillfully navigating each step of the installation process with precision and care. From meticulously preparing the surface to expertly grouting the bricks, your dedication has culminated in a stunning and enduring addition to your kitchen space.
As you revel in the beauty of your newly installed brick backsplash, remember that the allure of this feature extends beyond its visual appeal. The durability and easy maintenance of brick make it an ideal choice for a kitchen backsplash, standing up to the demands of daily cooking and cleaning while exuding a sense of time-honored craftsmanship.
With your kitchen now adorned with a captivating brick backsplash, you’ve not only elevated the aesthetic charm of the space but also added value to your home. Your dedication to this project has yielded a remarkable result that reflects your personal style and attention to detail.
As you embark on future DIY endeavors, may the satisfaction of this achievement inspire you to continue transforming your living spaces with creativity and ingenuity. Your kitchen now stands as a testament to the artistry and craftsmanship that can be achieved through thoughtful and skillful home improvement projects.
Embrace the warmth and character of your rejuvenated kitchen, where the timeless allure of the brick backsplash serves as a reminder of the beauty that can be brought to life through your hands and vision.
Frequently Asked Questions about How To Install A Brick Backsplash In Kitchen
Was this page helpful?
At Storables.com, we guarantee accurate and reliable information. Our content, validated by Expert Board Contributors, is crafted following stringent Editorial Policies. We're committed to providing you with well-researched, expert-backed insights for all your informational needs.


0 thoughts on “How To Install A Brick Backsplash In Kitchen”