Home>Renovation & DIY>Home Renovation Guides>How To Do A Brick Backsplash
Home Renovation Guides
How To Do A Brick Backsplash
Modified: February 18, 2024
Learn how to install a stunning brick backsplash in your kitchen with our comprehensive home renovation guide. Transform your space today!
(Many of the links in this article redirect to a specific reviewed product. Your purchase of these products through affiliate links helps to generate commission for Storables.com, at no extra cost. Learn more)
Introduction
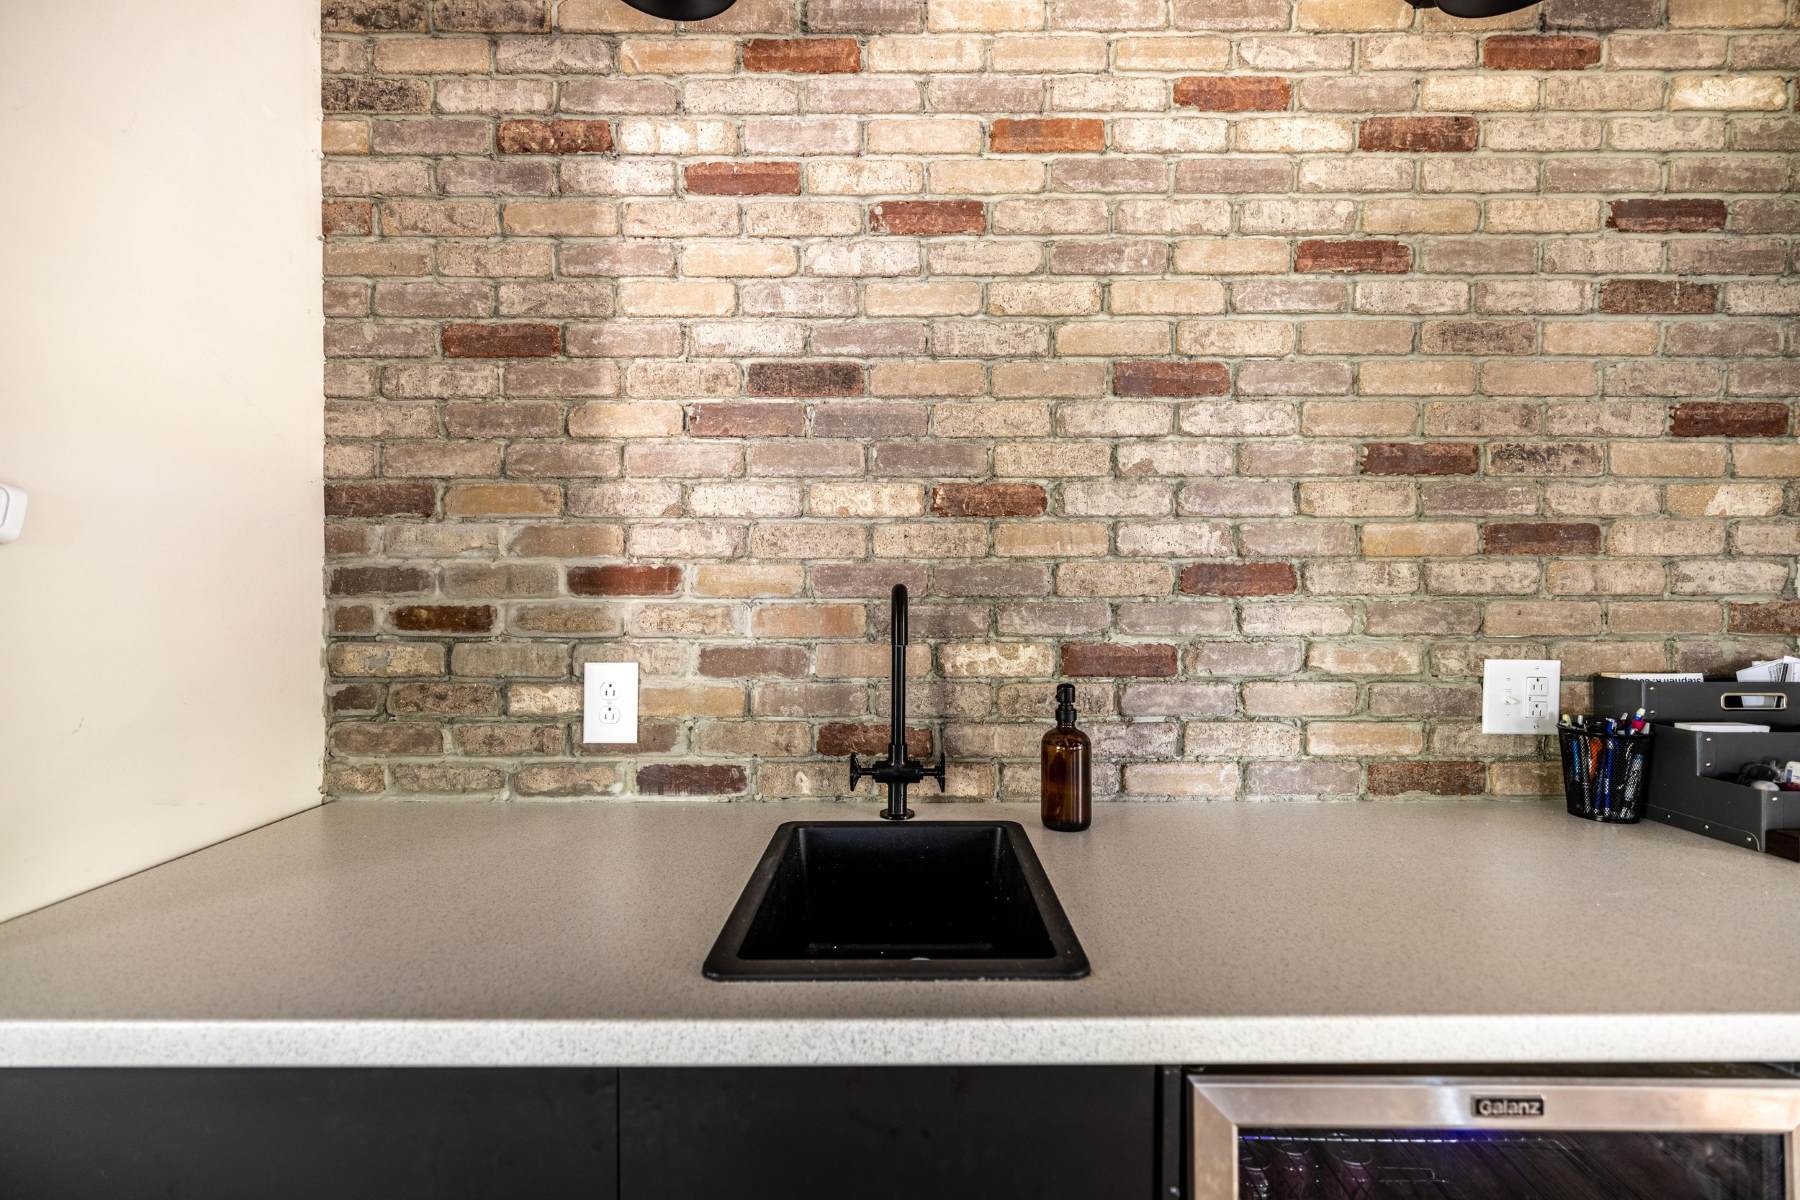
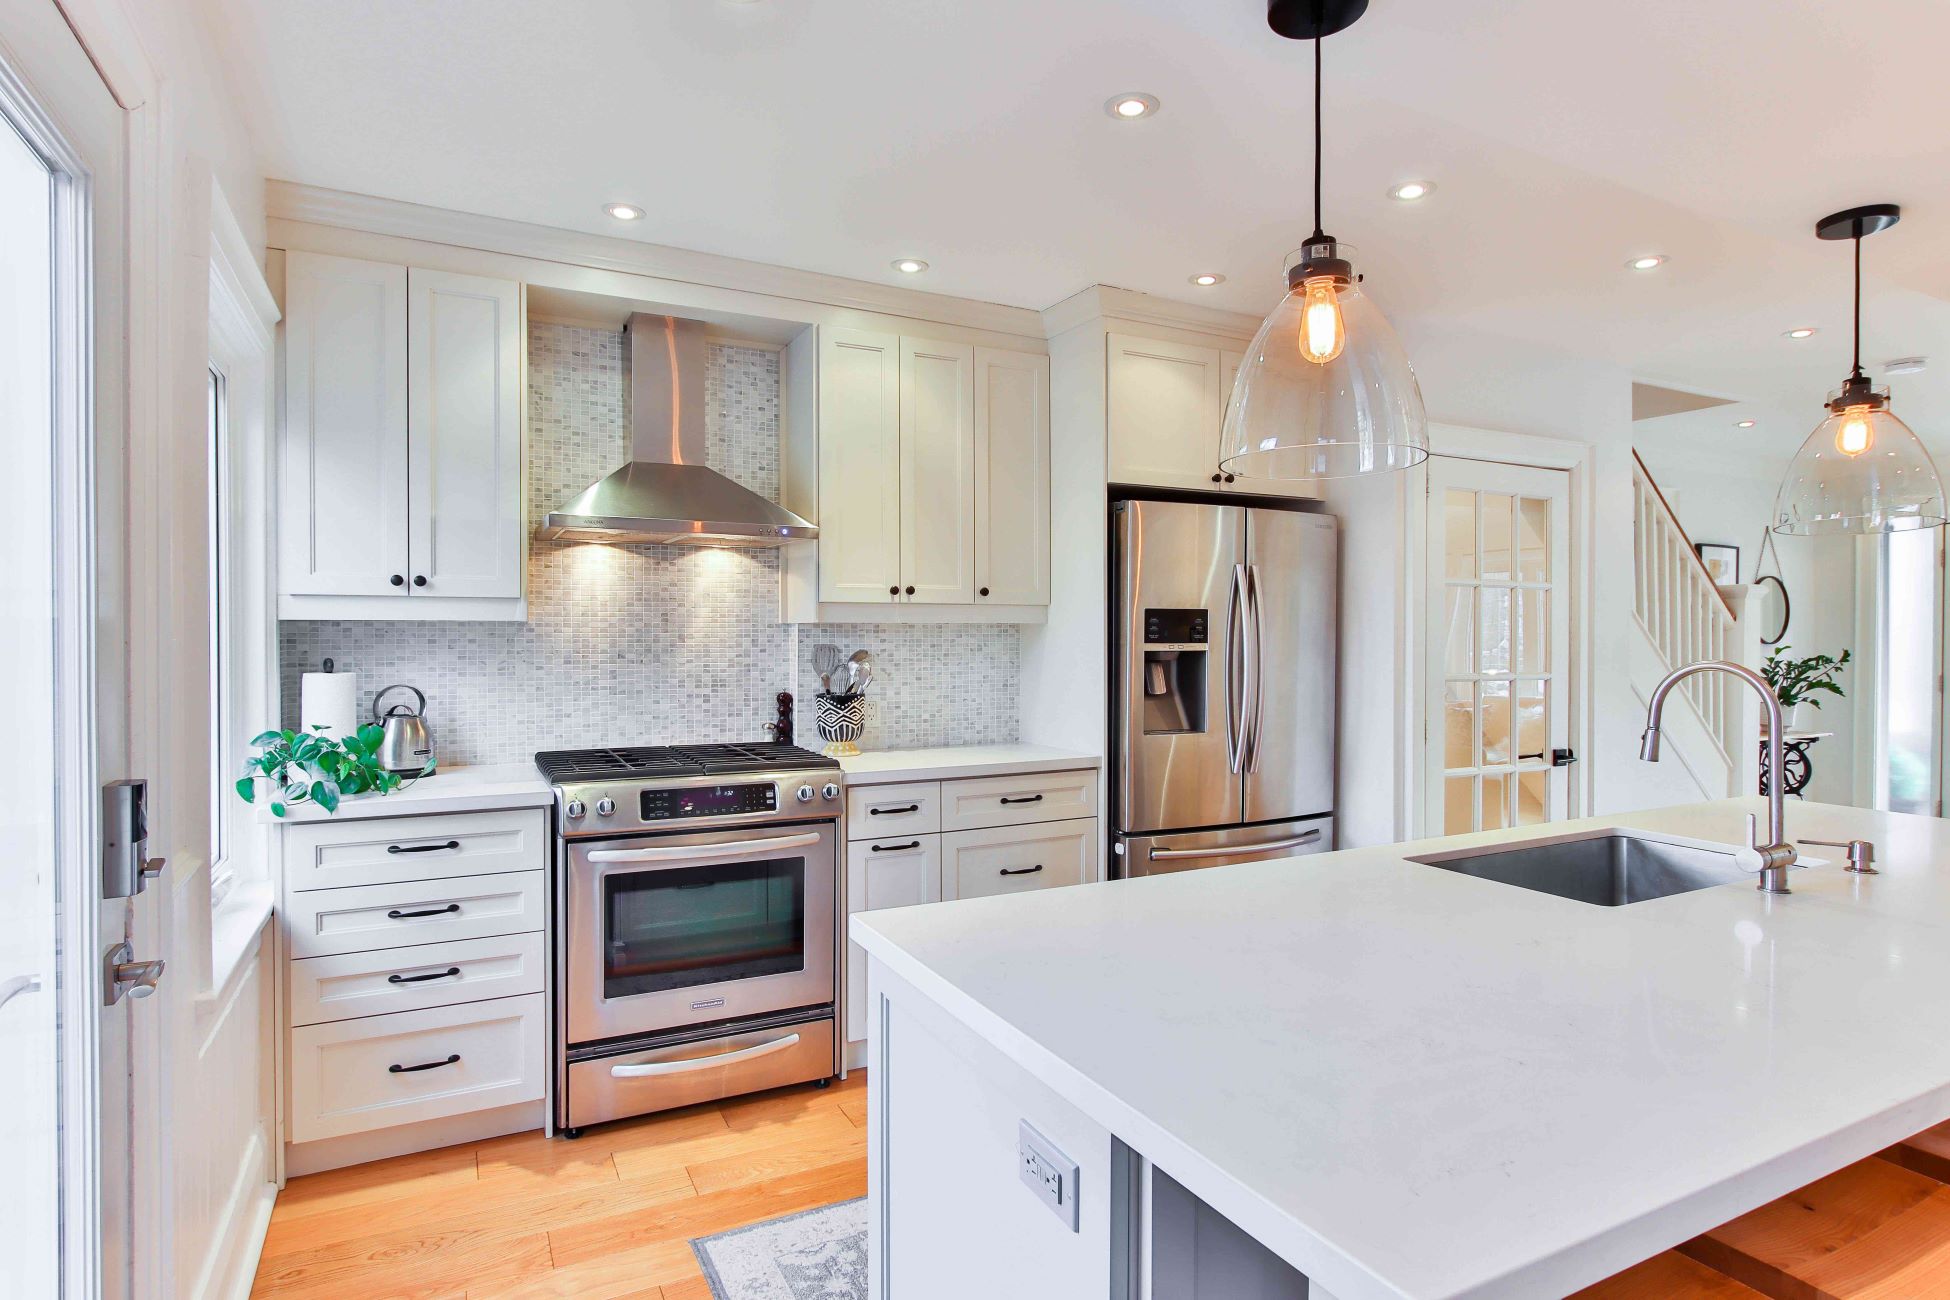
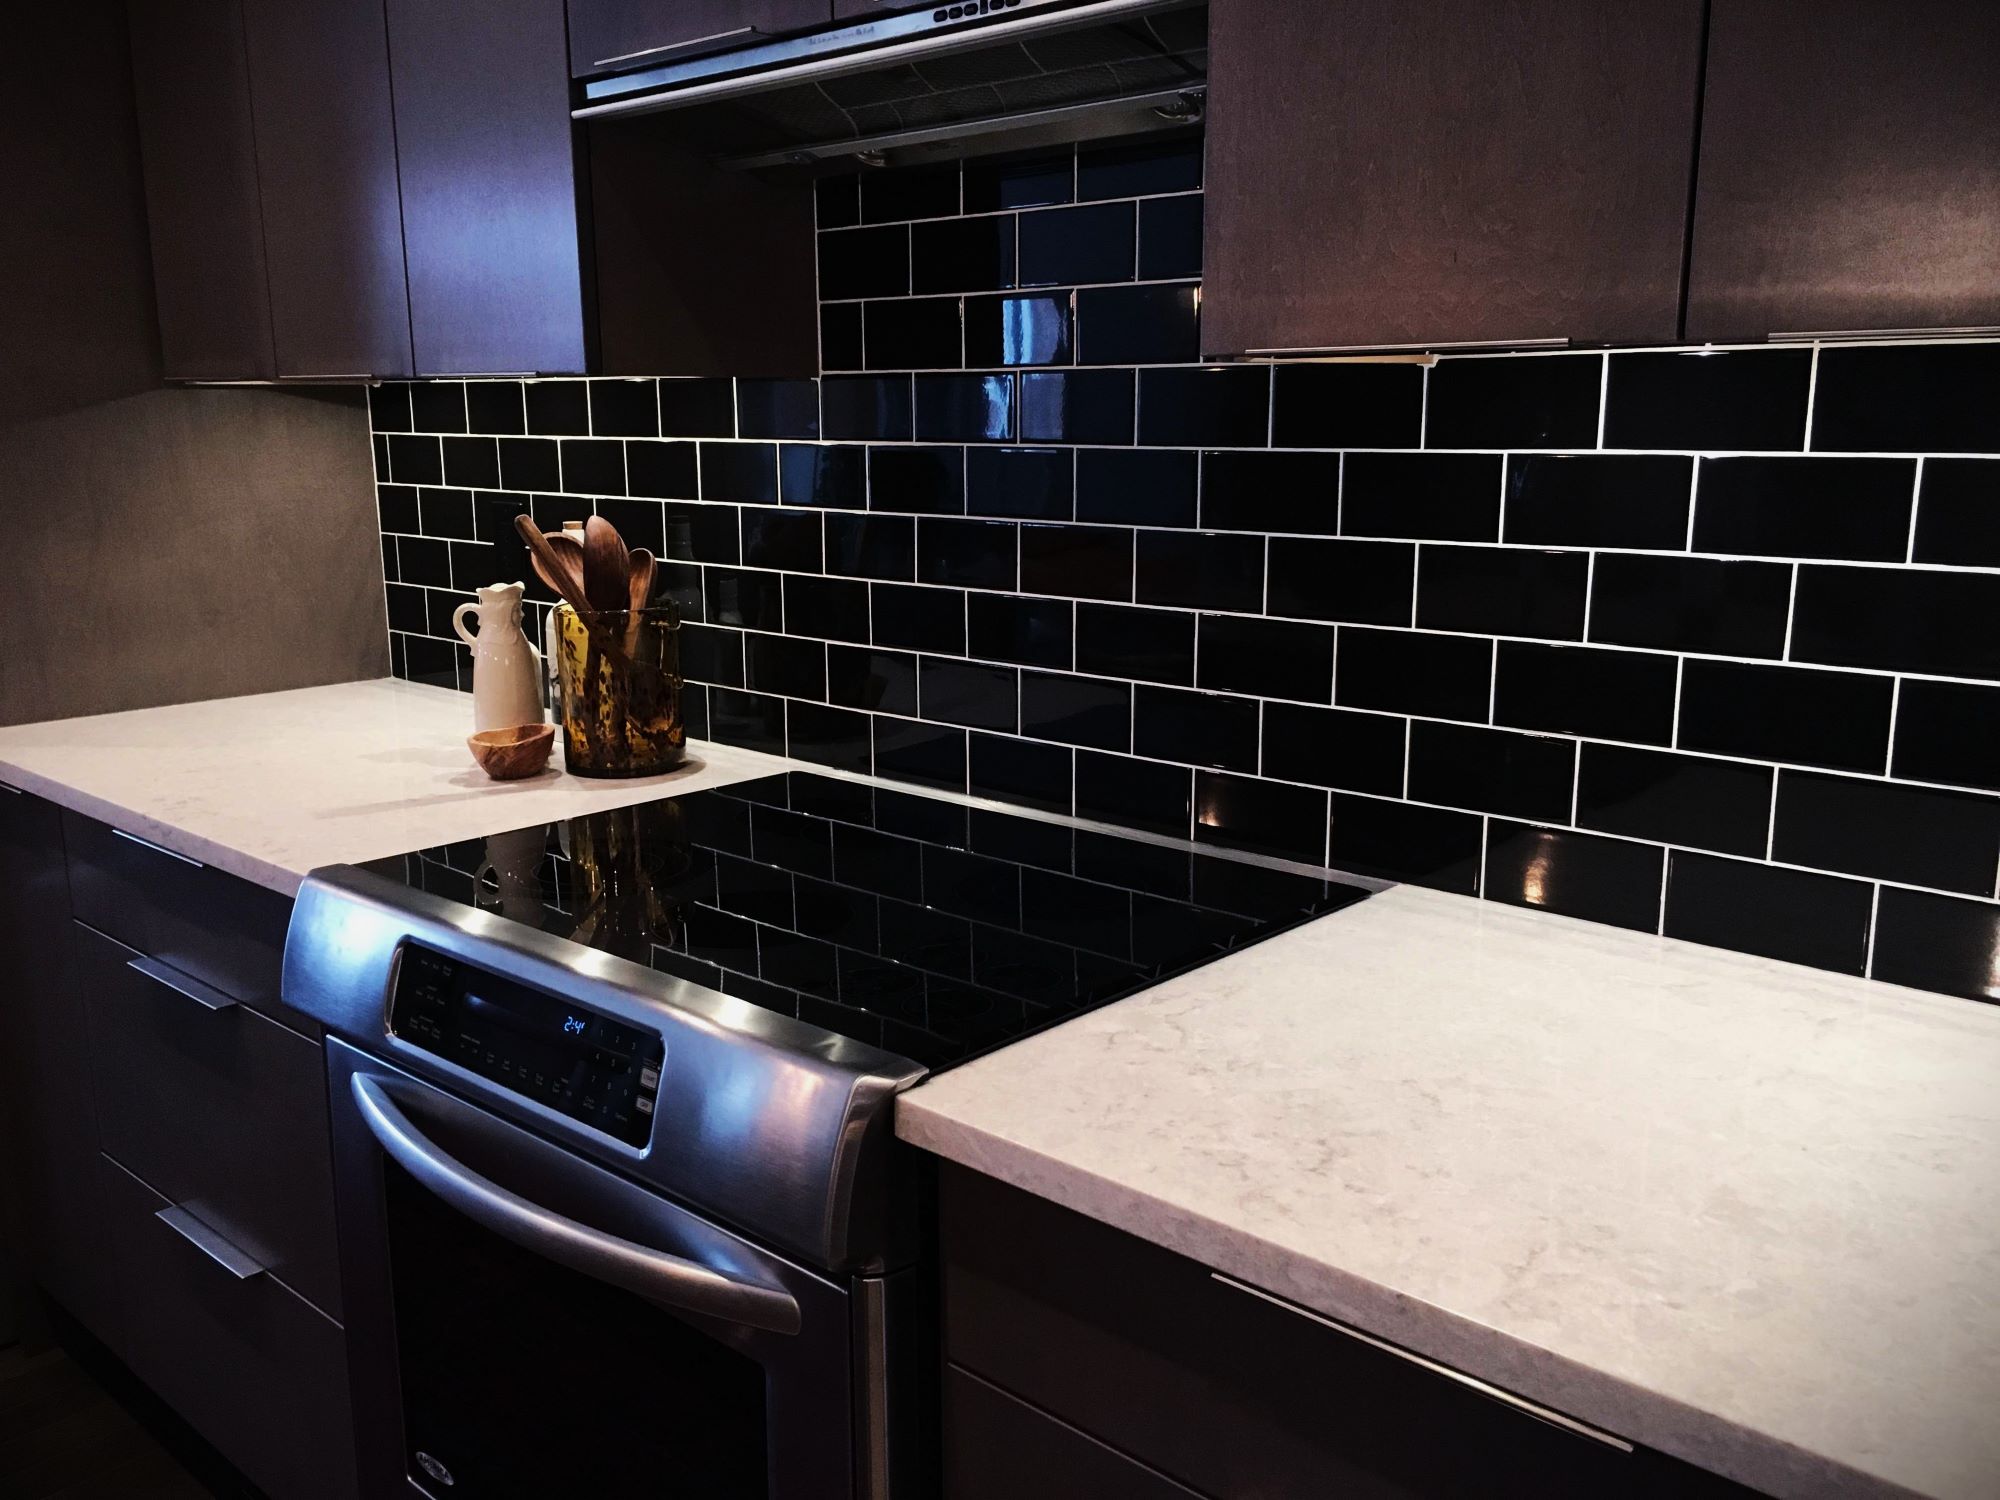
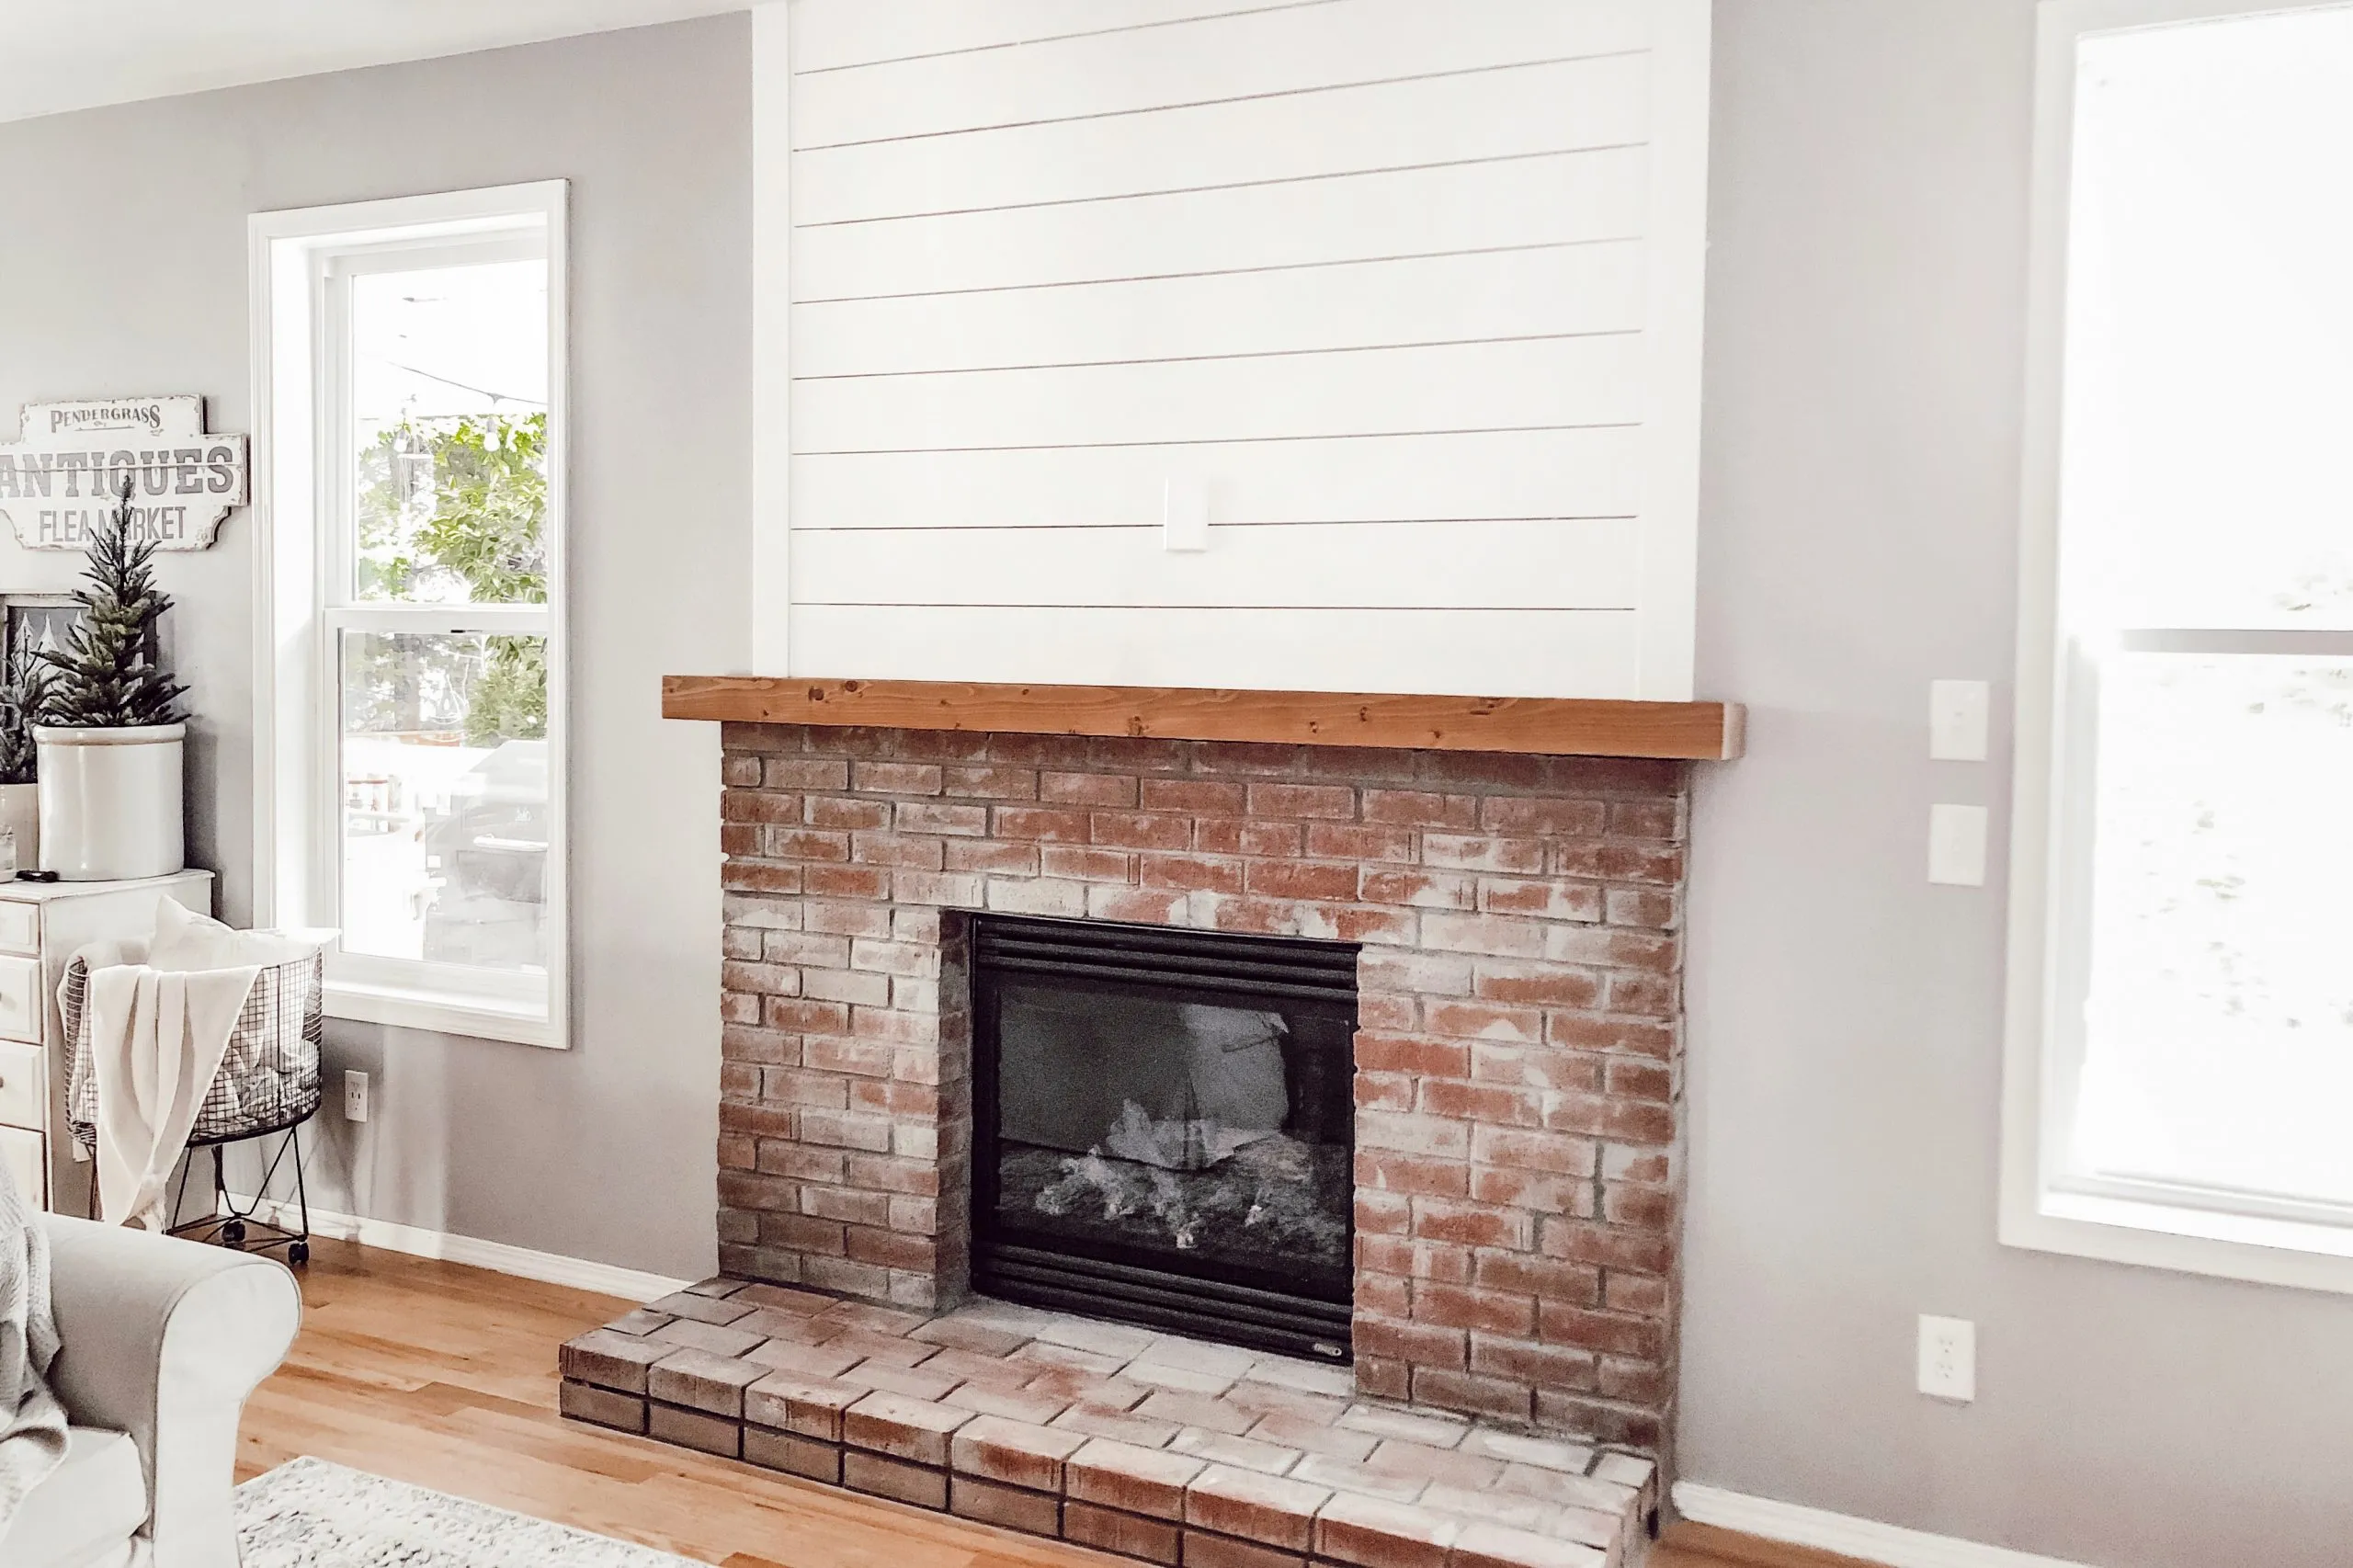
Are you looking to add a touch of rustic charm and timeless elegance to your kitchen or bathroom? A brick backsplash might be just the thing you need to transform the look and feel of your space. Whether you're a seasoned DIY enthusiast or a novice looking to embark on your first home renovation project, installing a brick backsplash can be a rewarding and relatively straightforward endeavor.
The allure of a brick backsplash lies in its ability to infuse warmth, character, and texture into any room. It's a versatile design element that can complement a wide range of interior styles, from farmhouse and industrial to modern and eclectic. By incorporating a brick backsplash into your home, you can create a cozy and inviting atmosphere that exudes a sense of history and craftsmanship.
In this comprehensive guide, we'll walk you through the step-by-step process of installing a brick backsplash, from selecting the right type of brick to grouting and sealing the finished installation. Whether you're drawn to the rugged appeal of reclaimed bricks or the uniformity of manufactured brick veneers, we'll cover everything you need to know to bring your vision to life.
So, roll up your sleeves, gather your tools, and get ready to embark on a journey of creativity and transformation. With a bit of patience, attention to detail, and a sprinkle of DIY spirit, you'll soon be admiring your handiwork and reveling in the timeless beauty of your newly installed brick backsplash. Let's dive in and discover the art of creating a stunning brick backsplash that will become the focal point of your home.
Key Takeaways:
- Create a Timeless Look
Installing a brick backsplash can infuse warmth, character, and texture into your space, creating a cozy and inviting atmosphere. Whether you choose reclaimed bricks or manufactured veneers, the right brick can reflect your unique style and vision. - Maintain Beauty and Functionality
Regular cleaning, periodic sealing, and prompt stain removal are essential for preserving the charm and durability of your brick backsplash. By incorporating these simple care practices, you can ensure that your backsplash continues to enrich your space with its timeless appeal.
Read more: How To Paint Brick Backsplash
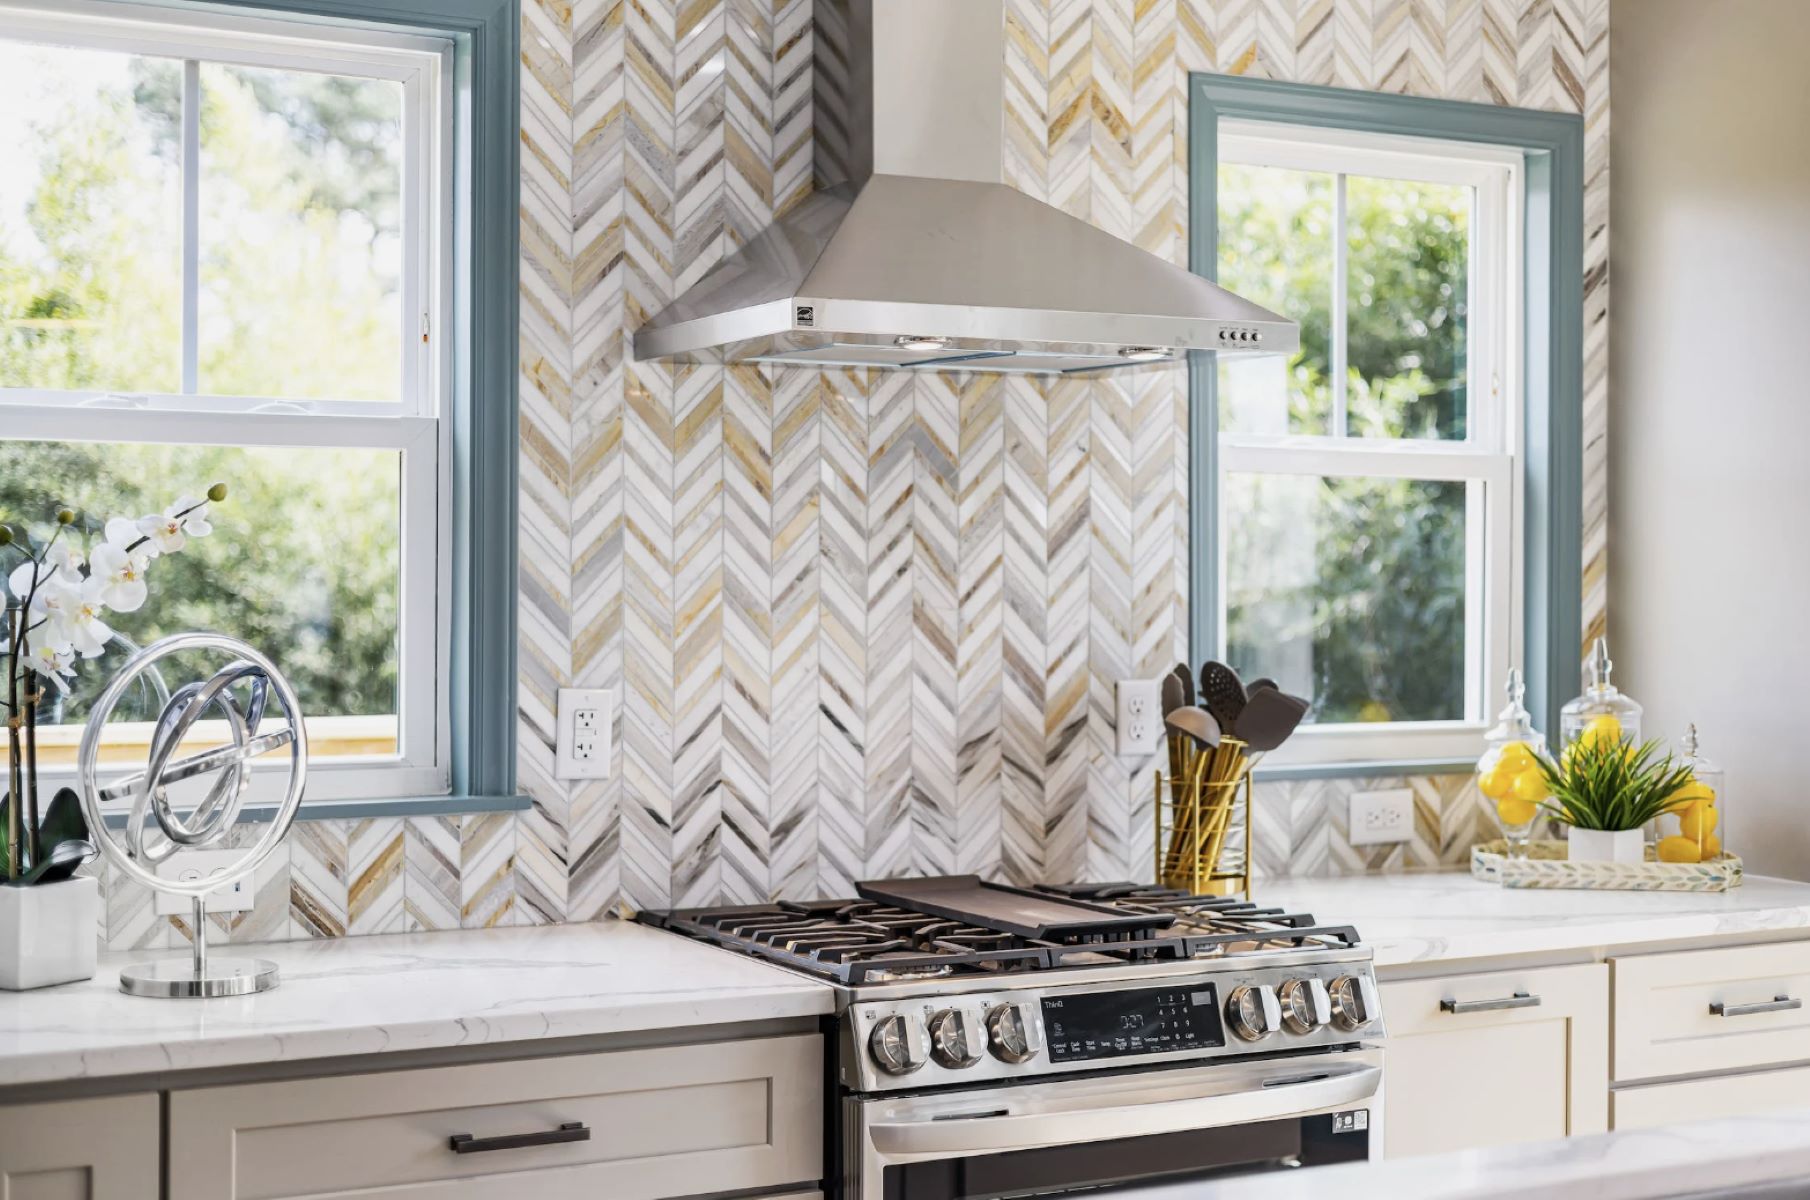
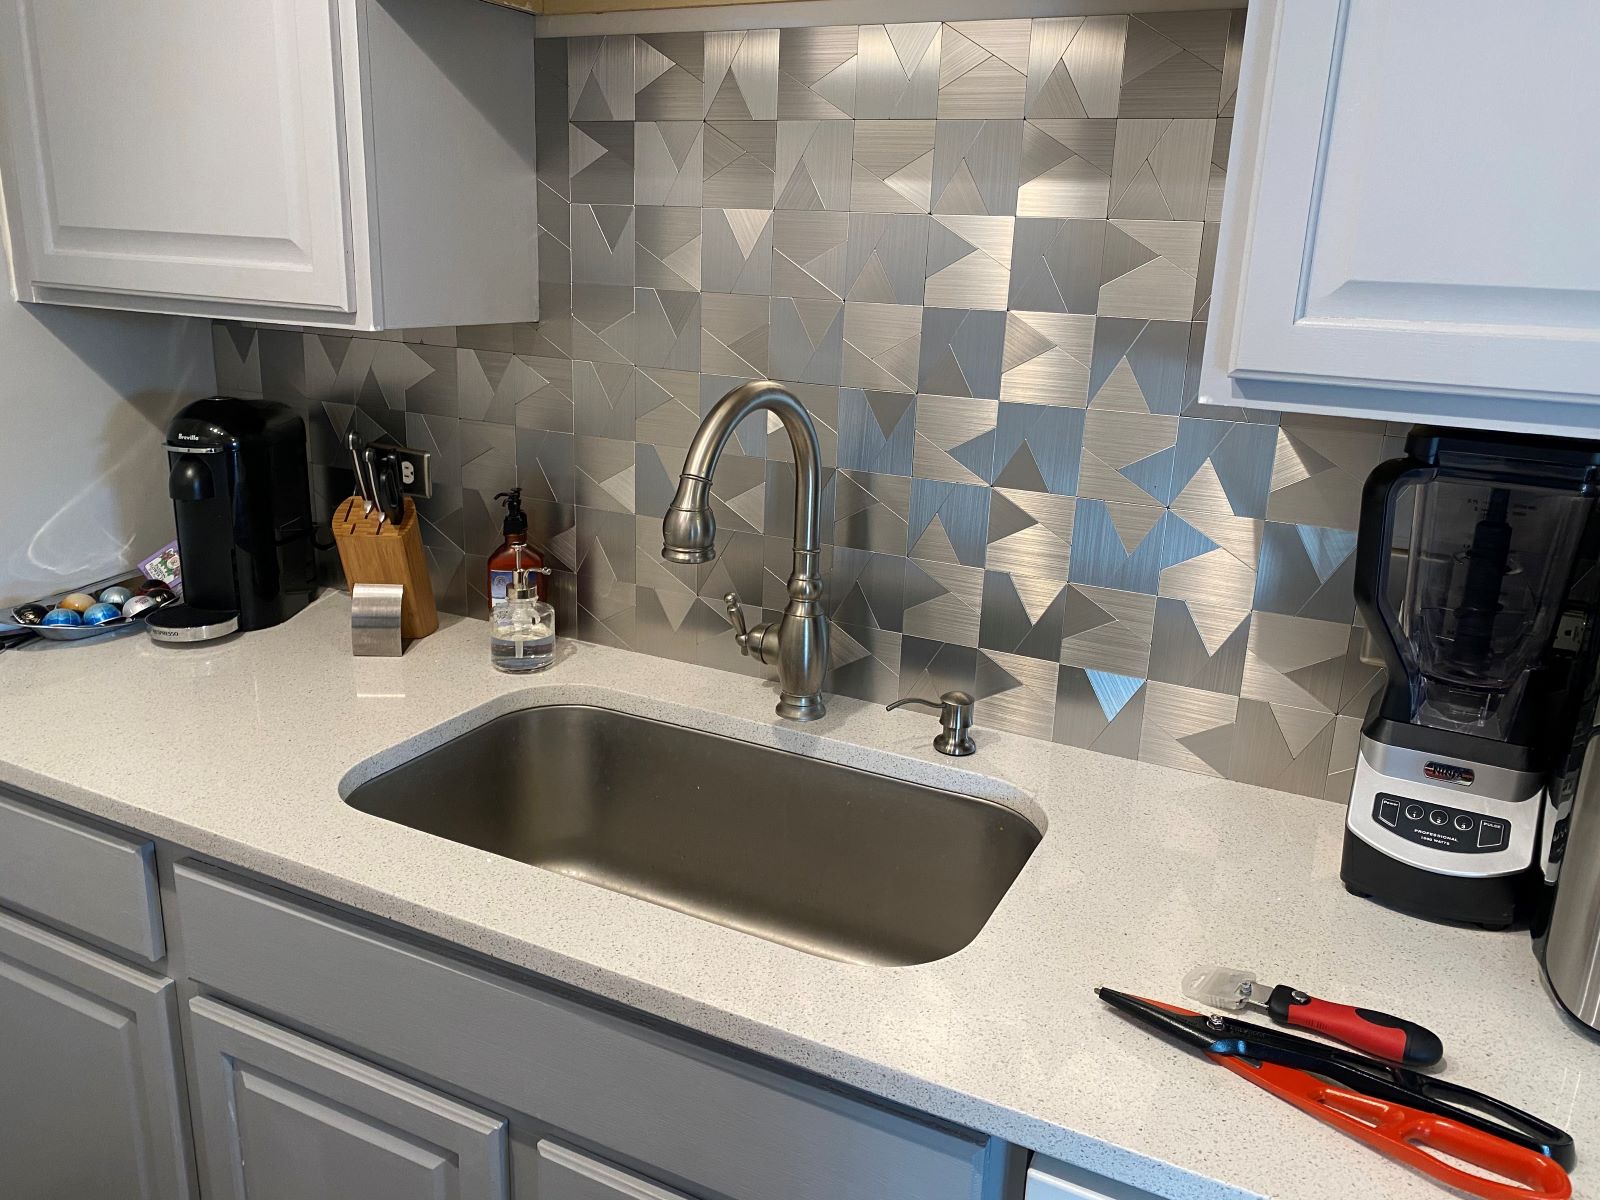
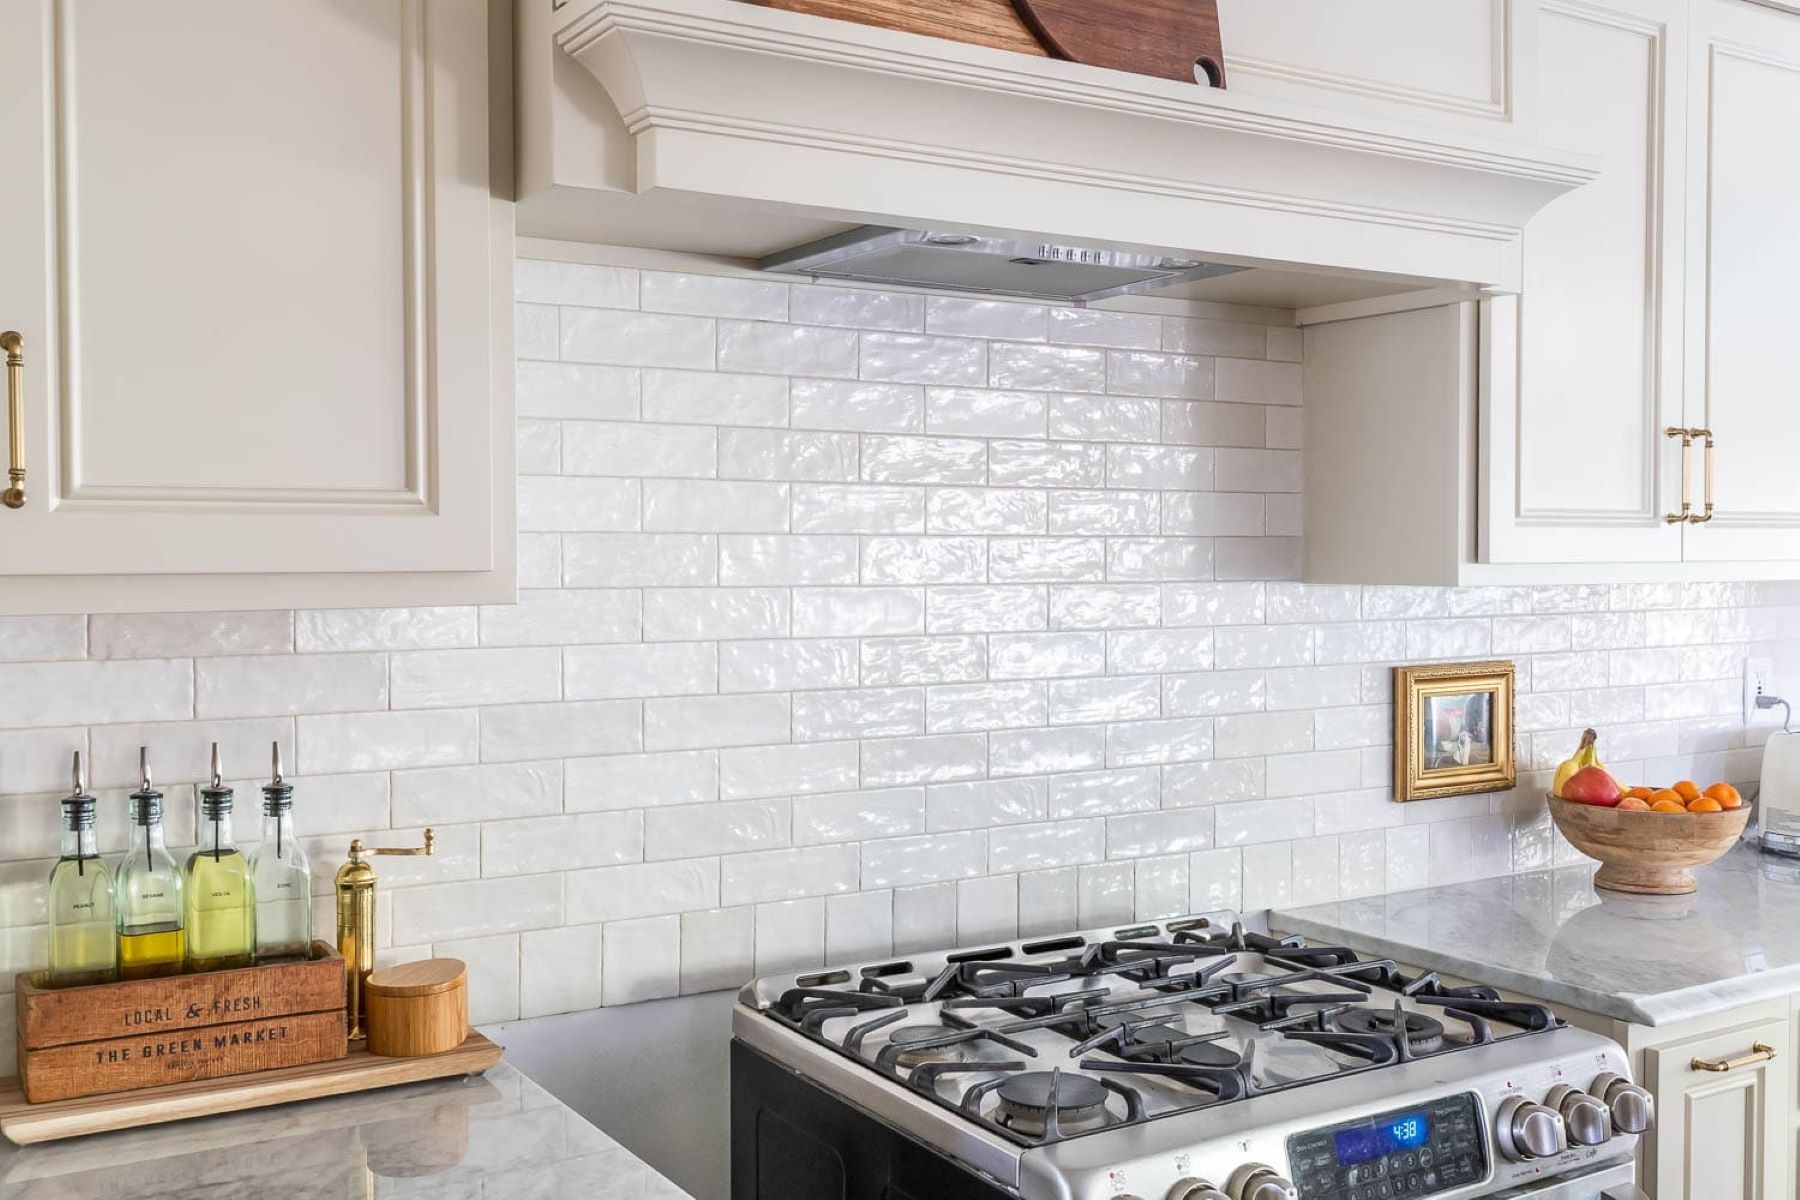
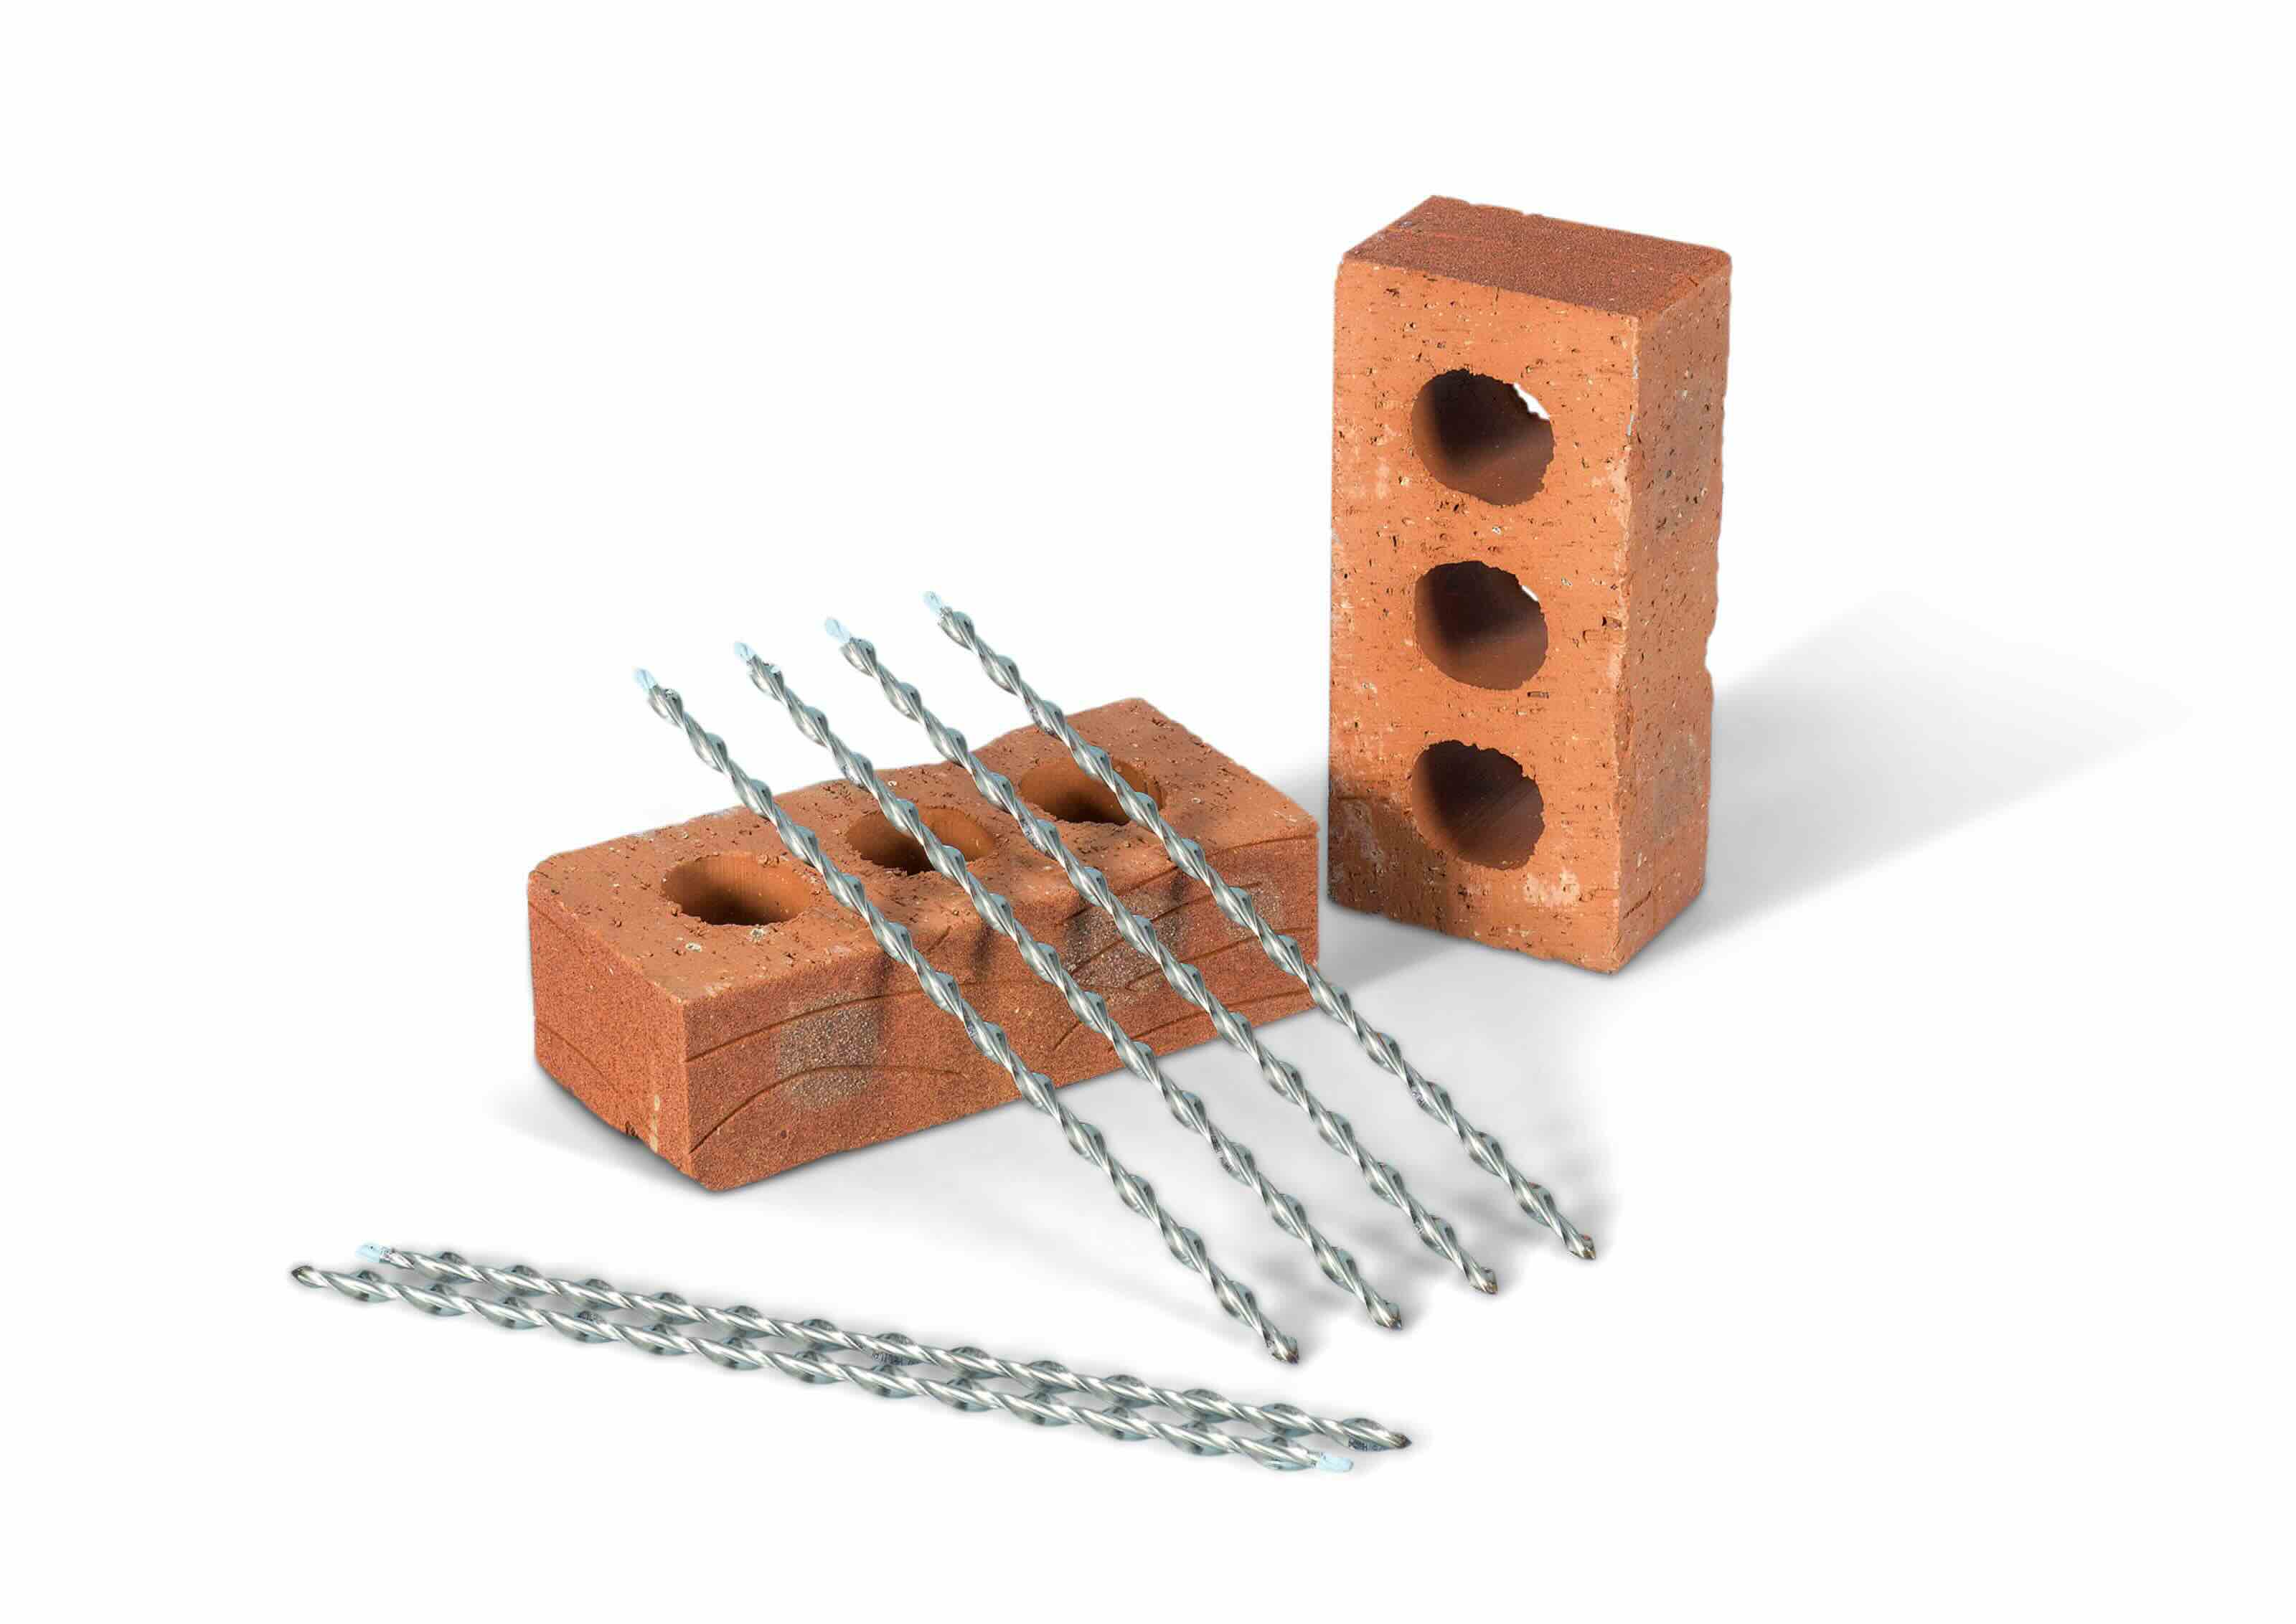
Choosing the Right Brick
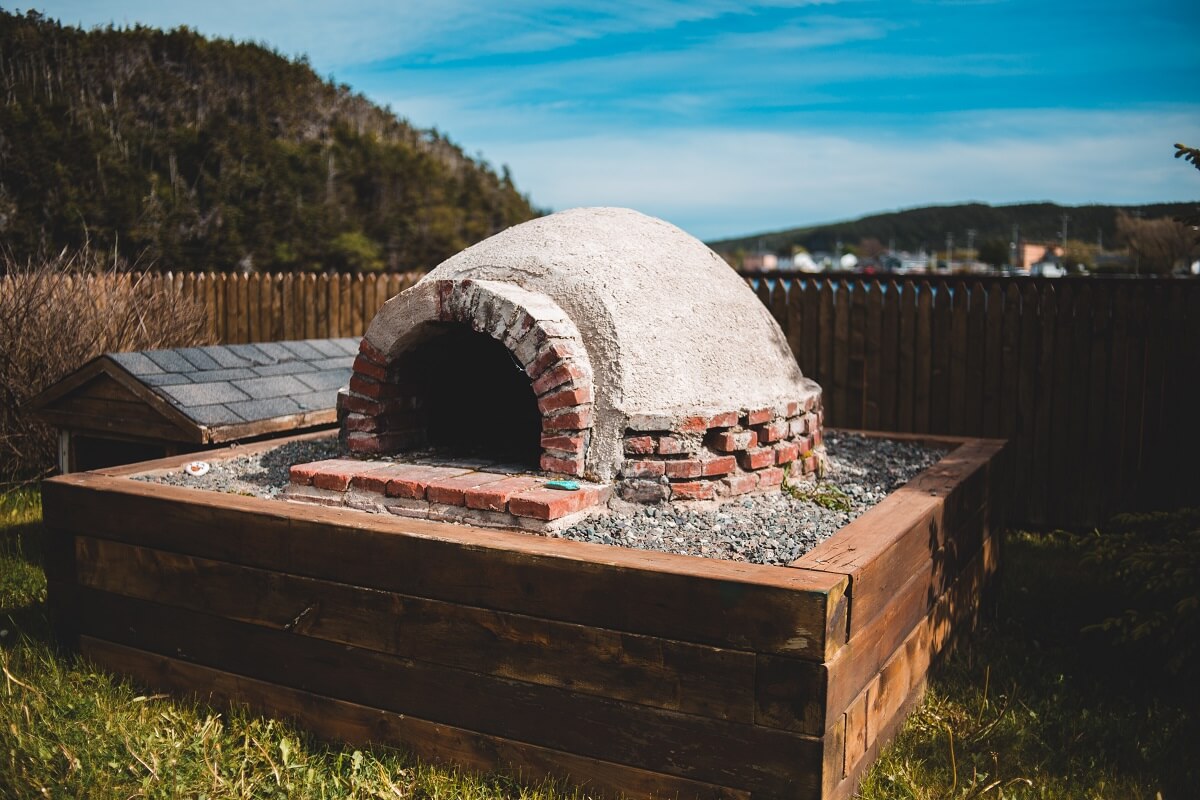
When it comes to choosing the right brick for your backsplash, you're presented with a myriad of options, each with its own unique characteristics and aesthetic appeal. The first decision to make is whether to opt for authentic, reclaimed bricks or manufactured brick veneers. Reclaimed bricks exude a sense of history and authenticity, showcasing weathered textures and subtle color variations that add a rustic charm to your space. On the other hand, manufactured brick veneers offer uniformity in size and shape, providing a more polished and contemporary look.
Once you've determined the type of brick that aligns with your design vision, it's time to consider the color palette. Reclaimed bricks often feature earthy tones, ranging from warm reds and oranges to soft browns and greys. These hues can introduce a sense of warmth and nostalgia to your backsplash, creating a cozy and inviting ambiance. In contrast, manufactured brick veneers offer a broader spectrum of colors, allowing you to select the perfect shade to complement your existing decor and color scheme.
Texture is another crucial factor to contemplate when selecting the right brick for your backsplash. Reclaimed bricks boast a weathered and tactile surface, showcasing the marks of time and the craftsmanship of yesteryear. This texture can add depth and character to your backsplash, infusing it with a sense of heritage and authenticity. On the other hand, manufactured brick veneers often feature a smoother and more consistent texture, lending a contemporary and refined aesthetic to your space.
In addition to aesthetics, it's essential to consider the practical aspects of your brick selection. Reclaimed bricks may require cleaning, sealing, and occasional maintenance to preserve their appearance and integrity. Manufactured brick veneers, on the other hand, are designed to be low-maintenance and are often engineered to resist moisture, stains, and fading, making them a durable and long-lasting choice for your backsplash.
Ultimately, the right brick for your backsplash is the one that resonates with your personal style, complements your existing decor, and aligns with the ambiance you wish to create. Whether you opt for the storied allure of reclaimed bricks or the sleek sophistication of manufactured brick veneers, your choice will lay the foundation for a stunning and enduring backsplash that reflects your unique taste and vision.
Preparing the Wall Surface
Before diving into the installation of your brick backsplash, it's crucial to ensure that the wall surface is properly prepared to guarantee a seamless and long-lasting result. The following steps will guide you through the essential preparations needed to create an ideal foundation for your brick backsplash.
1. Clean the Wall:
Begin by thoroughly cleaning the wall surface where the brick backsplash will be installed. Use a mild detergent and water to remove any dirt, grease, or residue that may have accumulated over time. It's important to start with a clean slate to facilitate proper adhesion and prevent any imperfections from showing through the brick.
2. Repair Any Imperfections:
Inspect the wall for any imperfections such as cracks, holes, or uneven surfaces. Fill in any gaps or indentations with a high-quality patching compound, and use a putty knife to smooth it out. Ensuring that the wall is smooth and free of blemishes will contribute to a flawless end result.
Read more: How To Install A Brick Backsplash In Kitchen
3. Sand and Prime:
Once the patching compound has dried, lightly sand the wall to create a smooth and even surface. After sanding, apply a coat of primer to the entire wall. The primer will promote adhesion and create a uniform base for the brick installation.
4. Mark Guidelines:
Using a level and a pencil, mark horizontal and vertical guidelines on the wall to serve as a reference for aligning the bricks. This step is crucial for maintaining a straight and symmetrical layout during the installation process.
5. Protect Adjacent Surfaces:
To prevent any accidental damage or staining, it's advisable to protect adjacent surfaces such as countertops and cabinets with masking tape and drop cloths. This precaution will safeguard surrounding areas from any potential debris or splatters during the installation.
By meticulously preparing the wall surface, you'll establish a solid groundwork for the successful installation of your brick backsplash. These preparatory measures are essential for ensuring that the finished result is visually appealing, structurally sound, and built to withstand the test of time. With the wall surface primed and ready, you're now equipped to embark on the exciting phase of installing your brick backsplash.
Installing the Brick Backsplash
With the wall surface meticulously prepared, it's time to embark on the exhilarating phase of installing your brick backsplash. This transformative process will bring your vision to life, infusing your space with the timeless allure of brick and creating a captivating focal point in your kitchen or bathroom.
Read more: How To Do Grout For Backsplash
1. Dry Layout:
Before applying any adhesive, it's beneficial to conduct a dry layout of the bricks on the wall. This involves arranging the bricks without adhesive to visualize the pattern, ensure proper fit, and make any necessary adjustments. It's an opportunity to experiment with different layouts and configurations, ensuring that the final arrangement aligns with your design vision.
2. Apply Adhesive:
Using a notched trowel, apply a generous layer of adhesive to a small section of the wall. The type of adhesive will depend on the specific characteristics of your chosen brick, so be sure to follow the manufacturer's recommendations. Working in manageable sections will prevent the adhesive from drying out before the bricks are placed.
3. Install the Bricks:
Carefully press each brick into the adhesive, following the guidelines marked on the wall. Ensure that the bricks are level and evenly spaced, using spacers if necessary to maintain consistent gaps between the bricks. As you progress, periodically step back to assess the alignment and adjust as needed to maintain a uniform and visually pleasing layout.
4. Cut Bricks as Needed:
Inevitably, some bricks will require cutting to fit around obstacles such as electrical outlets, switches, or cabinets. Utilize a wet saw or a brick chisel and hammer to precisely cut the bricks to the required dimensions. Attention to detail during this step will ensure a seamless and professional-looking installation.
Read more: How To Do A Herringbone Backsplash
5. Let the Adhesive Cure:
Allow the adhesive to cure according to the manufacturer's instructions before proceeding to the next phase. This crucial step ensures that the bricks adhere securely to the wall, providing a stable foundation for the subsequent grouting process.
By meticulously following these steps, you'll witness the gradual transformation of your space as the brick backsplash takes shape. Each brick contributes to the creation of a captivating visual tapestry, infusing your kitchen or bathroom with warmth, character, and a timeless aesthetic. As the installation nears completion, you'll be one step closer to reveling in the enduring beauty and charm of your newly installed brick backsplash.
Grouting and Sealing
Once the bricks are securely in place, the next crucial step in the installation process is grouting and sealing. This phase not only enhances the visual appeal of the brick backsplash but also ensures its durability and longevity. The grout serves to fill the gaps between the bricks, providing structural support and preventing moisture and debris from infiltrating the installation. Additionally, sealing the grout is essential for safeguarding the backsplash against stains, water damage, and discoloration, ultimately preserving its pristine appearance for years to come.
1. Selecting the Grout:
The first consideration in this phase is choosing the right grout color. Whether you opt for a contrasting shade to make the bricks stand out or a complementary color for a seamless look, the grout color significantly influences the overall aesthetic of the backsplash. Additionally, you'll need to decide between sanded and unsanded grout based on the width of the gaps between the bricks. Sanded grout is suitable for wider gaps, providing strength and stability, while unsanded grout is ideal for narrower gaps to achieve a smooth and uniform finish.
2. Applying the Grout:
Using a grout float, apply the chosen grout to the brick backsplash, ensuring that the gaps are completely filled. Work the grout into the spaces between the bricks at a 45-degree angle, pressing firmly to pack the grout and eliminate air pockets. It's essential to work in small sections and remove excess grout from the brick surfaces promptly to prevent it from drying and adhering to the bricks.
Read more: How To Do Backsplash In The Kitchen
3. Cleaning the Excess Grout:
After allowing the grout to set for a specific period as per the manufacturer's instructions, use a damp sponge to gently wipe away any residual grout from the brick surfaces. Rinse the sponge frequently and avoid applying excessive pressure to prevent dislodging the grout from the gaps. This meticulous cleaning process will reveal the true beauty of the bricks and ensure a polished and professional finish.
4. Sealing the Grout:
Once the grout has fully cured, it's time to apply a high-quality grout sealer to protect the backsplash from stains and moisture. The sealer acts as a barrier, preventing liquids and debris from penetrating the grout and compromising its integrity. Using a brush or applicator, evenly apply the sealer over the grout lines, ensuring thorough coverage. Allow the sealer to dry completely before exposing the backsplash to moisture or cleaning agents.
By meticulously executing the grouting and sealing process, you'll fortify the structural integrity of the brick backsplash while enhancing its visual allure. The grout seamlessly integrates the individual bricks into a cohesive and resilient surface, while the sealer acts as a shield, preserving the backsplash's beauty and ensuring its resilience against the rigors of daily use. With the grouting and sealing phase completed, your brick backsplash will stand as a testament to craftsmanship and attention to detail, enriching your space with enduring charm and functionality.
Maintenance and Care
Maintaining the pristine appearance and structural integrity of your brick backsplash is essential to ensure its longevity and enduring beauty. By incorporating regular maintenance and adopting simple care practices, you can preserve the charm and functionality of your backsplash for years to come.
Cleaning Routine:
Regular cleaning is paramount to uphold the allure of your brick backsplash. Use a mild detergent or specially formulated brick cleaner to gently remove any accumulated dirt, grease, or food splatters. Avoid harsh abrasives or acidic cleaners, as these can compromise the integrity of the bricks and grout. A soft-bristled brush or sponge is ideal for cleaning, while a thorough rinse with clean water will help maintain the backsplash's luster.
Read more: How To Do Backsplash Around Outlets
Periodic Sealing:
Periodically inspect the grout lines for signs of wear or discoloration. Depending on the usage and exposure to moisture, reapplying a grout sealer every 1-2 years can bolster the backsplash's resistance to stains and moisture infiltration. This simple yet crucial step will fortify the grout, ensuring that it remains impervious to the rigors of daily use and environmental factors.
Addressing Stains Promptly:
In the event of accidental spills or stains, swift action is key to preventing permanent discoloration. Blot any spills immediately with a clean, absorbent cloth, and gently clean the affected area with a mild cleaning solution. By addressing stains promptly, you can mitigate the risk of lasting blemishes and maintain the backsplash's immaculate appearance.
Avoiding Impact and Abrasion:
While brick backsplashes are inherently durable, it's advisable to exercise caution to prevent impact or abrasion that could mar the surface. Be mindful of sharp or heavy objects that may come into contact with the backsplash, and consider using protective pads or mats in areas prone to high impact, such as behind the stovetop or sink.
Regular Inspection:
Periodically inspect the entire backsplash for any signs of damage, loose bricks, or deteriorating grout. Addressing any issues promptly can prevent minor concerns from escalating into larger problems, preserving the structural integrity and visual appeal of the installation.
By integrating these maintenance and care practices into your routine, you can safeguard the enduring beauty and functionality of your brick backsplash. With a commitment to regular upkeep and a gentle touch, your backsplash will continue to enrich your space with its timeless charm and character, standing as a testament to the enduring allure of brick in home design.
Frequently Asked Questions about How To Do A Brick Backsplash
Was this page helpful?
At Storables.com, we guarantee accurate and reliable information. Our content, validated by Expert Board Contributors, is crafted following stringent Editorial Policies. We're committed to providing you with well-researched, expert-backed insights for all your informational needs.

0 thoughts on “How To Do A Brick Backsplash”