Home>Construction & Tools>Building Materials>How To Repair Cracked Brick Veneer
Building Materials
How To Repair Cracked Brick Veneer
Modified: August 28, 2024
Learn how to repair cracked brick veneer using building materials and expert techniques. Restore the appearance and integrity of your home with our step-by-step guide.
(Many of the links in this article redirect to a specific reviewed product. Your purchase of these products through affiliate links helps to generate commission for Storables.com, at no extra cost. Learn more)
Introduction
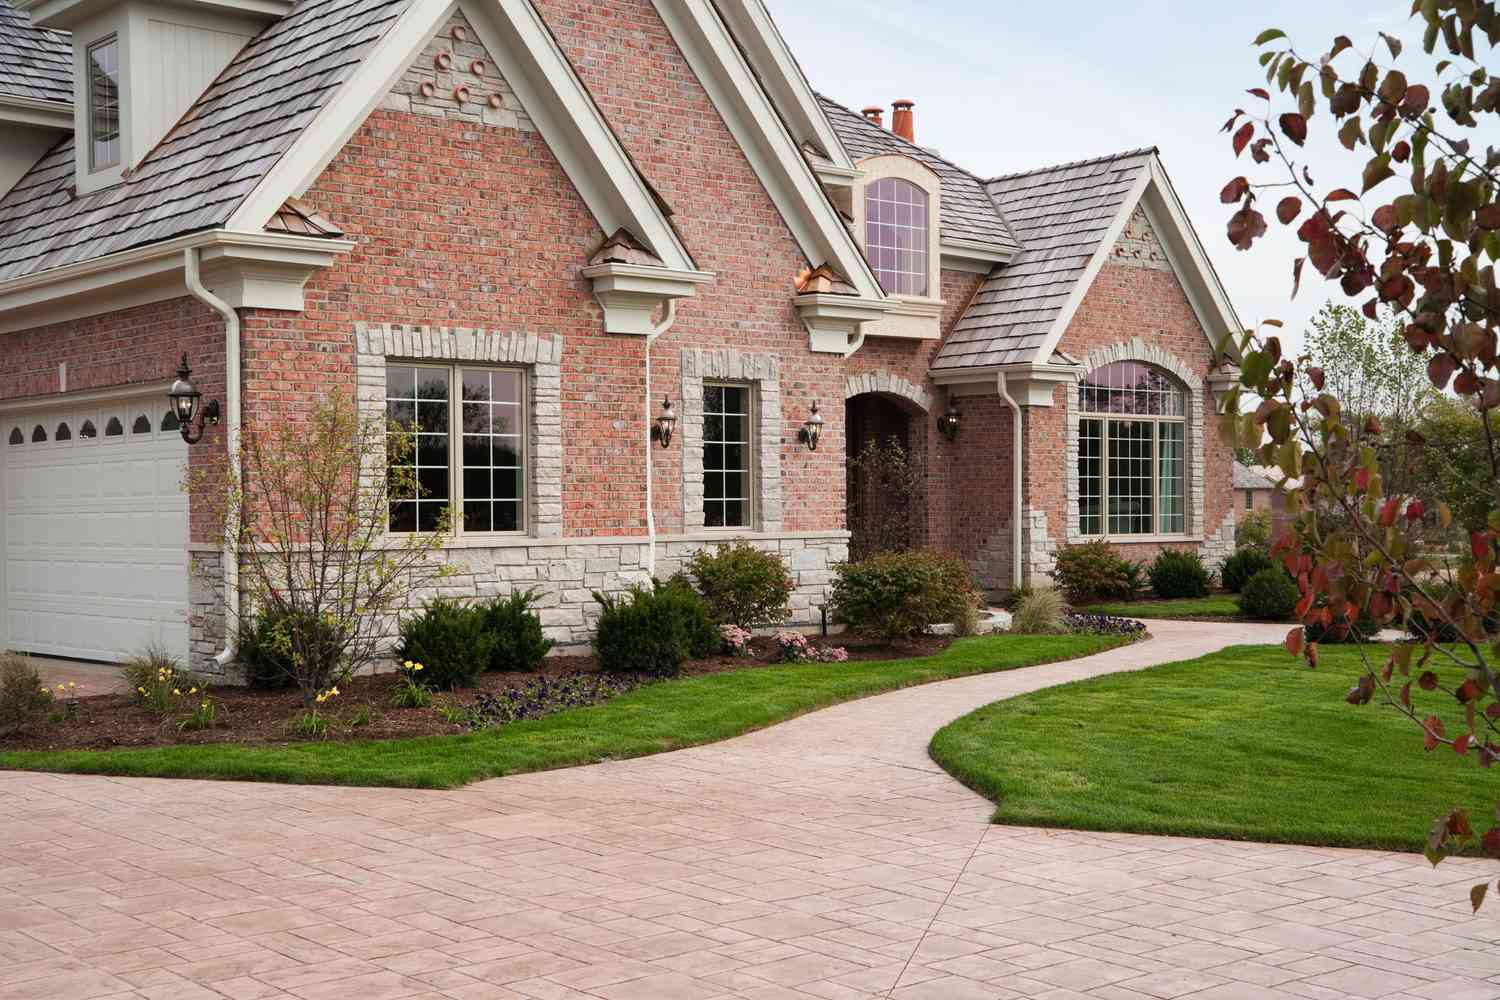
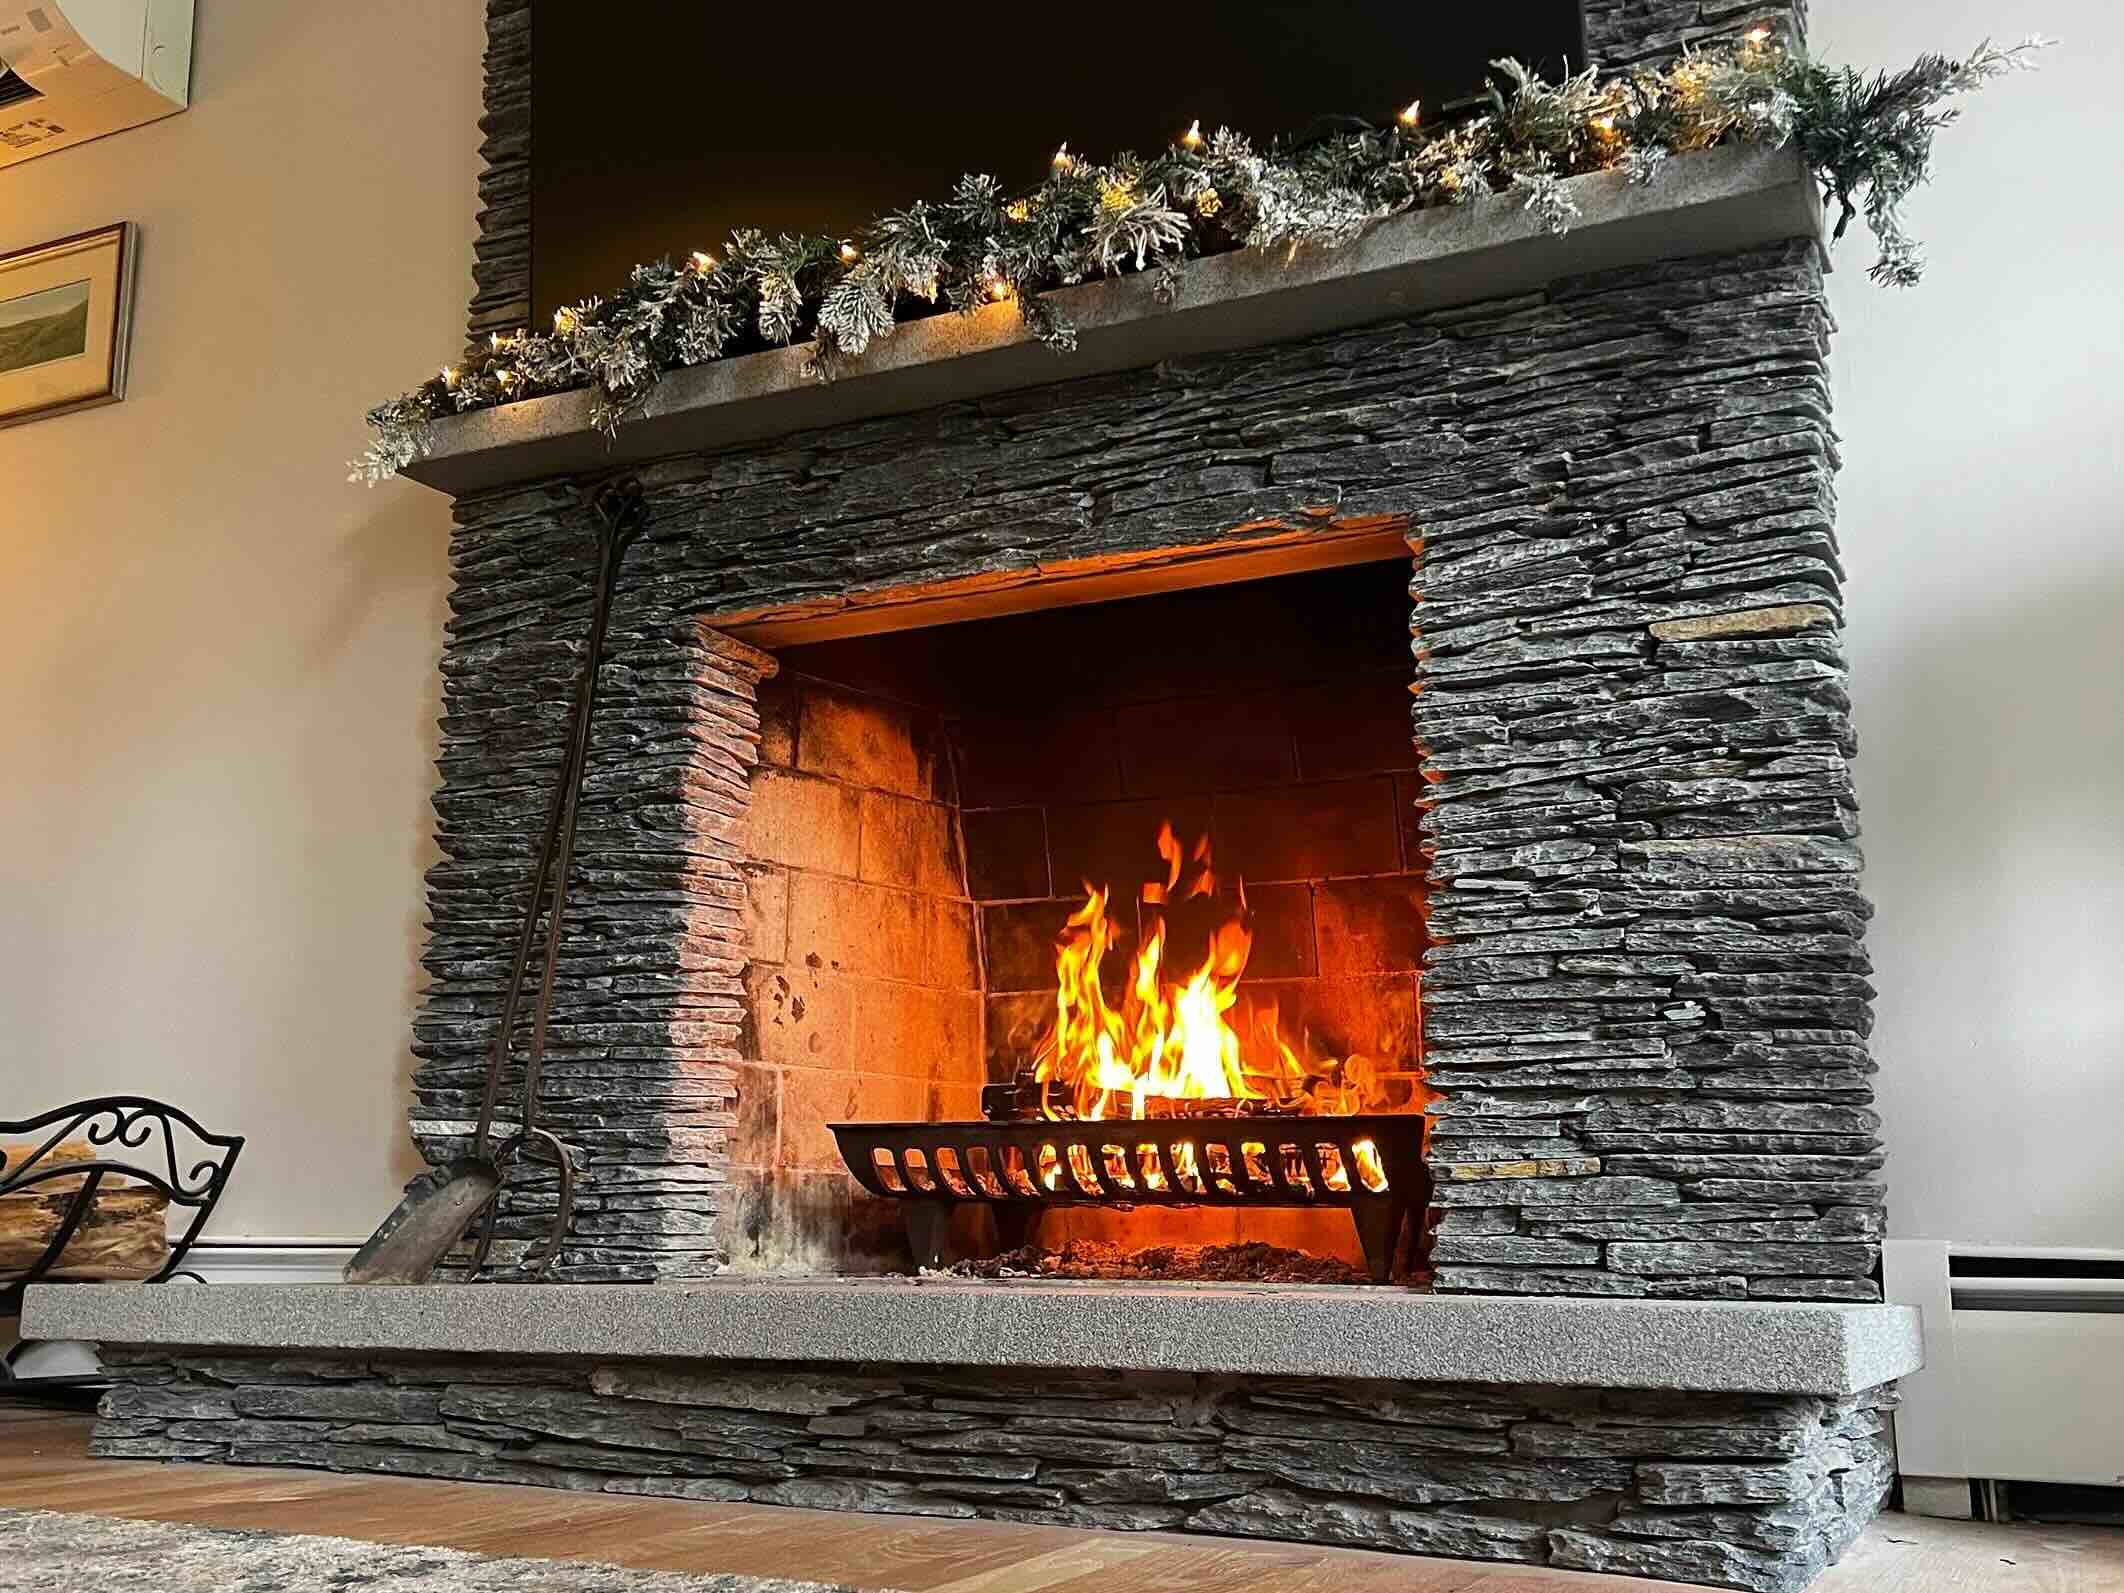
Welcome to our comprehensive guide on repairing cracked brick veneer. Brick veneer is a popular choice for adding a touch of elegance and warmth to both interior and exterior walls. However, over time, the veneer may develop cracks due to various factors such as settling, temperature changes, or structural movement. Repairing cracked brick veneer is essential not only for maintaining the aesthetic appeal of your property but also for preventing further damage and potential water infiltration.
In this guide, we will walk you through the step-by-step process of assessing the damage, gathering the necessary materials and tools, preparing the surface, applying the mortar, and adding the finishing touches. Whether you are a seasoned DIY enthusiast or a novice in home repairs, this guide will equip you with the knowledge and confidence to tackle the repair project effectively.
With the right techniques and a bit of patience, you can restore the beauty and integrity of your brick veneer, adding value and longevity to your property. So, let’s roll up our sleeves and dive into the art of repairing cracked brick veneer!
Key Takeaways:
- Assess the damage by visually inspecting cracks, probing with a tool, checking for water damage, and evaluating structural stability to determine the repair scope and potential underlying issues.
- Gather materials and tools such as brick mortar, waterproofing sealer, wire brush, trowel, and protective gear to prepare for a successful and precise cracked brick veneer repair.
Read more: How To Repair Cracked Stone Veneer
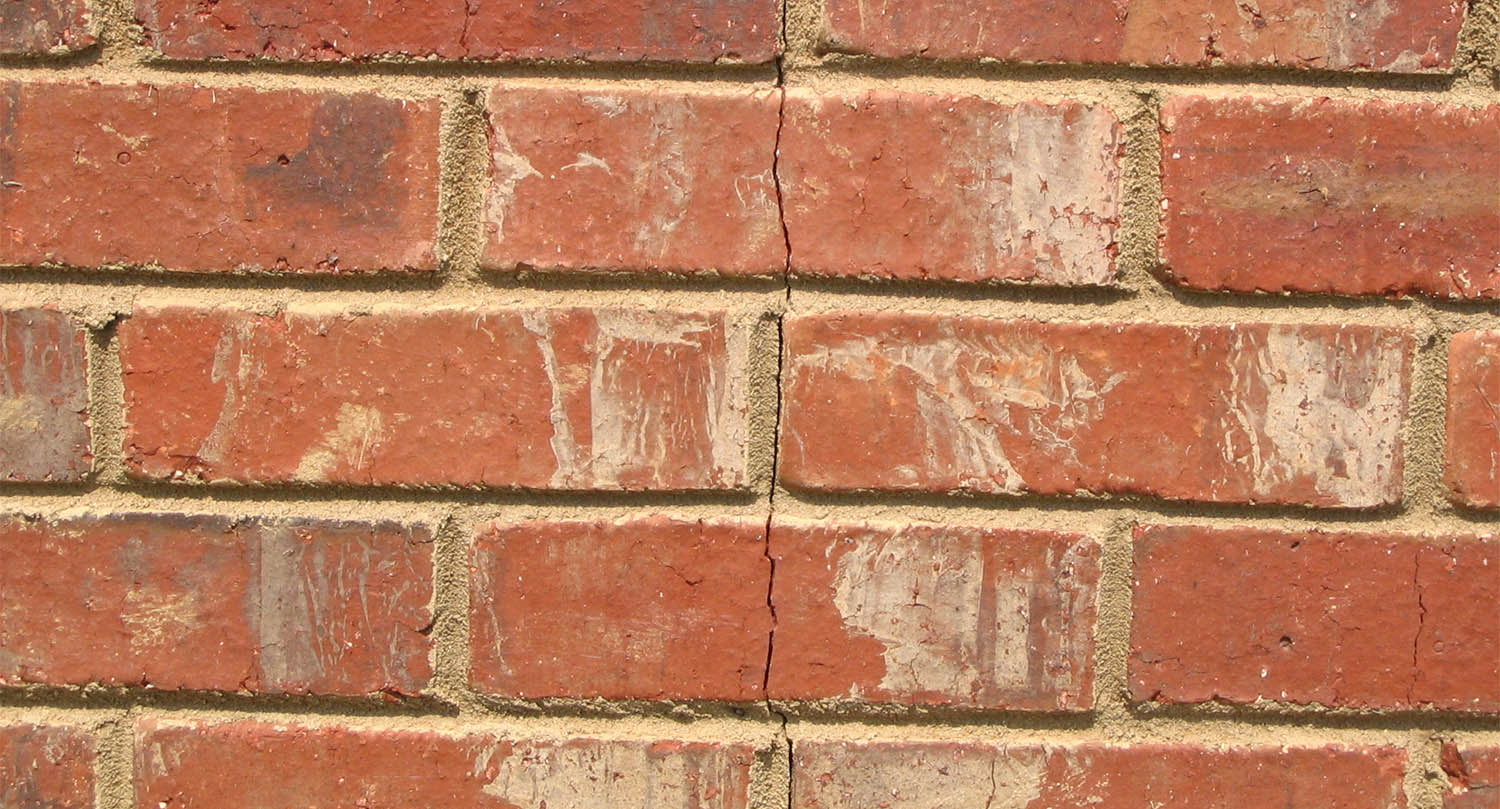
Assessing the Damage
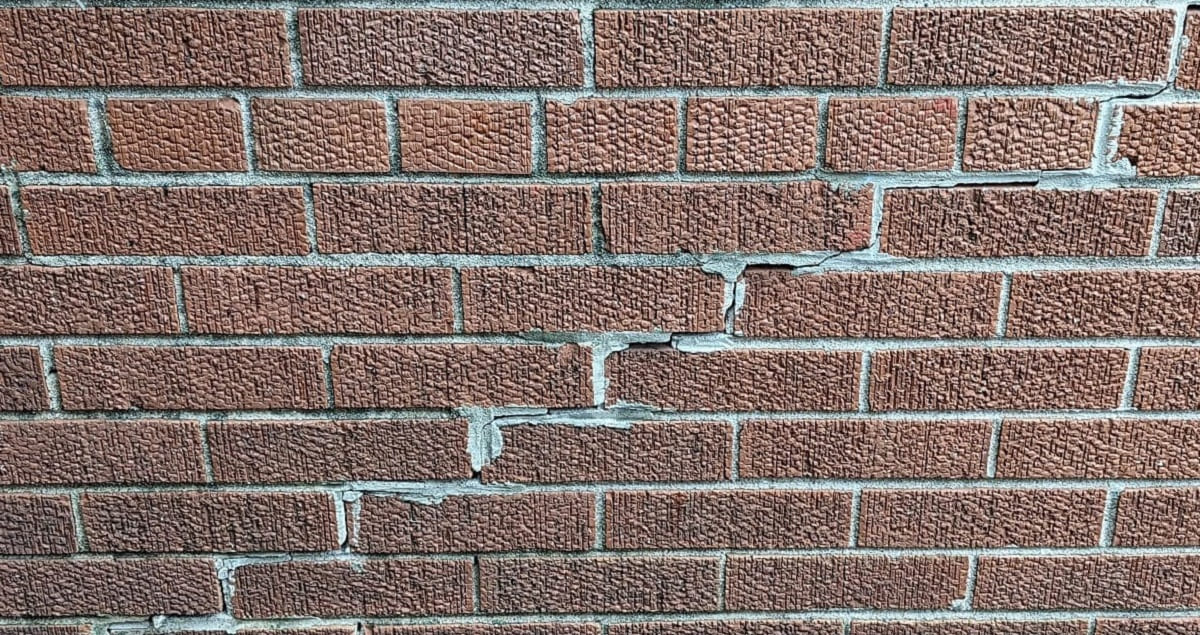
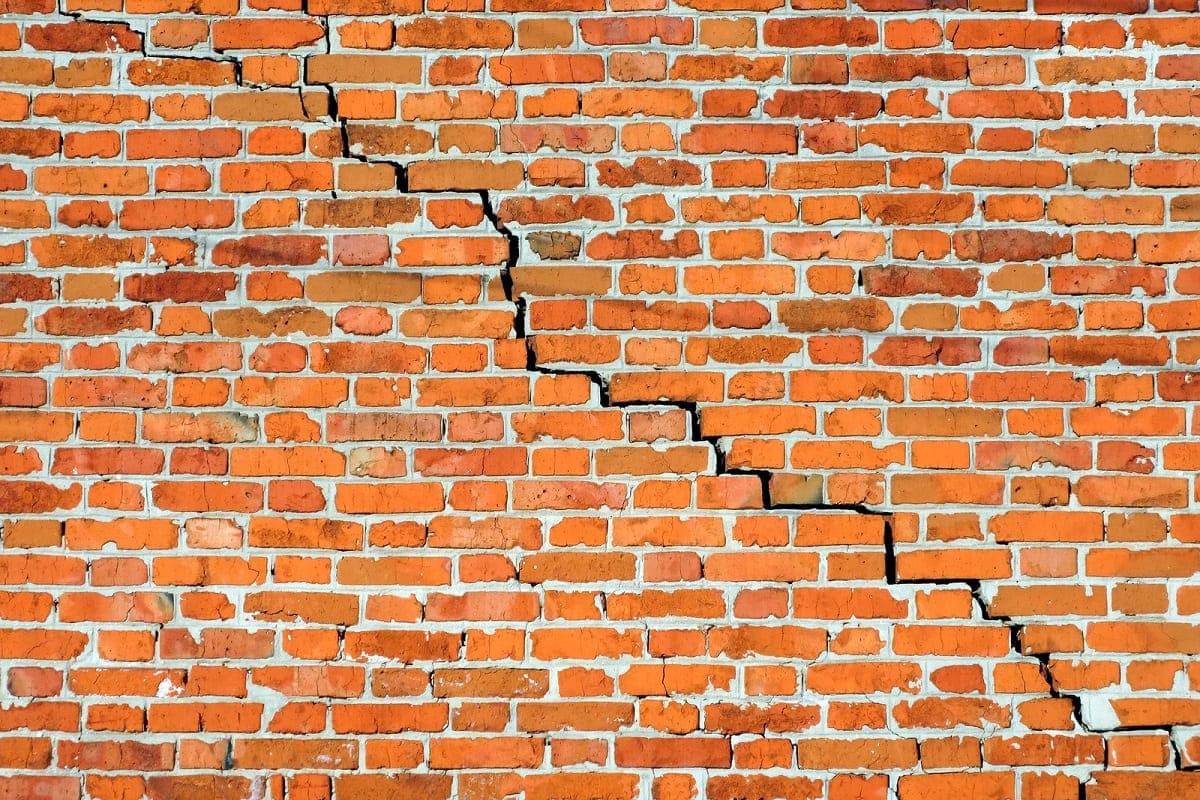
Before diving into the repair process, it’s crucial to assess the extent and nature of the damage to your brick veneer. Cracks in brick veneer can vary in size, depth, and location, and each type of crack may require a different approach to repair. Here’s how to effectively assess the damage:
- Visual Inspection: Start by visually examining the entire surface of the brick veneer. Look for cracks, both small and large, as well as any signs of displacement or loose bricks. Note the location and size of each crack to determine the scope of the repair.
- Probe the Cracks: Use a screwdriver or a similar tool to gently probe the cracks. This will help you identify whether the crack is superficial or extends deeper into the mortar and substrate. Take note of any areas where the veneer feels loose or hollow, indicating potential underlying issues.
- Check for Water Damage: Inspect the surrounding areas for signs of water damage, such as efflorescence (white, powdery residue), mold, or mildew. Water infiltration through cracks can exacerbate the damage and compromise the structural integrity of the veneer.
- Assess Structural Stability: Evaluate the overall stability of the brick veneer and the underlying structure. Look for bulging or areas where the veneer has pulled away from the wall, as these issues may require professional intervention to address underlying structural issues.
By conducting a thorough assessment, you’ll gain a clear understanding of the repair requirements and potential underlying issues. Keep in mind that while minor hairline cracks can often be addressed with simple repairs, larger or more extensive damage may necessitate professional assistance. With a keen eye and systematic evaluation, you’ll be well-prepared to move on to the next steps of the repair process.
Gathering Materials and Tools
Once you’ve assessed the damage and are ready to embark on the repair journey, it’s time to gather the essential materials and tools. Having the right supplies at your disposal will streamline the repair process and ensure a successful outcome. Here’s a comprehensive list of materials and tools you’ll need:
Materials:
- Brick Mortar: Select a high-quality brick mortar that matches the color and composition of your existing mortar. Opt for a pre-mixed mortar for ease of use, or prepare a custom mortar mix if necessary.
- Waterproofing Sealer: Invest in a waterproofing sealer designed for masonry applications. This will help protect the repaired areas from moisture intrusion and prolong the lifespan of the brick veneer.
- Wire Brush: A stiff-bristled wire brush is essential for removing loose debris, old mortar, and preparing the crack for repair. Choose a brush with durable bristles to effectively clean the damaged areas.
- Protective Gear: Prioritize safety by wearing gloves, safety goggles, and a dust mask to shield yourself from potential debris and dust during the repair process.
- Replacement Bricks (if needed): If the damage includes cracked or dislodged bricks, ensure you have matching replacement bricks on hand to seamlessly integrate them into the repair.
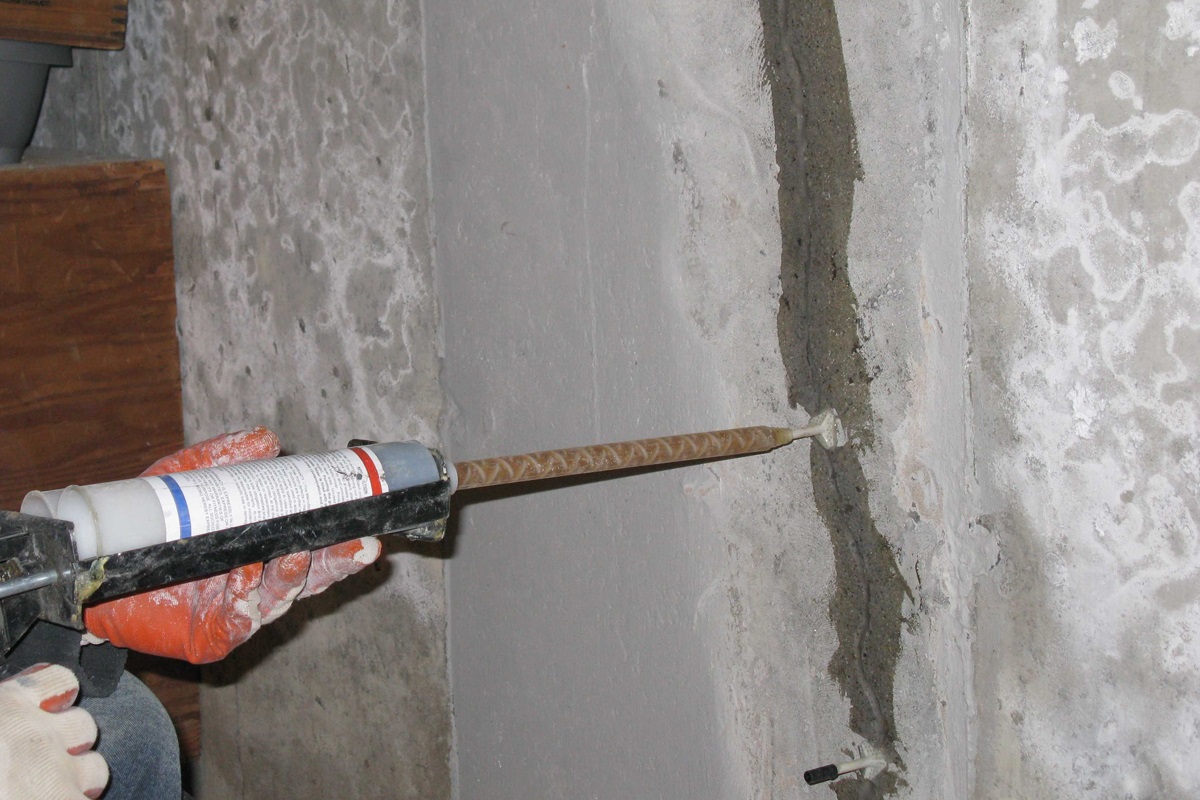
- Caulk Gun and Sealant (if needed): In cases where minor cracks are present in the mortar joints, a high-quality masonry sealant and caulk gun can be invaluable for filling and sealing these areas.
Tools:
- Trowel: A pointed or square-notch trowel is essential for applying and shaping the mortar during the repair process. Select a trowel size that suits the scale of the repair and allows for precise application.
- Hammer and Chisel: For removing damaged mortar and loose bricks, a hammer and chisel are indispensable tools. Use them with care to gently chip away the old mortar without causing further damage.
- Masonry Brush: A soft-bristled masonry brush will aid in blending and smoothing the newly applied mortar, ensuring a seamless finish that harmonizes with the surrounding brickwork.
- Mixing Container: Whether you're using pre-mixed mortar or preparing a custom mortar mix, a sturdy mixing container or bucket will facilitate the blending process.
- Ladder or Scaffolding: Depending on the location of the damaged veneer, ensure you have safe and stable access to the repair area using a ladder or scaffolding.
By assembling these materials and tools, you’ll be well-equipped to tackle the repair with confidence and precision. With careful preparation, you’re ready to move on to the next steps of surface preparation and mortar application.
Read more: How To Build A Brick Veneer Wall
Preparing the Surface
Before applying the mortar to repair the cracked brick veneer, it’s essential to prepare the surface thoroughly. Proper surface preparation sets the stage for a durable and visually seamless repair. Follow these steps to ensure the surface is primed for the mortar application:
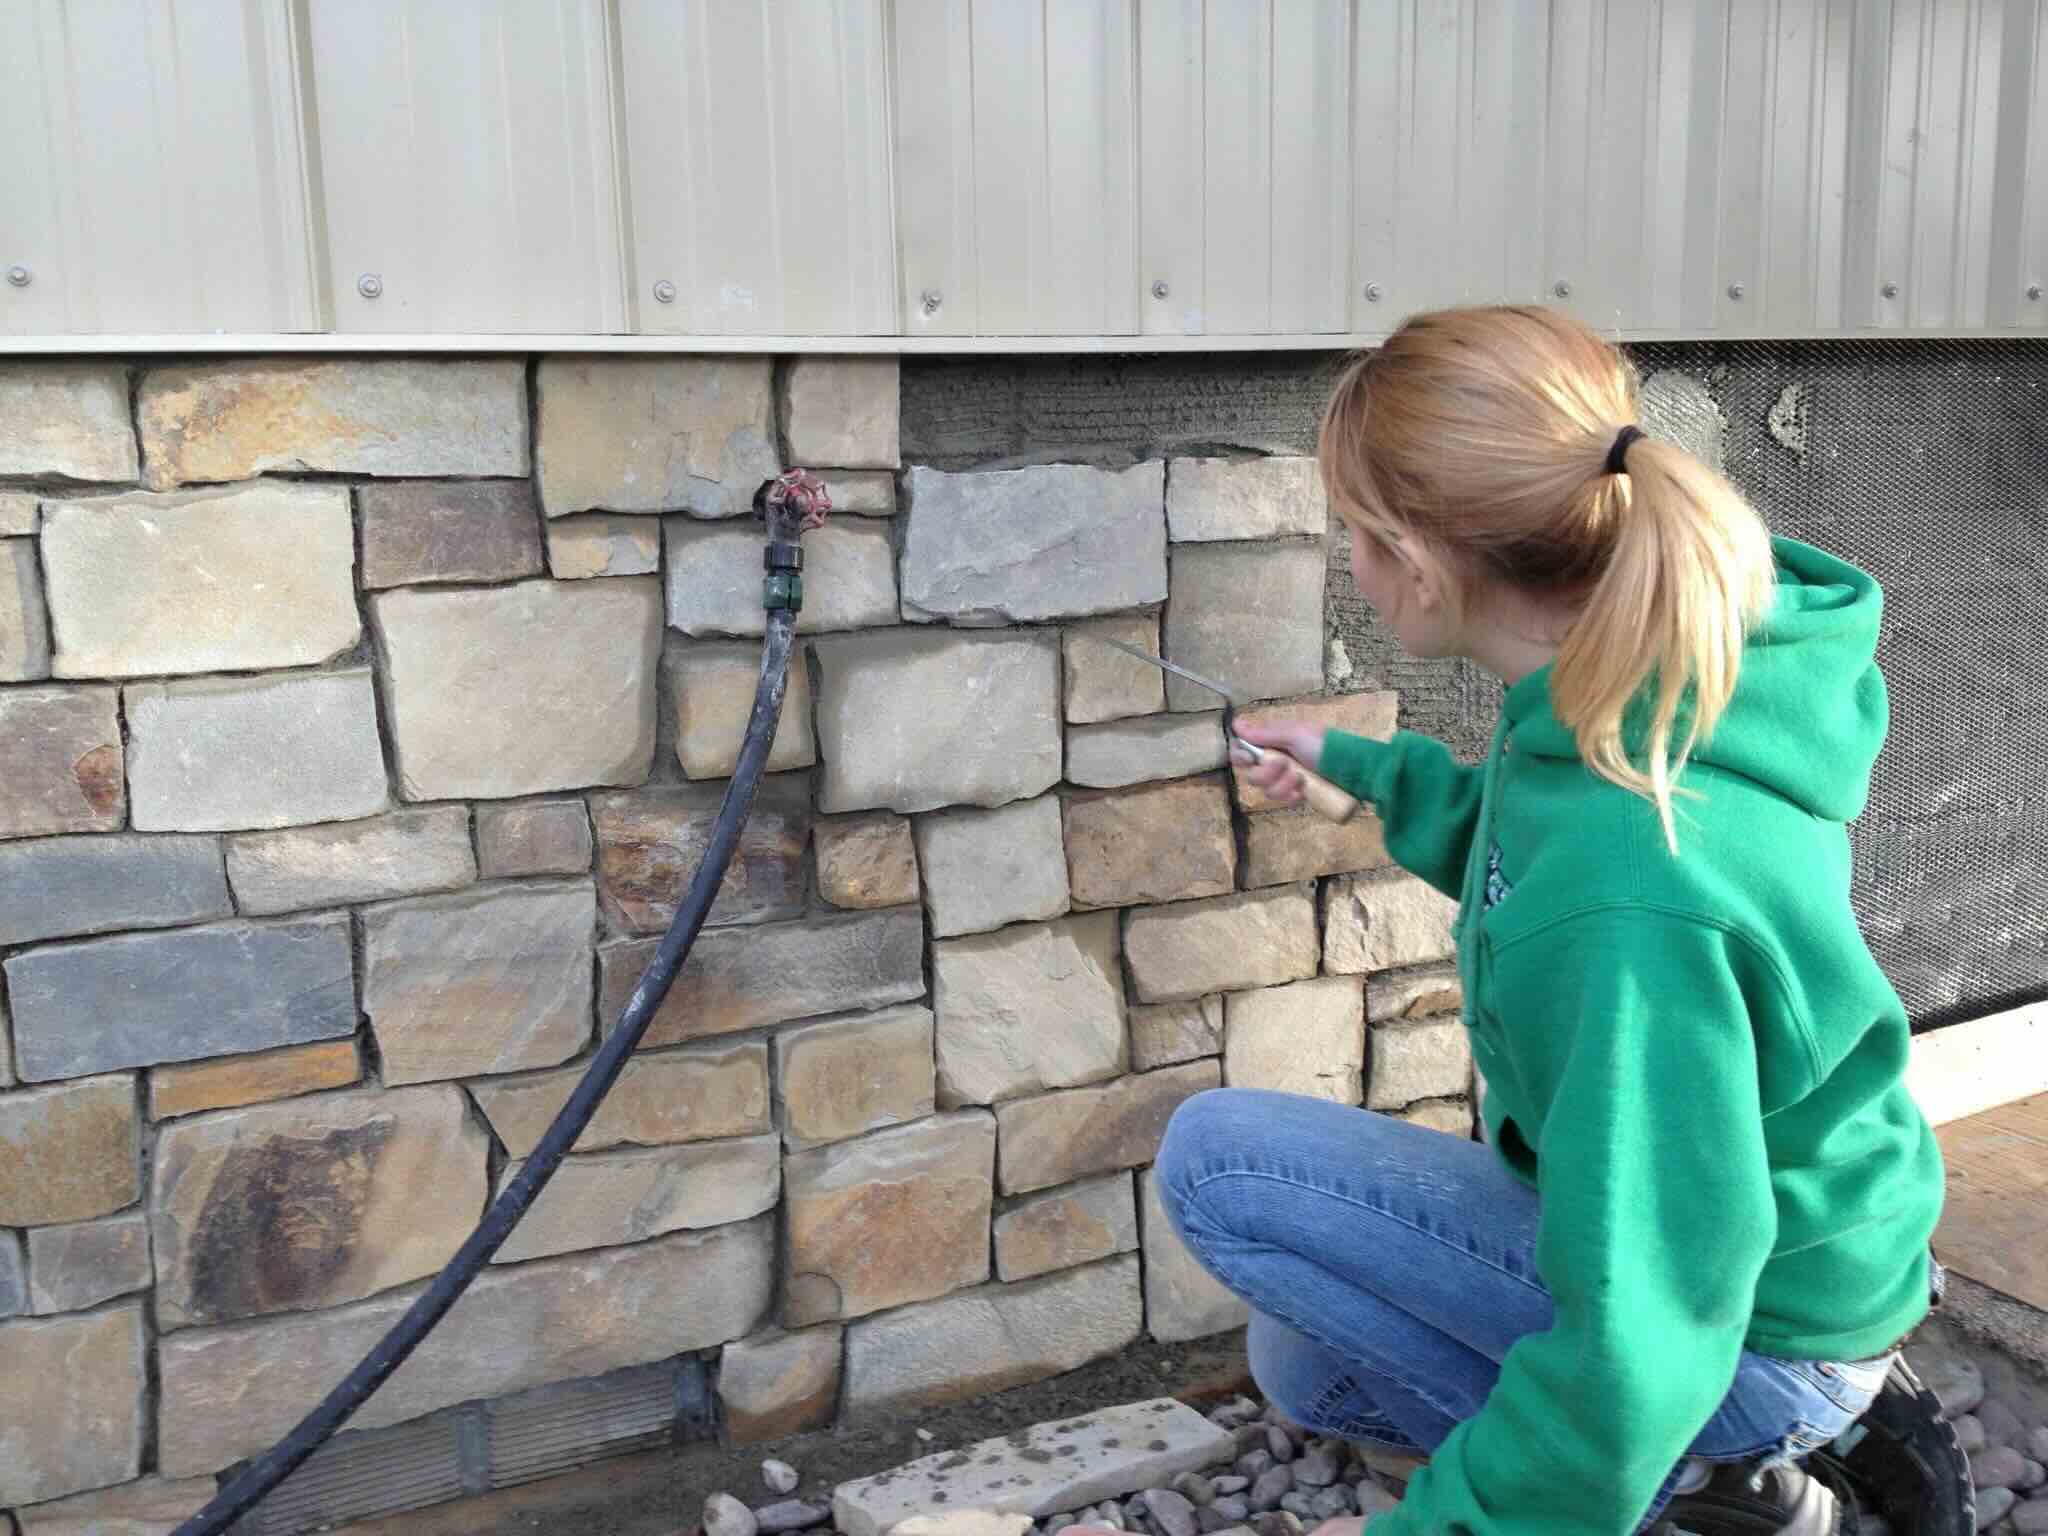
- Clean the Area: Use a wire brush to remove loose debris, dirt, and old mortar from the cracked areas. Ensure the surface is free from any contaminants that could hinder the adhesion of the new mortar.
- Dampen the Surface: Lightly mist the cleaned area with water using a spray bottle. This helps prevent the existing masonry from absorbing moisture from the fresh mortar too quickly, promoting better adhesion and preventing premature drying.
- Prepare the Mortar: If you’re using a pre-mixed mortar, follow the manufacturer’s instructions for mixing. For custom mortar mixes, blend the mortar and water to achieve a workable consistency, typically resembling thick peanut butter.
- Apply Bonding Agent (if needed): In cases where the existing surface is particularly smooth or non-absorbent, applying a bonding agent can enhance the adhesion of the new mortar. Follow the manufacturer’s instructions for the application of the bonding agent.
- Scarf the Joints: For larger cracks or voids, consider “scarfing” the joints by widening the crack to create a dovetail shape. This provides a larger surface area for the new mortar to grip, improving the long-term stability of the repair.
- Masking Off Surrounding Areas: If you’re concerned about accidental mortar smears on adjacent surfaces, use painter’s tape or plastic sheeting to protect the surrounding areas from unintended mess.
By meticulously preparing the surface, you’ll create an optimal environment for the mortar to adhere effectively and form a strong bond with the existing brick veneer. Taking the time to execute these preparatory steps will contribute to the overall quality and longevity of the repair.
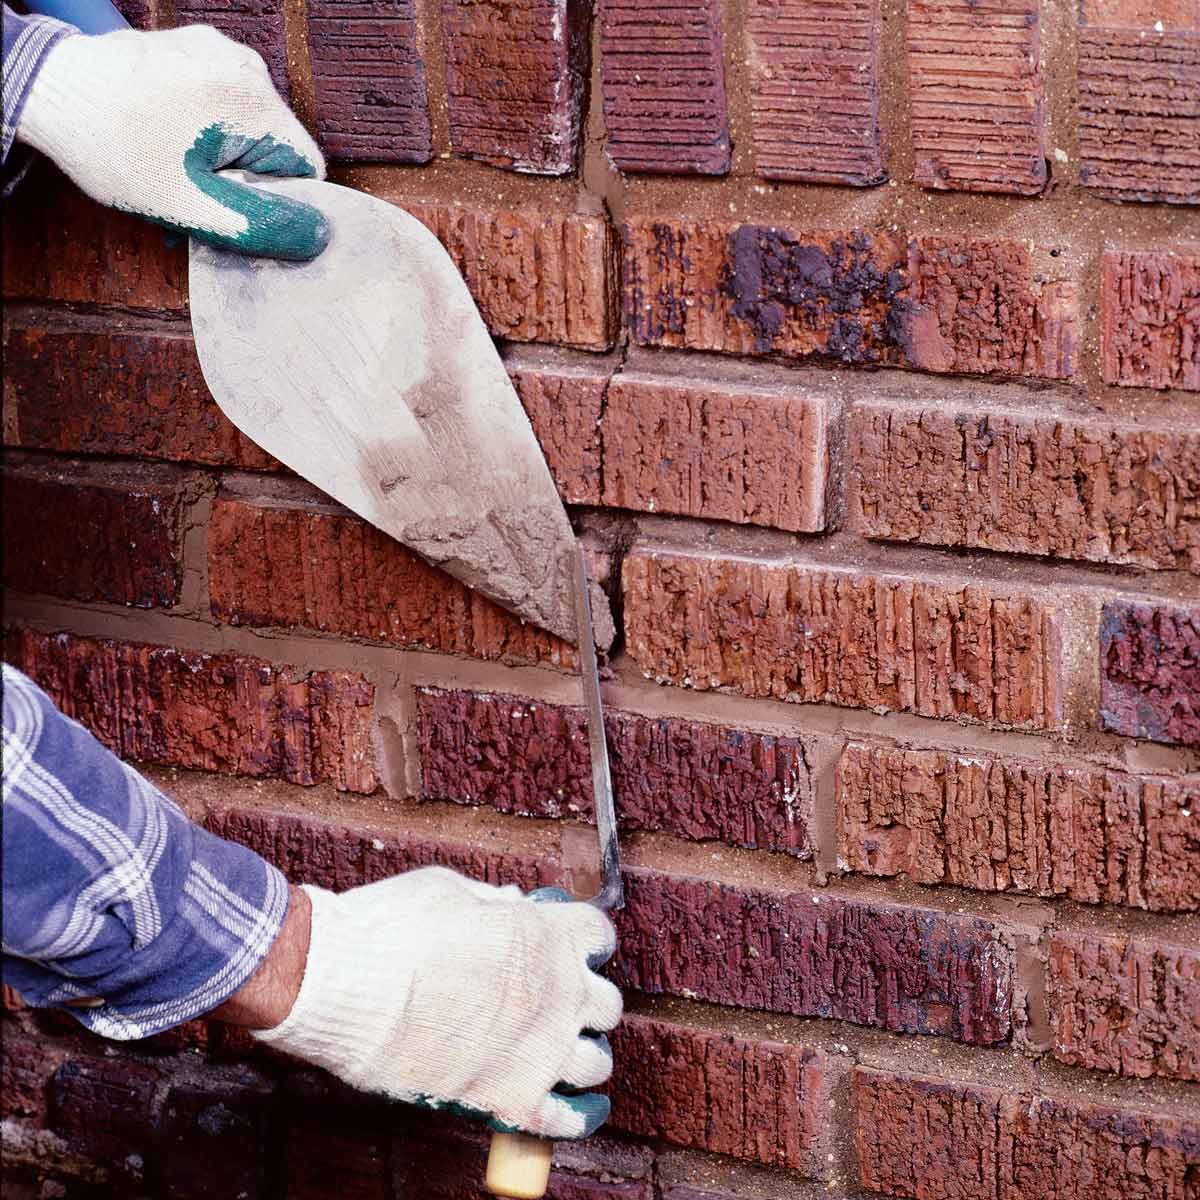
Applying the Mortar
Now that the surface is meticulously prepared, it’s time to apply the mortar to repair the cracked brick veneer. The application process requires precision and attention to detail to ensure a seamless and durable repair. Follow these steps to effectively apply the mortar:
- Load the Mortar: Using a trowel, load a generous amount of mortar onto the edge of the trowel. For smaller repairs, a pointing trowel can be used, while larger repairs may necessitate a square-notch trowel for better mortar coverage.
- Press the Mortar into the Crack: With the loaded trowel, press the mortar firmly into the crack or void, ensuring it fills the space completely. Use a pressing and packing motion to compact the mortar and eliminate air pockets within the crack.
- Shape and Tool the Mortar: Once the crack is filled, use the edge of the trowel or a jointing tool to shape the mortar to match the surrounding profile. Create a smooth and uniform surface that seamlessly blends with the existing brickwork.
- Remove Excess Mortar: Carefully remove any excess mortar using the edge of the trowel or a striking tool. Ensure the mortar is flush with the surrounding brick surface, and the joints are neatly defined.
- Tool the Joints: For mortar joints between bricks, use a jointing tool to create a clean and uniform finish. Match the style and profile of the existing joints to maintain visual consistency.
- Cure the Mortar: Depending on the type of mortar used, follow the recommended curing process to allow the mortar to set and achieve its full strength. This may involve misting the repaired area with water or covering it with a damp cloth to regulate the curing process.
By following these steps with precision and care, you’ll effectively restore the integrity and visual appeal of the cracked brick veneer. The application of the mortar demands a steady hand and an eye for detail, ensuring a professional-quality repair that seamlessly integrates with the existing brickwork.
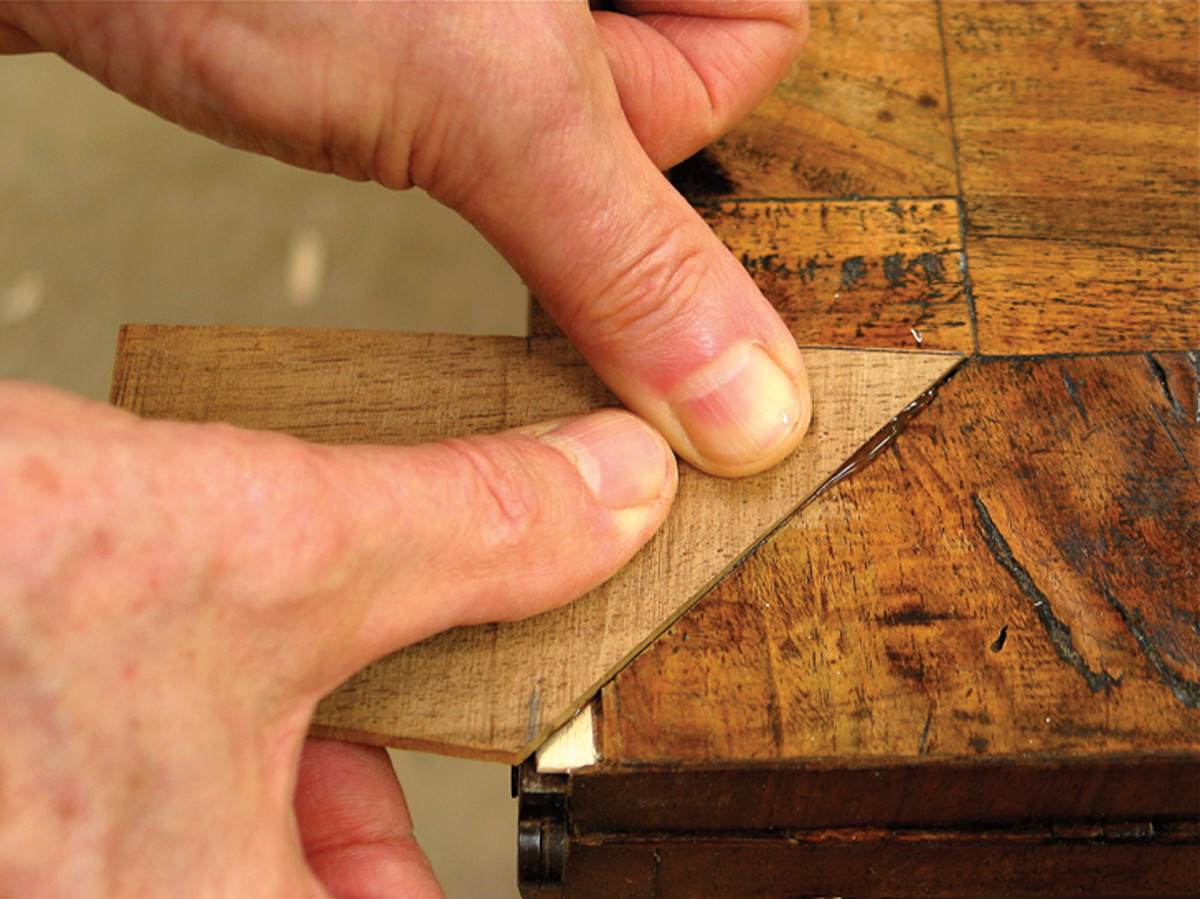
Use a wire brush to remove loose mortar from the crack. Apply a layer of mortar using a trowel, then press a new piece of veneer into the mortar. Smooth the surface and let it dry.
Finishing Touches and Maintenance
As you near the completion of the repair process for the cracked brick veneer, attention to finishing touches and ongoing maintenance is crucial for ensuring the longevity and visual appeal of the restored surface. Follow these essential steps to add the final touches and establish a maintenance plan:
- Apply Waterproofing Sealer: Once the mortar has fully cured, apply a high-quality waterproofing sealer to the repaired areas. This sealer acts as a protective barrier, guarding against moisture intrusion and prolonging the lifespan of the repair.
- Inspect and Address Any Remaining Issues: Conduct a thorough inspection of the repaired areas to ensure the mortar has fully set and adhered. Address any remaining imperfections or areas that require additional touch-ups.
- Monitor for Water Intrusion: Regularly inspect the repaired brick veneer for signs of water infiltration, especially after heavy rainfall or extreme weather conditions. Promptly address any water-related issues to prevent further damage.
- Perform Routine Cleaning: Include the repaired areas in your routine cleaning and maintenance schedule. Gently brush away dirt and debris to preserve the appearance and condition of the brick veneer.
- Address Structural Concerns: If you notice recurring cracks or signs of structural movement, consult a professional to assess and address any underlying structural issues that may be contributing to the damage.
By completing these finishing touches and establishing a proactive maintenance plan, you’ll safeguard the repaired brick veneer against future damage and preserve its aesthetic appeal for years to come. Consistent care and vigilance will contribute to the long-term durability and visual integrity of your brick veneer.
Conclusion
Congratulations on completing the repair journey for your cracked brick veneer! By following the step-by-step process outlined in this guide, you’ve not only restored the structural integrity of the veneer but also enhanced the visual appeal of your property. Remember, the art of repairing cracked brick veneer requires patience, attention to detail, and a commitment to ongoing maintenance.
As you reflect on the repair process, it’s important to acknowledge the transformative impact of your efforts. The repaired brick veneer now stands as a testament to your dedication to preserving the beauty and functionality of your property. Whether it’s an interior accent wall or an exterior facade, the repaired veneer adds a touch of timeless charm and character to your living space.
Furthermore, the skills and knowledge gained from this repair endeavor empower you to take on future maintenance and improvement projects with confidence. The experience gained from repairing cracked brick veneer extends beyond the immediate task, instilling a sense of capability and resourcefulness that will serve you well in your ongoing homeownership journey.
As you admire the seamlessly restored brick veneer, take pride in the craftsmanship and care invested in the repair process. Your dedication to preserving and enhancing your living environment is a testament to your commitment to creating a comfortable and inviting space for yourself and your loved ones.
Remember, the maintenance and care of your property are ongoing endeavors, and each repair project contributes to the long-term resilience and allure of your home. By staying attuned to the needs of your brick veneer and addressing issues promptly, you ensure that it continues to enrich your living environment for years to come.
Thank you for embarking on this repair journey with us. We hope this guide has equipped you with valuable insights and practical skills that will serve you well in your future home maintenance endeavors. Here’s to the enduring beauty and structural integrity of your brick veneer!
Frequently Asked Questions about How To Repair Cracked Brick Veneer
Was this page helpful?
At Storables.com, we guarantee accurate and reliable information. Our content, validated by Expert Board Contributors, is crafted following stringent Editorial Policies. We're committed to providing you with well-researched, expert-backed insights for all your informational needs.


0 thoughts on “How To Repair Cracked Brick Veneer”