Home>Construction & Tools>Building Materials>How To Make A Brick Bbq Smoker
Building Materials
How To Make A Brick Bbq Smoker
Modified: October 19, 2024
Learn how to make a brick BBQ smoker using building materials. Follow our step-by-step guide to create your own DIY smoker for delicious outdoor cooking.
(Many of the links in this article redirect to a specific reviewed product. Your purchase of these products through affiliate links helps to generate commission for Storables.com, at no extra cost. Learn more)
Introduction
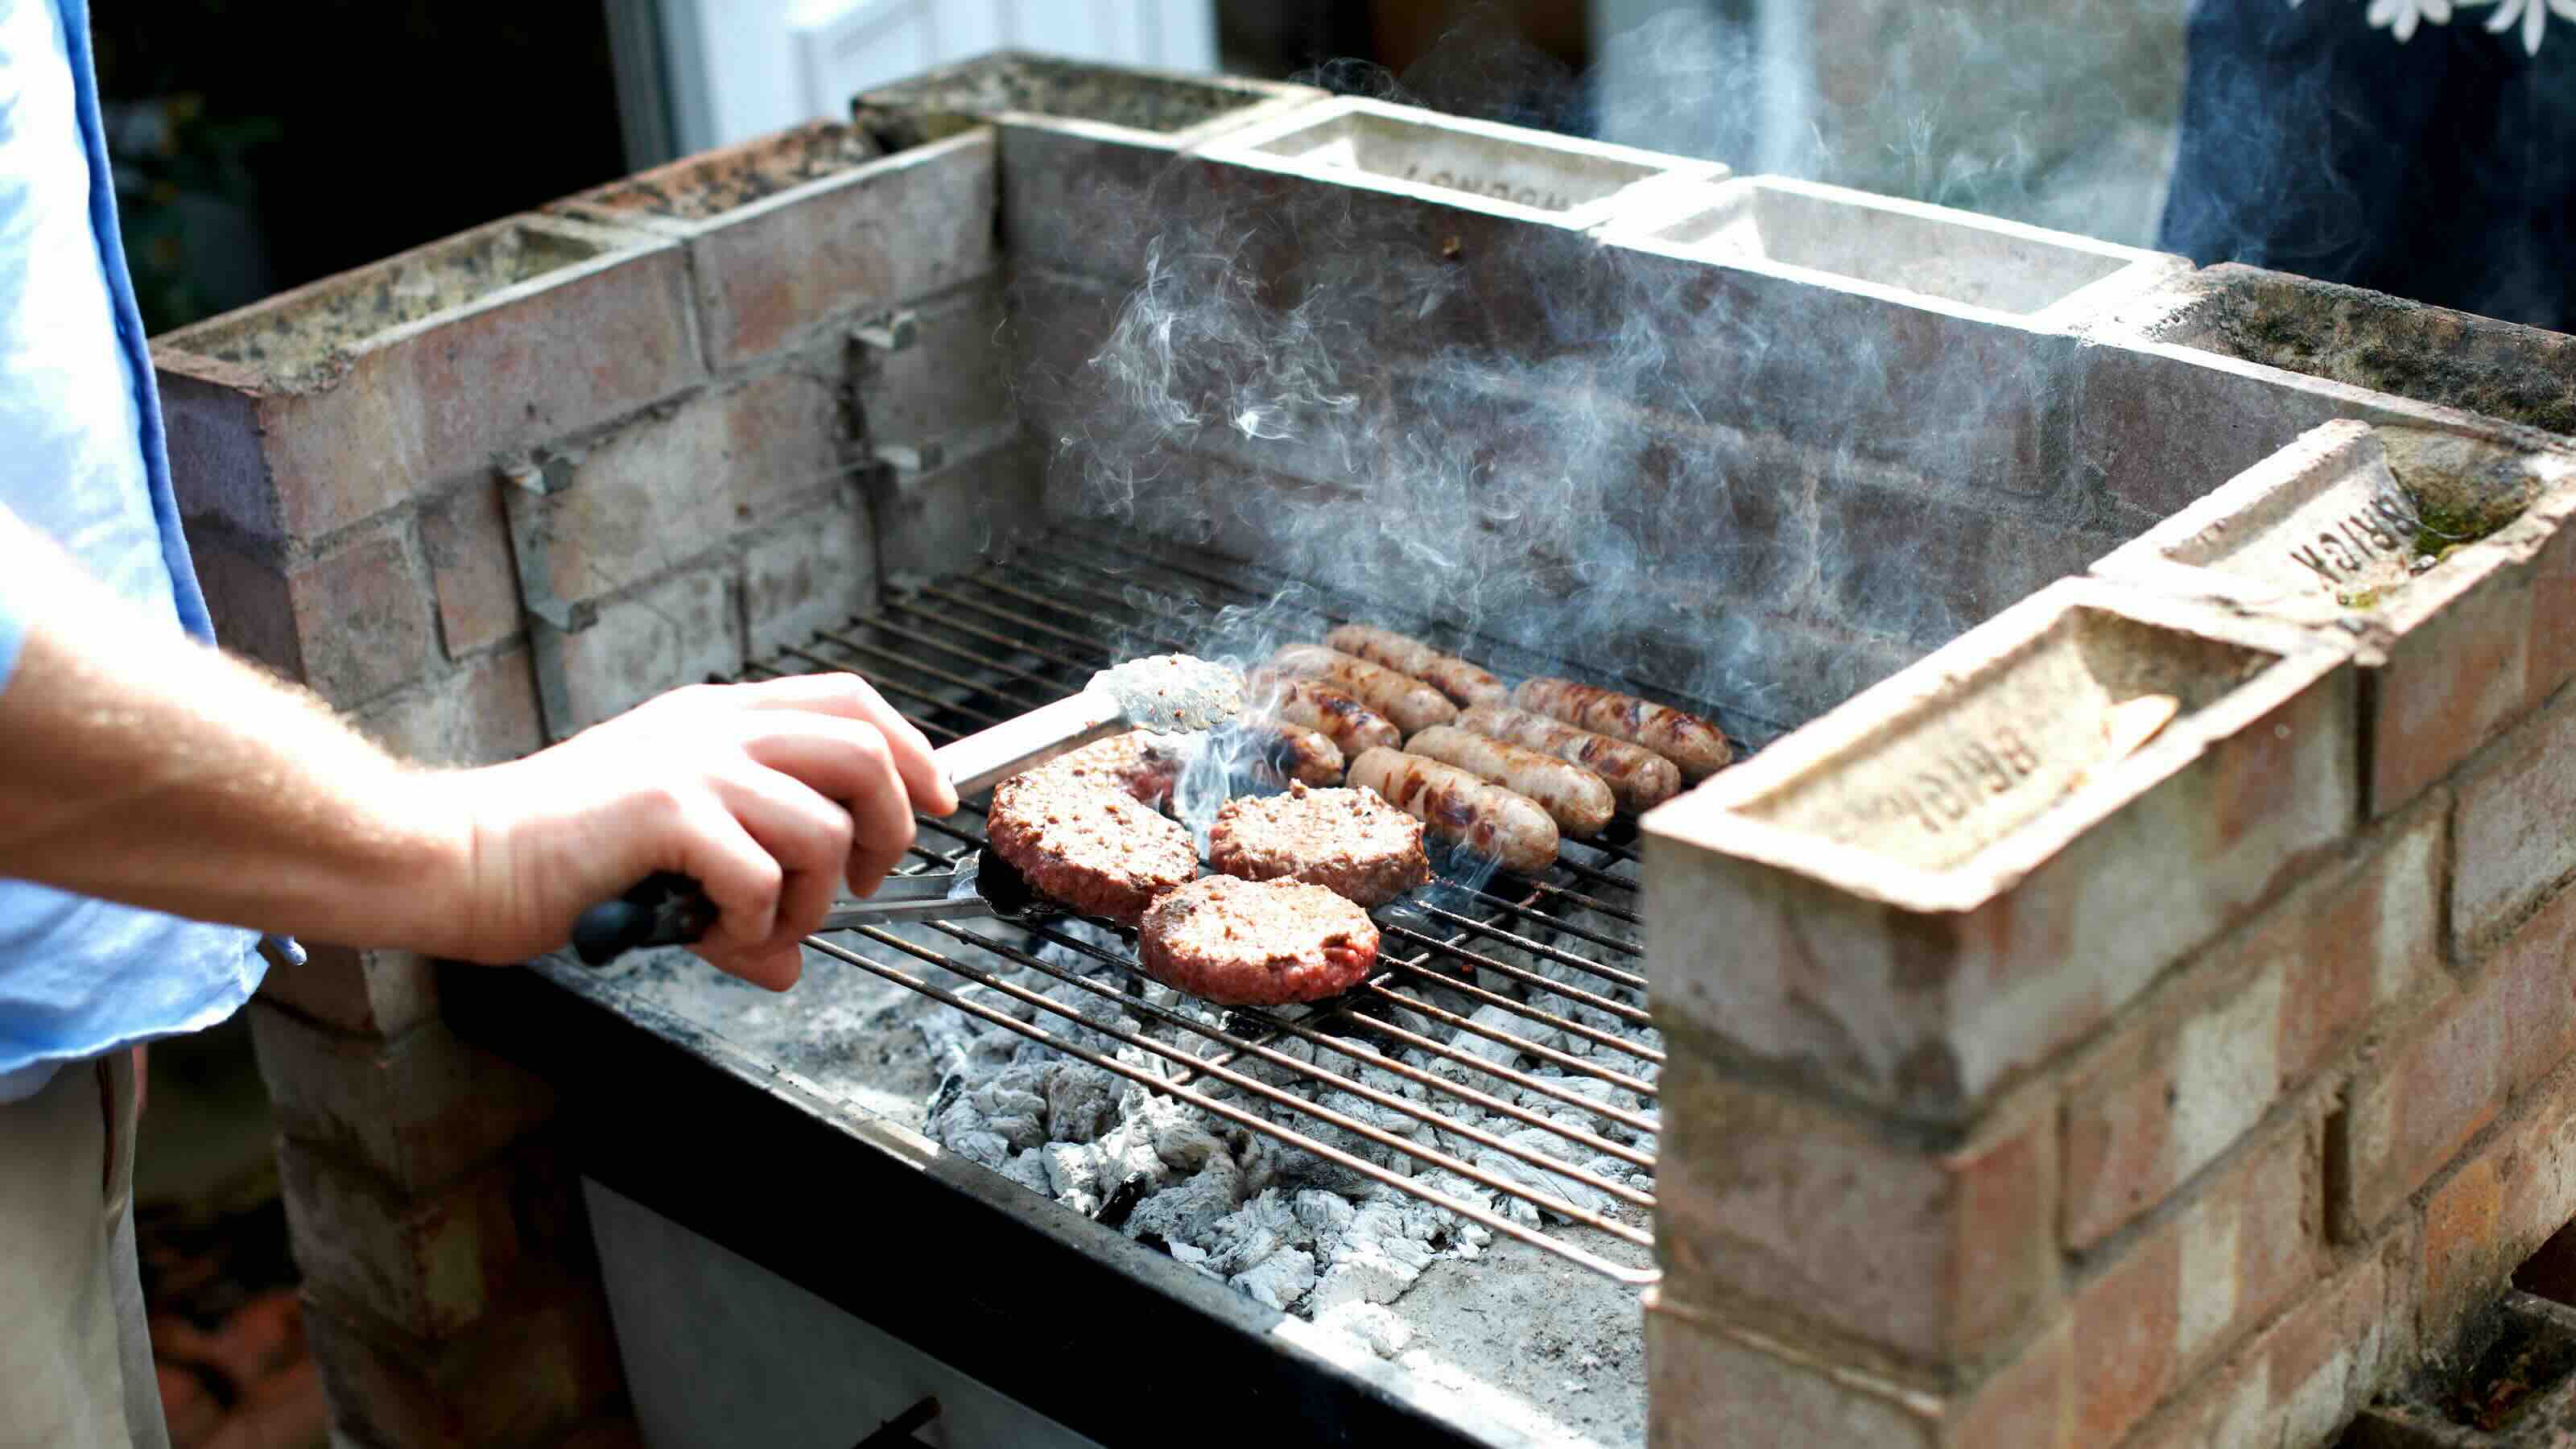
So, you want to elevate your outdoor cooking game and build a brick BBQ smoker? You're in for a treat! There's something undeniably satisfying about crafting your own smoker from durable, heat-retaining bricks. Not only will it add a touch of rustic charm to your backyard, but it will also infuse your culinary creations with that irresistible smoky flavor.
Building a brick BBQ smoker is a rewarding project that combines the timeless appeal of traditional craftsmanship with the modern art of smoking meats. Whether you're a seasoned pitmaster or a novice enthusiast, constructing your own smoker allows you to tailor it to your specific needs and preferences, ensuring countless hours of delicious, slow-cooked meals for years to come.
In this guide, we'll walk you through the step-by-step process of creating a brick BBQ smoker, from gathering the necessary materials and tools to adding the finishing touches. By the end of this journey, you'll have a sturdy, efficient smoker ready to impress your friends and family with mouthwatering, aromatic dishes.
So, roll up your sleeves, gather your supplies, and let's dive into the world of brick BBQ smokers. Whether you're drawn to the craftsmanship, the culinary possibilities, or the satisfaction of a DIY project, this endeavor is sure to kindle your passion for outdoor cooking and leave you with a sense of accomplishment. Let's fire up those bricks and get started!
Key Takeaways:
- Building a brick BBQ smoker is a rewarding DIY project that combines traditional craftsmanship with modern smoking techniques. It allows for customization and promises years of delicious, smoky meals.
- To make the most of your brick BBQ smoker, choose quality wood, monitor temperature, maintain airflow, and embrace experimentation. Regular cleaning and a spirit of culinary adventure will ensure flavorful results.
Read also: 8 Best BBQ Smoker for 2025
Materials and Tools Needed
Before embarking on your brick BBQ smoker journey, it’s essential to gather all the necessary materials and tools. Here’s a comprehensive list to ensure a smooth and efficient building process:
Materials:
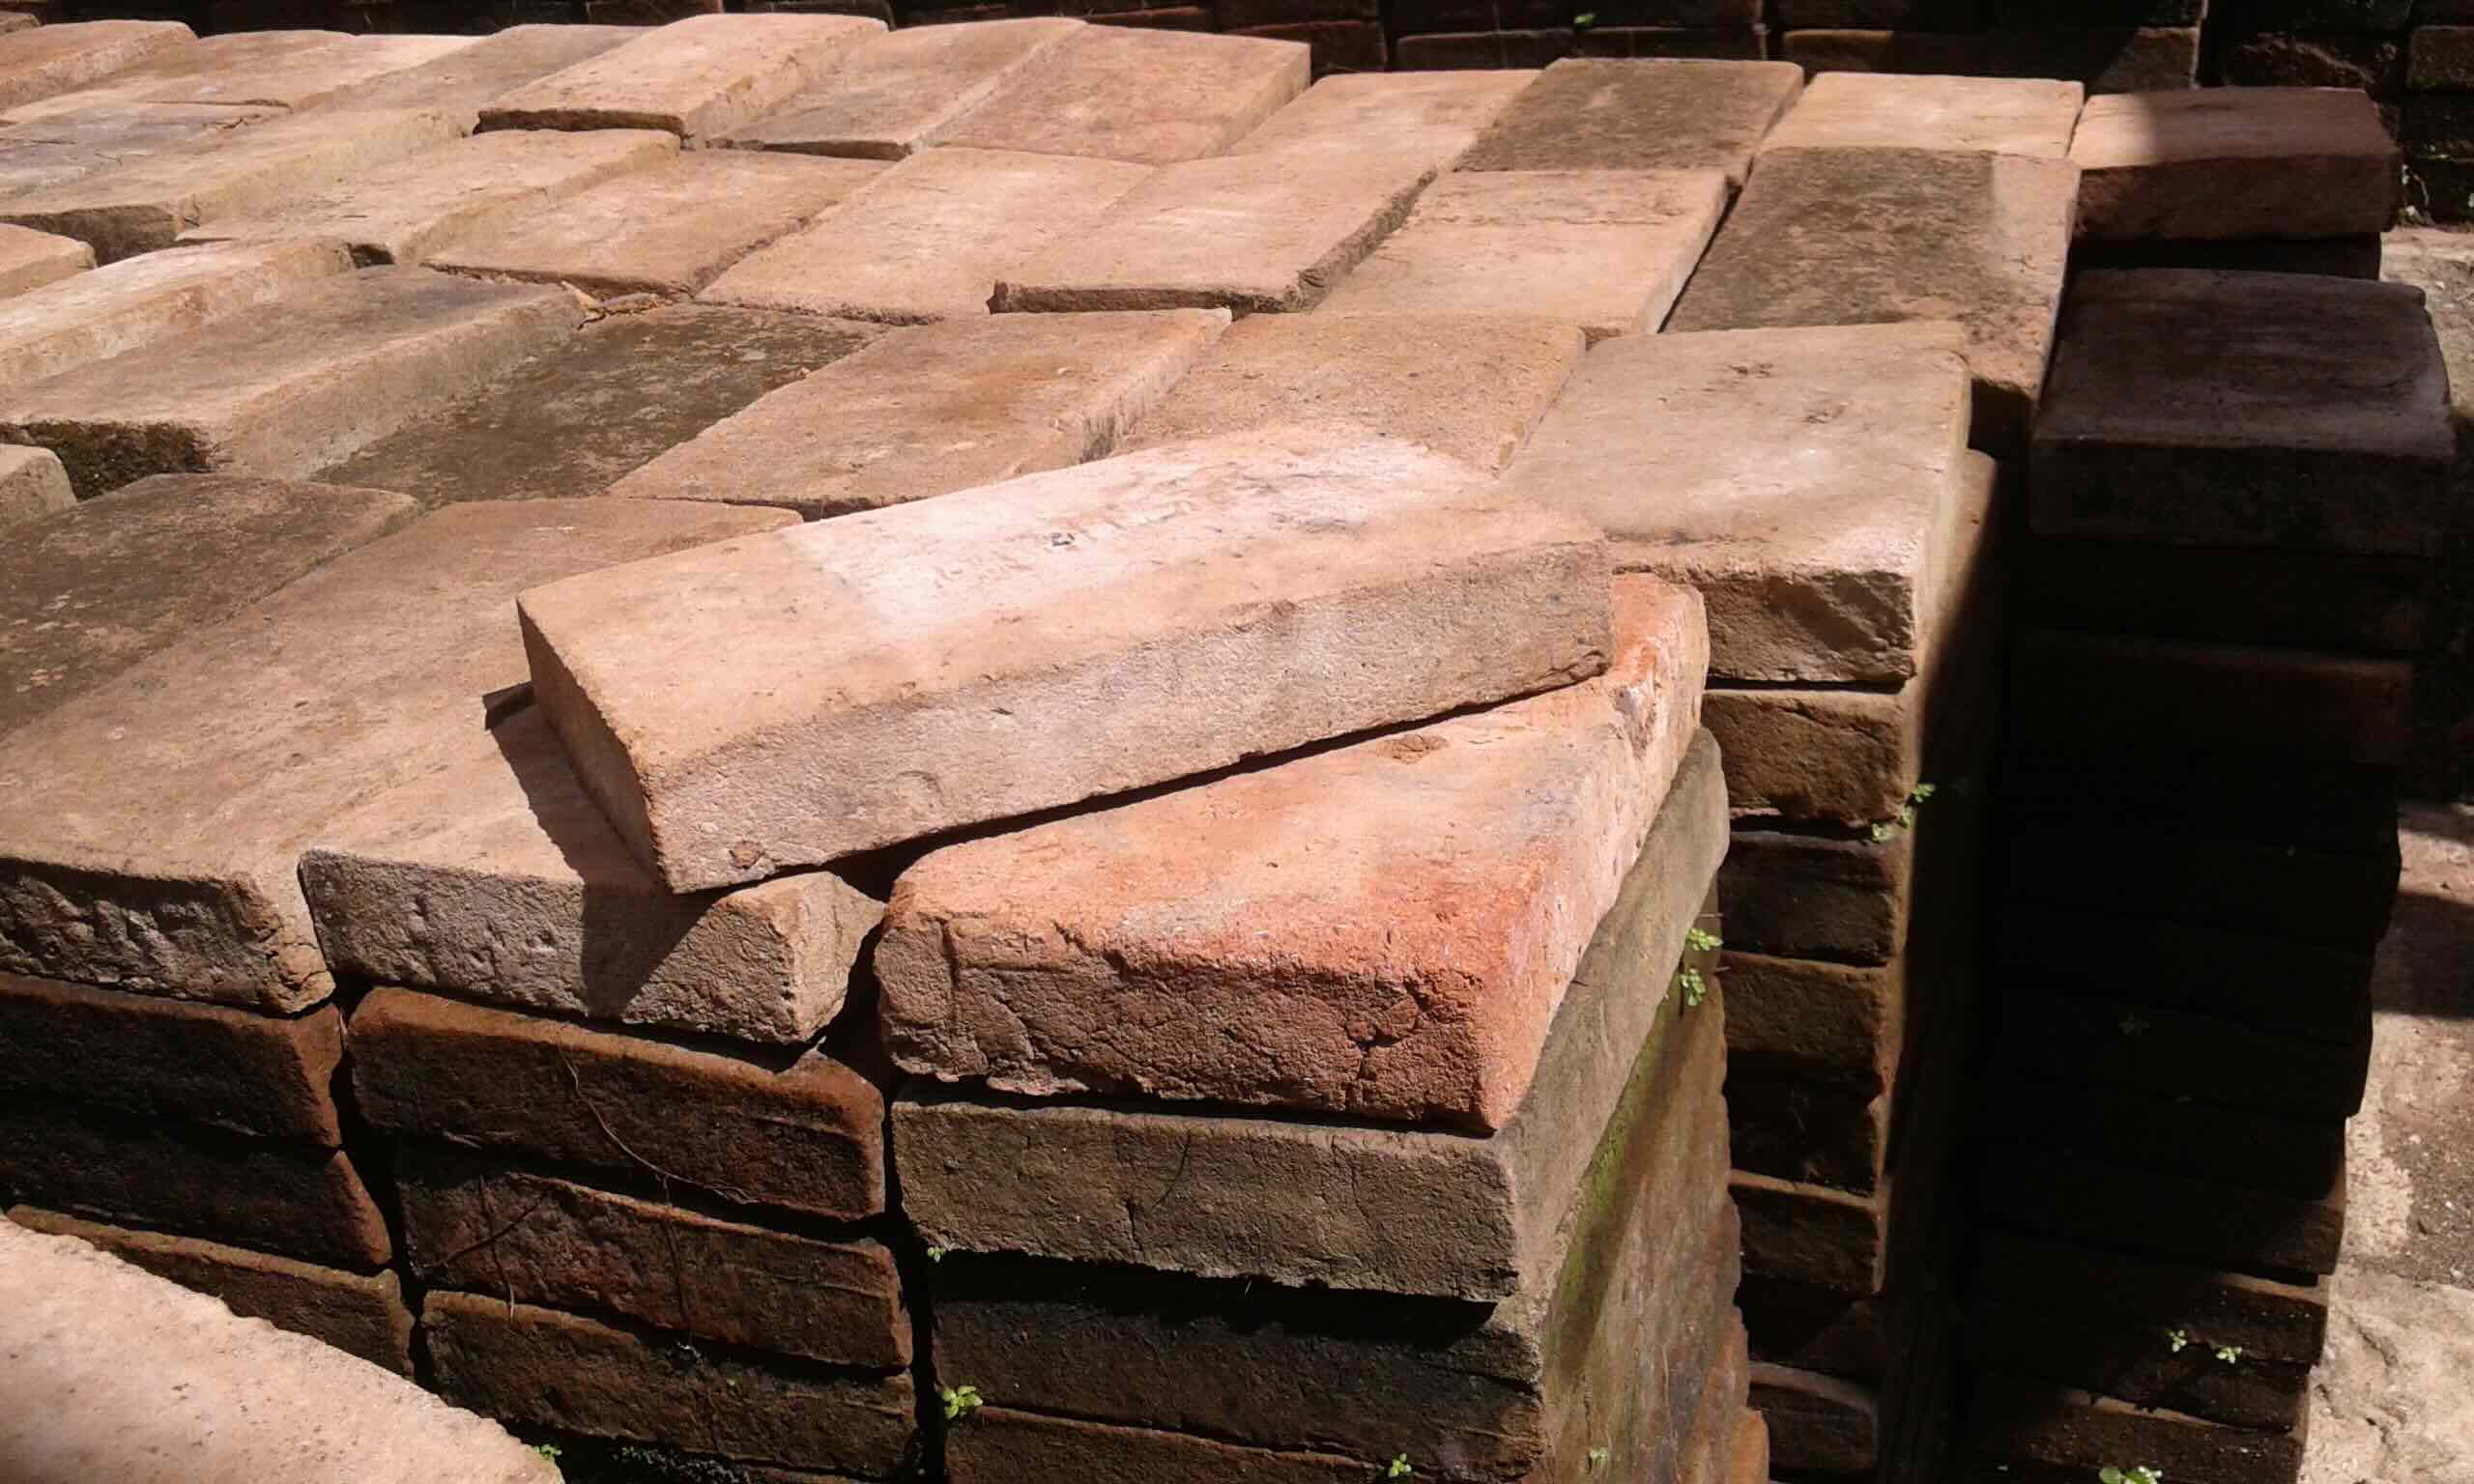
- Bricks: Opt for fire bricks, which are designed to withstand high temperatures and provide excellent heat retention.
- Concrete: You’ll need this for creating a solid foundation for your smoker.
- Rebar (reinforcing bar): Used to reinforce the concrete base for added strength and stability.
- Fireclay: Essential for binding the bricks together and creating a heat-resistant mortar.
- Steel sheets: These will be used to fabricate the smoking chamber and other components.
- Fire bricks or paving stones: For constructing the cooking grate and racks inside the smoking chamber.
- Fireproof sealant: To ensure that the smoker is airtight and well-insulated.
- Grill thermometer: For monitoring the internal temperature of the smoker.
- Wood or charcoal: Your choice of fuel for generating the flavorful smoke.
- Door hinges and handles: For easy access to the smoking chamber.
- High-temperature paint: Optional for adding a personalized touch to the exterior of the smoker.
Tools:
- Masonry trowel: Essential for applying mortar and positioning the bricks.
- Level: To ensure that the smoker base and walls are perfectly aligned.
- Measuring tape: For accurate dimensions and layout of the smoker components.
- Angle grinder with a masonry cutting disc: For cutting and shaping the bricks and steel sheets.
- Welding equipment: If you plan to fabricate the smoking chamber and other metal components.
- Drill with masonry and metal bits: For creating holes and securing various parts of the smoker.
- Protective gear: Including gloves, safety goggles, and a dust mask for working with masonry and metal.
By ensuring that you have all the required materials and tools at your disposal, you’ll be well-prepared to commence the construction of your brick BBQ smoker. With everything in place, you’re ready to dive into the hands-on process of bringing this culinary centerpiece to life.
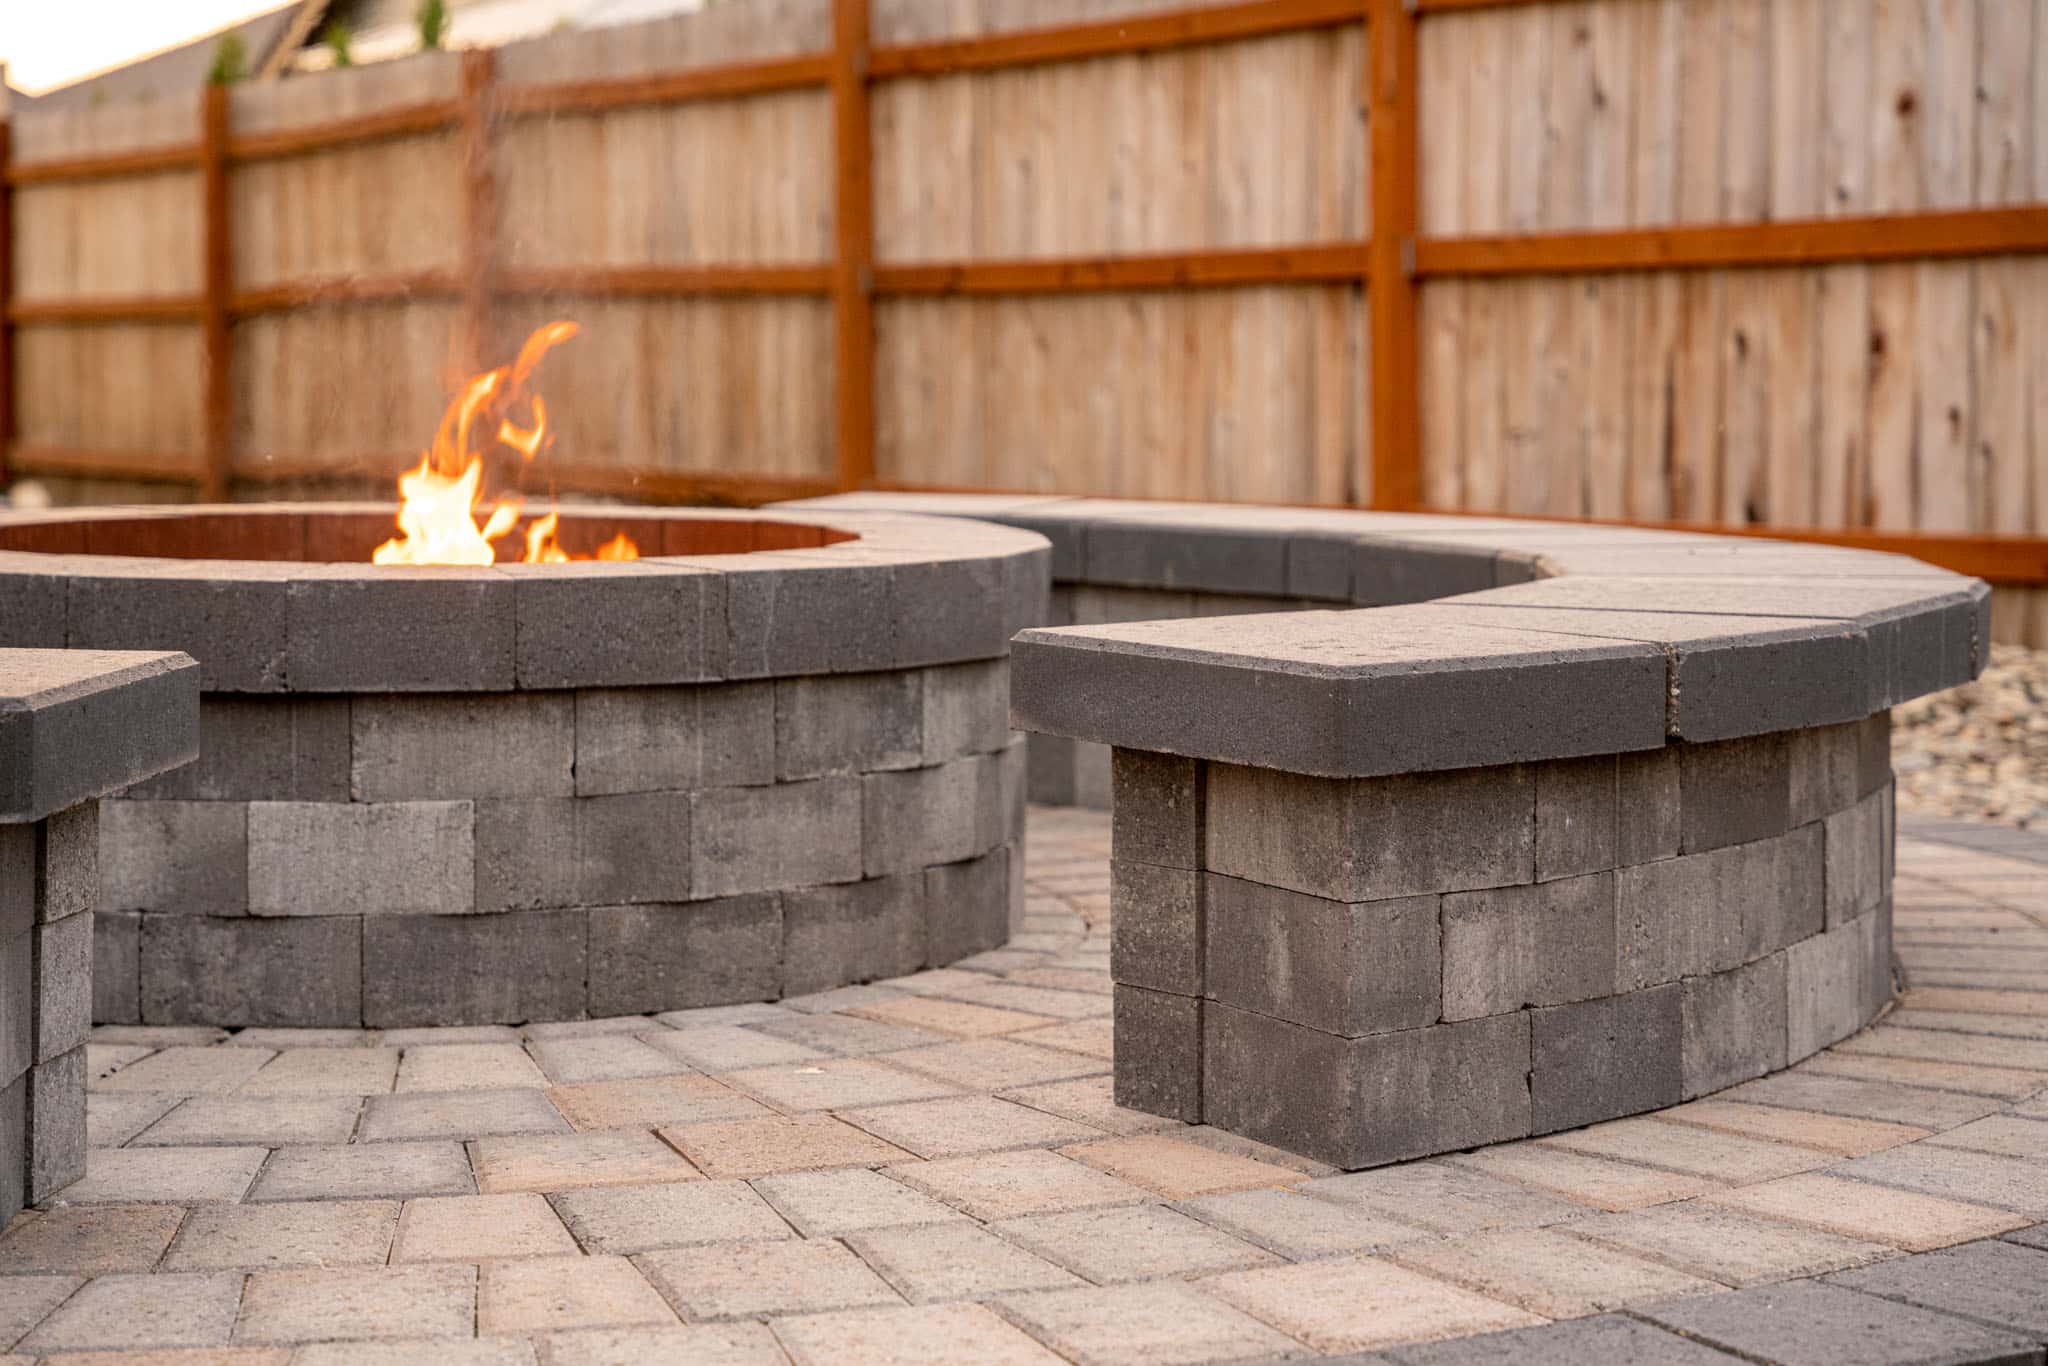
Preparing the Brick Base
The foundation of your brick BBQ smoker is crucial for its stability and longevity. Here’s a step-by-step guide to preparing the brick base:
Read more: How To Build A Smoker Out Of Brick
1. Site Preparation:
Choose a level area in your backyard or outdoor cooking space for the smoker. Clear the ground of any debris and ensure that the site is stable and well-drained.
2. Creating the Base:
Using concrete and rebar, construct a solid base for the smoker. Form a rectangular or square shape according to the desired dimensions of your smoker. The base should be at least 4 inches thick to provide ample support for the structure.
3. Laying the First Course of Bricks:
Once the concrete base has cured, it’s time to start laying the first course of fire bricks. Use a level to ensure that the bricks are evenly aligned and firmly set in mortar. This initial layer forms the foundation for the smoker’s walls.
4. Building the Walls:
Continue stacking the bricks, applying fireclay mortar between each layer to create the walls of the smoker. Leave openings for the door, vents, and chimney as you progress upward. Ensure that the walls are straight and sturdy, using a level to maintain accuracy.
Read more: How To Make BBQ
5. Allowing for Airflow:
Strategic placement of bricks can create gaps that allow for proper airflow within the smoker. These openings are essential for regulating the internal temperature and ensuring efficient smoke circulation during the cooking process.
6. Curing the Base and Walls:
Allow the mortar to cure and the bricks to set firmly before proceeding to the next phase of construction. This ensures the structural integrity of the base and walls, setting the stage for the assembly of the smoking chamber and other components.
By meticulously preparing the brick base, you’re laying the groundwork for a durable and reliable brick BBQ smoker. Attention to detail during this phase will contribute to the overall functionality and performance of the smoker, setting the stage for the exciting stages of building the smoking chamber and adding the finishing touches.
Building the Smoking Chamber
With the brick base solidified, it’s time to construct the heart of your brick BBQ smoker – the smoking chamber. This is where the magic happens, as the flavors of the wood or charcoal infuse your meats, creating tender, smoky perfection. Here’s how to build the smoking chamber:
1. Fabricating the Steel Sheets:
Measure and cut the steel sheets to the dimensions required for the smoking chamber. These sheets will form the walls, top, and bottom of the chamber, providing a durable and heat-retaining enclosure for the smoking process.
Read more: How To Make A Brick
2. Assembling the Chamber:
Using welding equipment or high-temperature sealant, join the cut steel sheets together to create a sturdy, airtight chamber. Ensure that the seams are well-sealed to prevent smoke from escaping and to maintain consistent heat retention.
3. Fitting the Chamber to the Base:
Position the smoking chamber on the brick base, aligning it with the openings left in the brick walls. Secure the chamber in place, ensuring that it sits securely and level on the base, ready to accommodate the smoking racks and delicious culinary creations.
4. Adding Racks and Grates:
Install fire bricks or paving stones inside the smoking chamber to create sturdy, heat-resistant racks for holding your meats and other delicacies. These racks provide ample space for arranging various cuts of meat and allow for optimal smoke circulation during the cooking process.
5. Sealing and Insulating:
Inspect the smoking chamber for any gaps or areas that may compromise its airtightness. Apply fireproof sealant as needed to ensure that the chamber is well-insulated and capable of maintaining a consistent internal temperature throughout the smoking process.
Read more: How To Clean Smoker Glass
6. Preparing for the Fire:
Before firing up your new smoker, double-check all the connections and seals to ensure that everything is secure. Once you’re confident in the chamber’s integrity, you’re ready to add the fuel and start the seasoning process, infusing the smoker with its signature smoky essence.
With the smoking chamber in place, your brick BBQ smoker is well on its way to becoming a culinary centerpiece that will delight and impress. The next steps involve adding the finishing touches and essential components that will bring your smoker to life, ready to create mouthwatering, slow-cooked masterpieces.
Installing the Grate and Racks
Now that the smoking chamber is assembled, it’s time to focus on the interior components that will hold your delectable creations as they undergo the flavorful transformation of smoking. Installing the grate and racks is a crucial step in preparing your brick BBQ smoker for its culinary duties. Here’s how to accomplish this essential task:
1. Positioning the Grate:
Place the primary cooking grate inside the smoking chamber, ensuring that it sits securely on the designated supports. This grate will serve as the primary cooking surface for your meats, allowing them to absorb the rich, smoky essence produced during the smoking process.
2. Arranging the Racks:
If your smoker is designed to accommodate multiple racks, carefully position and secure them within the smoking chamber. These additional racks provide versatile space for smoking an array of meats, vegetables, and other culinary delights, allowing you to maximize the smoker’s capacity during each smoking session.
Read more: How To Make Brick Molds
3. Ensuring Stability and Clearance:
Verify that the grate and racks are stable and level within the smoking chamber, providing ample clearance for the items being smoked. It’s essential to ensure that there is sufficient space between the different cooking levels to allow for proper airflow and even smoking of the various ingredients.
4. Heat Distribution Considerations:
Strategically position the grate and racks to optimize heat distribution within the smoking chamber. This ensures that all items receive uniform exposure to the flavorful smoke, resulting in consistent and delicious outcomes across the entire cooking surface.
5. Testing the Configuration:
Before proceeding, conduct a visual and functional assessment of the grate and racks to confirm that they are securely in place and ready to accommodate your culinary creations. This step ensures that the interior components are primed for the smoking process.
6. Anticipating Culinary Adventures:
With the grate and racks installed, your brick BBQ smoker is poised to become a versatile and reliable tool for infusing your favorite ingredients with the irresistible essence of smoke. The next steps involve adding the chimney and ventilation, which are essential for regulating the smoking process and maintaining the ideal cooking environment within the smoker.
As you proceed with the installation of the grate and racks, envision the culinary possibilities that await, knowing that your smoker is one step closer to bringing your flavorful visions to life.
Read more: How To Make Brick Slips
Adding the Chimney and Ventilation
As your brick BBQ smoker nears completion, it’s time to focus on two vital elements that will ensure optimal airflow and smoke regulation: the chimney and ventilation. These components play a crucial role in maintaining the ideal cooking environment within the smoker, allowing you to achieve consistent and flavorful results. Here’s how to add the chimney and ventilation to your smoker:
1. Selecting the Chimney Location:
Determine the ideal placement for the chimney, typically situated at the top of the smoking chamber. The chimney serves as the outlet for smoke and heat, allowing for proper ventilation and the release of excess gases during the smoking process.
2. Installing the Chimney Pipe:
Position the chimney pipe in the designated location, ensuring a secure and airtight connection with the smoking chamber. The chimney pipe should extend vertically to promote efficient smoke extraction and create a natural draft that draws fresh air into the smoker.
3. Ventilation Openings:
Create small ventilation openings near the base of the smoking chamber to facilitate the inflow of fresh air. These openings play a crucial role in regulating the internal temperature and smoke circulation, contributing to the overall control and precision of the smoking process.
Read more: How To Make Brick Red
4. Balancing Airflow:
Strategically position the ventilation openings to achieve a balanced airflow within the smoker. This balance ensures that the smoke circulates evenly around the cooking items, imparting a consistent smoky flavor and promoting uniform cooking results.
5. Draft Control Considerations:
Consider incorporating a draft control mechanism, such as adjustable dampers or vents, to fine-tune the airflow and maintain the desired cooking temperature. These features provide you with the flexibility to regulate the smoking environment according to your specific culinary requirements.
6. Ensuring Safety and Efficiency:
Inspect the chimney and ventilation components to ensure that they are securely installed and functioning as intended. It’s essential to confirm that the smoker is equipped with the necessary features to promote safe and efficient smoking operations.
With the chimney and ventilation in place, your brick BBQ smoker is primed to deliver exceptional smoking performance, allowing you to craft an array of tantalizing dishes infused with the unmistakable essence of smoky goodness. The final steps involve adding the finishing touches and seasoning the smoker, preparing it for the culinary adventures that lie ahead.
As you integrate the chimney and ventilation into your smoker, anticipate the aromatic delights that await, knowing that your creation is on the brink of becoming a culinary powerhouse in your outdoor cooking repertoire.
Finishing Touches and Seasoning
As you approach the culmination of your brick BBQ smoker construction, it’s time to add the finishing touches that will elevate its functionality and visual appeal. From personalizing the exterior to seasoning the interior, these steps are essential for preparing your smoker to deliver exceptional culinary experiences. Here’s how to add the finishing touches and season your smoker:
Read more: How To Make A Brick Kiln
1. Exterior Customization:
If desired, apply a high-temperature paint or finish to the exterior of the smoker. This not only adds a personalized touch but also provides protection against the elements, ensuring the longevity and resilience of your smoker’s outer surface.
2. Door Hardware and Seals:
Install durable door hinges and handles, ensuring that the smoking chamber can be easily accessed and securely sealed during the smoking process. Well-fitted seals and gaskets contribute to the smoker’s efficiency by maintaining a consistent internal environment.
3. Thermometer Placement:
Mount a reliable grill thermometer on the smoking chamber to monitor the internal temperature accurately. This essential tool allows you to gauge the cooking conditions and make necessary adjustments for optimal smoking results.
4. Seasoning the Interior:
Before your inaugural smoking session, it’s crucial to season the interior of the smoker. This involves heating the smoker to a moderate temperature with a small amount of wood or charcoal, allowing the surfaces to absorb the natural oils and flavors, which will enhance the smoky essence of future culinary creations.
Read more: How To Make A Brick Stove
5. Conducting a Test Run:
Prior to embarking on your first official smoking session, consider conducting a test run with a small batch of wood or charcoal. This allows you to familiarize yourself with the smoker’s performance and make any necessary adjustments before diving into full-scale culinary endeavors.
6. Embracing the Craftsmanship:
As you add the finishing touches and season your brick BBQ smoker, take a moment to appreciate the craftsmanship and dedication that have gone into creating this culinary masterpiece. Your smoker is now a reflection of your passion for outdoor cooking and the art of slow smoking.
With the finishing touches complete and the smoker seasoned, you’re poised to embark on a culinary journey filled with the tantalizing aromas and flavors of smoked meats, vegetables, and more. Your brick BBQ smoker is now a fully realized culinary tool, ready to bring your outdoor cooking aspirations to life in the most delicious and aromatic manner.
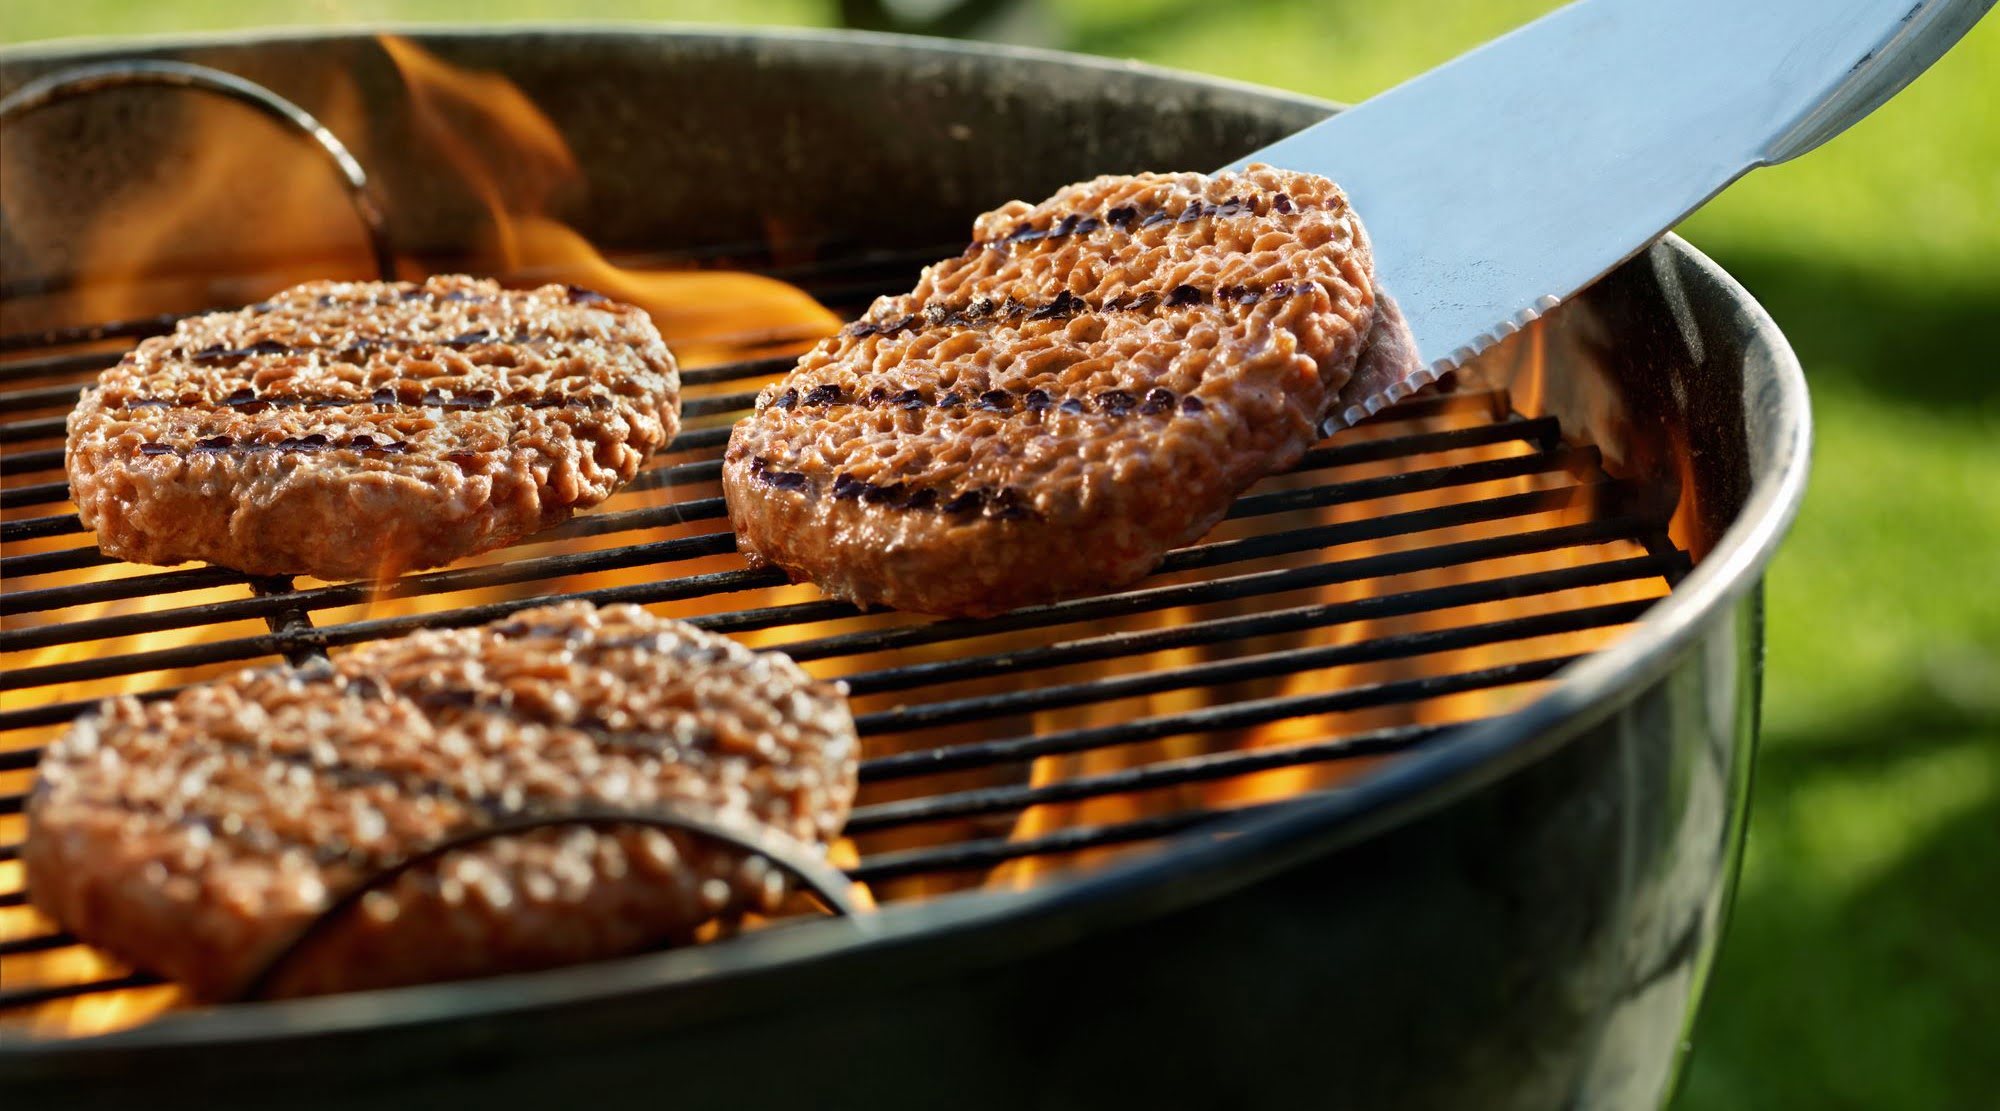
Tips for Using Your Brick BBQ Smoker
Now that your brick BBQ smoker is fully assembled and seasoned, it’s time to explore some valuable tips to ensure that you make the most of this versatile and flavorful cooking apparatus. These insights will guide you in harnessing the full potential of your smoker and achieving exceptional results with every smoking session. Here are some essential tips for using your brick BBQ smoker:
1. Selecting the Right Wood:
Choose high-quality wood chips or chunks that complement the flavors of the ingredients you plan to smoke. Different woods impart distinct flavors, so consider the characteristics of each type and how they pair with specific meats, fish, or vegetables.
Read more: How To Make Brick Wallpaper
2. Preheating and Monitoring Temperature:
Prior to adding your ingredients, allow the smoker to preheat to the desired temperature. Use the built-in thermometer to monitor the internal heat, making adjustments as needed to maintain the ideal smoking environment for your culinary creations.
3. Maintaining Consistent Airflow:
Ensure that the ventilation openings and chimney are unobstructed to promote consistent airflow throughout the smoking chamber. Proper ventilation contributes to even smoke distribution and helps regulate the internal temperature of the smoker.
4. Patience in the Smoking Process:
Smoking is a slow and deliberate cooking method that rewards patience. Allow ample time for the flavors to develop and the natural smokiness to infuse your ingredients, resulting in tender, flavorful dishes that reflect the artistry of slow smoking.
5. Experimenting with Flavors and Ingredients:
Embrace the versatility of your smoker by experimenting with a variety of seasonings, marinades, and ingredients. From classic barbecue fare to inventive culinary creations, your brick BBQ smoker offers endless possibilities for infusing rich, smoky flavors into your favorite dishes.
Read more: How To Make Adobe Brick
6. Cleaning and Maintenance:
After each use, clean the smoker’s interior and exterior surfaces to maintain its performance and appearance. Regular maintenance, such as removing ash and residue, ensures that your smoker remains in prime condition for future smoking endeavors.
7. Embracing the Culinary Journey:
Approach each smoking session as an opportunity to explore new flavors and techniques. Embrace the learning process and savor the rewarding experience of crafting delectable, smoky dishes that delight your palate and those of your guests.
By incorporating these tips into your smoking routine, you’ll unlock the full potential of your brick BBQ smoker, transforming each cooking session into a flavorful and fulfilling culinary adventure. With a blend of creativity, patience, and a passion for outdoor cooking, your smoker will become a beloved tool for crafting unforgettable dishes infused with the unmistakable essence of smoke.
Frequently Asked Questions about How To Make A Brick Bbq Smoker
Was this page helpful?
At Storables.com, we guarantee accurate and reliable information. Our content, validated by Expert Board Contributors, is crafted following stringent Editorial Policies. We're committed to providing you with well-researched, expert-backed insights for all your informational needs.

0 thoughts on “How To Make A Brick Bbq Smoker”