
Tableware
How To Make Hillbilly Wine Glasses
Modified: December 7, 2023
Learn how to make unique and charming hillbilly wine glasses for your tableware collection. Create a rustic touch with this fun DIY project.
(Many of the links in this article redirect to a specific reviewed product. Your purchase of these products through affiliate links helps to generate commission for Storables.com, at no extra cost. Learn more)
Introduction
Welcome to our guide on how to make hillbilly wine glasses! If you’re a fan of rustic and unique tableware, then this DIY project is perfect for you. Hillbilly wine glasses, also known as redneck wine glasses or mason jar glasses, are a quirky and charming addition to any table setting or special occasion. They combine the elegance of wine glasses with the down-to-earthness of mason jars, creating a fun and conversation-starting centerpiece.
In this article, we’ll walk you through the step-by-step process of creating your own hillbilly wine glasses. From preparing the glass bottles to adding the perfect stem, enhancing and decorating, and finally cleaning and polishing, we’ve got you covered. So let’s gather our materials and get started on this fun and creative adventure!
Key Takeaways:
- Transform ordinary glass bottles into charming hillbilly wine glasses by following a fun and creative DIY process. Add rustic elegance to any table setting or special occasion with these unique and conversation-starting centerpieces.
- Let your creativity shine as you enhance and decorate your hillbilly wine glasses with personalized touches. From painting the stem to adding decorative charms, make each glass a reflection of your personal style and the theme of the occasion.
Read more: How To Make Glitter Wine Glasses
Materials Needed
Before we dive into the process of making hillbilly wine glasses, let’s gather all the materials we’ll need for this project:
- Mason jars or glass bottles: Choose glass bottles or mason jars of your desired size and shape. You can find them at thrift stores, local markets, or even repurpose old glass bottles you have at home.
- Glass glue or epoxy: This adhesive will be used for attaching the stem to the glass bottle. Make sure to choose a strong and durable glue that bonds well with glass.
- Wine glass stems: Look for wine glass stems that can be detached or purchased separately. You can find them at craft stores or online. Choose stems that complement the style and size of your glass bottles or mason jars.
- Decorative items: Get creative and gather items to enhance and decorate your hillbilly wine glasses. This can include ribbons, twine, flowers, beads, or any other embellishment that suits your taste.
- Cleaning supplies: To remove labels and residue from the glass bottles, you’ll need warm water, dish soap, and a scrub brush or sponge. You may also need a cleaning solution specifically designed to remove sticky residue.
- Protective gloves: Since you’ll be working with adhesives and potentially sharp edges, it’s a good idea to wear protective gloves to keep your hands safe.
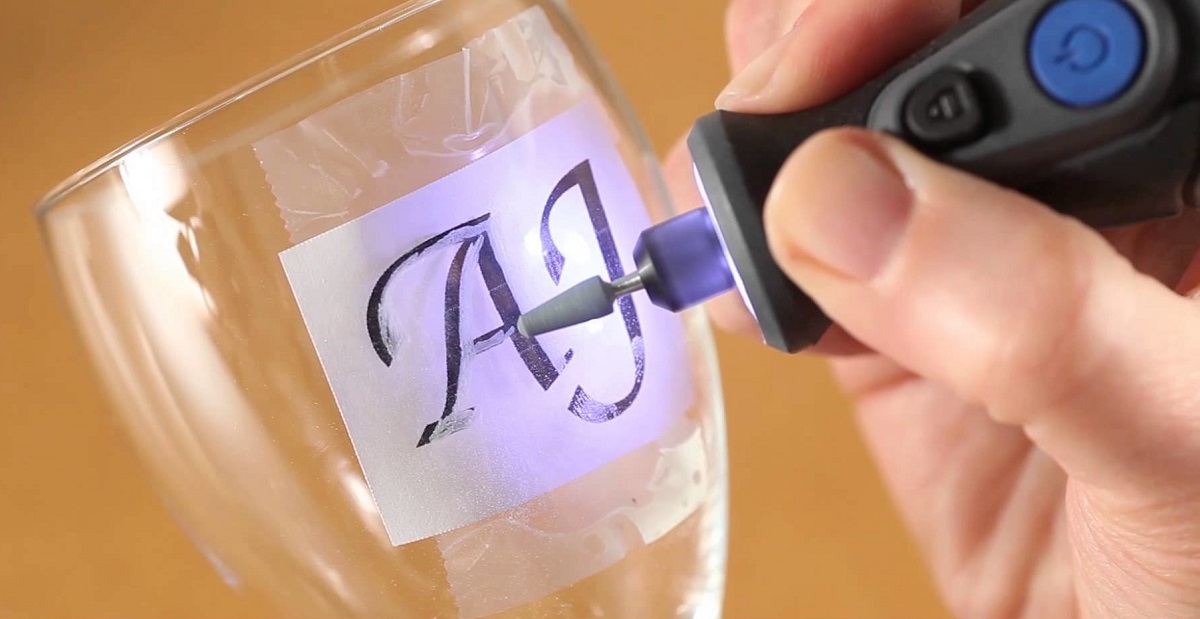
- Optional: Sandpaper or glass etching cream, if you want to give your glasses a frosted or etched appearance.
Now that we have all the necessary materials, let’s move on to the step-by-step process of making our hillbilly wine glasses!
Step 1: Prepare the Glass Bottles
The first step in making hillbilly wine glasses is to prepare the glass bottles or mason jars that you’ll be using as the base. Follow these instructions to ensure that your glassware is clean and ready for the next steps:
- Remove any labels: Start by soaking the glass bottles or mason jars in warm water with a few drops of dish soap. Let them sit for a few minutes to loosen the adhesive. Then, using a scrub brush or sponge, gently scrub off the labels until they are completely removed.
- Get rid of residue: Sometimes, even after removing the labels, sticky residue may be left behind. In this case, use a cleaning solution specifically designed to remove sticky residue. Apply a small amount to a clean cloth and gently rub the sticky areas until the residue is completely gone.
- Wash the glassware: Rinse the glass bottles or mason jars thoroughly to remove any soap or cleaning solution residue. You can also wash them in the dishwasher for added convenience and sanitation.
Once your glass bottles or mason jars are clean and free from labels and residue, you’re ready to move on to the next step: attaching the stems.
Step 2: Remove Labels and Residue
When creating hillbilly wine glasses, it’s important to remove any labels and residue from the glass bottles or mason jars to achieve a clean and polished look. Follow these steps to ensure a smooth surface:
- Soak the glass bottles or mason jars: Fill a sink or basin with warm water and add a few drops of dish soap. Submerge the glass bottles or mason jars in the soapy water and let them soak for a few minutes. This will help loosen the labels and adhesive.
- Scrub off the labels: After soaking, take a scrub brush or sponge and gently scrub the labels. Start with gentle pressure and gradually increase if needed. Focus on the areas where the labels are attached and work your way around the entire surface of the glass. You can also use your fingers to peel off any loose pieces of the label.
- Remove sticky residue: In some cases, the labels might leave behind sticky residue. To remove it, create a paste using baking soda and water. Apply the paste to the sticky areas and let it sit for a few minutes. Then, use a scrub brush or sponge to scrub off the residue. Rinse well with water to remove any remaining paste.
- Dry and inspect: Once the labels and residue are removed, dry the glass bottles or mason jars thoroughly. Inspect them to make sure there are no remnants of labels or sticky residue. If necessary, repeat the process to ensure a clean and pristine surface.
By following these steps, you’ll have successfully removed labels and residue from your glass bottles or mason jars. This sets a solid foundation for the rest of the hillbilly wine glass-making process.
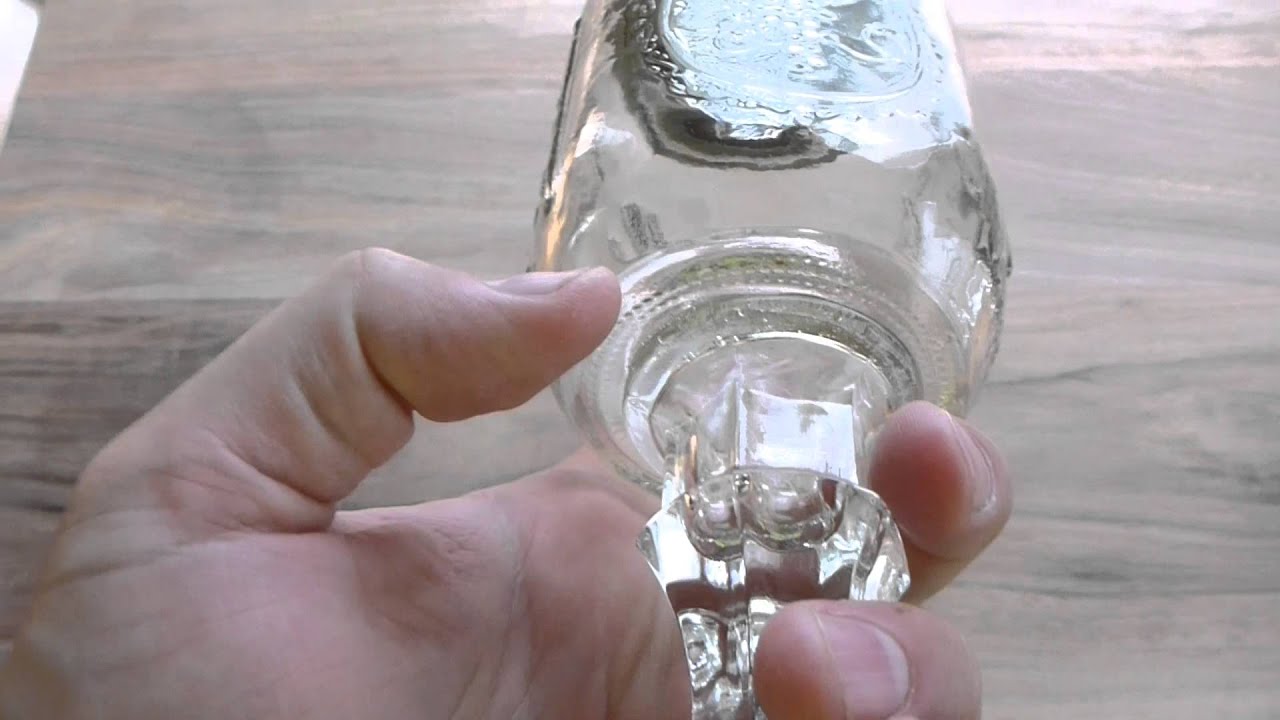
When making hillbilly wine glasses, make sure to securely attach the mason jar to the candlestick holder using a strong adhesive to prevent any accidents.
Step 3: Attach the Stem
Attaching the stem to the glass bottle or mason jar is a crucial step in creating hillbilly wine glasses. The stem adds elegance and functionality to the glassware. Follow these instructions to securely attach the stem:
- Choose the right stem: Select a wine glass stem that matches the style and size of your glass bottle or mason jar. Ensure that the stem is of good quality and is meant to be attached to glassware.
- Apply adhesive: Using a glass glue or epoxy, carefully apply a small amount to the bottom of the stem where it will be attached to the glass. Make sure to spread the adhesive evenly to ensure a strong bond.
- Align the stem: Gently press the bottom of the stem onto the base of the glass bottle or mason jar. Make sure it is centered and aligned properly. Hold it firmly in place for a few seconds to allow the adhesive to bond.
- Allow it to dry: Follow the instructions provided with the adhesive to determine the drying time. Keep the glasses in a safe and undisturbed area while the adhesive cures. This will ensure a secure attachment between the stem and the glassware.
- Strengthen the bond (optional): If desired, you can reinforce the bond between the stem and the glass by applying a small amount of adhesive around the edges where they meet. This will provide extra support and durability.
It’s important to remember that different adhesives may have specific instructions, so be sure to read and follow them carefully. Once the stem is securely attached, you can move on to the next step of enhancing and decorating your hillbilly wine glasses!
Read more: How To Make Wine Glass Charms
Step 4: Enhance and Decorate
Now that you have attached the stem to your hillbilly wine glasses, it’s time to let your creativity shine by enhancing and decorating them. Here are some ideas to help you add a personal touch:
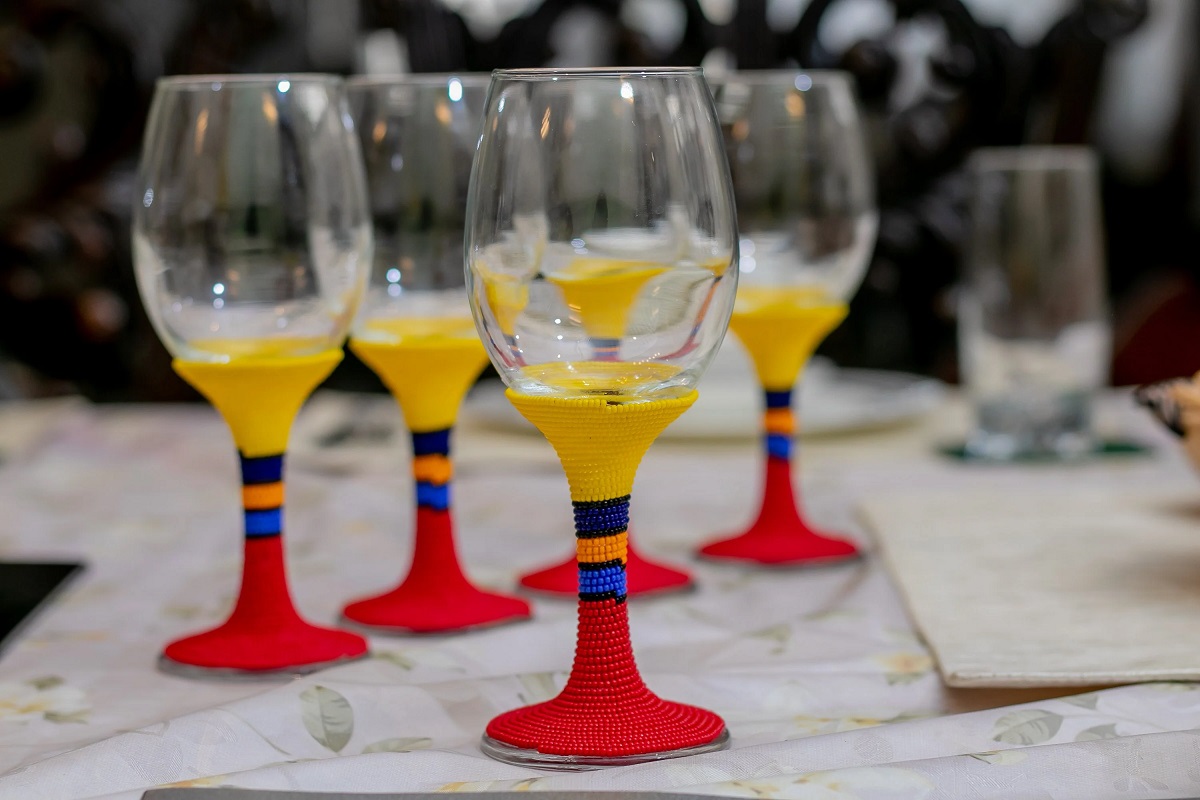
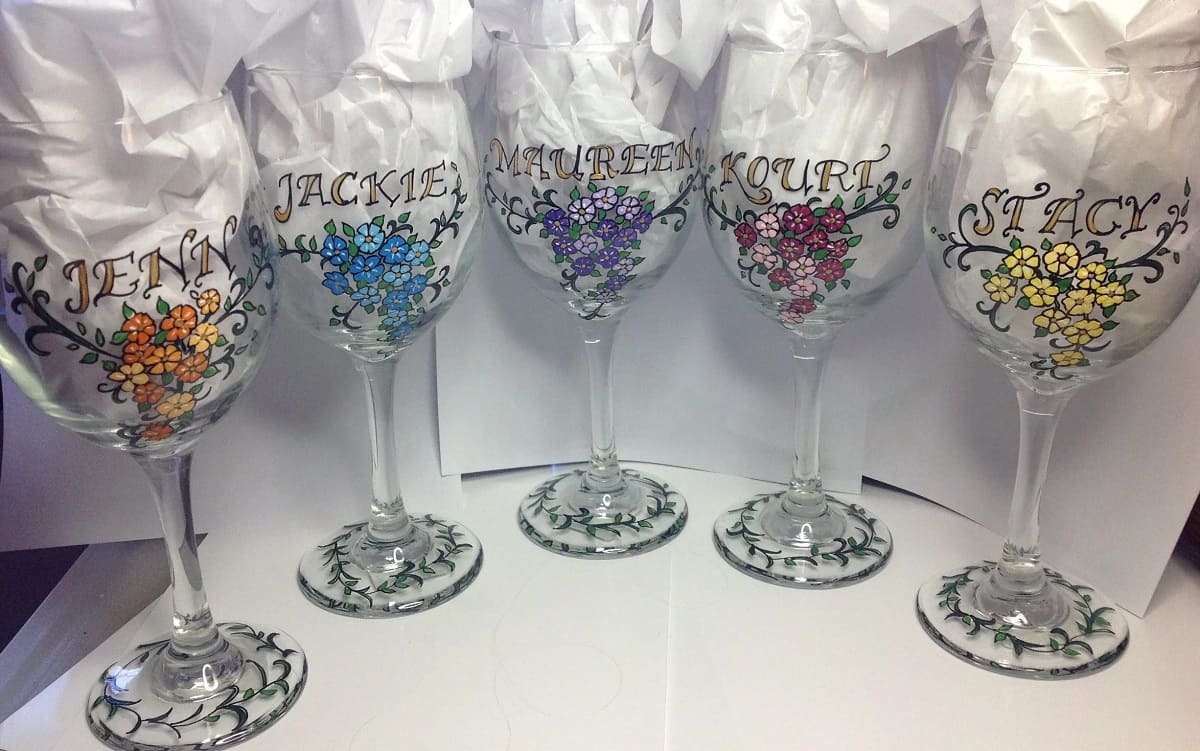
- Paint the stem: Consider painting the stem of your wine glass with acrylic paint. Choose a color that complements the overall theme or matches the decor of your table setting. Apply multiple coats for a more vibrant and opaque finish.
- Add ribbons or twine: Wrap a ribbon or twine around the stem for a rustic and charming look. You can tie the ribbon into a bow or create intricate designs using different colored ribbons or twines.
- Attach decorative charms or beads: Use small decorative charms or beads to add some flair to your hillbilly wine glasses. You can attach them to the stem or hang them from the rim of the glass for an eye-catching detail.
- Embellish with flowers or greenery: Adorn your glasses with fresh flowers or greenery to create a natural and elegant centerpiece. Secure them with a floral wire or tape, or insert them into a small water-filled vial that can be attached to the stem.
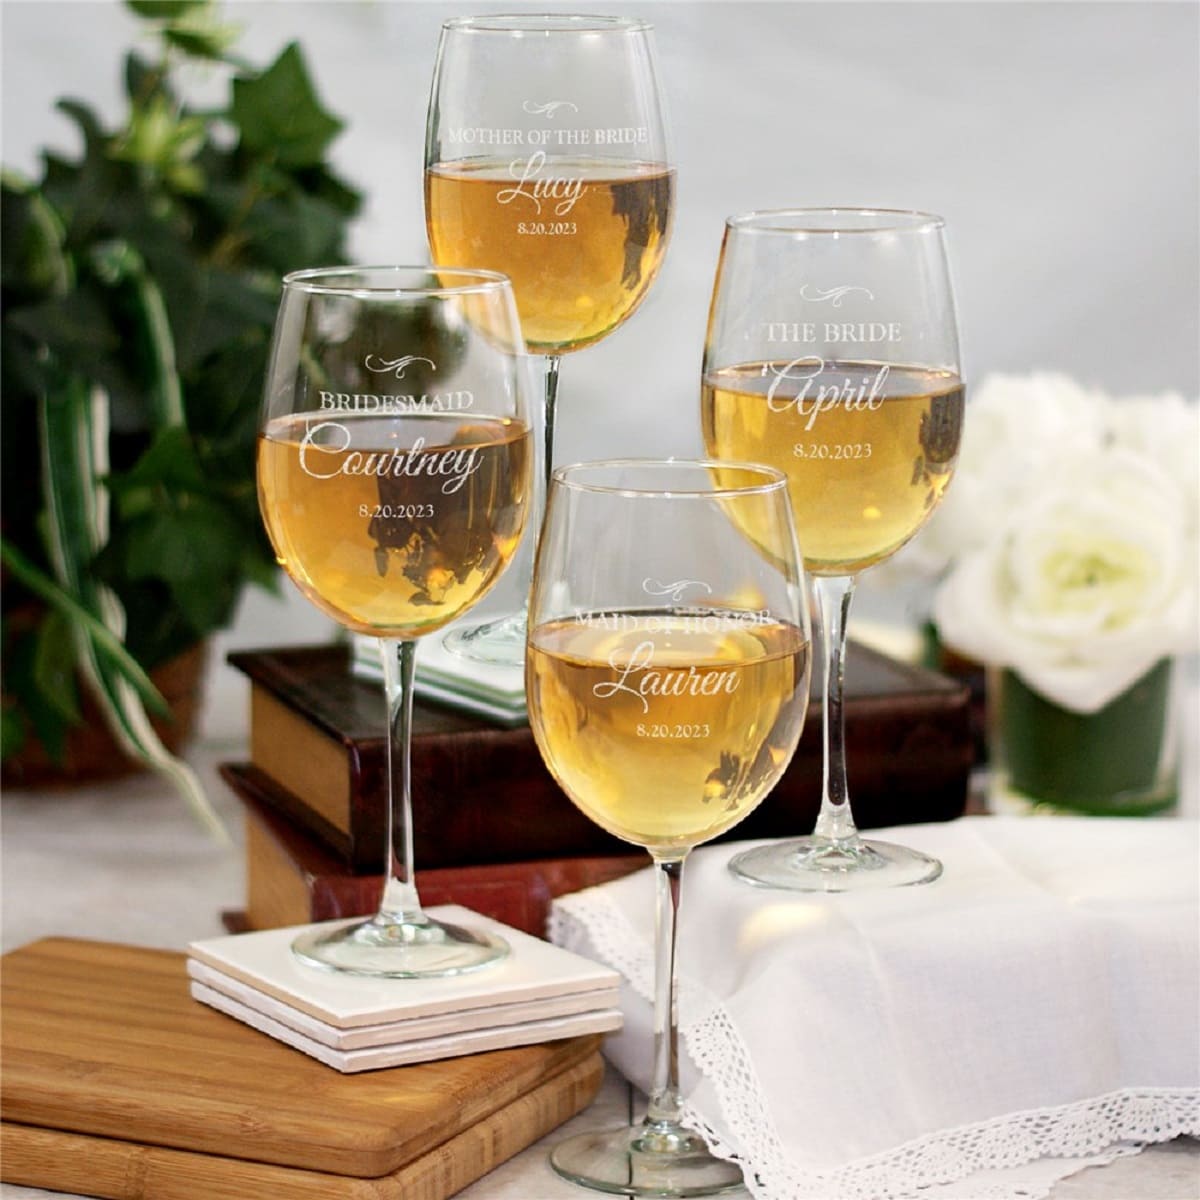
- Personalize with name tags: Create custom name tags for each glass by using small pieces of cardstock or decorative paper. Write each guest’s name on the tags and attach them to the stem using a ribbon or string.
These are just a few ideas to get you started. Feel free to explore other creative options and experiment with different materials and techniques. The goal is to make your hillbilly wine glasses reflect your personal style and the theme of the occasion.
Once you have enhanced and decorated your glasses to your heart’s content, it’s time to move on to the final step: cleaning and polishing.
Step 5: Clean and Polish
After enhancing and decorating your hillbilly wine glasses, it’s important to give them a final cleaning and polishing to ensure they look their best. Follow these steps to achieve a sparkling and pristine finish:
- Remove any residue: If there is any glue or adhesive residue from decorations or labels, gently remove it using a cleaning solution designed for glass or a mixture of warm water and mild dish soap. Use a soft cloth or sponge to wipe away the residue.
- Wash the glasses: Thoroughly wash the glasses using warm water and dish soap. Pay special attention to the decorated areas to ensure all dirt or dust is removed. Use a gentle scrub brush or sponge to clean the inside and outside of the glasses.
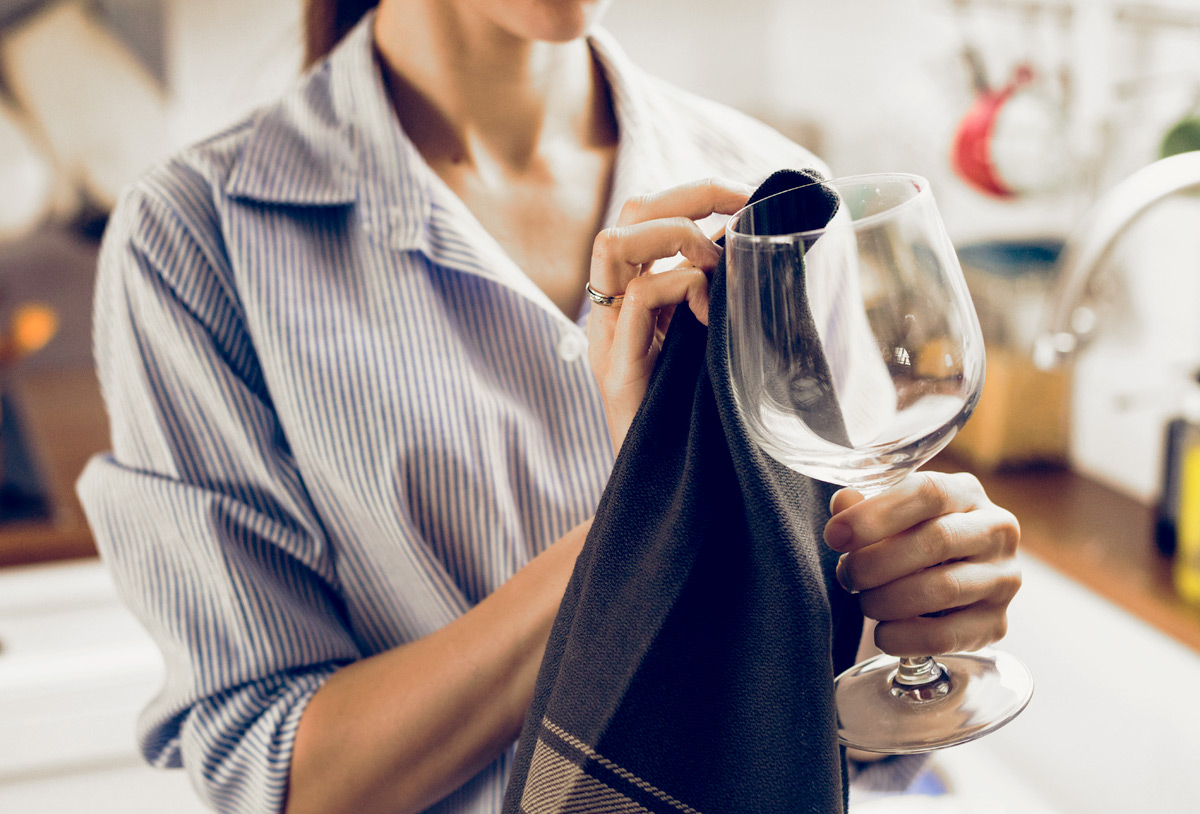
- Dry the glasses: After washing, dry the glasses with a clean, lint-free cloth or allow them to air dry. Avoid using abrasive materials that could scratch the surface of the glasses.
- Polish the glass: To give your hillbilly wine glasses a brilliant shine, use a glass cleaner or a mixture of vinegar and water and apply it to the surface of the glasses. Polish them using a soft, lint-free cloth in circular motions until they gleam.
- Inspect for blemishes: Take a close look at the glasses to check for any smudges, stains, or imperfections. If necessary, repeat the cleaning and polishing process until you are satisfied with the results.
By following these cleaning and polishing steps, your hillbilly wine glasses will be ready to impress your guests and enhance any tabletop or special occasion.
Congratulations! You have successfully created your own unique and charming hillbilly wine glasses. Now you can enjoy the delightful combination of elegance and rustic charm that these glasses bring to your dining experience.
Remember to handle your hillbilly wine glasses with care and store them in a safe place when not in use. With proper maintenance, they can grace your table for many memorable meals and gatherings to come.
Get ready to raise a glass and toast to your creativity and craftsmanship. Cheers!
Conclusion
Congratulations on completing your journey to create hillbilly wine glasses! As you have discovered, turning glass bottles or mason jars into unique and charming tableware is a fun and creative undertaking. These hillbilly wine glasses add a touch of rustic elegance to any table setting or special occasion.
By following the step-by-step process outlined in this guide, you have learned how to prepare the glass bottles, remove labels and residue, attach the stems securely, enhance and decorate the glasses, and finally, clean and polish them for a dazzling finish.
These one-of-a-kind glasses are not only a delight to behold but also make for great conversation starters. Whether you’re hosting a backyard barbecue, a holiday dinner, or a rustic-themed wedding, your hillbilly wine glasses will surely be a memorable centerpiece that will capture the attention and admiration of your guests.
Remember, the key to creating hillbilly wine glasses is to let your creativity flow. Feel free to experiment with different materials, decorations, and embellishments to make your glasses truly unique and reflective of your personal style.
Now it’s time to raise a glass, share a toast, and enjoy the fruits of your labor. Cheers to your newfound DIY expertise in tableware and your ability to transform ordinary glass bottles into extraordinary hillbilly wine glasses!
So, gather your materials, let your creativity shine, and create your very own set of hillbilly wine glasses that will be the talk of the town. Cheers!
Frequently Asked Questions about How To Make Hillbilly Wine Glasses
Was this page helpful?
At Storables.com, we guarantee accurate and reliable information. Our content, validated by Expert Board Contributors, is crafted following stringent Editorial Policies. We're committed to providing you with well-researched, expert-backed insights for all your informational needs.

0 thoughts on “How To Make Hillbilly Wine Glasses”