
Tableware
How To Make Woven Placemats
Modified: February 17, 2024
Learn how to make beautiful woven placemats for your tableware collection. Discover step-by-step instructions and create unique and stylish table settings.
(Many of the links in this article redirect to a specific reviewed product. Your purchase of these products through affiliate links helps to generate commission for Storables.com, at no extra cost. Learn more)
Introduction
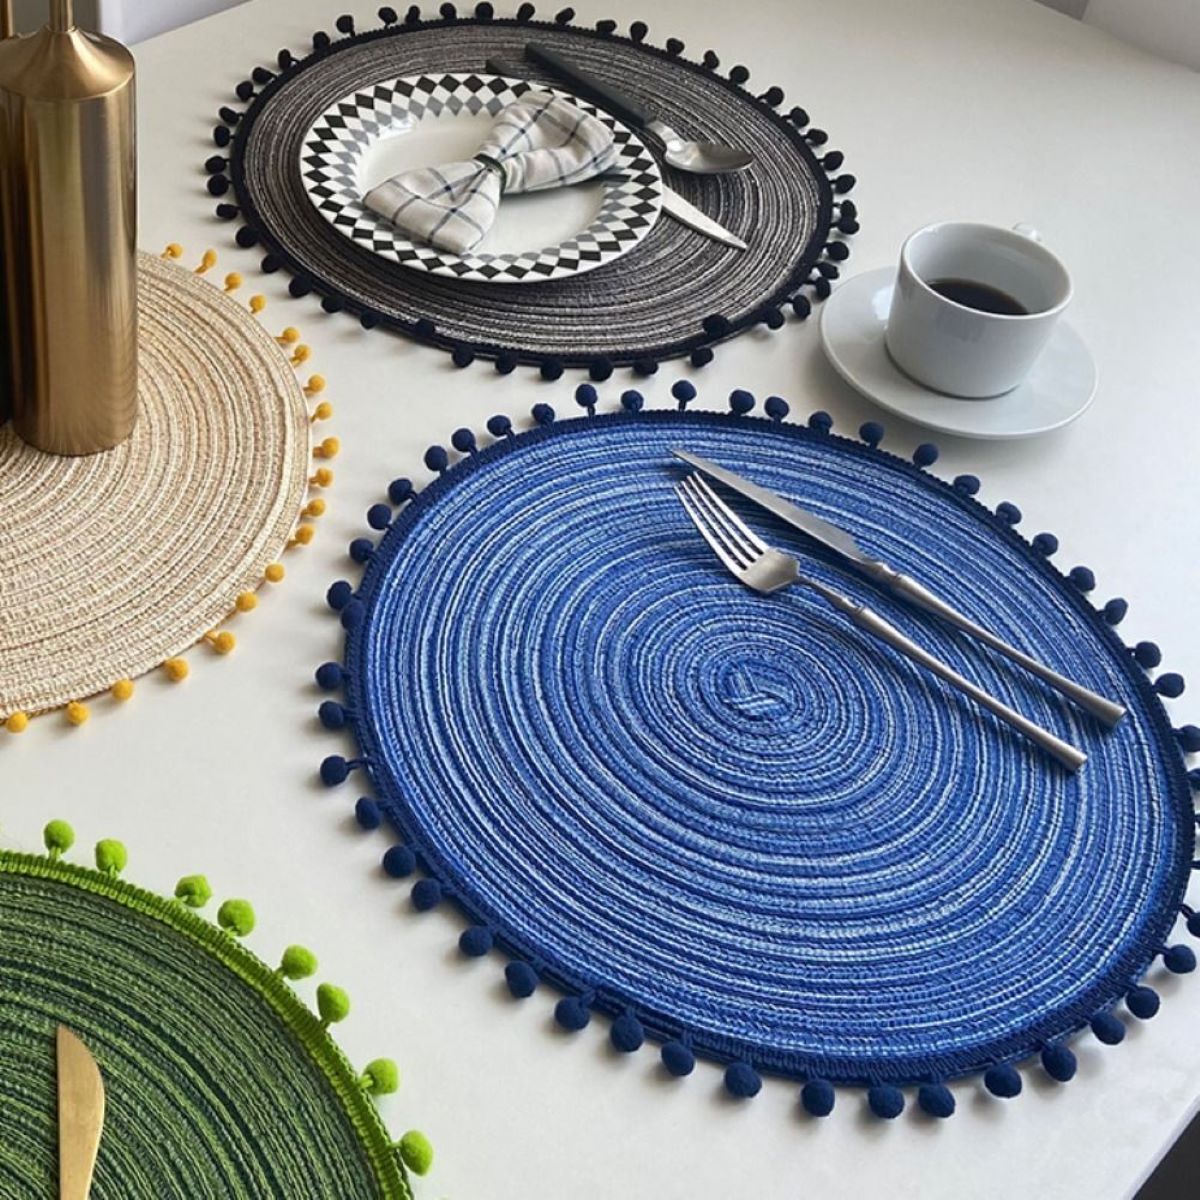
Welcome to the world of woven placemats! Whether you’re a seasoned weaver or just starting out, making your own woven placemats can be a rewarding and creative endeavor. Not only do these placemats add a touch of elegance to your dining table, but they also showcase your craftsmanship and personal style.
In this article, we will guide you through the step-by-step process of creating your own woven placemats. From choosing the perfect yarn to finishing touches, you’ll learn all the essential techniques to bring your placemat designs to life.
So, roll up your sleeves, gather your materials, and let’s dive into the wonderful world of weaving!
Key Takeaways:
- Weaving your own placemats is a creative and rewarding process that allows you to showcase your craftsmanship and personal style while adding elegance to your dining table.
- Experiment with different yarns, colors, and patterns to create unique placemats that reflect your creativity and make wonderful gifts for family and friends.
Read more: How To Make A Quilted Placemat
Materials Needed
Before you start weaving your placemats, make sure you have the following materials on hand:
- Loom: A loom is an essential tool for weaving. You can choose between different types of looms such as rigid heddle loom, floor loom, or lap loom, depending on your preference and budget.
- Yarn: Select a high-quality yarn that is suitable for weaving. Cotton and linen are popular choices for placemats. Consider the weight and color of the yarn to achieve the desired look.
- Warp Thread: This is the thread that runs vertically on the loom. Choose a strong and durable warp thread that will provide a sturdy foundation for your placemats. Cotton or linen warp threads work well.
- Weft Thread: The weft thread is woven horizontally across the warp threads. It’s important to choose a weft thread that complements your yarn and desired design.
- Scissors: You’ll need a sharp pair of scissors for cutting yarn and threads.
- Measuring Tape: A measuring tape will help you ensure the correct dimensions of your placemats.
- Shuttle: This tool is used to weave the weft thread through the warp threads. A shuttle makes the weaving process easier and more efficient.
- Optional Embellishments: If you want to add an extra touch to your placemats, consider embellishments like decorative trims, beads, or fringe.
Once you have gathered all the necessary materials, you are ready to embark on your weaving journey. Now, let’s move on to the next step: choosing the perfect yarn!
Step 1: Choosing the Yarn
Choosing the right yarn for your woven placemats is crucial for achieving the desired look and feel. Consider the following factors when selecting your yarn:
- Fiber: Natural fibers, such as cotton or linen, are popular choices for placemats due to their durability and ability to withstand daily use. They also have a soft feel and are easy to clean. However, you can explore other fibers such as silk or wool for a more luxurious touch.
- Weight: The weight of the yarn will determine the thickness of your placemats. A lightweight yarn will create a delicate and airy fabric, while a heavier yarn will result in a more substantial and durable placemat. Consider the table setting and the overall aesthetic you want to achieve.
- Color: The color of the yarn is an opportunity to express your personal style and complement your dining table. You can go for neutral tones that blend seamlessly with any decor or opt for vibrant hues to add a pop of color.
- Texture: Some yarns have unique textures, such as a smooth finish or a boucle effect. Consider the texture of the yarn to add dimension and visual interest to your placemats.
It is always a good idea to experiment with different yarns and swatch samples before committing to a particular yarn for your placemats. This will allow you to see how the yarn behaves during weaving and how it feels in the finished fabric.
Once you have selected your yarn, it’s time to move on to the next step: setting up the loom!
Step 2: Setting up the Loom
Properly setting up your loom is essential for a successful weaving process. Follow these steps to set up your loom:
- Assembly: If you have a portable or collapsible loom, assemble it according to the manufacturer’s instructions. Make sure all the parts are securely tightened.
- Positioning: Find a comfortable and well-lit space for your loom. Ensure that you have enough room for the loom to be fully extended, as well as space for you to sit or stand while weaving.
- Warp Beam: Attach the warp beam to the back of the loom. This is where the warp threads will be wound. Make sure it is centered and securely fastened.
- Heddles: If your loom has heddles, make sure they are properly threaded. Heddles are used to raise and lower specific warp threads during weaving, creating the sheds that allow the weft thread to pass through.
- Tensioning: Adjust the tension of the loom by tightening or loosening the warp threads. The tension should be even and consistent across the entire width of the loom.
- Other Accessories: Check if your loom requires any additional accessories, such as a shuttle or a beater. Make sure these tools are easily accessible during the weaving process.
Take your time to familiarize yourself with the different parts of the loom and ensure that everything is set up correctly before moving on to the next step.
Once your loom is set up, it’s time to proceed to the next crucial step: warping the loom with the warp threads.
When making woven placemats, be sure to use a sturdy and durable material for the warp (vertical) threads to ensure the placemats will hold up to regular use and washing.
Step 3: Warping the Loom
Warping the loom involves setting up the vertical threads, also known as warp threads, that create the foundation for your placemats. Follow these steps to warp your loom:
- Measure: Determine the desired width and length of your placemats. Use a measuring tape to measure the width of your loom and add a few extra inches to account for shrinkage and fringe.
- Cut the Warp: Cut the warp threads to the desired length, ensuring they are long enough to wrap around the loom and have extra length for tying off at the end.
- Secure the Warp: Tie one end of the warp threads onto the warp beam of the loom. Ensure they are securely fastened to withstand tension during weaving.
- Thread the Heddles: If your loom has heddles, thread each individual warp thread through its corresponding heddle, following a predetermined pattern. This will create the necessary sheds for the weaving process.
- Spread the Warp: Use a threading hook or your fingers to evenly space out the warp threads across the width of the loom. Make sure they are not twisted or tangled.
- Warping Sequence: Follow your chosen warping sequence, whether it be front-to-back or back-to-front. This will involve wrapping the warp threads around the loom, making sure they are evenly tensioned.
- Tensioning: As you warp, periodically adjust the tension of the warp threads to ensure they are evenly distributed across the loom. Use a tensioning device if necessary.
- Secure the End: Once you have completed warping, tie off the other end of the warp threads onto the warp beam, ensuring they are securely fastened.
Warping the loom can be a time-consuming process, but it is a crucial step that sets the foundation for successful weaving. Take your time and double-check your work to ensure everything is in place before moving on.
Now that the loom is warped, it’s time to move on to the exciting part: weaving the placemats!
Read more: How To Make Placemats With Batting
Step 4: Weaving the Placemats
Now that the loom is properly set up and warped, it’s time to start weaving your placemats. Follow these steps to weave your placemats:
- Prepare the Weft: Cut your weft thread to the desired length, allowing for excess at the ends. This thread will be woven horizontally across the warp threads to create the fabric of your placemat.
- Create the Shed: Use your loom’s shedding device or manual technique to raise and lower the appropriate warp threads, creating an open space called the shed. This allows for the insertion of the weft thread.
- Insert the Weft: Take your shuttle or other weaving tool and pass it through the shed, starting from one side of the loom to the other. Be careful to maintain an even tension as you weave.
- Pack the Weft: After each pass of the weft thread, use a beater or your fingers to gently press the weft thread down against the previous rows. This action is called “packing” and ensures a tight and sturdy fabric.
- Continue Weaving: Repeat the process of creating the shed, inserting the weft, and packing until you reach the desired length of your placemat. You can experiment with different patterns and colors to create unique designs.
- Check for Errors: Regularly inspect your weaving for any mistakes or tension issues. It’s easier to fix them as you go rather than trying to correct them later.
- Change Colors: If you want to introduce a new color or switch between different yarns, secure the end of one thread and start the new thread, making sure to weave the loose ends into the fabric for a neat finish.
- Finishing: When you reach the desired length of your placemat, weave a few rows of plain weft without any pattern or design. This creates a solid base for the finishing touches.
Take your time with the weaving process, enjoying each step and allowing your creativity to flourish. Remember to maintain consistent tension throughout and periodically check your work to ensure the fabric is coming together nicely.
Now that the placemat is woven, it’s time to add the finishing touches to make it truly shine.
Step 5: Finishing Touches
Completing the finishing touches on your woven placemats will ensure they are ready for use and showcase your attention to detail. Follow these steps to give your placemats that final touch:
- Remove from the Loom: Carefully remove the woven placemat from the loom, making sure to release any tension and untie the warp threads from the warp beam. Take your time to avoid damaging the delicate fabric.
- Trim the Warp Threads: Trim the excess warp threads, leaving a small fringe if desired. Make sure to cut the threads evenly to create a neat and tidy edge.
- Secure the Edges: To prevent the fabric from unraveling, you can use various techniques to secure the edges. One common method is to weave a few rows of weft-only, without any warp threads, at the beginning and end of the placemat.
- Wet Finishing: Depending on the yarn used, you may need to wet finish your placemats. This involves washing or soaking the placemats in water and allowing them to air dry. Wet finishing helps to set the weave, soften the fabric, and remove any excess fibers.
- Pressing: Once the placemats are dry, you can press them with a warm iron to remove any wrinkles and further enhance the appearance of the fabric.
- Add Embellishments: If desired, now is the perfect time to add any decorative embellishments, such as trims or fringe, to your placemats. This will add a personal touch and elevate the visual appeal of the finished product.
- Enjoy your Placemats: Your woven placemats are now ready to adorn your dining table and delight your guests. Enjoy the fruits of your labor and be proud of your handwoven creations!
Remember to take proper care of your placemats by following the recommended cleaning instructions for the specific yarn used. This will ensure their longevity and keep them looking fresh and vibrant for years to come.
Congratulations on successfully weaving your own placemats! It’s time to sit back, relax, and enjoy the beauty and functionality of your handcrafted creations.
As you gain more experience and confidence in your weaving skills, feel free to experiment with different patterns, colors, and yarns to create an array of unique placemats that reflect your personal style and creativity.
Happy weaving!
Conclusion
Congratulations! You have reached the end of this comprehensive guide on how to make woven placemats. By following the steps outlined in this article, you have learned the essential techniques to create beautiful and functional placemats using a loom.
Weaving your own placemats allows you to showcase your creativity, personalize your dining table, and add a touch of elegance to your home. From choosing the perfect yarn to weaving intricate patterns, every step of the process is an opportunity for self-expression.
Remember, as with any craft, practice makes perfect. The more you weave, the more you will refine your skills and develop your own unique style. Don’t be afraid to experiment with different fibers, colors, and patterns to create truly one-of-a-kind placemats.
Not only are handwoven placemats a joy to make, but they also make wonderful gifts for family and friends. Imagine their delight when they receive a beautifully crafted placemat woven with love and care.
So, get started on your weaving journey! Gather your materials, set up your loom, and let your creativity flow. Whether you choose simple stripes, intricate designs, or a bold color palette, your placemats are sure to be a conversation piece at any table setting.
Enjoy the meditative process of weaving, the tactile nature of the yarn, and the satisfaction of creating something with your own two hands. Your woven placemats will not only serve a practical purpose but also bring beauty and charm to every meal.
Thank you for joining us on this exciting weaving adventure. We hope this guide has inspired you to explore the world of woven tableware and embrace the joy of handmade creations.
Happy weaving!
Frequently Asked Questions about How To Make Woven Placemats
Was this page helpful?
At Storables.com, we guarantee accurate and reliable information. Our content, validated by Expert Board Contributors, is crafted following stringent Editorial Policies. We're committed to providing you with well-researched, expert-backed insights for all your informational needs.



0 thoughts on “How To Make Woven Placemats”