Home>diy>Home Improvement>How To Renovate A Bathroom
Home Improvement
How To Renovate A Bathroom
Modified: October 21, 2024
Learn the essential steps for a successful bathroom renovation. From design ideas to DIY tips, discover how to transform your space with this home-improvement project.
(Many of the links in this article redirect to a specific reviewed product. Your purchase of these products through affiliate links helps to generate commission for Storables.com, at no extra cost. Learn more)
Introduction
Welcome to the ultimate guide on how to renovate a bathroom! Whether you’re looking to update the aesthetics of your outdated bathroom or increase the functionality of your space, a bathroom renovation can breathe new life into this important room in your home. However, embarking on a bathroom renovation project can be daunting, especially if you’re not sure where to begin.
In this comprehensive guide, we’ll take you through each step of the bathroom renovation process, providing you with the knowledge and tips you need to successfully transform your dull bathroom into a stunning space that exceeds your expectations.
Before we dive into the nitty-gritty details, take a moment to envision your dream bathroom. What elements do you want to incorporate? What style and color palette do you prefer? How do you envision the space being utilized? By having a clear vision in mind, you can better plan and execute your bathroom renovation with confidence.
Keep in mind that renovating a bathroom is a significant undertaking and can be a disruptive process. It’s important to carefully plan and budget your renovation to ensure a smooth and successful outcome. So, without further ado, let’s jump into the first step of the bathroom renovation journey: assessing your bathroom.
Key Takeaways:
- Planning and budgeting are essential for a successful bathroom renovation. Assess your needs, create a realistic budget, and carefully plan the design and layout to achieve your dream bathroom without breaking the bank.
- Attention to detail is key in every phase of the renovation process. From demolition to finishing touches, prioritize safety, functionality, and aesthetics to create a stunning and functional bathroom space.
Assessing Your Bathroom
Before you can begin any renovation project, it’s crucial to assess the current state of your bathroom. This step will help you identify the areas that need improvement and determine the scope of your renovation.
Start by taking a close look at the layout and functionality of your bathroom. Are there any design flaws or inefficiencies that you want to address? Is the current layout conducive to your needs? Consider how you use the space on a daily basis and whether it meets your requirements.
Next, inspect the condition of the fixtures, such as the toilet, sink, bathtub, and shower. Are they outdated, worn, or showing signs of damage? Make note of anything that needs to be replaced or repaired.
Consider the overall style and aesthetics of your bathroom. Does it align with your personal taste and the style of the rest of your home? If not, it may be time to update the colors, materials, and finishes to create a cohesive and visually pleasing space.
Additionally, assess the storage capacity in your bathroom. Is there enough room for all your toiletries, towels, and other bathroom essentials? If not, you may want to consider adding additional storage options during your renovation.
Lastly, evaluate the lighting and ventilation in your bathroom. Are there enough windows or artificial lighting sources to create a well-lit space? Is the ventilation system adequate to prevent moisture buildup and mold growth?
By thoroughly assessing your bathroom, you’ll gain a clear understanding of what needs improvement and the changes you want to make. This knowledge will guide you in the next steps of the renovation process, such as creating a budget and designing your dream bathroom.
Creating a Budget
Before diving into your bathroom renovation project, it’s essential to establish a realistic budget. A well-planned budget will help you prioritize your expenses, avoid overspending, and ensure that you can complete your renovation without any financial stress. Here are some steps to help you create a budget for your bathroom renovation:
- Evaluate your finances: Determine how much you can comfortably allocate towards your bathroom renovation. Take into account your savings, available credit, and any other sources of funding you may have.
- Research costs: Research the average costs of renovating a bathroom, including materials, fixtures, labor, and permits if necessary. This will give you a rough estimate of how much you can expect to spend.
- Break down expenses: Divide your budget into different categories such as demolition, plumbing, electrical work, flooring, fixtures, and design elements. This breakdown will help you allocate funds accordingly and prioritize your spending.
- Leave room for unexpected costs: No matter how well you plan, there can always be unforeseen expenses that arise during a renovation. It’s prudent to set aside some contingency funds to cover any unexpected costs that may occur.
- Get multiple quotes: Reach out to multiple contractors and suppliers to get detailed quotes for the work and materials required. Compare the quotes and ensure they align with your budget. Be wary of extremely low prices, as they may indicate low-quality workmanship or materials.
- Consider DIY: If you have the skills and experience, consider taking on some of the tasks yourself to save on labor costs. However, be realistic about your abilities and only tackle tasks that you are confident you can handle.
- Track your expenses: Throughout the renovation process, keep a record of all your expenses. This will help you stay on track with your budget and identify any areas where you may be overspending.
Remember that your budget should not just cover the renovation itself, but also additional costs such as permits, design fees, and any temporary arrangements you may need to make while your bathroom is out of use.
By creating a detailed and realistic budget, you’ll have a clear understanding of your financial limitations and be able to make informed decisions during your bathroom renovation. This will make the process smoother and more enjoyable, ensuring that you achieve the bathroom of your dreams without breaking the bank.
Design and Planning
The design and planning phase of your bathroom renovation is where you can unleash your creativity and envision the bathroom of your dreams. It’s important to carefully plan and consider every aspect of the design to ensure that it meets your needs, style preferences, and budget. Here are some key steps to guide you through the design and planning process:
- Gather inspiration: Start by gathering inspiration from various sources such as home improvement magazines, websites, social media platforms, and even visiting showrooms. Take note of the styles, materials, colors, and fixtures that catch your eye.
- Determine your style: Identify the overall style you want to achieve in your bathroom. Do you prefer a modern and minimalist look, or maybe a rustic and cozy vibe? Knowing your preferred style will help guide your choices in terms of materials, colors, and accessories.
- Consider the layout: Assess the current layout of your bathroom and determine if any changes are needed. Think about how you use the space and how you can maximize functionality. Consider factors such as the placement of fixtures, storage options, and the flow of movement.
- Select materials and finishes: Choose the materials and finishes that align with your style and budget. Consider factors such as durability, maintenance requirements, and the overall aesthetic appeal. Common choices include tiles, countertops, cabinetry, and fixtures.
- Choose fixtures and fittings: Select the fixtures and fittings that will suit your needs and complement your design. This includes items such as the toilet, sink, bathtub, showerhead, faucets, and lighting fixtures. Pay attention to quality and durability, as these items will be heavily used.
- Plan for storage: Evaluate your storage needs and plan for adequate storage solutions. Consider options such as built-in cabinets, shelves, and vanity units to keep your bathroom organized and clutter-free.
- Create a timeline: Develop a timeline for your renovation project, considering factors such as ordering materials, permits, and the availability of contractors. Allow for some flexibility, as unexpected delays or changes may arise.
- Consult with professionals: If you’re unsure about any aspect of the design or planning, don’t hesitate to consult with professionals such as interior designers or contractors. They can provide valuable insights and help bring your vision to life.
Remember, the design and planning phase is crucial to the success of your bathroom renovation. Take your time to consider all aspects and make decisions that align with your personal style and budget. With a well-thought-out plan in place, you’ll be on your way to creating a beautiful and functional bathroom that exceeds your expectations.
Demolition
Demolition marks the exciting start of your bathroom renovation journey. This phase involves removing the existing fixtures, walls, and flooring to prepare the space for the new and improved design. However, it’s important to approach demolition with caution and follow proper safety measures. Here are some key steps to guide you through the demolition process:
- Prepare the space: Clear out all personal belongings, accessories, and any fragile items from the bathroom. This will ensure they are not damaged during the demolition process.
- Turn off utilities: Before starting any demolition work, ensure that all utilities, such as water and electricity, are turned off to prevent accidents or damage.
- Remove fixtures: Begin by disconnecting and removing the fixtures, such as the toilet, sink, bathtub, and shower. Follow the manufacturer’s instructions or seek professional help if needed.
- Protect adjacent areas: Cover any adjacent areas, such as floors and walls, with protective material to prevent damage during demolition. This can include using drop cloths, plastic sheets, or cardboard.
- Demolish walls and flooring: Use appropriate tools, such as a sledgehammer or pry bar, to remove the walls and flooring. Start from the top and work your way down, ensuring you dispose of the debris responsibly.
- Check for any surprises: As you demolish, be prepared for unexpected surprises such as hidden pipes, wiring, or structural issues. Take necessary precautions and consult professionals if needed.
- Inspect for damage: Once the demolition is complete, thoroughly inspect the area for any damage to the structure or plumbing. Address any issues promptly to avoid complications during the renovation process.
- Dispose of debris: Properly dispose of all debris generated during the demolition. Check local regulations and arrange for appropriate disposal methods, such as renting a dumpster or hiring a waste removal service.
Demolition can be messy and physically demanding, so it’s important to wear appropriate protective gear, such as gloves, safety goggles, and a dust mask, to ensure your safety. Additionally, consider hiring professionals for more complex demolition tasks or if you’re not confident in your DIY skills.
By approaching the demolition phase with care and precision, you’ll lay the foundation for a successful bathroom renovation. Now that the old is out of the way, you can begin the exciting process of building your new and improved bathroom.
Plumbing and Electrical
During the plumbing and electrical stage of your bathroom renovation, you’ll be working behind the scenes to ensure that all the necessary systems are in place for the proper functioning of your new bathroom. This step requires careful planning and attention to detail to avoid any future issues. Here are some key considerations when it comes to plumbing and electrical work:
- Hire professionals: Unless you have extensive experience in plumbing and electrical work, it’s recommended to hire licensed professionals for this stage. They have the expertise and knowledge to ensure that everything is installed correctly and up to code.
- Plan the layout: Work closely with your plumber and electrician to plan the layout of pipes, drains, fixtures, outlets, and switches. Consider the location of your sink, toilet, shower, bathtub, and any other fixtures that require plumbing and electricity.
- Upgrade plumbing and electrical systems: Depending on the age of your home, you may need to upgrade your plumbing and electrical systems to meet current building codes. This could involve replacing old pipes, updating wiring, and upgrading your electrical panel if necessary.
- Install water-saving fixtures: Take this opportunity to install water-efficient fixtures such as low-flow toilets, faucets, and showerheads. Not only will this help reduce your water consumption, but it can also lower your utility bills in the long run.
- Ensure proper ventilation: Proper ventilation is crucial in a bathroom to prevent moisture buildup and mold growth. Install an exhaust fan that effectively removes moisture and odors from the air. Make sure it vents to the outdoors and not into the attic.
- Consider additional electrical needs: Think about any additional electrical needs in your bathroom, such as lighting fixtures, heated flooring, or smart home technology. Discuss these options with your electrician to ensure proper wiring and installation.
- Check for leaks and proper connections: Once the plumbing and electrical work is completed, carefully inspect all connections, pipes, and wiring for any leaks, loose connections, or faulty installations. Testing everything before moving forward will help avoid any potential issues down the line.
- Obtain necessary permits: Depending on your location, you may need to obtain permits for the plumbing and electrical work. Check with your local building department to ensure compliance with regulations and obtain the required permits.
Both plumbing and electrical work require expertise, so it’s crucial not to cut corners or attempt to DIY if you’re not qualified. Hiring professionals will ensure that your bathroom’s plumbing and electrical systems are safe, efficient, and built to last.
By paying attention to these details during the plumbing and electrical phase, you’ll be setting the stage for a fully functional and reliable bathroom that meets all your needs.
When renovating a bathroom, consider installing a water-efficient toilet to save on water usage and reduce your utility bills.
Flooring and Walls
The flooring and walls of your bathroom play a crucial role in both the aesthetics and functionality of the space. Choosing the right materials and finishes can greatly enhance the overall look and durability of your bathroom. Here’s a guide to help you navigate the flooring and walls stage of your renovation:
- Select flooring materials: Consider factors such as moisture resistance, durability, and slip-resistance when choosing flooring materials for your bathroom. Popular options include ceramic or porcelain tiles, vinyl, natural stone, and waterproof laminate flooring.
- Plan the floor layout: Work with your contractor to plan the layout of the flooring, ensuring proper alignment and avoiding any obstructions such as pipes or drains. Decide whether you want a uniform flooring design or if you’d like to incorporate patterns or accents.
- Prep the subfloor: Before installing new flooring, it’s important to prepare the subfloor. This may involve removing the previous flooring, repairing any damaged areas, and ensuring a level and stable surface for the new flooring to be installed on.
- Install the flooring: Follow the manufacturer’s instructions or hire a professional to install the chosen flooring material. Ensure proper adhesive, grouting, or sealing is done, depending on the type of flooring you’ve selected.
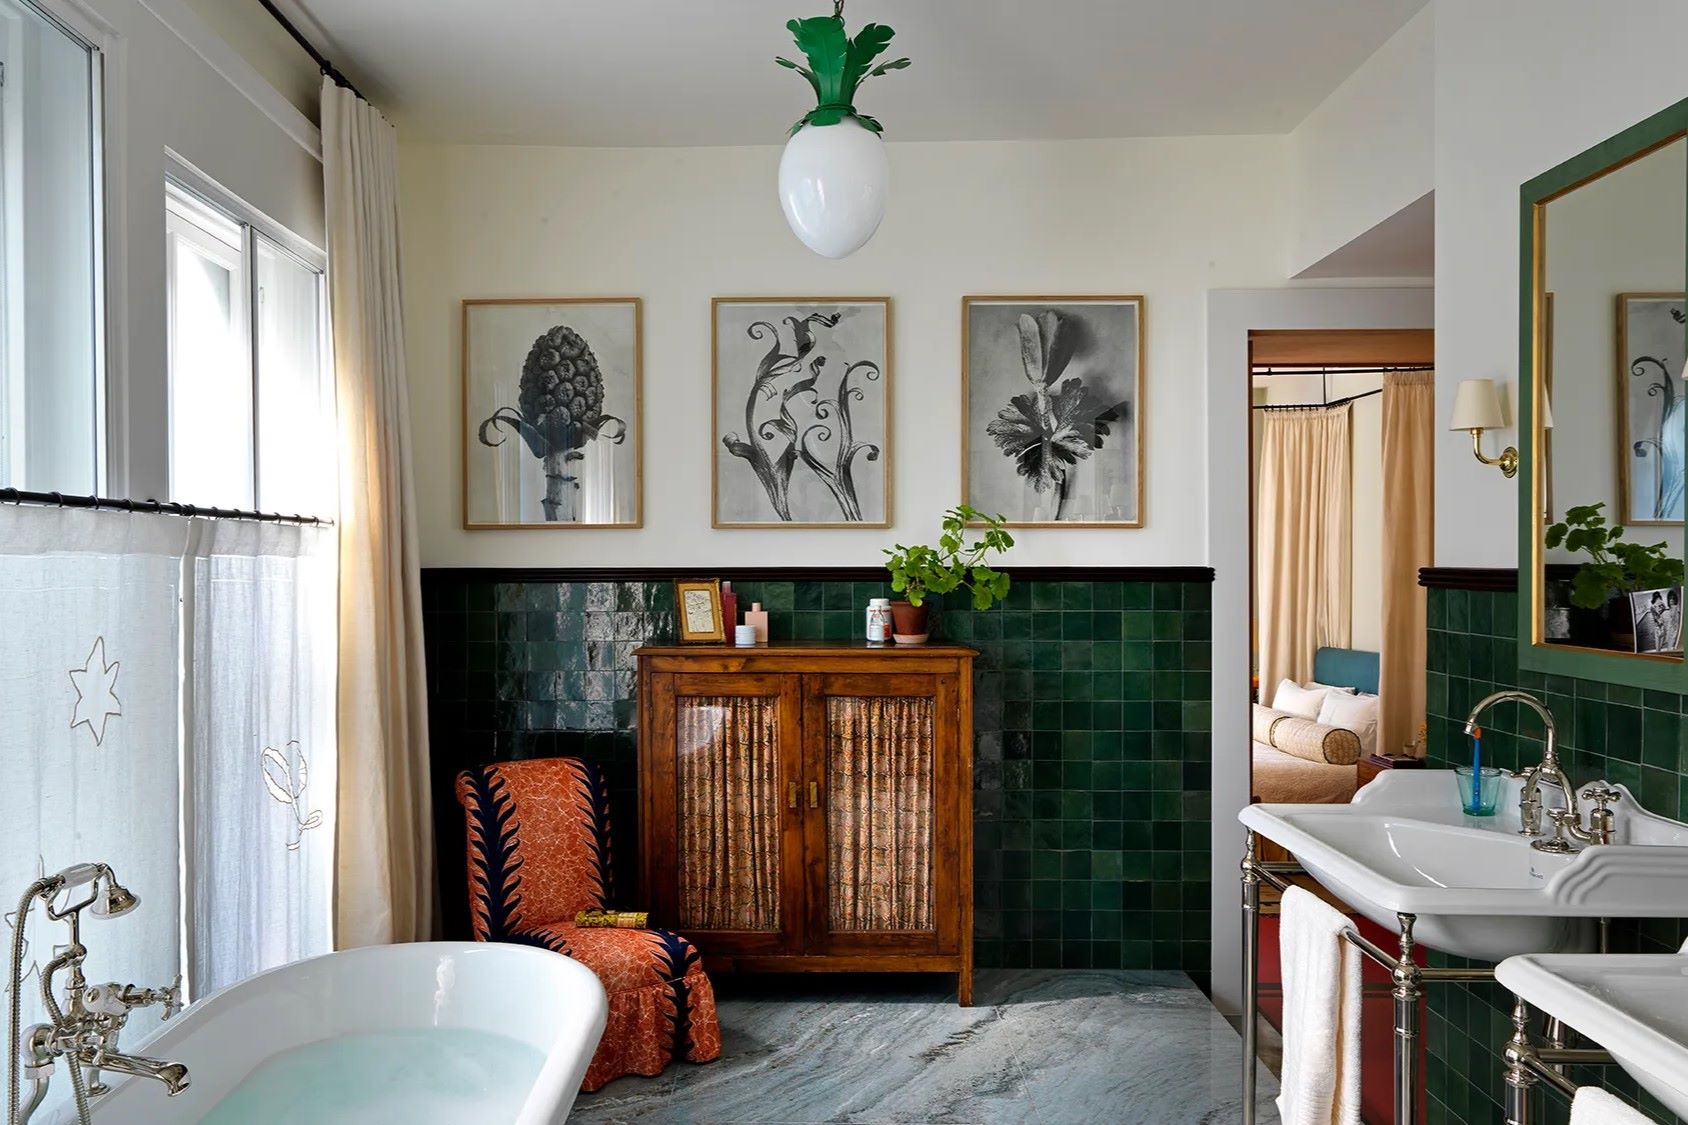
- Choose wall materials: Consider materials that are resistant to moisture and easy to clean when selecting wall materials for your bathroom. Popular options include ceramic or porcelain tiles, beadboard, painted or waterproof wallpaper, and moisture-resistant paint.
- Plan the wall layout: Determine the layout and design of the walls, taking into consideration any patterns, accents, or tile sizes you plan to incorporate. Decide whether you’ll cover the entire wall or create a focal point with a feature wall.
- Prep the walls: Ensure that the walls are clean, smooth, and free from any debris before installing new materials. Repair any cracks or imperfections and apply a suitable primer if needed.
- Install wall materials: Depending on the material chosen, follow the manufacturer’s instructions or hire a professional to install the wall materials. Proper adhesive, grouting, or sealing should be applied, ensuring a secure and waterproof finish.
- Consider wall accents: Enhance the aesthetic appeal of your bathroom by incorporating wall accents such as decorative tiles, mosaic patterns, or a bold color choice. These accents can add personality and visual interest to the space.
Remember to consider both style and functionality when selecting flooring and wall materials. Seek professional advice when needed, especially for the installation process, to ensure a high-quality and long-lasting result.
By paying attention to detail and selecting the right materials for your flooring and walls, you’ll create a beautiful and functional bathroom that stands the test of time.
Installing Fixtures
Installing fixtures is an exciting stage in your bathroom renovation process, as it brings your design vision to life. Fixtures such as toilets, sinks, showers, bathtubs, and faucets not only contribute to the functionality of your bathroom but also add to its overall aesthetic. Here’s a step-by-step guide to installing fixtures:
- Measure and plan: Measure the spaces where the fixtures will be installed and ensure they fit properly. Take into account any plumbing requirements and ensure the necessary connections are in place.
- Start with the toilet: Begin by installing the toilet. Carefully follow the manufacturer’s instructions or seek professional help to ensure the wax ring, bolts, and connections are properly installed and sealed.
- Install the sink: If you’re installing a new sink, assemble the faucet, drain, and other accessories before placing it in position. Connect the water supply lines and secure the sink to the vanity or wall as per the manufacturer’s instructions.
- Set up the bathtub and shower: Install the bathtub and connect the necessary plumbing fixtures, including the showerhead and taps. Ensure proper sealing around the edges to prevent water leakage. If you’re installing a separate shower enclosure, follow the manufacturer’s instructions for installation.
- Mount the bathroom cabinets and vanity: If you’re incorporating cabinets or a vanity, secure them to the wall according to the manufacturer’s instructions. Install the sink and connect the plumbing accordingly.
- Attach the faucets: Install the faucets and showerheads, ensuring a tight and leak-free connection. Test the water flow and temperature to make sure everything is working correctly.
- Check for leaks and functionality: Once the fixtures are installed, inspect all connections, joints, and seals for any leaks. Test the functionality of each fixture to ensure they are working as intended.
- Install accessories: Complete the process by installing bathroom accessories such as towel bars, mirrors, shelves, and hooks. These finishing touches add style and functionality to your bathroom.
- Consider professional help: If you’re not confident in your plumbing or installation skills, it’s best to hire professionals who have the expertise to ensure proper installation and prevent any issues down the line.
Proper installation of fixtures is crucial to the functionality and longevity of your bathroom. Whether you choose to DIY or hire professionals, pay close attention to detail and follow the manufacturer’s instructions to ensure a successful installation.
By completing the installation of fixtures, you’re one step closer to enjoying your newly renovated bathroom. Take a moment to appreciate the progress you’ve made and get ready for the next stage of the renovation process.
Lighting and Ventilation
Lighting and ventilation are essential elements in any bathroom renovation project. They not only contribute to the functionality of the space but also greatly impact the overall ambiance and comfort. Here’s a guide to help you optimize the lighting and ventilation in your newly renovated bathroom:
- Evaluate natural light: Assess the amount of natural light your bathroom receives and consider how it can be maximized. If privacy is a concern, consider window treatments or frosted glass to maintain natural light while ensuring privacy.
- Select the right fixtures: Choose lighting fixtures that are suitable for bathroom use, considering both style and functionality. Opt for fixtures that provide ample light and are resistant to moisture. Popular options include recessed lighting, vanity lights, wall sconces, and pendant lights.
- Consider task lighting: Ensure that the vanity area is well-lit with task lighting that provides even and shadow-free illumination. This is important for activities such as applying makeup, grooming, and shaving.
- Incorporate accent lighting: Add dimension and depth to your bathroom by incorporating accent lighting. This can be achieved through the use of wall lights, toe-kick lights, or illuminated mirrors.
- Install a ventilation system: Proper ventilation is crucial to control moisture, prevent mold and mildew growth, and maintain good air quality in your bathroom. Consider installing an exhaust fan that effectively removes humidity and odors from the air. Ensure it is sized appropriately for the square footage of your bathroom.
- Position ventilation fixtures: Place the exhaust fan in a strategic location to maximize its effectiveness. Typically, it should be positioned near the shower or bathtub to remove excess moisture. Ensure it vents to the outdoors and not into the attic or other enclosed spaces.
- Include dimmers and controls: Consider installing dimmers and controls for your bathroom lighting. This allows you to adjust the intensity of the light to create different atmospheres and moods as desired.
- Check electrical wiring: Ensure that all the electrical wiring for lighting and ventilation is installed safely and up to code. If you’re unsure, consult a licensed electrician to perform the necessary work.
- Combine functionality and aesthetics: Select lighting fixtures and ventilation systems that not only serve their intended purposes but also enhance the overall design and style of your bathroom. Choose fixtures that complement the other elements in the space.
- Consider energy efficiency: Opt for energy-efficient lighting options such as LED bulbs to reduce energy consumption and lower electricity costs in the long run.
By paying attention to lighting and ventilation in your bathroom renovation, you’ll create a well-lit, comfortable, and healthy environment. It’s important to strike a balance between functionality and aesthetics to achieve a seamless integration of these elements into your overall design.
As you complete the lighting and ventilation stage, take a moment to appreciate the impact it has on the overall atmosphere of your bathroom. The thoughtful incorporation of these elements will transform your space into a truly inviting and enjoyable area.
Painting and Finishing Touches
Painting and finishing touches are the final steps in your bathroom renovation project. This is where you can add your personal style and put the finishing touches to create a cohesive and polished look. Here’s a guide to help you with the painting and finishing touches:
- Select the paint color: Choose a paint color that complements your overall design scheme and creates the desired atmosphere in your bathroom. Consider factors such as natural light, the size of the space, and the color palette of other elements in the bathroom.
- Prep the walls: Before painting, ensure that the walls are clean, smooth, and free of any imperfections. Repair any cracks or holes, sand rough surfaces, and apply a suitable primer if necessary.
- Protect surfaces: Cover any surfaces that you don’t want to be painted, such as the flooring, countertops, or fixtures, using drop cloths or masking tape.
- Apply the paint: Use high-quality paint and the appropriate tools such as brushes, rollers, or sprayers to apply a smooth and even coat. Apply multiple coats if necessary, allowing sufficient drying time between each coat.
- Consider special finishes: Explore different paint finishes to add texture and depth to your walls. Options such as matte, satin, or semi-gloss finishes can enhance the overall look and offer different levels of durability and washability.
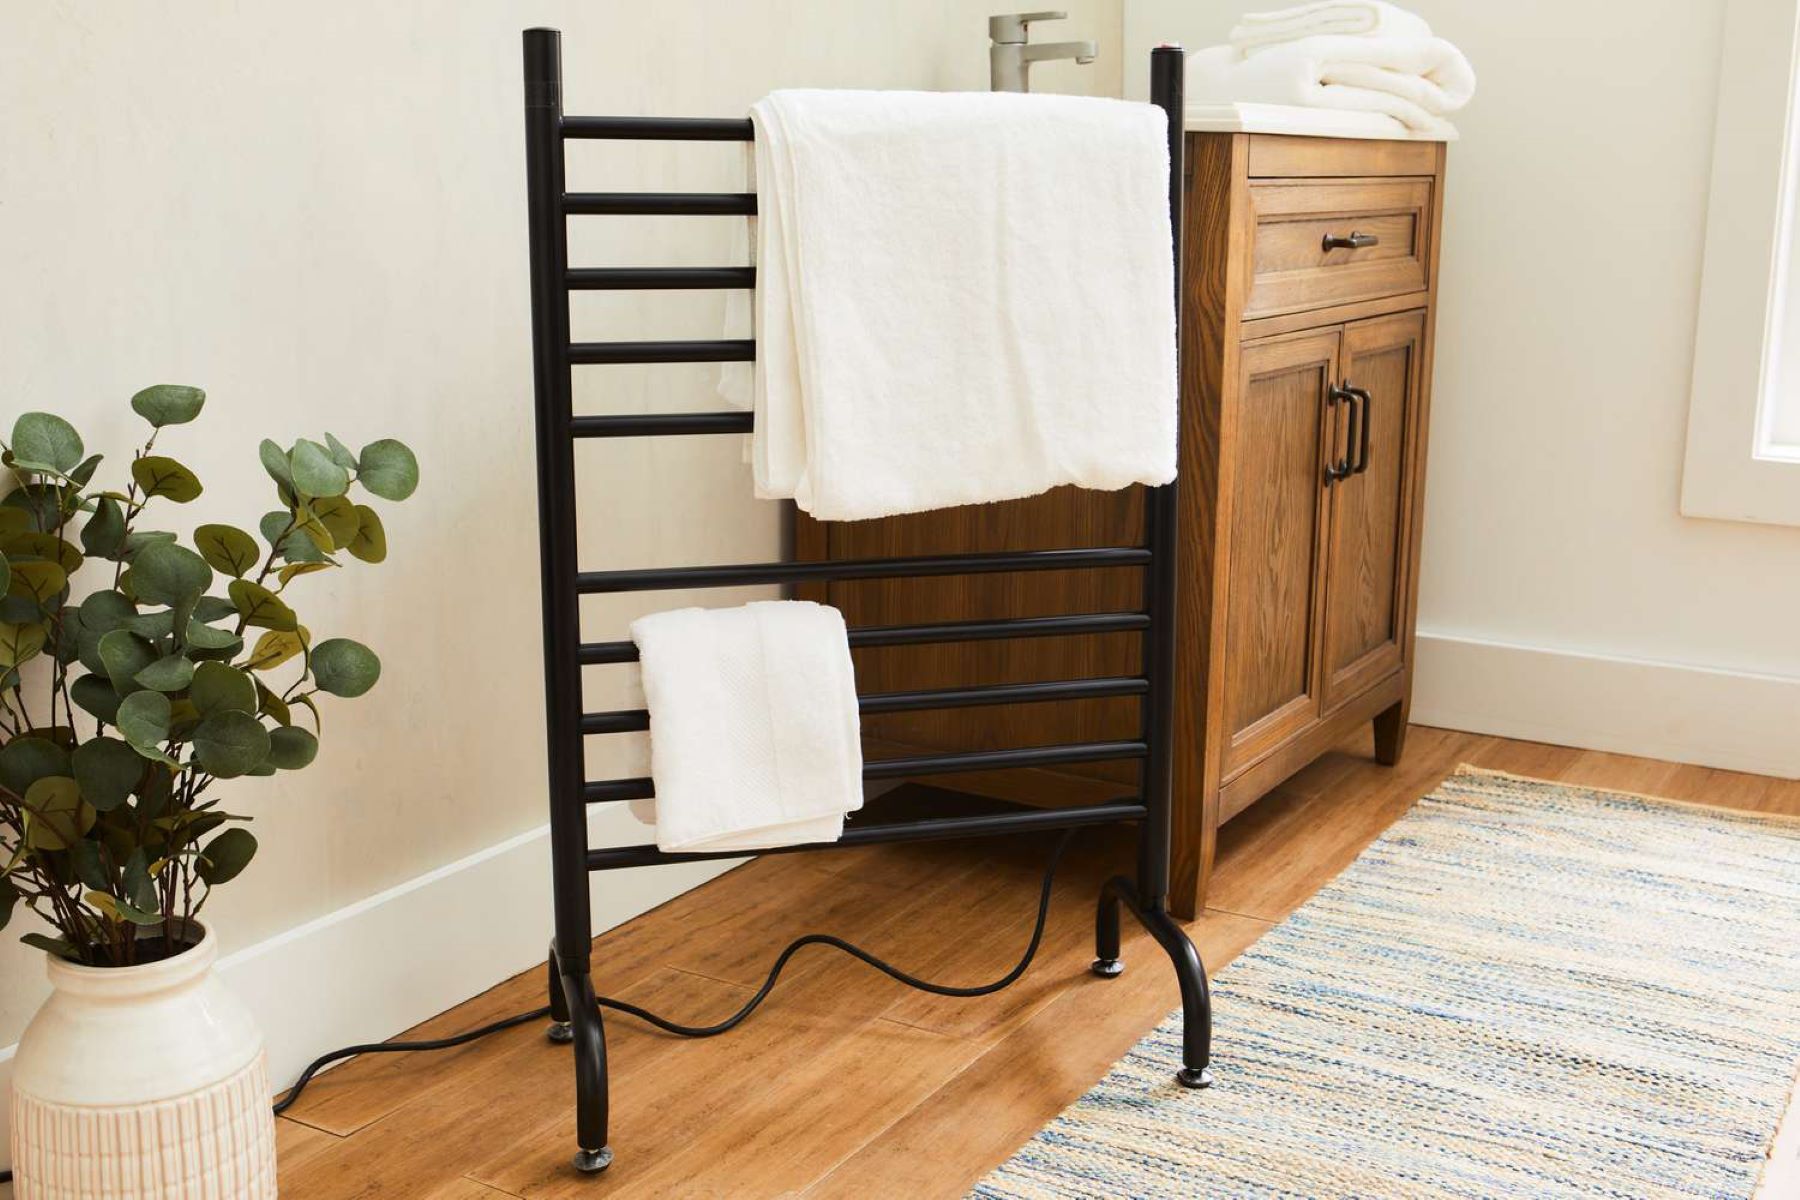
- Accessorize with hardware: Upgrade the hardware in your bathroom, such as drawer pulls, cabinet handles, towel bars, and shower curtain rods. Choose finishes that complement the style of your bathroom and tie everything together.
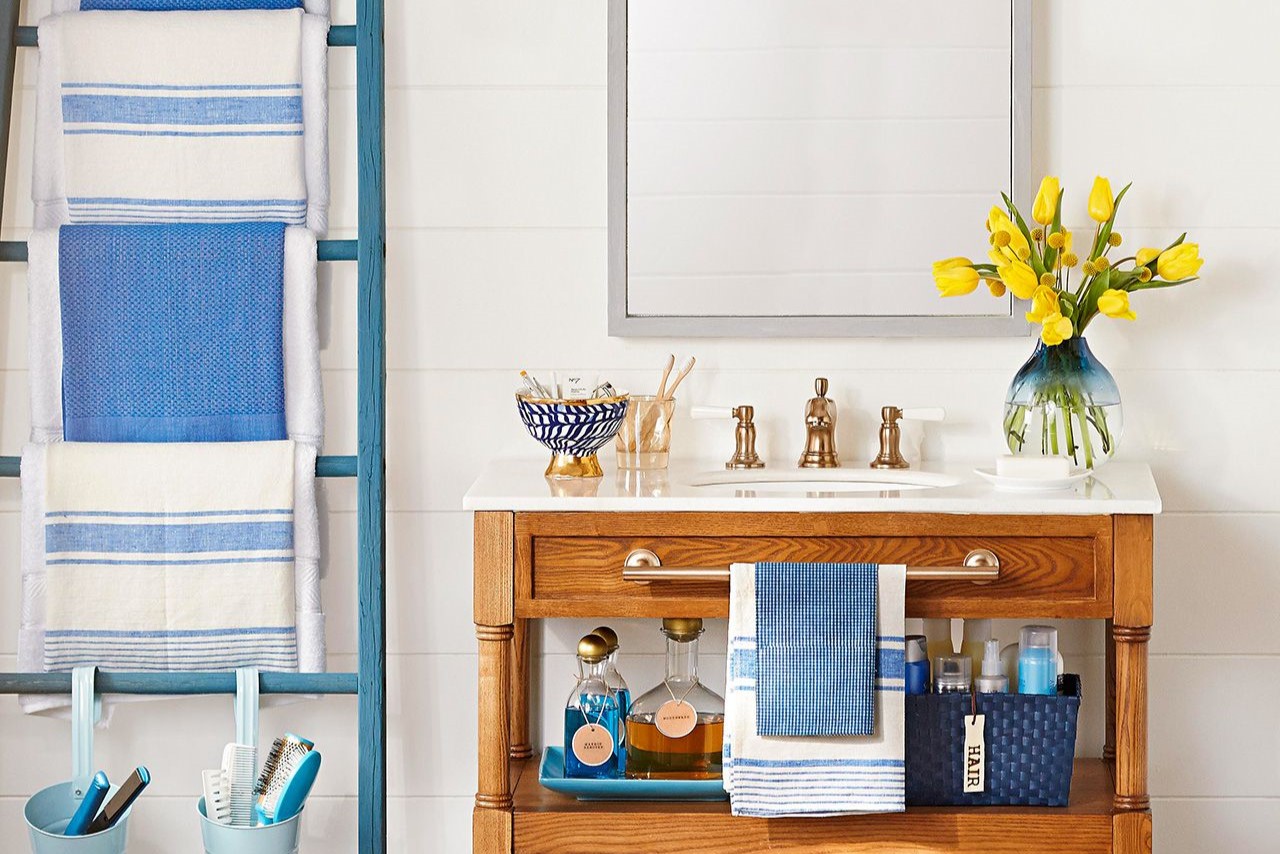
- Add decorative elements: Incorporate decorative elements such as artwork, mirrors, plants, and rugs to add personality and style to your bathroom. These elements can also enhance the functionality and comfort of the space.
- Add storage solutions: Install practical storage solutions such as shelves, baskets, or storage cabinets to keep your bathroom organized and clutter-free. These functional additions can also serve as decorative elements.
- Install bathroom accessories: Complete the look with bathroom accessories such as soap dispensers, toothbrush holders, and wastebaskets. Coordinate these accessories with the overall style and color scheme of your bathroom.
- Perform final inspections: Thoroughly inspect all painted surfaces, hardware installations, and finishing touches for any imperfections or touch-ups that may be needed. Make sure everything is properly aligned, tightened, and functional.
Take your time with the painting and finishing touches, as these details can truly elevate the aesthetics and overall feel of your bathroom. Don’t be afraid to experiment and let your personality shine through in the final design.
As you reach the end of your bathroom renovation, step back and admire the transformation you’ve achieved. Your carefully chosen colors, finishes, and accessories have come together to create a stunning and functional space that you can enjoy for years to come.
Conclusion
Congratulations on completing your bathroom renovation journey! By following this comprehensive guide, you have successfully transformed your dull and outdated bathroom into a stunning and functional space that meets your needs and reflects your personal style.
Throughout the renovation process, you have assessed your bathroom, created a budget, designed your dream space, demolished the old elements, addressed plumbing and electrical needs, installed new flooring, walls, and fixtures, optimized lighting and ventilation, and added the final finishing touches. Each step has been crucial in creating a bathroom that combines style, functionality, and comfort.
Remember, a successful bathroom renovation requires careful planning, attention to detail, and sometimes the expertise of professionals. Don’t hesitate to seek expert advice when needed, as it can help ensure a smooth and hassle-free renovation process.
Now, it’s time to enjoy your newly renovated bathroom. Take a moment to unwind in your luxurious bathtub, admire the beautiful tiles, and revel in the well-lit and inviting ambiance you have created. Your bathroom is now a sanctuary where you can relax, rejuvenate, and start your day on the right note.
Don’t forget to maintain your newly renovated bathroom to ensure its longevity. Regular cleaning, proper ventilation, and prompt addressing of any issues will help preserve the beauty and functionality of your space for years to come.
Thank you for joining us on this journey of transforming your bathroom. We hope this guide has provided you with the knowledge, inspiration, and confidence to create the bathroom of your dreams. Enjoy your newly renovated space and embrace the joy and satisfaction it brings!
Frequently Asked Questions about How To Renovate A Bathroom
Was this page helpful?
At Storables.com, we guarantee accurate and reliable information. Our content, validated by Expert Board Contributors, is crafted following stringent Editorial Policies. We're committed to providing you with well-researched, expert-backed insights for all your informational needs.


0 thoughts on “How To Renovate A Bathroom”