Home>Furniture & Design>Bathroom Fixtures>How To Replace A Shower Tile

Bathroom Fixtures
How To Replace A Shower Tile
Modified: August 27, 2024
Learn how to replace a shower tile and update your bathroom fixtures with our step-by-step guide. Transform your bathroom with this easy DIY project.
(Many of the links in this article redirect to a specific reviewed product. Your purchase of these products through affiliate links helps to generate commission for Storables.com, at no extra cost. Learn more)
Introduction
Welcome to the ultimate guide on replacing a shower tile! Whether you’re remodeling your bathroom or addressing a damaged tile, this step-by-step tutorial will equip you with the knowledge and confidence to tackle this project like a pro. A shower’s tiles play a crucial role in both functionality and aesthetics, so maintaining them is essential to preserving the overall appeal of your bathroom.
By following the detailed instructions and tips provided in this guide, you’ll be able to seamlessly replace a shower tile, effectively reviving the look of your shower space. From gathering the necessary tools and materials to the final touches of grouting and sealing, every aspect of this process will be covered to ensure a successful and satisfying outcome.
So, roll up your sleeves, put on your DIY hat, and let’s dive into the world of shower tile replacement. It’s time to transform your shower into a rejuvenated and visually stunning oasis!
Key Takeaways:
- Revitalize your shower space by replacing tiles with patience and precision, ensuring a visually stunning and functional outcome that adds elegance to your bathroom.
- Acquire valuable DIY skills and knowledge while transforming your shower, showcasing resourcefulness and determination to enhance your living space.
Tools and Materials Needed
Before embarking on the journey of replacing a shower tile, it’s essential to gather the necessary tools and materials. Here’s a comprehensive list to ensure you’re well-prepared for the task:
Tools:
- Grout saw or rotary tool with a grout removal attachment
- Chisel
- Hammer
- Putty knife
- Tile adhesive or thin-set mortar
- Notched trowel
- Level
- Tile spacers
- Tile cutter or wet saw
- Rubber grout float
- Grout sponge
- Bucket
- Painter's tape
- Utility knife
- Sealer application tools
Materials:
- New tiles
- Grout
- Tile adhesive or thin-set mortar
- Grout sealer
- Caulk
- Primer (if using a waterproofing membrane)
- Waterproofing membrane (if necessary)
Having these tools and materials at your disposal will streamline the process and ensure that you’re equipped to handle any challenges that may arise during the tile replacement. With everything ready, you’re one step closer to achieving a beautifully revamped shower space!
Removing the Old Tile
Before you can install new shower tiles, the old ones must be carefully removed. This process requires patience and precision to avoid damaging the surrounding tiles and the underlying surface. Here’s a detailed guide on how to effectively remove the old shower tile:
Read more: How To Tile A Shower Ceiling
Step 1: Prepare the Work Area
Start by protecting the surrounding area with drop cloths or plastic sheeting to prevent debris from spreading. Additionally, ensure proper ventilation to minimize dust accumulation.
Step 2: Remove the Grout
Using a grout saw or a rotary tool with a grout removal attachment, carefully remove the grout surrounding the tiles. Be cautious not to damage the adjacent tiles during this process.
Step 3: Loosen the Tiles
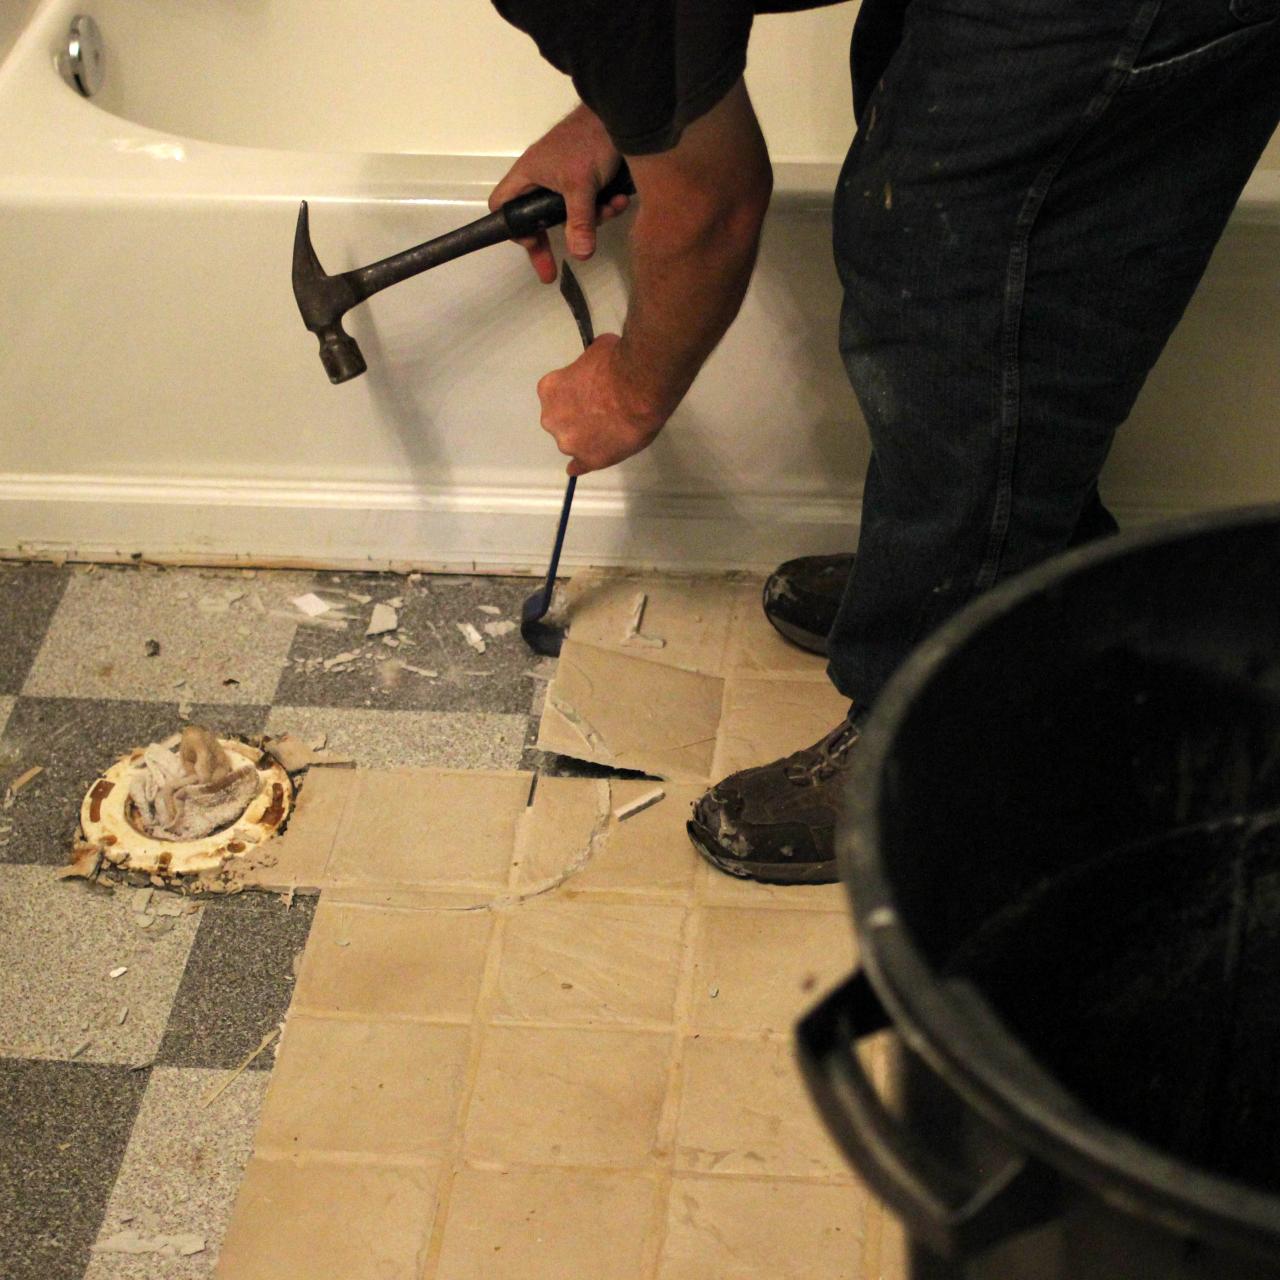
With the grout removed, use a chisel and hammer to gently tap and loosen the tiles. Work from the edges and gradually move towards the center of each tile to prevent breakage.
Step 4: Clear the Substrate
Once the tiles are removed, use a putty knife to clear any remaining adhesive or mortar from the substrate. It’s crucial to ensure that the surface is clean and level before proceeding.
Read more: How To Drill A Shower Tile
Step 5: Inspect the Substrate
Thoroughly inspect the substrate for any signs of damage or moisture. Address any issues before proceeding with the installation of new tiles to prevent future complications.
By following these steps, you’ll successfully remove the old shower tiles, setting the stage for the next phase of the project. With the old tiles out of the way, you’re ready to prepare the surface for the installation of fresh, revitalizing tiles!
Preparing the Surface
After removing the old shower tiles, it’s crucial to prepare the surface to ensure optimal conditions for installing the new tiles. This phase involves assessing the substrate, addressing any issues, and applying the necessary preparations to guarantee a durable and visually appealing result. Here’s a comprehensive guide on how to prepare the surface for the new tile installation:
Step 1: Clean the Substrate
Thoroughly clean the substrate to remove any debris, dust, or remnants of the old adhesive. A clean surface is essential for promoting proper adhesion of the new tiles.
Step 2: Address Substrate Issues
Inspect the substrate for any signs of damage, such as cracks or uneven areas. Address these issues by repairing or leveling the substrate as needed to create a smooth and stable foundation for the new tiles.
Read more: How To Resurface A Shower Tile
Step 3: Apply Primer (If Necessary)
Depending on the type of substrate and the selected tiling method, applying a primer may be necessary to enhance adhesion and waterproofing. Follow the manufacturer’s instructions when applying the primer to ensure optimal results.
Step 4: Install Waterproofing Membrane (If Required)
In wet areas such as showers, installing a waterproofing membrane is crucial to prevent moisture from seeping into the substrate. If applicable, carefully apply the waterproofing membrane according to the manufacturer’s guidelines.
Step 5: Plan Tile Layout
Lay out the new tiles to determine the most visually appealing and balanced arrangement. This step allows you to make any necessary adjustments before applying the adhesive.
By meticulously preparing the surface, you’re setting the stage for a successful and long-lasting tile installation. Taking the time to address substrate issues and apply the appropriate preparations will ensure that your new shower tiles not only look stunning but also withstand the test of time.
Installing the New Tile
With the surface prepared and the old tiles removed, it’s time to embark on the exciting phase of installing the new shower tiles. This transformative step requires precision, attention to detail, and a methodical approach to ensure a flawless and visually captivating result. Here’s a comprehensive guide on how to install the new shower tiles:
Read more: How To Update A Shower Tile
Step 1: Apply Tile Adhesive or Thin-Set Mortar
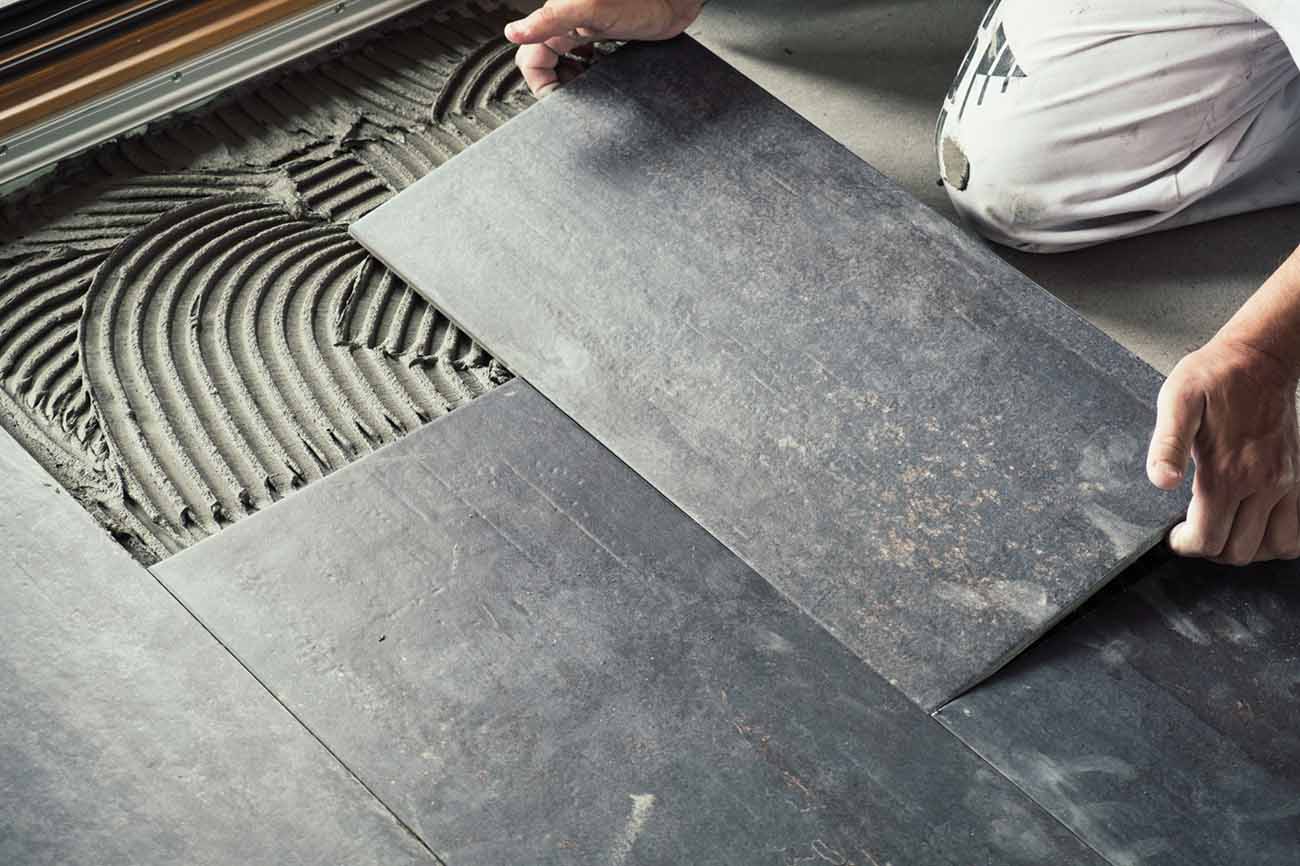
Using a notched trowel, evenly apply the appropriate adhesive or thin-set mortar to the prepared substrate. Work in manageable sections to prevent the adhesive from drying out before the tiles are placed.
Step 2: Place the Tiles
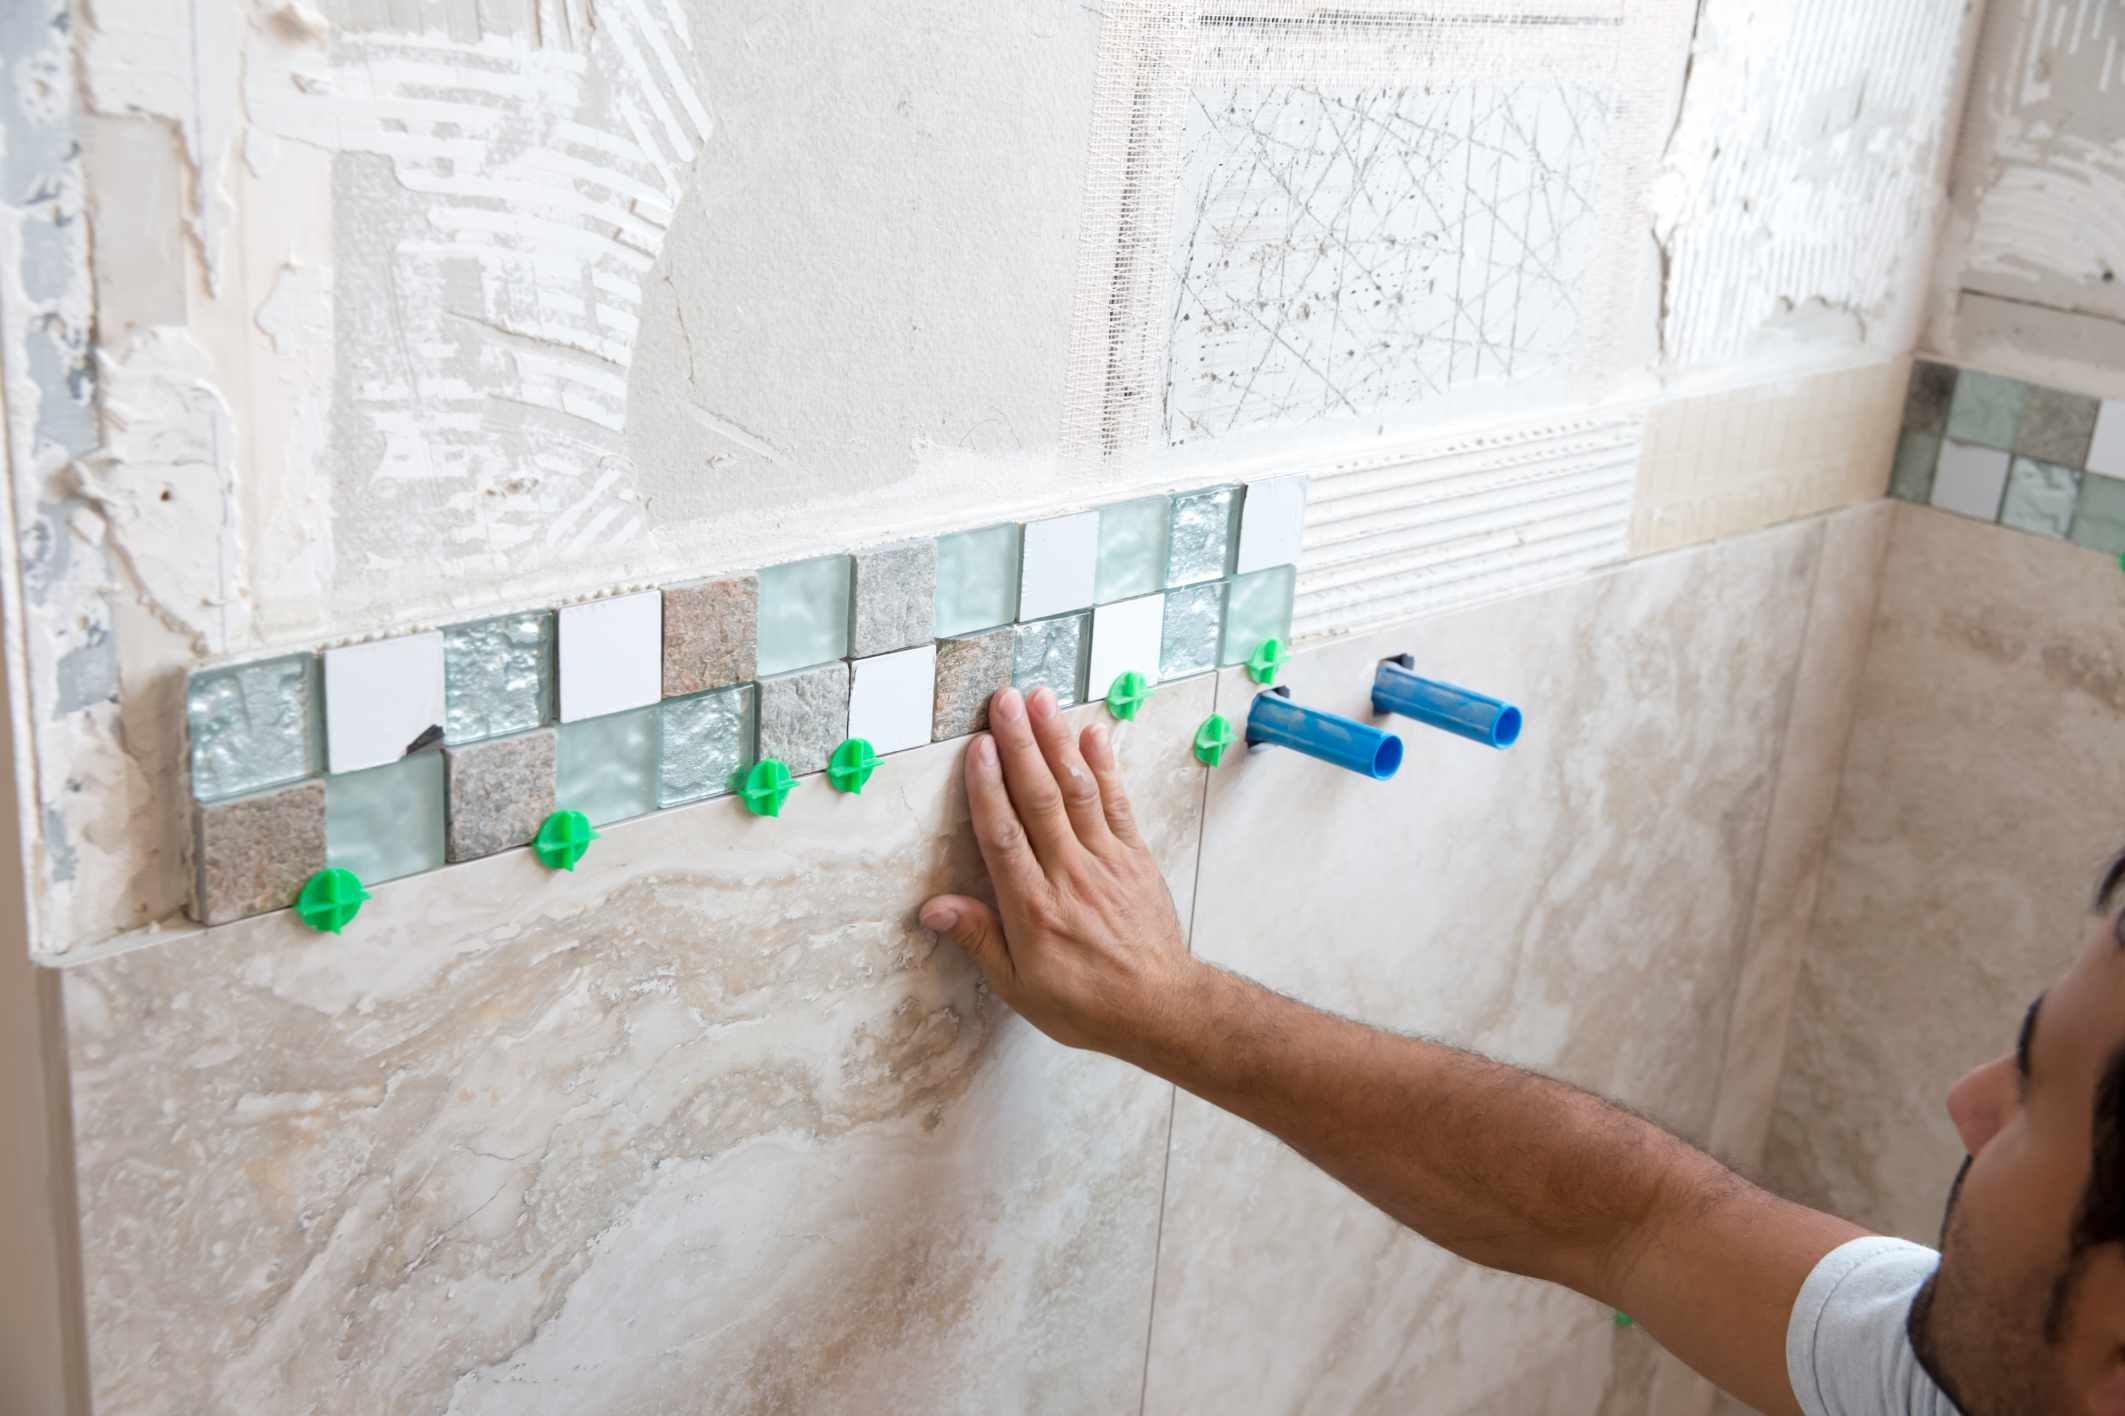
Carefully press the new tiles into the adhesive, ensuring a snug fit and uniform spacing between each tile. Utilize tile spacers to maintain consistent gaps and create a professional-looking finish.
Step 3: Check for Level and Alignment
Use a level to verify that the tiles are aligned and sit uniformly. Making adjustments during this stage will guarantee a visually pleasing and structurally sound installation.
Step 4: Cut Tiles as Needed
When encountering edges or corners, measure and cut tiles as necessary using a tile cutter or wet saw. Precise cuts are essential for achieving a seamless and polished appearance.
Read more: How To Regrout A Shower Tile
Step 5: Allow the Adhesive to Set
After placing the tiles, allow the adhesive or thin-set mortar to set according to the manufacturer’s instructions. This crucial step ensures that the tiles bond securely to the substrate.
By following these steps, you’ll successfully install the new shower tiles, bringing your vision of a revitalized and elegant shower space to life. The meticulous process of placing and aligning the tiles will culminate in a stunning transformation that enhances the overall aesthetic and functionality of your bathroom.
Grouting and Sealing
Once the new shower tiles are securely in place, the next critical steps involve grouting and sealing. Grout not only enhances the visual appeal of the tiled surface but also provides crucial protection and stability. Additionally, sealing the grout ensures its longevity and resistance to moisture and stains. Here’s a comprehensive guide on how to grout and seal the newly installed shower tiles:
Step 1: Prepare the Grout
Mix the grout according to the manufacturer’s instructions, ensuring a smooth and lump-free consistency. Opt for a grout color that complements the tiles and enhances the overall aesthetic.
Step 2: Apply the Grout
Using a rubber grout float, apply the grout diagonally across the tiles, ensuring that the joints are completely filled. Work in sections and remove excess grout from the tile surfaces as you progress.
Read more: How To Pick A Shower Tile
Step 3: Clean the Tiles
Once the grout is applied, use a grout sponge and clean water to gently wipe away any grout residue from the tile surfaces. Rinse the sponge frequently to achieve a smooth and uniform grout finish.
Step 4: Allow the Grout to Cure
After completing the grouting process, allow the grout to cure for the specified time recommended by the manufacturer. This crucial curing period ensures that the grout sets properly and achieves optimal strength.
Step 5: Seal the Grout
Once the grout is fully cured, apply a high-quality grout sealer to protect it from moisture, stains, and discoloration. Carefully follow the sealer application instructions to ensure thorough coverage and effective protection.
By meticulously grouting and sealing the newly installed shower tiles, you’re not only enhancing their visual allure but also fortifying their resilience against the rigors of daily use. These essential steps contribute to the longevity and durability of the tiled surface, ensuring that your shower remains a stunning and functional focal point in your bathroom.
Final Steps
As you near the completion of the shower tile replacement project, there are several final steps to take to ensure that the newly renovated space is polished and ready for use. These steps encompass the finishing touches that elevate the overall result and contribute to a seamless and visually captivating outcome. Here’s a guide to the final steps of the shower tile replacement process:
Read more: How To Caulk A Shower Tile
Step 1: Apply Caulk
Carefully apply silicone caulk along the edges and corners where the tiles meet the shower fixtures and walls. This not only enhances the aesthetic appeal but also provides crucial waterproofing and protection against moisture infiltration.
Step 2: Clean the Tiles
Thoroughly clean the newly installed tiles to remove any residual grout haze, adhesive, or fingerprints. Use a gentle, non-abrasive cleaner to preserve the pristine appearance of the tiles.
Step 3: Inspect and Make Adjustments
Conduct a thorough inspection of the entire tiled surface, ensuring that all tiles are securely in place, grout lines are uniform, and the overall installation meets your expectations. Make any necessary adjustments or touch-ups to achieve a flawless finish.
Step 4: Test the Shower
Before fully completing the project, test the shower to ensure that the newly installed tiles and grout effectively repel water and maintain their integrity. Address any issues promptly to guarantee a watertight and functional shower space.
Read more: How To Grout A Shower Tile
Step 5: Admire Your Work
Take a moment to step back and admire the revitalized shower space. Revel in the satisfaction of a successful renovation project and the visual transformation that enhances the ambiance and functionality of your bathroom.
By completing these final steps, you’re putting the finishing touches on the shower tile replacement project, ensuring that every detail is meticulously attended to. The result is a stunning and resilient shower space that reflects your dedication to quality and aesthetics.
Conclusion
Congratulations on successfully navigating the intricate and rewarding process of replacing shower tiles! By following this comprehensive guide, you’ve not only revitalized your shower space but also acquired valuable skills and knowledge in the realm of home improvement. The journey from removing the old tiles to meticulously grouting and sealing the new ones has culminated in a visually stunning and functional shower that adds a touch of elegance to your bathroom.
Throughout this transformative endeavor, you’ve demonstrated patience, precision, and a commitment to excellence. The attention to detail and the meticulous approach you’ve embraced have undoubtedly contributed to the remarkable outcome of the project. Moreover, your willingness to take on this task speaks volumes about your resourcefulness and determination to enhance your living space.
As you revel in the beauty and practicality of your newly renovated shower, remember that the skills and confidence you’ve gained can be applied to future projects, further enriching your home environment. Whether it’s a small repair or a larger renovation, your newfound expertise positions you as a capable and empowered homeowner, capable of taking on a wide range of tasks with skill and finesse.
Embrace the sense of accomplishment that comes with transforming your shower space, and take pride in the fact that you’ve not only beautified your home but also honed your abilities as a savvy DIY enthusiast. Your dedication to creating a welcoming and aesthetically pleasing environment is a testament to your commitment to comfort and style.
As you bask in the satisfaction of a job well done, remember that the journey of home improvement is a continuous and rewarding one. Your willingness to tackle challenges head-on and your passion for creating a space that reflects your unique style are the hallmarks of a homeowner who values quality, creativity, and functionality.
So, as you admire the fruits of your labor and revel in the rejuvenated ambiance of your bathroom, take pride in the fact that you’ve not only replaced shower tiles but also infused your living space with a touch of your own ingenuity and flair.
Frequently Asked Questions about How To Replace A Shower Tile
Was this page helpful?
At Storables.com, we guarantee accurate and reliable information. Our content, validated by Expert Board Contributors, is crafted following stringent Editorial Policies. We're committed to providing you with well-researched, expert-backed insights for all your informational needs.

0 thoughts on “How To Replace A Shower Tile”