Home>Furniture & Design>Interior Design Trends>How To Repair Glass Cracks

Interior Design Trends
How To Repair Glass Cracks
Modified: October 19, 2024
Learn how to repair glass cracks and stay up to date with the latest interior design trends. Discover effective techniques and tips for a flawless finish.
(Many of the links in this article redirect to a specific reviewed product. Your purchase of these products through affiliate links helps to generate commission for Storables.com, at no extra cost. Learn more)
Introduction
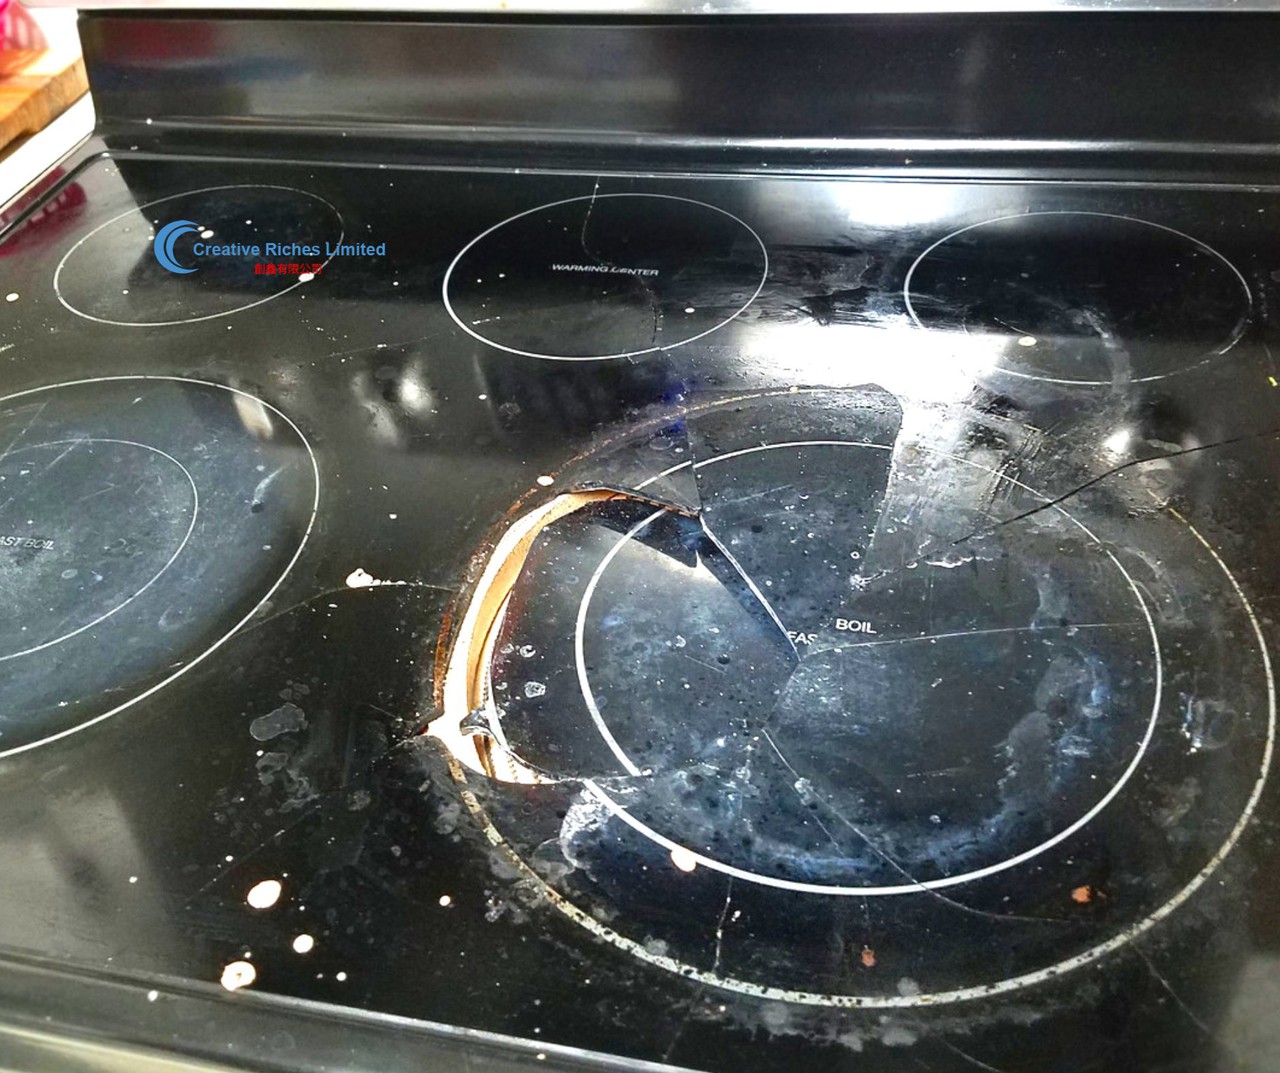
Glass cracks can be a frustrating and unsightly issue in any home or office space. Whether it's a small chip or a larger crack, damaged glass not only detracts from the aesthetic appeal of the area but can also pose safety hazards. However, the good news is that repairing glass cracks is a feasible task that can be accomplished with the right tools and materials. By addressing these cracks promptly, you can restore the integrity and visual appeal of the glass, ultimately enhancing the overall ambiance of the space.
Understanding the nature of glass cracks and the appropriate repair techniques is essential for achieving successful results. This comprehensive guide will walk you through the step-by-step process of repairing glass cracks, providing you with the knowledge and confidence to tackle this task effectively. From cleaning the affected area to applying the repair kit and polishing the surface, each step is crucial in ensuring a seamless and durable repair.
By following the instructions outlined in this guide, you can take proactive measures to address glass cracks, prolong the lifespan of your glass surfaces, and maintain a visually appealing environment. Whether you're a DIY enthusiast or a homeowner seeking to address minor glass damage, this guide will equip you with the necessary insights and techniques to restore the beauty and functionality of your glass surfaces.
Now, let's delve into the intricacies of understanding glass cracks and the essential tools and materials needed for the repair process. With a clear understanding of the underlying principles and practical steps, you'll be well-prepared to embark on the journey of repairing glass cracks with confidence and precision.
Key Takeaways:
- Repairing glass cracks is crucial for safety and aesthetics. Understanding the type of crack and using the right tools and materials are essential for a successful DIY repair.
- Thoroughly cleaning, applying the repair kit, and curing the repair are crucial steps. Polishing the surface restores the glass to its pristine condition, enhancing the overall ambiance.
Read more: How To Fix A Crack In Glass
Understanding Glass Cracks
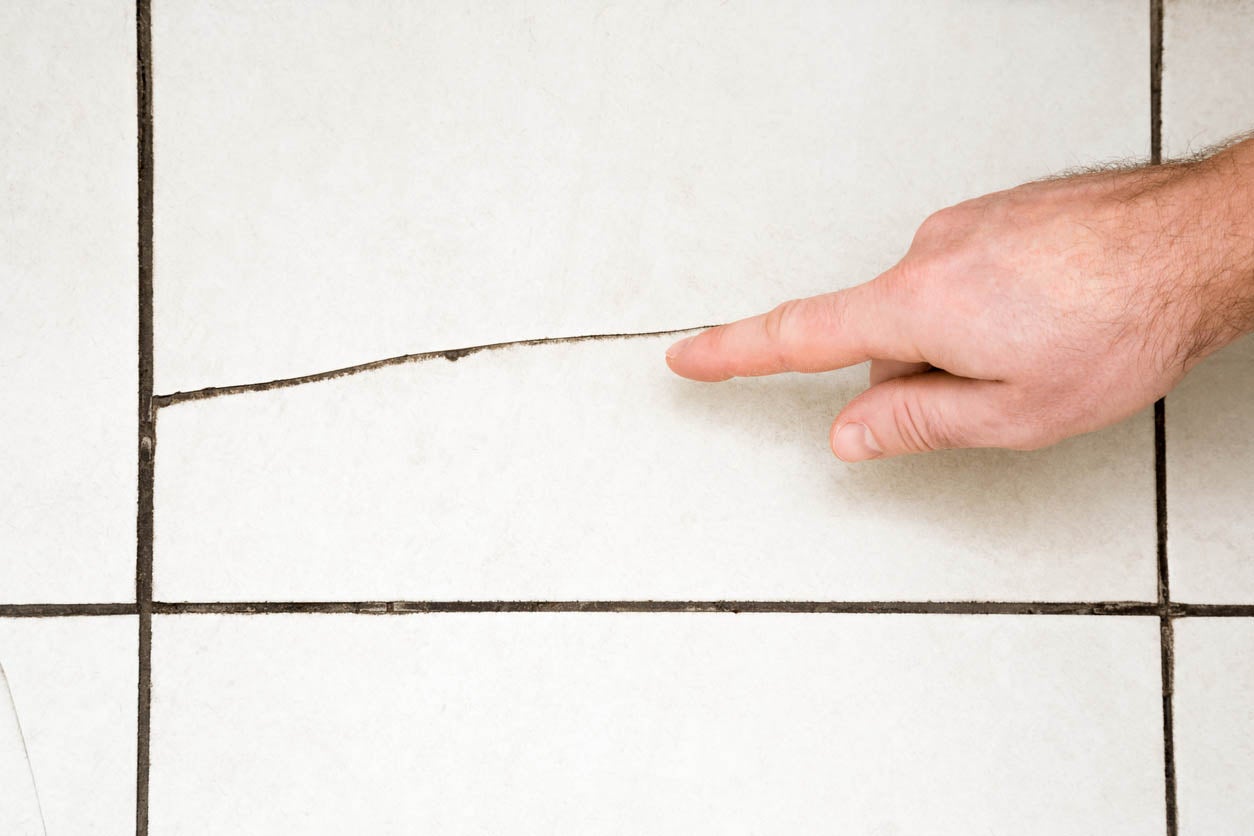
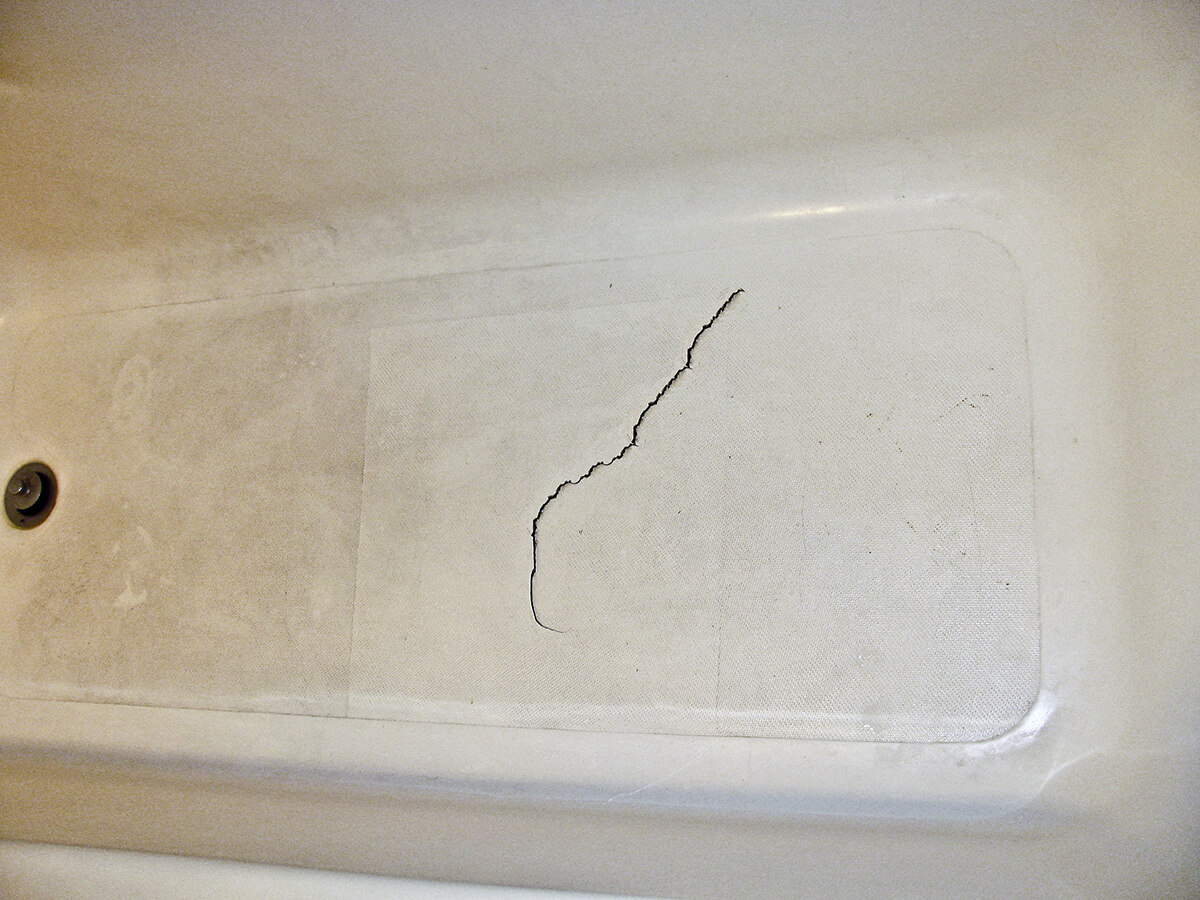
Glass cracks can occur due to various factors, including impact, temperature differentials, and structural stress. Understanding the nature of these cracks is essential for determining the appropriate repair approach. When it comes to glass cracks, it's crucial to differentiate between surface-level damage, such as chips and scratches, and deeper cracks that compromise the structural integrity of the glass.
Surface-level damage often manifests as minor chips or scratches that primarily affect the outer layer of the glass. While these imperfections may not compromise the overall strength of the glass, they can detract from its visual appeal. On the other hand, deeper cracks, characterized by visible lines or fissures running through the glass, pose a more significant concern. These cracks can weaken the glass and, if left unaddressed, may lead to further propagation or even complete breakage.
Furthermore, the type of glass can influence the nature of the cracks. For instance, tempered glass, known for its strength and safety features, tends to shatter into small, relatively harmless pieces when broken. In contrast, non-tempered glass, such as annealed glass, is more prone to forming sharp, jagged edges when cracked, posing a higher risk of injury.
Understanding the size and location of the cracks is also crucial. Small, isolated cracks may be more manageable to repair, while larger, complex fractures may require professional intervention. Additionally, the location of the cracks, whether near the edges or in the central area of the glass, can impact the repair process and the overall stability of the glass.
By gaining a comprehensive understanding of glass cracks, including their causes, types, and potential risks, you can make informed decisions regarding the appropriate repair methods. This knowledge empowers you to assess the severity of the damage and determine whether a DIY repair or professional assistance is the most suitable course of action. With this foundational understanding, you are better equipped to proceed to the next crucial steps in the glass crack repair process.
Tools and Materials Needed
Repairing glass cracks requires specific tools and materials to ensure a successful and durable outcome. Before embarking on the repair process, it's essential to gather the following items:
Tools:
- Safety Gloves and Goggles: Prioritize safety by wearing protective gloves and goggles to shield your hands and eyes from glass shards and repair materials.
- Glass Cleaner and Lint-Free Cloth: Thoroughly clean the damaged area using a high-quality glass cleaner and a lint-free cloth to remove any dirt, debris, or residues that may impede the repair process.
- Razor Blade or Glass Scraper: Use a razor blade or glass scraper to carefully remove any loose glass particles or protrusions around the crack, ensuring a smooth and even surface for the repair.
- Repair Bridge or Clamp: A repair bridge or clamp is essential for stabilizing the damaged glass and holding the repair components in place during the curing process.
- UV Lamp or Sunlight: Depending on the type of repair kit used, a UV lamp or natural sunlight may be required to cure the repair resin effectively.
Materials:
- Glass Repair Kit: Invest in a high-quality glass repair kit containing resin, curing strips, and other essential components designed specifically for repairing glass cracks.
- Clear Nail Polish (Optional): In the absence of a glass repair kit, clear nail polish can serve as a temporary solution for sealing minor cracks and preventing further damage.
- Polishing Compound: After the repair is complete, a polishing compound can be used to restore the smooth and transparent finish of the glass surface.
- Protective Tape (Scotch Tape): Use protective tape, such as Scotch tape, to create a barrier around the damaged area, preventing the resin from spreading beyond the crack during the repair process.
- Disposable Gloves: When handling the repair materials, disposable gloves can help prevent skin contact with the resin and ensure a clean application.
By ensuring that you have the necessary tools and materials at your disposal, you can approach the glass crack repair process with confidence and efficiency. These items are instrumental in facilitating a thorough and effective repair, ultimately contributing to the restoration of the glass surface's integrity and visual appeal. With the tools and materials in hand, you are ready to proceed to the subsequent steps of cleaning the area and applying the repair kit, bringing you closer to achieving a successful glass crack repair.
Read more: How To Seal Cracked Glass
Step 1: Cleaning the Area
Thoroughly cleaning the damaged area is a critical initial step in the glass crack repair process. By ensuring that the surface is free from dirt, debris, and contaminants, you create an optimal environment for the subsequent application of the repair materials. Here's a detailed guide on how to effectively clean the area:
-
Safety Precautions: Prior to cleaning the damaged glass, it's essential to prioritize safety. Wear protective gloves and goggles to shield your hands and eyes from any glass particles or cleaning agents. This precautionary measure minimizes the risk of injury and ensures a safe working environment.
-
Glass Cleaner and Lint-Free Cloth: Begin by applying a high-quality glass cleaner to the damaged area. Choose a cleaner specifically formulated for glass surfaces to achieve optimal results. Using a lint-free cloth, thoroughly wipe the affected area to remove any dirt, grime, or residues that may have accumulated within the crack.
-
Razor Blade or Glass Scraper: If the crack is accompanied by loose glass particles or protrusions, carefully use a razor blade or glass scraper to eliminate these irregularities. Gently glide the blade or scraper along the surface, ensuring that any debris or sharp edges are meticulously removed. This step is crucial for creating a smooth and even surface for the subsequent repair process.
-
Inspecting for Residues: After cleaning the area, inspect the glass surface to ensure that no residues or contaminants remain. Any remaining particles or substances can compromise the adhesion and effectiveness of the repair materials. Thoroughly examine the crack and its surrounding area, addressing any overlooked residues with the glass cleaner and cloth.
-
Drying the Surface: Once the cleaning process is complete, allow the glass surface to dry completely before proceeding to the next step. Ensure that there is no moisture or cleaning agent residue present, as this can interfere with the adhesion of the repair materials.
By meticulously cleaning the damaged area, you create an optimal foundation for the subsequent repair steps. This thorough cleaning process sets the stage for the successful application of the glass repair kit, ultimately contributing to a seamless and durable repair. With the area cleaned and prepared, you are now ready to proceed to the next crucial step: applying the repair kit to address the glass crack effectively.
Step 2: Applying the Repair Kit
Once the damaged area is thoroughly cleaned and prepared, the next step involves the precise application of the glass repair kit to address the crack effectively. The repair kit typically includes specialized resin, curing strips, and other essential components designed to restore the integrity and visual appeal of the glass surface. Here's a detailed guide on how to apply the repair kit with precision and care:
-
Preparing the Repair Materials: Begin by gathering the components of the glass repair kit, ensuring that the resin and curing strips are readily accessible. Familiarize yourself with the instructions provided by the manufacturer to ensure a thorough understanding of the application process.
-
Positioning the Repair Bridge or Clamp: If the repair kit includes a repair bridge or clamp, carefully position it over the crack to stabilize the damaged area. This step is crucial for holding the glass in place during the application of the repair resin, facilitating a seamless and uniform repair.
-
Applying the Repair Resin: With the crack stabilized, apply a small amount of the repair resin directly onto the damaged area. Use a steady and controlled motion to dispense the resin, ensuring that it fills the entire length of the crack. The resin is designed to penetrate the fissures and bond with the glass, effectively sealing the damage.
-
Using Curing Strips: Once the resin is applied, carefully place the curing strips over the treated area, ensuring that they cover the entire length of the crack. These strips are designed to facilitate the curing process, allowing the resin to harden and form a durable bond with the glass.
-
Curing the Repair: Depending on the type of repair kit used, the curing process may involve exposing the treated area to UV light or direct sunlight. Follow the manufacturer's guidelines regarding the duration and method of curing to ensure optimal results. This step is essential for solidifying the repair resin and reinforcing the structural integrity of the glass.
-
Removing Excess Resin: After the curing process is complete, carefully remove any excess resin using a razor blade or similar tool. Gently scrape away the surplus resin, ensuring that the repaired area is smooth and level with the surrounding glass surface.
By meticulously following these steps, you can effectively apply the glass repair kit to address the crack with precision and care. This meticulous application process sets the stage for a durable and visually seamless repair, ultimately contributing to the restoration of the glass surface's integrity and aesthetic appeal. With the repair kit applied, the subsequent step of polishing the surface brings you closer to achieving a successful glass crack repair.
Step 3: Curing the Repair
Curing the repair is a crucial phase in the glass crack repair process, as it facilitates the hardening and bonding of the applied resin, ultimately reinforcing the structural integrity of the glass. The proper curing of the repair resin is essential for achieving a durable and long-lasting solution to the glass crack. Here's a detailed guide on the key aspects of the curing process:
Understanding the Curing Mechanism
The curing process involves the transformation of the liquid repair resin into a solid, hardened state, effectively sealing the crack and restoring the strength of the glass. The resin's chemical composition enables it to undergo polymerization when exposed to specific curing conditions, leading to the formation of a robust bond with the glass surface. Understanding the curing mechanism is essential for ensuring that the resin achieves its optimal strength and adhesion.
Read more: How To Make A Crack In Glass Disappear
UV Curing Method
Many glass repair kits utilize a UV-curable resin, which requires exposure to ultraviolet (UV) light for the curing process. Upon application of the resin and placement of the curing strips, the treated area is exposed to a UV lamp, typically included in the repair kit. The UV light initiates the polymerization of the resin, causing it to harden and form a strong bond with the glass. This method offers a rapid and efficient curing process, allowing for precise control over the hardening duration.
Sunlight Curing Method
In the absence of a UV lamp, natural sunlight can serve as an alternative curing source for certain repair kits. By placing the treated glass surface in direct sunlight, the resin undergoes the curing process through exposure to the sun's UV radiation. While sunlight curing may take longer than UV lamp curing, it remains an effective method for solidifying the repair resin and achieving a durable bond with the glass. It is important to follow the manufacturer's guidelines regarding the duration of sunlight exposure to ensure thorough curing.
Monitoring the Curing Duration
During the curing process, it is essential to monitor the duration of exposure to UV light or sunlight, as well as adhere to the recommended curing time specified by the repair kit manufacturer. Overexposure or insufficient curing time can compromise the strength and effectiveness of the repair. By maintaining careful oversight of the curing duration, you can ensure that the resin achieves its optimal hardness and adhesion, contributing to a successful glass crack repair.
Verifying the Cured Repair
After the designated curing duration, carefully inspect the repaired area to verify that the resin has hardened and formed a durable bond with the glass. Any remaining soft or tacky areas indicate incomplete curing and may require additional exposure to the curing source. Once the resin is fully cured, it forms a transparent and resilient seal over the crack, effectively restoring the integrity and visual appeal of the glass surface.
By comprehensively understanding and meticulously executing the curing process, you can achieve a robust and enduring repair for the glass crack. The successful completion of this phase brings you closer to the final step of polishing the surface, ultimately culminating in the restoration of the glass to its pristine condition.
Read more: How To Make Glass Look Cracked
Step 4: Polishing the Surface
Polishing the surface is the final step in the glass crack repair process, essential for restoring the smooth and transparent finish of the glass. This meticulous polishing phase not only enhances the visual appeal of the repaired area but also contributes to the overall integrity and longevity of the glass surface. Here's a detailed guide on the key aspects of polishing the surface:
Assessing the Repaired Area
Before commencing the polishing process, carefully assess the repaired area to ensure that the cured resin has formed a seamless and level bond with the glass. Verify that the crack is effectively sealed and that the surrounding surface is free from any irregularities or excess resin. This preliminary inspection sets the stage for a precise and effective polishing procedure.
Selecting the Polishing Compound
Choose a high-quality polishing compound specifically formulated for glass surfaces. The compound should be designed to remove fine scratches, blemishes, and hazing while restoring the glass to its original clarity and luster. Ensure that the selected polishing compound is compatible with the type of glass being repaired, whether it's tempered or non-tempered, to achieve optimal results.
Application of the Polishing Compound
Apply a small amount of the polishing compound to the repaired area, using a soft, lint-free cloth or polishing pad. With gentle and controlled movements, work the compound into the glass surface, focusing on the treated area and its immediate surroundings. The polishing compound effectively smoothens the repaired section, blending it seamlessly with the rest of the glass surface.
Read more: How To Repair Cracks In Basement Wall
Circular Polishing Motion
Employ a circular polishing motion to evenly distribute the compound and achieve a uniform finish. This technique ensures that the repaired area integrates harmoniously with the surrounding glass, minimizing any visible distinctions between the repaired section and the rest of the surface. Consistent and thorough polishing is essential for achieving a flawless and transparent result.
Verifying the Polished Finish
After polishing the repaired area, carefully inspect the glass surface to verify the effectiveness of the polishing process. The treated section should exhibit a smooth, clear, and reflective finish, devoid of any residual blemishes or cloudiness. Any remaining imperfections or unevenness may necessitate additional polishing to achieve the desired result.
Final Inspection and Maintenance
Conduct a final inspection of the polished surface to ensure that the repaired area seamlessly blends with the rest of the glass. Once the desired finish is achieved, maintain the polished surface by regularly cleaning and caring for the glass according to best practices. This proactive maintenance contributes to the longevity and visual appeal of the repaired glass surface.
By meticulously executing the polishing process, you can elevate the aesthetic and functional qualities of the repaired glass, ultimately culminating in a seamless and durable restoration. With the surface polished to perfection, the repaired glass exudes a renewed brilliance and clarity, enhancing the overall ambiance and visual allure of the surrounding space.
Conclusion
In conclusion, addressing glass cracks through a systematic and meticulous repair process is essential for restoring the integrity, safety, and visual appeal of glass surfaces. By understanding the nature of glass cracks and the appropriate repair techniques, individuals can proactively mitigate the impact of damage and prolong the lifespan of their glass installations. The step-by-step approach outlined in this guide equips DIY enthusiasts and homeowners with the knowledge and confidence to undertake glass crack repairs effectively.
The initial phase of understanding glass cracks, encompassing their causes, types, and potential risks, provides a foundational understanding that empowers individuals to make informed decisions regarding the most suitable repair methods. Whether dealing with surface-level imperfections or deeper cracks, this knowledge enables individuals to assess the severity of the damage and determine the appropriate course of action, whether it involves a DIY repair or professional intervention.
Furthermore, the comprehensive guide emphasizes the significance of utilizing the necessary tools and materials for a successful repair. From safety gloves and glass cleaners to specialized repair kits and curing sources, each item plays a crucial role in facilitating a thorough and effective repair process. By ensuring that the essential tools and materials are readily available, individuals can approach glass crack repairs with confidence and efficiency, ultimately contributing to the restoration of the glass surface's integrity and visual appeal.
The step-by-step instructions for cleaning the damaged area, applying the repair kit, curing the repair, and polishing the surface provide a clear roadmap for achieving a seamless and durable restoration. Each phase of the repair process is meticulously detailed, emphasizing the importance of precision, care, and attention to detail. By following these instructions, individuals can address glass cracks with confidence, ultimately restoring the glass to its pristine condition and enhancing the overall ambiance of the space.
In essence, the successful repair of glass cracks not only contributes to the visual appeal of the environment but also promotes safety and longevity. By taking proactive measures to address glass damage, individuals can preserve the functionality and aesthetic allure of their glass surfaces, ultimately creating a welcoming and visually captivating space for occupants and visitors alike. With the knowledge and insights gained from this guide, individuals are well-equipped to embark on the journey of repairing glass cracks with precision, care, and confidence.
Frequently Asked Questions about How To Repair Glass Cracks
Was this page helpful?
At Storables.com, we guarantee accurate and reliable information. Our content, validated by Expert Board Contributors, is crafted following stringent Editorial Policies. We're committed to providing you with well-researched, expert-backed insights for all your informational needs.


0 thoughts on “How To Repair Glass Cracks”