Home>Furniture & Design>Living Room Furniture>How To Fix A Recliner Handle
Living Room Furniture
How To Fix A Recliner Handle
Modified: October 19, 2024
Learn how to fix a recliner handle with our step-by-step guide. Get your living room furniture back in working order with these easy tips and tricks.
(Many of the links in this article redirect to a specific reviewed product. Your purchase of these products through affiliate links helps to generate commission for Storables.com, at no extra cost. Learn more)
Introduction
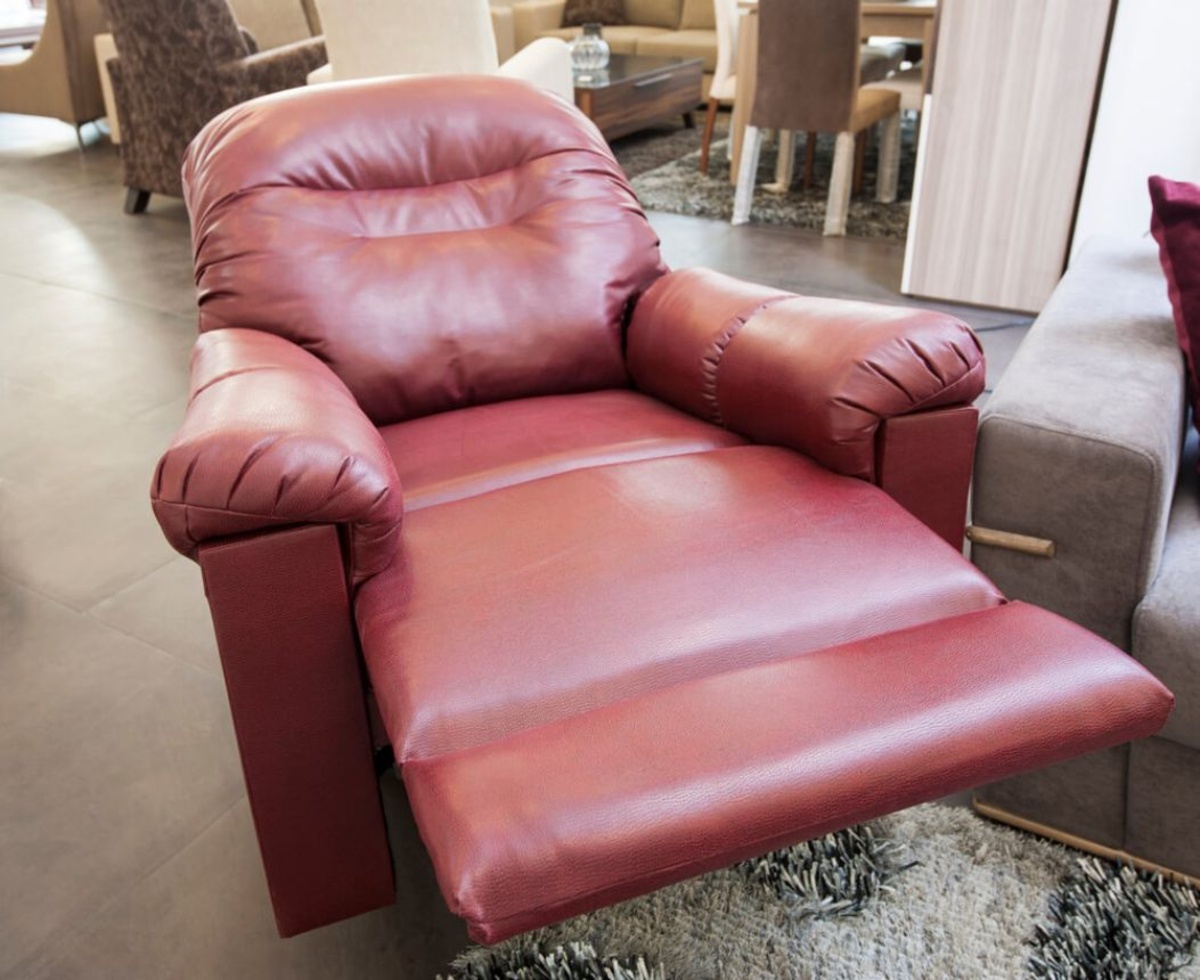
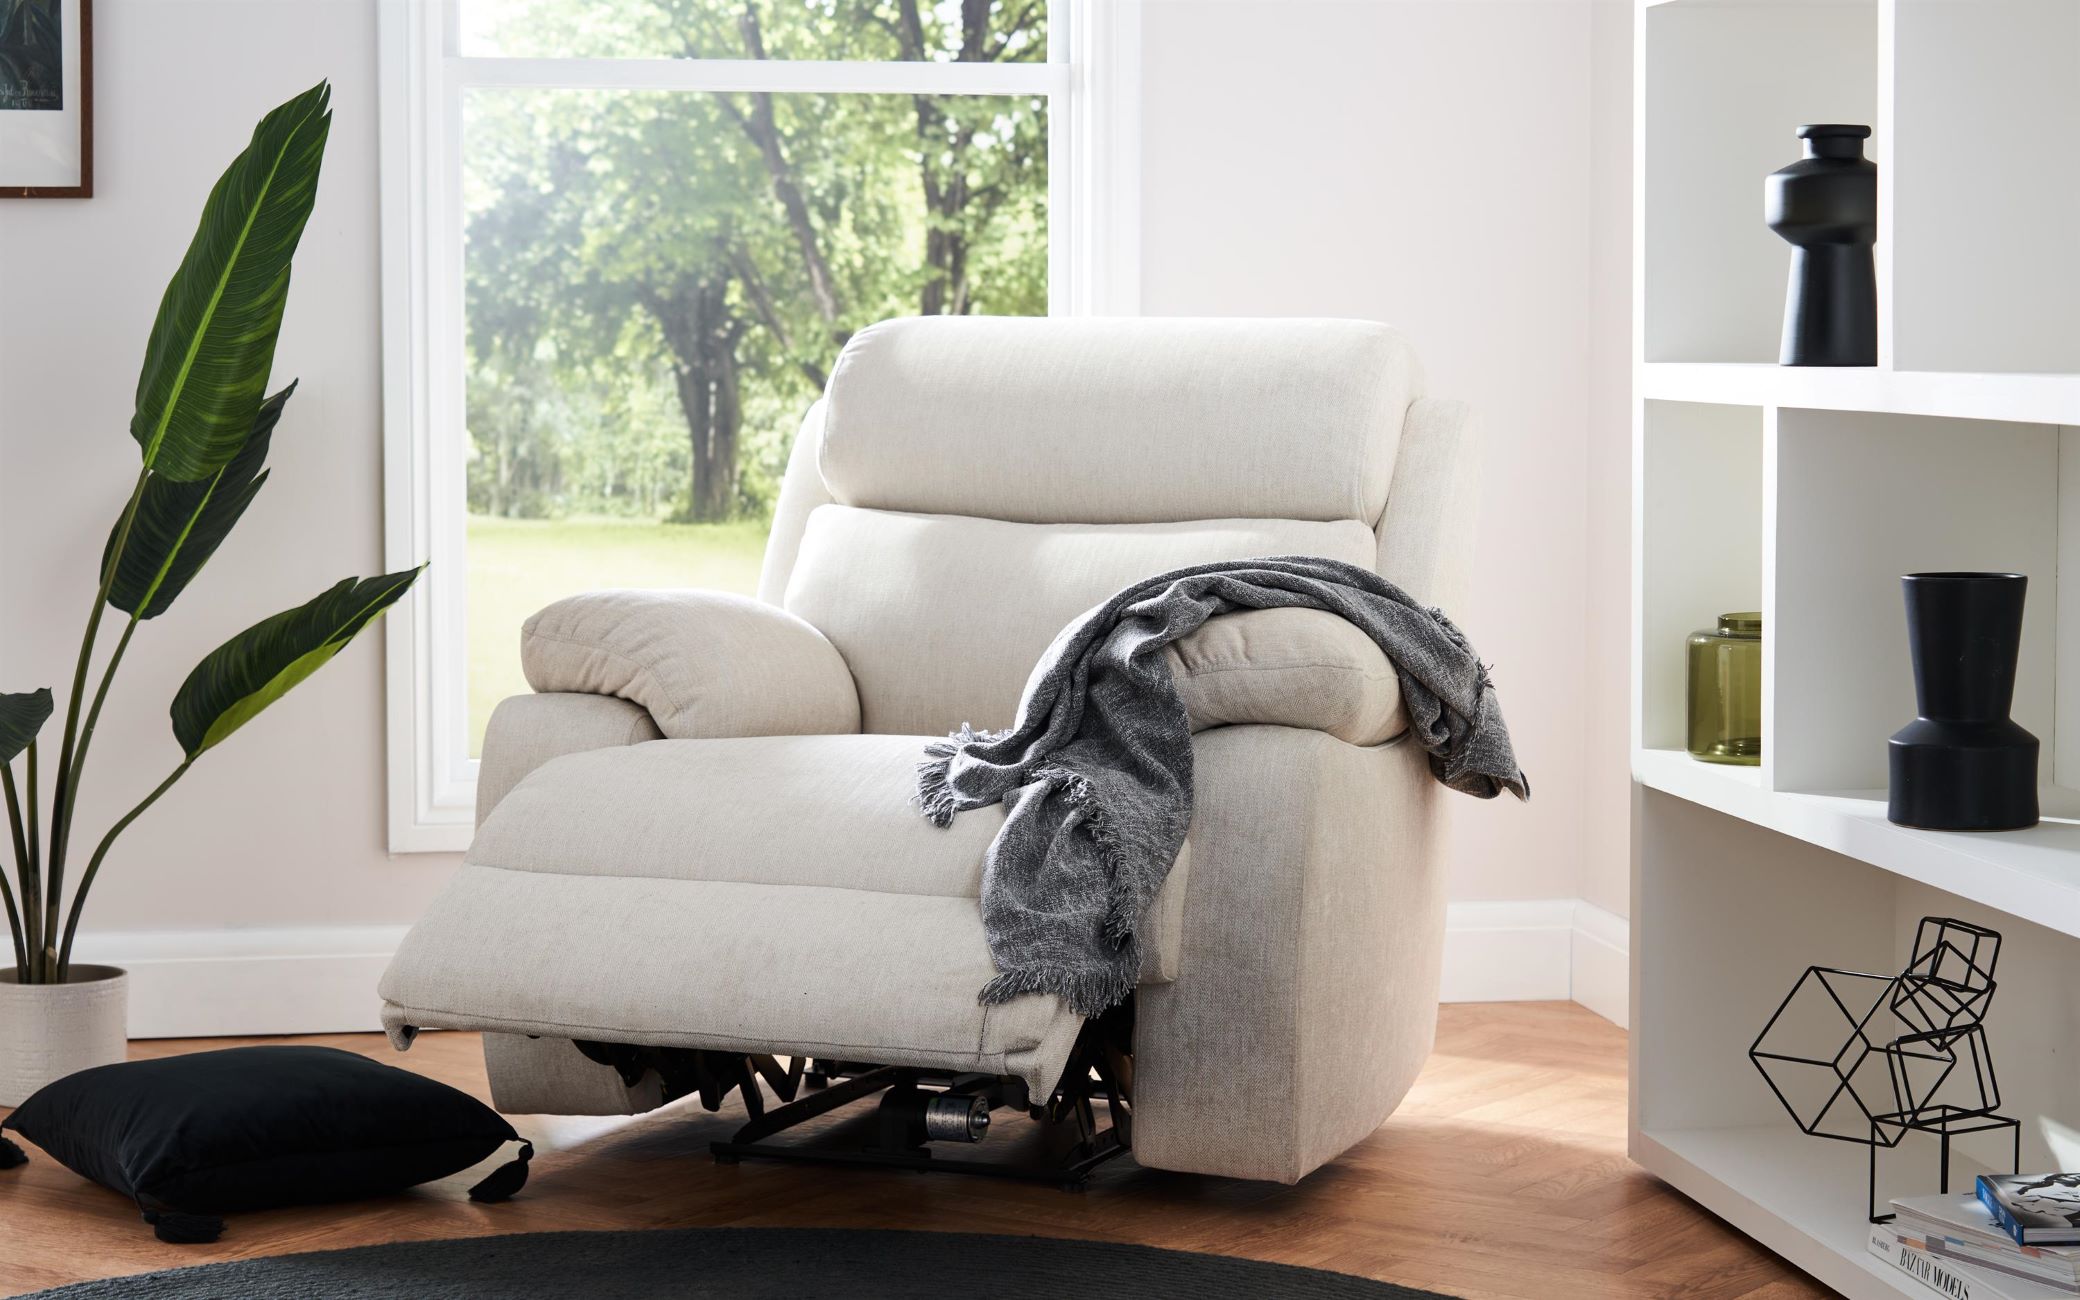
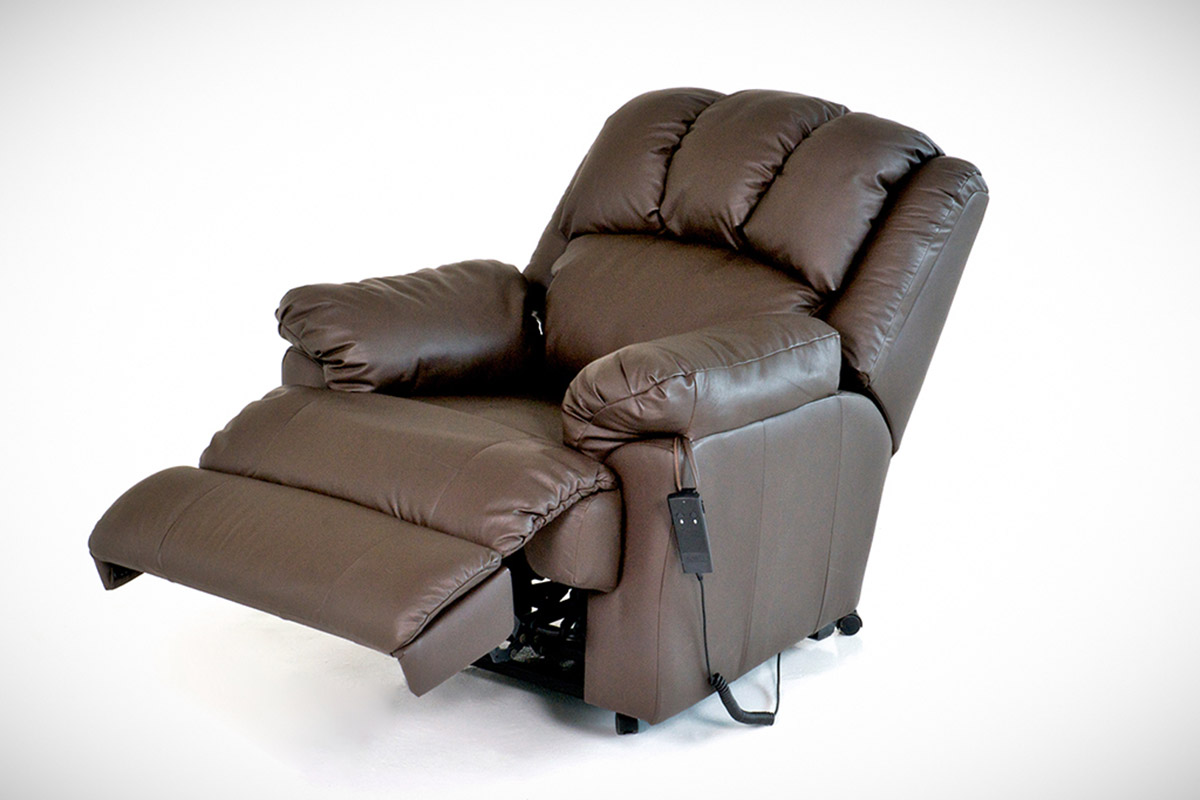
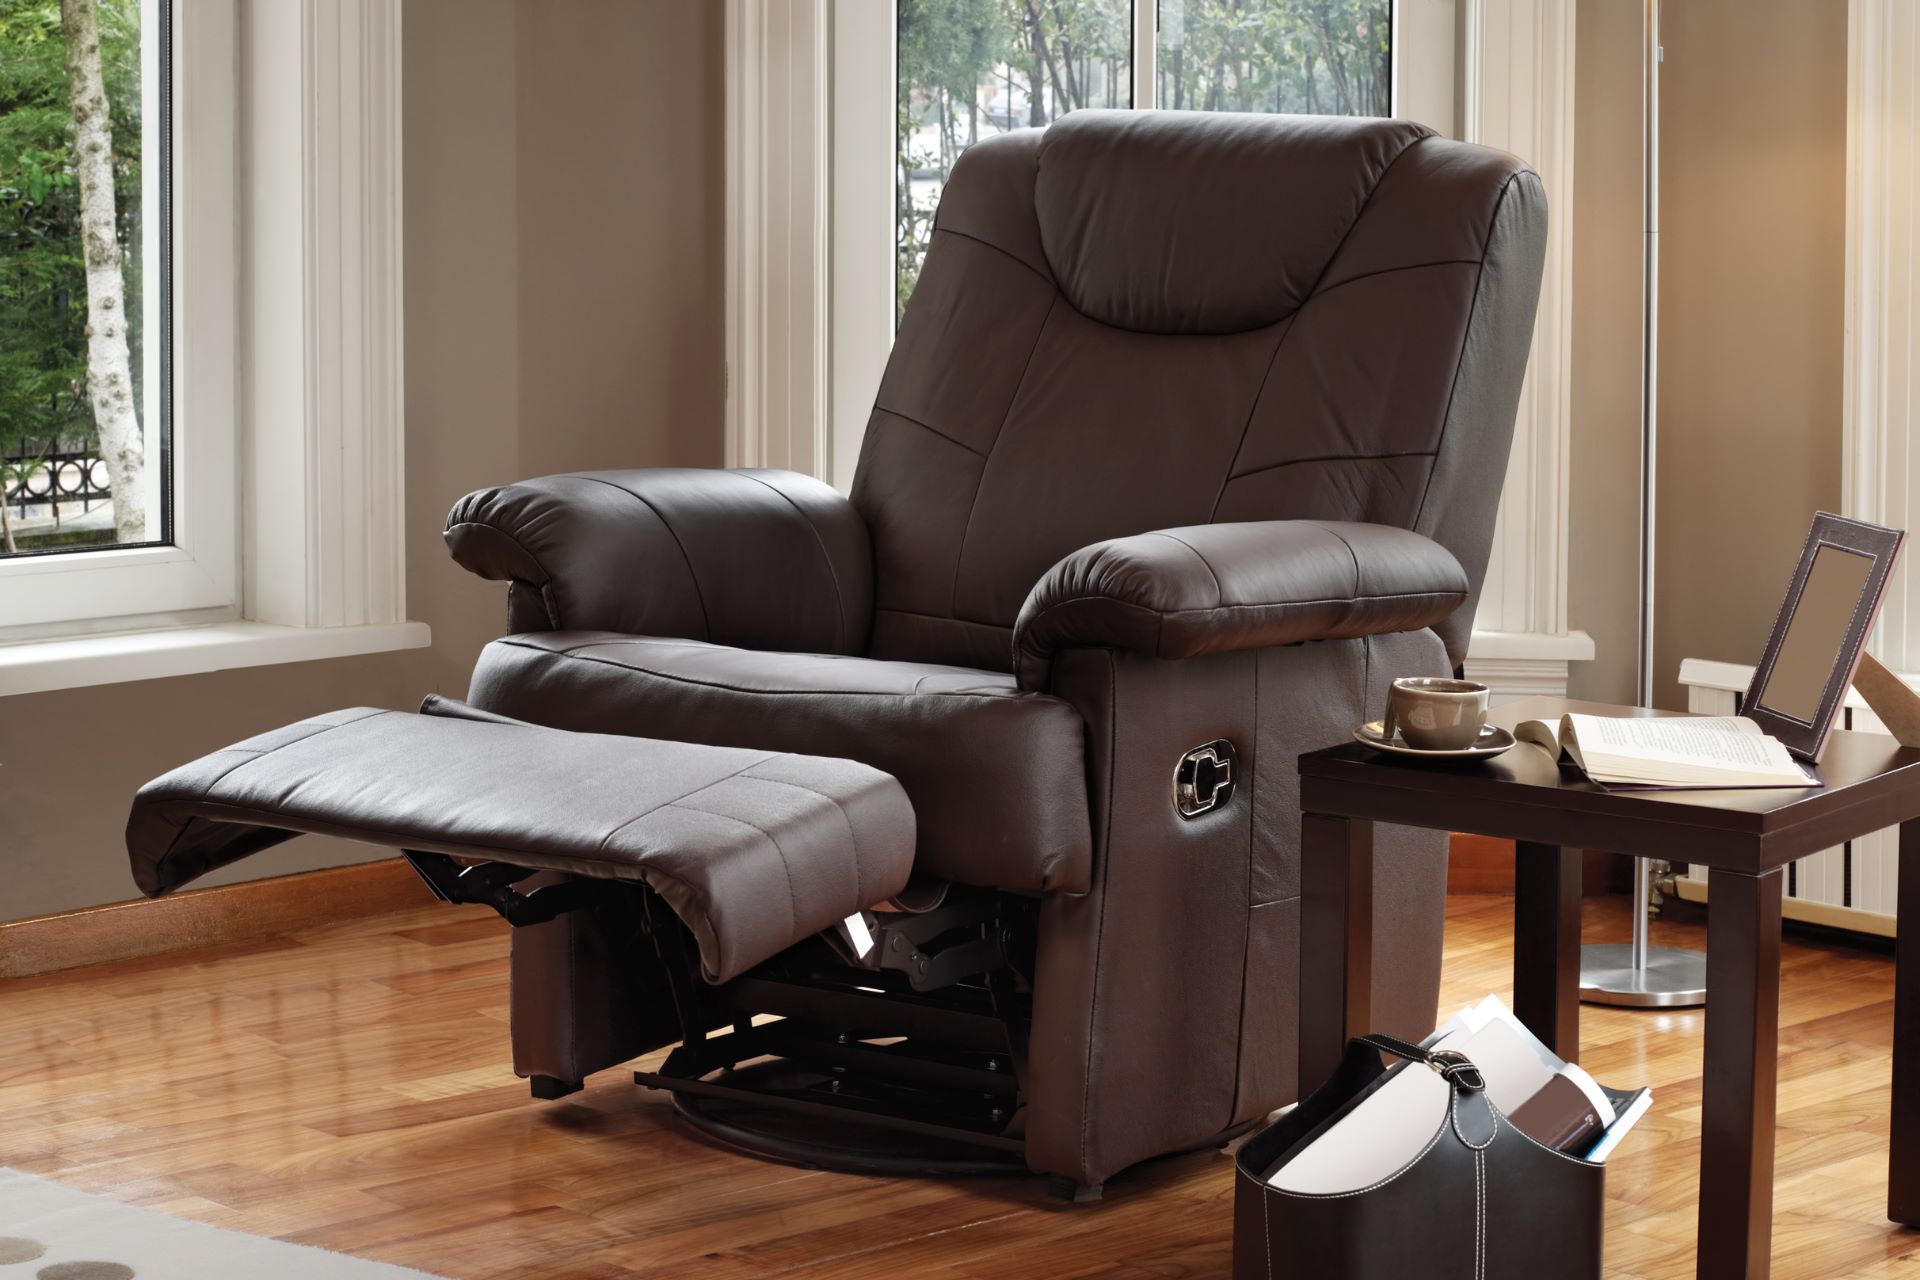
A recliner is a beloved piece of furniture that provides comfort and relaxation after a long day. However, over time, the handle of a recliner may become loose or malfunction, hindering its smooth operation. When faced with a faulty recliner handle, it's essential to address the issue promptly to restore the functionality of this cherished piece of furniture.
In this comprehensive guide, we will walk you through the process of fixing a recliner handle, empowering you to tackle this common problem with confidence. Whether you're a seasoned DIY enthusiast or a novice in the realm of furniture repairs, this step-by-step tutorial will equip you with the knowledge and skills needed to successfully repair your recliner handle.
By following the instructions outlined in this guide, you can breathe new life into your recliner and reclaim the joy of lounging in your favorite spot. With a few simple tools and a bit of patience, you'll be able to rectify the issue and enjoy the comfort and convenience of your recliner once again.
So, let's roll up our sleeves and delve into the process of fixing a recliner handle. With the right approach and a willingness to learn, you'll soon be on your way to restoring your recliner to its former glory. Let's get started!
Key Takeaways:
- Fixing a recliner handle involves understanding the issue, gathering the right tools, removing the old handle, installing the new handle, and testing the recliner for smooth operation.
- By following the step-by-step guide, you can restore your recliner’s functionality, showcasing DIY skills and enhancing your living space with a comfortable and functional furniture piece.
Read more: How To Replace Recliner Handle Spring
Understanding the Issue
Before embarking on the journey of fixing a recliner handle, it's crucial to understand the underlying issue that may be causing the malfunction. A recliner handle typically experiences wear and tear over time, especially if it is frequently used. The handle may become loose, unresponsive, or completely detached, rendering the recliner difficult or impossible to operate.
One common issue is a broken or damaged cable mechanism within the recliner. This can occur due to overuse, excessive force, or simply as a result of the natural aging process. Additionally, the handle itself may suffer from wear, causing it to lose its grip on the recliner's internal components.
It's important to carefully assess the nature of the problem before proceeding with the repair. By understanding the specific issue at hand, you can effectively determine the appropriate course of action to rectify the problem.
In some cases, the issue may be isolated to the handle and its attachment points, while in other instances, it may involve the internal mechanisms of the recliner. By conducting a thorough assessment, you can gain valuable insights into the root cause of the problem, enabling you to approach the repair process with clarity and confidence.
Furthermore, understanding the issue allows you to anticipate any potential challenges that may arise during the repair. By being aware of the intricacies of the problem, you can prepare yourself with the necessary tools and materials, as well as develop a strategic plan to address the issue effectively.
In the next section, we will delve into the essential tools and materials needed to undertake the recliner handle repair, equipping you with everything required to tackle the task at hand. With a clear understanding of the issue and the right resources at your disposal, you'll be well-prepared to embark on the journey of fixing your recliner handle.
Tools and Materials Needed
When it comes to fixing a recliner handle, having the right tools and materials at your disposal is essential for a successful repair. Here's a comprehensive list of items you'll need to effectively address the issue:
Tools:
- Screwdriver Set: A set of screwdrivers with various head types, including Phillips and flathead, will be indispensable for disassembling and reassembling the recliner components.
- Pliers: Both needle-nose and standard pliers will aid in gripping and manipulating small components during the repair process.
- Adjustable Wrench: This versatile tool will come in handy for tightening or loosening nuts and bolts as needed.
- Flashlight: A flashlight will assist in illuminating the recliner's internal mechanisms, especially in dimly lit areas, allowing for better visibility during the repair.
- Scissors: A pair of scissors will be useful for cutting and trimming materials such as zip ties or cables during the repair.
Materials:
- Replacement Handle: Depending on the specific issue with your recliner handle, you may need to acquire a suitable replacement handle that matches the make and model of your recliner.
- Replacement Cable: If the problem lies within the cable mechanism, obtaining a replacement cable that aligns with the specifications of your recliner is crucial for restoring functionality.
- Zip Ties: These versatile fastening devices can be used to secure cables and wires in place, ensuring a tidy and organized repair.
- Lubricant: A high-quality lubricant, such as silicone-based spray or grease, will aid in ensuring smooth and effortless operation of the recliner's moving parts.
- Safety Gloves: It's important to prioritize safety during the repair process, and a pair of durable safety gloves will protect your hands from sharp edges and potential pinch points.
By gathering these essential tools and materials, you'll be well-equipped to tackle the task of fixing your recliner handle with confidence and precision. With the right resources at your disposal, you can approach the repair process methodically, ensuring that each step is carried out effectively and with attention to detail. Now that you're armed with the necessary tools and materials, let's proceed to the next section, where we'll delve into the step-by-step process of removing the old handle from your recliner.
Read more: How To Fix Sink Handle
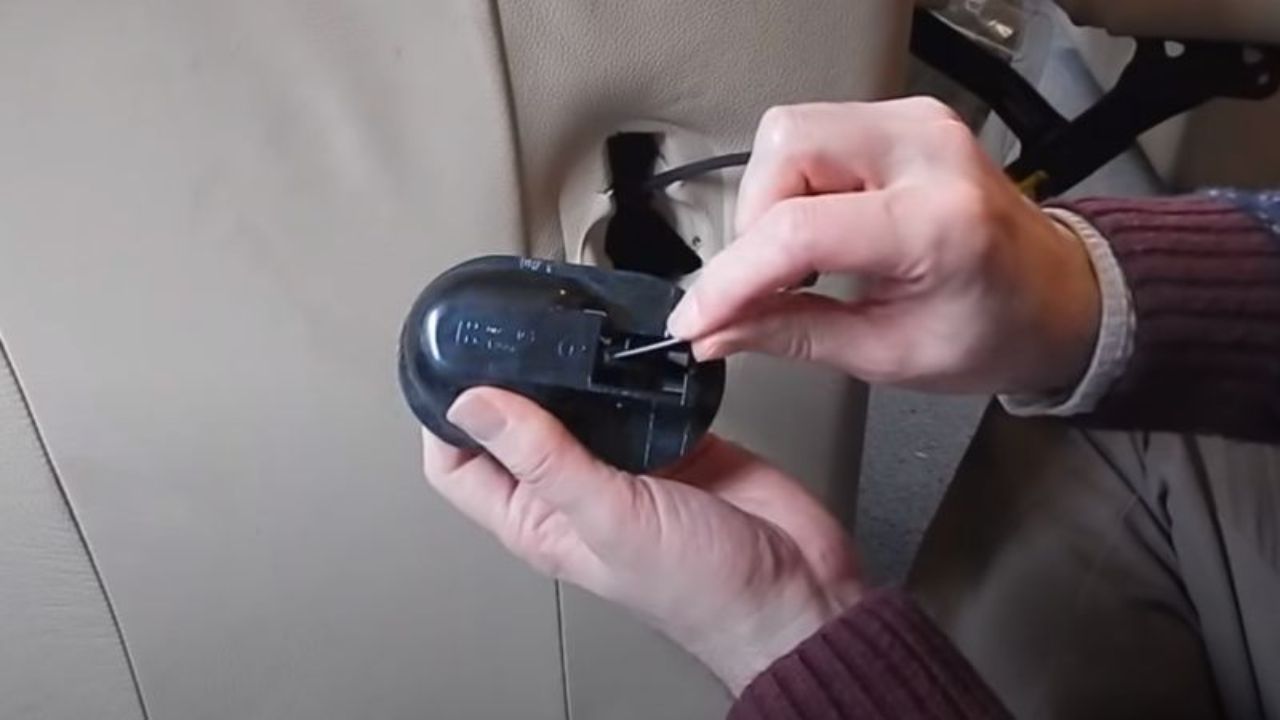
Step 1: Removing the Old Handle
Removing the old handle from your recliner is the crucial first step in the process of fixing a malfunctioning recliner handle. This step requires precision and attention to detail to ensure that the old handle is safely and effectively detached from the recliner. Here's a detailed guide on how to remove the old handle:
-
Assess the Attachment Points: Begin by carefully examining the attachment points of the old handle. Depending on the design of your recliner, the handle may be secured in place by screws, bolts, or other fastening mechanisms. Use a flashlight to illuminate the area and gain a clear view of the attachment points.
-
Locate and Remove Fasteners: Using the appropriate screwdriver or wrench from your toolset, carefully remove any screws, bolts, or fasteners that are securing the old handle to the recliner. Take care to keep track of the fasteners as they are removed, ensuring that they are set aside in a safe place for reassembly later.
-
Detach the Cable: If the recliner handle is connected to a cable mechanism, carefully detach the cable from the handle. This may involve releasing the tension on the cable and unhooking it from the handle assembly. Exercise caution to prevent any damage to the cable during this process.
-
Gently Extract the Handle: With the fasteners and cable detached, gently extract the old handle from its position on the recliner. Take care to maneuver it out of any surrounding components or upholstery without causing any damage.
-
Inspect for Wear and Damage: Once the old handle has been removed, take a moment to inspect it for any signs of wear, damage, or malfunction. This assessment will provide valuable insights into the specific issues that led to the handle's malfunction, guiding your next steps in the repair process.
By following these detailed steps, you can effectively remove the old handle from your recliner, setting the stage for the subsequent installation of a new handle. With the old handle safely detached, you're now ready to proceed to the next phase of the repair process, which involves installing the new handle to restore the functionality of your recliner.
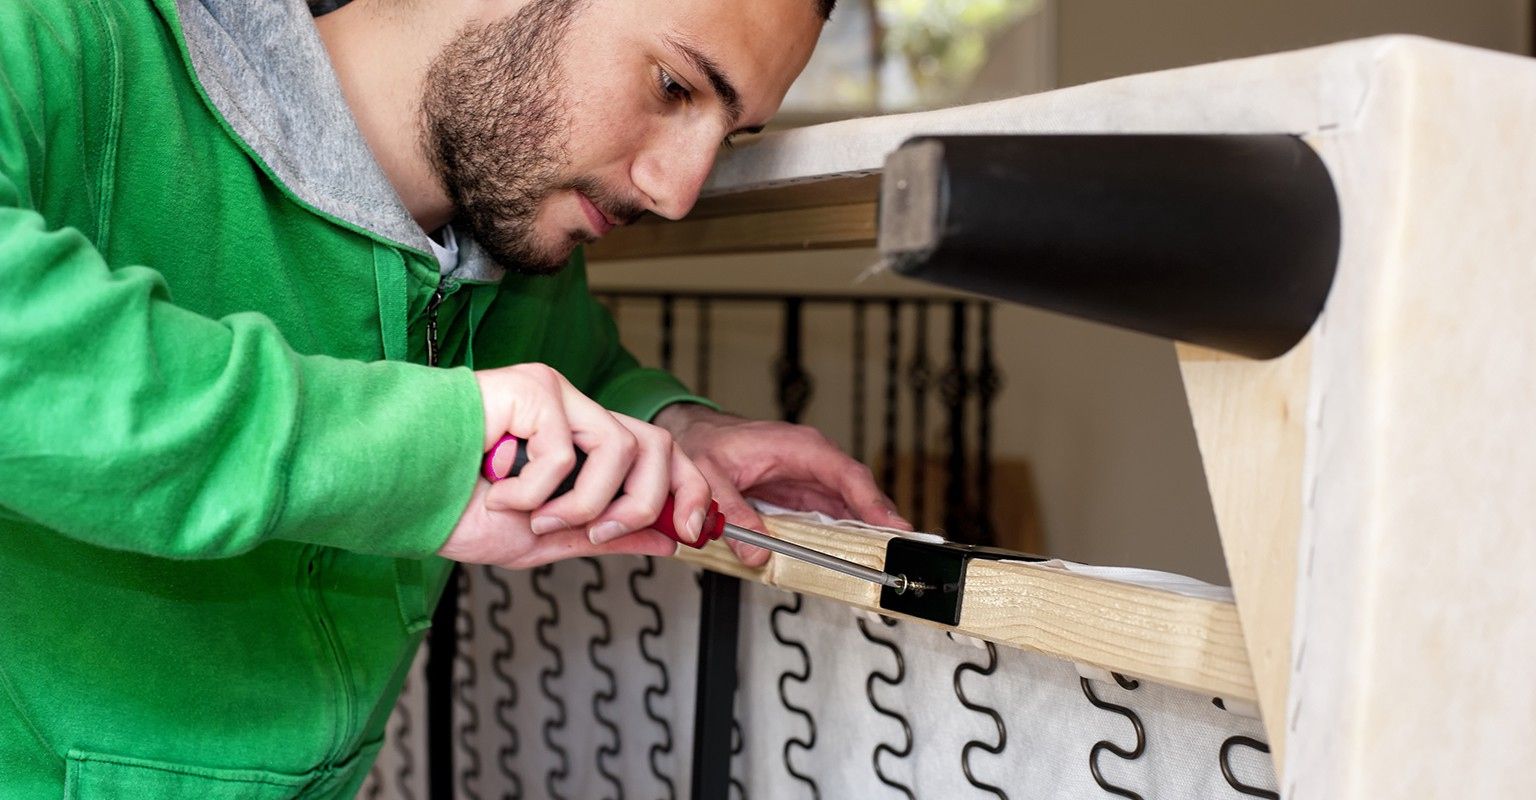
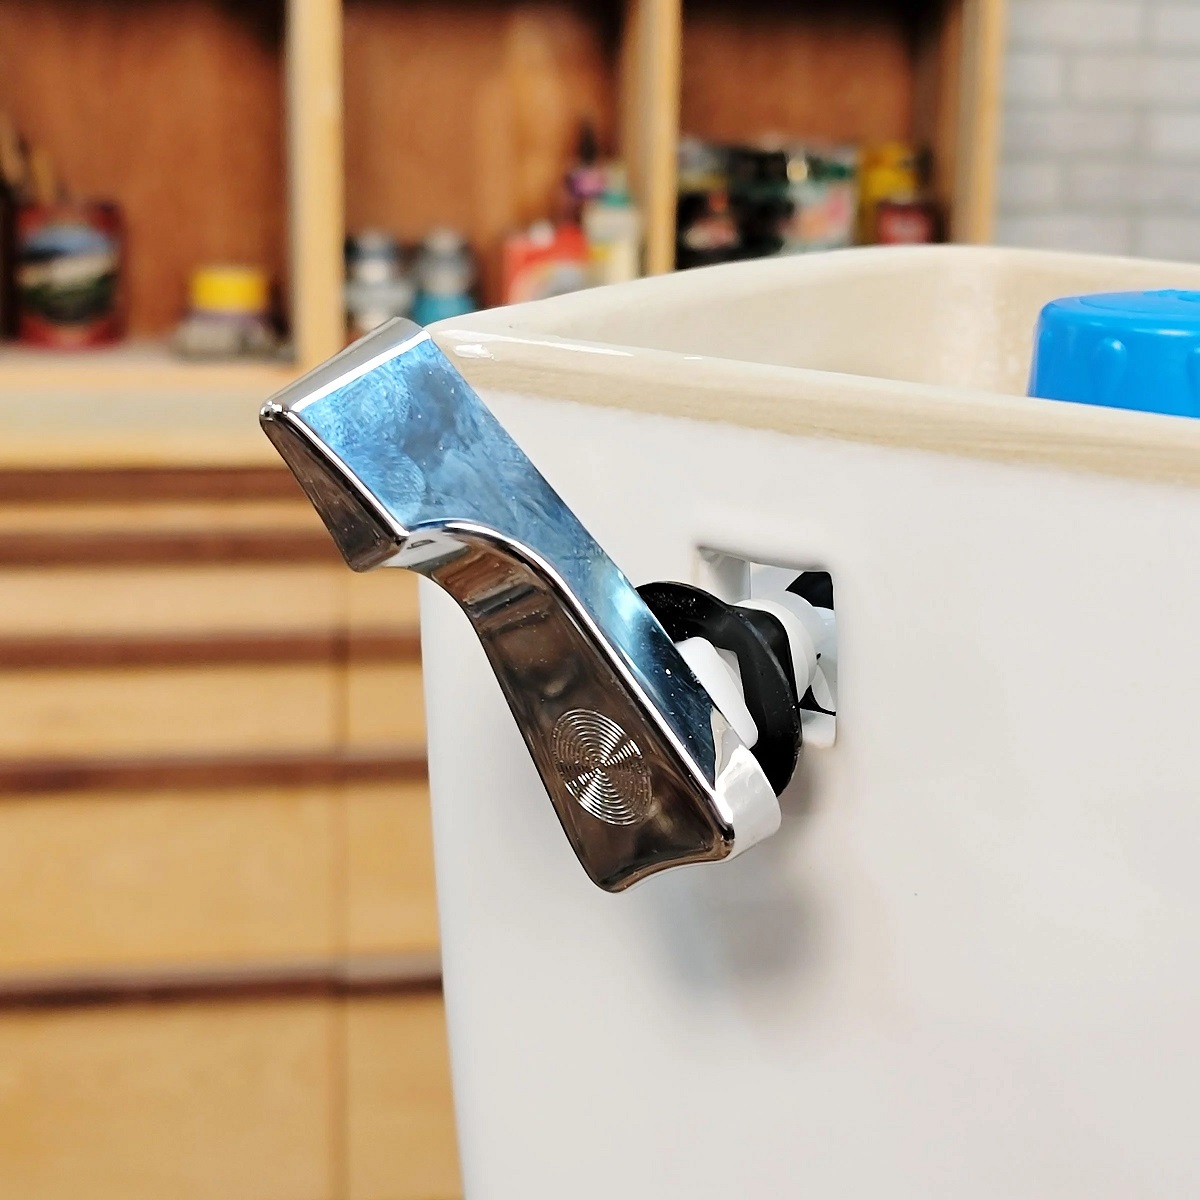
Step 2: Installing the New Handle
With the old handle successfully removed, the next critical phase in the recliner handle repair process involves installing the new handle. This step requires precision and attention to detail to ensure that the new handle is securely and effectively integrated into the recliner, restoring its functionality and ease of use. Here's a comprehensive guide on how to install the new handle:
-
Select the Correct Replacement Handle: Before proceeding with the installation, ensure that the replacement handle is compatible with your recliner's make and model. Verify that the dimensions, attachment points, and cable connections align with the specifications of your recliner, ensuring a seamless installation process.
-
Position the New Handle: Carefully position the new handle in place, aligning it with the attachment points on the recliner. Take note of any corresponding holes or slots that facilitate the secure fastening of the handle.
-
Secure the Fasteners: Using the appropriate screws, bolts, or fasteners, secure the new handle to the recliner. Ensure that the fasteners are tightened to the appropriate torque, providing a firm and stable attachment without over-tightening, which could potentially cause damage.
-
Reconnect the Cable Mechanism: If the new handle is equipped with a cable mechanism, carefully reconnect the cable to the handle assembly. Ensure that the cable is properly seated and secured, allowing for smooth and responsive operation of the recliner.
-
Test the Handle Functionality: With the new handle securely installed, perform a preliminary test to ensure its functionality. Gently engage the handle to activate the reclining mechanism, observing its responsiveness and smooth operation. Verify that the recliner moves into the desired positions without any issues.
-
Adjust and Fine-Tune: If necessary, make any adjustments to the handle's positioning or cable tension to optimize its functionality. Fine-tune the installation as needed, ensuring that the handle operates seamlessly and without any resistance.
By following these detailed steps, you can effectively install the new handle on your recliner, bringing it one step closer to full functionality and reliability. With the new handle securely in place, you're now ready to proceed to the final phase of the repair process, which involves testing the recliner to ensure that the handle operates as intended.
If the recliner handle is loose or not working, try tightening the screws on the handle or replacing the handle mechanism. If the handle is broken, you can purchase a replacement handle and install it yourself using a screwdriver.
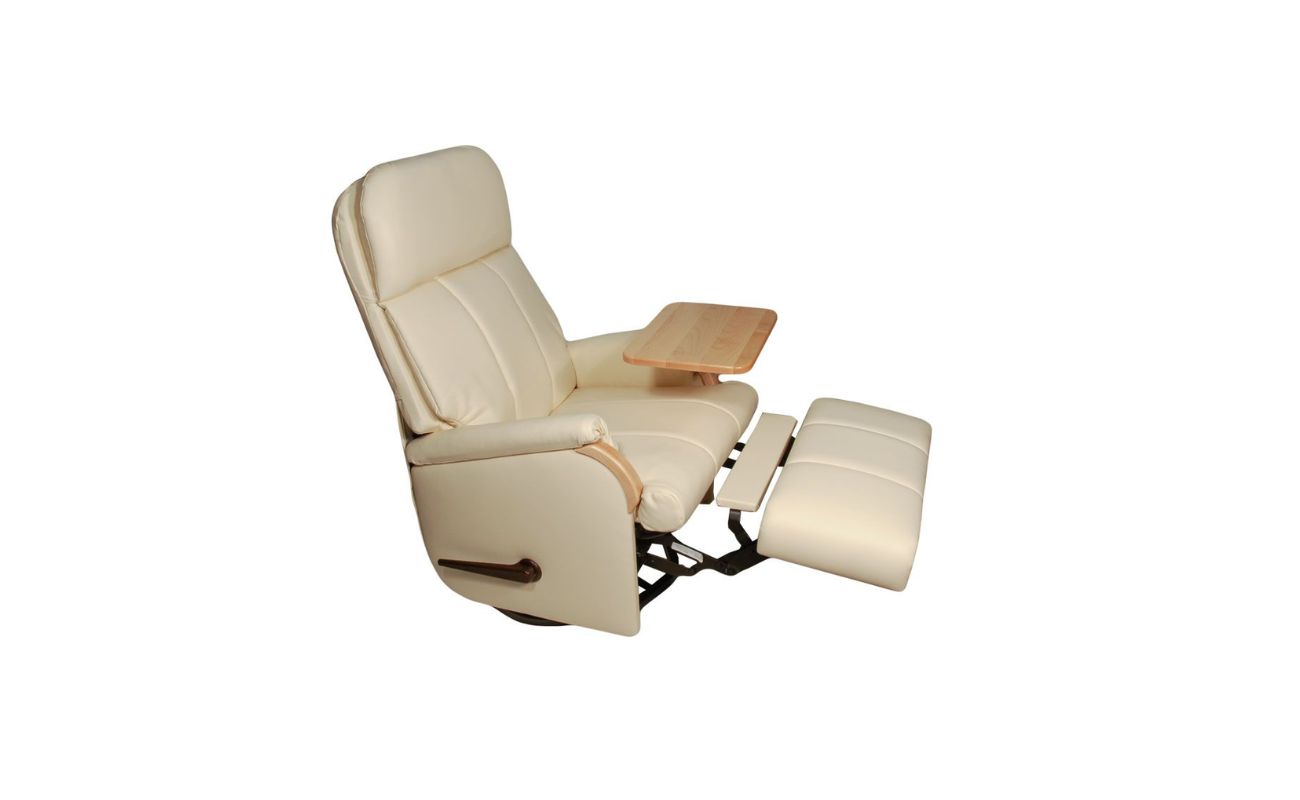
Step 3: Testing the Recliner
After successfully installing the new handle, the crucial final step in the recliner handle repair process is to thoroughly test the recliner to ensure that the handle operates smoothly and effectively. This step is essential to verify that the repair has been completed satisfactorily and that the recliner is once again fully functional. Here's a detailed guide on how to test the recliner after fixing the handle:
-
Operate the Reclining Mechanism: Begin by engaging the newly installed handle to activate the reclining mechanism. Slowly and smoothly recline the chair to its fully extended position, ensuring that the handle allows for seamless adjustment. Pay close attention to any resistance or irregularities in the reclining motion, as these may indicate underlying issues that require further attention.
-
Return to Upright Position: After reclining the chair, return it to the upright position using the handle. Verify that the recliner smoothly transitions from the reclined position to the upright position without any hitches or disruptions. The handle should facilitate a controlled and effortless movement, allowing for easy adjustment as desired.
-
Test Multiple Positions: Explore the recliner's various positions, including partial recline and intermediate settings, to ensure that the handle functions effectively across the entire range of motion. Verify that the recliner remains stable and secure in each position, with the handle providing reliable control over the chair's configuration.
-
Check Cable Tension: If the new handle is connected to a cable mechanism, pay attention to the tension and responsiveness of the cable during operation. The cable should move smoothly and consistently, without any slack or excessive resistance. Adjust the cable tension if necessary to achieve optimal functionality.
-
Assess Overall Comfort and Stability: Sit in the recliner and assess its overall comfort and stability while adjusting the position using the handle. Ensure that the chair provides adequate support and comfort, with the handle facilitating a seamless transition between different seating configurations.
-
Repeat the Testing Process: Perform multiple test cycles to thoroughly evaluate the handle's performance and the recliner's overall functionality. By repeating the testing process, you can gain confidence in the effectiveness of the repair and identify any potential issues that may require further adjustments.
By meticulously testing the recliner after fixing the handle, you can ensure that the repair has been completed to a high standard, and the recliner is ready to provide comfort and relaxation once again. With the handle operating smoothly and the recliner functioning as intended, you can take pride in successfully restoring this beloved piece of furniture to its optimal condition.
Conclusion
In conclusion, successfully fixing a recliner handle is a rewarding accomplishment that restores both the functionality and comfort of this cherished piece of furniture. By following the comprehensive steps outlined in this guide, you have gained the knowledge and skills needed to address a common issue that can affect the usability of a recliner. From understanding the underlying problem to acquiring the necessary tools and materials, and from removing the old handle to installing a new one, you have navigated each phase of the repair process with precision and confidence.
The journey of fixing a recliner handle is not merely about addressing a mechanical issue; it is about revitalizing a central element of relaxation and comfort within your living space. Through your dedication to the repair process, you have demonstrated a commitment to preserving and enhancing the functionality of your furniture, ensuring that it continues to serve its intended purpose for years to come.
As you tested the recliner and verified the seamless operation of the new handle, you have not only restored its functionality but also reaffirmed its role as a source of relaxation and rejuvenation. The successful repair of the recliner handle signifies your ability to overcome challenges and proactively address issues, embodying the spirit of DIY ingenuity and resourcefulness.
Furthermore, the skills and knowledge you have acquired through this repair process extend beyond the realm of furniture maintenance. They reflect your capacity to engage with practical tasks, troubleshoot problems, and execute solutions with precision and care. These qualities are invaluable in various aspects of life, where the ability to analyze, plan, and execute tasks is essential.
By taking the initiative to repair your recliner handle, you have not only revitalized a piece of furniture but also empowered yourself with the confidence to tackle future DIY projects and challenges. Your dedication to maintaining and enhancing your living environment is a testament to your proactive approach to creating a comfortable and functional space that reflects your care and attention to detail.
In the end, the successful repair of your recliner handle is a testament to your resourcefulness, determination, and commitment to preserving the comfort and functionality of your living space. As you relax in your newly restored recliner, you can take pride in the knowledge that you have not only fixed a mechanical issue but also enriched your living environment through your proactive and skillful approach to furniture maintenance.
Frequently Asked Questions about How To Fix A Recliner Handle
Was this page helpful?
At Storables.com, we guarantee accurate and reliable information. Our content, validated by Expert Board Contributors, is crafted following stringent Editorial Policies. We're committed to providing you with well-researched, expert-backed insights for all your informational needs.


0 thoughts on “How To Fix A Recliner Handle”