Home>Furniture & Design>Outdoor Furniture>How To Build An Outdoor Side Table
Outdoor Furniture
How To Build An Outdoor Side Table
Published: January 14, 2024
Discover how to build a stylish outdoor side table with our step-by-step guide. Elevate your outdoor space with custom outdoor furniture and design.
(Many of the links in this article redirect to a specific reviewed product. Your purchase of these products through affiliate links helps to generate commission for Storables.com, at no extra cost. Learn more)
Introduction
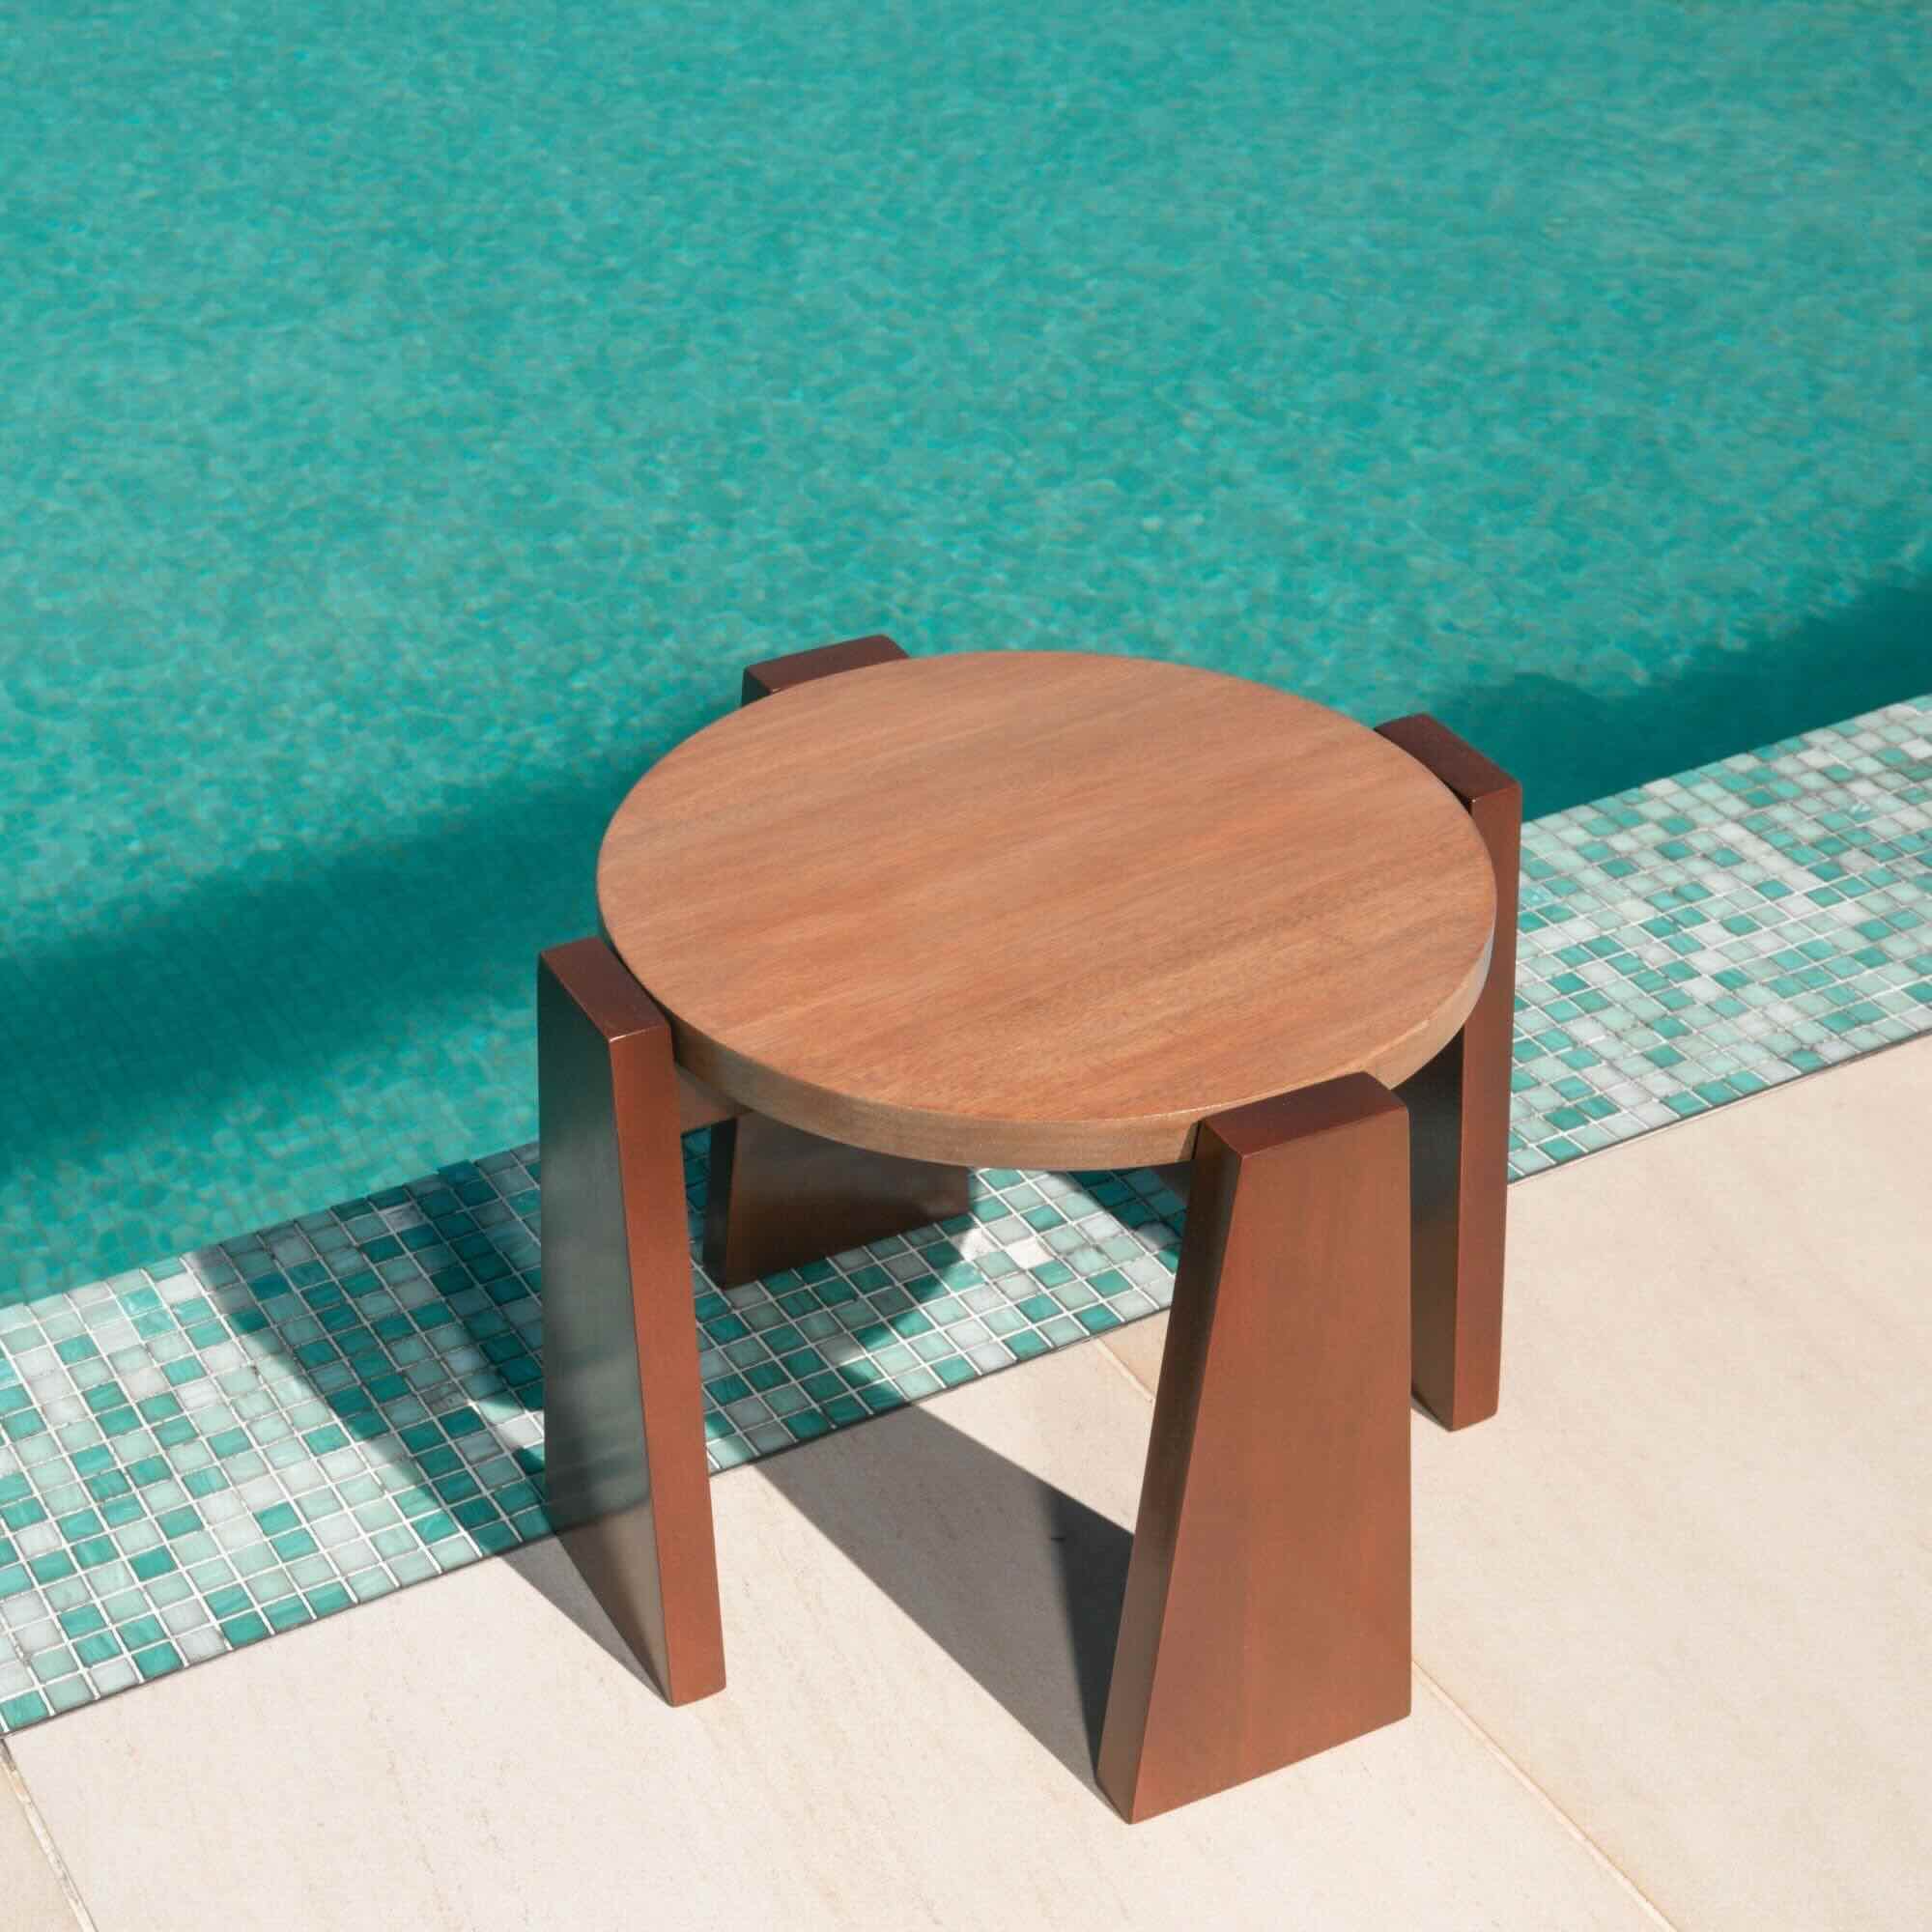
Welcome to the world of DIY outdoor furniture! Building your own outdoor side table can be a fulfilling and rewarding project that not only adds a personal touch to your outdoor space but also allows you to tailor the design to your specific preferences. Whether you're a seasoned woodworking enthusiast or a novice looking for a hands-on project, creating an outdoor side table is an achievable and enjoyable endeavor.
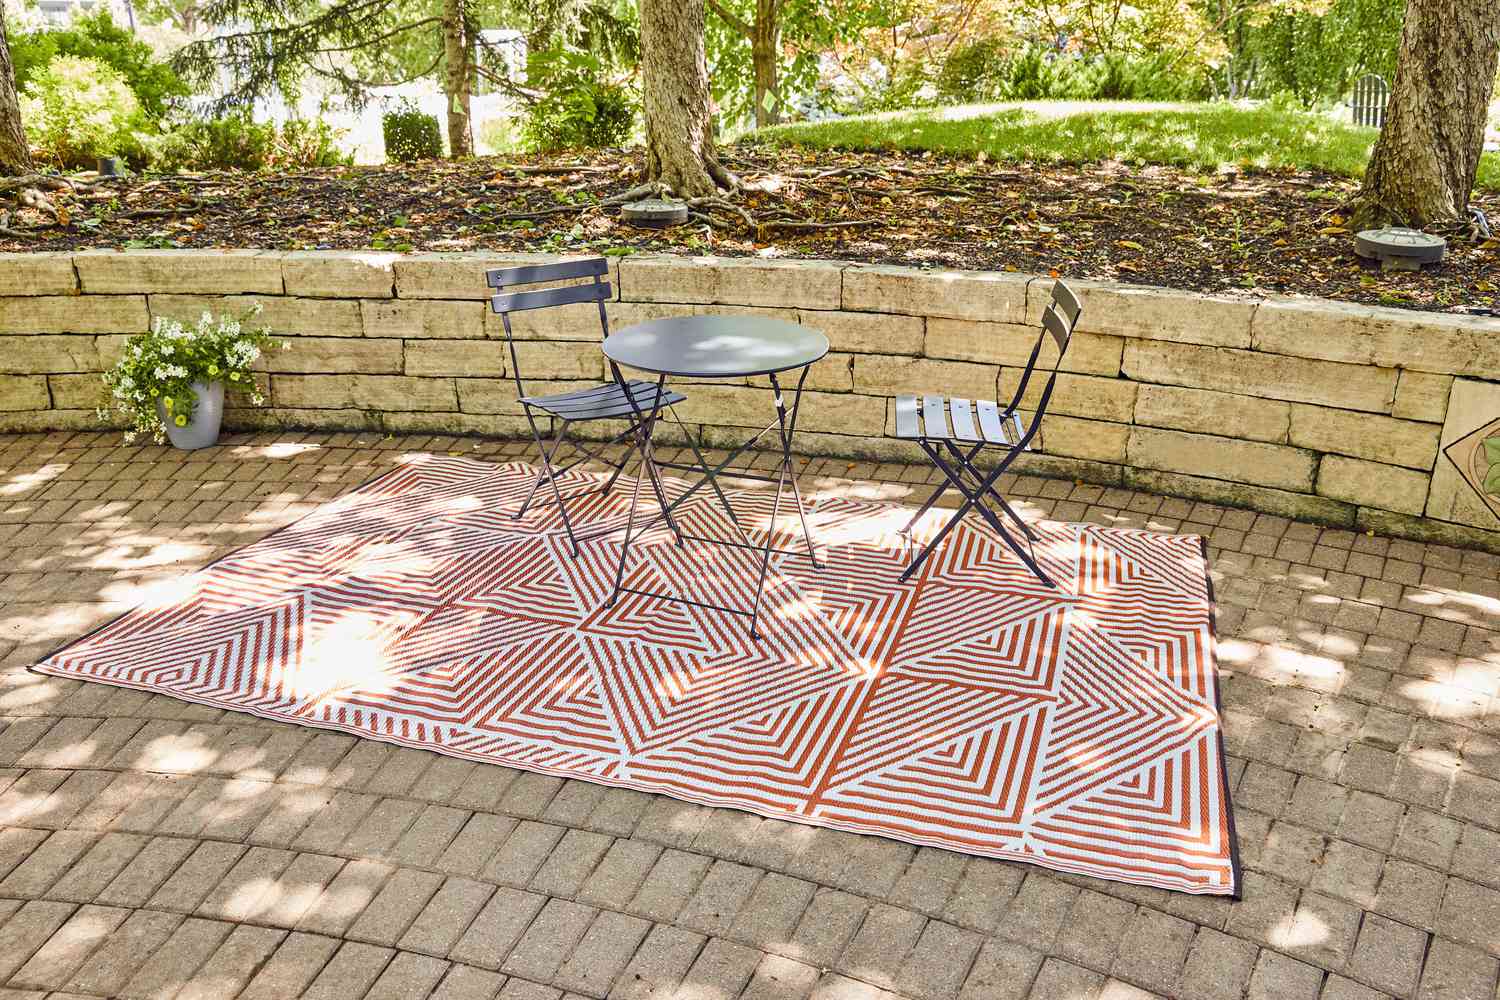
Imagine relaxing on your patio or in your garden, sipping a refreshing beverage, and having a convenient place to set it down. With a custom-built outdoor side table, you can bring this vision to life. Additionally, by crafting your own furniture, you can ensure that it complements your existing outdoor decor and meets your functional needs.
In this guide, we will walk you through the step-by-step process of constructing a sturdy and stylish outdoor side table. From selecting the right materials and tools to cutting and assembling the components, we'll cover each stage in detail, providing valuable tips and insights along the way. By the end of this tutorial, you'll have a beautiful and durable outdoor side table that reflects your creativity and craftsmanship.
So, roll up your sleeves, gather your tools, and let's embark on this woodworking adventure together. Whether you're seeking a weekend project or a new hobby, building an outdoor side table is a fantastic way to unleash your creativity and enhance your outdoor living space. Let's get started!
Key Takeaways:
- Personalization: Building your own outdoor side table allows you to express your creativity and style, creating a unique piece that complements your outdoor decor and reflects your individuality.
- Functionality: Your custom-built outdoor side table provides a versatile and sturdy surface for various outdoor activities, adding value to your outdoor space and enhancing your outdoor experience.
Read more: How To Build An Outdoor Dining Table
Materials Needed
Before diving into the construction process, it’s essential to gather all the necessary materials. Here’s what you’ll need to build your outdoor side table:
- Pressure-treated lumber or cedar boards: These will serve as the main material for the tabletop and legs. Opting for pressure-treated lumber or cedar is advisable, as these woods are naturally resistant to decay and insect damage, making them ideal for outdoor furniture.
- Wood screws: Choose corrosion-resistant screws designed for outdoor use to ensure the longevity of your table.
- Wood glue: A high-quality wood glue will help reinforce the joints and ensure the stability of the table.
- Wood stain or outdoor sealant: Applying a protective finish to the table will safeguard it against the elements, preserving its appearance and structural integrity.
- Sandpaper: Select sandpaper with varying grits to smoothen the wood surfaces and achieve a polished finish.
- Measuring tape and carpenter’s square: These tools are essential for accurate measurements and precise angles during the construction process.
- Protective gear: Safety goggles, a dust mask, and work gloves are crucial for safeguarding yourself during woodworking tasks.
By ensuring that you have all the required materials on hand, you can streamline the construction process and minimize interruptions. Additionally, investing in high-quality materials will contribute to the durability and aesthetic appeal of your outdoor side table, ensuring that it withstands the rigors of outdoor conditions while enhancing the visual appeal of your outdoor space.
Tools Needed
Equipping yourself with the right tools is essential for executing a successful woodworking project. Here are the primary tools you’ll need to construct your outdoor side table:
- Power saw: A miter saw or a circular saw will be indispensable for cutting the lumber to the required dimensions accurately.
- Drill/driver: A reliable drill/driver is essential for pre-drilling holes and driving screws during the assembly process.
- Clamps: Having a set of clamps on hand will facilitate securing the wood pieces in place during gluing and assembly.
- Sandpaper or sander: Smoothing the wood surfaces is crucial for achieving a professional and polished finish.
- Measuring tools: A tape measure and a carpenter’s square will enable you to take precise measurements and ensure that the components are aligned correctly.
- Paintbrushes or applicators: If you plan to apply a wood stain or outdoor sealant, having the appropriate brushes or applicators is essential for achieving an even and protective finish.
- Safety gear: Safety goggles, a dust mask, and work gloves are crucial for protecting your eyes, respiratory system, and hands during woodworking tasks.
By having these tools at your disposal, you’ll be well-equipped to tackle each stage of the construction process with confidence and precision. Additionally, investing in high-quality tools will not only streamline the construction process but also contribute to the overall quality and craftsmanship of your outdoor side table.
Step 1: Cutting the Wood
The first step in constructing your outdoor side table is to cut the wood to the required dimensions. This stage is crucial, as precise and accurate cuts are essential for ensuring that the tabletop and legs fit together seamlessly. Here’s how to approach this step:
Begin by measuring and marking the lumber according to the dimensions of the tabletop and legs. Using a tape measure and a carpenter’s square, carefully mark the cut lines to ensure accuracy. Once the measurements are in place, use a power saw, such as a miter saw or a circular saw, to make the cuts. It’s important to follow the marked lines closely to achieve clean and uniform pieces.
For the tabletop, you’ll need to cut the lumber to the desired length and width, ensuring that the edges are smooth and even. Similarly, when cutting the wood for the legs, precision is key. Whether you opt for a classic four-legged design or a more intricate style, such as tapered or angled legs, accuracy in cutting the wood is essential for achieving a stable and visually appealing foundation for your table.
Throughout the cutting process, prioritize safety by wearing protective gear, such as safety goggles and work gloves. Additionally, be mindful of your surroundings and secure the wood pieces firmly before making any cuts. By exercising caution and precision during this stage, you’ll set the stage for a successful and well-constructed outdoor side table.
With the wood pieces cut to the required dimensions, you’re now ready to move on to the next stage of assembling the tabletop. This marks an exciting transition as you begin to see your vision taking shape, bringing you one step closer to the completion of your custom outdoor side table.
Step 2: Assembling the Tabletop
With the wood pieces cut to the precise dimensions, it’s time to assemble the tabletop of your outdoor side table. This stage is pivotal in creating a sturdy and visually appealing surface that will serve as the focal point of the table. Here’s a detailed guide on how to approach this step:
Begin by arranging the cut lumber for the tabletop in the desired configuration, ensuring that the edges align seamlessly. Using wood glue and wood screws, secure the pieces together, paying close attention to the alignment and ensuring that the joints are reinforced for stability. It’s advisable to pre-drill guide holes for the screws to prevent the wood from splitting during assembly.
As you progress with the assembly, use a carpenter’s square to verify that the corners are perfectly perpendicular, resulting in a square and balanced tabletop. This attention to detail will contribute to the overall structural integrity and aesthetic appeal of the finished table.
Once the tabletop is assembled, allow the wood glue to dry thoroughly before proceeding to the next stage. This will ensure that the joints are firmly bonded, providing a solid foundation for the subsequent steps in constructing the outdoor side table.
By carefully assembling the tabletop with precision and attention to detail, you’ll lay the groundwork for a durable and visually striking element of your outdoor side table. This stage marks a significant milestone in the construction process, bringing you closer to realizing your vision of a personalized and functional piece of outdoor furniture.
With the tabletop assembled, you’re now ready to embark on the next phase of building your outdoor side table, moving one step closer to completing a project that reflects your craftsmanship and enhances your outdoor living space.
When building an outdoor side table, make sure to use weather-resistant materials such as cedar or teak to ensure durability and longevity.
Read more: How To Hang Outdoor Lights On Siding
Step 3: Building the Legs
Building the legs of your outdoor side table is a pivotal stage that contributes to both the aesthetic appeal and structural stability of the final piece. Whether you opt for a classic design or a more intricate style, such as tapered or angled legs, this step offers an opportunity to infuse your personal touch into the table’s design. Here’s a comprehensive guide on how to approach this crucial stage:
Begin by preparing the lumber for the legs, ensuring that the pieces are cut to the precise dimensions required for your chosen leg design. Whether you’re crafting traditional straight legs or adding a unique flair with tapered or angled elements, accuracy in cutting the wood is essential for achieving a balanced and visually appealing foundation for your table.
Once the lumber is cut to size, focus on shaping the legs according to your preferred design. Whether you’re aiming for clean lines and classic proportions or a more contemporary and stylized look, this stage allows for creativity and customization. A power saw and a sander will be instrumental in achieving the desired shape and finish for the legs.
After shaping the legs, it’s time to attach them to the tabletop. Depending on your chosen design, this may involve securing the legs directly to the corners of the tabletop or employing additional support elements for enhanced stability. Whether you opt for a simple and streamlined attachment method or a more intricate and decorative approach, ensuring that the legs are firmly and securely affixed is crucial for the overall strength and functionality of the table.
By carefully crafting and attaching the legs with precision and attention to detail, you’ll contribute to the overall aesthetic appeal and structural integrity of your outdoor side table. This stage marks a significant milestone in the construction process, bringing you closer to realizing a personalized and functional piece of outdoor furniture that reflects your craftsmanship and enhances your outdoor living space.
With the legs securely in place, you’re now ready to proceed to the next phase of building your outdoor side table, edging closer to completing a project that embodies your creativity and woodworking skills.
Step 4: Attaching the Legs to the Tabletop
Attaching the legs to the tabletop is a critical stage in the construction of your outdoor side table, as it directly impacts the stability and functionality of the final piece. This step requires precision and attention to detail to ensure that the table stands securely and exhibits a cohesive design. Here’s a detailed guide on how to approach this pivotal stage:
Begin by positioning the tabletop upside down, providing easy access to the underside for attaching the legs. Carefully align the legs with the corners of the tabletop, ensuring that they are evenly spaced and perpendicular to the surface. This step is crucial for achieving a balanced and stable foundation for the table.
Using wood screws and a drill/driver, secure the legs to the tabletop, paying close attention to the alignment and ensuring that the attachment is firm and stable. It’s advisable to pre-drill guide holes to prevent the wood from splitting and to facilitate precise placement of the screws. This meticulous approach will contribute to the overall structural integrity and longevity of the table.
As you progress with attaching the legs, periodically verify that the table stands level and stable. This will allow you to make any necessary adjustments to the attachment points, ensuring that the legs are securely affixed and that the table rests evenly on the ground. Attention to these details will result in a well-constructed and functional outdoor side table.
Once the legs are securely attached, carefully turn the table upright to examine the final configuration. Take a moment to appreciate the progress and visualize the completed piece, knowing that each step has contributed to the creation of a personalized and durable outdoor side table.
With the legs firmly affixed to the tabletop, you’re now ready to move on to the next stage of building your outdoor side table, edging closer to completing a project that embodies your craftsmanship and enhances your outdoor living space.
Step 5: Sanding and Finishing
As you near the completion of your outdoor side table, the sanding and finishing stage plays a crucial role in enhancing the visual appeal and durability of the piece. This step involves refining the surfaces and applying a protective finish, ensuring that your table not only looks stunning but also withstands the rigors of outdoor conditions. Here’s a comprehensive guide on how to approach this final stage:
Begin by sanding the entire table, focusing on smoothing the surfaces and edges to achieve a polished and splinter-free finish. Start with coarse-grit sandpaper to address any rough spots or irregularities, gradually progressing to finer grits for a silky-smooth texture. This meticulous approach will result in a professional and inviting feel to the touch, elevating the overall quality of the table.
After sanding, carefully remove any dust and debris from the surfaces, ensuring that the wood is clean and ready for the finishing stage. If you plan to apply a wood stain, carefully follow the manufacturer’s instructions, using a paintbrush or applicator to achieve an even and rich color. Alternatively, if you opt for an outdoor sealant, apply a generous and uniform coat to safeguard the table against moisture and UV exposure, preserving its appearance and structural integrity.
As the wood stain or sealant dries, periodically inspect the table to ensure that the finish is consistent and free of imperfections. This attention to detail will contribute to the overall aesthetic appeal and longevity of the table, providing a beautiful and enduring addition to your outdoor living space.
With the sanding and finishing stage complete, take a moment to admire the transformation of the raw materials into a stunning and functional outdoor side table. The care and precision invested in this final stage will culminate in a piece of furniture that reflects your craftsmanship and elevates the ambiance of your outdoor environment.
With the sanding and finishing stage complete, take a moment to admire the transformation of the raw materials into a stunning and functional outdoor side table. The care and precision invested in this final stage will culminate in a piece of furniture that reflects your craftsmanship and elevates the ambiance of your outdoor environment.
Conclusion
Congratulations on successfully completing the construction of your custom outdoor side table! Through meticulous craftsmanship and attention to detail, you’ve transformed raw materials into a functional and visually appealing piece of furniture that enhances your outdoor living space. As you reflect on this rewarding journey, consider the following key takeaways:
- Personalization: By building your own outdoor side table, you’ve infused your personality and creativity into a tangible and practical item. Your unique design choices and crafting techniques have resulted in a one-of-a-kind piece that complements your outdoor decor and reflects your individual style.
- Functionality: The outdoor side table you’ve constructed provides a convenient and versatile surface for a variety of outdoor activities, whether it’s holding refreshments during gatherings, providing a spot for potted plants, or offering a resting place for reading materials. Its sturdy construction and thoughtful design make it a valuable addition to your outdoor environment.
- Practical Skills: Throughout this project, you’ve honed your woodworking skills and gained valuable hands-on experience in cutting, assembling, and finishing wood. These practical skills can serve as a foundation for future DIY projects and empower you to explore further creative endeavors in outdoor furniture and design.
- Longevity: By utilizing high-quality materials and applying a protective finish, you’ve ensured that your outdoor side table is built to withstand the elements, maintaining its beauty and functionality for years to come. Your investment of time and effort will yield a durable and enduring piece of furniture.
As you integrate your newly constructed outdoor side table into your outdoor living space, take pride in the accomplishment and the impact it has on your surroundings. Whether you’re enjoying moments of relaxation, entertaining guests, or simply appreciating the beauty of your outdoor environment, your custom-built table stands as a testament to your creativity and craftsmanship.
As you embark on future woodworking projects and continue to explore the world of outdoor furniture and design, may the skills and satisfaction gained from this endeavor inspire and guide you. Each new project offers an opportunity for further creativity, self-expression, and the realization of functional and personalized outdoor spaces.
With your outdoor side table standing as a symbol of your ingenuity and dedication, the possibilities for enhancing and enjoying your outdoor environment are as limitless as your imagination. Embrace the pride of craftsmanship and the joy of creating a space that truly reflects your unique vision and passion.
Frequently Asked Questions about How To Build An Outdoor Side Table
Was this page helpful?
At Storables.com, we guarantee accurate and reliable information. Our content, validated by Expert Board Contributors, is crafted following stringent Editorial Policies. We're committed to providing you with well-researched, expert-backed insights for all your informational needs.


0 thoughts on “How To Build An Outdoor Side Table”