Home>Furniture>Living Room Furniture>How To Build A Round Coffee Table

Living Room Furniture
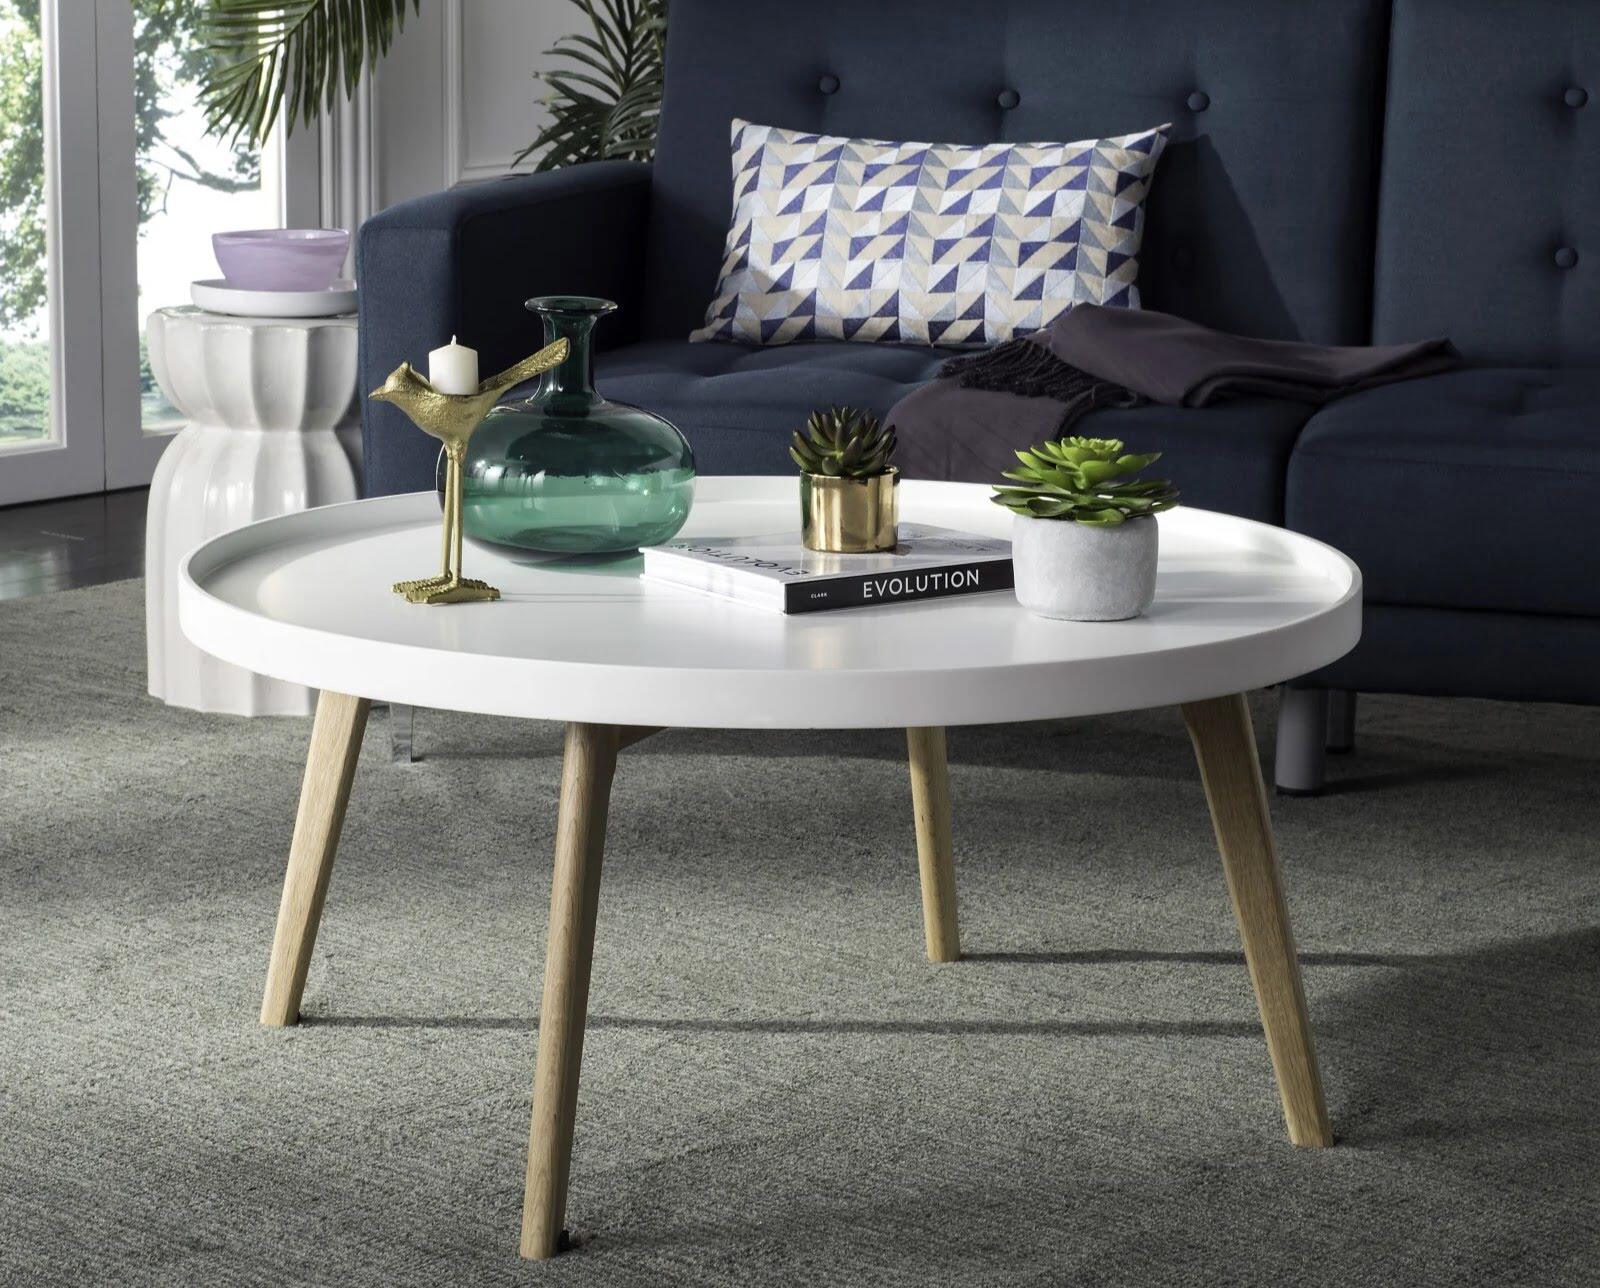
How To Build A Round Coffee Table
Modified: March 16, 2024
Learn how to build a beautiful round coffee table for your living room. Find step-by-step instructions and tips on assembling this stylish piece of living room furniture.
(Many of the links in this article redirect to a specific reviewed product. Your purchase of these products through affiliate links helps to generate commission for Storables.com, at no extra cost. Learn more)
Introduction
Welcome to this comprehensive guide on how to build a round coffee table! A coffee table is a versatile and essential piece of furniture that not only adds functionality to your living room but also enhances its aesthetic appeal. While there are numerous coffee table designs available in the market, building your own allows you to customize it according to your specific preferences and style.
In this step-by-step tutorial, we will walk you through the process of building a round coffee table from scratch. From planning and design to cutting the wood, sanding and smoothing the pieces, assembling the base, attaching the tabletop, and adding finishing touches, we will cover every aspect to ensure you have a stunning and durable coffee table that perfectly complements your living room.
Before we dive into the construction process, let’s take a look at the tools and materials you’ll need:
Key Takeaways:
- Building a round coffee table allows you to customize its size, style, and design to perfectly fit your living room. From planning and cutting the wood to assembling the base and adding finishing touches, this DIY project offers a rewarding and personalized furniture-building experience.
- By following the step-by-step guide, you’ll learn essential woodworking skills and techniques, such as sanding, smoothing, and attaching the tabletop. The process not only results in a beautiful and functional coffee table but also provides a sense of accomplishment and pride in your craftsmanship.
Read more: How To Decorate A Round Coffee Table
Tools and Materials Needed
Before you begin building your round coffee table, gather the following tools and materials:
- Measuring tape
- Pencil
- Table saw or circular saw
- Router
- Sanding block or electric sander
- Drill
- Clamps
- Wood glue
- Wood screws
- Wood stain or paint
- Polyurethane or varnish
- Paintbrush or foam brush
- Safety goggles
- Work gloves
- Dust mask
Now that you have your tools and materials ready, let’s move on to the first step: planning and design.
Step 1: Planning and Design
Before you start cutting and assembling the wood, it’s crucial to plan and design your round coffee table. Consider the size, shape, and style you want to achieve, as well as the overall aesthetics of your living room.
Begin by determining the size of your coffee table. Measure the available space in your living room and decide on the diameter you want for the tabletop. Keep in mind that the height should typically be around 18 inches to ensure a comfortable sitting position for your guests.
Next, sketch out the design of your coffee table on paper. Decide on the style that best suits your taste – whether it’s modern, rustic, or traditional. Consider the materials you’ll be using and how they will fit into your chosen design. It’s also helpful to consider any additional features you may want, such as storage compartments or a lower shelf.
Once you have a clear vision of your design, create a list of all the wood pieces you’ll need for construction and jot down their measurements. This will help you determine the quantity and size of the lumber you’ll need to purchase. Remember to account for some extra wood to allow for any potential mistakes or adjustments during the building process.
With your planning and design complete, you’re ready to move on to the next step: cutting the wood.
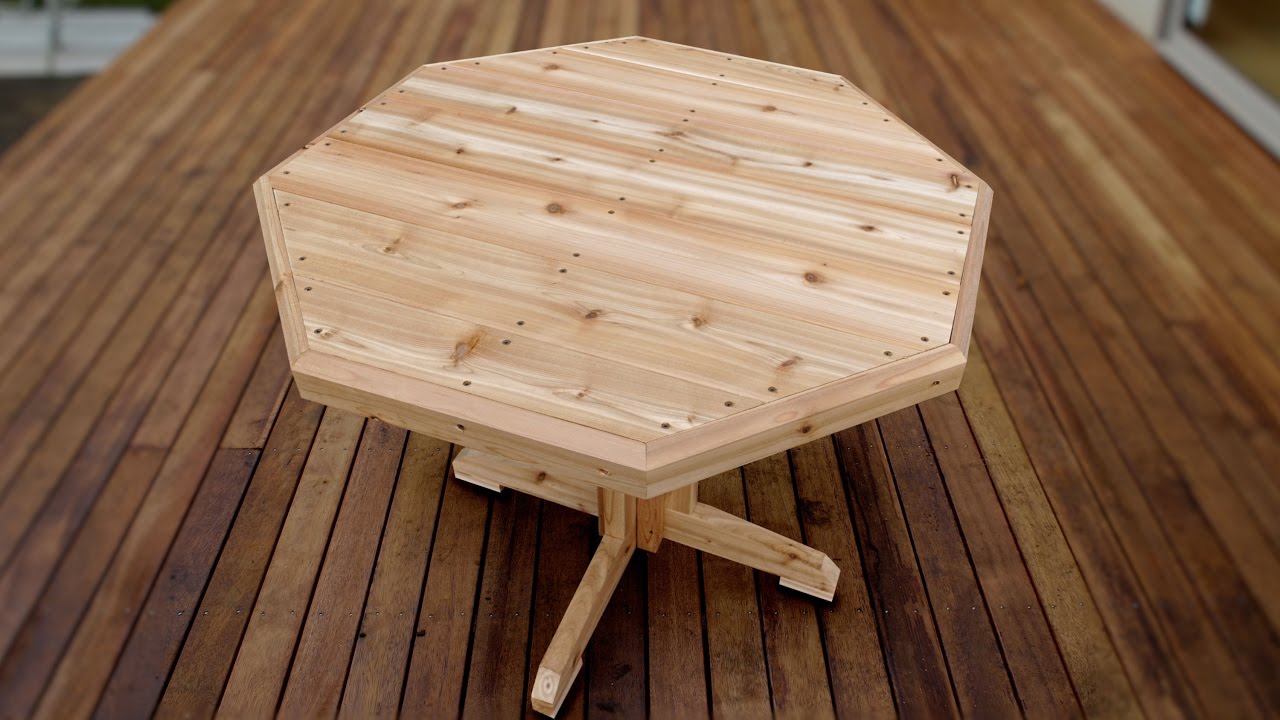
Step 2: Cutting the Wood
Now that you have your design and measurements ready, it’s time to cut the wood for your round coffee table. Start by gathering all the necessary lumber and placing it on a sturdy work surface.
Before making any cuts, ensure that you have marked the measurements correctly on the wood pieces. Use a measuring tape and pencil to make accurate markings, and double-check them to avoid any errors.
If you have a table saw, set it up according to the instructions and adjust the blade to the desired cut depth. If you don’t have a table saw, a circular saw can also be used, but be sure to use a suitable cutting guide or fence to ensure straight and precise cuts.
Carefully position the first piece of wood on the table saw or circular saw, aligning it with your markings, and make the cut. Repeat this process for all the other wood pieces according to your design and measurement requirements.
For the tabletop, cut a large circular piece of wood with the desired diameter using a jigsaw or a specialized circle-cutting attachment for your saw. Take your time and follow the marked lines carefully to achieve a smooth, even cut.
Once you’ve completed all the necessary cuts, double-check the dimensions of each piece and make any adjustments if needed. Sand any rough edges or imperfections to prepare the wood for the next step.
Now that you have the wood pieces cut and prepared, you’re ready to move on to step three: sanding and smoothing the pieces.
Step 3: Sanding and Smoothing the Pieces
After cutting the wood pieces for your round coffee table, it’s important to sand and smooth them to ensure a polished and professional-looking finish. Sanding not only helps to remove any rough edges or splinters but also creates a smooth surface for painting or staining.
Start by attaching a fine-grit sandpaper to a sanding block or using an electric sander. Begin with a lower grit sandpaper, such as 80 or 120, and gradually work your way up to a higher grit, such as 220, for a finer finish.
Hold the sanding block firmly and move it in long, smooth strokes along the length and width of each wood piece. Pay attention to any areas that may require extra sanding, such as corners or edges. Be consistent with your sanding strokes to maintain an even surface.
As you sand, periodically check the wood’s smoothness and remove any imperfections or rough spots. Make sure to wear safety goggles and a dust mask to protect yourself from flying particles.
Once you have sanded all the pieces and achieved a smooth surface, wipe away the dust using a clean cloth or a tack cloth. This will ensure that the wood is clean and ready for the next step.
If you want to achieve an even smoother finish, you can also use a wood conditioner or pre-stain treatment before applying any paint or stain. This helps to seal the wood and ensures an even absorption of the finish.
Now that the wood pieces are sanded and smooth, it’s time to move on to step four: assembling the base of your round coffee table.
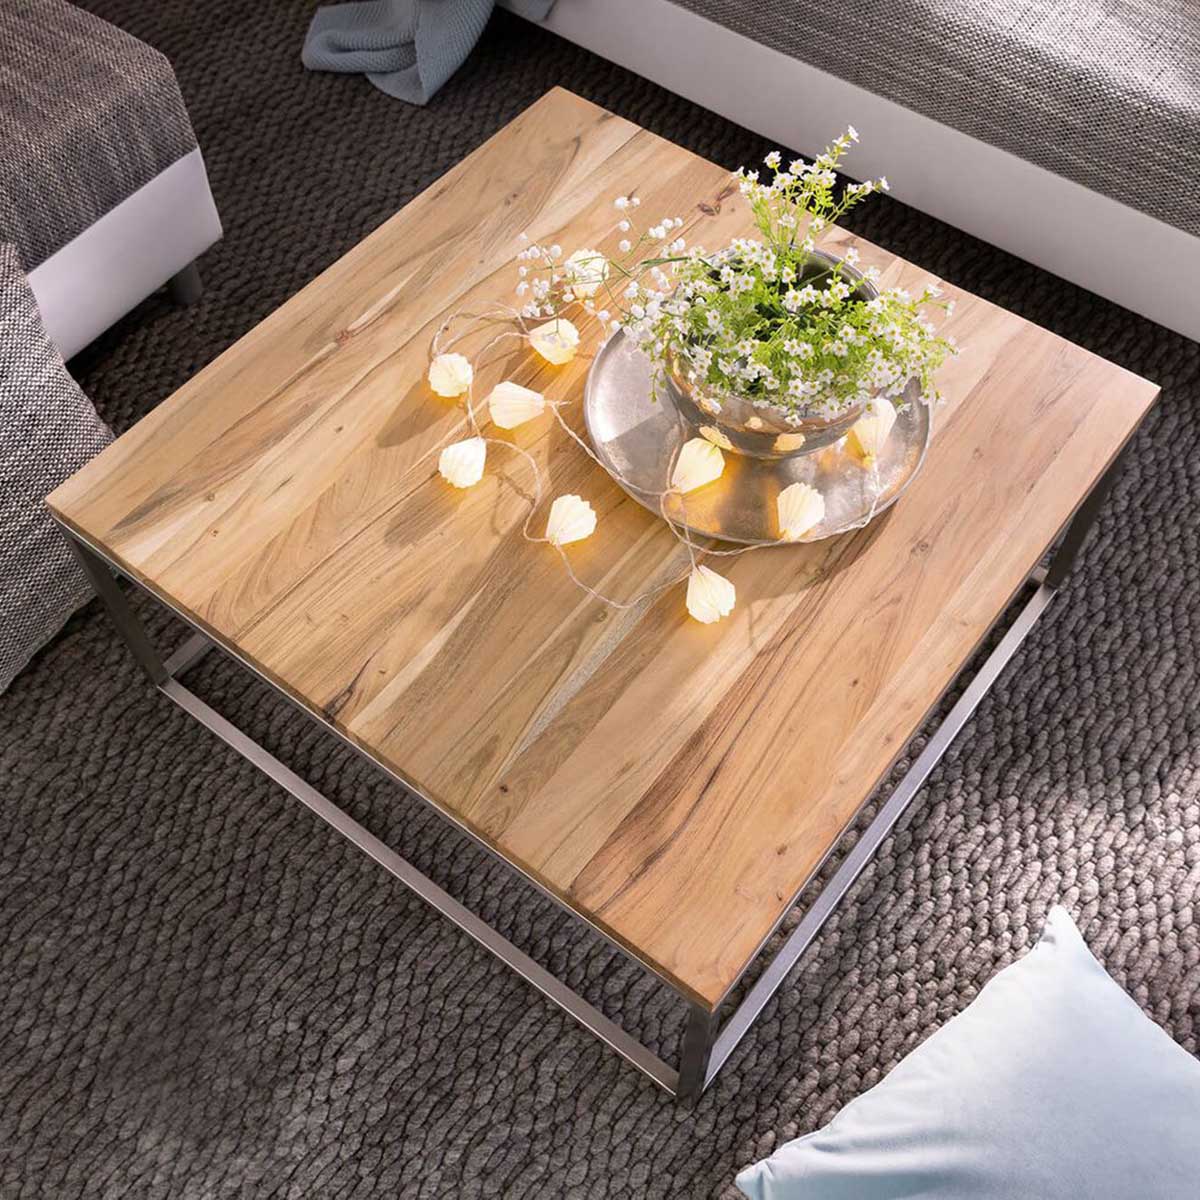
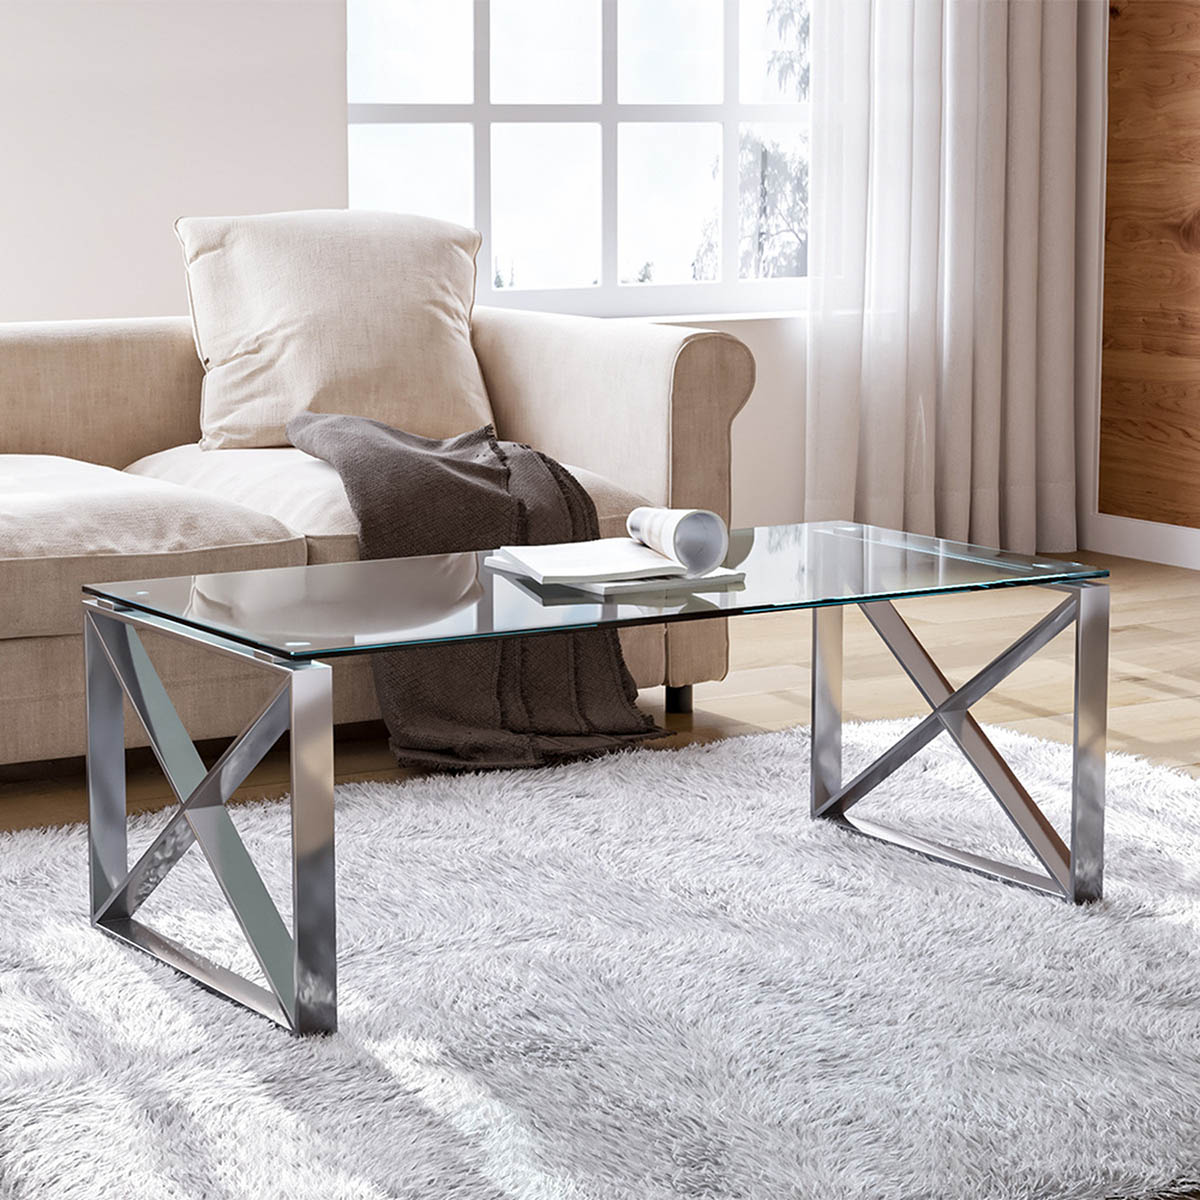
When building a round coffee table, make sure to use a sturdy and stable base to support the round top. Consider using a strong and durable wood, such as oak or maple, for the tabletop to ensure it can withstand daily use.
Read more: When To Use A Round Coffee Table
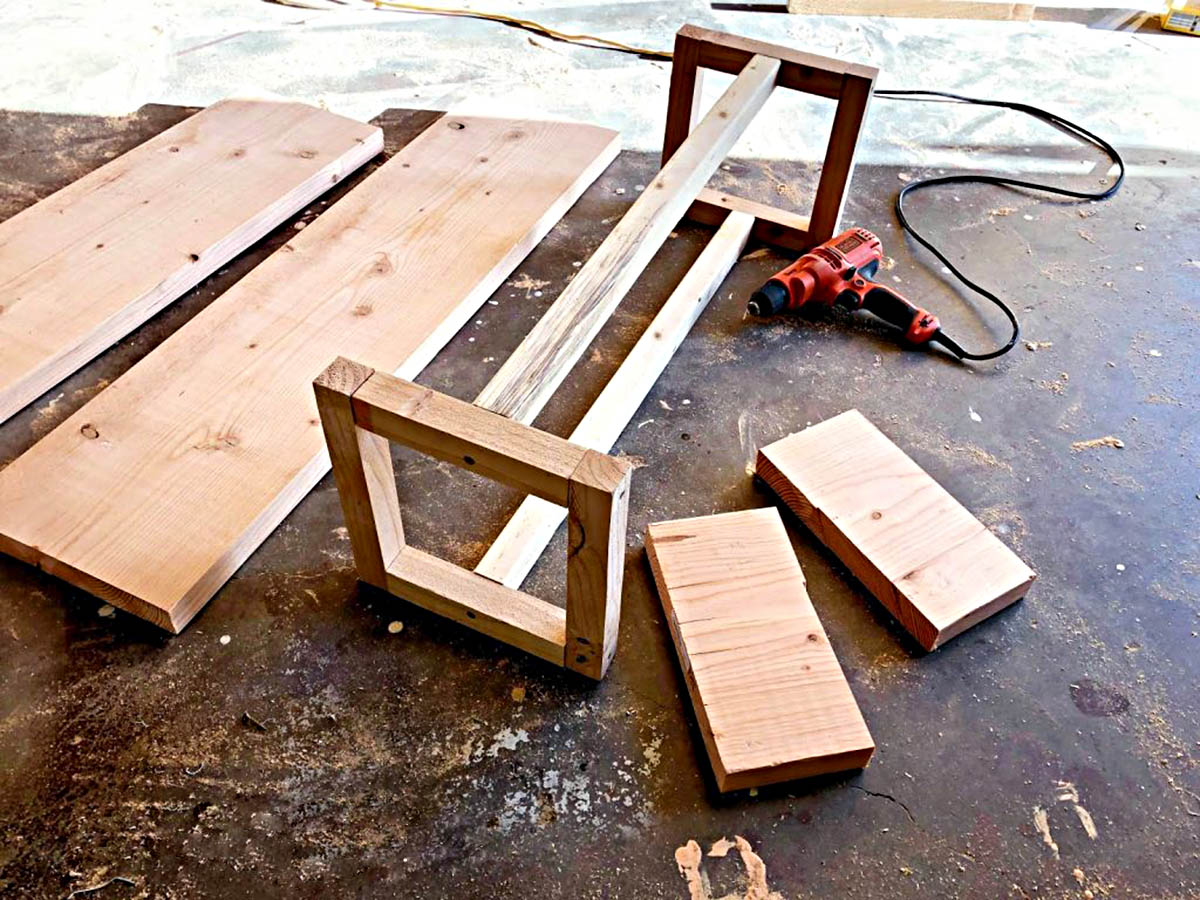
Step 4: Assembling the Base
Now that you have completed the sanding and smoothing of the wood pieces for your round coffee table, it’s time to start assembling the base. The base provides the structural support and stability for the table.
Begin by laying out all the base components according to your design. Typically, the base consists of several legs or supports connected by horizontal stretchers.
If you are using pre-made legs or supports, follow the manufacturer’s instructions to attach them securely to the stretchers. If you are crafting your own base components, measure and mark the locations for the connections before securing them with wood glue and screws.
Apply a small amount of wood glue to the mating surfaces and join the components together. Use clamps to hold the pieces in place while the glue dries, ensuring that the base is square and level.
Once the glue has dried, reinforce the joints by drilling pilot holes and inserting screws. Be sure to countersink the screw heads to ensure a flush finish.
Double-check the stability and alignment of the base before moving on to the next step. If needed, make any necessary adjustments or repairs.
With the base assembled and sturdy, you’re ready to move on to step five: attaching the tabletop.
Step 5: Attaching the Tabletop
With the base of your round coffee table fully assembled, it’s time to attach the tabletop. The tabletop is the focal point of the coffee table and provides a surface for placing drinks, books, and other decorative items.
Start by placing the tabletop on a clean and level surface, ensuring that it is centered on the base. Use clamps or weights to hold the tabletop in place and prevent any movement during the attaching process.
Measure and mark the locations for attaching the tabletop to the base. Typically, this involves drilling pilot holes through the base and into the underside of the tabletop.
Using a drill, carefully create the pilot holes, being cautious not to penetrate through the top of the tabletop. The pilot holes should be slightly smaller than the screws you’ll be using to ensure a secure and snug fit.
Apply a small amount of wood glue to the mating surfaces of the base and the tabletop. This will provide additional strength and stability to the attachment. Carefully align the tabletop with the base, ensuring that it is centered, and begin inserting the screws through the pilot holes.
Use a screwdriver or drill to drive the screws slowly and evenly into the base, securing the tabletop in place. Be careful not to overtighten the screws, as this can damage the wood or cause the tabletop to warp.
Once all the screws are inserted and tightened, double-check the alignment and stability of the tabletop. Adjust if necessary and wipe away any excess glue that may have squeezed out during the attachment process.
Allow the glue to dry completely before moving or using the coffee table. This will ensure that the attachment is strong and secure.
Congratulations! You have successfully attached the tabletop to the base of your round coffee table. Now, let’s move on to the final step: adding the finishing touches.
Step 6: Finishing Touches
Now that you have assembled the base and attached the tabletop of your round coffee table, it’s time to add the finishing touches to complete the project. The finishing touches will enhance the appearance of your coffee table and protect the wood from wear and tear.
If you prefer a natural look, you can simply apply a clear coat of polyurethane or varnish to protect the wood and bring out its natural grain. Make sure to choose a product specifically designed for wood furniture and follow the manufacturer’s instructions for application.
If you want to add some color to your coffee table, consider staining or painting it. Before applying any stain or paint, lightly sand the surface to ensure a smooth and even finish. Use a paintbrush or foam brush to apply the stain or paint, following the grain of the wood. Allow the first coat to dry completely before applying additional coats if necessary.
Once the stain or paint has dried, you can further customize your coffee table by adding decorative elements such as trim, molding, or metal accents. These embellishments can add personality and flair to your table, giving it a unique and customized look.
Finally, consider adding protective pads or felt feet to the base of the coffee table to prevent scratching and damage to your floors.
With the finishing touches complete, take a step back and admire your handcrafted round coffee table! Your hard work and attention to detail have resulted in a beautiful and functional piece of furniture that will undoubtedly become a centerpiece in your living room.
Remember to clean and maintain your coffee table regularly to keep it looking its best. Use a damp cloth to wipe away any dust or spills and avoid placing hot or wet objects directly on the surface to prevent damage.
Thank you for following this comprehensive guide on how to build a round coffee table. We hope you enjoyed the process and are proud of the final result. Cheers to many cozy and memorable moments around your new coffee table!
For more DIY furniture projects and home improvement tips, stay tuned to our blog!
Conclusion
Building your own round coffee table is a rewarding and fulfilling experience that allows you to create a customized piece of furniture that perfectly fits your style and complements your living room. Throughout this comprehensive guide, we’ve walked you through each step of the process, from planning and design to cutting the wood, assembling the base, attaching the tabletop, and adding the finishing touches.
By following these steps, you’ve learned how to use essential tools and materials to create a sturdy and stylish coffee table. You’ve also gained the knowledge to sand and smooth the wood for a polished finish, as well as how to assemble the base and securely attach the tabletop.
Remember, when designing your coffee table, consider the size, shape, and style that best fit your living room. Take the time to plan and sketch out your ideas, and make sure to measure accurately before making any cuts.
As you progress through the construction process, pay attention to detail and ensure that all the pieces fit together snugly and securely. Use wood glue, screws, and clamps to reinforce the connections and create a sturdy base.
Once the construction is complete, the finishing touches, such as staining or painting, will add personality and protect the wood. Take your time during this step to achieve the desired look and choose a finish that suits your style.
Building a round coffee table not only gives you a valuable piece of furniture but also provides a sense of accomplishment and pride in your craftsmanship. You’ve created a unique and beautiful addition to your living room, a place where you and your loved ones can gather and create lasting memories.
Remember to regularly clean and maintain your coffee table to prolong its lifespan and keep it looking its best. With proper care, your handmade coffee table will continue to be a cherished piece for years to come.
We hope that this guide has been helpful and inspiring, and that it has encouraged you to unleash your creativity and DIY skills. Enjoy your new round coffee table and continue exploring the world of furniture construction and home improvement!
Frequently Asked Questions about How To Build A Round Coffee Table
Was this page helpful?
At Storables.com, we guarantee accurate and reliable information. Our content, validated by Expert Board Contributors, is crafted following stringent Editorial Policies. We're committed to providing you with well-researched, expert-backed insights for all your informational needs.

0 thoughts on “How To Build A Round Coffee Table”