Home>Furniture & Design>Outdoor Furniture>How To Fix A Leaky Outdoor Faucet
Outdoor Furniture
How To Fix A Leaky Outdoor Faucet
Modified: February 18, 2024
Learn how to fix a leaky outdoor faucet with our easy step-by-step guide. Keep your outdoor-furniture-furniture-and-design in top condition with these simple DIY tips.
(Many of the links in this article redirect to a specific reviewed product. Your purchase of these products through affiliate links helps to generate commission for Storables.com, at no extra cost. Learn more)
Introduction
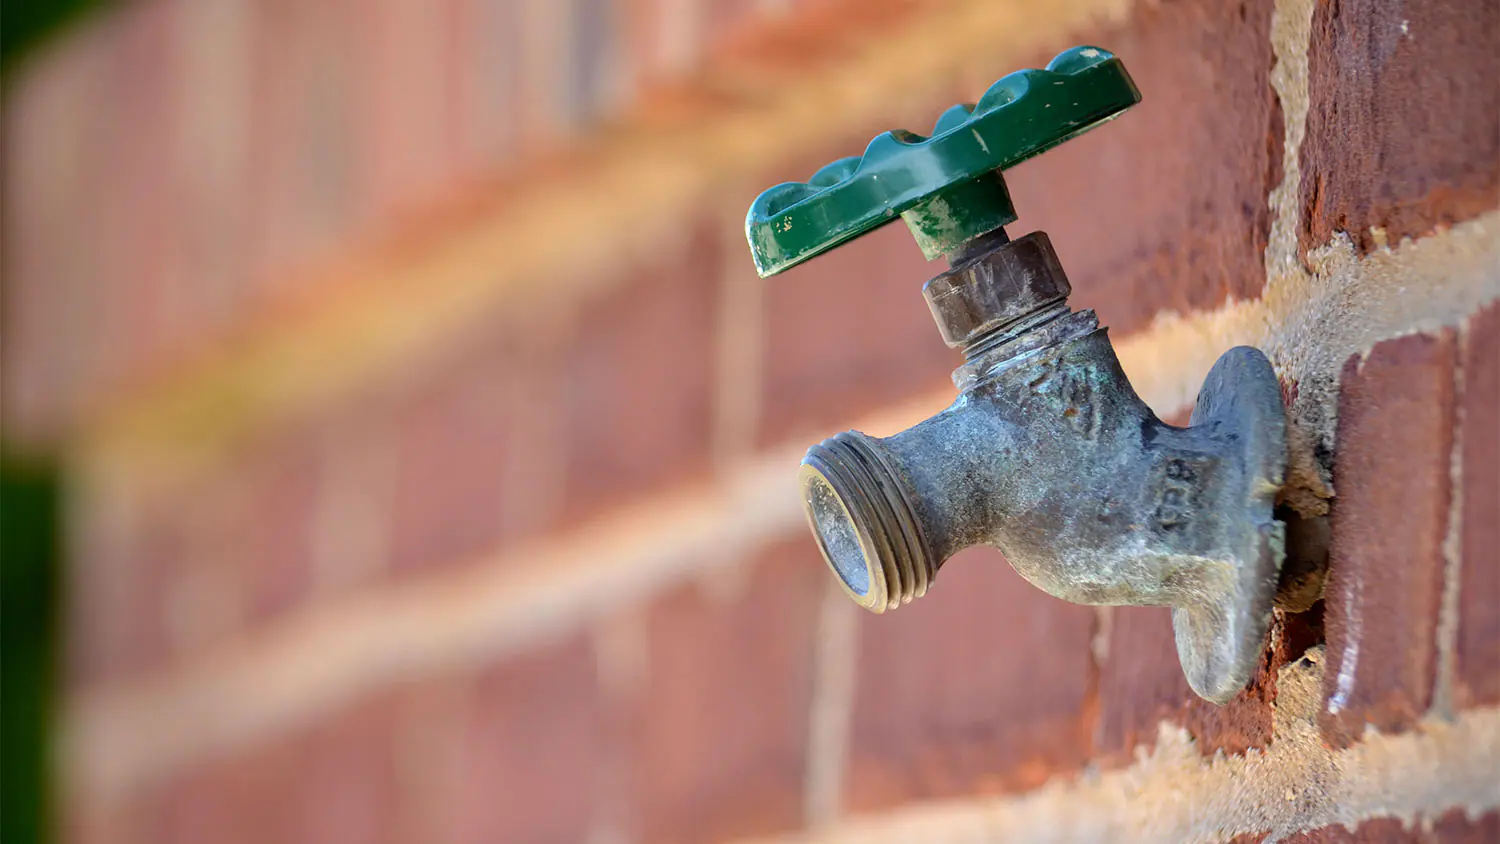
Dealing with a leaky outdoor faucet can be an inconvenience, leading to water wastage and potential damage to your property. Fortunately, you can resolve this issue with some basic tools, a little know-how, and a systematic approach. This guide will walk you through the steps to fix a leaky outdoor faucet, allowing you to regain control over your water usage and prevent further damage to your outdoor space.
Whether you're an experienced DIY enthusiast or a novice homeowner, this task is manageable with the right guidance. By following these steps, you can save money on water bills, preserve the integrity of your outdoor fixtures, and contribute to environmental conservation efforts. So, roll up your sleeves, gather your tools, and let's get started on resolving that pesky leak!
Key Takeaways:
- Don’t let a leaky outdoor faucet waste water and damage your property. With basic tools and know-how, you can fix it yourself, save money, and help the environment.
- Regular maintenance and proactive repairs can prevent outdoor faucet leaks, conserve water, and contribute to environmental sustainability. Professional help is available if needed.
Read more: How To Fix A Leaky Faucet
Tools and Materials
Before you begin fixing your leaky outdoor faucet, it’s essential to gather the necessary tools and materials. Here’s what you’ll need:
- Adjustable wrench
- Phillips-head screwdriver
- Flat-head screwdriver
- Replacement washer
- Plumbing grease or lubricant
- Old cloth or rag
- Bucket or container
- Teflon tape (optional)
These basic items will equip you to handle most outdoor faucet repairs effectively. If you don’t have these tools on hand, consider purchasing or borrowing them before proceeding. It’s crucial to use the right tools to ensure a successful repair without causing damage to the faucet or surrounding components.
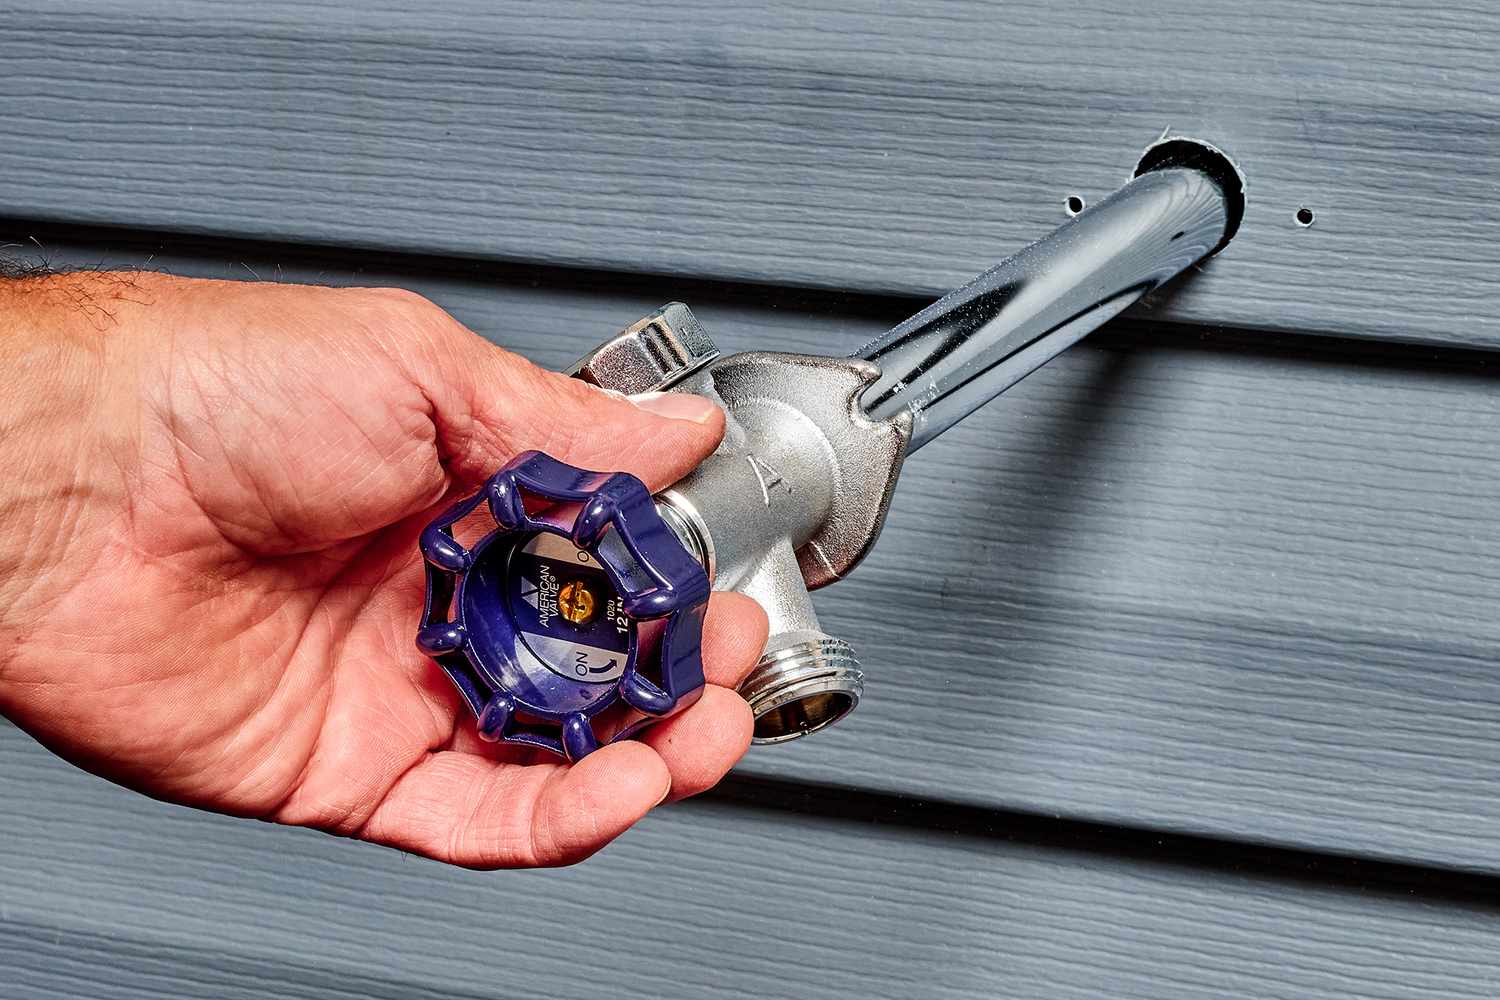
Step 1: Shut Off the Water
Before you begin the repair process, locate the water shut-off valve for the outdoor faucet. This valve is typically found inside your home, near the point where the outdoor faucet’s pipe connects to the indoor plumbing. Once you’ve located the shut-off valve, turn it clockwise to stop the flow of water to the outdoor faucet. This step is crucial to prevent water from gushing out while you work on the faucet, minimizing mess and potential water damage.
If your outdoor faucet doesn’t have a dedicated shut-off valve, you may need to shut off the main water supply to your home. In this case, locate the main shut-off valve, often situated near the water meter or where the main water line enters your home. Turning off the main water supply will ensure that no water flows to any part of your plumbing system, allowing you to work on the outdoor faucet safely.
After shutting off the water, open the outdoor faucet to drain any remaining water in the line. This will help prevent water from spilling out when you disassemble the faucet, keeping your work area dry and manageable. Once the water has drained, you can proceed to the next step with the confidence that your work environment is safe and under control.
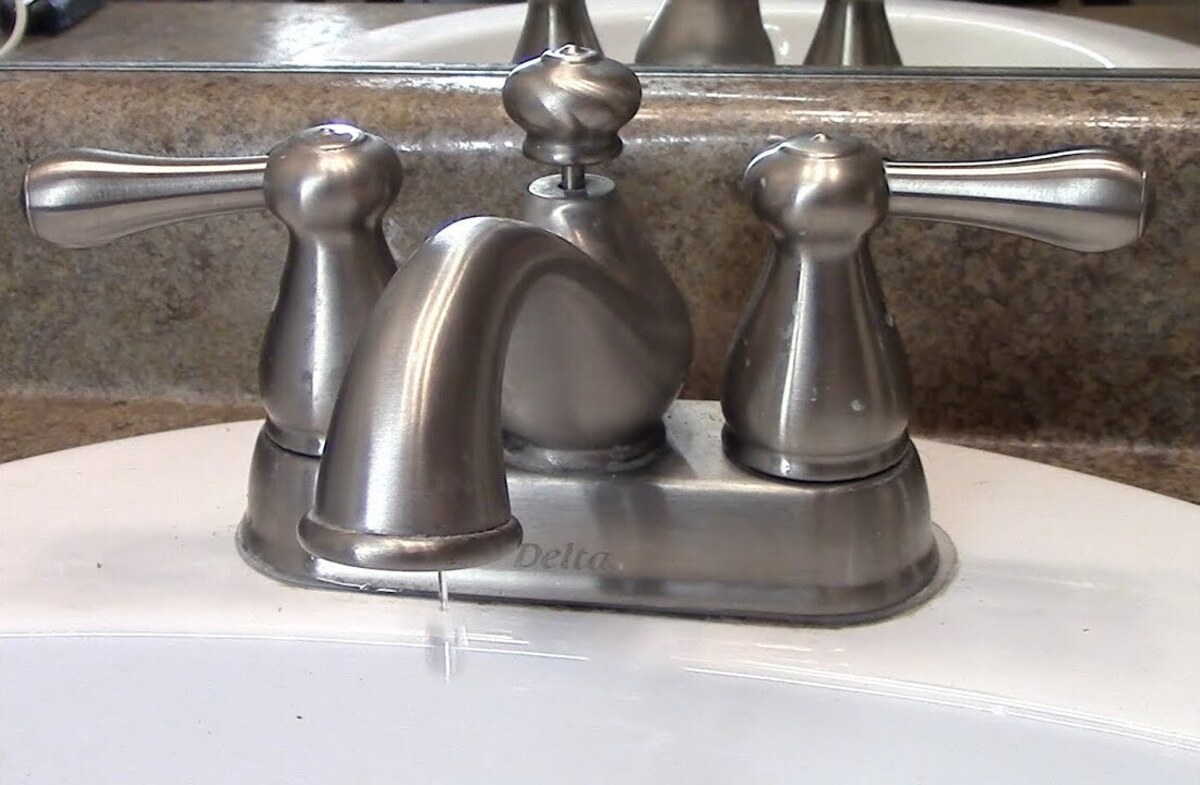
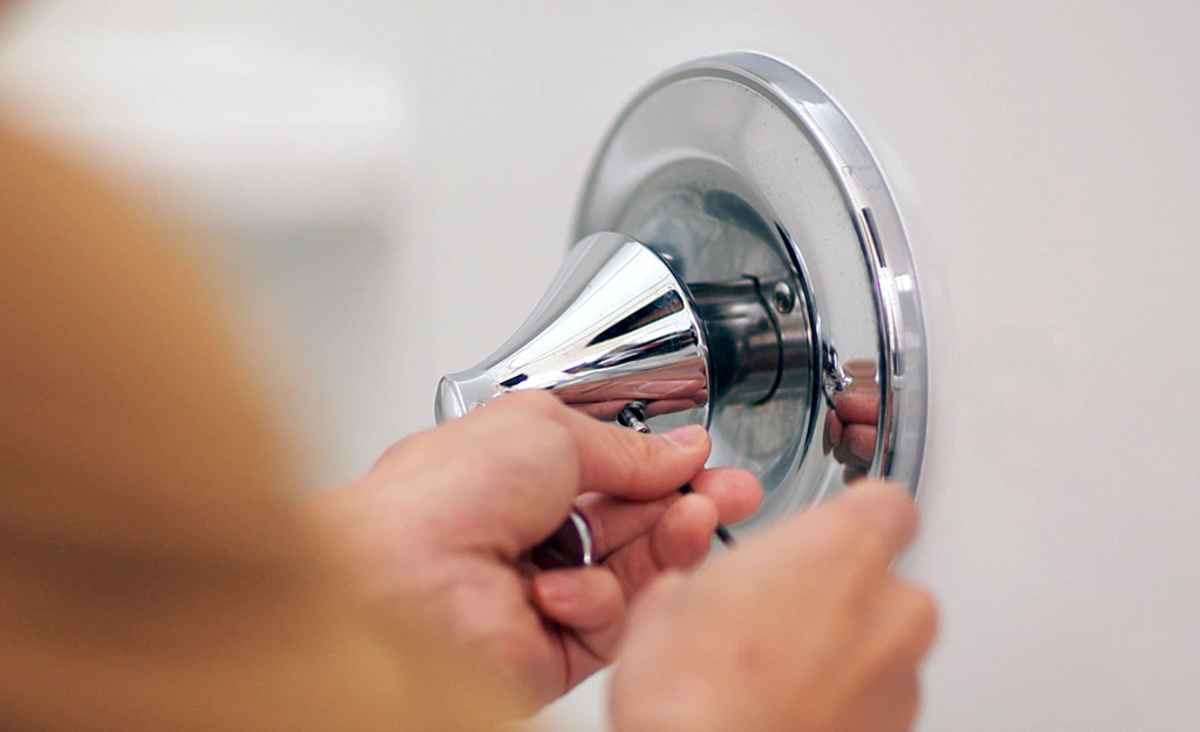
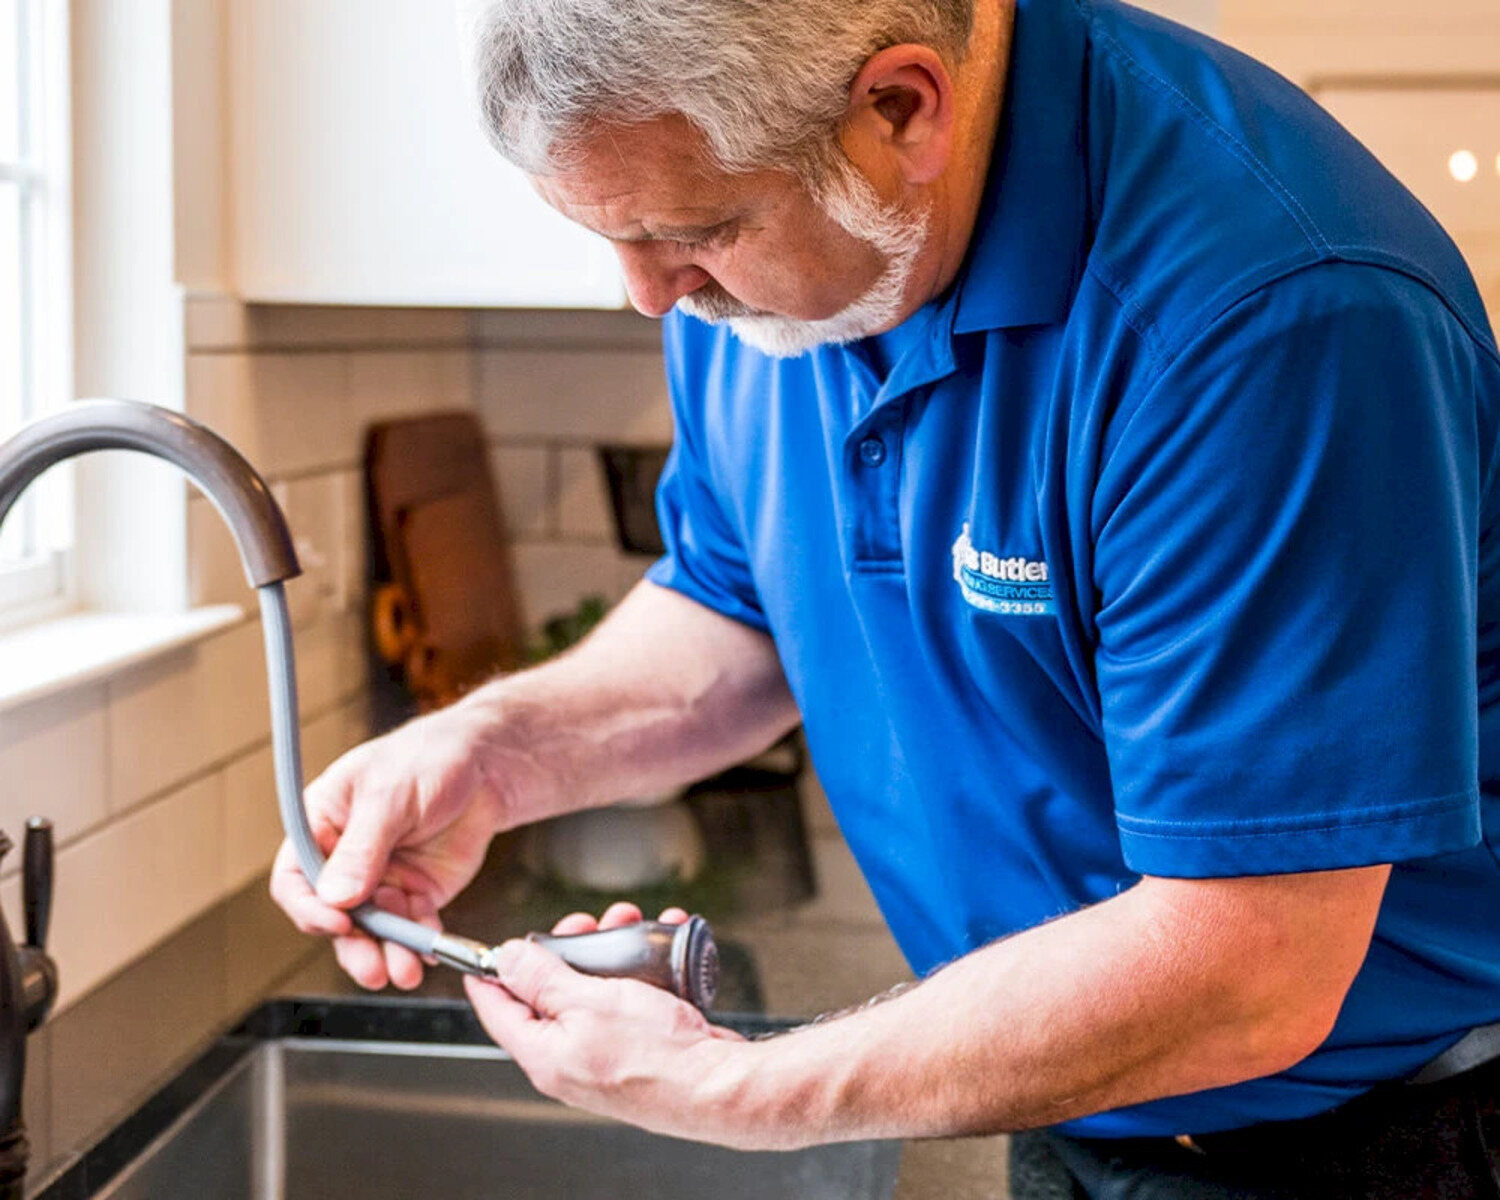
Step 2: Remove the Handle
With the water supply turned off and the faucet drained, it’s time to remove the handle to access the internal components. Depending on the type of outdoor faucet you have, the handle removal process may vary. Most outdoor faucets have a screw that secures the handle in place, while others may feature a cap that conceals the screw.
Start by inspecting the handle for any visible screws or caps. If there’s a cap, gently pry it off using a flat-head screwdriver to reveal the screw underneath. Once the screw is exposed, use the appropriate screwdriver (Phillips-head or flat-head) to loosen and remove it. With the screw removed, carefully lift the handle off the faucet stem. If the handle feels stuck, use a lubricant or penetrating oil to loosen it before attempting to remove it again.
As you remove the handle, take note of the arrangement of any components inside. Some handles may have additional parts, such as decorative caps or washers, that need to be set aside safely for reassembly later. Place the handle and its components in a secure location to prevent them from getting lost during the repair process.
Once the handle is removed, you’ll gain access to the faucet’s stem and the components within. This step sets the stage for inspecting and replacing the faulty washer, which is often the culprit behind a leaky outdoor faucet. By carefully removing the handle, you’re one step closer to resolving the issue and restoring the functionality of your outdoor faucet.
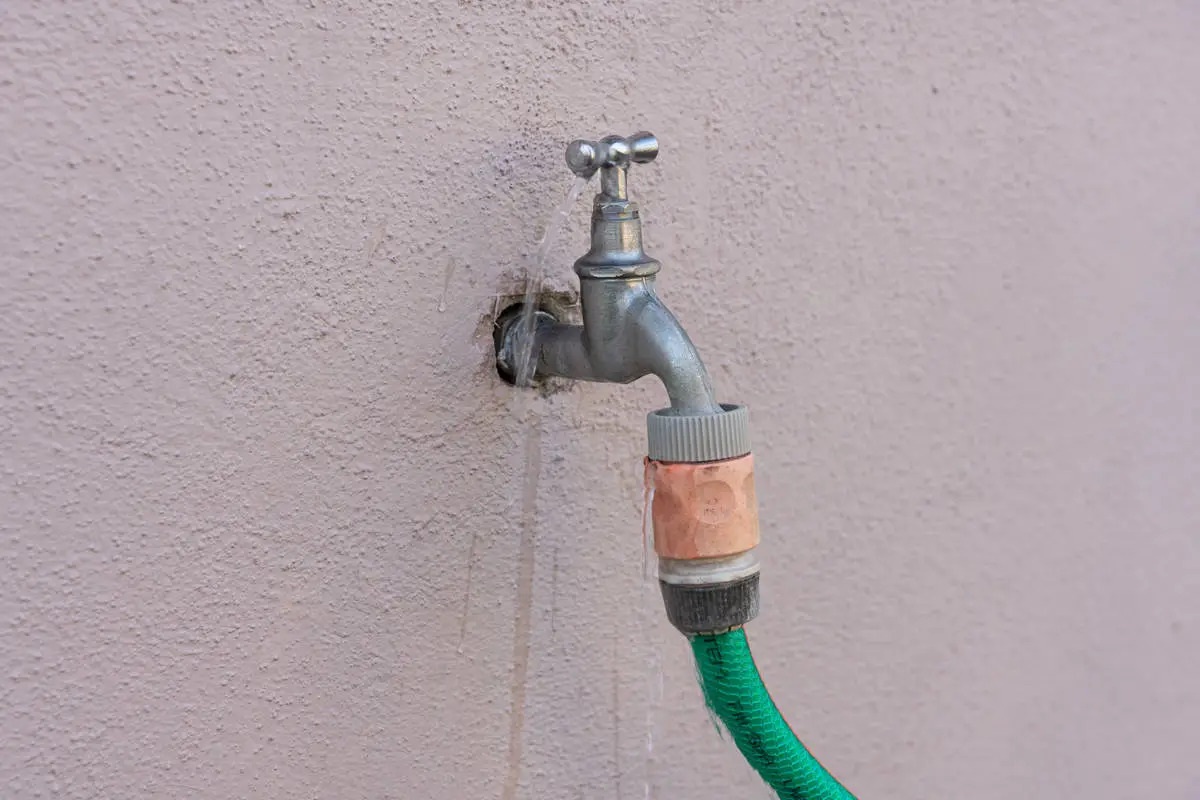
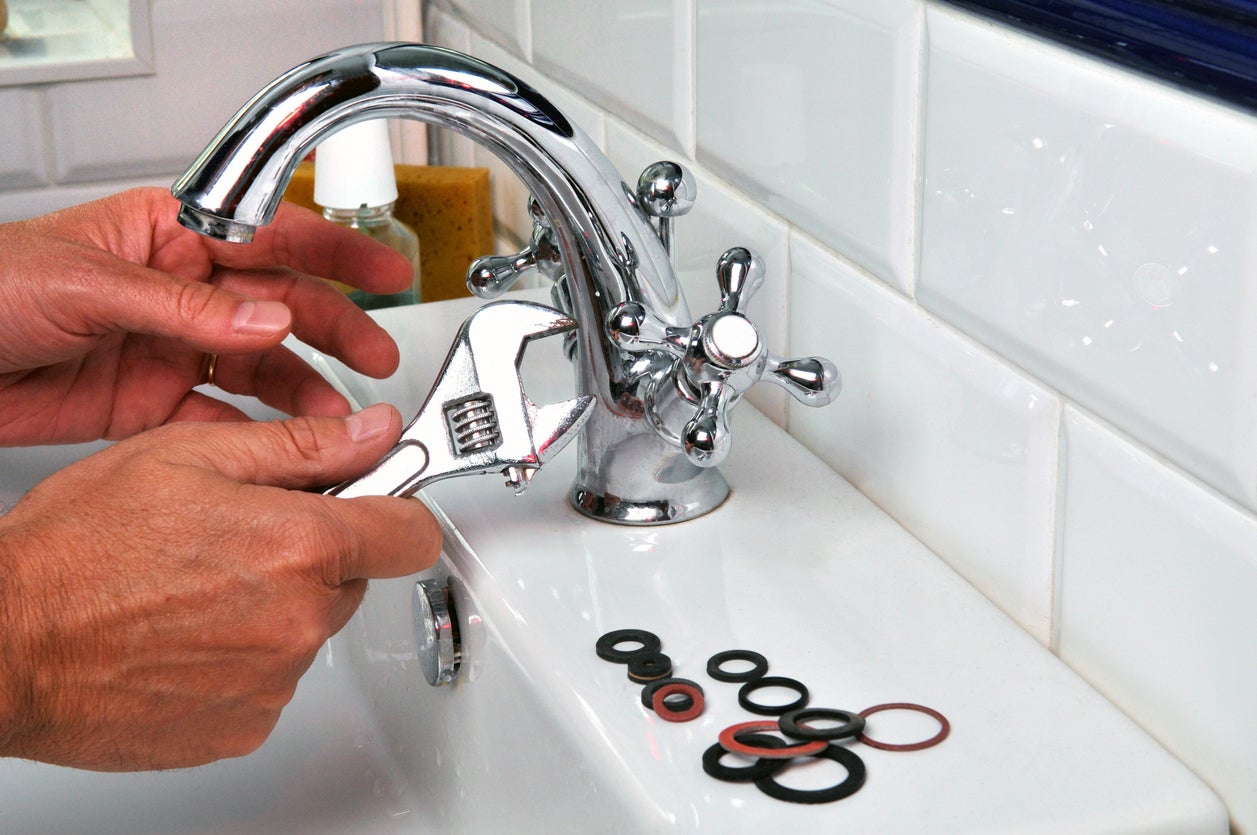
Step 3: Replace the Washer
With the handle removed, you can now focus on the internal mechanism of the outdoor faucet. The most common cause of a leaky outdoor faucet is a worn or damaged washer located at the base of the faucet’s stem. This washer creates a watertight seal when the faucet is closed, preventing water from flowing when the faucet is not in use. Over time, the washer may deteriorate, leading to leaks and drips.
Using an adjustable wrench, carefully unscrew the faucet’s packing nut located just below the handle’s location. Once the packing nut is removed, you’ll be able to access the stem assembly and the problematic washer. Inspect the washer for signs of wear, tearing, or hardening, as these are indicators that it needs to be replaced.
Remove the old washer and replace it with a new one of the same size and type. It’s essential to use a washer specifically designed for outdoor faucet use, as indoor washers may not withstand the elements and temperature fluctuations. Apply a thin layer of plumbing grease or lubricant to the new washer before installing it to ensure a smooth and watertight seal.
Before reassembling the faucet, take the opportunity to inspect the stem and other components for any visible damage or debris. If necessary, clean the components and the inside of the faucet using a cloth or brush to remove any sediment or buildup that could affect the faucet’s performance.
Replacing the washer is a critical step in resolving the leak, as it addresses the root cause of the issue. By installing a new, properly lubricated washer, you’ll restore the faucet’s ability to create a tight seal, preventing water from leaking out when the faucet is turned off. With the new washer in place, you’re ready to proceed to the next step and reassemble the faucet for testing.
Shut off the water supply to the faucet, then remove the handle and replace the worn-out washer. If the leak persists, the valve seat may need to be replaced.
Read more: How To Fix A Leaky Faucet Handle
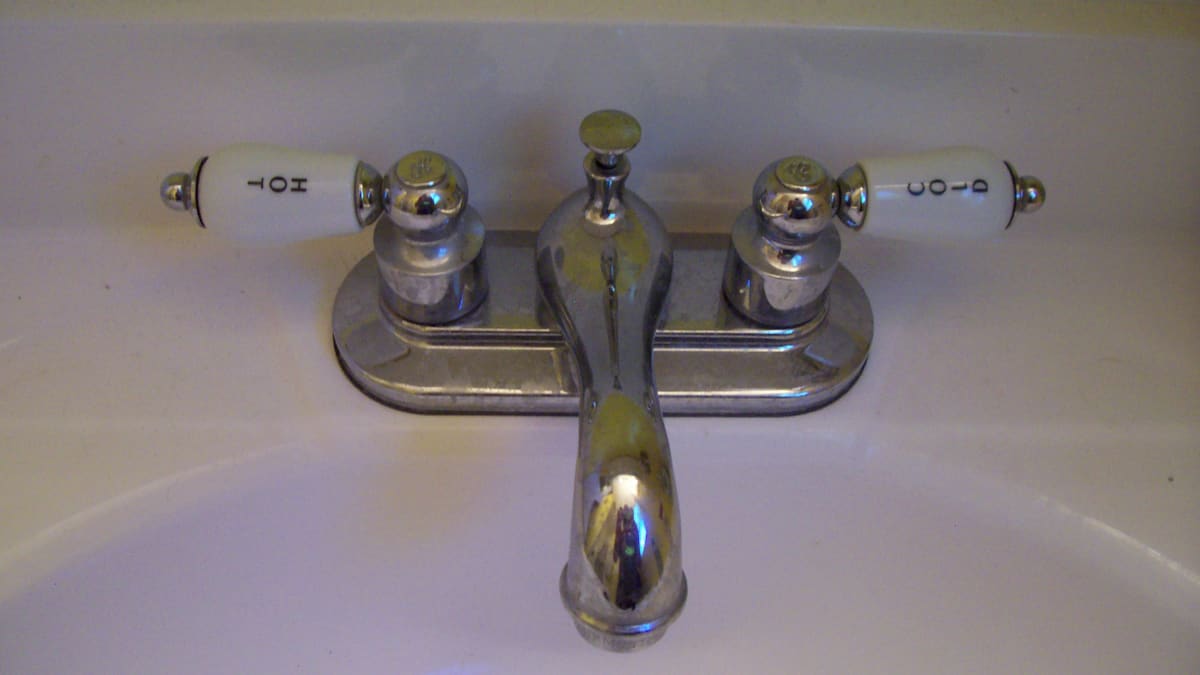
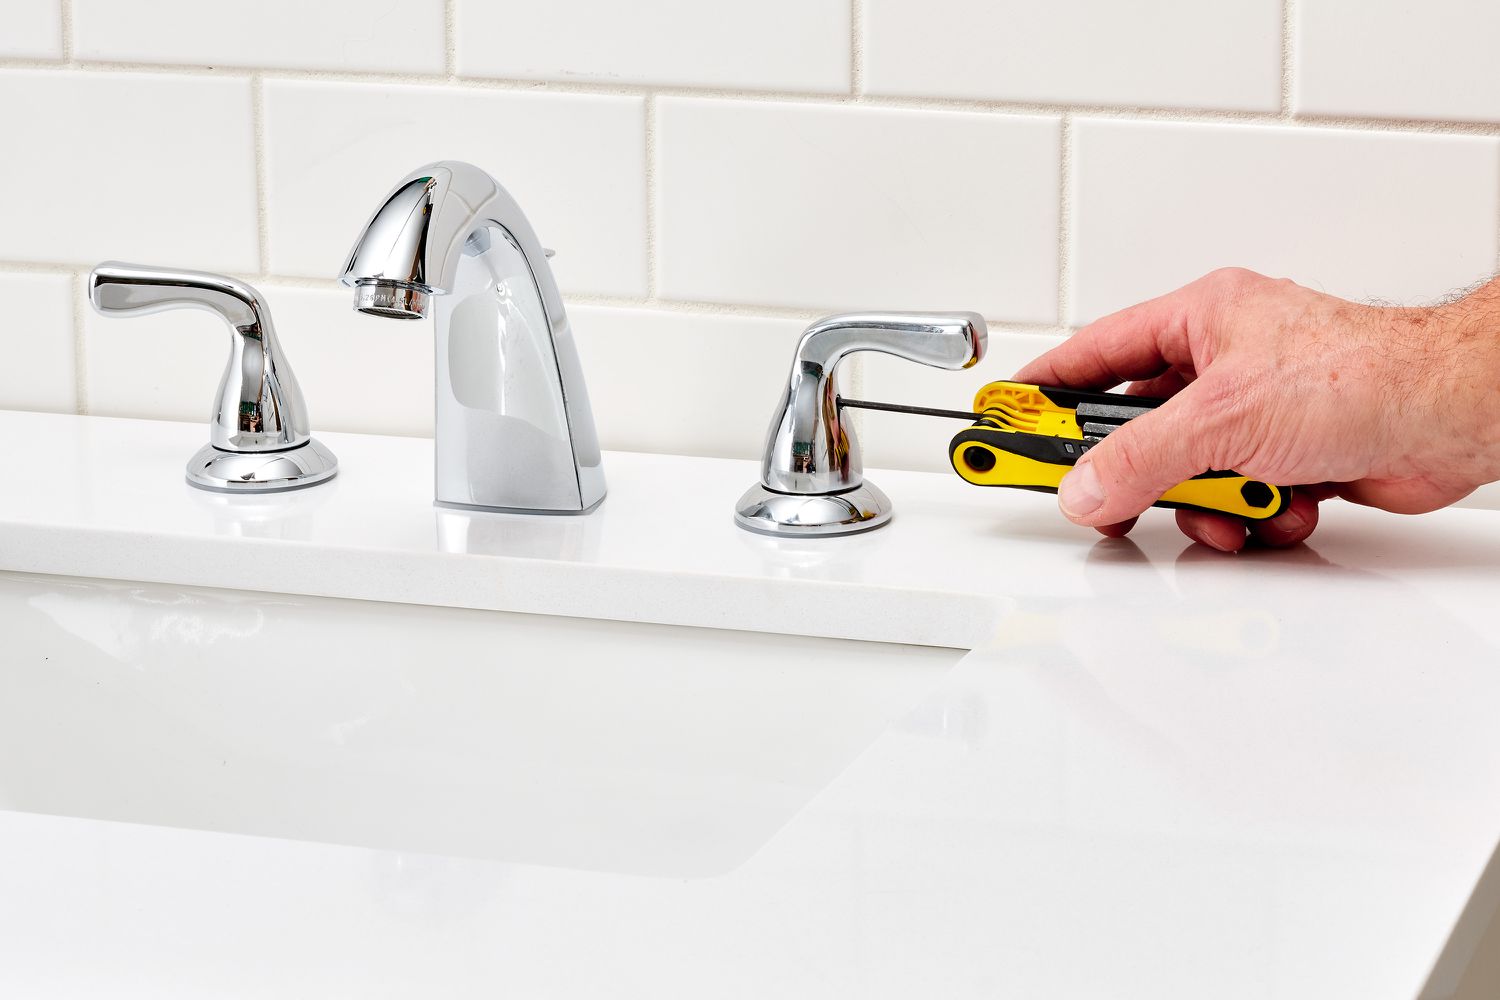
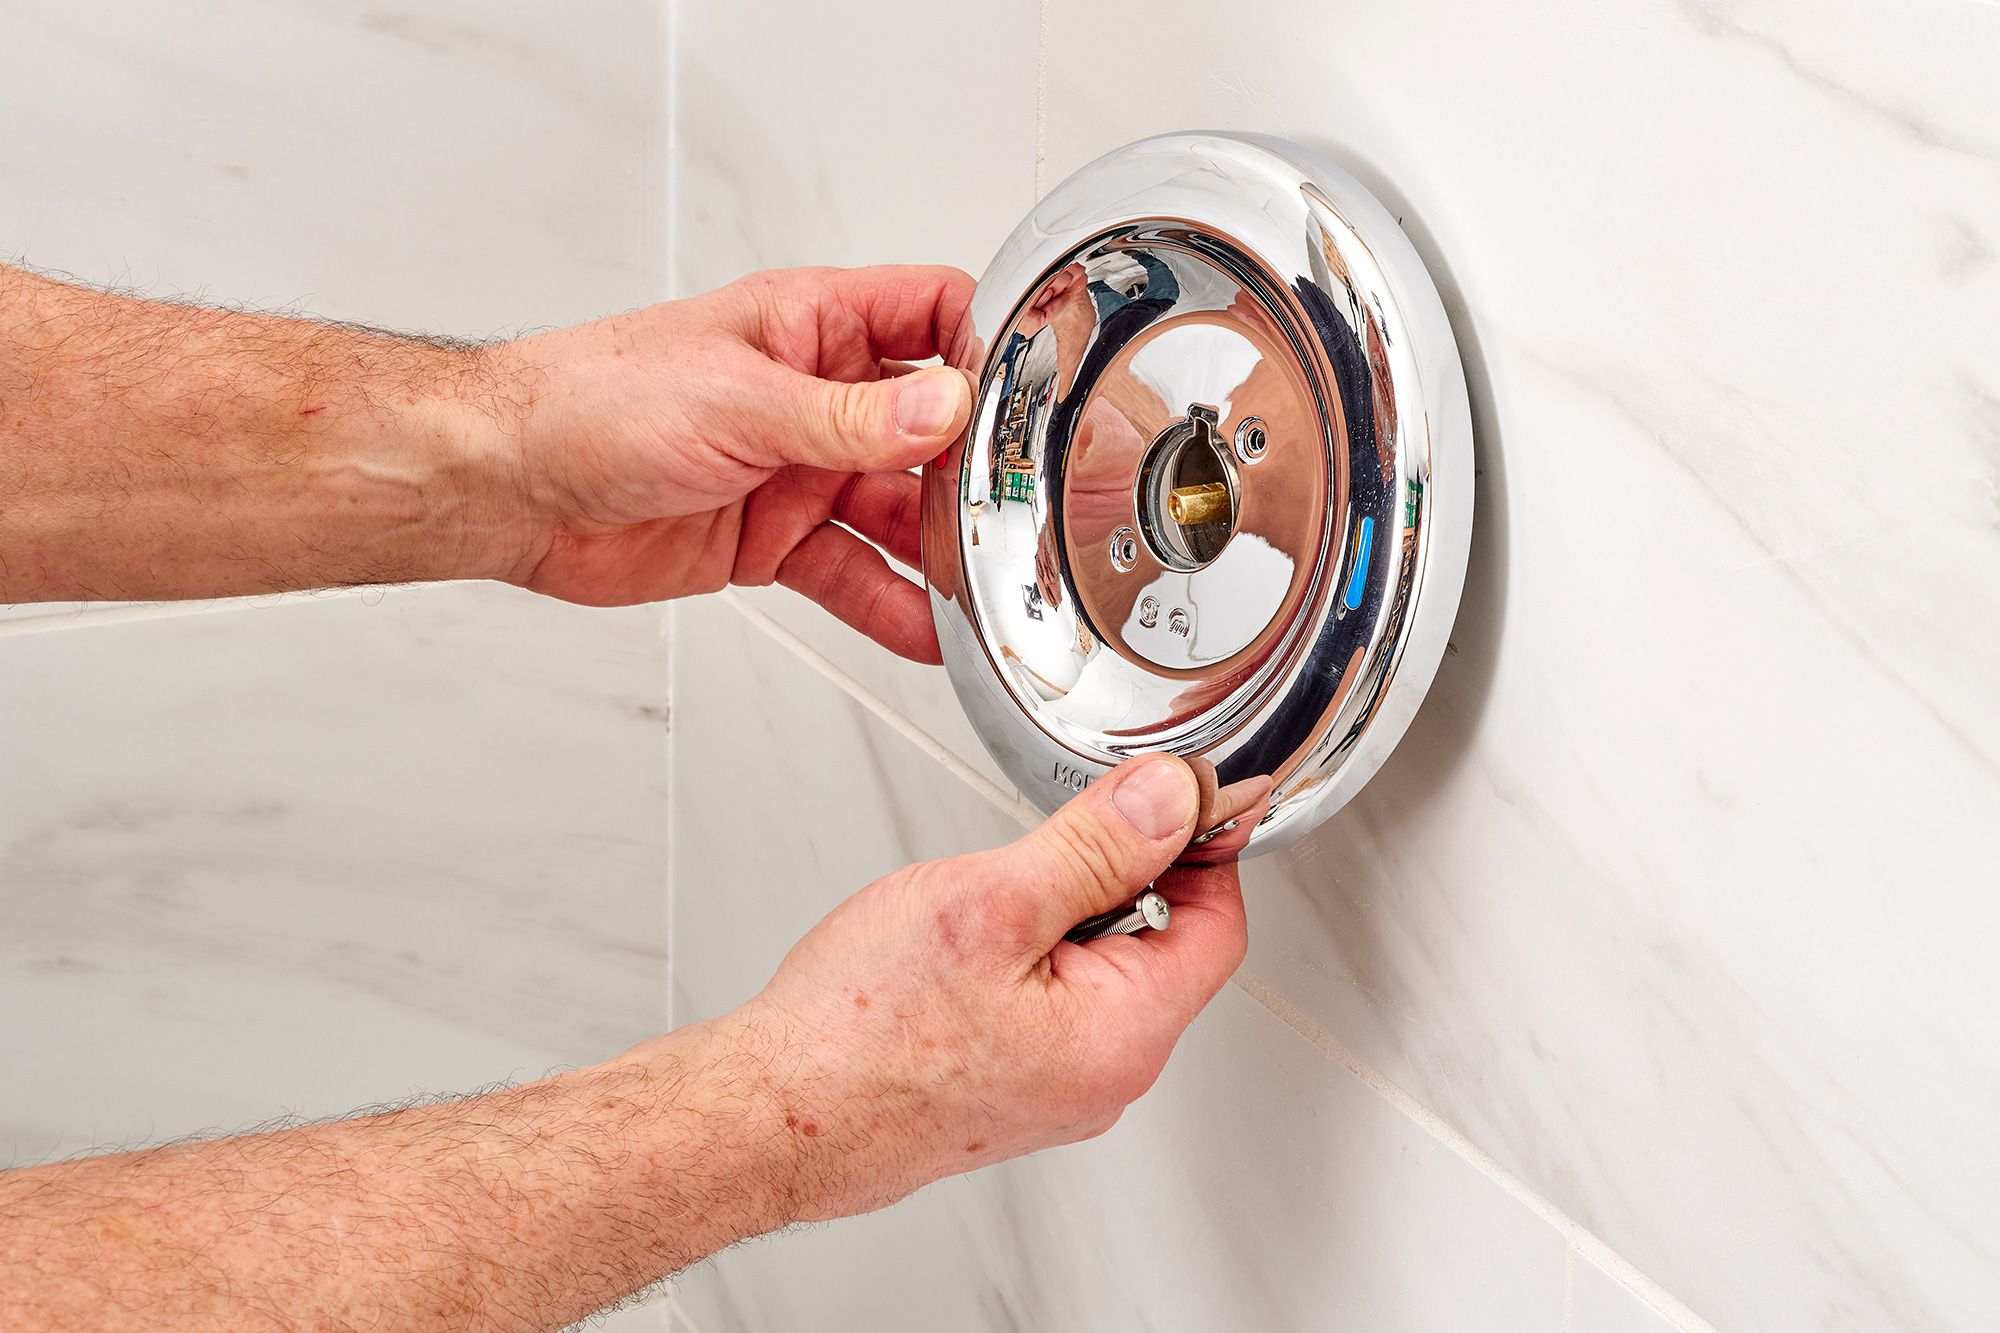
Step 4: Reassemble the Faucet
After replacing the washer and ensuring that the internal components are in good condition, it’s time to reassemble the outdoor faucet. Begin by carefully positioning the stem back into the faucet housing, ensuring that it aligns properly and smoothly slides into place. Once the stem is in position, reattach the packing nut and tighten it using an adjustable wrench. Be cautious not to overtighten, as this could lead to damage or difficulty in future repairs.
Next, place the new washer or any additional components back onto the stem, following the same arrangement as when you removed them. Pay attention to the order and orientation of the components to ensure that they fit snugly and function correctly when the faucet is in use. Apply a thin layer of plumbing grease or lubricant to the threads of the faucet’s stem to promote smooth operation and prevent corrosion.
With the internal components reassembled, carefully position the handle back onto the faucet stem, aligning it with the proper orientation. If the handle features any decorative caps or additional parts, secure them in place as well. Once the handle is in position, reinsert the screw and tighten it to secure the handle. If your faucet has a cap, place it back over the screw and press it into position.
As you reassemble the faucet, take care to avoid forcing any components into place, as this could cause damage or misalignment. Ensure that each part fits naturally and securely, allowing the faucet to operate smoothly and effectively. Once the handle and all components are back in place, you’re ready to proceed to the final step: testing the faucet to confirm that the leak has been resolved.
Step 5: Test the Faucet
With the outdoor faucet reassembled, it’s time to test its functionality and confirm that the leak has been successfully addressed. Start by slowly turning the water supply back on using the shut-off valve you located earlier. Gradually open the valve to allow water to flow into the outdoor faucet. As water enters the faucet, listen and observe for any signs of leakage or dripping.
Once the water supply is restored, turn the faucet on and off a few times to ensure that it operates smoothly and without any leaks. Pay close attention to the base of the faucet and the area where it connects to the outdoor plumbing. If you notice any dripping or signs of leakage, immediately turn off the water supply and inspect the faucet for any loose components or potential issues.
If the faucet operates without any leaks, allow it to run for a few minutes to verify that the repair has been successful. Observe the faucet closely to ensure that water flows consistently and that no drips occur when the faucet is turned off. Testing the faucet thoroughly will provide confidence that the repair has effectively resolved the leak, allowing you to use the outdoor faucet without concerns about water wastage or property damage.
As you test the faucet, take note of its overall performance and any unusual sounds or behaviors. A successfully repaired outdoor faucet should operate quietly and without any visible leaks or irregularities. If you encounter any issues during the testing phase, consider rechecking the internal components and ensuring that they are properly installed and functioning as intended.
By thoroughly testing the faucet, you can be confident in its reliability and the effectiveness of your repair efforts. A leak-free outdoor faucet not only conserves water but also contributes to the overall functionality and convenience of your outdoor space. With the faucet successfully tested, you can proceed with peace of mind, knowing that the repair has been completed to a high standard.
Additional Tips and Considerations
When addressing a leaky outdoor faucet, certain additional tips and considerations can enhance the repair process and contribute to long-term maintenance. Here are some valuable insights to keep in mind:
- Regular Maintenance: Schedule periodic checks of your outdoor faucets to identify and address any potential leaks or issues promptly. This proactive approach can prevent small problems from escalating into larger, costlier repairs.
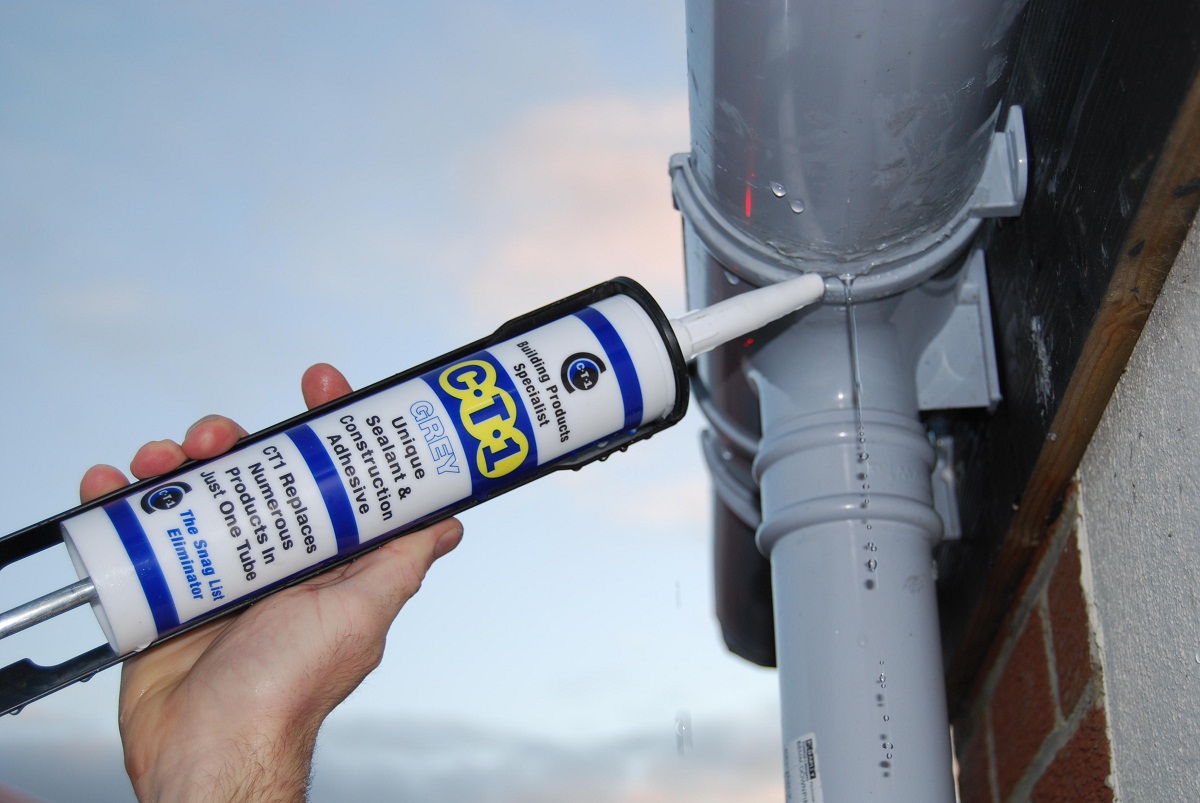
- Teflon Tape: Consider using Teflon tape when reassembling the faucet to provide an extra layer of protection against leaks. Wrapping the faucet’s threads with Teflon tape can help create a tighter seal and minimize the risk of water escaping.
- Winter Protection: In colder climates, take measures to protect outdoor faucets from freezing temperatures, which can lead to burst pipes and leaks. Install frost-free outdoor faucets or use insulated covers to shield them from the cold.
- Professional Assistance: If you encounter challenges during the repair process or are unsure about handling certain aspects, don’t hesitate to seek assistance from a professional plumber. They can provide expert guidance and ensure that the repair is carried out effectively.
- Environmental Impact: By promptly addressing leaks and conserving water, you contribute to environmental sustainability. Every drop saved through leak repairs and responsible water usage makes a positive impact on the environment.
Implementing these tips and considerations can enhance the effectiveness of your outdoor faucet repair and support its long-term performance. By staying proactive and mindful of maintenance practices, you can preserve the functionality of your outdoor fixtures and minimize the likelihood of future leaks.
Conclusion
Repairing a leaky outdoor faucet is a manageable task that offers numerous benefits, from water conservation to property preservation. By following the step-by-step process outlined in this guide and incorporating additional tips and considerations, you can effectively address the issue and restore the functionality of your outdoor faucet.
Through careful disassembly, inspection, and component replacement, you’ve tackled the root cause of the leak and reassembled the faucet with precision. Thorough testing has confirmed that the repair was successful, providing you with the assurance of a leak-free outdoor faucet.
By taking a proactive approach to outdoor faucet maintenance and promptly addressing leaks, you contribute to water conservation efforts and minimize the risk of property damage. Your commitment to responsible water usage and effective maintenance practices reflects a dedication to environmental sustainability and the well-being of your outdoor space.
Remember to schedule regular checks of your outdoor faucets and consider the use of Teflon tape for added protection. In colder climates, take precautions to shield outdoor faucets from freezing temperatures. Should you encounter challenges beyond your expertise, professional assistance is readily available to ensure that your outdoor faucet remains in optimal condition.
With the leaky outdoor faucet successfully repaired, you can enjoy peace of mind, knowing that your efforts have contributed to the efficient and sustainable use of water in your outdoor environment. By maintaining a proactive and attentive approach to outdoor faucet maintenance, you uphold the functionality and integrity of your outdoor fixtures, creating a more enjoyable and environmentally conscious outdoor space.
With this guide as your companion, you’ve demonstrated the capability to address common household issues with confidence and effectiveness. Your dedication to maintaining a functional and sustainable outdoor living space sets a positive example for responsible homeownership and environmental stewardship.
Frequently Asked Questions about How To Fix A Leaky Outdoor Faucet
Was this page helpful?
At Storables.com, we guarantee accurate and reliable information. Our content, validated by Expert Board Contributors, is crafted following stringent Editorial Policies. We're committed to providing you with well-researched, expert-backed insights for all your informational needs.


0 thoughts on “How To Fix A Leaky Outdoor Faucet”