Home>Furniture & Design>Outdoor Furniture>How To Install Outdoor Flood Lights

Outdoor Furniture
How To Install Outdoor Flood Lights
Modified: August 16, 2024
Learn how to install outdoor flood lights to enhance your outdoor space with our comprehensive guide. Find the best outdoor furniture, furniture, and design ideas to complement your lighting.
(Many of the links in this article redirect to a specific reviewed product. Your purchase of these products through affiliate links helps to generate commission for Storables.com, at no extra cost. Learn more)
Introduction
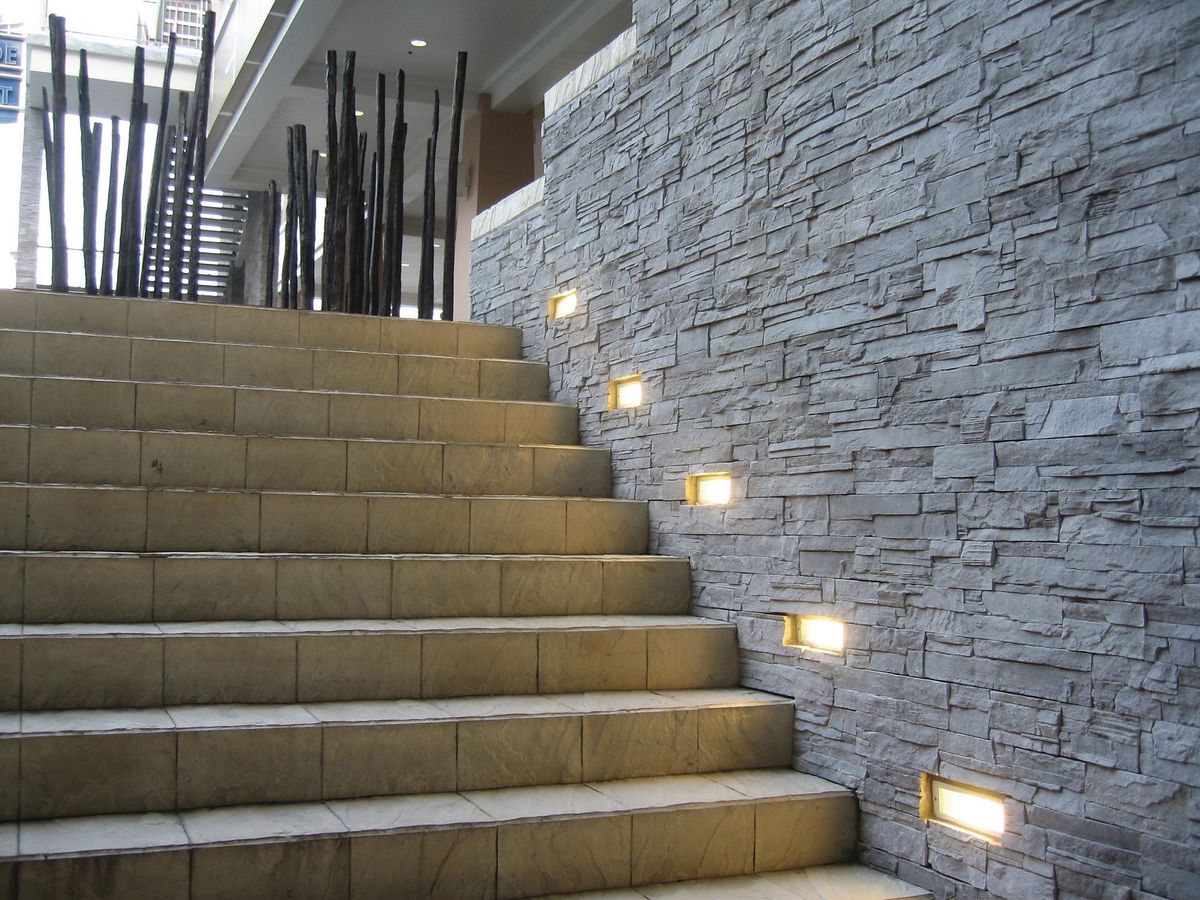
Welcome to the world of outdoor lighting! Adding flood lights to your outdoor space can transform it into a well-lit, inviting area that's both functional and aesthetically pleasing. Whether you want to illuminate your garden, highlight architectural features, or enhance security around your property, installing outdoor flood lights is a fantastic way to achieve these goals.
In this comprehensive guide, we'll walk you through the step-by-step process of installing outdoor flood lights. From gathering the necessary tools and materials to testing the lights, you'll gain valuable insights into the installation procedure. By following these instructions, you'll be able to brighten up your outdoor environment and create an ambiance that suits your specific needs and preferences.
So, let's dive into the exciting world of outdoor lighting and discover how you can enhance your outdoor space with the installation of flood lights. Whether you're a seasoned DIY enthusiast or a novice looking to take on a new project, this guide is designed to equip you with the knowledge and confidence to successfully install outdoor flood lights. Let's get started!
Key Takeaways:
- Illuminate your outdoor space with flood lights for enhanced security, aesthetics, and functionality. Follow the step-by-step guide to confidently install flood lights and create a well-lit ambiance that suits your specific needs and preferences.
- Carefully choose the installation location, secure the mounting bracket, connect the wiring, and test the flood lights for optimal performance. Enjoy the transformative impact of well-executed outdoor lighting on your outdoor environment.
Read more: What Are The Best Outdoor Flood Lights
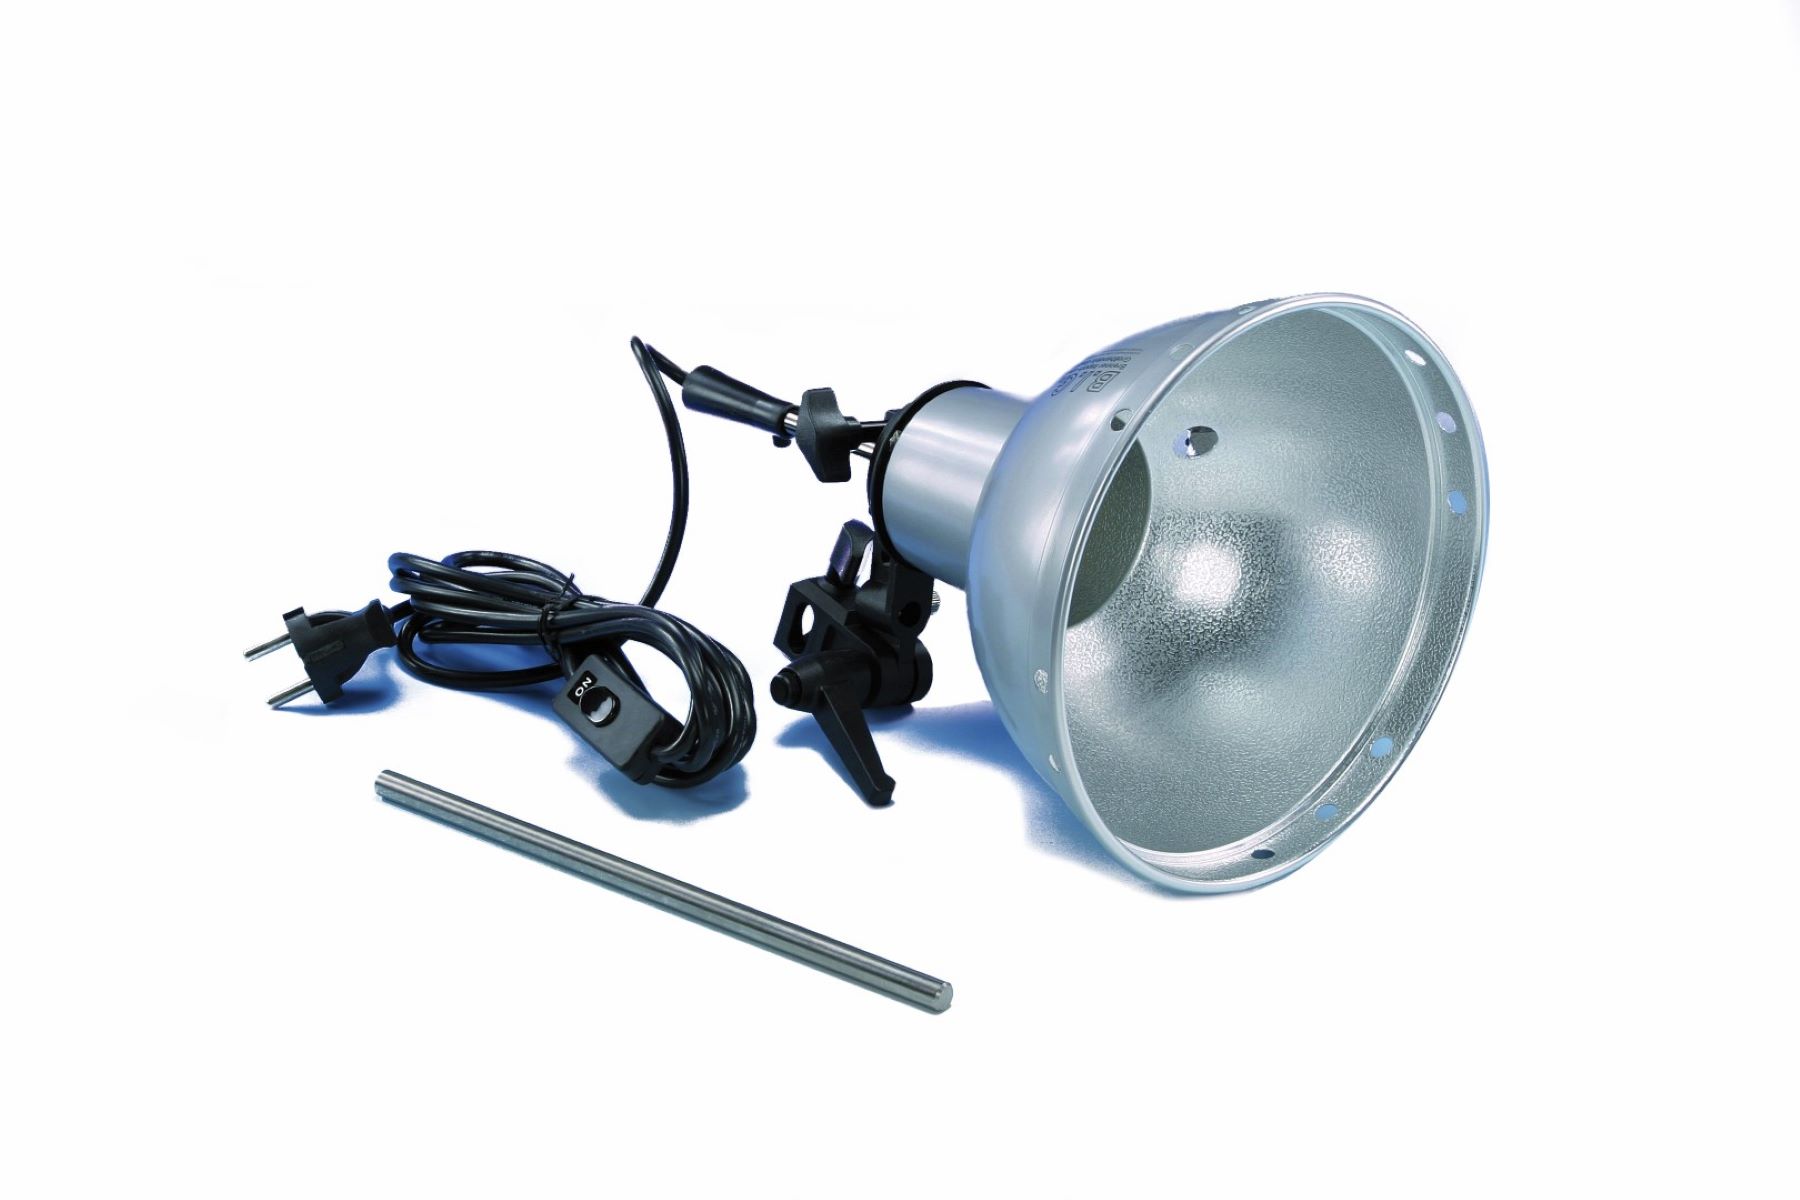
Step 1: Gather the Necessary Tools and Materials
Before embarking on the installation of outdoor flood lights, it’s essential to gather all the required tools and materials. This ensures that you have everything at hand to complete the project efficiently. Here’s a comprehensive list of the tools and materials you’ll need:
Tools:
- Stepladder
- Screwdriver (flathead and Phillips)
- Wire stripper/cutter
- Adjustable wrench
- Drill and bits
- Voltage tester
- Wire connectors
- Electrical tape
Materials:
- Outdoor flood light fixture(s)
- Mounting bracket
- Weatherproof electrical box
- Weatherproof gaskets
- Outdoor electrical wire
- Wire nuts
- Mounting screws
- Bulbs (check the fixture's specifications for the appropriate type)
By ensuring that you have all the necessary tools and materials before starting the installation, you’ll be well-prepared to proceed with confidence. This proactive approach minimizes interruptions and ensures a smooth installation process, allowing you to focus on the task at hand without the need for multiple trips to the hardware store.
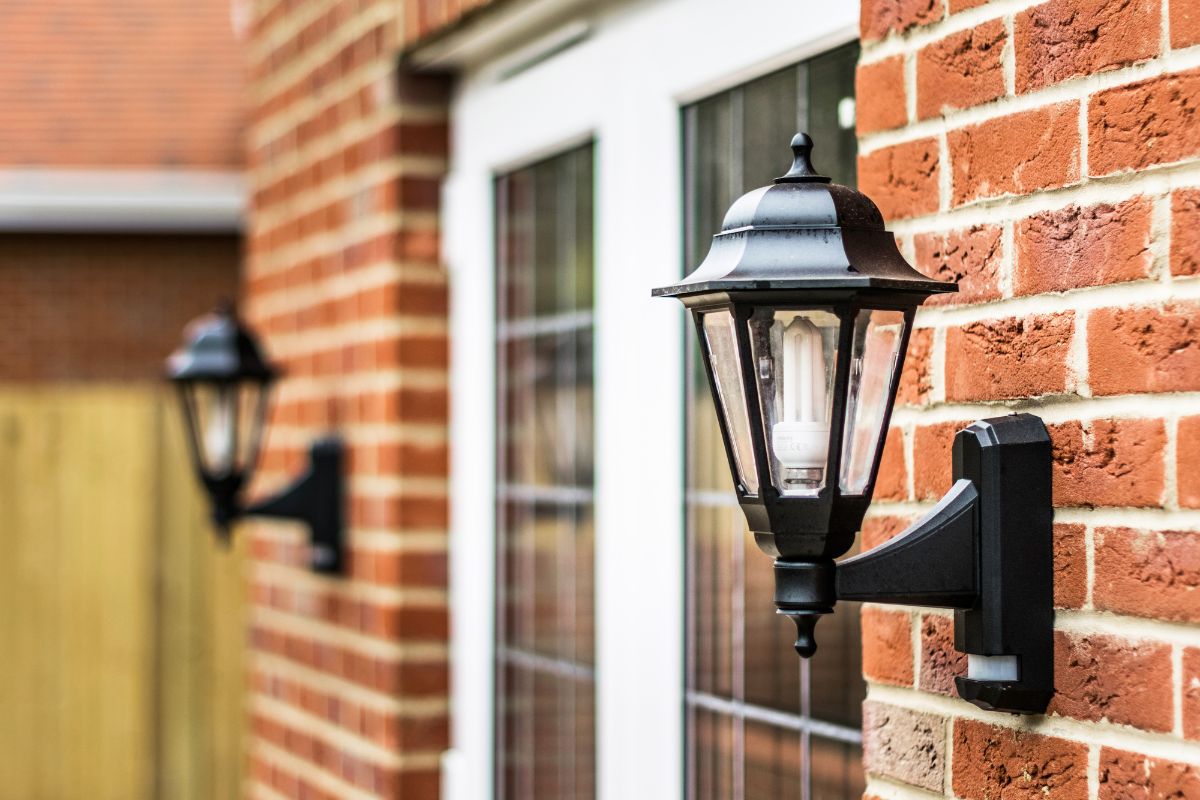
Step 2: Choose the Right Location for Installation
When it comes to installing outdoor flood lights, selecting the optimal location is crucial for achieving the desired lighting effect and functionality. Consider the following factors to determine the best placement for your flood lights:
Read more: How To Install Motion Detector Flood Lights
1. Purpose:
Identify the primary purpose of the flood lights. Are they intended for security, accent lighting, or illuminating specific areas such as pathways or landscaping features? Understanding the purpose will guide you in choosing the most suitable locations for installation.
2. Coverage Area:
Evaluate the area you want to illuminate. Determine the range and spread of light required to effectively cover the intended space. This assessment will help in positioning the flood lights for optimal coverage and performance.
3. Power Source:
Ensure that the chosen location is within reach of a power source. If you’re installing new lights, consider the proximity to existing electrical wiring or the feasibility of extending the wiring to the desired location.
4. Aesthetics:
Take into account the visual impact of the flood lights on your outdoor space. Consider how the lights will complement the overall aesthetics of your property and whether they will integrate seamlessly with the surrounding environment.
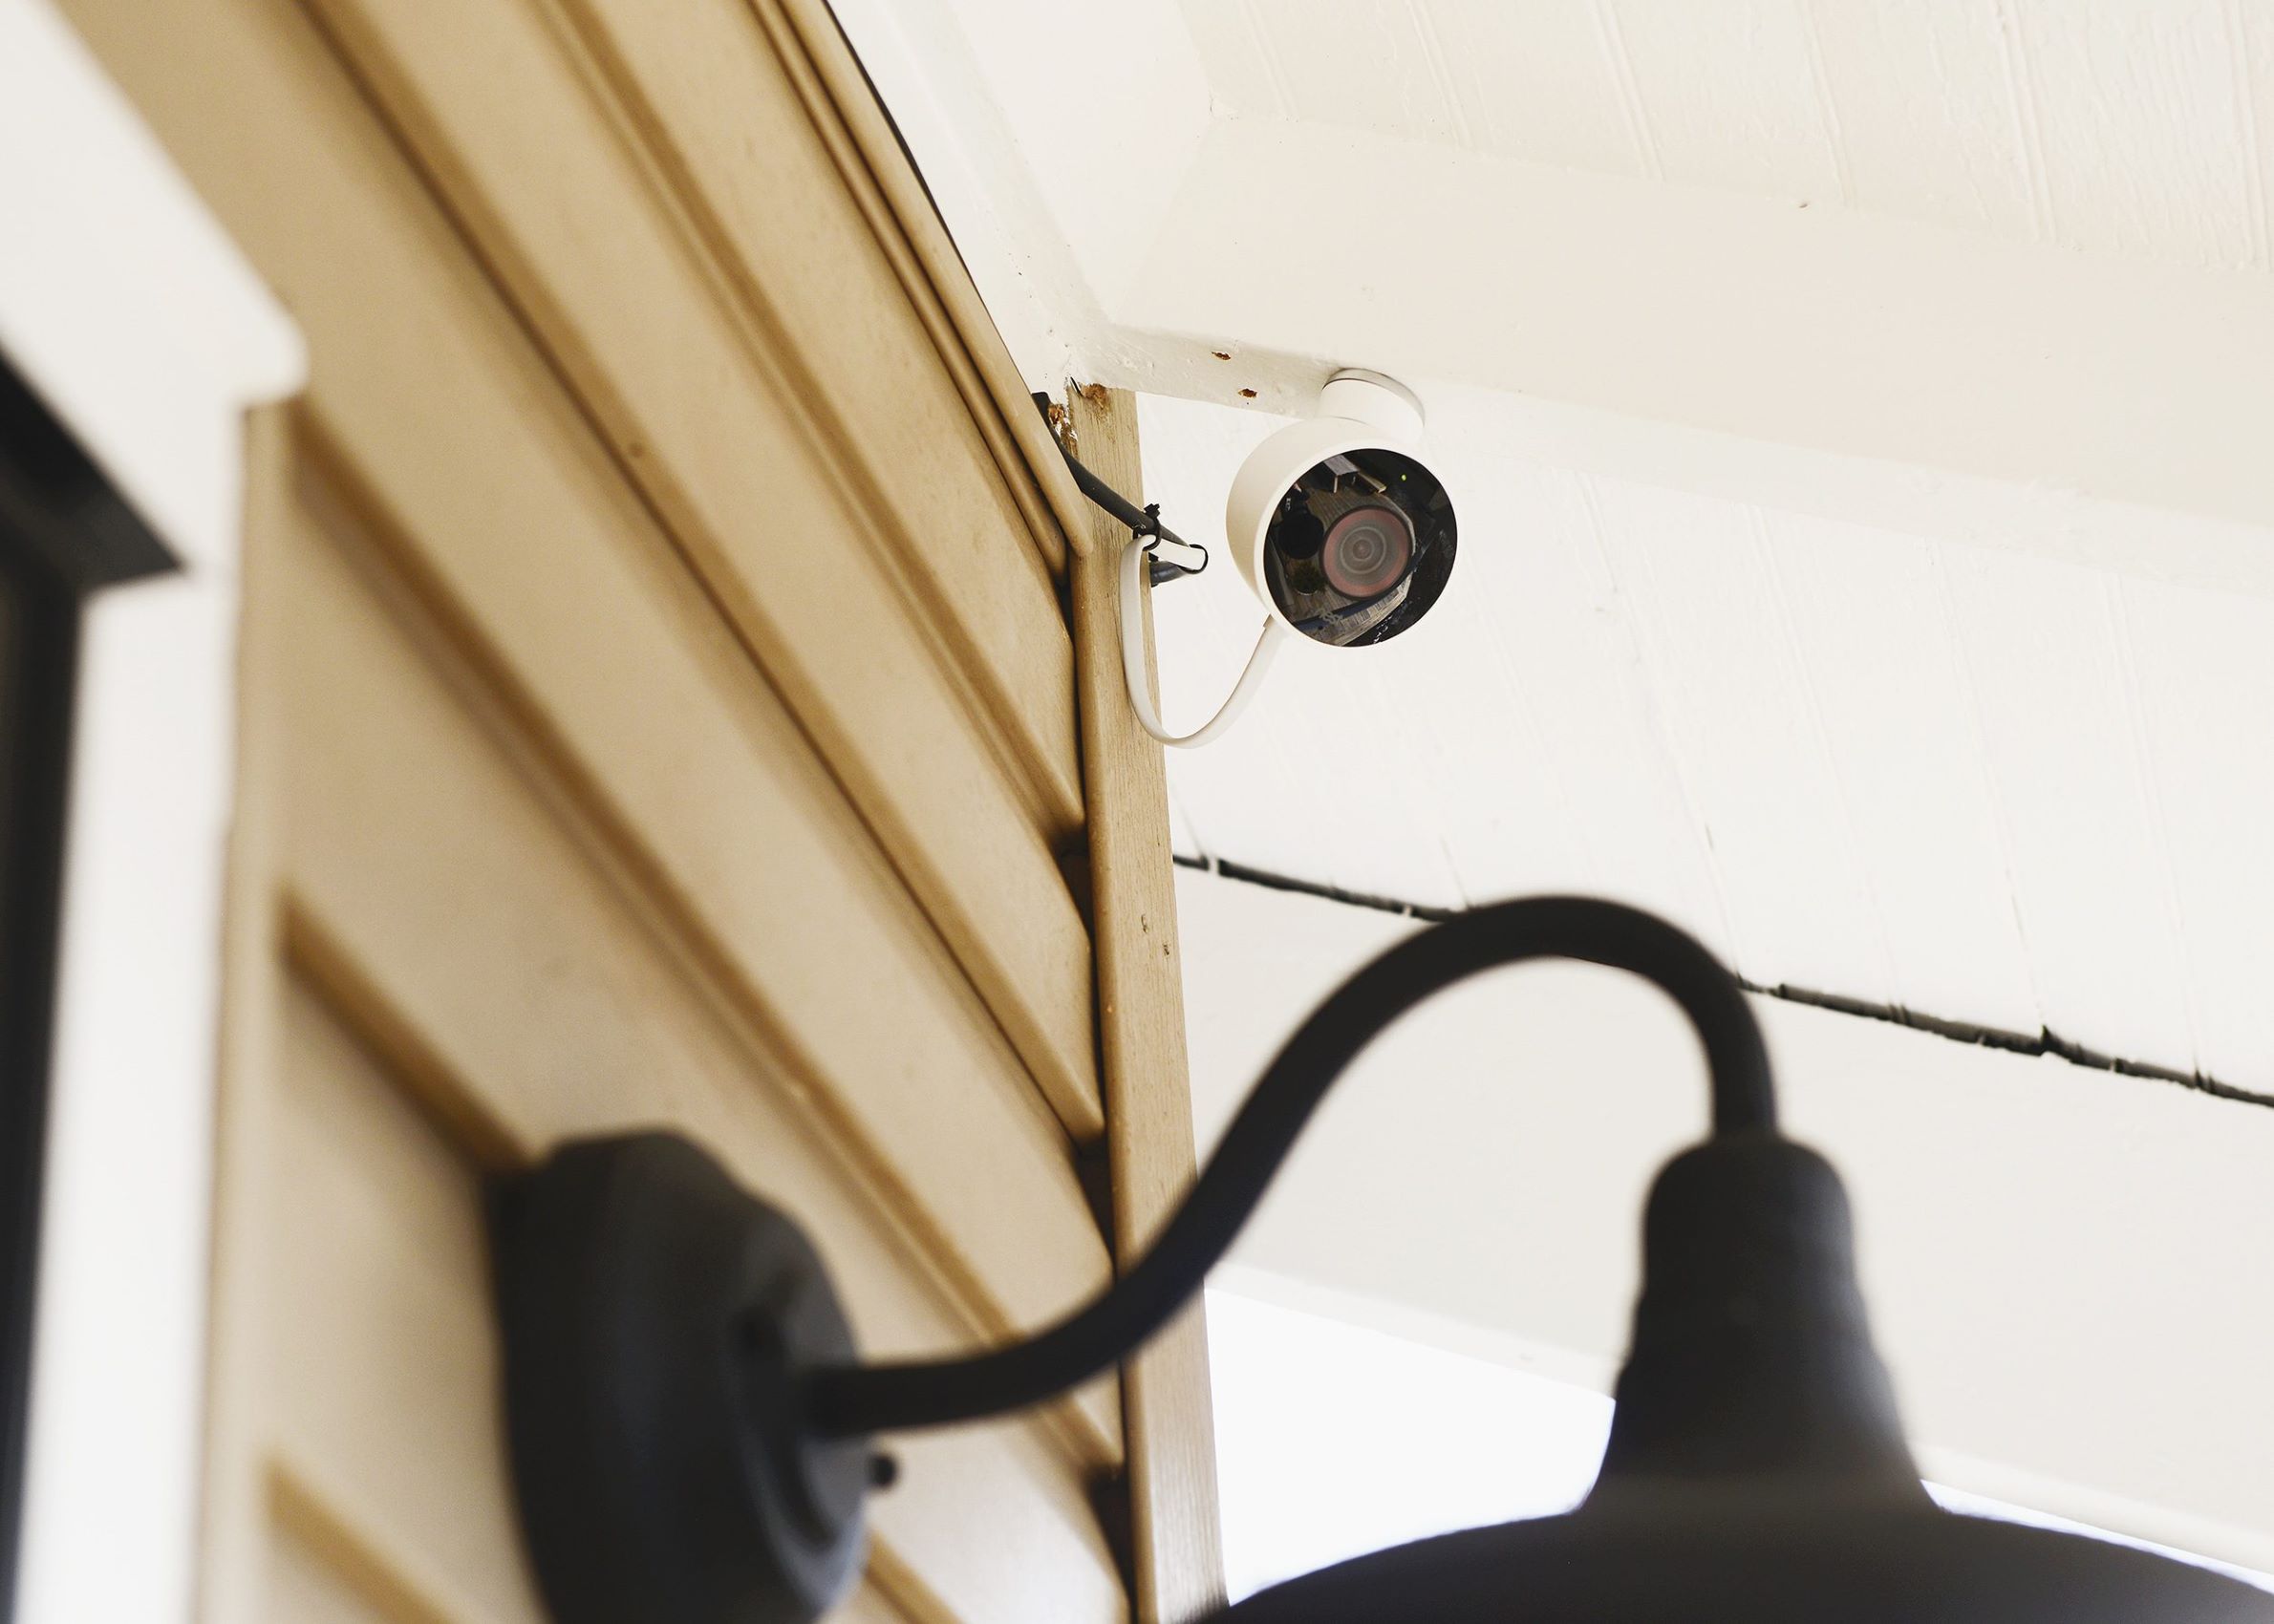
Read more: How To Install A Flood Light Security Camera
5. Accessibility:
Consider accessibility for maintenance and bulb replacement. Choose locations that are easily reachable for periodic upkeep, ensuring that the lights remain in optimal working condition.
By carefully assessing these factors, you can pinpoint the most suitable locations for installing your outdoor flood lights. This thoughtful approach ensures that the lights not only fulfill their practical purpose but also contribute to the overall visual appeal of your outdoor area.
Step 3: Install the Mounting Bracket
Once you’ve identified the ideal locations for your outdoor flood lights, the next step is to install the mounting brackets. These brackets provide a secure and stable base for attaching the light fixtures. Here’s a detailed guide on how to install the mounting bracket:
1. Select the Mounting Location:
Position the mounting bracket at the chosen installation site, ensuring that it aligns with the desired angle and direction for the flood light’s illumination.
2. Mark the Mounting Holes:
Using a pencil or marker, mark the locations for the mounting holes on the wall or surface where the bracket will be attached. Double-check the alignment and levelness of the bracket before proceeding.
Read also: 10 Best Outdoor Flood Light Socket for 2025
3. Drill Pilot Holes:
With a drill and the appropriate bit size, carefully drill pilot holes at the marked locations. Pilot holes help prevent the surface from splintering or cracking when inserting the mounting screws.
4. Attach the Mounting Bracket:
Securely fasten the mounting bracket to the surface using suitable screws or anchors. Ensure that the bracket is firmly affixed and level to provide a stable foundation for the flood light fixture.
5. Test the Stability:
Once the mounting bracket is installed, verify its stability by gently applying pressure and ensuring that it can support the weight of the flood light fixture without any wobbling or shifting.
By following these steps, you can successfully install the mounting bracket for your outdoor flood lights. The secure attachment provided by the mounting bracket sets the stage for the next phase of the installation, which involves connecting the wiring and affixing the flood light fixtures. With the mounting bracket in place, you’re one step closer to illuminating your outdoor space with brilliant flood lighting.
Step 4: Connect the Wiring
Connecting the wiring is a critical step in the installation of outdoor flood lights. Proper wiring ensures safe and efficient operation, allowing the lights to function as intended. Here’s a comprehensive guide on how to connect the wiring for your flood lights:
Read more: What Size Wire For Outdoor Flood Lights
1. Turn Off Power:
Before handling any wiring, turn off the power supply to the area where the flood lights will be installed. Locate the appropriate circuit breaker or fuse and switch off the power to eliminate the risk of electrical shock.
2. Prepare the Wires:
Strip the insulation from the ends of the outdoor electrical wires to expose the conductors. Use a wire stripper to carefully remove the insulation, ensuring that an adequate length of wire is exposed for making connections.
3. Match the Wires:
Identify the wiring from the flood light fixture and the outdoor electrical wire. Match the corresponding wires based on color-coding or labeling (e.g., black to black, white to white, and green or bare copper to the ground wire).
4. Make Secure Connections:
Use wire connectors to join the wires from the flood light fixture to the outdoor electrical wire. Twist the exposed conductors together and cover the connections with the appropriate wire connectors, ensuring a secure and insulated joint.
Read more: What Is A Flood Light Bulb?
5. Insulate the Connections:
Wrap the wire connectors and exposed wiring with electrical tape to provide an additional layer of insulation and protection. This helps safeguard the connections from moisture and environmental elements.
6. Secure the Wiring:
Tuck the connected wiring into the weatherproof electrical box and secure it in place. Ensure that the wiring is neatly arranged and does not interfere with the installation of the flood light fixture.
By following these steps, you can effectively connect the wiring for your outdoor flood lights. Attention to detail and adherence to safety practices are essential during the wiring process, ensuring that the electrical connections are secure and reliable. With the wiring in place, you’re ready to proceed to the next phase of the installation, which involves attaching the flood light fixtures to the mounting brackets.
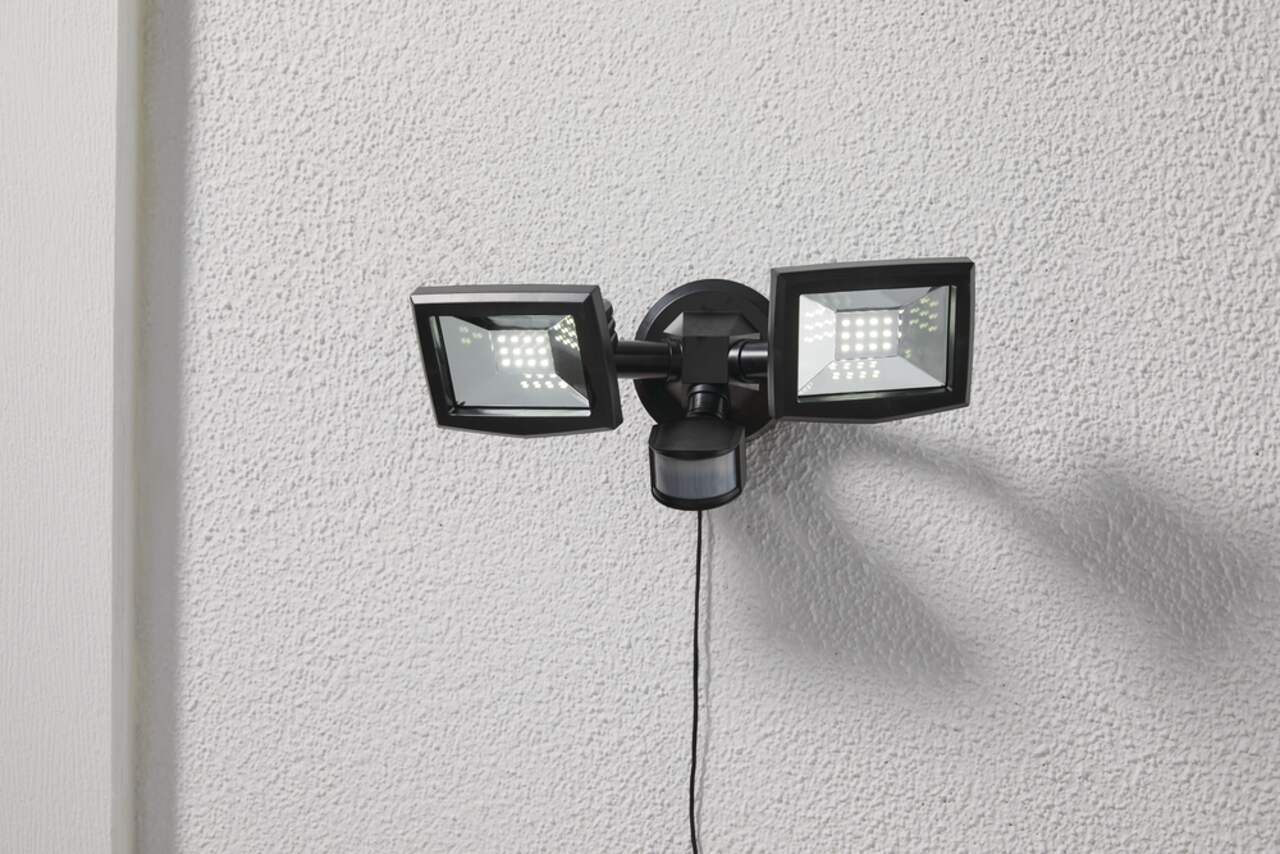
Step 5: Attach the Flood Light Fixture
Attaching the flood light fixture is a pivotal stage in the installation process, as it brings the lighting element to the forefront, ready to illuminate your outdoor space. Here’s a detailed guide on how to securely attach the flood light fixture to the mounting bracket:
1. Position the Fixture:
Carefully position the flood light fixture, aligning it with the mounting bracket. Ensure that the fixture is oriented in the desired direction to achieve the intended lighting coverage and effect.
2. Align the Mounting Holes:
Match the mounting holes on the fixture with the corresponding holes on the mounting bracket. Verify the alignment and make any necessary adjustments to ensure a precise fit.
3. Secure the Fixture:
Utilize the provided mounting screws or fasteners to securely attach the flood light fixture to the mounting bracket. Tighten the screws to ensure a stable and wobble-free connection between the fixture and the bracket.
4. Adjust the Angle:
If the flood light fixture allows for adjustable positioning, fine-tune the angle and orientation to optimize the direction of the light. This adjustment enables you to customize the lighting projection according to your specific requirements.
5. Weatherproofing:
If the fixture includes weatherproof gaskets or seals, ensure that they are properly installed to protect the internal components from moisture and environmental factors. This step is crucial for prolonging the lifespan of the flood light fixture.
Read more: How To Change A Flood Light Bulb
6. Verify Stability:
Confirm that the attached flood light fixture is securely fastened and stable. Gently test the fixture for any movement or instability, making any necessary adjustments to ensure a secure installation.
By following these steps, you can effectively attach the flood light fixture to the mounting bracket, bringing your outdoor lighting vision to fruition. The secure and precise attachment of the fixture sets the stage for the final phase of the installation, which involves testing the flood lights to ensure their proper functionality and performance.
Step 6: Test the Flood Lights
Testing the flood lights is the culminating step in the installation process, allowing you to verify their functionality and performance. Here’s a comprehensive guide on how to test the flood lights to ensure they illuminate your outdoor space effectively:
1. Power On the Lights:
Restore the power supply to the installed flood lights by turning on the corresponding circuit breaker or switch. This enables the lights to receive electrical power and prepares them for testing.
2. Verify Illumination:
Stand at a suitable vantage point to observe the illumination produced by the flood lights. Verify that the lights effectively cover the intended area and provide the desired level of brightness and clarity.
Read more: How To Install Outdoor Step Lights
3. Adjust the Angle and Direction:
If necessary, make adjustments to the angle and direction of the flood lights to optimize their lighting projection. Fine-tune the positioning to achieve the ideal coverage and ensure that specific areas are adequately illuminated.
4. Check for Uniformity:
Assess the uniformity of the lighting across the illuminated area. Ensure that there are no dark spots or uneven patches, indicating that the flood lights are evenly dispersing light as intended.
5. Test Motion Sensors (if applicable):
If your flood lights are equipped with motion sensors, test their responsiveness by moving within the sensor’s range. Verify that the sensors trigger the lights to activate promptly and effectively.
6. Evaluate Overall Performance:
Take note of the overall performance of the flood lights, considering factors such as brightness, coverage, and energy efficiency. Assess whether the lights meet your expectations and fulfill their intended purpose.
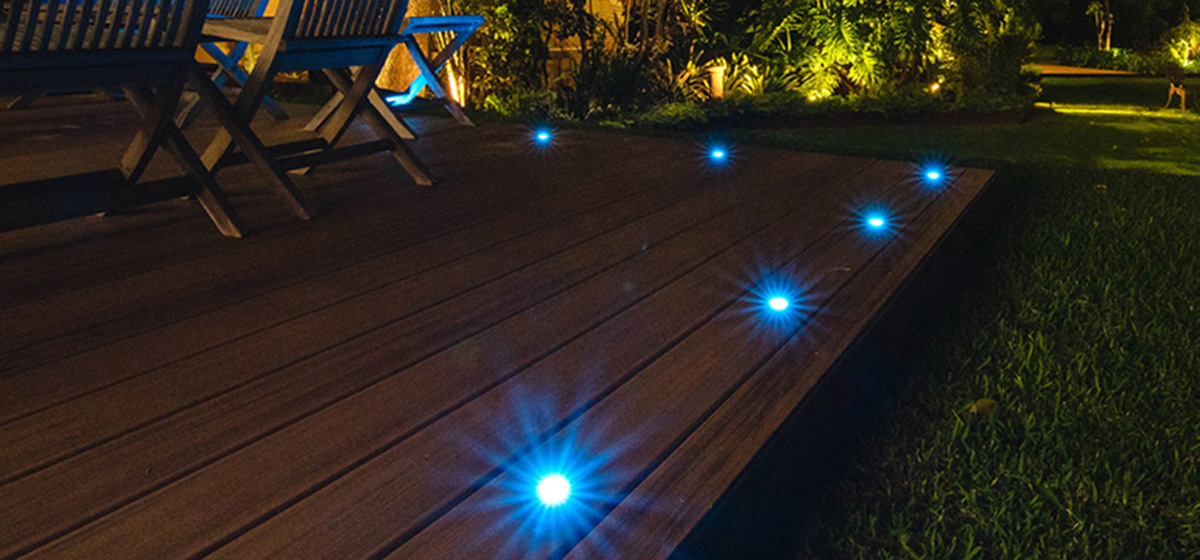
Read more: How To Install Outdoor Landscape Lighting
7. Address Any Issues:
If you encounter any issues during the testing phase, such as inadequate coverage or malfunctioning components, troubleshoot and address the issues promptly. This may involve readjusting the lights, inspecting the wiring, or consulting the manufacturer’s guidelines.
By following these steps, you can systematically test the flood lights and ensure that they deliver the desired illumination and functionality. Thorough testing allows you to fine-tune the lighting setup and address any potential issues, resulting in a well-executed installation that enhances the ambiance and practicality of your outdoor space.
Conclusion
Congratulations on successfully completing the installation of your outdoor flood lights! By following the comprehensive steps outlined in this guide, you’ve embarked on a journey to illuminate and enhance your outdoor environment. The addition of flood lights not only elevates the functionality and security of your outdoor space but also contributes to its visual appeal and ambiance.
As you bask in the radiance of your newly installed flood lights, take a moment to appreciate the transformative impact they have on your outdoor area. The carefully chosen locations, secure mounting, meticulous wiring, and thorough testing have culminated in a lighting setup that meets your specific needs and preferences.
With the installation complete, you can now enjoy the myriad benefits of outdoor flood lights, including enhanced security, extended usability of outdoor spaces after dark, and the ability to showcase architectural features and landscaping elements. Whether you’re hosting outdoor gatherings, enjoying peaceful evenings on your patio, or simply admiring the illuminated beauty of your surroundings, the presence of flood lights enriches your outdoor lifestyle.
Remember that regular maintenance and periodic inspections are essential to ensure the continued optimal performance of your flood lights. Keep the fixtures clean, inspect the wiring for any signs of wear or damage, and promptly address any issues that may arise. By caring for your outdoor lighting setup, you can prolong its lifespan and maximize its benefits for years to come.
As you revel in the captivating glow of your outdoor flood lights, take pride in the accomplishment of a successful installation. Your outdoor space has been transformed into a well-lit haven, ready to welcome you and your guests with warmth, security, and enchanting illumination.
Embrace the radiance, and let your outdoor flood lights illuminate countless memorable moments in the years ahead.
Frequently Asked Questions about How To Install Outdoor Flood Lights
Was this page helpful?
At Storables.com, we guarantee accurate and reliable information. Our content, validated by Expert Board Contributors, is crafted following stringent Editorial Policies. We're committed to providing you with well-researched, expert-backed insights for all your informational needs.
0 thoughts on “How To Install Outdoor Flood Lights”