Home>Home Security and Surveillance>How To Install A Flood Light Security Camera
Home Security and Surveillance
How To Install A Flood Light Security Camera
Modified: March 6, 2024
Learn how to install a floodlight security camera for enhanced home security and surveillance. Follow our step-by-step guide to ensure proper installation and peace of mind.
(Many of the links in this article redirect to a specific reviewed product. Your purchase of these products through affiliate links helps to generate commission for Storables.com, at no extra cost. Learn more)
Introduction
Welcome to our comprehensive guide on how to install a flood light security camera. With the rising concern for home security and surveillance, having a reliable and efficient system in place has become essential. A flood light security camera is a versatile device that combines the functionality of an outdoor floodlight with the surveillance capabilities of a camera. By installing one of these devices, you can ensure optimal home security and peace of mind.
In this guide, we will walk you through the step-by-step process of installing a flood light security camera. We will cover everything from gathering the necessary tools and equipment to final considerations and troubleshooting tips. Whether you are a DIY enthusiast or a homeowner looking to enhance your home security system, this guide is designed to help you successfully install a flood light security camera.
Before we dive into the installation process, it is important to understand why choosing a flood light security camera is a wise investment. These devices offer a range of benefits, including:
- Enhanced Security: A flood light security camera provides both illumination and surveillance in one unit, deterring potential intruders and capturing clear video footage of any suspicious activity.
- Convenience: Unlike standalone surveillance systems, flood light security cameras are designed for easy installation and integration with your existing home security system.
- Peace of Mind: By installing a flood light security camera, you can monitor your property from anywhere, anytime, using a smartphone app or a connected device.
- Cost-Effective: Investing in a flood light security camera eliminates the need for separate floodlights and surveillance cameras, saving you both time and money.
Now that you understand the benefits of a flood light security camera, let’s get started with the installation process. Grab your tools and follow along as we guide you through each step!
Key Takeaways:
- Installing a flood light security camera combines illumination and surveillance for enhanced home security. It’s a cost-effective and convenient solution that provides peace of mind and deters potential intruders.
- Proper installation, testing, and maintenance of the flood light security camera are essential for optimal performance. Regular monitoring, firmware updates, and compliance with local regulations ensure continued reliability and functionality.
Read more: How To Install Outdoor Flood Lights
Step 1: Gather necessary tools and equipment
Before you begin the installation process, it’s important to gather all the necessary tools and equipment. Having everything you need on hand will ensure a smooth and efficient installation. Here’s a list of items you’ll need:
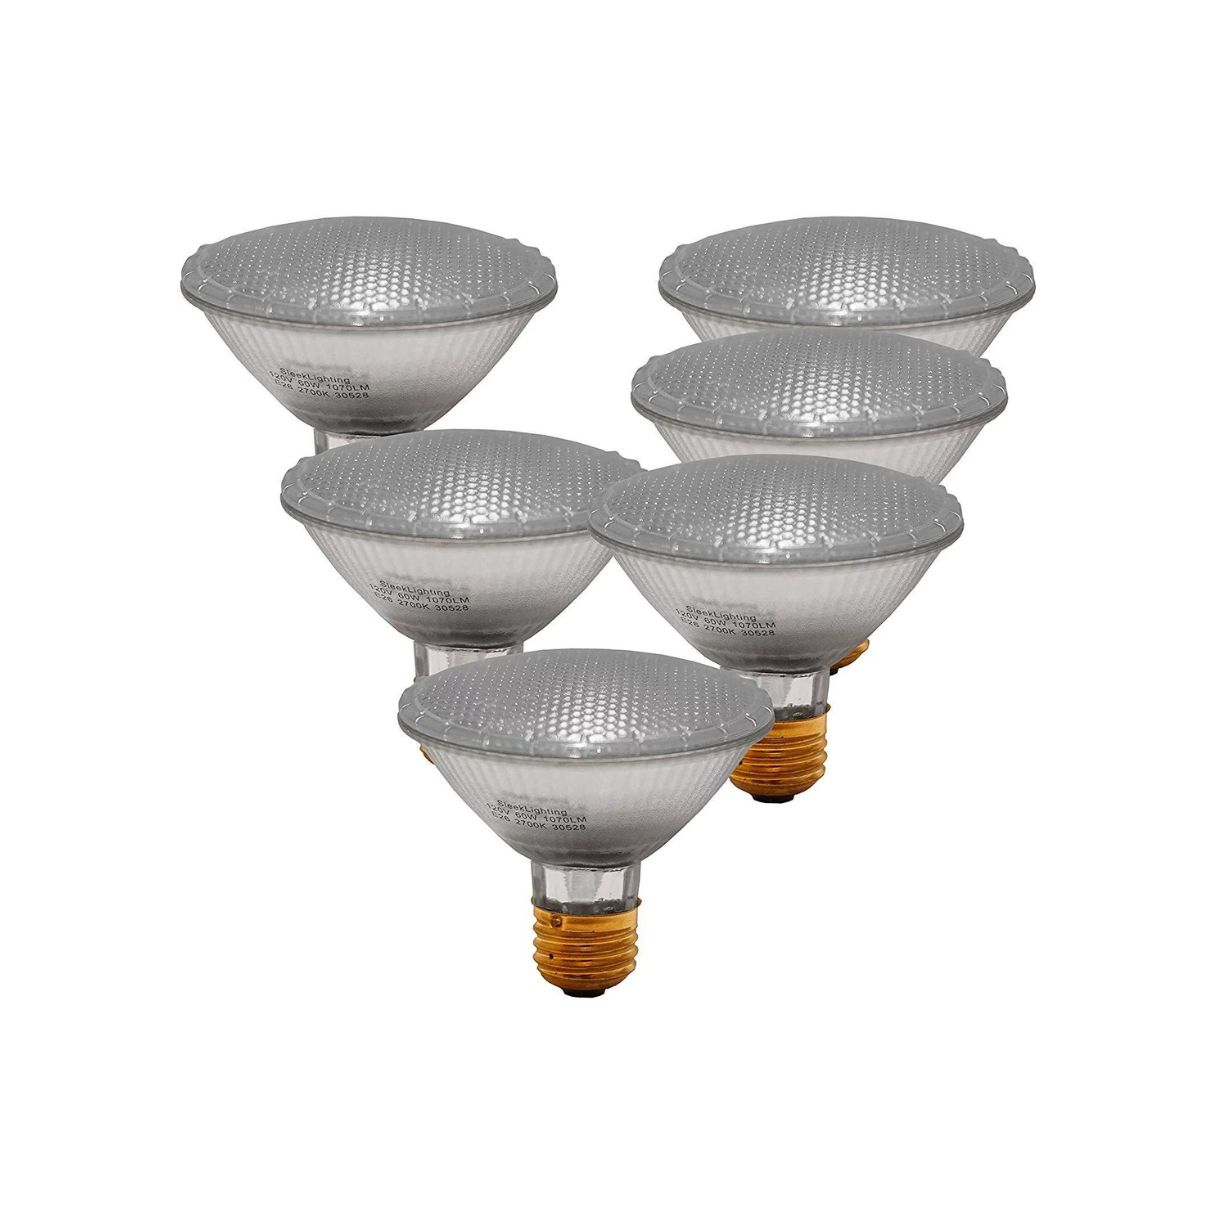
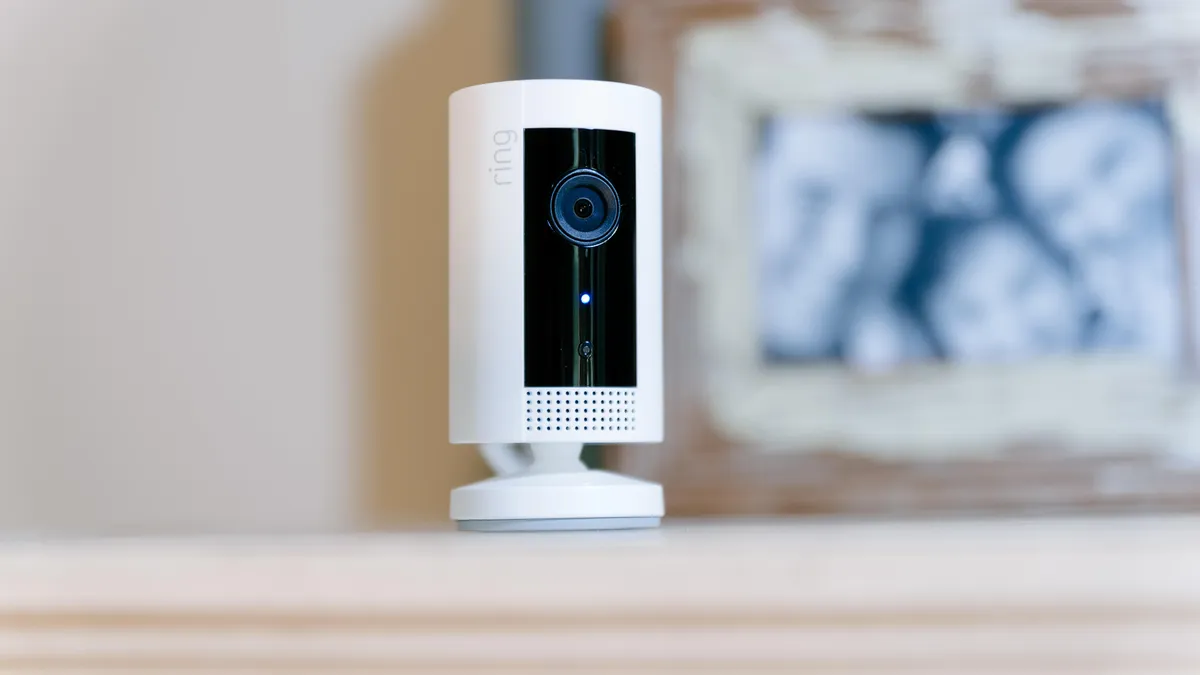
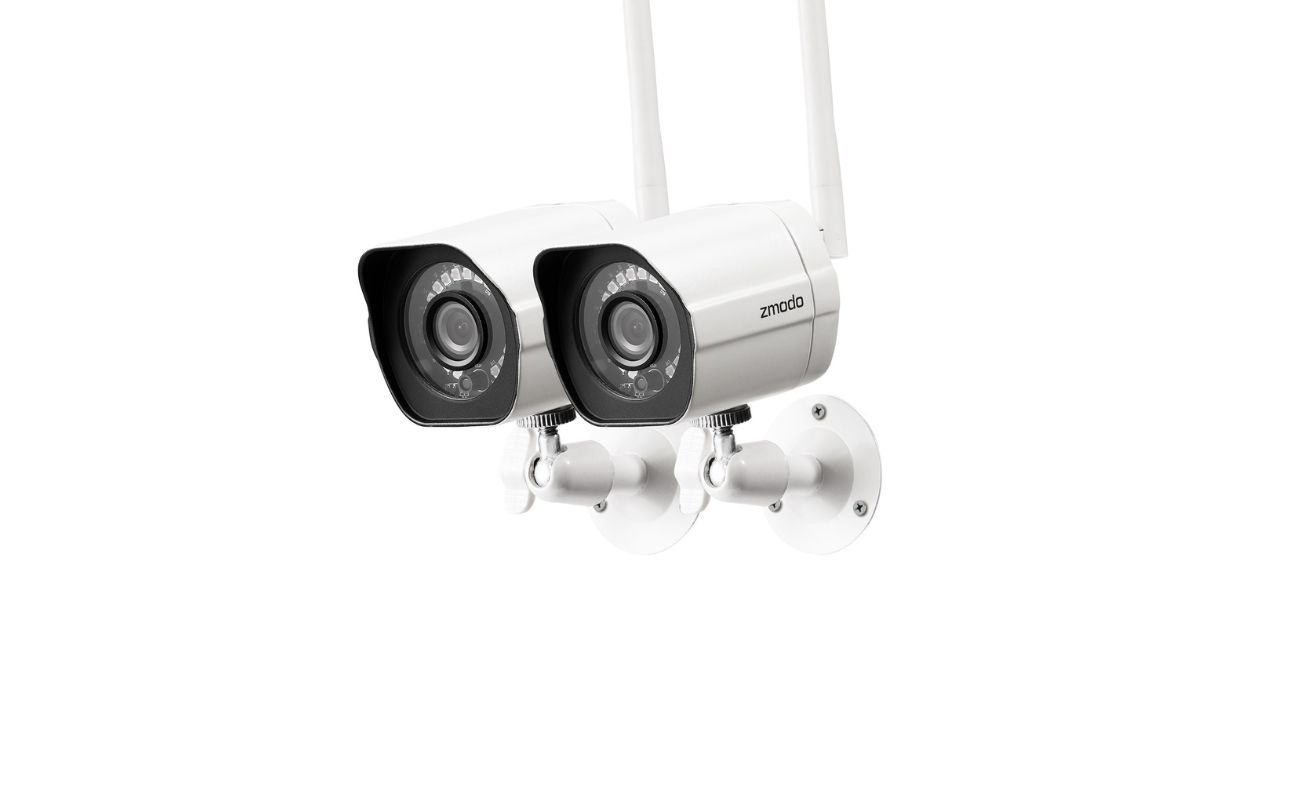
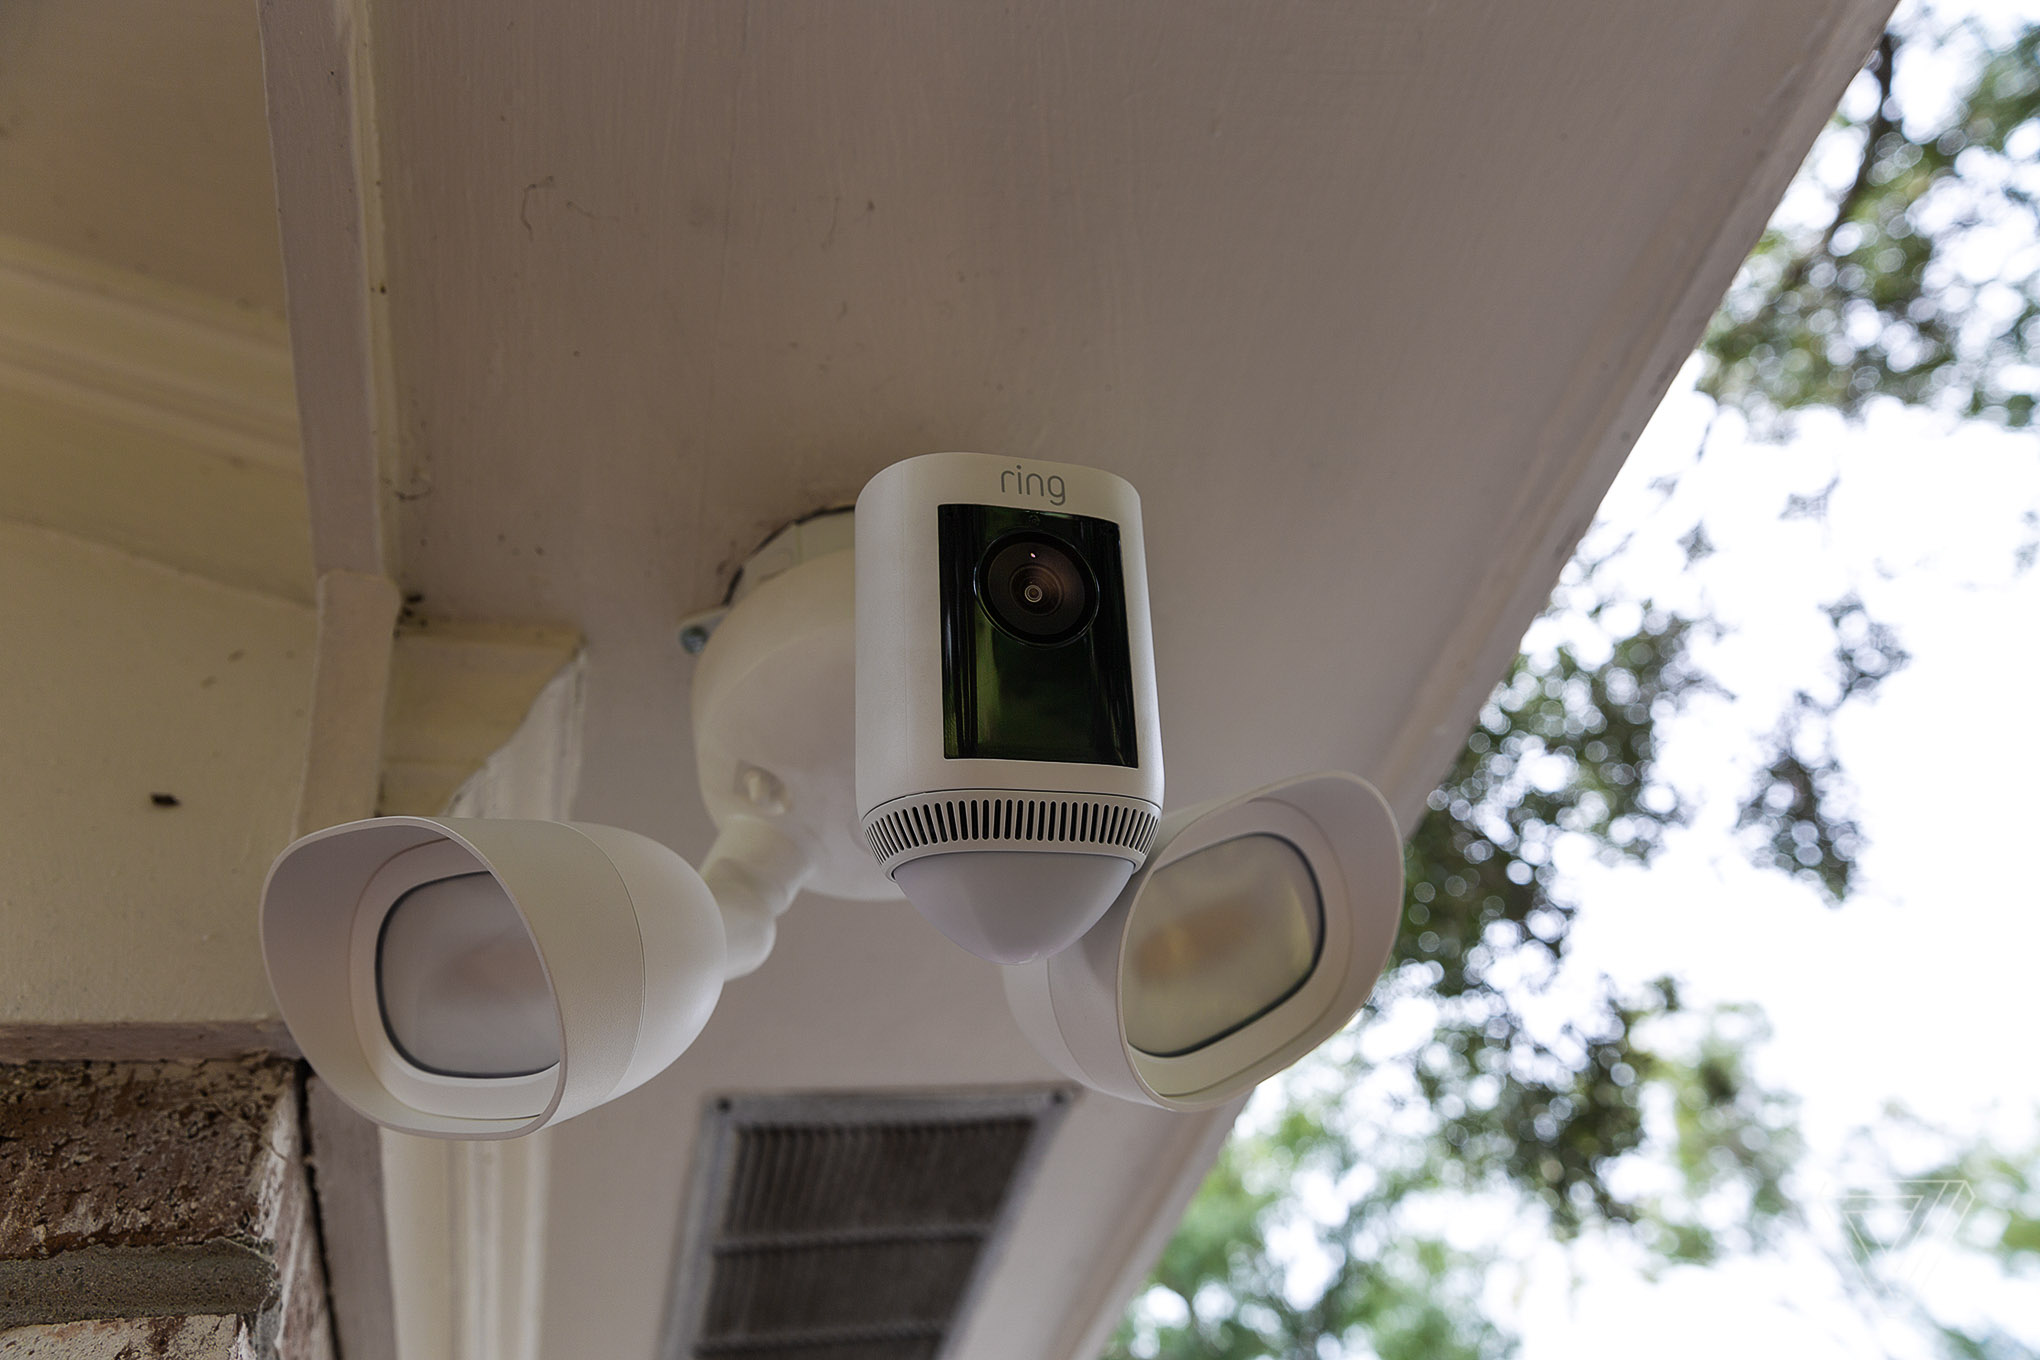
- Flood light security camera: Choose a high-quality camera that meets your specific needs. Consider factors such as resolution, night vision capabilities, and weatherproofing.
- Mounting bracket: This will be used to attach the camera to the desired location. Make sure it is sturdy and compatible with your camera model.
- Power drill: You’ll need a drill to make holes for mounting the camera and running the wiring.
- Drill bits: Have a set of drill bits in various sizes to accommodate different mounting brackets and wiring requirements.
- Screwdriver: Both flathead and Phillips-head screwdrivers will come in handy for securing the camera and other components.
- Power cable: Ensure you have a weatherproof power cable compatible with your camera and the electrical outlet you plan to use.
- Waterproof sealant: To protect the electrical connections from moisture and ensure longevity, have a good quality waterproof sealant on hand.
- Wire connectors: These will be used to secure and connect the wires during installation. It’s advisable to have a variety of connectors on hand for different wiring situations.
- Ladder or scaffold: Depending on the height at which you are installing the camera, you may need a stable ladder or scaffold to safely reach the desired location.
- Measuring tape: Use this to measure and mark the installation point accurately.
Once you have gathered all the necessary tools and equipment, you can proceed to the next step with confidence. Ensuring that you have everything on hand before starting the installation will save you time and avoid any unnecessary interruptions.
Now that you have all your tools and equipment ready, it’s time to move on to step 2: choosing the ideal location for installation.
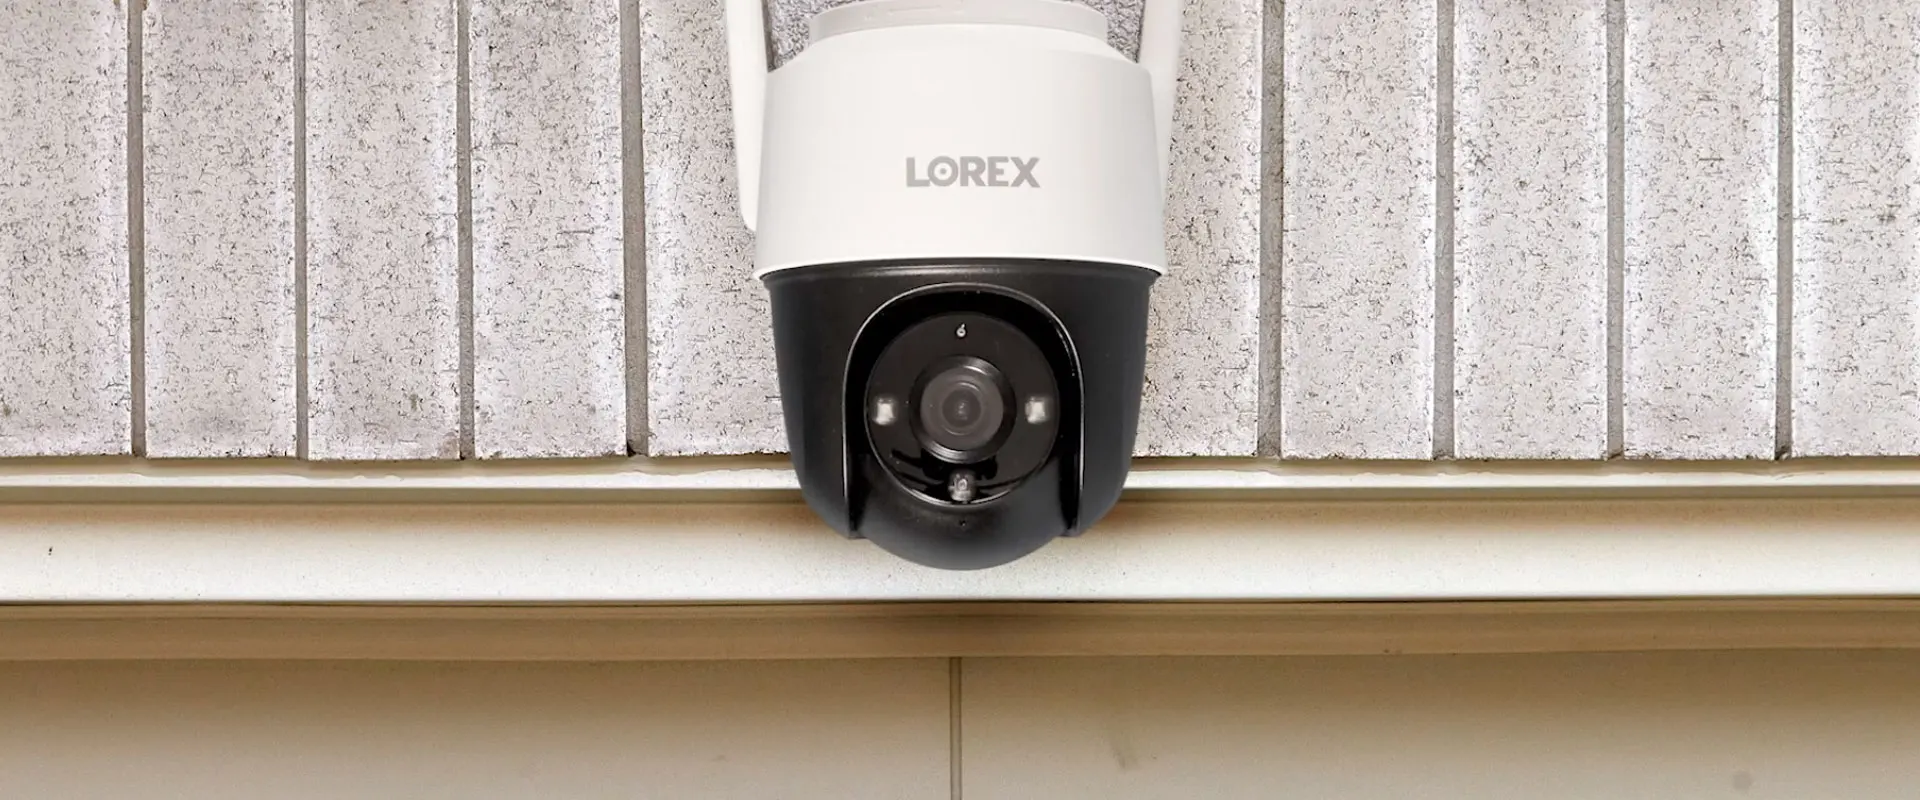
Step 2: Choose the ideal location for installation
Choosing the right location for your flood light security camera is crucial for optimal performance and coverage. Here are some factors to consider when selecting the installation spot:
- Visibility: Ensure that the camera has a clear line of sight to the area you want to monitor. Avoid obstructions such as trees, bushes, or walls that may block the camera’s view.
- Height: Mount the camera at a height that provides a wide-angle view of the desired area. This will help maximize coverage and minimize blind spots. The ideal height is typically around 8 to 10 feet above the ground.
- Accessibility: Consider the ease of access for maintenance and adjustments. You may need to clean the camera lens or make changes to the camera settings in the future, so choose a location that is easily reachable.
- Lighting conditions: Take into account the lighting conditions of the area you want to monitor. If the location is already well-lit, it may affect the camera’s night vision capabilities. In such cases, adjust the camera settings or consider installing additional lighting options.
- Power source: Ensure that the chosen location is within reach of a power outlet or has access to a power source. It is essential to provide a stable power supply for the camera to operate efficiently.
- Wi-Fi connectivity: If your flood light security camera requires a Wi-Fi connection, ensure that the chosen location is within range of your home’s Wi-Fi network. Weak signal strength can affect the camera’s performance.
Once you have considered these factors, take the time to physically inspect the potential installation spots. Test the camera’s view by holding it up at different angles and heights. Look for any potential blind spots or areas where the camera’s view may be hindered. It’s also important to ensure that the mounting surface is sturdy enough to support the weight of the camera and withstand environmental conditions.
After careful evaluation, choose the location that best meets your requirements. Remember, the goal is to have optimal coverage and a clear view of the area you want to monitor. Once you have selected the ideal location, you can proceed to the next step: mounting the flood light security camera.
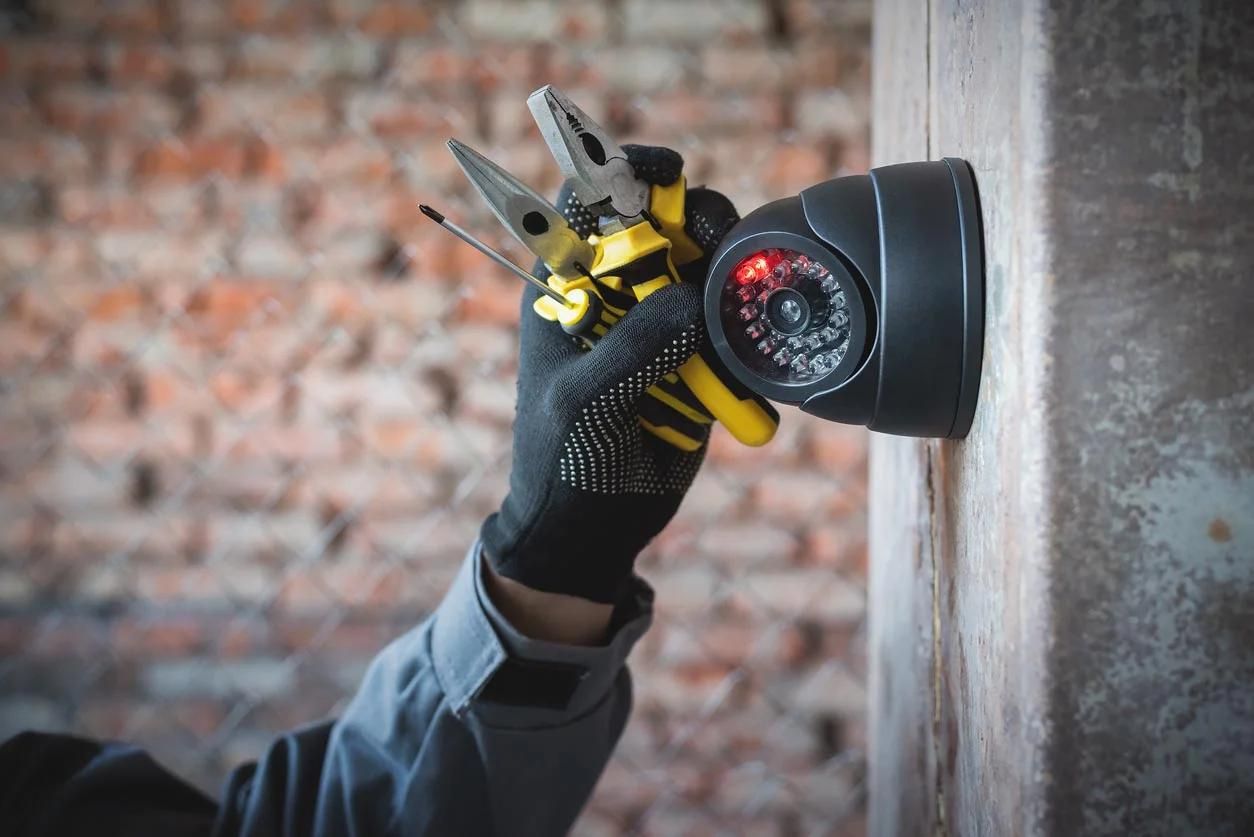
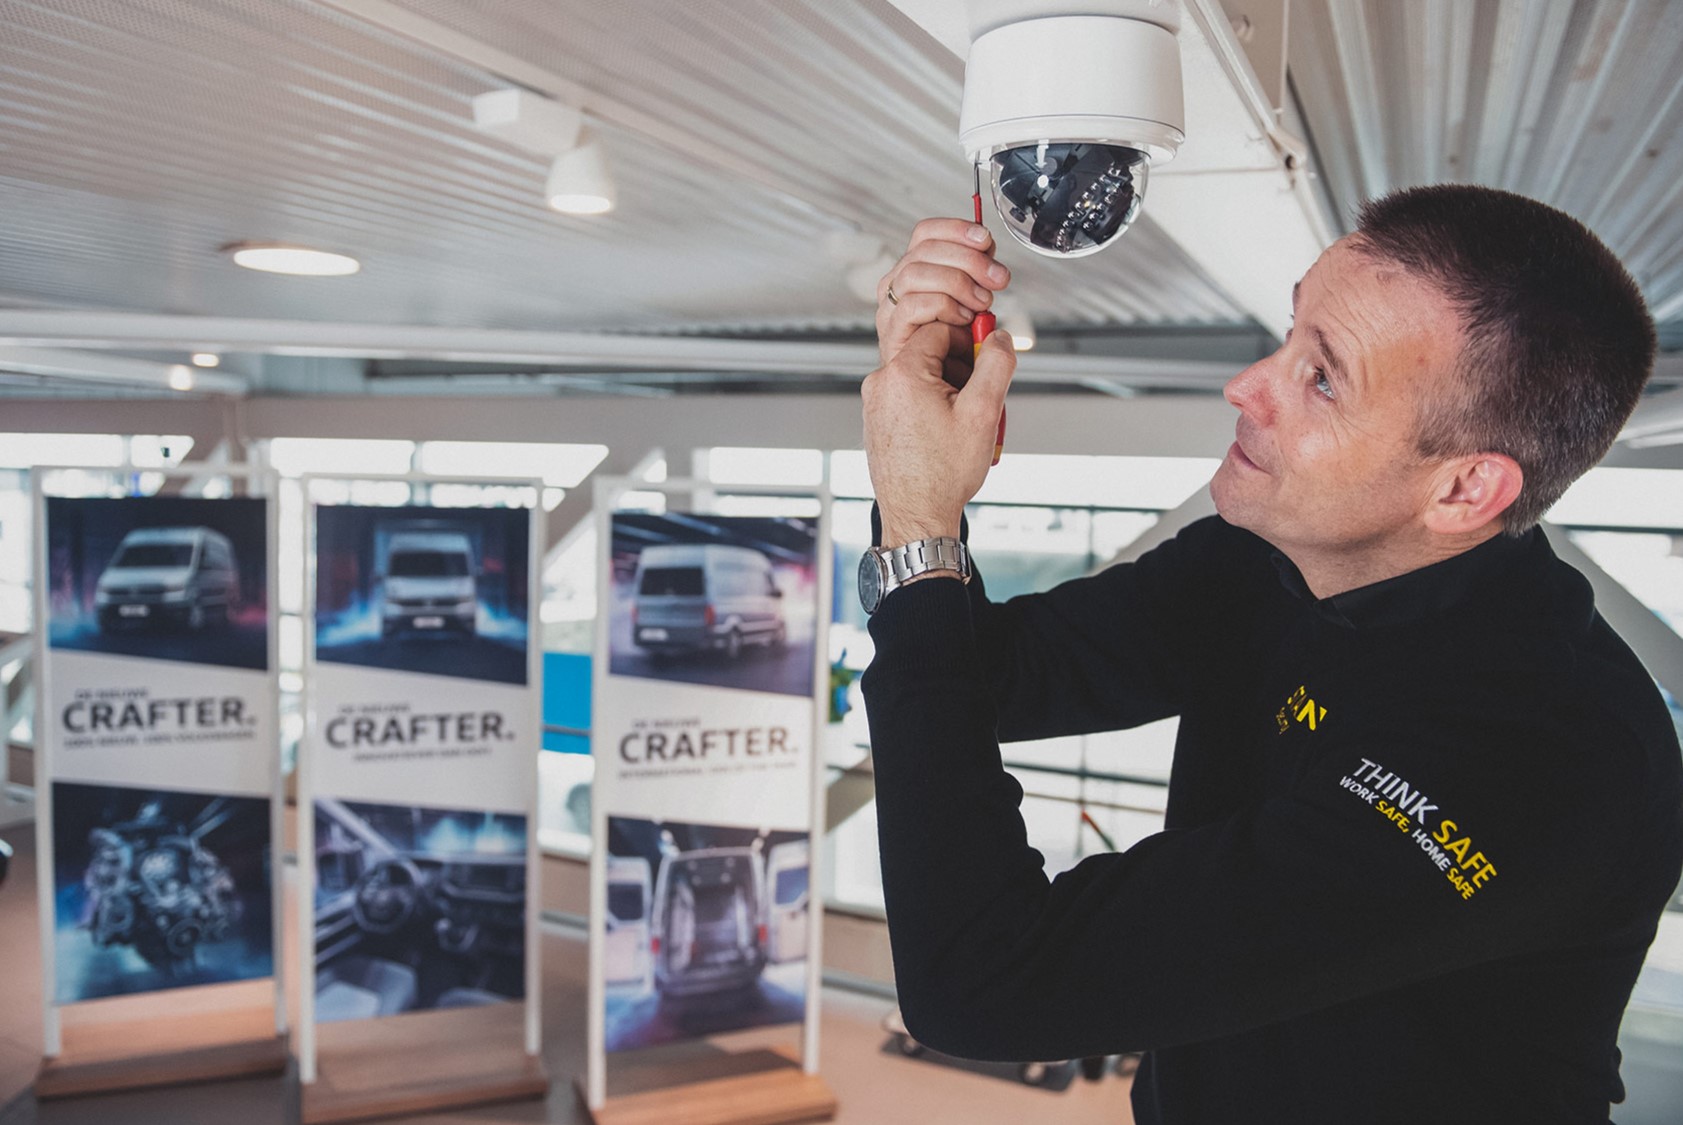
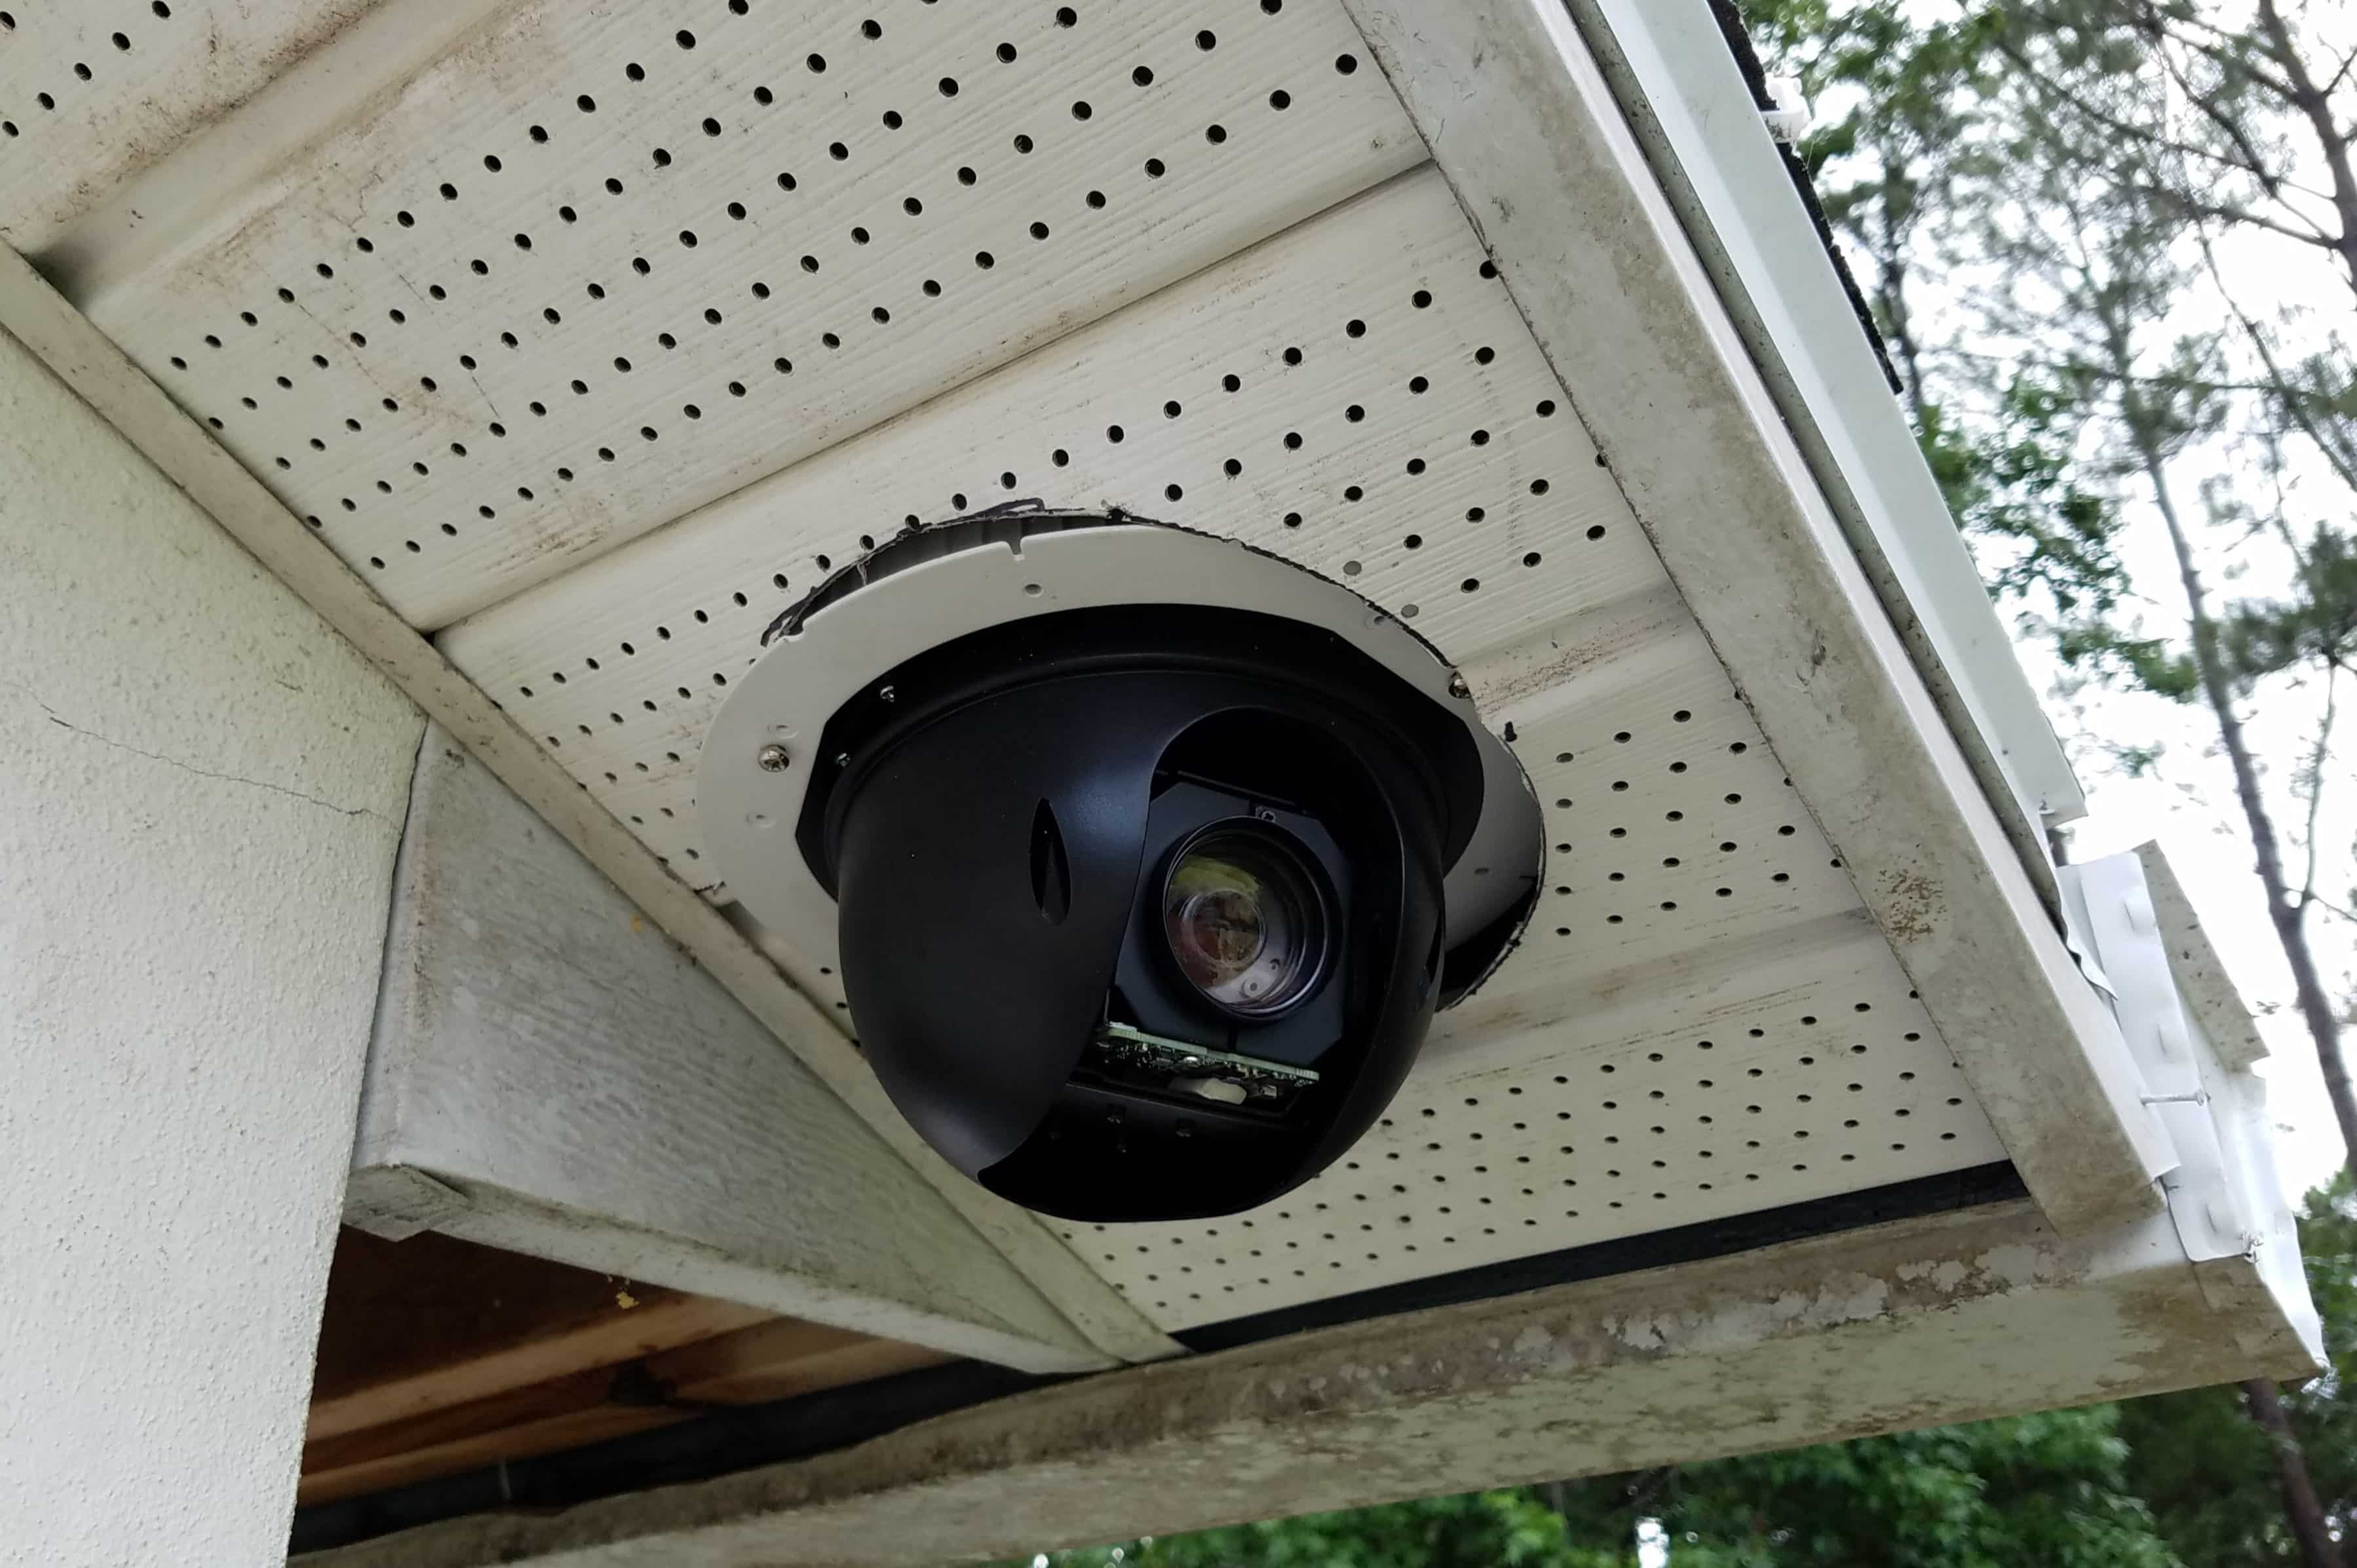
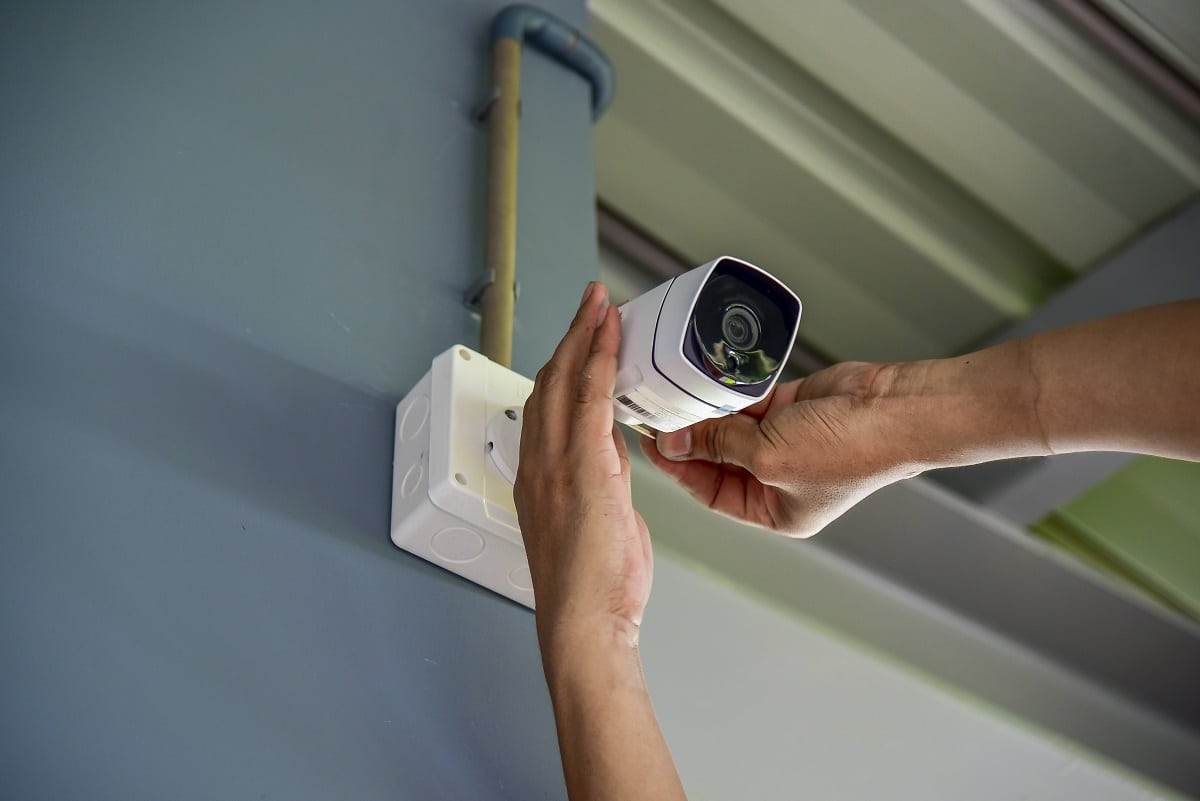
Step 3: Mounting the flood light security camera
Now that you have chosen the ideal location for your flood light security camera, it’s time to mount it securely. Follow these steps to ensure a proper and stable installation:
- Prepare the mounting bracket: Attach the mounting bracket to the back of the camera using the provided screws. Make sure it is firmly secured and aligned properly.
- Mark the mounting holes: Hold the camera against the chosen mounting surface and use a pencil or marker to mark the spots where the mounting holes will be drilled.
- Drill the pilot holes: Use a power drill with an appropriate drill bit to create pilot holes at the marked spots. Make sure the holes are the right size for the mounting screws.
- Attach the mounting bracket: Align the mounting bracket with the pilot holes and secure it to the mounting surface using the provided screws. Tighten them firmly but avoid overtightening, as it may damage the mounting surface or the camera.
- Adjust the camera angle: Depending on your desired monitoring area, adjust the camera angle by loosening the adjustment screws on the mounting bracket. Tilt the camera to the desired position and tighten the screws to secure it in place.
It’s important to ensure that the camera is mounted securely and is not loose or wobbly. A stable mount is necessary to prevent any movement or misalignment, which could affect the camera’s performance and coverage.
Once the camera is securely mounted, take a step back and assess the view. Ensure that the camera is pointing in the intended direction and capturing the desired field of view. Adjust the angle if necessary and tighten the screws to lock it in place.
Mounting the flood light security camera correctly is a crucial step in the installation process. A stable and properly positioned camera will capture clear and reliable video footage, providing effective home security and surveillance.
With the camera securely mounted, you can now proceed to the next step: wiring the flood light security camera.
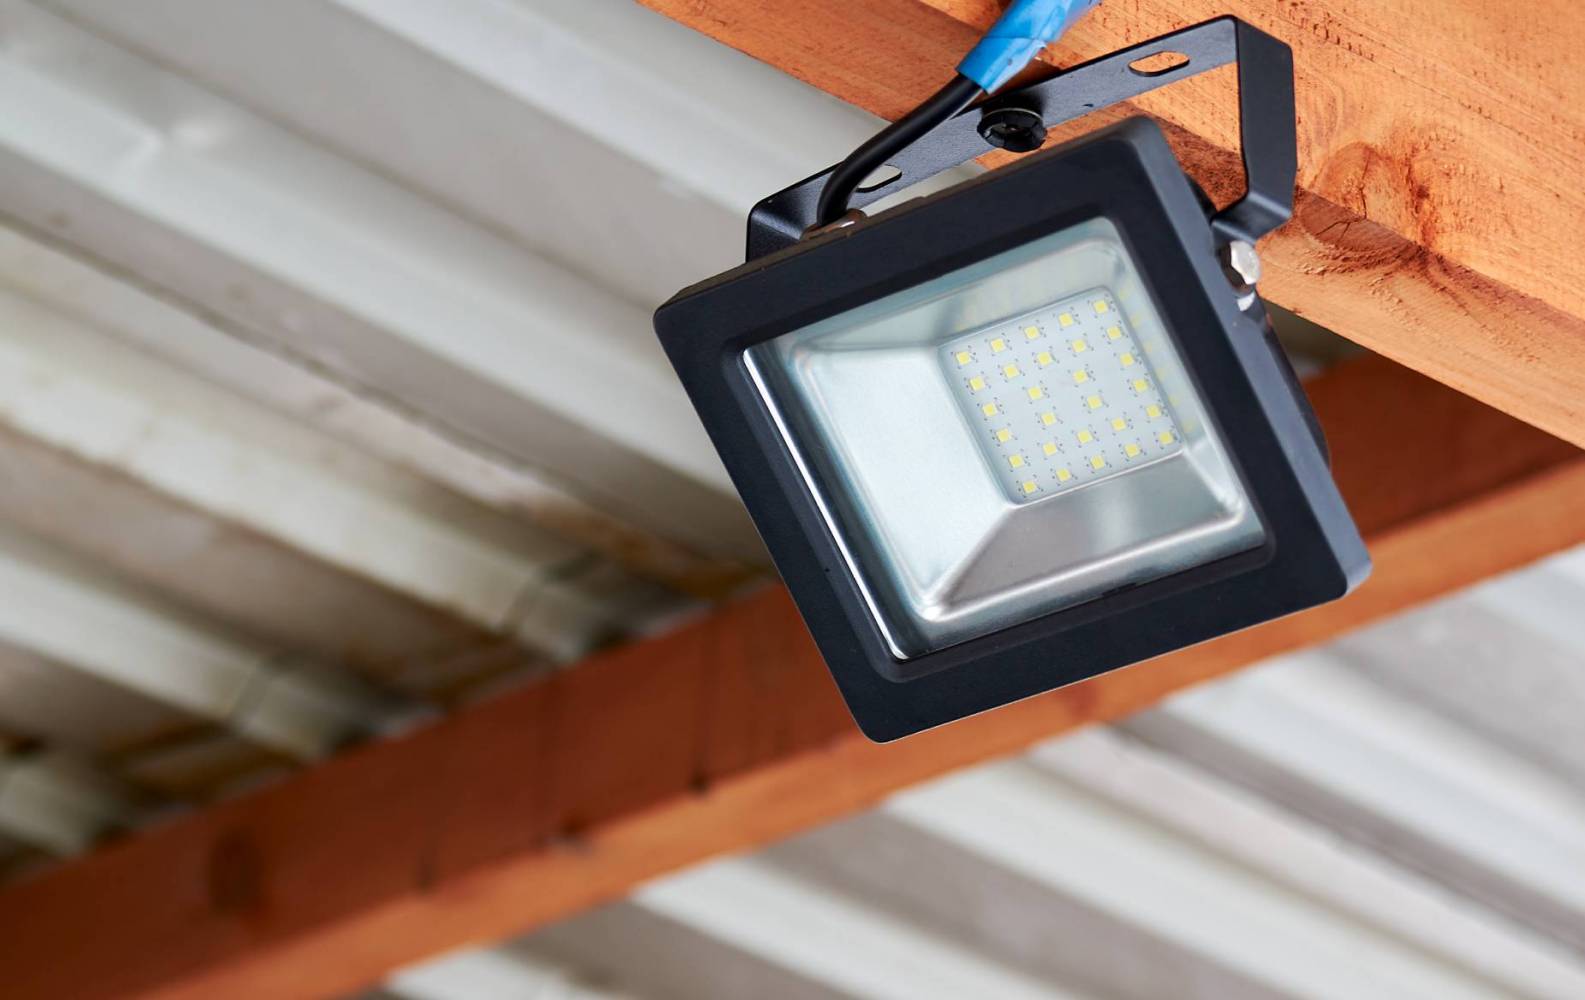
Step 4: Wiring the flood light security camera
Now that the flood light security camera is securely mounted, it’s time to connect the necessary wiring. Follow these steps to ensure a proper and safe wiring installation:
- Determine the routing of the power cable: Plan the path for running the power cable from the camera to the power source. It’s important to keep the cable protected and hidden as much as possible.
- Drill a hole for the power cable: Use a power drill with an appropriate drill bit to create a hole near the mounting surface for the power cable to run through. Make sure the hole is large enough to accommodate the cable.
- Feed the power cable: From the back of the camera, feed the power cable through the drilled hole and bring it out at the desired location where it will connect to the power source.
- Prepare the power cable: Strip the outer insulation of the power cable to expose the inner wires. Use wire strippers to strip approximately half an inch of insulation from the ends of the wires.
- Connect the power cable to the camera: Locate the power input on the camera and match the colors of the wires. Typically, red is for positive (live) and black is for negative (ground). Use wire connectors to securely connect the power cable to the camera.
- Connect the power cable to the power source: Depending on the type of power source, you may need to connect the wires directly or use a power adapter. Follow the manufacturer’s instructions to safely and securely connect the power cable to the power source.
- Secure and conceal the power cable: Use cable clips or zip ties to secure the power cable along the routed path. Make sure to keep the cable away from sharp edges or moving parts and ensure it is hidden as much as possible for aesthetic purposes.
When wiring the flood light security camera, it’s crucial to follow safety precautions and guidelines. Ensure that the power source is disconnected during the installation process to prevent electric shock or shorts.
Once the power cable is securely connected and routed, give it a gentle tug to ensure it is properly seated and won’t come loose. Check for any exposed or damaged wires and use electrical tape or heat shrink tubing to repair any issues.
Wiring the flood light security camera properly is essential for its functionality and longevity. By following these steps and taking the necessary precautions, you’ll have a solid electrical connection and can move on to the next step: setting up the camera and flood light settings.
When installing a flood light security camera, make sure to mount it high enough to capture a wide area, but low enough for easy maintenance and access to the controls.
Read more: How To Install Motion Detector Flood Lights
Step 5: Setting up the camera and flood light settings
With the flood light security camera properly mounted and wired, it’s time to configure the camera and flood light settings. Follow these steps to ensure optimal performance and functionality:
- Access the camera settings: Refer to the manufacturer’s instructions to access the camera settings. This is typically done through a mobile app or a web-based interface.
- Connect the camera to your home network: Follow the instructions to connect the camera to your home Wi-Fi network. This step may involve scanning a QR code or manually entering the network details.
- Set up motion detection: Enable the motion detection feature on the camera. Adjust the sensitivity and detection zone settings according to your preferences. This will allow the camera to trigger recording or send notifications when motion is detected.
- Configure recording options: Choose the desired recording options, whether it’s continuous recording, scheduled recording, or event-triggered recording. Set the recording duration and storage preferences to suit your needs.
- Adjust flood light settings: If your flood light security camera has adjustable flood light settings, configure them according to your requirements. You can adjust the brightness, duration, and sensitivity to suit your preferences and maximize security.
- Test the camera and flood light: Once the settings are configured, test the camera and flood light functionality. Trigger the motion detection and ensure that the camera captures clear and accurate video footage. Activate the flood light and check if it illuminates the desired area effectively.
- Install the accompanying mobile app: If your camera has a dedicated mobile app, install it on your smartphone or tablet. This app will allow you to access and control the camera remotely, view live footage, and receive alerts on the go.
It’s important to familiarize yourself with the camera settings and explore the various options available. Each camera model may have different features and settings, so refer to the user manual or the manufacturer’s website for detailed instructions.
By properly setting up the camera and flood light settings, you’ll ensure that your flood light security camera operates as intended, providing you with reliable security and surveillance for your home.
Once you have completed the camera and flood light settings, it’s time to move on to step 6: testing and adjusting the flood light security camera.
Step 6: Testing and adjusting the flood light security camera
Now that you have configured the camera and flood light settings, it’s essential to test and adjust the flood light security camera to ensure optimal performance. Follow these steps to complete the testing process:
- Check the camera’s field of view: Verify that the camera is capturing the desired field of view and there are no blind spots. Adjust the camera angle if necessary to ensure optimal coverage.
- Trigger the motion detection: Test the camera’s motion detection feature by walking into the monitored area. Verify that the camera starts recording or sends notifications as expected. Adjust the sensitivity settings if needed to minimize false alarms or increase detection efficiency.
- Test night vision capabilities: If your flood light security camera has night vision capabilities, test it in low-light or dark conditions. Ensure that the night vision mode automatically activates and provides clear and detailed footage.
- Adjust the flood light settings: Activate the flood light and assess its illumination range and brightness. Make any necessary adjustments to ensure it adequately lights up the monitored area without causing excessive glare or shadows.
- Check the camera’s connectivity: Ensure that the camera maintains a stable connection to your home network. Test the live viewing feature on the mobile app or web interface and verify that the camera’s feed is accessible from remote locations.
- Review recorded footage: After testing the camera’s live viewing and motion detection, review the recorded footage to confirm its clarity and quality. Check for any issues such as pixelation, blurriness, or distorted audio.
As you test and adjust the flood light security camera, take note of any limitations or areas for improvement. Consider factors such as positioning, lighting conditions, and camera settings to optimize the functionality of the system.
Keep in mind that testing and adjusting the camera may require multiple iterations to achieve the desired results. Take the time to fine-tune the settings and make necessary changes as you evaluate the camera’s performance.
Once you are satisfied with the testing and adjustment process, you can proceed to the final step: final considerations and troubleshooting tips.
Step 7: Final considerations and troubleshooting tips
Congratulations on successfully installing and testing your flood light security camera! As you wrap up the installation process, here are some final considerations and troubleshooting tips to ensure continued functionality and optimal performance:
- Regular maintenance: Schedule regular maintenance for your flood light security camera. Clean the lens periodically to remove any dirt or debris that may obstruct the view. Check the wiring connections to ensure they are secure and free from damage.
- Monitor the camera’s performance: Keep an eye on the camera’s performance and video quality. If you notice any issues such as blurry images, distorted audio, or frequent connectivity problems, refer to the troubleshooting tips provided by the manufacturer or consult with their support team.
- Update firmware: Stay up-to-date with the latest firmware updates for your camera. Manufacturers often release firmware updates to address security vulnerabilities and enhance performance. Regularly check for updates and follow the instructions to install them.
- Optimize camera placement: If you notice gaps in coverage or areas where the camera’s view is obstructed, consider adjusting the camera’s angle or installing additional cameras to ensure comprehensive surveillance.
- Adjust flood light settings: Periodically review and adjust the flood light settings, especially if there are changes in the lighting conditions or if you need to fine-tune the illumination range. Take note of any specific times or scenarios where the flood light may need to be adjusted, such as during certain weather conditions or seasonal changes.
- Review local regulations: Familiarize yourself with any local regulations or restrictions concerning the use of surveillance cameras. Ensure that your installation and use of the flood light security camera comply with applicable laws and regulations in your area.
Remember, troubleshooting and resolving any issues with your flood light security camera may require technical expertise or assistance. If you encounter persistent problems or have questions about specific functionalities, reach out to the manufacturer’s support team for guidance.
By following these final considerations and troubleshooting tips, you can ensure that your flood light security camera continues to provide reliable security and surveillance for your home.
With the installation process complete and these considerations in mind, you can now enjoy the enhanced security and peace of mind that come with a fully functional flood light security camera!
Conclusion
Installing a flood light security camera is a proactive step towards enhancing your home security and surveillance. By following the step-by-step guide outlined in this article, you can successfully install and set up a flood light security camera that meets your specific needs.
Throughout the installation process, we covered various steps, including gathering the necessary tools and equipment, choosing the ideal location for installation, mounting the camera securely, wiring the camera properly, configuring the camera and flood light settings, testing and adjusting the camera, and finally, considering some troubleshooting tips and final considerations.
By carefully considering each step and following the guidelines provided, you can ensure that your flood light security camera operates optimally, providing you with a sense of security and peace of mind. The combination of a floodlight and a surveillance camera offers a comprehensive solution for both illumination and monitoring, enhancing the overall security of your property.
Remember to perform regular maintenance, monitor the camera’s performance, and stay up-to-date with firmware updates to maintain the functionality and reliability of your flood light security camera. Additionally, be aware of local regulations and ensure compliance when installing and using your camera.
With your flood light security camera in place, you can monitor your property, deter potential intruders, and have the ability to capture clear video footage of any suspicious activity. Enjoy the convenience and peace of mind that comes with having a reliable home security system.
Thank you for following along with this comprehensive guide on how to install a flood light security camera. Stay vigilant and stay safe!
Frequently Asked Questions about How To Install A Flood Light Security Camera
Was this page helpful?
At Storables.com, we guarantee accurate and reliable information. Our content, validated by Expert Board Contributors, is crafted following stringent Editorial Policies. We're committed to providing you with well-researched, expert-backed insights for all your informational needs.