Home>Renovation & DIY>Tools & Equipment>How To Spackle Drywall Seams
Tools & Equipment
How To Spackle Drywall Seams
Published: December 19, 2023
Learn how to spackle drywall seams with our comprehensive guide. Discover the essential tools and equipment needed for flawless results.
(Many of the links in this article redirect to a specific reviewed product. Your purchase of these products through affiliate links helps to generate commission for Storables.com, at no extra cost. Learn more)
Introduction
Welcome to this comprehensive guide on how to spackle drywall seams. Spackling is an essential step in the process of finishing drywall, as it helps to create a smooth and seamless surface. Whether you’re a DIY enthusiast or a professional contractor, knowing how to spackle drywall seams properly is crucial to achieving professional-looking results.
In this article, we will walk you through the step-by-step process of spackling drywall seams. We’ll cover everything you need to know, from gathering the necessary materials to properly applying the spackle and achieving a smooth finish. So, grab your tools and let’s get started!
Key Takeaways:
- Master the art of spackling drywall seams by gathering the right materials, preparing the surface, and applying spackle carefully for a flawless, professional finish.
- Achieve seamless and polished results by allowing spackle to dry fully, sanding with care, and considering a second coat if needed. Clean up for a tidy work area and well-maintained tools.
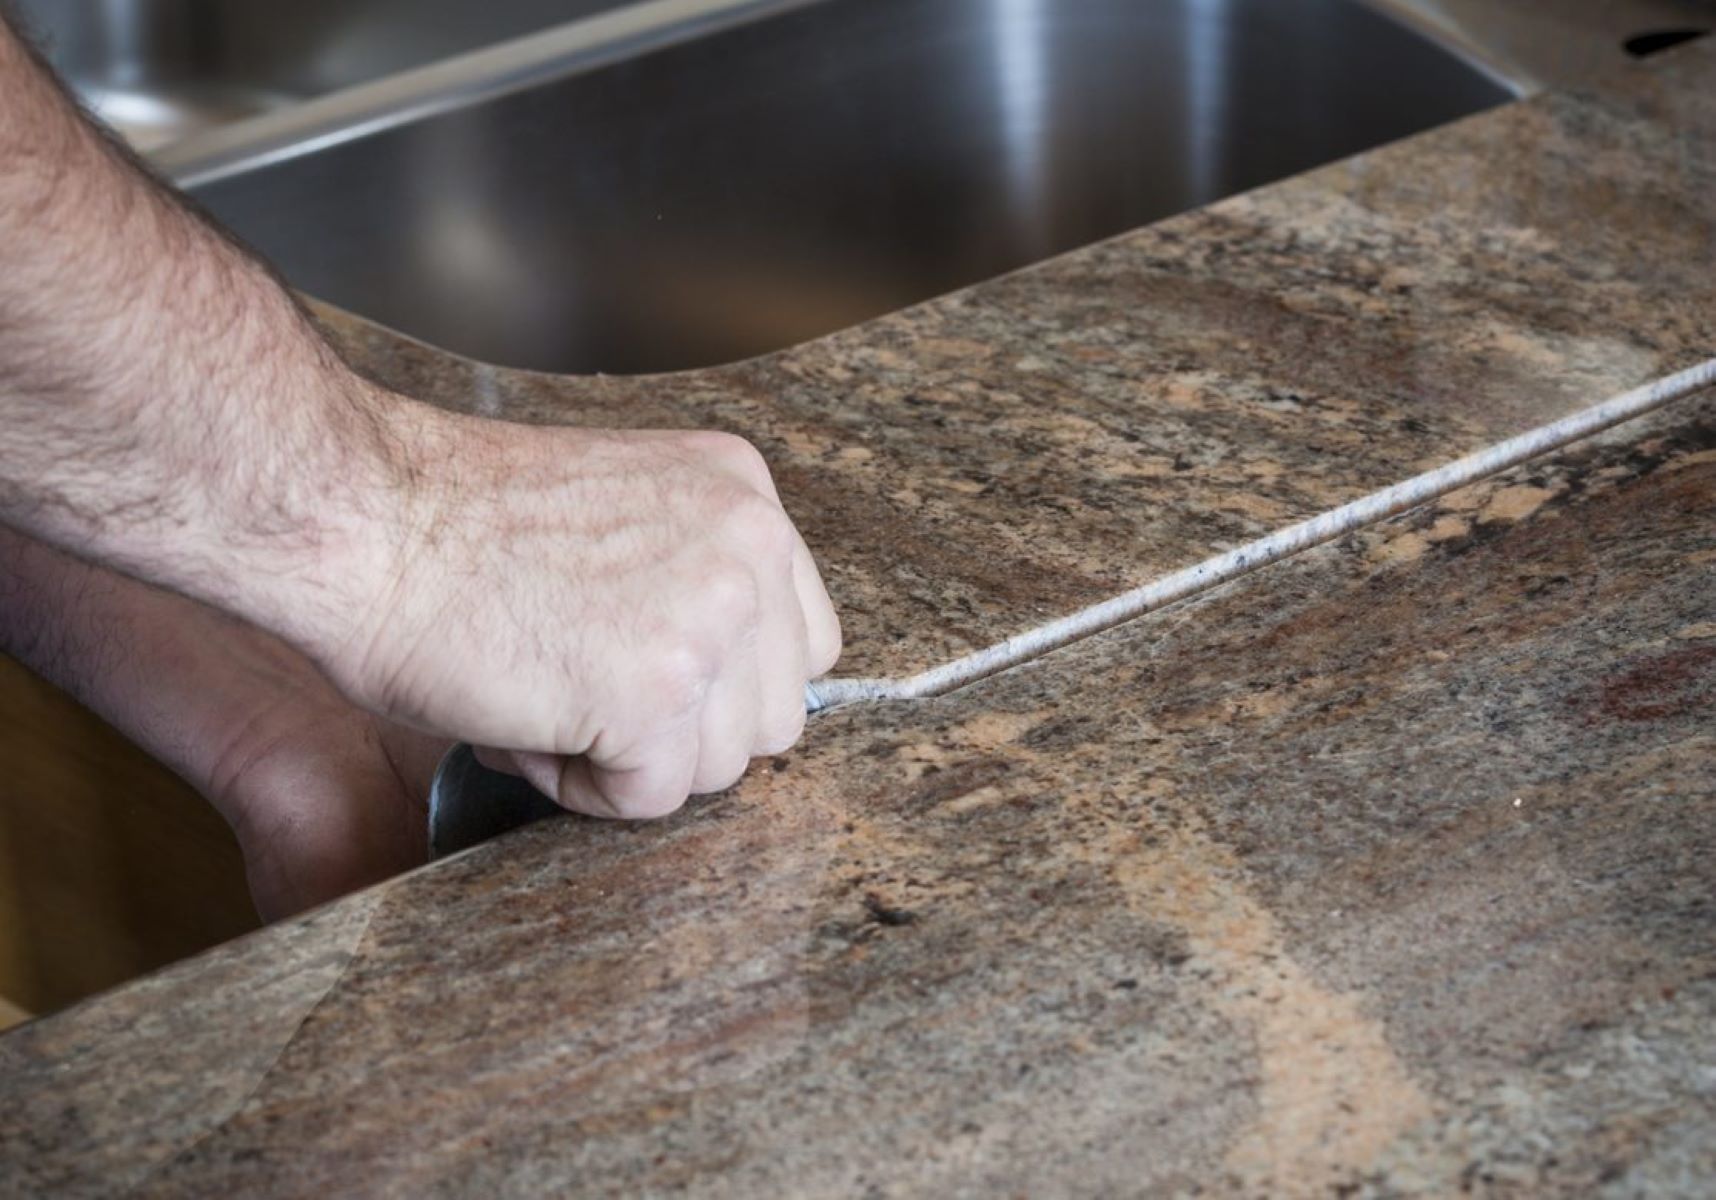
Read more: How To Seam Quartz Countertops
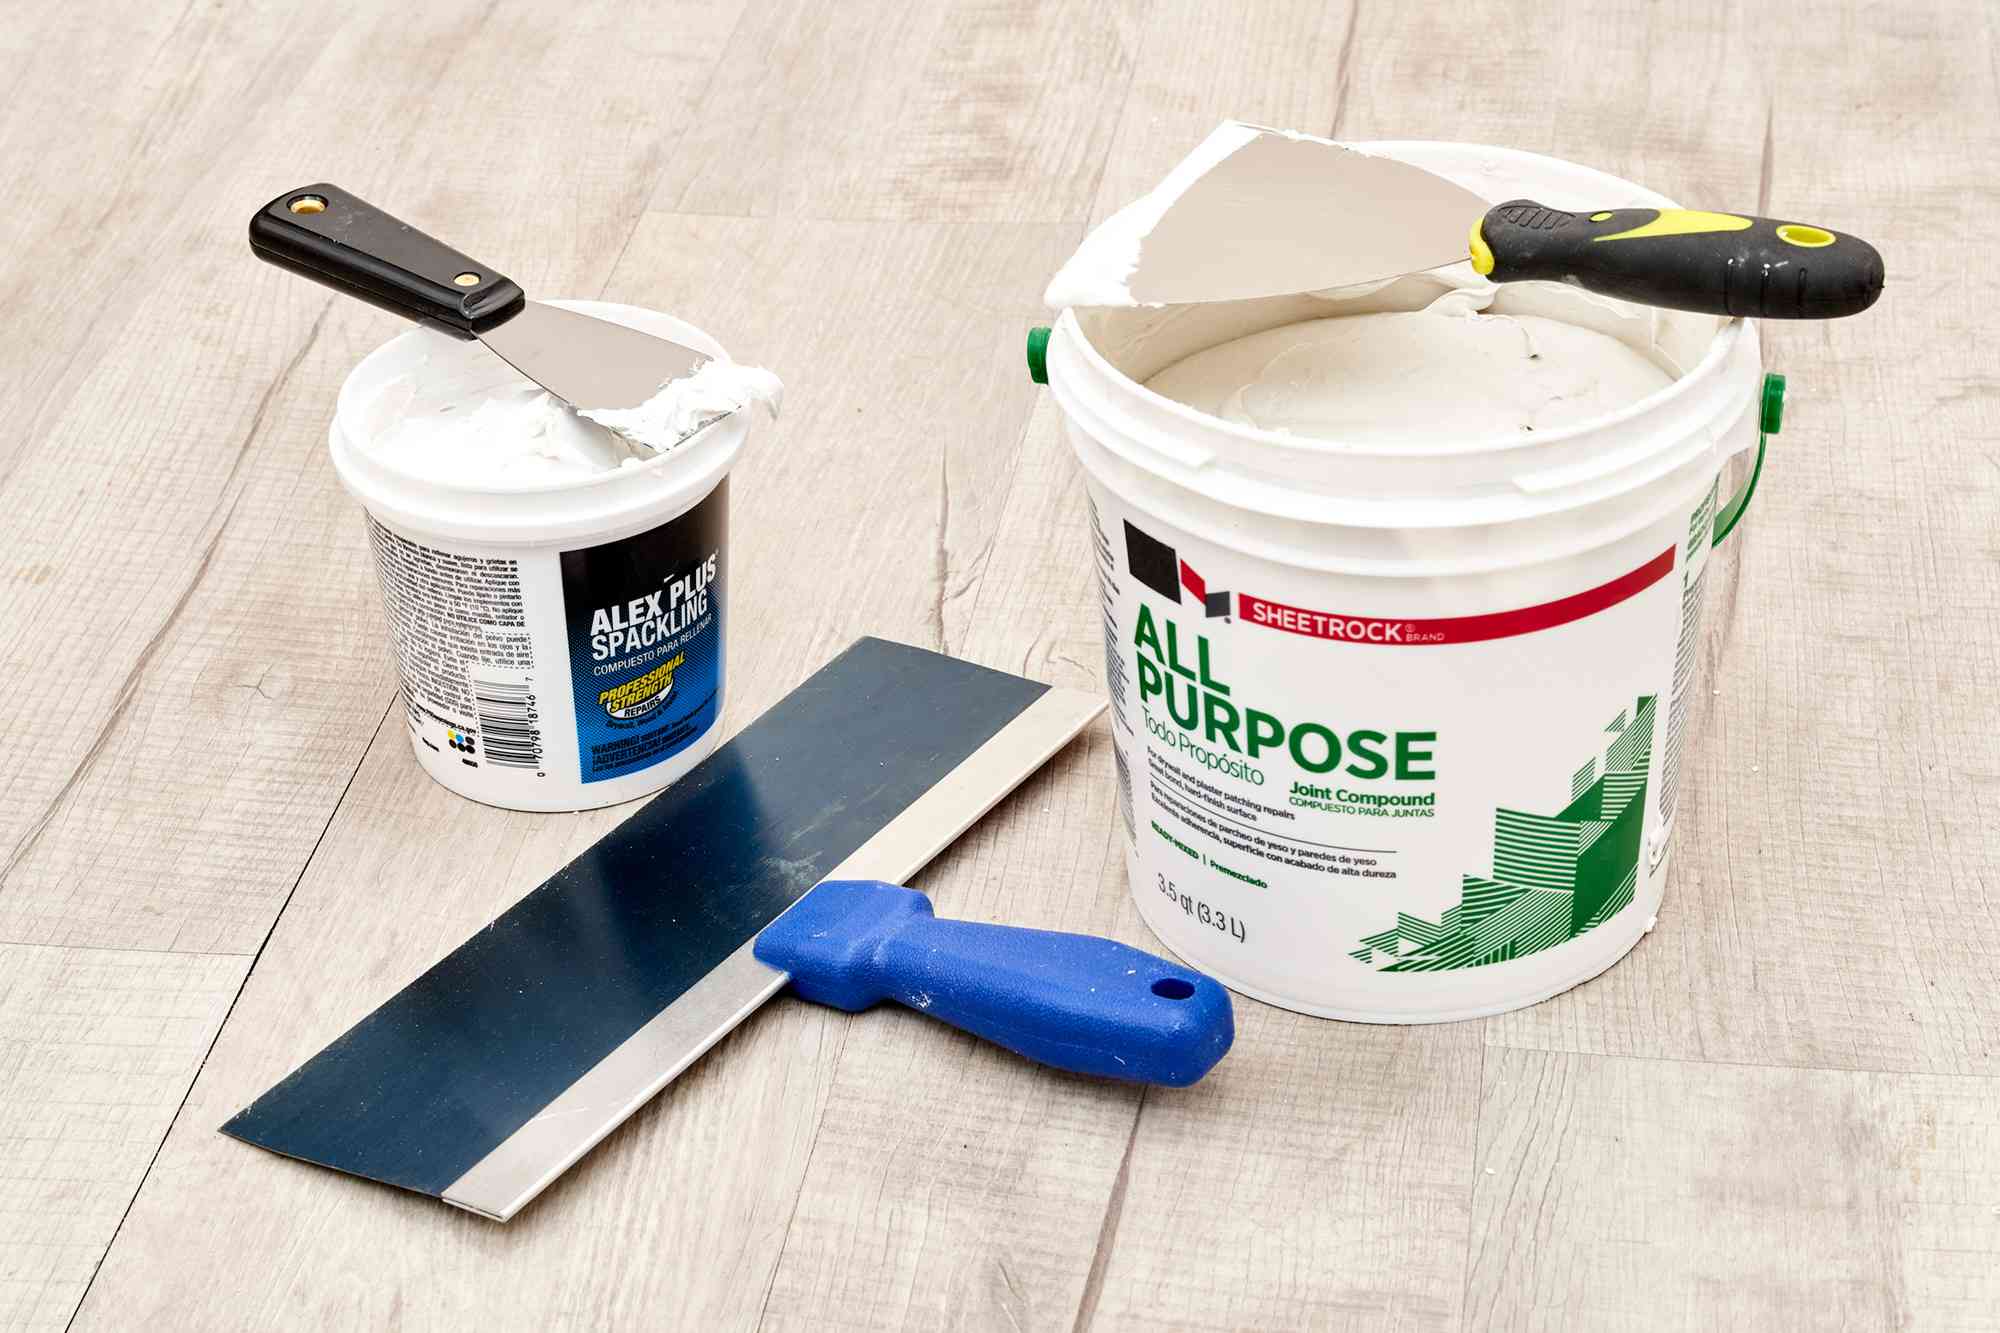
Materials Needed
Before you begin spackling drywall seams, it’s important to gather all the necessary materials. Having everything on hand will ensure a smooth and efficient process. Here are the materials you will need:
- Spackle compound: This is the main product you will use to fill and cover the drywall seams. Look for a high-quality spackle compound that is specifically designed for drywall repair.
- Putty knife: You’ll need a putty knife for applying and spreading the spackle compound. Choose a putty knife with a comfortable handle and a flexible stainless steel blade.
- Sandpaper: Sandpaper will be used to smooth and blend the spackled seams. Opt for fine-grit sandpaper for a smoother finish.
- Drywall tape: Drywall tape is used to reinforce the seams before applying the spackle. Choose self-adhesive mesh tape for ease of application.
- Sanding block: A sanding block is a helpful tool for sanding the spackled seams evenly. It provides greater control and stability than sanding by hand.
- Drop cloth or plastic sheet: To protect your work area from dust and debris, lay down a drop cloth or plastic sheet before you start spackling.
- Clean, damp cloth: Keep a clean, damp cloth on hand to wipe away any excess spackle and to clean your tools.
- Primer and paint: Once the spackle has dried and the seams are sanded smooth, you’ll need primer and paint to finish the wall. Choose a paint that matches the existing wall color.
By gathering all these materials in advance, you can work efficiently and effectively, ensuring the best results for your drywall spackling project.
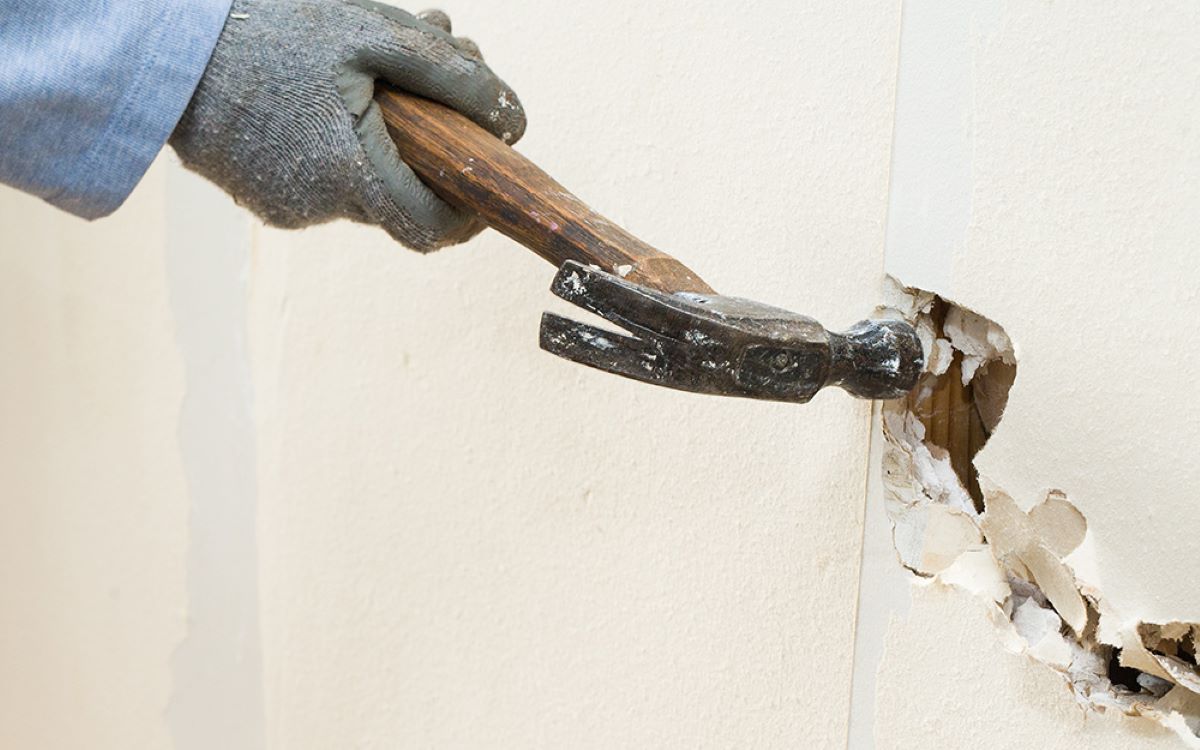
Step 1: Prepare the Drywall Seams
Before you start applying the spackle, it’s important to properly prepare the drywall seams. This involves cleaning the area and applying drywall tape to reinforce the seams. Follow these steps:
- Clean the area: Begin by cleaning the drywall seams with a clean, damp cloth to remove any dust, dirt, or debris. This will ensure that the spackle adheres well to the surface.
- Apply drywall tape: Next, apply self-adhesive drywall tape over the seams. Start at one end and carefully press the tape onto the seam, extending it along the entire length. Smooth out any wrinkles or bubbles with your fingers or a putty knife.
- Trim the excess tape: Once the tape is in place, use a utility knife to trim any excess tape at the ends of the seams. This will create a neater finish and prevent any raised edges.
Preparing the drywall seams ensures that they are reinforced and ready to be filled with spackle. Taking the time to do this step properly will result in a stronger and more durable finish.
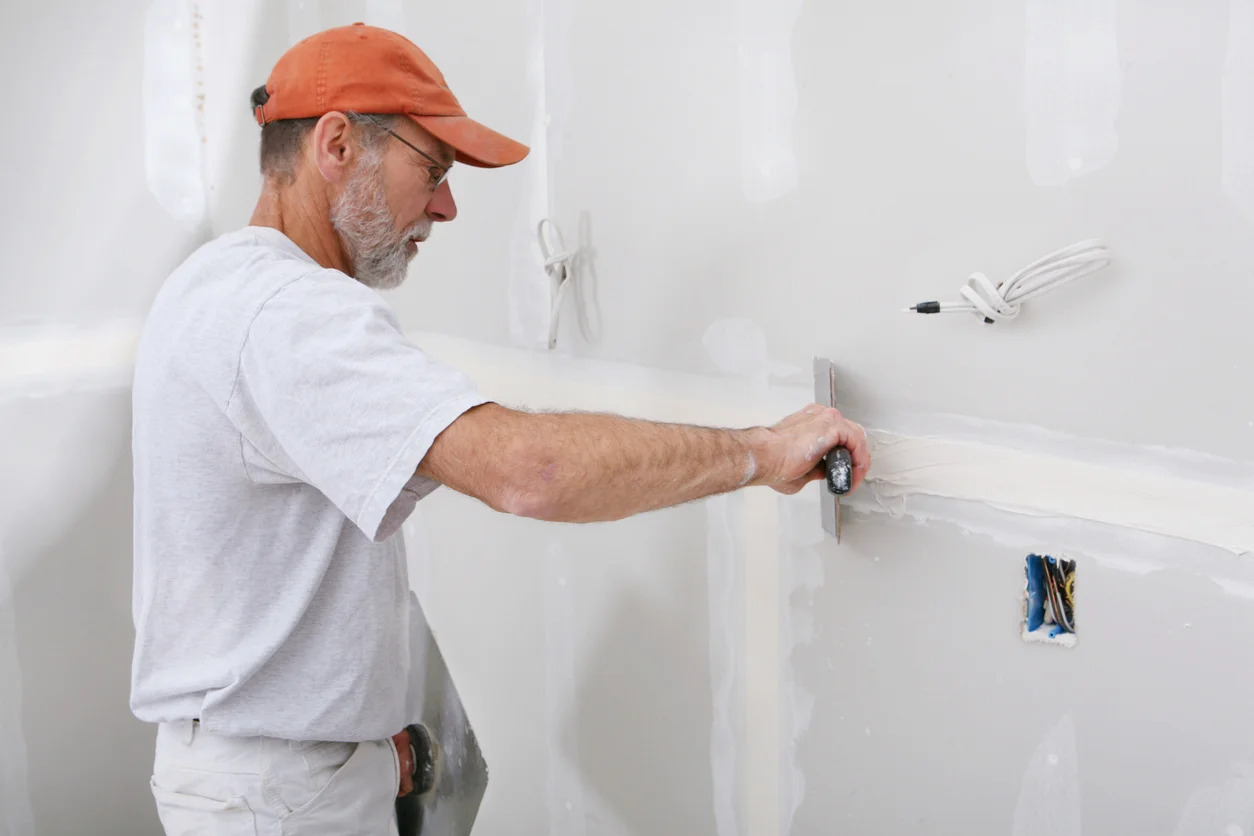
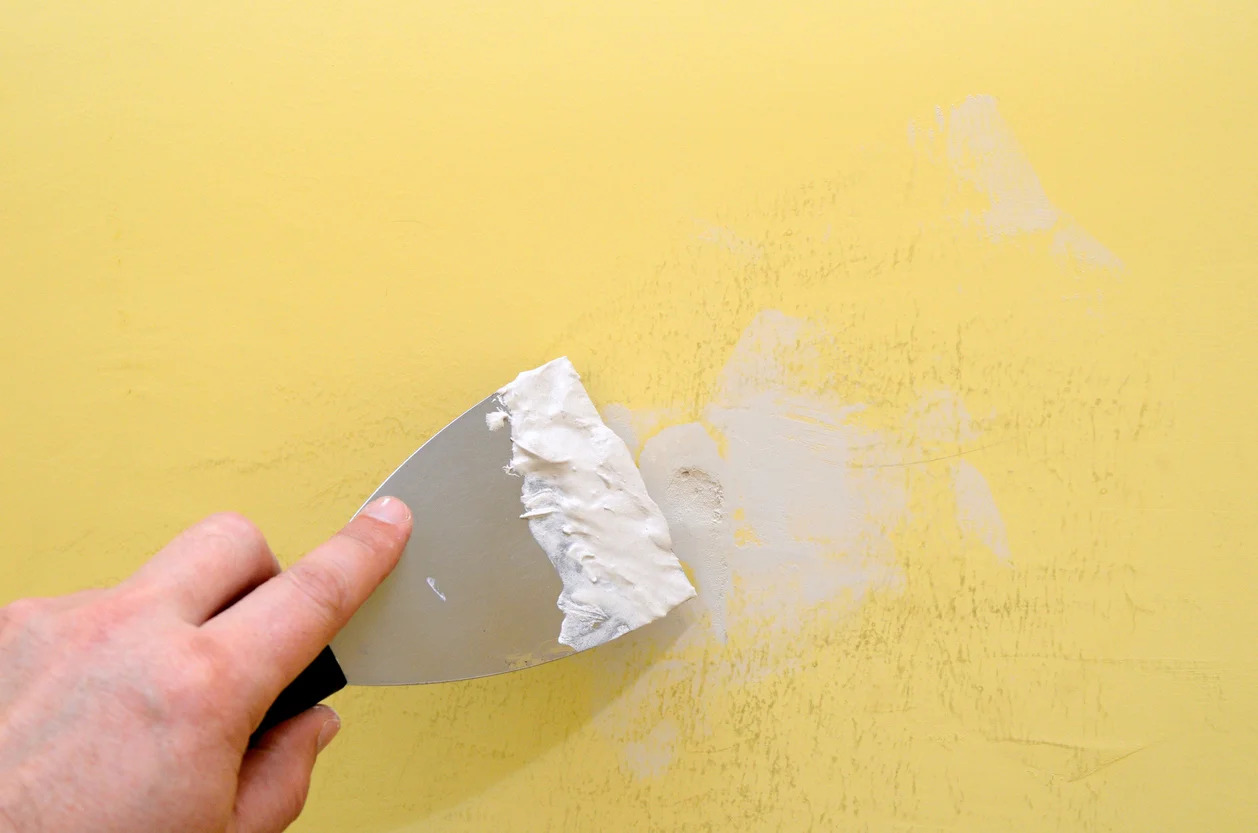
Step 2: Apply the Spackle
Now that the drywall seams are prepared, it’s time to start applying the spackle. Follow these steps for a smooth and even application:
- Load the putty knife: Take a small amount of spackle compound onto the blade of your putty knife. Start with a small amount to avoid excess buildup.
- Apply the spackle: Holding the putty knife at a slight angle, press the spackle compound onto the first seam. Apply firm and even pressure to ensure the spackle fills the seam completely.
- Smooth the spackle: Using the putty knife, carefully smooth the spackle along the length of the seam. Keep the pressure consistent to create a flat and seamless finish. Repeat this process for each seam.
- Remove excess spackle: Once the seams are filled, gently scrape off any excess spackle using the edge of the putty knife. This will help create a smoother surface and minimize the need for extensive sanding later on.
Take your time during this step to ensure that the spackle is applied evenly and covers the seams completely. Avoid applying too much pressure, as this can lead to uneven surfaces. Remember, you can always apply more spackle if needed, so start with a conservative amount.
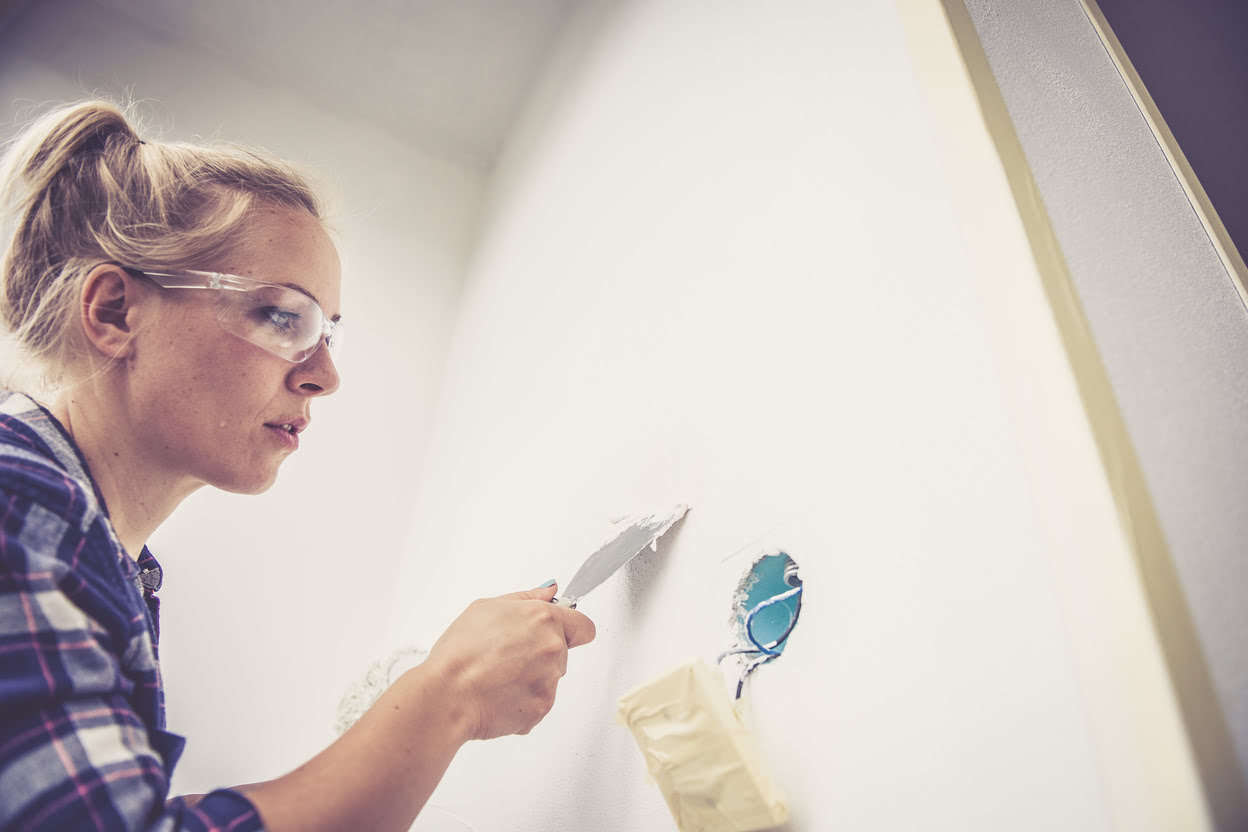
Step 3: Smooth and Blend the Spackle
After applying the spackle, the next step is to smooth and blend it for a seamless finish. Follow these steps to achieve a professional-looking result:
- Allow the spackle to partially dry: Before you begin smoothing the spackle, allow it to dry partially. This will make it easier to work with and prevent any smudging or unevenness.
- Use a damp sponge or cloth: Moisten a clean sponge or cloth with water. Lightly dampen the surface of the spackled seams to make them more malleable for blending.
- Gently blend the spackle: Using the damp sponge or cloth, gently smooth and blend the spackled areas. Make small circular motions or gentle strokes to create a seamless transition between the spackle and the surrounding drywall.
- Blend any visible lines: If you notice any visible lines or ridges, continue to blend them until they are no longer noticeable. This will help create a smoother finish.
Remember to be patient and gentle while blending the spackle. Applying too much pressure can remove the spackle from the seams and create unevenness. Take your time to ensure a seamless, well-blended surface.
When spackling drywall seams, make sure to use a wide putty knife to apply the spackle in a thin layer, feathering the edges for a smooth finish. Sand lightly between coats for best results.
Read more: What Is A Spackle
Step 4: Allow the Spackle to Dry
Once you have finished smoothing and blending the spackle, it’s crucial to allow it to dry completely. Drying time may vary depending on the brand and type of spackle compound used. Follow these guidelines to ensure proper drying:
- Refer to the manufacturer’s instructions: Check the label or instructions provided by the manufacturer of the spackle compound. They will often provide a recommended drying time.
- Avoid touching or disturbing the spackle: While the spackle is drying, it’s important to avoid touching or disturbing the surface. This can lead to smudging or indentations in the spackled areas.
- Provide proper ventilation: Make sure the room has proper ventilation to facilitate drying. Opening windows or using fans can help expedite the drying process.
It’s generally recommended to wait at least 24 hours for the spackle to dry completely. However, depending on the humidity and temperature in your area, it may take longer. Ensure that the spackle is fully dry before proceeding to the next step.
Properly allowing the spackle to dry is essential for achieving a durable and flawless finish. Rushing this step can result in cracking or unevenness when you move on to sanding and painting.
Step 5: Sand the Spackled Seams
Once the spackle is completely dry, it’s time to sand the spackled seams to create a smooth and uniform surface. Follow these steps to achieve a professional-quality finish:
- Gather your sandpaper: Choose a fine-grit sandpaper, such as 120-grit or higher. Attach it to a sanding block or use it by hand.
- Begin sanding: Start by sanding the spackled seams using light, circular motions. Be gentle and even in your strokes to avoid creating uneven surfaces.
- Check the progress: Frequently check the spackled areas to monitor your progress. As you sand, the spackle will start to blend with the surrounding drywall, creating a seamless finish.
- Smooth out imperfections: Pay close attention to any visible lines, bumps, or rough patches. Continue sanding until these imperfections are smooth and no longer noticeable.
- Keep the area clean: Regularly wipe away the dust and debris created from sanding using a clean, damp cloth. This will help you better assess your progress and prevent the dust from settling back onto the surface.
Take your time during the sanding process, focusing on achieving a uniform and smooth surface. Remember to be patient and avoid applying too much pressure, as this can remove the spackle or create unevenness. Once you are satisfied with the smoothness of the spackled seams, you can proceed to the next step.
Step 6: Optional: Apply a Second Coat
After sanding the spackled seams, you may find that the surface is not as smooth or seamless as you desire. In such cases, applying a second coat of spackle can help achieve a more polished finish. Follow these steps if you choose to apply a second coat:
- Inspect the spackled seams: Assess the spackled seams for any remaining imperfections. Look for areas where the spackle may appear thin or where the seams are still slightly visible.
- Load the putty knife: Load a small amount of spackle compound onto the blade of your putty knife, similar to the technique used in the initial application.
- Apply the second coat: Apply the spackle over the areas that require touch-up. Spread it evenly using the putty knife, ensuring that it blends seamlessly with the surrounding spackled surface.
- Smooth and blend: Use the same techniques as before to smooth and blend the second coat of spackle. Ensure that it is evenly applied and seamlessly integrates with the first coat.
- Allow the spackle to dry: Follow the same drying process as in Step 4, allowing the second coat of spackle to dry fully before proceeding to the next steps.
Applying a second coat of spackle is optional but can help refine the finish and address any remaining imperfections. It’s important to remember that each layer of spackle needs to dry fully before sanding and proceeding to the next steps.
Step 7: Clean Up
After completing the spackling process, it’s essential to clean up your work area and properly care for your tools. Follow these steps for a hassle-free cleanup:
- Remove and dispose of the drop cloth or plastic sheet: Carefully fold and remove the drop cloth or plastic sheet used to protect your work area. Dispose of any debris or dust that may have collected on it.
- Wipe down the surfaces: Use a clean, damp cloth to wipe down any remaining dust or debris from the walls and surrounding areas. This will ensure a clean surface for further finishing or painting.
- Clean your tools: Thoroughly clean your putty knife, sanding block, and any other tools used during the spackling process. Remove any dried spackle residue and rinse them with water. Dry the tools before storing them for future use.
- Dispose of waste: Properly dispose of any leftover spackle compound containers and drywall tape. Follow local regulations and guidelines for the disposal of these materials.
By taking the time to clean up after spackling, you ensure a tidy and organized work area for future projects. Keeping your tools clean and properly stored will also help maintain their effectiveness and prolong their lifespan.
Read more: How To Spackle Corners
Conclusion
Congratulations! You have successfully learned how to spackle drywall seams. By following the step-by-step instructions in this guide, you can achieve professional-quality results and transform your walls into a smooth and seamless surface.
Remember, proper preparation, application, and finishing techniques are key to achieving a flawless spackling job. Take the time to gather the necessary materials, clean and reinforce the drywall seams, and apply the spackle carefully and evenly. Allow the spackle to dry fully before sanding and blending, and consider applying a second coat if needed. Finally, clean up your work area and tools to ensure a tidy and organized space.
Whether you’re tackling a small DIY project or working as a professional contractor, mastering the art of spackling drywall seams is a valuable skill. With practice, you’ll be able to achieve smooth and seamless finishes and create a polished look for any room.
Now that you have the knowledge and skills, it’s time to put them into practice. Grab your tools, gather your materials, and start spackling those drywall seams with confidence!
Frequently Asked Questions about How To Spackle Drywall Seams
Was this page helpful?
At Storables.com, we guarantee accurate and reliable information. Our content, validated by Expert Board Contributors, is crafted following stringent Editorial Policies. We're committed to providing you with well-researched, expert-backed insights for all your informational needs.


0 thoughts on “How To Spackle Drywall Seams”