Furniture
How To Clean Old Dresser Hardware
Modified: January 4, 2024
Learn the best techniques for cleaning old furniture hardware, including dresser handles and hinges. Restore the beauty and functionality of your vintage dresser with these easy steps.
(Many of the links in this article redirect to a specific reviewed product. Your purchase of these products through affiliate links helps to generate commission for Storables.com, at no extra cost. Learn more)
Introduction
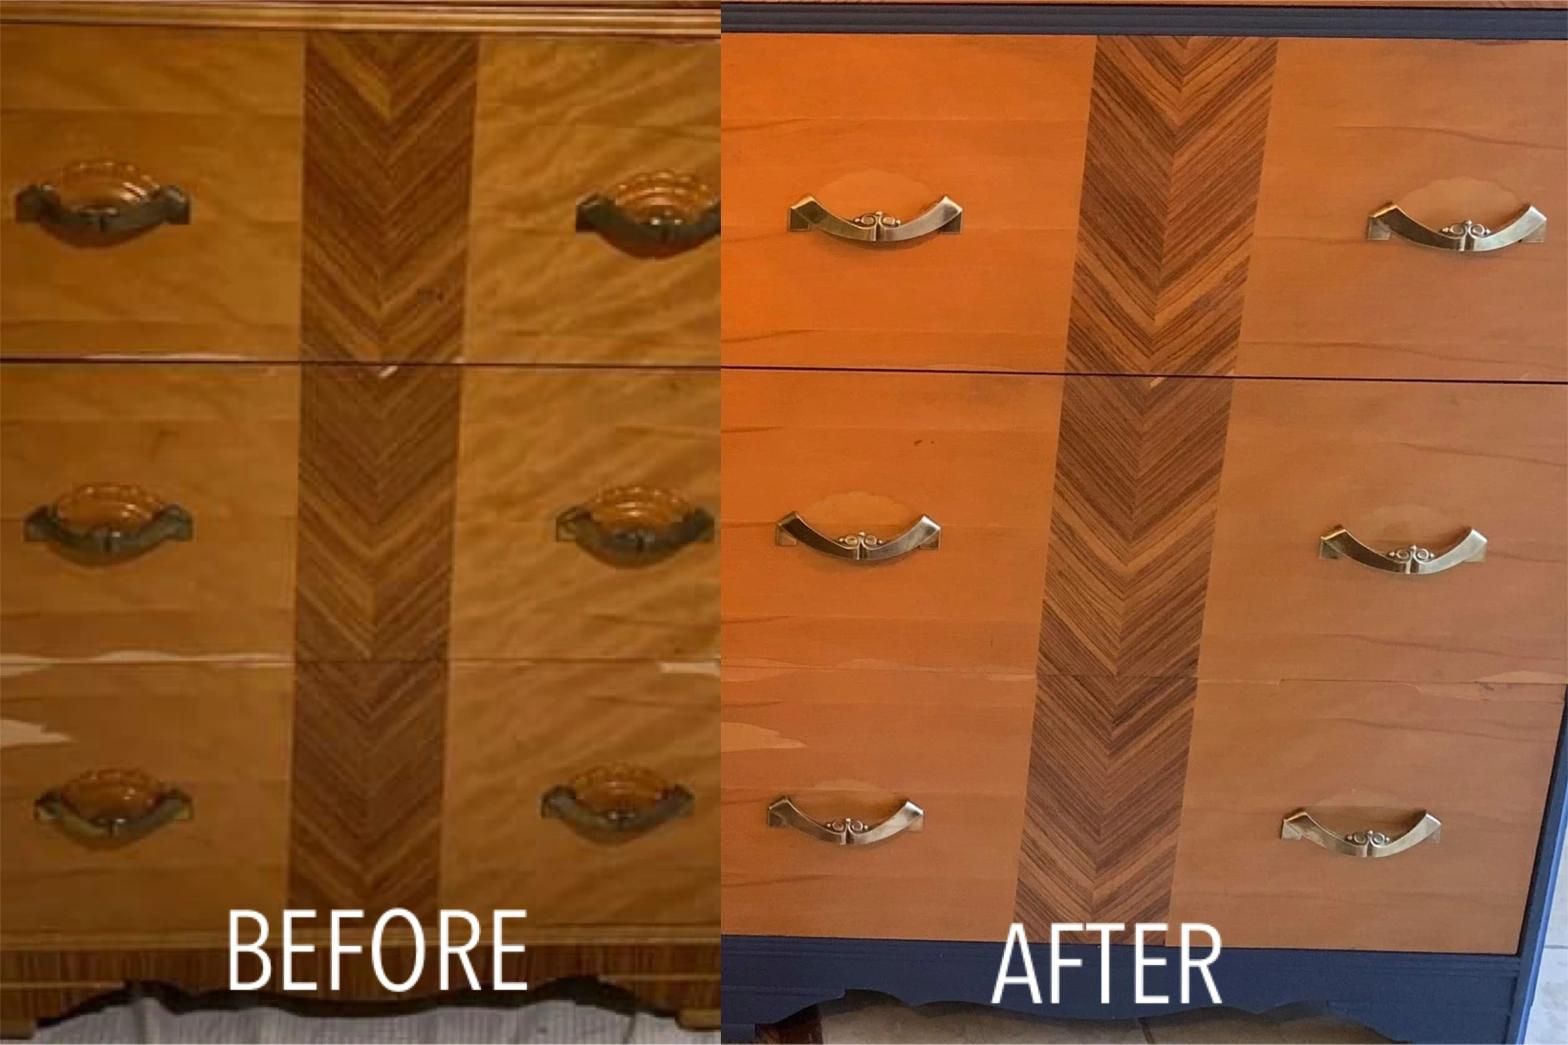
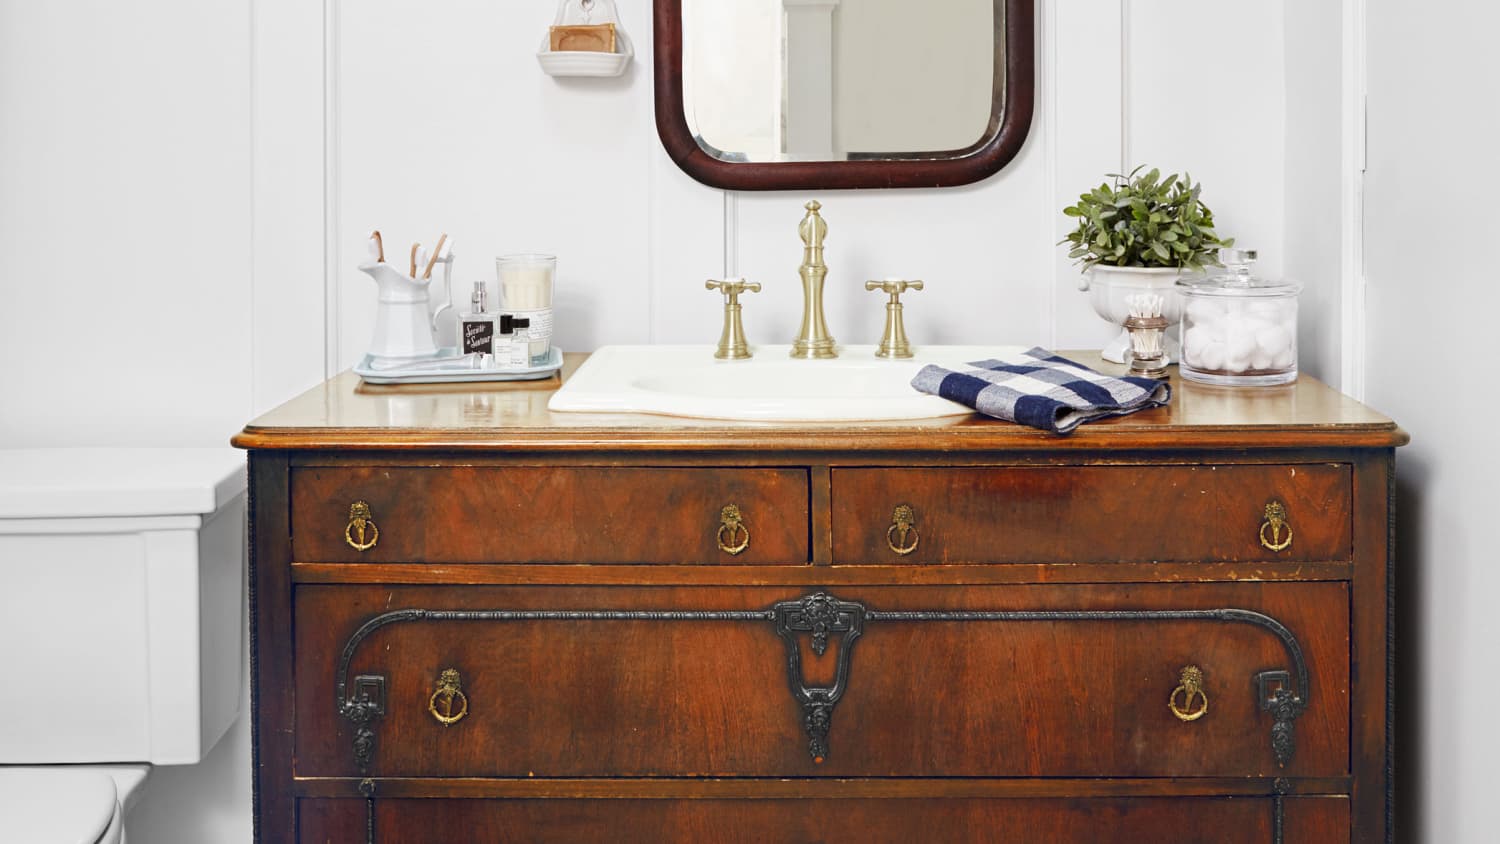
Cleaning old dresser hardware is an essential task if you want to give your antique or vintage furniture a fresh look. Over time, hardware such as drawer pulls, knobs, and hinges can accumulate dirt, grime, and tarnish, detracting from the overall appearance of your dresser. By taking the time to clean and restore these pieces, you can bring new life to your furniture and maintain its original charm.
In this article, we will guide you through the process of cleaning old dresser hardware step by step. You will also learn about the materials needed and some tips to ensure your hardware remains in great condition. Let’s get started!
Key Takeaways:
- Restore the Charm: Cleaning old dresser hardware is a rewarding process that can bring back the original charm of your antique furniture. With the right materials and careful steps, you can rejuvenate your dresser and enhance its overall appearance.
- Prolonged Lifespan: Regular cleaning and maintenance of old dresser hardware not only improve its aesthetic appeal but also help prevent further damage, ensuring your furniture remains in excellent condition for years to come.
Read more: How To Clean An Old Dresser
Materials Needed
Before you begin cleaning your old dresser hardware, it’s important to gather the necessary materials to ensure a successful restoration process. Here are the materials you will need:
- Mild soap: Choose a gentle soap that is suitable for cleaning metal surfaces. Avoid harsh detergents or abrasive cleaners, as they can damage the hardware.
- Water: You’ll need access to water for rinsing the hardware.
- Microfiber cloth or soft sponge: These soft materials are ideal for wiping away dirt and grime without scratching the hardware.
- Toothbrush: A soft-bristle toothbrush is useful for cleaning small, intricate parts of the hardware.
- Q-tips: These cotton swabs are handy for reaching tight corners and crevices that may be difficult to clean with a cloth or toothbrush.
- Metal cleaner: Depending on the type of hardware you have, you may need a metal cleaner specifically designed for brass, copper, or stainless steel. Check the label for instructions on usage.
- Protective gloves: It’s a good idea to wear gloves to protect your hands from any chemicals or cleaners you may be using during the cleaning process.
- Soft, clean towels: These are essential for drying the hardware after cleaning.
Having these materials readily available will help ensure a smooth and efficient cleaning process for your old dresser hardware. Now that you’re prepared, let’s move on to the step-by-step instructions for cleaning your hardware.
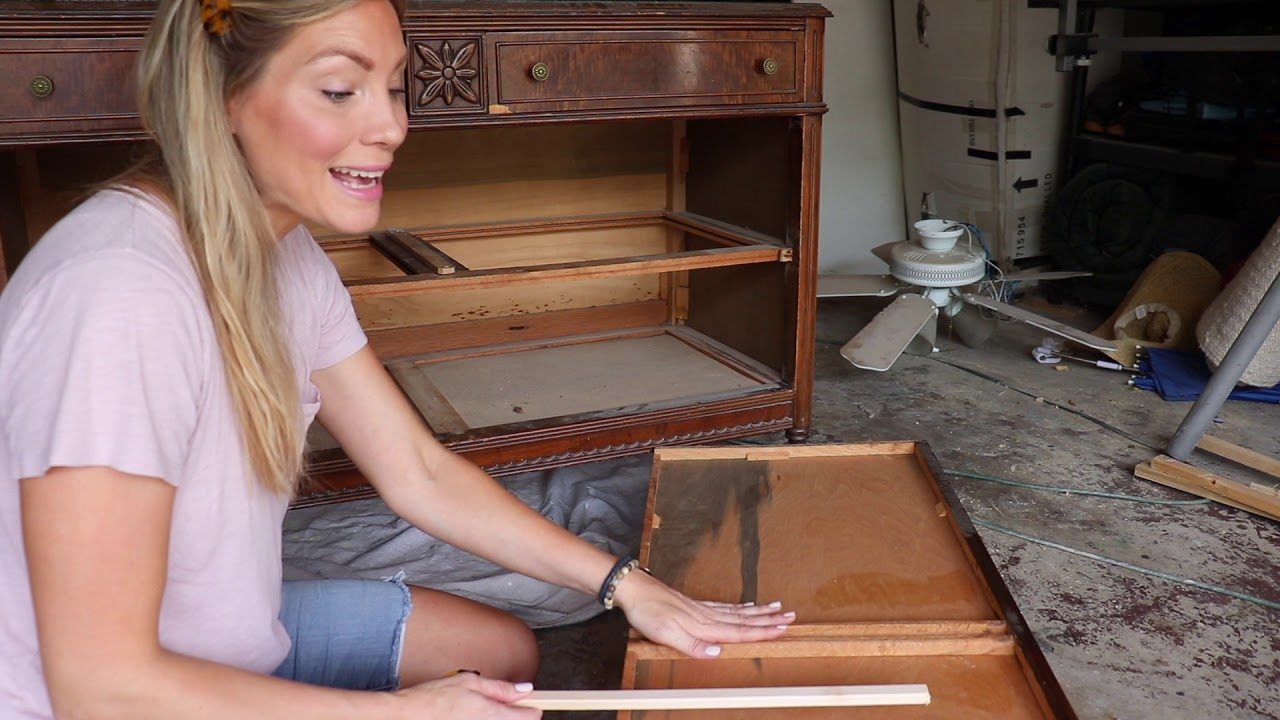
Step 1: Remove Hardware From Dresser
The first step in cleaning old dresser hardware is to carefully remove the hardware from the dresser. This will allow you to clean each piece thoroughly and prevent any damage to the dresser itself. Follow these steps to safely remove the hardware:
- Empty the drawers: Start by emptying the drawers of any items to make it easier to access the hardware.
- Unscrew the hardware: Use a screwdriver or an appropriate tool to remove the screws or bolts holding the hardware in place. Be sure to keep the screws in a safe place so you can easily reattach them later.
- Store the hardware: As you remove each piece of hardware, place them in a container or organize them in a way that keeps them separate and prevents them from getting mixed up or lost.
By taking the time to remove the hardware properly, you ensure that each piece can be cleaned thoroughly and that no damage occurs during the cleaning process. Once the hardware is safely removed, you can move on to the next step of inspecting it for any signs of damage or wear.
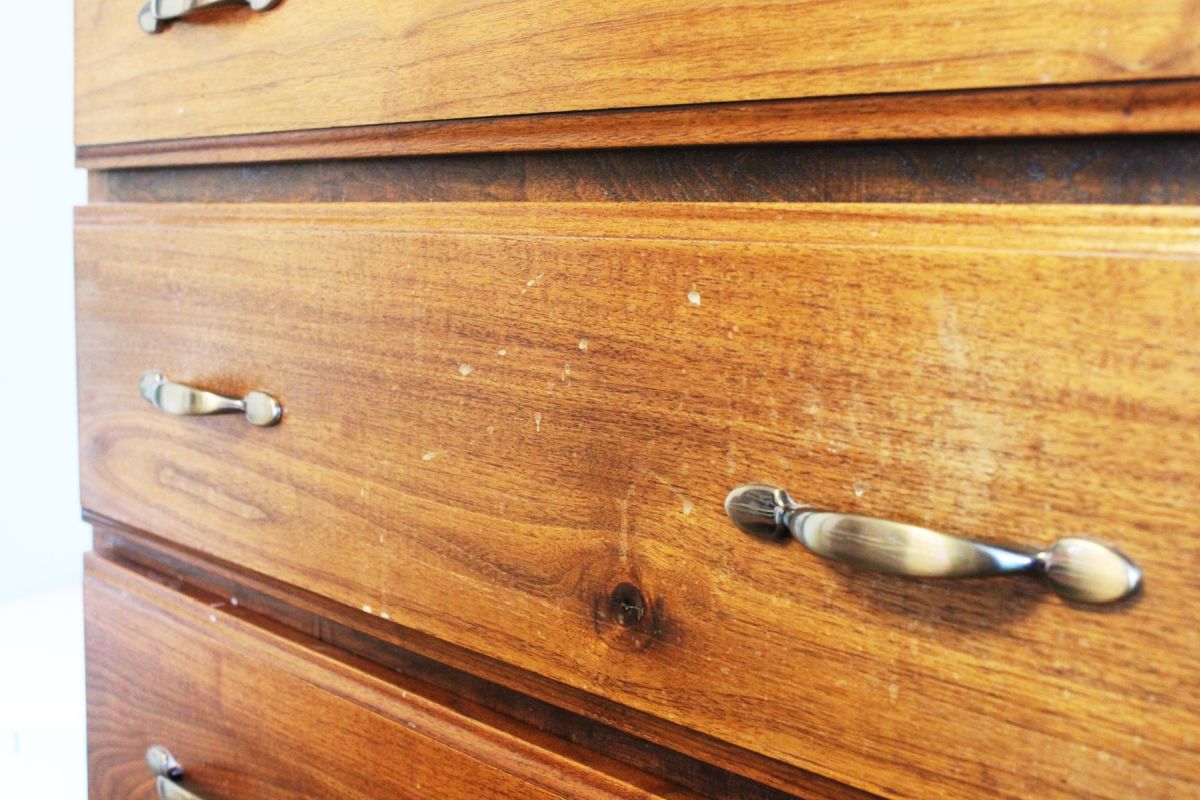
Step 2: Inspect Hardware for Damage
Once you have removed the hardware from the dresser, it’s important to carefully inspect each piece for any signs of damage or wear. Taking the time to assess the condition of the hardware will help you determine the best cleaning and restoration methods to use. Follow these steps to inspect the hardware:
- Look for corrosion or rust: Check for any visible signs of corrosion or rust on the surface of the hardware. If you notice any, you may need to use a specific cleaner or technique to remove it.
- Check for loose parts: Gently wiggle the hardware to see if there are any loose parts or screws. If you find any, tighten them or replace them if necessary to ensure the hardware is secure.
- Examine for missing pieces: Take note if there are any missing components, such as screws, bolts, or decorative accents. Make a list of any missing pieces so you can replace them later, if desired.
- Assess for dents or scratches: Look closely at the surface of the hardware for any dents or scratches. While minor imperfections may add character to vintage hardware, you may want to take additional steps to repair more significant damage.
By thoroughly inspecting the hardware, you’ll have a better understanding of its condition and any additional steps you may need to take during the cleaning and restoration process. Once you have completed the inspection, you can move on to the next step of cleaning the hardware with mild soap and water.
To clean old dresser hardware, remove it from the dresser and soak it in a solution of warm water and mild dish soap. Use a soft brush to scrub away any dirt or grime, then rinse and dry thoroughly before reattaching.
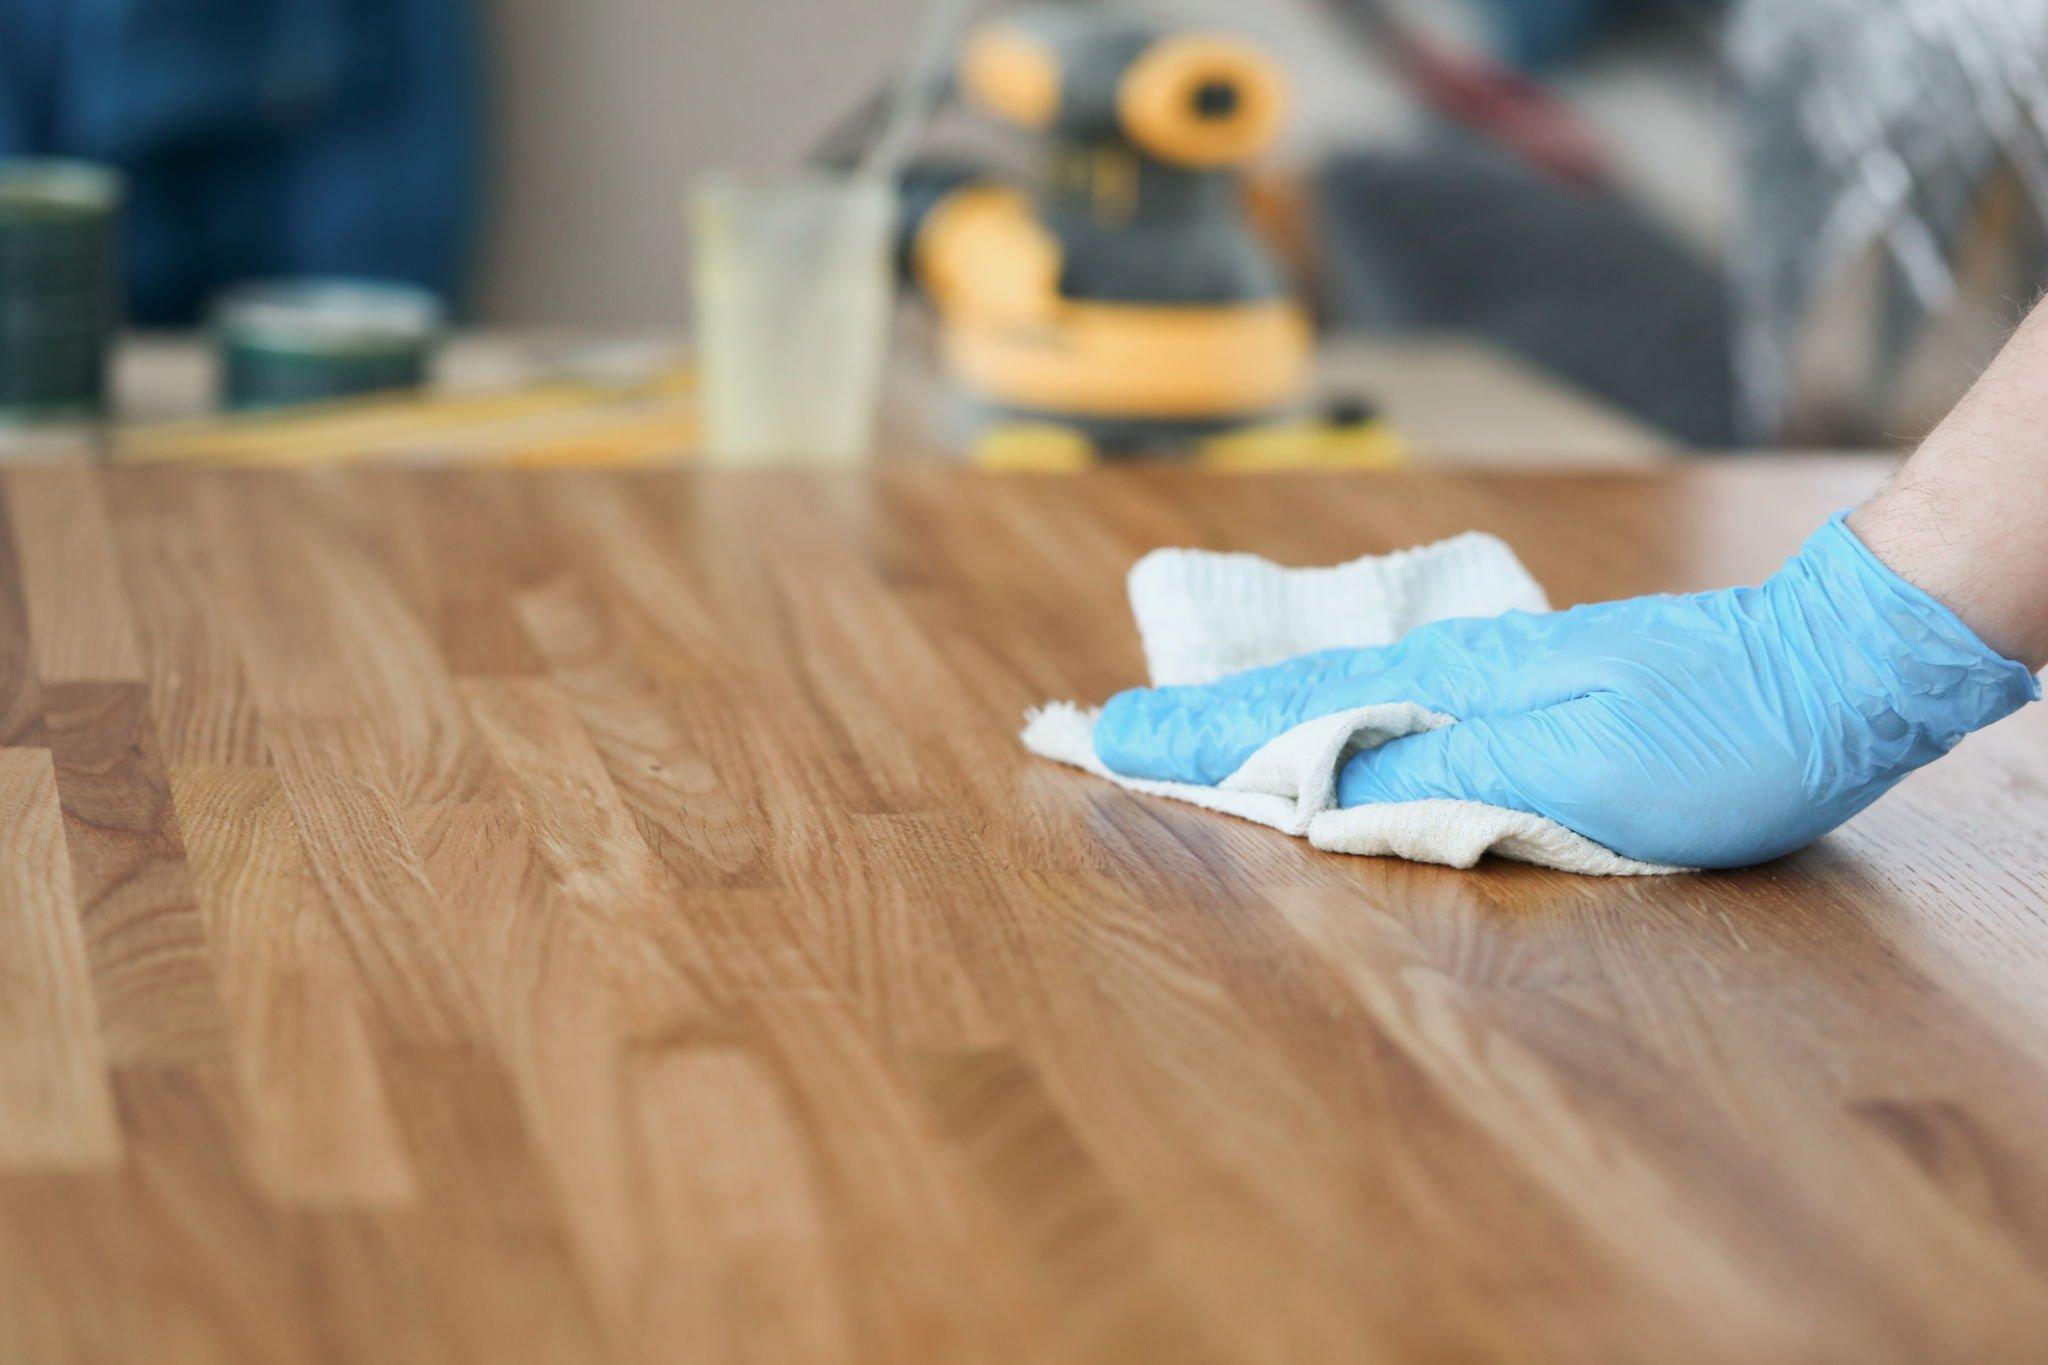
Step 3: Clean Hardware with Mild Soap and Water
Now that you have inspected the hardware and identified any damage or wear, it’s time to clean each piece with mild soap and water. This gentle cleaning method will help remove dirt, grime, and surface contaminants without causing any harm to the hardware. Follow these steps to clean the hardware effectively:
- Prepare a cleaning solution: Fill a basin or sink with warm water and add a few drops of mild soap. Stir the water to create suds.
- Submerge the hardware: Place the hardware in the soapy water and let it soak for a few minutes. This will help loosen any dirt or debris that may be stuck on the surface.
- Gently scrub the hardware: Use a soft sponge or microfiber cloth to scrub the hardware gently. Pay attention to any intricate details or crevices, using a toothbrush or Q-tip if necessary. Avoid using abrasive materials that could scratch or damage the hardware.
- Rinse with clean water: Once the hardware is clean, rinse it thoroughly with clean water to remove any soap residue.
- Dry the hardware: Use a soft, clean towel to dry the hardware completely. Make sure it is free from any moisture before proceeding to the next step.
Cleaning the hardware with mild soap and water is an effective way to remove surface dirt and grime. This process is suitable for most types of hardware, including brass, copper, and stainless steel. However, for heavily tarnished or corroded hardware, additional steps may be required, which we will cover in the next section on polishing the hardware with metal cleaner.
Read more: How To Refurbish An Old Dresser
Step 4: Polish Hardware with Metal Cleaner
After cleaning the hardware with mild soap and water, you may find that some pieces still have tarnish or require additional polishing to restore their shine. In this step, we will guide you through the process of using a metal cleaner to polish the hardware effectively. Follow these steps:
- Select a suitable metal cleaner: Depending on the type of hardware you have (brass, copper, or stainless steel), choose a metal cleaner specifically designed for that material. Read the label instructions carefully and ensure the cleaner is suitable for your hardware.
- Apply the metal cleaner: Use a soft cloth or sponge to apply a small amount of the metal cleaner to the surface of the hardware. Follow the product instructions for the appropriate amount to use.
- Gently rub the hardware: Using light pressure, rub the metal cleaner onto the hardware in a circular motion. Pay extra attention to any areas with tarnish or discoloration. This polishing action will help remove any remaining tarnish and restore the hardware’s natural shine.
- Rinse with water: After polishing, rinse the hardware with clean water to remove any residue from the metal cleaner.
- Dry the hardware: Use a soft, clean towel to dry the hardware thoroughly. Ensure that there is no moisture left on the surface.
Polishing the hardware with a metal cleaner can give it a renewed shine and enhance its appearance. However, be cautious not to over-polish or scrub too aggressively, as this can remove the protective coating or damage the surface of the hardware. If you have any doubts about using a metal cleaner, consult a professional or seek guidance from a hardware specialist.
Step 5: Dry and Reattach Hardware to Dresser
Now that you have cleaned and polished the hardware, it’s time to dry it thoroughly before reattaching it to the dresser. Proper drying will ensure that the hardware remains in great condition and prevents any moisture from damaging the furniture. Follow these steps to complete the restoration process:
- Ensure the hardware is completely dry: Double-check that the hardware is free from any moisture by using a clean, dry towel to wipe it down.
- Inspect the dresser: Take a moment to inspect the dresser itself. Clean any dirt or dust from the areas where the hardware will be reattached.
- Align the hardware: Position each piece of hardware in its correct location on the dresser. Make sure the screw holes line up properly.
- Reattach the hardware: Using the appropriate screws or bolts, carefully reattach the hardware to the dresser. Start by lightly tightening each screw and then go back to tighten them all securely.
- Test the hardware: Once the hardware is reattached, gently test each piece to ensure that it is secure and functioning properly.
By taking the time to dry the hardware thoroughly and reattach it with care, you are completing the final step in restoring your old dresser hardware. Step back and admire the transformation as your dresser is now adorned with clean, polished, and rejuvenated hardware.
Conclusion
Cleaning old dresser hardware is a rewarding and necessary process when it comes to restoring the beauty and functionality of your antique or vintage furniture. By following the steps outlined in this article, you can effectively clean, inspect, and polish your hardware, bringing back its original charm and enhancing the overall appearance of your dresser.
Remember to gather the necessary materials, including mild soap, water, a soft cloth, toothbrush, and metal cleaner. Take the time to remove the hardware from the dresser, inspect it for any damage or wear, and clean it thoroughly with mild soap and water. For tarnished pieces, use a suitable metal cleaner to restore their shine. Once the hardware is dry, reattach it securely to the dresser, ensuring proper alignment.
The restoration process outlined in this article will not only improve the aesthetic appeal of your dresser but also prolong the lifespan of the hardware. Regular cleaning and maintenance will help prevent further damage and ensure that your dresser remains in excellent condition for years to come.
Don’t forget to handle the hardware with care throughout the entire process to avoid any accidental damage. If you have any doubt or hesitation, it’s always wise to consult a professional or seek advice from a hardware specialist who can provide further guidance.
Now that you have the knowledge and understanding of how to clean old dresser hardware, you can confidently embark on the journey of restoring your furniture to its original glory. Enjoy the process and admire the difference a little cleaning and polish can make in reviving the beauty of your old dresser.
Frequently Asked Questions about How To Clean Old Dresser Hardware
Was this page helpful?
At Storables.com, we guarantee accurate and reliable information. Our content, validated by Expert Board Contributors, is crafted following stringent Editorial Policies. We're committed to providing you with well-researched, expert-backed insights for all your informational needs.


0 thoughts on “How To Clean Old Dresser Hardware”