Furniture
How To Fix A Dresser Drawers That Stick
Modified: February 25, 2024
Learn how to fix sticky dresser drawers and restore the functionality of your furniture with our step-by-step guide. Perfect for DIY enthusiasts and furniture lovers.
(Many of the links in this article redirect to a specific reviewed product. Your purchase of these products through affiliate links helps to generate commission for Storables.com, at no extra cost. Learn more)
Introduction
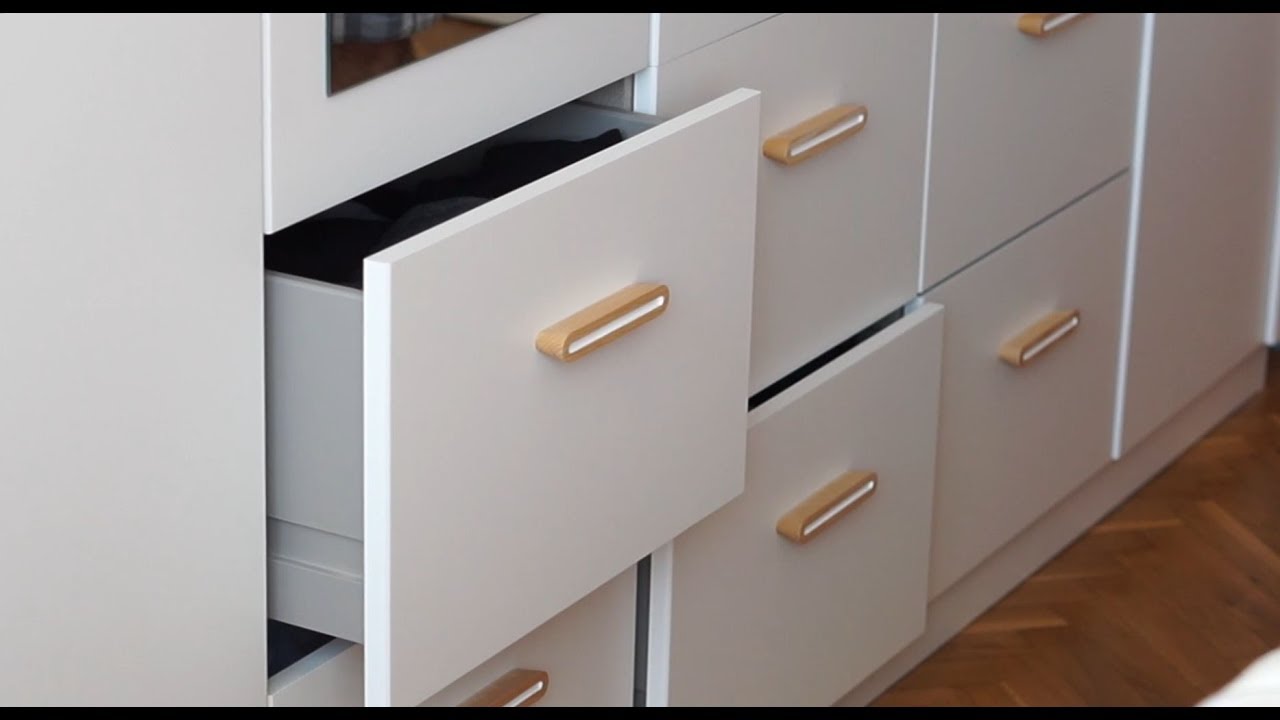
Welcome to our guide on how to fix dresser drawers that stick. There’s nothing more frustrating than struggling to open or close a stuck drawer when you’re trying to find something quickly. Sticky drawers can be caused by a variety of factors, including humidity, wear and tear, or improper alignment. Fortunately, with a few simple steps, you can easily remedy the situation and have your dresser drawers sliding smoothly once again.
In this article, we will walk you through the common causes of sticking dresser drawers and provide detailed instructions on how to fix them. We will also highlight the tools and materials you’ll need for the job. So, let’s dive in and get your dresser drawers functioning properly again!
Key Takeaways:
- Say goodbye to sticky dresser drawers by addressing common causes like humidity, warped wood, and worn-out runners. Follow our step-by-step guide for smooth and effortless drawer operation.
- Gather the right tools and materials, from screwdrivers to lubricants, to fix sticking dresser drawers effectively. Don’t forget regular maintenance to prevent future issues and enjoy hassle-free drawer use.
Read more: How To Fix An Old Dresser Drawers
Common Causes of Sticking Dresser Drawers
Understanding the common causes of sticking dresser drawers is crucial to effectively fix the issue. Here are the most common reasons why your dresser drawers may be sticking:
- Humidity: Wood is sensitive to changes in humidity levels. When there is high humidity, wood expands, causing the drawers to stick. Conversely, low humidity can cause the wood to shrink, making the drawers slide too easily. Finding the right balance is important for smooth drawer operation.
- Warped Wood: Over time, the wood used in dresser drawers can warp, especially if it’s of poor quality or has been exposed to moisture. Warped wood can lead to misaligned drawers, making them difficult to open and close.
- Accumulated Dirt and Dust: Dust, dirt, and debris can accumulate on the drawer edges and runners, creating friction and causing the drawers to stick. Regular cleaning and maintenance can help prevent this issue.
- Worn Out or Damaged Runners: The runners, also known as the rails or slides, are the tracks on which the drawer moves. Over time, these runners can become worn out or damaged, resulting in a sticky drawer. Inspecting and replacing them, if necessary, is crucial for smooth operation.
- Drawer Misalignment: If the drawer is not properly aligned with the dresser frame, it can lead to sticking. Misalignment can occur due to loose screws, shifting furniture, or improper installation. Adjusting the drawer alignment can resolve this issue.
By understanding these common causes, you’ll be better equipped to troubleshoot and fix sticking dresser drawers. In the next section, we will discuss the tools and materials you’ll need to get started.
Tools and Materials Needed
Before you begin fixing your sticking dresser drawers, it’s important to gather the necessary tools and materials. Here’s a list of what you’ll need:
- Screwdriver: Depending on the type of screws used in your dresser, you may need a Phillips or flathead screwdriver to remove and tighten screws.
- Sandpaper: Choose a medium-grit sandpaper, around 120-150 grit, to smooth and remove any roughness from the drawer edges and runners.
- Lubricant: A suitable lubricant, such as beeswax, paraffin wax, or silicone spray, can help reduce friction and make the drawers glide smoothly. Avoid using oil-based lubricants, as they can attract dust and cause more sticking.
- Soft Cloth: A soft cloth or rag will be useful for cleaning and applying the lubricant.
- Level: A small level can help you determine if the dresser is properly aligned and if adjustments need to be made.
- Wood Glue: If you come across any loose joints or broken parts during the repair process, wood glue can help reattach and strengthen them.
- Scissors: You may need scissors to trim any excess sandpaper or cloth during the repair process.
- Safety Equipment: It’s always a good idea to wear safety goggles and gloves to protect your eyes and hands while working on your dresser.
By having these tools and materials on hand, you’ll be well-prepared to tackle the task of fixing your sticking dresser drawers. In the next section, we will walk you through the step-by-step process to solve the issue.
Step 1: Remove the Stuck Drawer
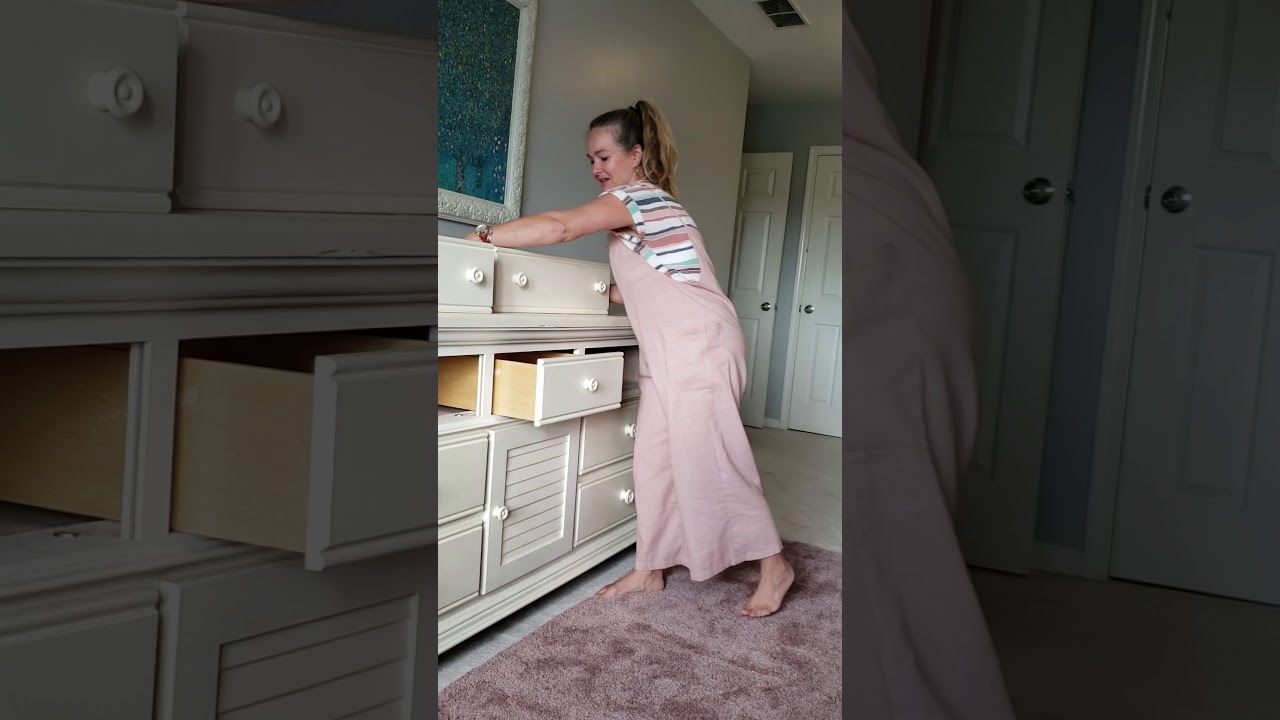
Before you can fix a sticking dresser drawer, you’ll need to remove it from the dresser. This will give you better access to the problem areas and make the repair process easier. Here’s how to do it:
- Empty the Contents: Start by removing all the items inside the stuck drawer. This will make it lighter and easier to handle.
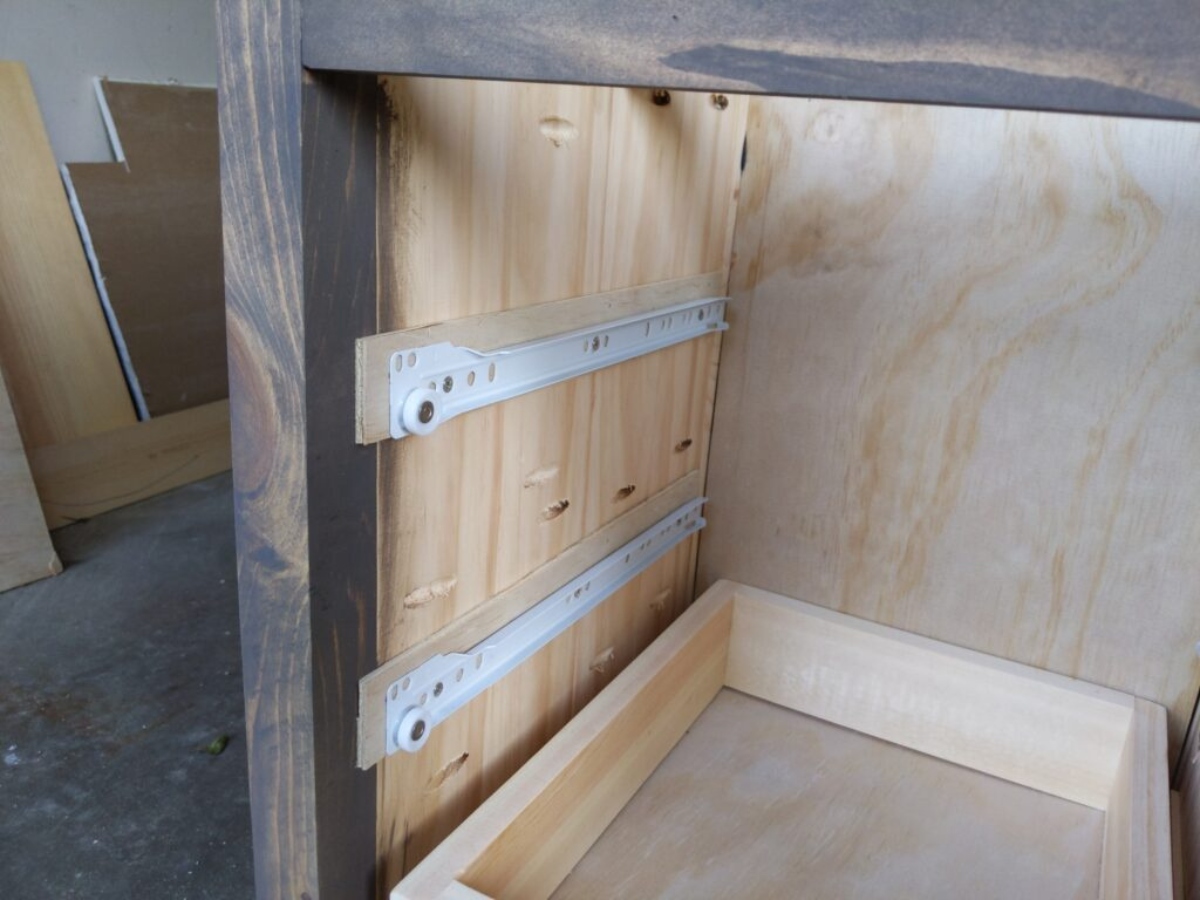
- Inspect the Drawer Slides: Examine the sides of the stuck drawer to identify the type of drawer slides it has. Most dressers either have side mount or undermount slides. Side mount slides can be seen on the sides of the drawer, while undermount slides are usually hidden under the drawer bottom.
- Release Side Mount Slides: If your dresser has side mount slides, you’ll need to locate the release lever or tabs. Push or lift these levers or tabs to release the drawer from the slides. Some dressers may require you to lift the drawer slightly to disengage the slides fully.
- Remove Undermount Slides: For dressers with undermount slides, you’ll need to locate the locking mechanism. Usually, this is a small lever or tab located on each slide. Push or lift the levers or tabs simultaneously to release the drawer from the slides. Again, some dressers may require you to lift the drawer slightly to fully disengage the slides.
- Pull Out the Drawer: Once you have released the slides, carefully pull the stuck drawer out of the dresser. Be mindful of any obstacles or obstructions that may hinder the smooth removal of the drawer.
By following these steps, you’ll be able to remove the stuck drawer safely and proceed with the repair process more efficiently. In the next section, we will guide you through identifying the cause of the stickiness.
Step 2: Identify the Cause of Stickiness
Now that you have removed the stuck drawer, it’s time to pinpoint the cause of the stickiness. By identifying the underlying issue, you can take the appropriate steps to fix it. Here’s how to identify the cause:
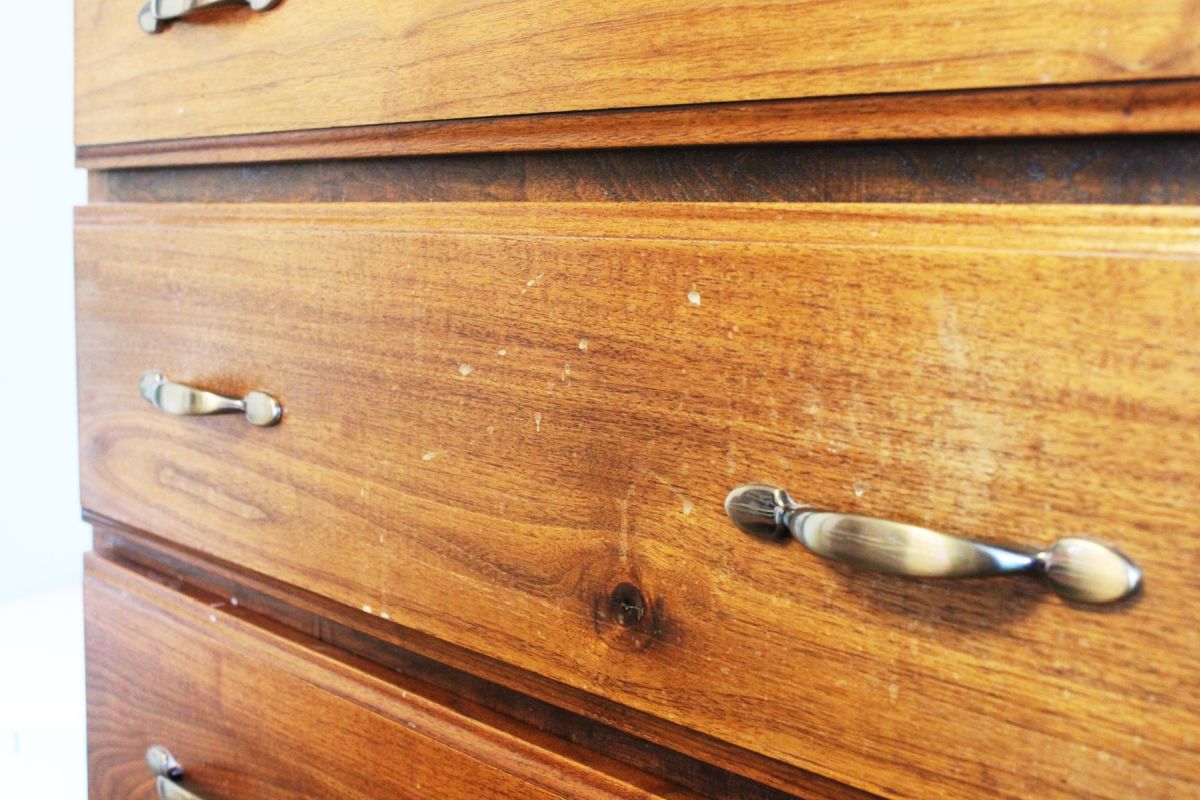
- Inspect the Drawer Edges: Examine the edges of the drawer for any visible signs of wear, roughness, or damage. Run your hand along the edges to feel for any areas that may be catching or rubbing against the dresser frame.
- Check the Runners: Inspect the runners or rails on the dresser where the drawer slides in and out. Look for any signs of wear, warping, dirt accumulation, or damage. Pay attention to any areas of the runners that may be impeding the smooth movement of the drawer.
- Test the Alignment: Gently move the empty drawer in and out of the dresser to see if it moves smoothly or if it wobbles or catches at any point. Pay attention to how well the drawer aligns with the dresser frame when fully closed and fully extended.
- Observe Humidity Levels: Consider the humidity levels in the room where the dresser is located. If the drawers only stick during certain seasons or in areas with high humidity, humidity may be a contributing factor to the stickiness.
- Take Note of Any Other Issues: If you notice any loose joints, broken parts, or structural issues with the dresser or the drawer itself, make a note of them. These issues may need to be addressed during the repair process.
By thoroughly examining the drawer edges, runners, alignment, humidity levels, and any other issues, you’ll be able to determine the cause of the stickiness. This will help you move forward with the appropriate fixes. In the next section, we will guide you through sanding the drawer edges and runners.
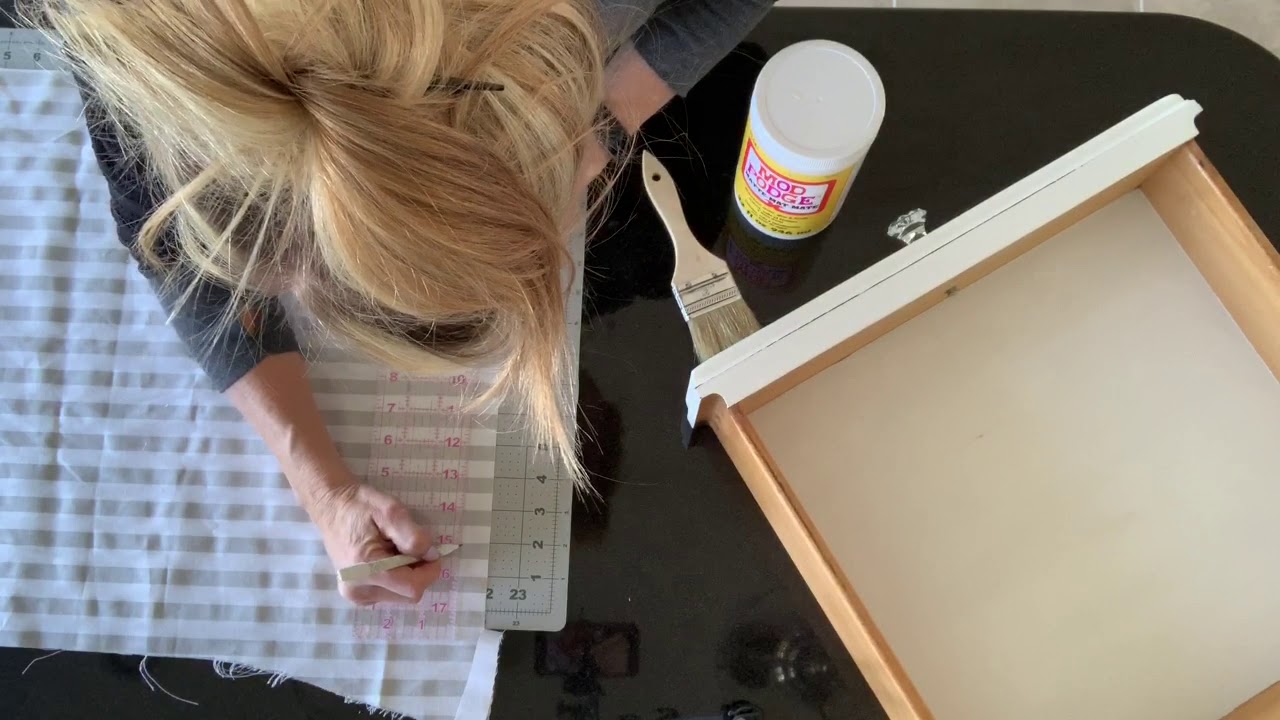
Apply a thin layer of paraffin wax or candle wax to the tracks and edges of the dresser drawers to reduce friction and help them slide more smoothly.
Read more: How To Fix A Dresser Drawer Slides
Step 3: Sand the Drawer Edges and Runners
Once you have identified the cause of the stickiness, it’s time to address it. One common issue that can cause sticking dresser drawers is rough or uneven edges on the drawer and runners. Sanding these areas can help smoothen them out and improve drawer movement. Follow these steps to sand the drawer edges and runners:
- Remove any Loose Dust or Debris: Before sanding, use a soft cloth or vacuum cleaner to remove any loose dust or debris from the drawer edges and runners. This will ensure that the sanding process is effective.
- Sand the Edges: Take a medium-grit sandpaper, around 120-150 grit, and fold it to create a small sanding block. Hold the sandpaper block and gently rub it along the edges of the drawer. Sand in the direction of the wood grain, applying even pressure. Continue sanding until the edges feel smooth to the touch.
- Sand the Runners: If the runners show signs of roughness or unevenness, use the same sanding block to sand them as well. Be careful not to remove too much material, as this can affect the proper alignment of the drawer.
- Remove Excess Dust: After sanding, use a soft cloth or vacuum cleaner to remove any dust or residue from the sanded areas. This will prevent any particles from affecting the smooth operation of the drawer.
By sanding the drawer edges and runners, you are eliminating any roughness that may be causing the stickiness. This process will allow the drawer to glide more smoothly along the tracks. In the next step, we will explore how to apply lubrication to further improve drawer movement.
Step 4: Apply Lubrication
Applying lubrication to the drawer edges and runners is an effective way to reduce friction and enhance the smooth movement of the drawer. Here’s how to apply lubrication:
- Choose the Right Lubricant: Select a suitable lubricant for your dresser drawers. Beeswax, paraffin wax, or silicone spray are commonly used options. Avoid using oil-based lubricants, as they can attract dust and dirt, leading to more sticking in the long run.
- Clean the Surfaces: Before applying the lubricant, ensure that the drawer edges and runners are clean and free from any debris or dust. Use a soft cloth to wipe down the surfaces and remove any remaining particles.
- Apply the Lubricant: Depending on the type of lubricant you’re using, follow the product instructions for application. For waxes, rub a thin layer onto the edges and runners using a soft cloth. For silicone spray, lightly spray the lubricant onto the surfaces, being careful not to overspray.
- Spread the Lubricant: Once applied, use a clean cloth to spread and distribute the lubricant evenly. This will ensure that the entire surface is coated and reduce the chances of uneven sliding or sticking.
By applying lubrication to the drawer edges and runners, you are reducing friction and allowing the drawer to glide smoothly. This step is crucial for long-lasting drawer movement improvement. In the next section, we will discuss how to adjust the drawer alignment for optimal performance.
Step 5: Adjust Drawer Alignment
If your dresser drawer is still sticking after sanding and lubricating, adjusting the drawer alignment may be necessary. Here’s how you can realign the drawer:
- Check the Alignment: Slide the drawer back into the dresser and observe its alignment with the frame. Check if the drawer sits evenly within the dresser and if the gaps are consistent on all sides.
- Adjust the Drawer Slides: Depending on the type of drawer slide system your dresser has, you may need to make adjustments to align the drawer properly.
- For Side Mount Slides: Loosen the screws that hold the slides in place and carefully adjust the position of the slides. Ensure that the drawer sits evenly within the frame and moves smoothly. Tighten the screws once the desired alignment is achieved.
- For Undermount Slides: Undermount slides often have adjustment screws or levers that allow for fine-tuning. Follow the manufacturer’s instructions to adjust the position and alignment of the slides. Test the drawer movement to ensure smooth operation.
- Test the Drawer: Slide the drawer in and out of the dresser multiple times to check if the alignment has improved. Make any necessary adjustments until the drawer moves smoothly without sticking or catching.
- Tighten Loose Joints: If you notice any loose joints or connections within the dresser or the drawer itself, use wood glue to secure them. Apply a small amount of glue to the loose joint, press it firmly together, and wipe away any excess. Allow the glue to dry completely before testing the drawer movement.
By adjusting the drawer alignment, you can ensure that the drawer moves freely within the dresser. Take your time to make precise adjustments for optimal performance. In the final step, we will guide you through reassembling the drawer into the dresser.
Step 6: Reassemble the Drawer
After you have completed the necessary repairs and adjustments, it’s time to reassemble the drawer back into the dresser. Follow these steps to ensure a proper reassembly:
- Clean the Drawer and Dresser: Before reinserting the drawer, use a soft cloth to clean any remaining dust, debris, or lubricant from both the drawer and the dresser. This will help prevent any leftover particles from affecting the smooth operation.
- Align the Drawer: Carefully align the drawer with the dresser frame, ensuring that it sits evenly and securely. Gently slide the drawer into the dresser, making sure the slides or runners engage properly.
- Test the Drawer Movement: Once the drawer is in place, test its movement by opening and closing it. Ensure that it glides smoothly without sticking or catching at any point. Make any final adjustments if necessary.
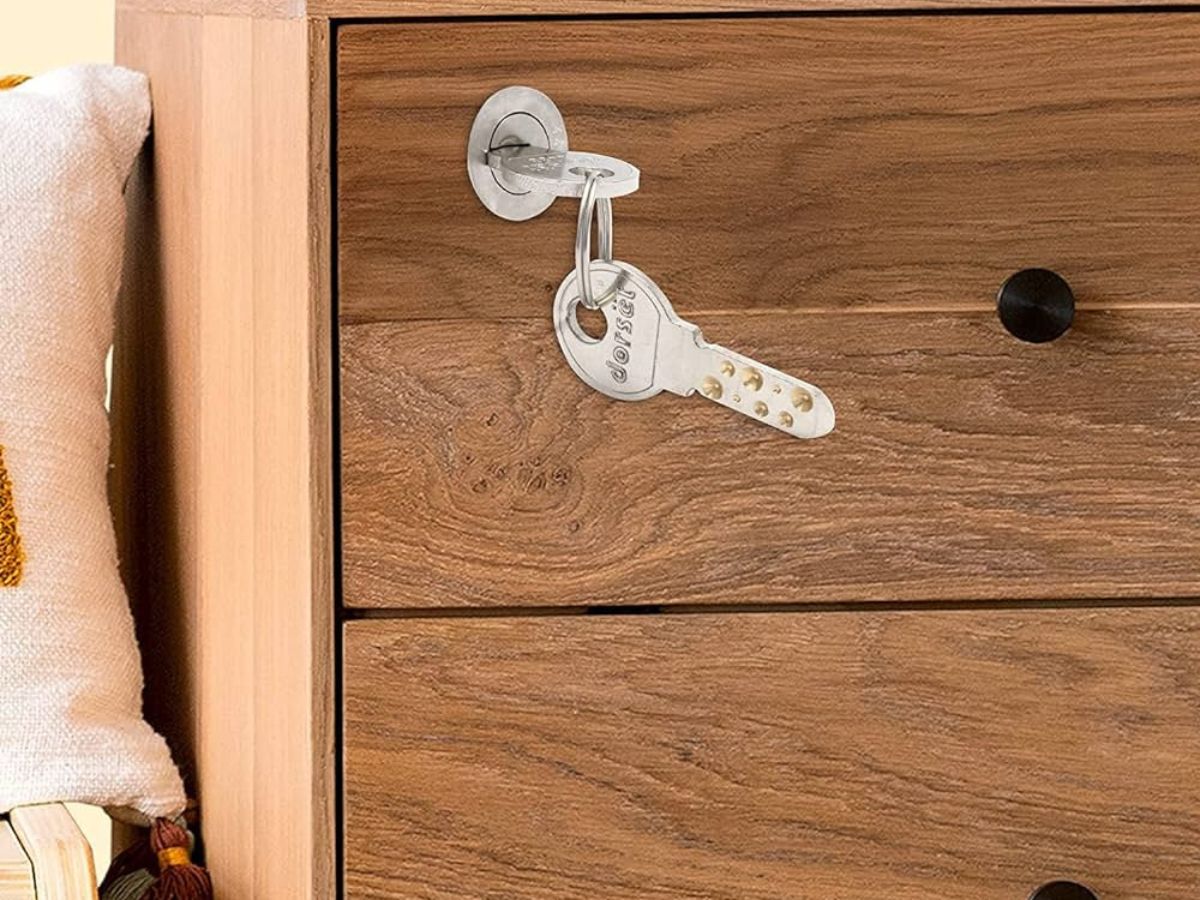
- Secure the Drawer: If your dresser has a locking mechanism or screws to secure the drawer, ensure that it is securely fastened. This will prevent the drawer from unintentionally sliding out or becoming loose over time.
- Organize the Contents: Finally, organize the items back into the drawer, making sure to distribute the weight evenly. Avoid overloading the drawer, as excessive weight can cause sticking or damage over time.
By carefully reassembling the drawer, you are ensuring that it is properly aligned and secure within the dresser. This will enable smooth operation and prevent future sticking issues. With these steps completed, you should now have a fully functional and smoothly gliding dresser drawer!
Remember, regular maintenance and cleaning of your dresser drawers can help prevent sticking issues in the future. Keep an eye out for any signs of wear or damage and address them promptly to maintain optimal functionality.
We hope this guide has been helpful in assisting you with fixing your sticking dresser drawers. Enjoy the newfound smoothness and ease of use!
Read more: How To Repair A Dresser Drawer
Conclusion
Dealing with sticking dresser drawers can be a frustrating experience, but with the right approach, you can easily fix the issue and have your drawers sliding smoothly once again. By following the steps outlined in this guide, you can identify the common causes of stickiness, gather the necessary tools and materials, and effectively repair your dresser drawers.
Throughout the process, it’s crucial to pay attention to detail and be mindful of the specific needs of your dresser. Whether it’s sanding the edges and runners, applying lubrication, adjusting the drawer alignment, or reassembling the drawer, taking the time to properly address each step will ensure optimal results.
Additionally, don’t forget the importance of regular maintenance and care for your dresser drawers. Periodically cleaning the surfaces, checking for any signs of wear or damage, and addressing issues promptly will help prevent future sticking and keep your drawers in excellent working condition.
We hope this guide has been a valuable resource for you in fixing your sticking dresser drawers. Remember that patience and attention to detail are key. By implementing the steps outlined in this guide, you can enjoy the smooth and effortless operation of your dresser drawers for years to come.
Thank you for reading, and best of luck with your dresser drawer repairs!
Frequently Asked Questions about How To Fix A Dresser Drawers That Stick
Was this page helpful?
At Storables.com, we guarantee accurate and reliable information. Our content, validated by Expert Board Contributors, is crafted following stringent Editorial Policies. We're committed to providing you with well-researched, expert-backed insights for all your informational needs.


0 thoughts on “How To Fix A Dresser Drawers That Stick”