Furniture
How To Fix A Damaged Dresser Top
Modified: October 20, 2024
Learn how to fix a damaged dresser top with our easy-to-follow guide. Revive your furniture and restore its beauty with these simple steps.
(Many of the links in this article redirect to a specific reviewed product. Your purchase of these products through affiliate links helps to generate commission for Storables.com, at no extra cost. Learn more)
Introduction
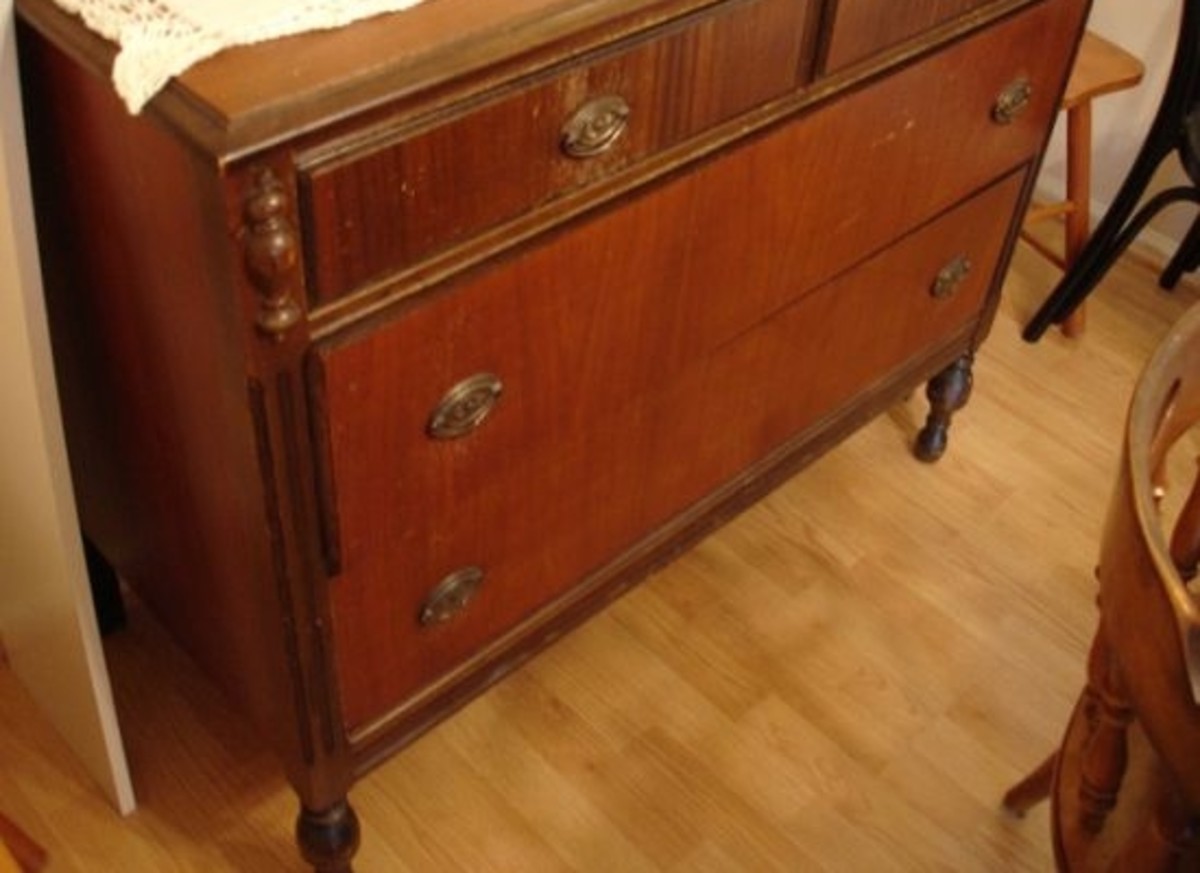
Welcome to our comprehensive guide on how to fix a damaged dresser top. Your dresser is an essential piece of furniture that adds both functionality and style to your bedroom or living space. Over time, however, your dresser top may accumulate scratches, dents, or gouges, detracting from its appearance and potentially compromising its functionality. But fear not! With the right tools, materials, and a little bit of know-how, you can restore your dresser top to its former glory.
In this article, we will walk you through the process of assessing the damage, gathering the necessary tools and materials, and taking the necessary steps to repair and restore your damaged dresser top. Whether your dresser top has minor scratches or deep gouges, we’ve got you covered.
Before we dive into the repair process, it’s important to note that the techniques outlined in this guide are suitable for dressers made of various materials, such as wood, laminate, or veneer. However, the specific products and methods used may vary slightly depending on the type of dresser you have. Always follow the manufacturer’s instructions and test any products on a small, inconspicuous area before applying them to the entire surface.
Now, let’s roll up our sleeves, gather our tools, and get ready to breathe new life into your damaged dresser top!
Key Takeaways:
- Repairing a damaged dresser top involves assessing the damage, gathering the right tools and materials, and following a step-by-step process to restore its appearance and functionality, regardless of the severity of the damage.
- After repairing and refinishing the dresser top, incorporating regular maintenance and protective measures will help preserve its beauty and extend its lifespan, ensuring long-term enjoyment of the restored piece of furniture.
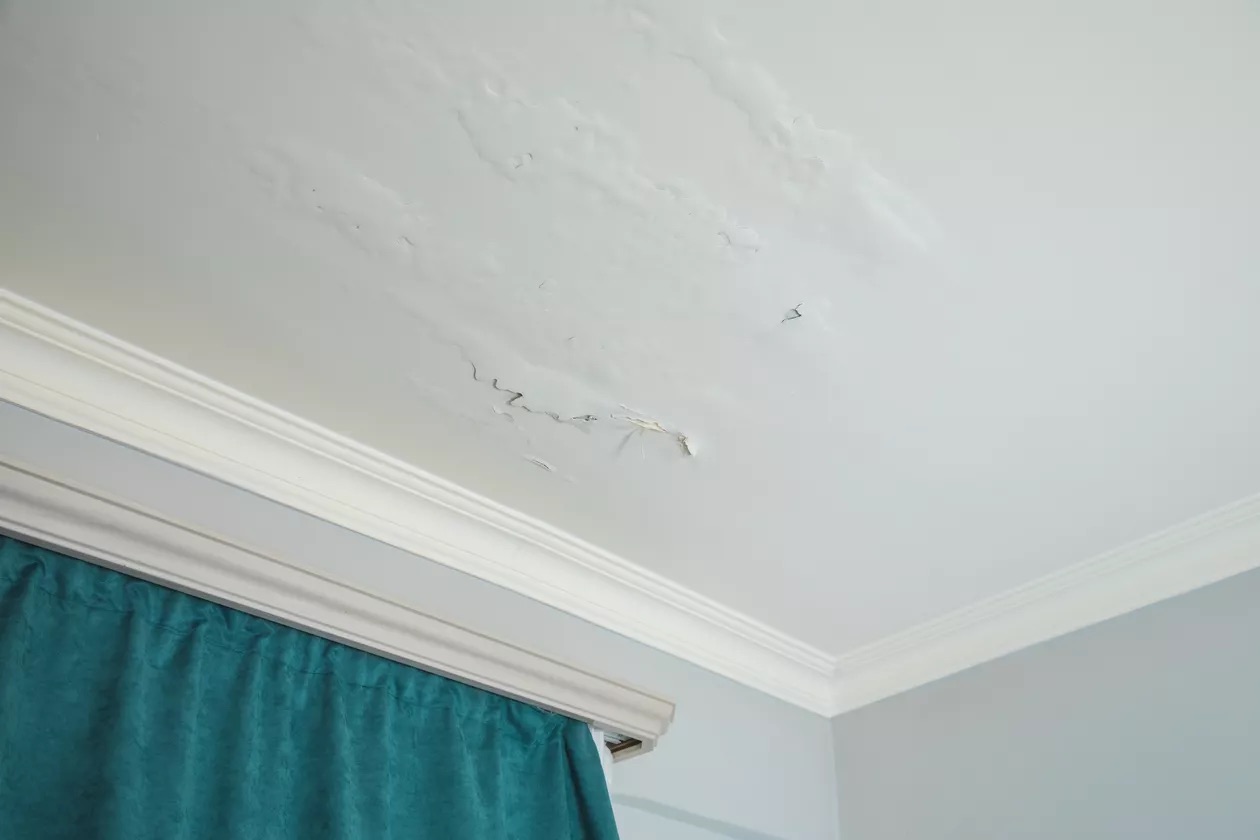
Read more: How To Fix Water-Damaged Wood Dresser
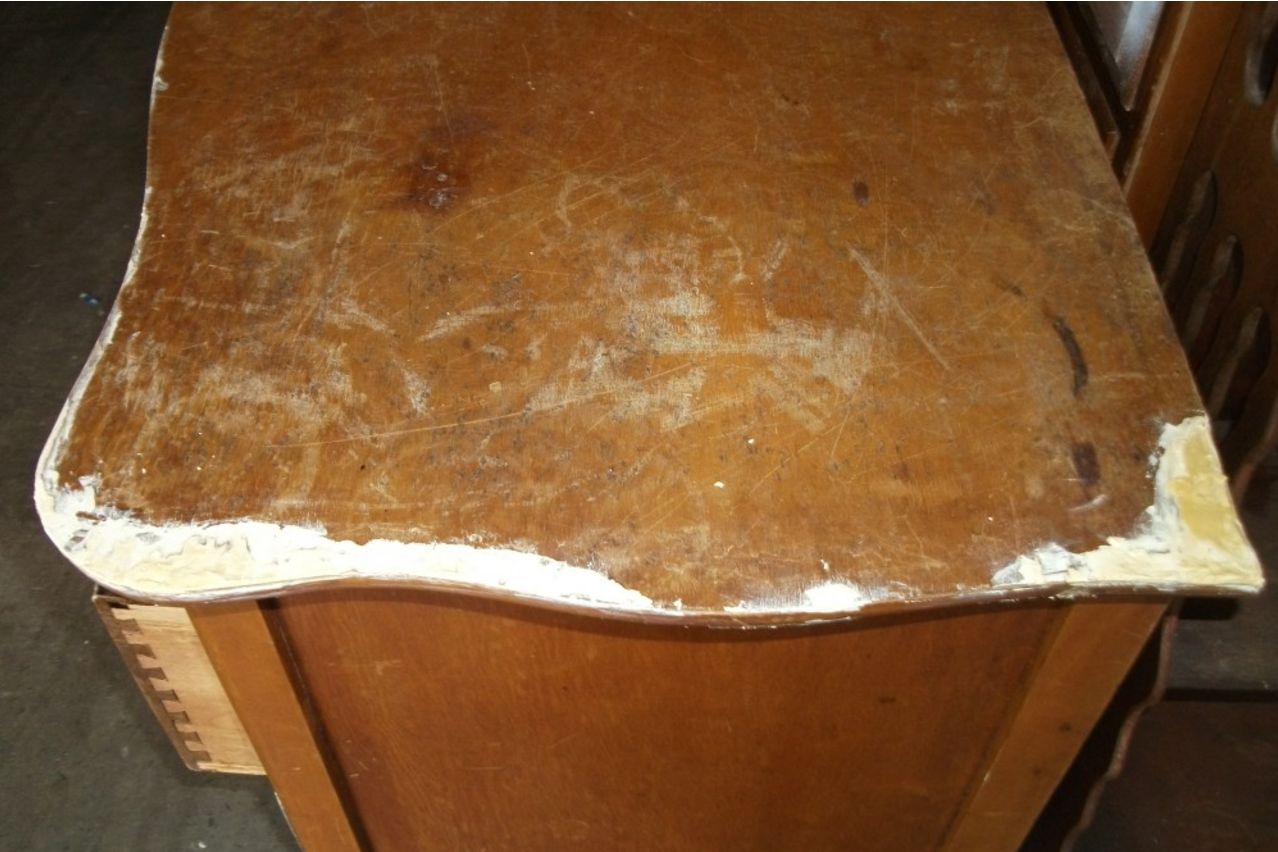
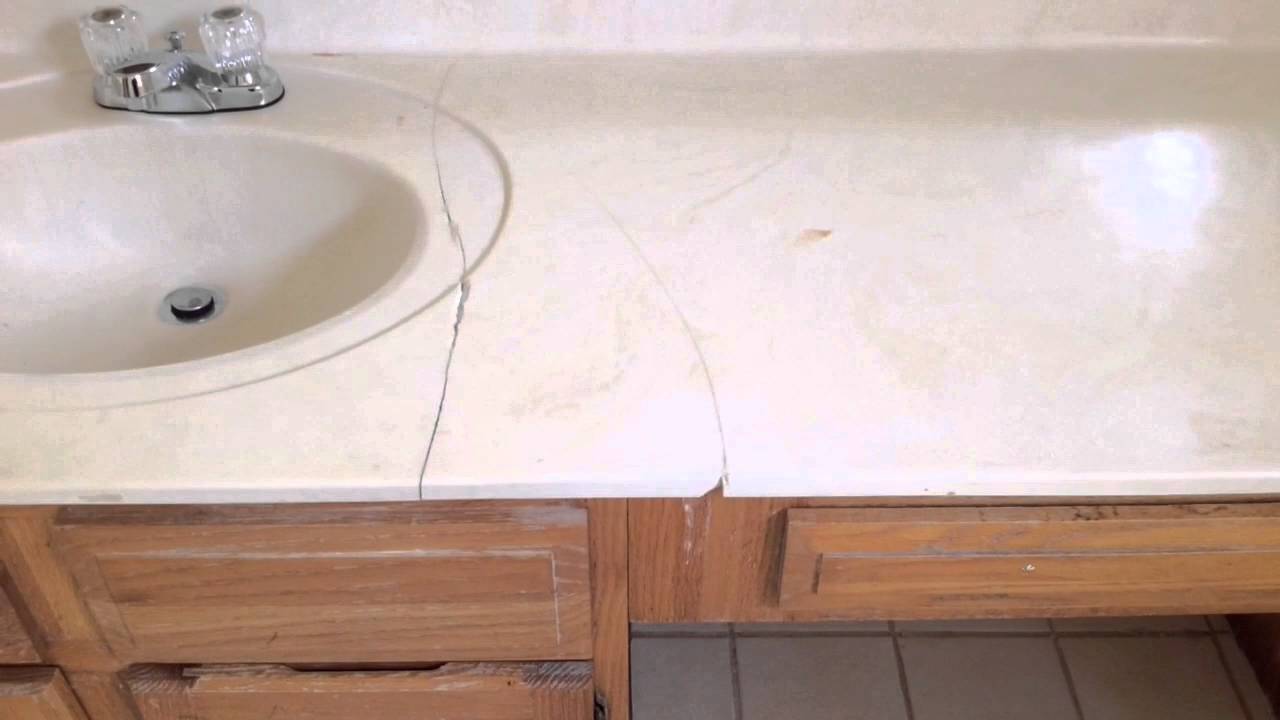
Assessing the Damage
Before diving into the repair process, it’s important to assess the severity of the damage to your dresser top. This will help determine the appropriate repair methods and materials needed. Take a closer look at your dresser top and identify any scratches, dents, or gouges that need attention.
If you’re dealing with minor surface scratches, you may be able to fix them with a simple touch-up. These superficial scratches can often be buffed out using a soft cloth and a specialized scratch repair product. However, if the scratches are deep or numerous, you may need to consider more extensive repair methods.
For deeper scratches or gouges that require filling, examine the depth and width of the damage. If the gouge is shallow, you may be able to use a wood filler or putty to fill in the area. However, if the gouge is deeper or wider, you might need to consider more advanced repair techniques.
Take note of any other issues with the dresser top, such as loose or damaged veneer, chipping paint, or structural damage. These issues may require additional repairs or restoration work.
Once you have assessed the damage, make a list of the repairs that need to be tackled. This will help you stay organized and ensure that you have all the necessary materials and tools on hand before starting the repair process. With a clear understanding of the damage, you are now ready to move on to the next steps in repairing your damaged dresser top.
Gathering the Necessary Tools and Materials
Now that you have assessed the damage to your dresser top, it’s time to gather the necessary tools and materials for the repair process. Having the right supplies at hand will make the job easier and ensure a successful outcome.
Here is a list of tools and materials you may need:
- Sandpaper or sanding block – Choose sandpaper with different grits, such as coarse, medium, and fine, depending on the severity of the damage.
- Wood filler or putty – Use this to fill in deep gouges and scratches.
- Scratch repair product – Opt for a specialized scratch repair product to buff out minor surface scratches.
- Screwdriver or appropriate tool – You may need a screwdriver to remove any hardware or loose parts on the dresser top.
- Paintbrushes or foam brushes – Select brushes suitable for the type of paint or stain you will be using.
- Stain or paint – Choose a stain or paint that matches the color of your dresser top or complements your desired finish.
- Protective finish – Consider using a clear coat or varnish to protect the repaired areas from future damage.
- Clean cloth or rag – Use this for cleaning and wiping off excess product during the repair process.
- Masking tape or painter’s tape – These can be used to create clean lines and protect other parts of the dresser during the repair and refinishing process.
Keep in mind that the specific tools and materials needed may vary depending on the type of dresser you have and the extent of the damage. It’s always a good idea to check the manufacturer’s instructions or consult with a professional if you are unsure about the specific products or tools to use for your particular dresser.
By gathering all the necessary tools and materials ahead of time, you will be prepared to tackle the repair process smoothly and efficiently. Now that you have everything you need, let’s move on to preparing the work area before starting the repair work.
Preparing the Work Area
Before you begin repairing your damaged dresser top, it’s important to prepare the work area to ensure a smooth and successful repair process. Taking the time to properly set up your work area will help minimize any potential mess or damage and allow you to focus on the task at hand.
Here are some steps to follow when preparing your work area:
- Clean the dresser top: Start by clearing the dresser of any items or decorations. Wipe down the surface with a clean cloth or rag to remove any dust, dirt, or debris. This will provide a clean canvas for the repair work.
- Protect the surrounding area: Cover the floor and nearby furniture with drop cloths or plastic sheets to protect them from any accidental spills or damage. You can secure the coverings with painter’s tape to keep them in place.
- Ensure good ventilation: If you’ll be working with strong-smelling products, such as wood filler or paint, ensure proper ventilation in the room by opening windows or using fans. This will help dissipate any fumes and create a more comfortable work environment.
- Gather additional tools and supplies: Before starting the repair work, gather any additional tools or supplies you may need during the process. This includes items like a dust mask, safety goggles, gloves, and a drop cloth or tarp to protect yourself and the rest of the room.
- Set up your work area: Designate a specific area for the repair work and set up a sturdy work surface, such as a table or sawhorses, where you can place the dresser top. Make sure you have enough space to move around comfortably and access all sides of the dresser top.
- Organize your tools and materials: Arrange your tools and materials within easy reach so that you can access them quickly during the repair process. This will help you stay organized and save time as you work through the steps.
By taking the time to prepare your work area properly, you’ll create an efficient and well-organized space that sets the stage for successful dresser top repair. Now that your work area is ready, it’s time to move on to the actual repair process, starting with fixing small scratches.
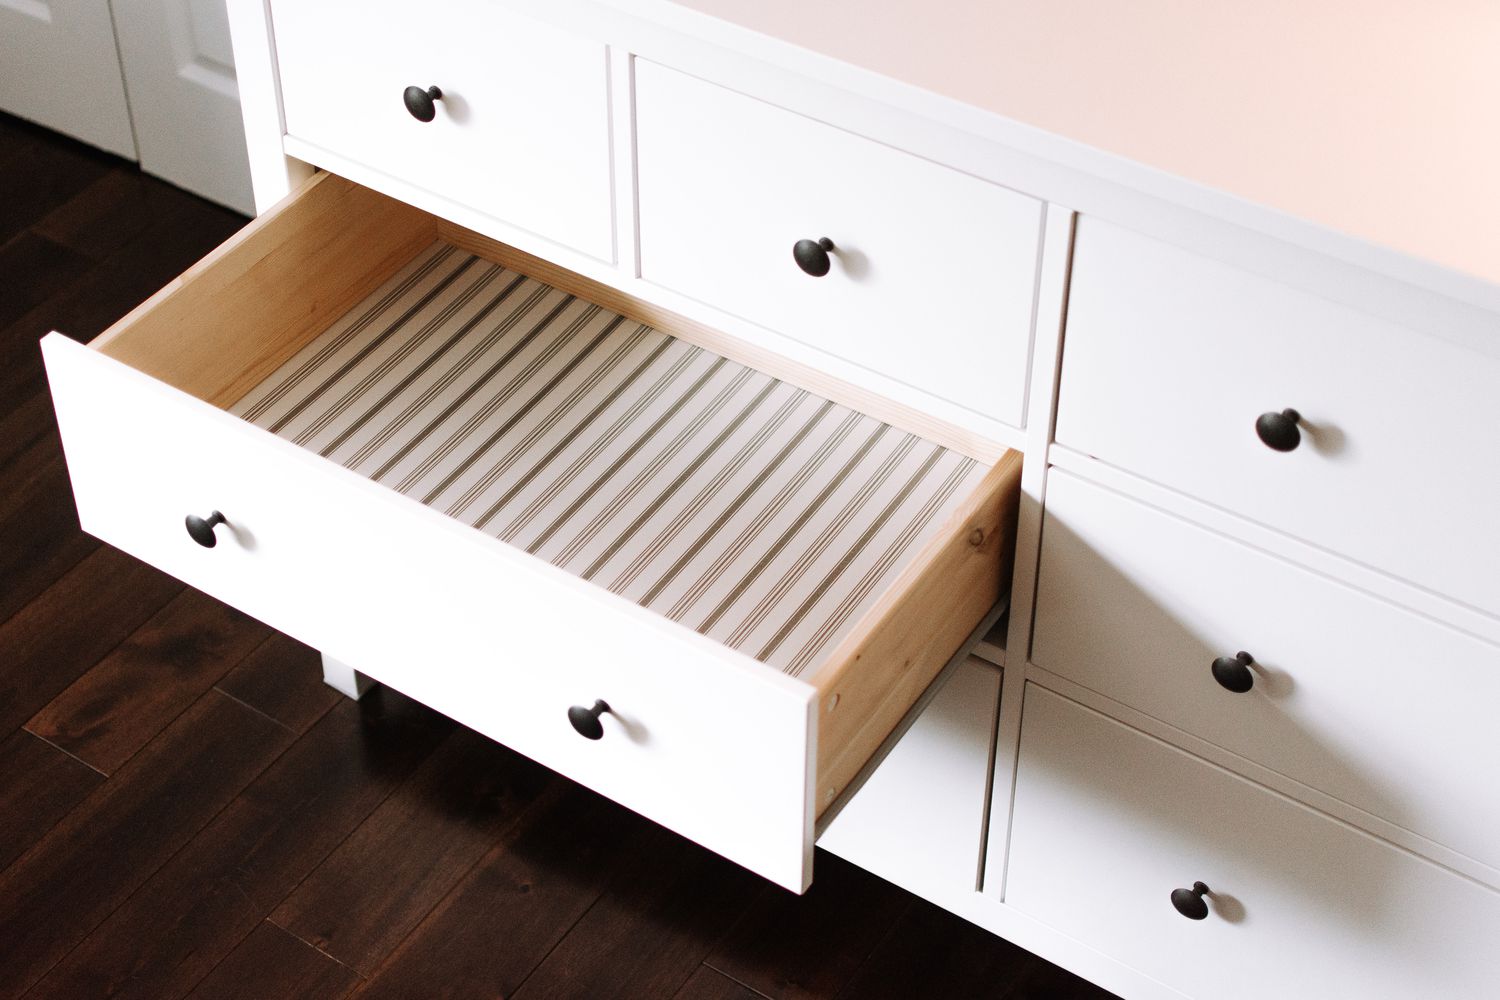
Repairing Small Scratches
Small scratches on your dresser top can be a common occurrence and can easily be fixed with a few simple steps. Here’s how you can repair small scratches:
- Prepare the scratch repair product: Follow the instructions provided with the scratch repair product you have chosen. Shake the bottle if necessary, and ensure that the area you’ll be working on is clean and dry.
- Apply the scratch repair product: Using a clean cloth or a soft applicator, apply a small amount of the scratch repair product to the surface of the scratch. Gently rub the product using back-and-forth or circular motions, following the direction of the scratch. Continue until the scratch is filled and the product blends seamlessly with the surrounding area.
- Buff the repaired area: After allowing the scratch repair product to dry according to the instructions, use a clean cloth or buffing pad to gently buff the repaired area. This will help smooth out any excess product and give the surface a polished finish.
- Inspect the repaired area: Take a step back and inspect the repaired area for any imperfections. If necessary, repeat the process by applying another layer of the scratch repair product and buffing it until the desired result is achieved.
It’s important to note that scratch repair products come in different formulations and colors, so choose one that matches the shade of your dresser top. Additionally, make sure to read the instructions on the product carefully and test it on a small, inconspicuous area before applying it to the entire scratch.
If the scratch is still visible after attempting the repair with a scratch repair product, you may need to consider more advanced repair techniques, such as filling in the scratch or sanding down the surface. These methods will be discussed in the following sections.
By following these steps, you can easily repair small scratches on your dresser top and restore its smooth and flawless appearance. Once the small scratches are repaired, you can move on to addressing deeper gouges and scratches on the surface.
Sand down the damaged area to remove any rough edges or splinters. Fill in any cracks or holes with wood filler, then sand again to smooth the surface. Finally, apply a fresh coat of wood stain or paint to match the rest of the dresser.
Read more: How To Organize Dresser Top
Filling in Gouges and Deep Scratches
When it comes to repairing gouges and deep scratches on your dresser top, a simple scratch repair product may not be enough. In these cases, filling in the damaged areas will help restore the surface to its original condition. Here’s how you can fill in gouges and deep scratches:
- Clean the damaged area: Start by cleaning the damaged area with a clean cloth or rag to ensure that it’s free from dust and debris.
- Choose the right filler: Select a wood filler or putty that matches the color of your dresser top. Wood fillers come in a variety of shades, so take your time to find the best match. You can also mix different shades if necessary to achieve a closer match.
- Apply the filler: Using a putty knife or a small spatula, scoop a small amount of filler onto the damaged area. Smooth it out and press it firmly into the gouge or scratch, ensuring that the filler is level with the surrounding surface.
- Remove excess filler: After applying the filler, use the putty knife or spatula to gently scrape off any excess filler from the surface of the dresser top. This will help achieve a smooth and even finish.
- Allow the filler to dry: Follow the manufacturer’s instructions on the filler packaging to determine the drying time. It’s important to allow the filler to dry completely before moving on to the next steps.
- Sand the filled areas: Once the filler is dry, use sandpaper or a sanding block to carefully sand down the filled areas. Start with a coarse-grit sandpaper to level the filler with the surrounding surface, then gradually switch to finer-grit sandpaper for a smooth finish.
- Clean and inspect the repaired areas: After sanding, clean the dresser top to remove any dust or debris. Inspect the repaired areas to ensure that they are level and blend in with the surrounding surface.
Keep in mind that depending on the depth and width of the gouges or deep scratches, you may need to repeat the filling and sanding process multiple times to achieve a seamless repair. Take your time and be patient to achieve the best results.
Once you are satisfied with the filled and sanded areas, you can move on to the next steps of restoring your dresser top, such as sanding the entire surface and applying a protective finish.
Sanding the Dresser Top
After repairing small scratches and filling in gouges or deep scratches, the next step in restoring your damaged dresser top is sanding. Sanding helps smooth out the surface, remove any uneven patches, and prepare the dresser top for staining or painting. Here’s how you can sand your dresser top:
- Choose the right sandpaper and grit: Select sandpaper with different grits, such as coarse, medium, and fine, depending on the condition of your dresser top. Coarse grits remove more material, while finer grits provide a smoother finish. Start with a medium grit sandpaper and progress to finer grits for a polished result.
- Protect yourself: It’s important to protect yourself during the sanding process. Wear safety goggles or protective eyewear, a dust mask, and gloves to prevent any injuries or exposure to dust particles.
- Start sanding: Fold a sheet of sandpaper to create a manageable size, then begin sanding the entire surface of the dresser top. Use long, even strokes and work in the direction of the wood grain. This will help prevent any visible marks or scratches.
- Keep the surface even and level: Pay special attention to areas where you’ve repaired scratches or filled in gouges. Blend these areas with the rest of the surface by sanding them with light, even pressure. The goal is to create a smooth and level surface.
- Switch to finer sandpaper: Once you’ve sanded the dress top with the medium grit sandpaper, switch to a finer grit sandpaper. This will help refine the surface and remove any remaining imperfections. Repeat the sanding process with the finer grit sandpaper until you achieve the desired smoothness.
- Clean the surface: After sanding, use a clean cloth or a vacuum with a brush attachment to remove any dust or debris from the surface. This will ensure a clean surface for the next steps in the restoration process.
Remember to take breaks and check your progress regularly while sanding. This will help you avoid over-sanding or damaging the dresser top. Keep in mind that sanding too much or using a very coarse grit can result in an uneven surface or remove too much of the wood or finish.
Once the dresser top is sanded and clean, you can move on to the next steps, which include staining or painting the repaired areas and applying a protective finish to protect the restored surface.
Staining or Painting the Repaired Areas
After sanding your dresser top and achieving a smooth surface, it’s time to move on to the next step: staining or painting the repaired areas. This step is crucial for blending the repaired sections with the rest of the dresser top and achieving a seamless finish. Here’s how you can proceed:
If you choose to stain the repaired areas:
- Select the right stain: Choose a wood stain that matches the color of your dresser top or complements the existing finish. Stains come in different shades, so test a small area to ensure it matches your desired result.
- Apply the stain: Use a clean cloth or foam brush to apply the stain to the repaired areas. Work in small sections, gently rubbing the stain into the wood following the direction of the grain. Allow the stain to penetrate the wood for the recommended time specified on the product packaging.
- Blend and feather the stain: To create a seamless transition between the repaired areas and the rest of the dresser top, lightly feather the stain into the surrounding wood. This will help blend the colors and achieve a consistent appearance.
- Remove excess stain: Wipe off any excess stain using a clean cloth, following the instructions provided with the stain. This will prevent the stain from becoming too dark or unevenly absorbed into the wood.
- Allow the stain to dry: Give the stained areas sufficient time to dry according to the instructions on the product packaging. This usually takes a few hours, but it may vary depending on the brand and environmental conditions.
If you prefer to paint the repaired areas:
- Choose the right paint: Select a paint color that matches the existing finish of your dresser top or complements your desired aesthetic. Consider using paint specifically formulated for furniture, such as latex or acrylic paint.
- Prepare the paint: Stir the paint thoroughly to ensure it is well-mixed and of the desired consistency. You may need to add a small amount of water or a paint conditioner to achieve the right texture.
- Apply the paint: Use a brush or foam brush to carefully apply the paint to the repaired areas. Apply multiple thin coats, allowing each coat to dry completely before applying the next. This will help achieve a smooth and even finish.
- Blend the paint: Feather the paint into the surrounding areas, blending it with the rest of the dresser top. This will create a seamless transition and ensure a cohesive appearance.
- Allow the paint to dry: Follow the drying time specified on the paint can or package. It’s important to give the paint sufficient time to fully dry and cure before proceeding to the next step.
Whether you choose to stain or paint the repaired areas, take your time and ensure that the color matches the surrounding wood or complements the overall look of your dresser top. Once the stain or paint is dry, you can proceed with applying a protective finish to safeguard the restored areas.
Applying a Protective Finish
After repairing, sanding, and staining or painting the repaired areas of your dresser top, it’s important to apply a protective finish. This will not only enhance the overall appearance but also provide long-lasting durability and protection against daily wear and tear. Here’s how you can apply a protective finish:
- Choose the right finish: There are several options for protective finishes, including polyurethane, varnish, or lacquer. Consider the type of finish that suits the material of your dresser top and your desired level of sheen.
- Prepare the work area: Make sure the work area is clean and well-ventilated. Lay down a drop cloth or plastic sheet to protect the surrounding area from any potential drips or spills.
- Apply the first coat: Dip a clean brush or foam brush into the protective finish and apply a thin, even coat to the entire surface of the dresser top, including the repaired areas. Work in long and smooth strokes, following the direction of the wood grain.
- Allow it to dry: Follow the drying time mentioned on the product packaging. Keep in mind that drying times can vary depending on the finish used. It’s essential to maintain proper ventilation during the drying process.
- Lightly sand between coats: Once the first coat is completely dry, lightly sand the surface using a fine-grit sandpaper. This will help create a smooth surface and promote adhesion for subsequent coats.
- Apply additional coats: Repeat the process of applying thin, even coats of the protective finish, allowing sufficient drying time between each coat. Most finishes require 2-3 coats, but refer to the product instructions for the recommended number of coats.
- Inspect and smoothen the finish: After applying the final coat, inspect the dresser top for any imperfections or rough spots. If necessary, use a very fine-grit sandpaper to gently sand out any roughness or unevenness in the finish.
Once you are satisfied with the protective finish and the overall appearance of the dresser top, allow it to fully cure according to the manufacturer’s instructions before using or placing any items on it. The curing process generally takes a few days.
It’s important to note that the protective finish provides a barrier of defense against scratches, spills, and UV damage. However, it’s still a good idea to use coasters, placemats, and other protective measures to maintain the longevity of your restored dresser top.
With the protective finish applied, your dresser top is now ready to be showcased and enjoyed for years to come. Remember to periodically inspect and maintain the finish to ensure its continued protection and beauty.
Read more: How To Protect The Dresser Top
Final Touches and Maintenance
With your dresser top repaired, sanded, stained or painted, and protected with a finish, there are a few final touches and maintenance steps you can take to keep it looking pristine and extend its lifespan. Here’s what you can do:
- Reattach hardware: If you removed any hardware, such as handles or knobs, during the repair process, now is the time to reattach them. Ensure that they are properly aligned and securely fastened.
- Clean and polish: Give your entire dresser, including the top, a good cleaning and polish. Use a mild cleaning solution and a soft cloth to remove dust, fingerprints, or any other dirt that may have accumulated during the repair process.
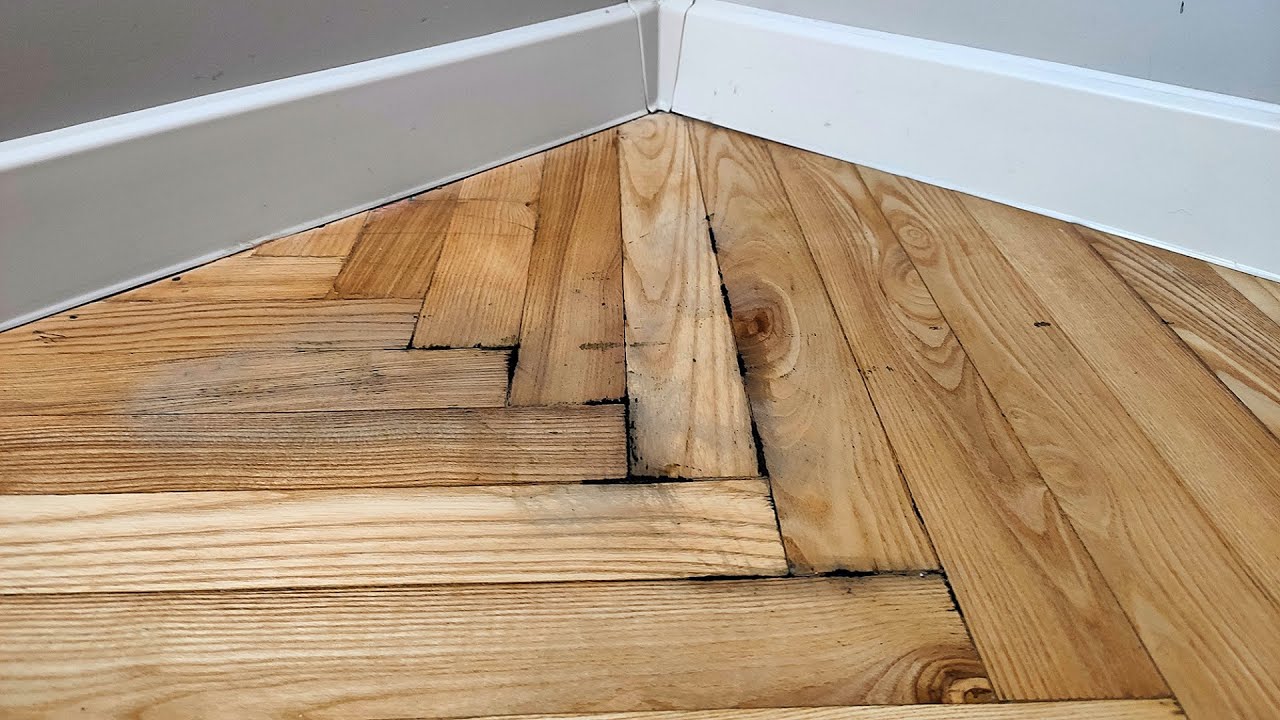
- Use furniture pads: To prevent scratches and damage, consider attaching furniture pads to the bottom of the dresser legs. This will also help protect your flooring.
- Regular maintenance: Incorporate regular maintenance into your cleaning routine. Wipe down the dresser top regularly with a soft cloth to remove any dust or spills. Avoid using harsh chemicals or abrasive cleaners that could damage the finish.
- Minimize direct sunlight: Protect your dresser top from prolonged exposure to direct sunlight, as it can cause fading and discoloration over time. Consider using curtains or blinds to block out sunlight during the brightest parts of the day or repositioning the dresser to avoid direct sunlight.
- Address issues promptly: Deal with any new scratches, dents, or damage as soon as possible. Promptly addressing any issues that arise can prevent further deterioration and the need for more extensive repairs down the line.
- Reapply protective finishes: Over time, the protective finish on your dresser top may wear off or become damaged. To maintain its longevity, periodically reapply a fresh coat of protective finish according to the manufacturer’s instructions.
By following these final touches and maintenance tips, you can ensure that your repaired dresser top remains in beautiful condition for years to come. Remember, regular care and attention will help preserve the integrity and appearance of your dresser top.
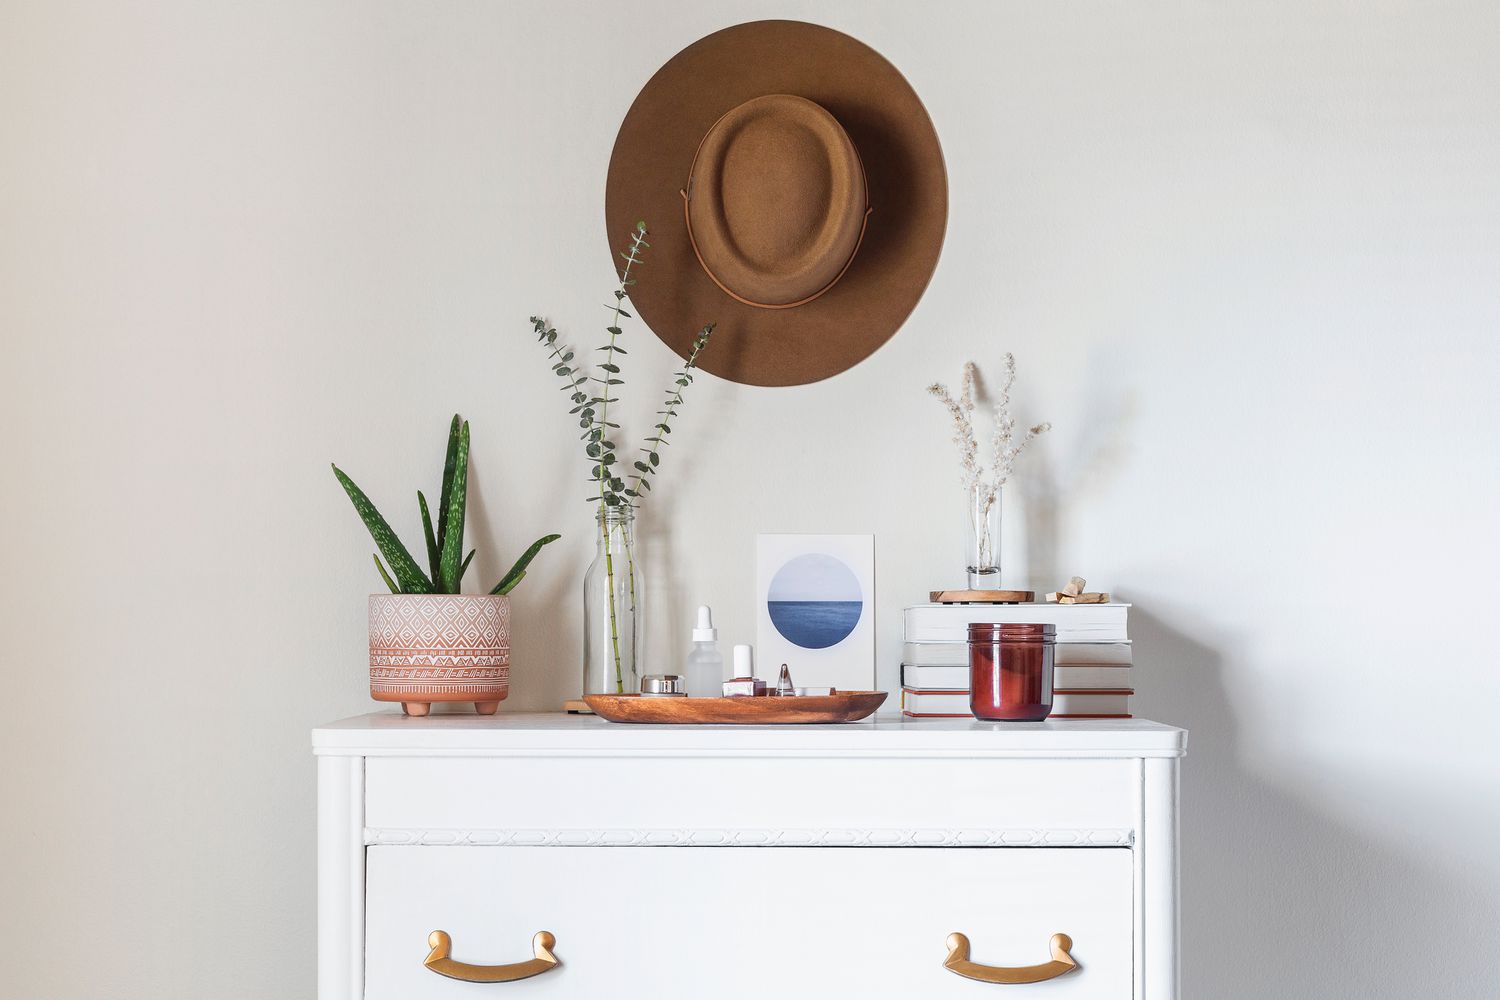
With your completed dresser top restoration, you can now proudly showcase your renewed piece of furniture and enjoy its functionality and aesthetic appeal once again. Your efforts in fixing the damaged areas have brought new life to your dresser and created a beautiful focal point in your space.
Frequently Asked Questions about How To Fix A Damaged Dresser Top
Was this page helpful?
At Storables.com, we guarantee accurate and reliable information. Our content, validated by Expert Board Contributors, is crafted following stringent Editorial Policies. We're committed to providing you with well-researched, expert-backed insights for all your informational needs.


0 thoughts on “How To Fix A Damaged Dresser Top”