Furniture
How To Hang Heavy Chandelier
Modified: October 20, 2024
Looking for tips on how to safely hang a heavy chandelier? Our furniture experts share step-by-step instructions and essential tools for a secure installation.
(Many of the links in this article redirect to a specific reviewed product. Your purchase of these products through affiliate links helps to generate commission for Storables.com, at no extra cost. Learn more)
Introduction
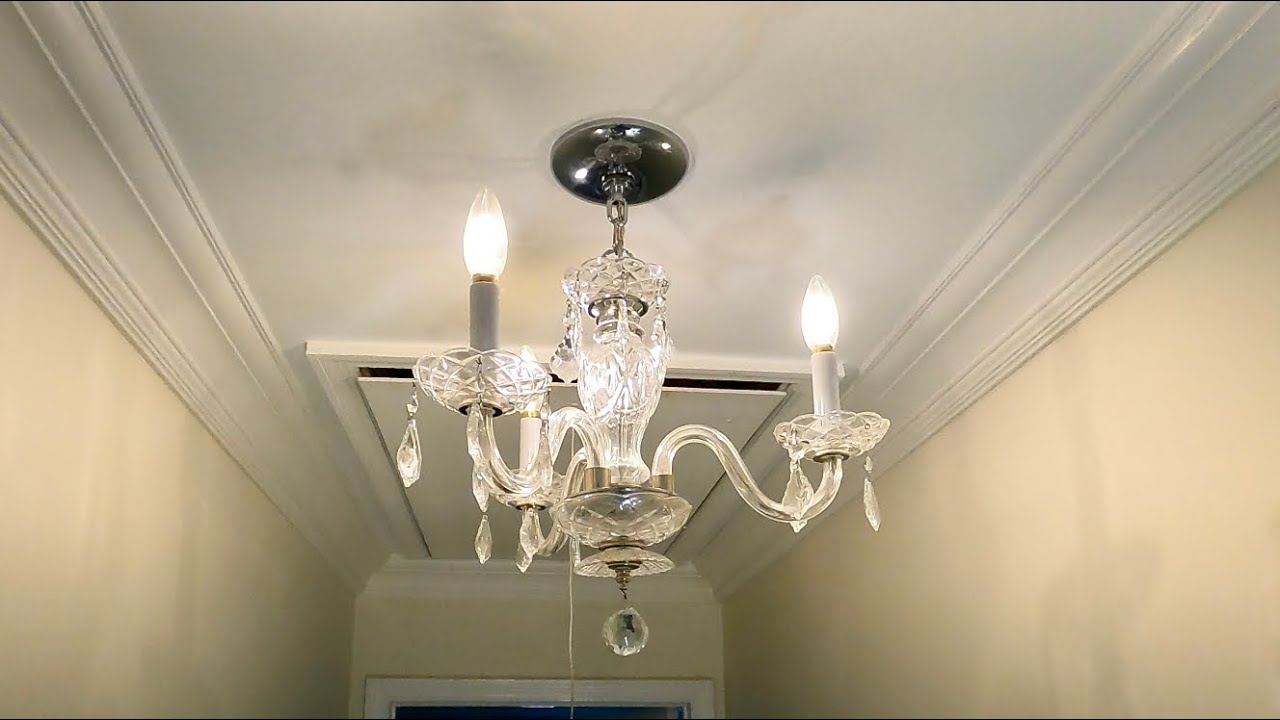
Hanging a heavy chandelier can be a challenging task that requires careful planning and execution. A chandelier not only adds a touch of elegance to any space but also serves as a focal point, casting a warm and inviting glow. However, due to their weight and delicate nature, it’s crucial to ensure that they are properly installed and securely hung.
In this article, we will guide you through the step-by-step process of hanging a heavy chandelier. We’ll cover everything from choosing the right location and assessing the ceiling strength to gathering the necessary tools and equipment. So, if you’re ready to add a stunning centerpiece to your home, let’s get started!
Key Takeaways:
- Properly hanging a heavy chandelier involves careful planning, assessing ceiling strength, gathering tools, preparing the fixture, and ensuring secure installation. Prioritize safety and enjoy the stunning ambiance it brings to your space.
- Choosing the right location, installing support, and testing and adjusting the chandelier are crucial steps in the installation process. Seek professional assistance if needed to ensure a flawless and safe hanging.
Read more: How To Hang A Heavy Blanket On A Wall
Step 1: Choosing the Right Location
The first step in hanging a heavy chandelier is to select the optimal location for it. Consider the room size, ceiling height, and overall aesthetic of the space. The chandelier should be positioned in a way that it complements the room’s design and becomes a focal point.
Take into account the function of the room as well. In dining rooms, chandeliers are often centered over the table, whereas in living rooms, they may be hung in the center of the room or above a seating area. Consider the height of the ceiling as well. A chandelier that hangs too low may obstruct views or pose a safety hazard.
Additionally, be mindful of the electrical connections. Ensure that there is a suitable power source nearby to connect the chandelier. If needed, hire a licensed electrician to install the necessary wiring or make any adjustments to the electrical system.
Remember to check local building codes and regulations regarding the installation of light fixtures. Some areas may have specific requirements or restrictions that must be followed.
By carefully choosing the right location for your heavy chandelier, you can create a visually stunning and functional space that showcases your personal style and enhances the overall ambiance of the room.
Step 2: Assessing the Ceiling Strength
Before hanging a heavy chandelier, it’s crucial to assess the strength and structural integrity of your ceiling. This step is vital to ensure that the ceiling can support the weight of the chandelier safely.
Start by determining the type of ceiling you have. Is it a standard drywall or plaster ceiling, or is it a suspended ceiling? The type of ceiling will influence the installation method and the necessary hardware.
Next, locate the ceiling joists. These are the horizontal beams that provide support to the ceiling. You can use a stud finder or tap gently on the ceiling to listen for a solid, hollow sound, which indicates the presence of a joist.
Measure the distance between the ceiling joists to determine the spacing. This will help you determine the appropriate location for hanging the chandelier. Ideally, you should hang the chandelier directly from the ceiling joists to ensure maximum stability and weight-bearing capacity.
If the desired location for the chandelier does not align with the ceiling joists, you may need to install a ceiling support brace or ceiling medallion. These additional support structures can distribute the weight of the chandelier and ensure that it remains securely in place.
For suspended ceilings, it may be necessary to consult a professional to determine the best method of installing the heavy chandelier. Suspended ceilings typically have weight restrictions, and special considerations may need to be taken into account.
By assessing the ceiling strength and making any necessary modifications or additions, you can hang your heavy chandelier with confidence, knowing that it is securely supported and will provide a beautiful focal point in the room for years to come.
Step 3: Gathering the Necessary Tools and Equipment
Once you have chosen the right location and assessed the ceiling strength, it’s time to gather the necessary tools and equipment for hanging your heavy chandelier. Having the right tools on hand will make the installation process smoother and more efficient.
Here are some essential tools and equipment you will need:
- Ladder or scaffolding: Depending on the height of your ceiling, you will need a secure and stable platform to reach the installation area. Choose a ladder or scaffolding system that is appropriate for your specific needs.
- Electric drill: An electric drill will be essential for making holes in the ceiling to install anchors or support structures.
- Stud finder: A stud finder will help locate the ceiling joists, ensuring that your chandelier is anchored to a sturdy support beam.
- Measuring tape: Accurate measurements are crucial for ensuring that your chandelier hangs at the desired height and is centered properly.
- Wire cutters and strippers: These tools will be necessary for cutting and stripping the electrical wires, ensuring a clean and secure connection.
- Chandelier mounting kit: Depending on the specific requirements of your chandelier, you may need a mounting kit that includes heavy-duty hooks, chains, and screws.
- Safety goggles and gloves: Safety should always be a priority during any home improvement project. Wear protective goggles and gloves to prevent any accidents or injury.
Make sure to gather all the necessary tools and have them easily accessible before you begin the installation process. This will save you time and frustration, allowing for a smoother and more efficient operation.
By having the right tools at your disposal, you can confidently proceed with the installation of your heavy chandelier, ensuring a successful and secure mounting that will enhance the beauty of your space.
Step 4: Preparing the Chandelier
Before you hang your heavy chandelier, it’s essential to properly prepare it for installation. This step involves inspecting the chandelier, making any necessary adjustments or repairs, and ensuring that it is ready to be securely hung.
Here are some key tasks to complete when preparing your chandelier:
- Clean the chandelier: Dust and debris can accumulate on the chandelier over time. Use a soft cloth or a gentle cleaning solution to remove any dirt or grime, making the chandelier shine bright.
- Tighten any loose parts: Check all the screws, nuts, and bolts on the chandelier. If you notice any loose parts, tighten them using the appropriate tools. This will ensure that the chandelier remains stable and secure when hung.
- Adjust the chain or cord length: If necessary, adjust the length of the chain or cord that attaches the chandelier to the ceiling. Ensure that the chandelier hangs at the desired height and is balanced properly.
- Attach any additional components: Some chandeliers may require the installation of additional components, such as decorative canopy covers or mounting brackets. Follow the manufacturer’s instructions to attach these components securely.
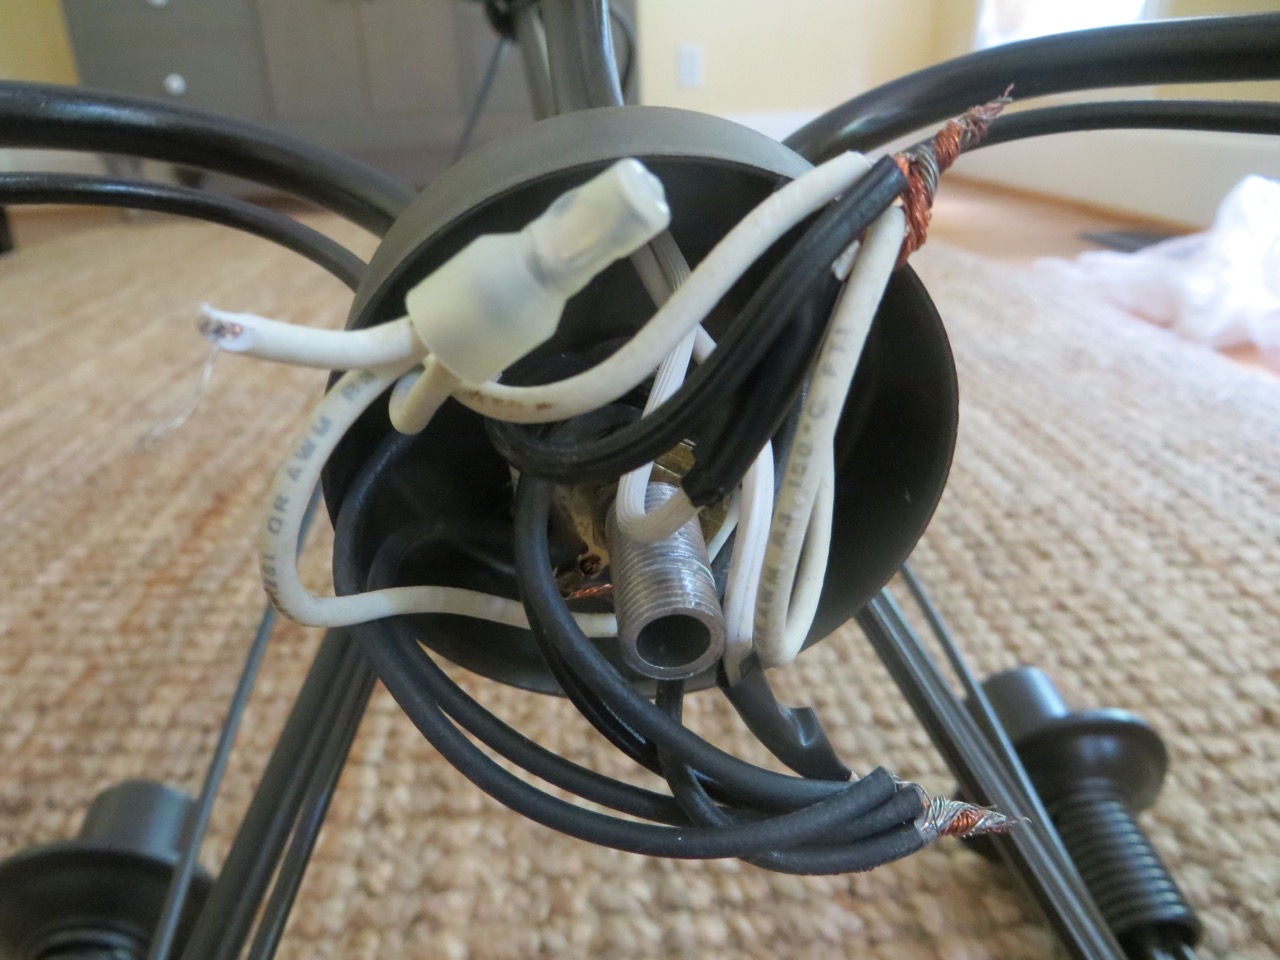
- Check the electrical wiring: Examine the electrical wiring of the chandelier to ensure it is in good condition. Look for any frayed wires or loose connections. If you notice any issues, consult a professional electrician for assistance.
By taking the time to properly prepare your chandelier, you can ensure that it is safe, functional, and ready for installation. Cleaning the chandelier and addressing any loose parts or wiring issues will not only improve its appearance but also contribute to the longevity and performance of the fixture.
With your chandelier in optimal condition, you are now ready to move on to the next step: installing support for the chandelier.
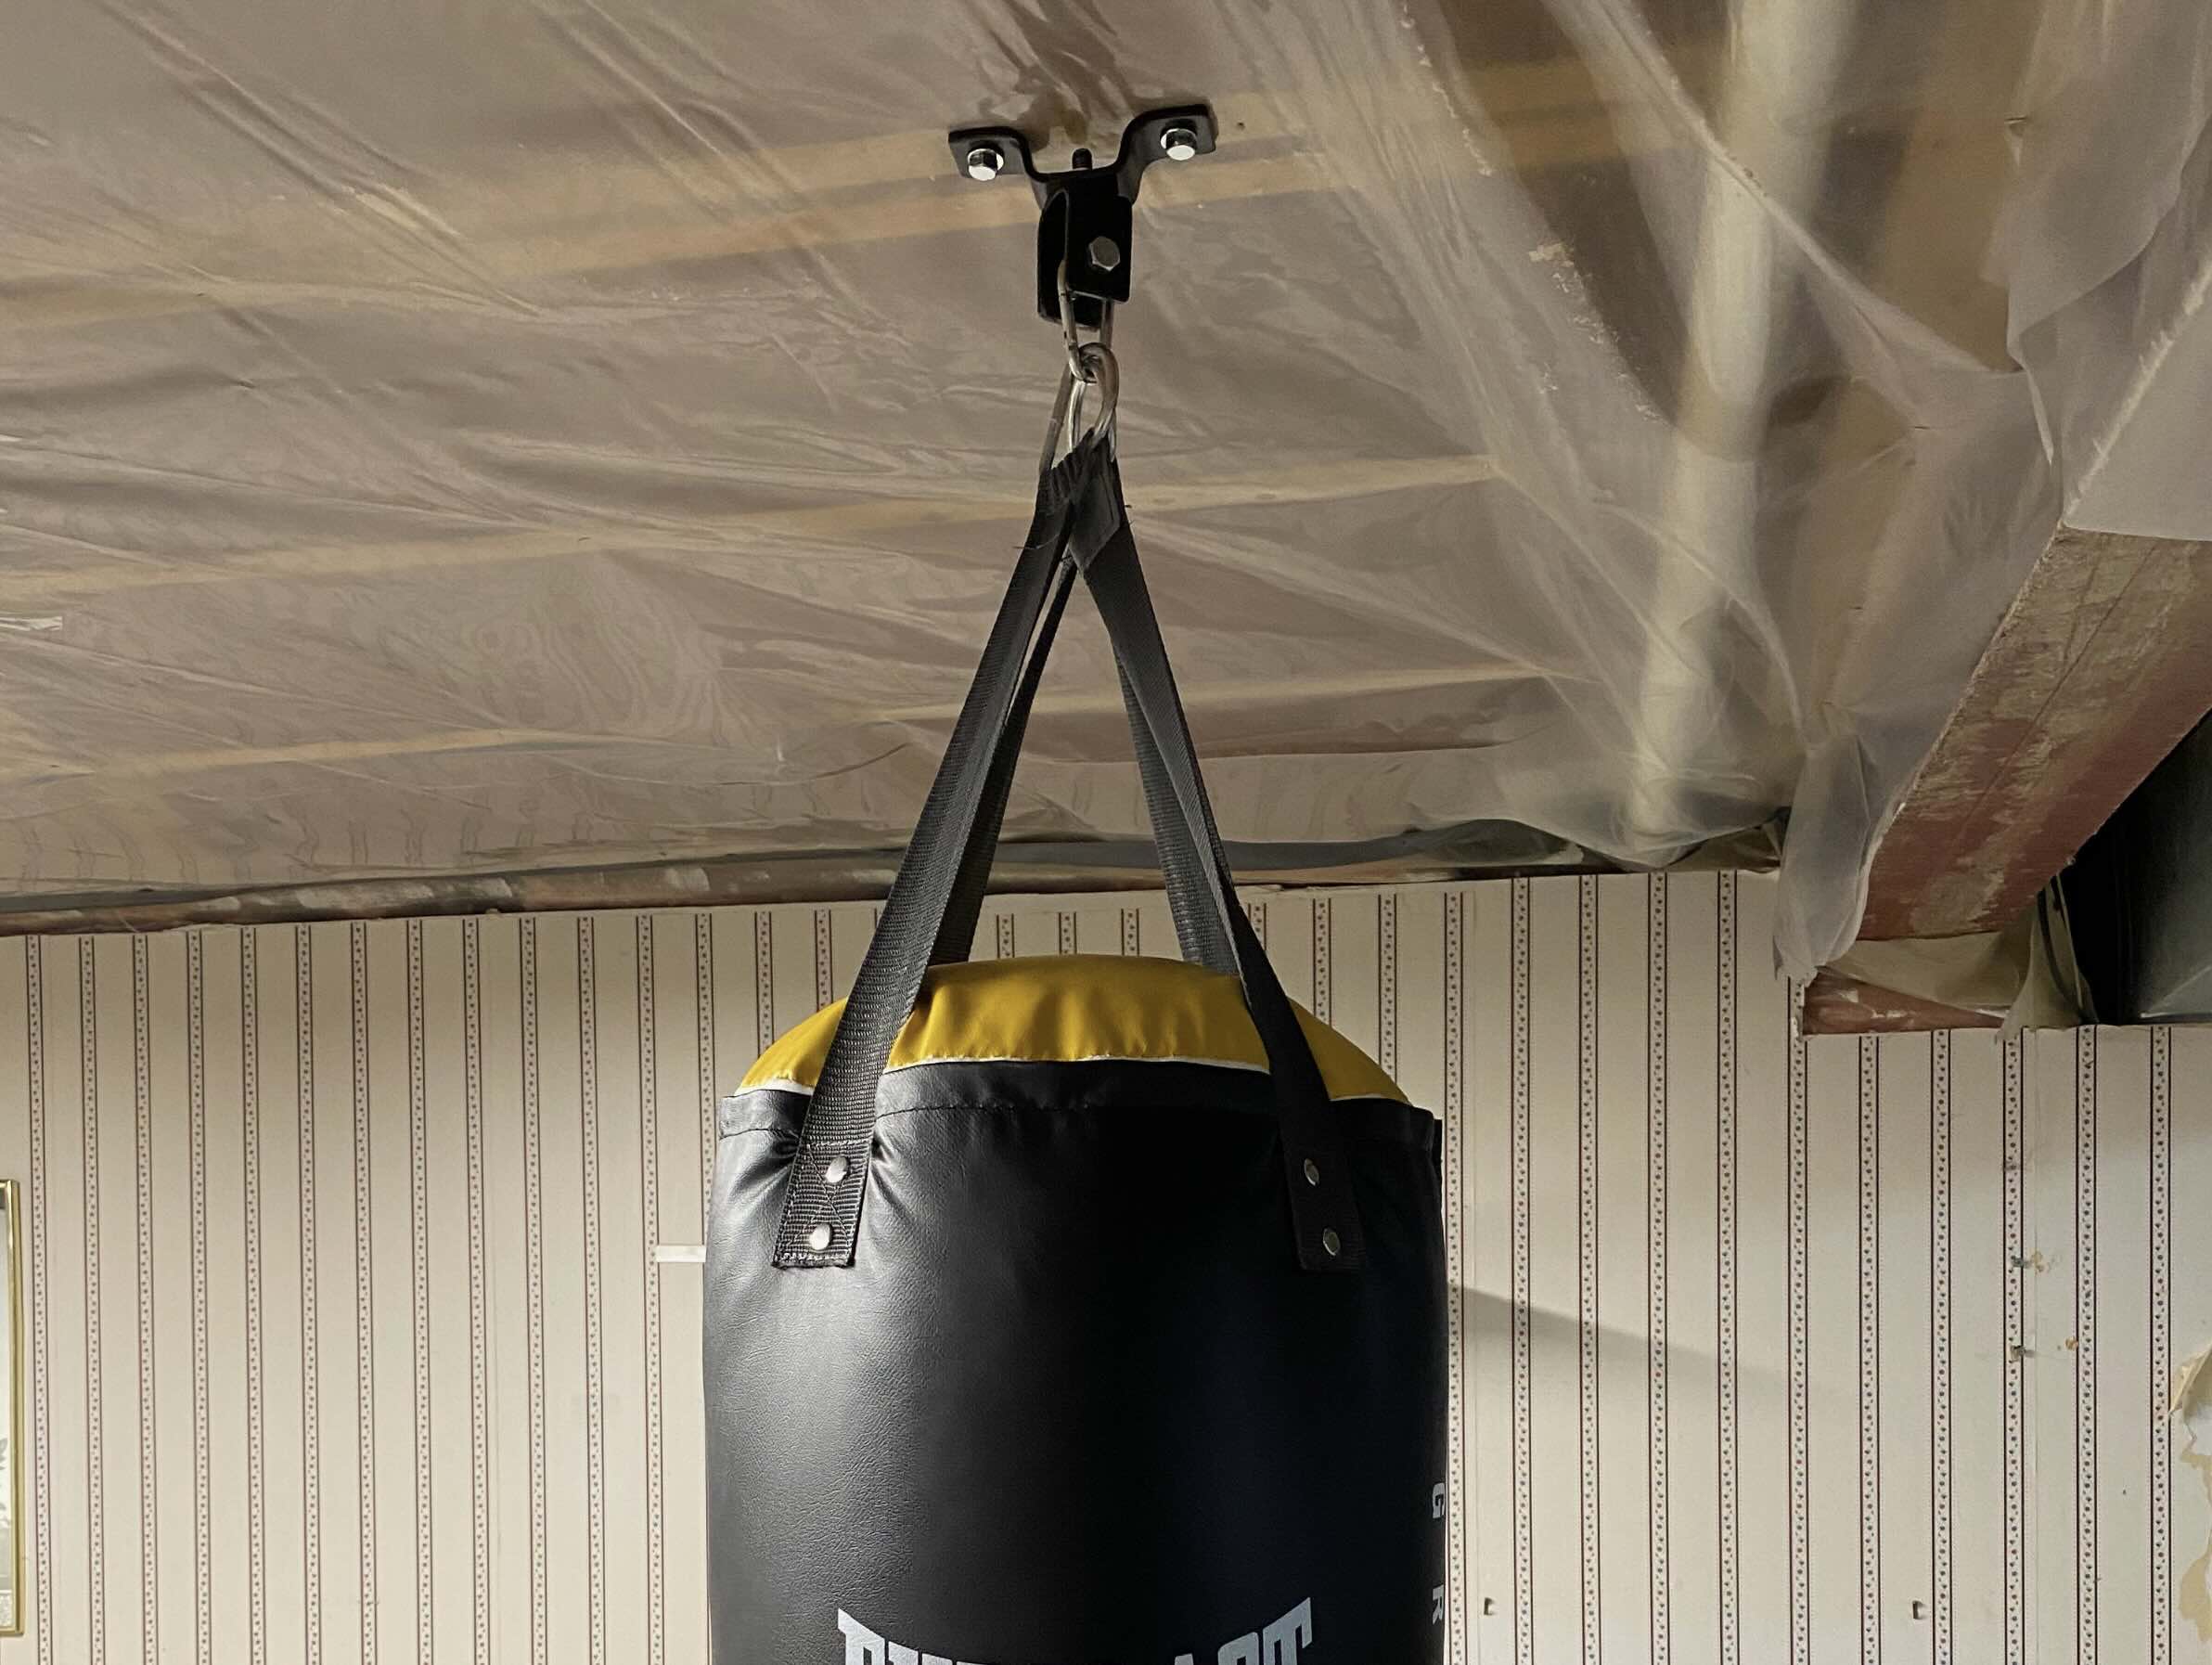
When hanging a heavy chandelier, always use a secure ceiling mount and ensure it is installed into a ceiling joist for maximum support. Use a strong chain or wire to hang the chandelier and double-check all connections for safety.
Read more: How To Hang Heavy Curtains On Drywall
Step 5: Installing Support for the Chandelier
Properly installing support for your heavy chandelier is crucial to ensure its stability and safe hanging. This step involves securing the necessary hardware and ensuring that the chandelier will be properly supported by the ceiling structure.
Here’s how to install support for your chandelier:
- Mark the hanging location: Use a pencil or masking tape to mark the exact spot where you want to hang the chandelier. This will serve as a guide during the installation process.
- Locate the ceiling joists: Use a stud finder or other methods to locate the ceiling joists. It’s essential to anchor the chandelier to these sturdy structural beams for maximum support.
- Install a ceiling medallion (optional): If desired, you can install a decorative ceiling medallion above the chandelier for added aesthetic appeal. Follow the manufacturer’s instructions to secure it to the ceiling.
- Install a support brace: If the chandelier’s hanging location does not align with a ceiling joist, you will need to install a support brace. Use a drill to create a hole in the ceiling, then insert the support brace and tighten it securely.
- Attach the mounting bracket: Most chandeliers come with a mounting bracket. Attach the bracket to the ceiling using screws and ensure that it is firmly anchored to the support brace or ceiling joist.
- Connect electrical wires: Follow the manufacturer’s instructions to connect the chandelier’s electrical wires to the corresponding wires in the electrical box. Make sure to secure the connections with wire nuts and wrap them with electrical tape for added safety.
Remember, if you are not confident in your ability to install support for the chandelier, it’s always best to consult a professional electrician or contractor. They can ensure that the proper support is installed and that all electrical connections are made correctly, prioritizing safety.
Once you have installed the support for your chandelier, you are ready to move on to the next step: hanging the chandelier itself.
Step 6: Hanging the Chandelier
Now that you have prepared the chandelier and installed the necessary support, it’s time to hang your beautiful fixture. Properly hanging the chandelier ensures that it is securely attached to the ceiling and properly aligned for optimal visual impact.
Follow these steps to hang your chandelier:
- Turn off the power: Before you begin, ensure that the power to the chandelier’s electrical circuit is turned off at the breaker box. This will prevent any accidental electrical shocks or damage.
- Attach the chandelier to the mounting bracket: Carefully lift the chandelier and align the mounting hooks or chains with the corresponding openings on the mounting bracket. Gently slide the chandelier into place and make sure it is securely fastened.
- Adjust the chandelier’s height: Use the adjustable chain or cord to adjust the height of the chandelier to your desired position. Measure the height from the ceiling to ensure that it hangs evenly and at the desired level.
- Tighten all connections: Double-check all the connections between the chandelier and the mounting bracket, ensuring that they are firmly secured. This will prevent any movement or wobbling once the chandelier is hanging.
- Restore power and test the chandelier: After double-checking the connections, restore power to the chandelier’s electrical circuit. Test the chandelier by turning on the light switch. Make sure all bulbs are working properly and that the chandelier is properly illuminated.
It’s important to take your time during this step to ensure that the chandelier is hung securely and perfectly aligned. If needed, have a friend or family member assist you during the hanging process to make it easier and safer.
Once the chandelier is hung and functioning properly, you can move on to the next step: testing and adjusting the chandelier.
Step 7: Testing and Adjusting the Chandelier
After hanging the chandelier, it is important to test and make any necessary adjustments to ensure that it is working correctly and properly aligned. This step will help you fine-tune the positioning of the chandelier and ensure that it meets your desired aesthetic and functional requirements.
Here are some steps to test and adjust your chandelier:
- Turn on the chandelier: Ensure that the chandelier is connected to a power source and turn it on to check if all the lights are functioning properly. If any bulbs are not working, replace them with new ones.
- Check for balance: Observe the chandelier to ensure that it hangs straight and does not tilt or sway. If necessary, make adjustments to the chain or cord length to achieve balance. Use a level to check if the chandelier is properly aligned horizontally.
- Assess the lighting: Evaluate the overall lighting effect and adjust the positioning of the chandelier if needed. Pay attention to shadows or glare caused by the chandelier and make any necessary changes to optimize the lighting in the room.
- Ensure smooth operation: Test the operation of any additional features, such as dimmers or adjustable arms. Confirm that they are functioning correctly and adjust them if necessary for optimal functionality.
- Make aesthetic adjustments: Step back and examine the chandelier from different angles, considering the overall look and feel of the room. If needed, make slight adjustments to its position or height to achieve the desired aesthetic impact.
Take your time during this step to ensure that the chandelier meets your expectations both visually and functionally. Don’t hesitate to make any necessary adjustments to optimize its performance and enhance the overall ambiance of the space.
Once you are satisfied with the testing and adjustments, you can move on to the final step: securing and finishing the installation.
Step 8: Securing and Finishing the Installation
After testing and adjusting the chandelier, it’s time to secure and finish the installation. This step involves ensuring that all the connections are secure, tidying up any loose wires, and adding final touches to enhance the overall appearance of the chandelier.
Follow these steps to secure and finish the installation:
- Tighten all connections: Double-check all the screws, nuts, and bolts in the chandelier to ensure that they are tightly secured. This will prevent any movement or looseness that could occur over time.
- Secure loose wires: Use zip ties or wire clips to neatly secure any loose wires and prevent them from hanging or tangling. This will create a cleaner and safer look.
- Trim excess chain or cord: If there is any excess chain or cord hanging from the chandelier, carefully trim it to achieve a clean and polished appearance. Be cautious not to cut too close to the chandelier, as this may compromise its stability.
- Attach decorative elements (optional): If desired, attach any additional decorative elements such as decorative crystals or shades to enhance the visual appeal of the chandelier. Follow the manufacturer’s instructions for proper attachment.
- Final cleaning and inspection: Give the chandelier a final wipe-down to remove any fingerprints or smudges that may have occurred during the installation process. Inspect the chandelier from different angles to ensure that it looks flawless and is ready to dazzle.
Once you have completed these steps, step back and admire your newly hung and secured chandelier. It should be securely fastened, aligned properly, and fully functioning, creating a stunning centerpiece in your space.
Remember, safety is paramount when working with electrical components. If you are not confident in your abilities, consult a professional electrician to ensure that the installation is secure and meets all safety standards.
Congratulations on successfully hanging your heavy chandelier! Enjoy the beauty and elegance it brings to your space, and bask in the warm and inviting glow it casts.
Read more: How To Hang A Chandelier Off-Center
Conclusion
Hanging a heavy chandelier may seem like a daunting task, but with the right knowledge and approach, you can successfully install this stunning fixture and transform your space into a captivating and elegant environment.
In this comprehensive guide, we have covered the step-by-step process of hanging a heavy chandelier. From choosing the right location and assessing the ceiling strength to gathering the necessary tools and equipment, preparing the chandelier, and installing support, we have provided detailed instructions to help you navigate through each stage of the installation.
By following these steps, you can ensure that your chandelier is securely hung, properly aligned, and functioning optimally. Remember to test and adjust the chandelier to achieve the desired lighting effect and balance, and take the time to secure all connections and add the finishing touches for a polished and flawless installation.
However, it’s important to prioritize safety throughout the installation process. If you are unsure or uncomfortable with any step, consider seeking the assistance of a professional electrician who can ensure that the installation meets all safety standards.
With your heavy chandelier successfully installed, enjoy the beauty and ambiance it brings to your space. Whether it’s illuminating a dining room, creating a cozy atmosphere in a living room, or adding a touch of luxury to a bedroom, your chandelier will undoubtedly become a focal point that enhances the overall aesthetic and charm of your home.
So, take the leap and hang that exquisite chandelier. Let it shine brightly and elevate the style and elegance of your living space.
Frequently Asked Questions about How To Hang Heavy Chandelier
Was this page helpful?
At Storables.com, we guarantee accurate and reliable information. Our content, validated by Expert Board Contributors, is crafted following stringent Editorial Policies. We're committed to providing you with well-researched, expert-backed insights for all your informational needs.


0 thoughts on “How To Hang Heavy Chandelier”