Furniture
How To Sand A Dresser And Paint It
Modified: January 9, 2024
Learn how to transform your old dresser into a stunning piece of furniture with our step-by-step guide on sanding and painting. Enhance the beauty of your space with this DIY project.
(Many of the links in this article redirect to a specific reviewed product. Your purchase of these products through affiliate links helps to generate commission for Storables.com, at no extra cost. Learn more)
Introduction
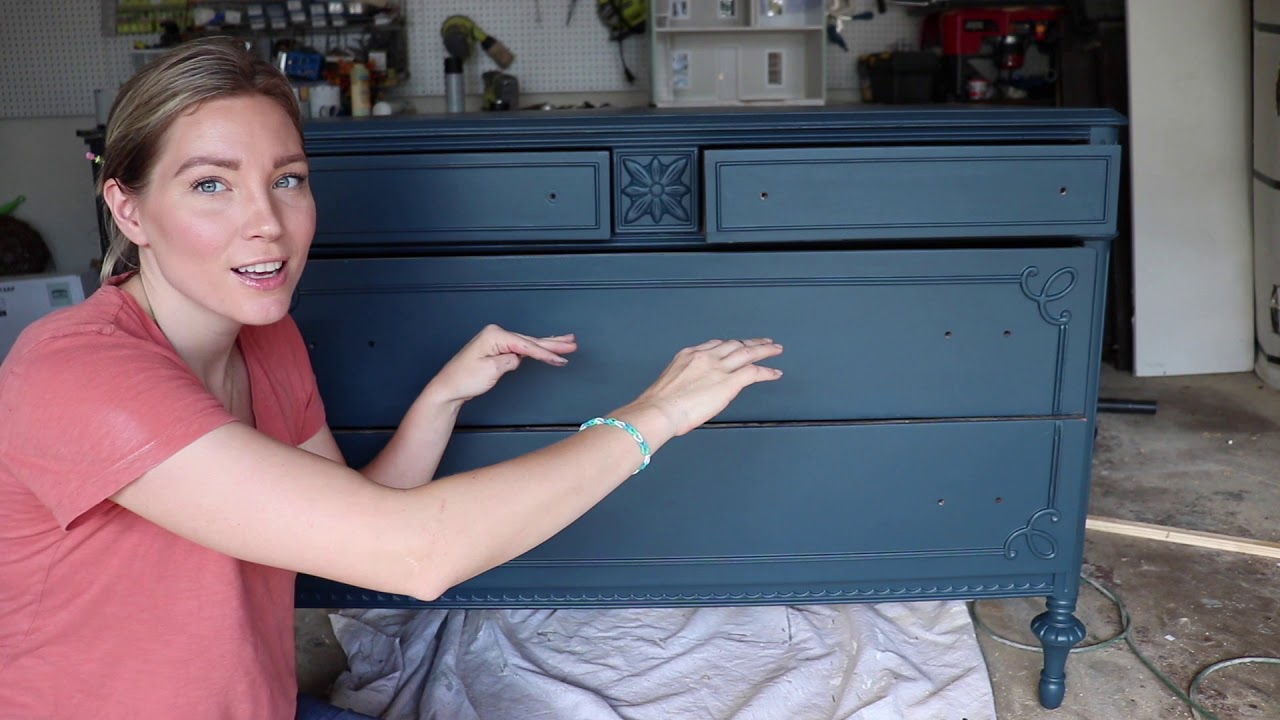
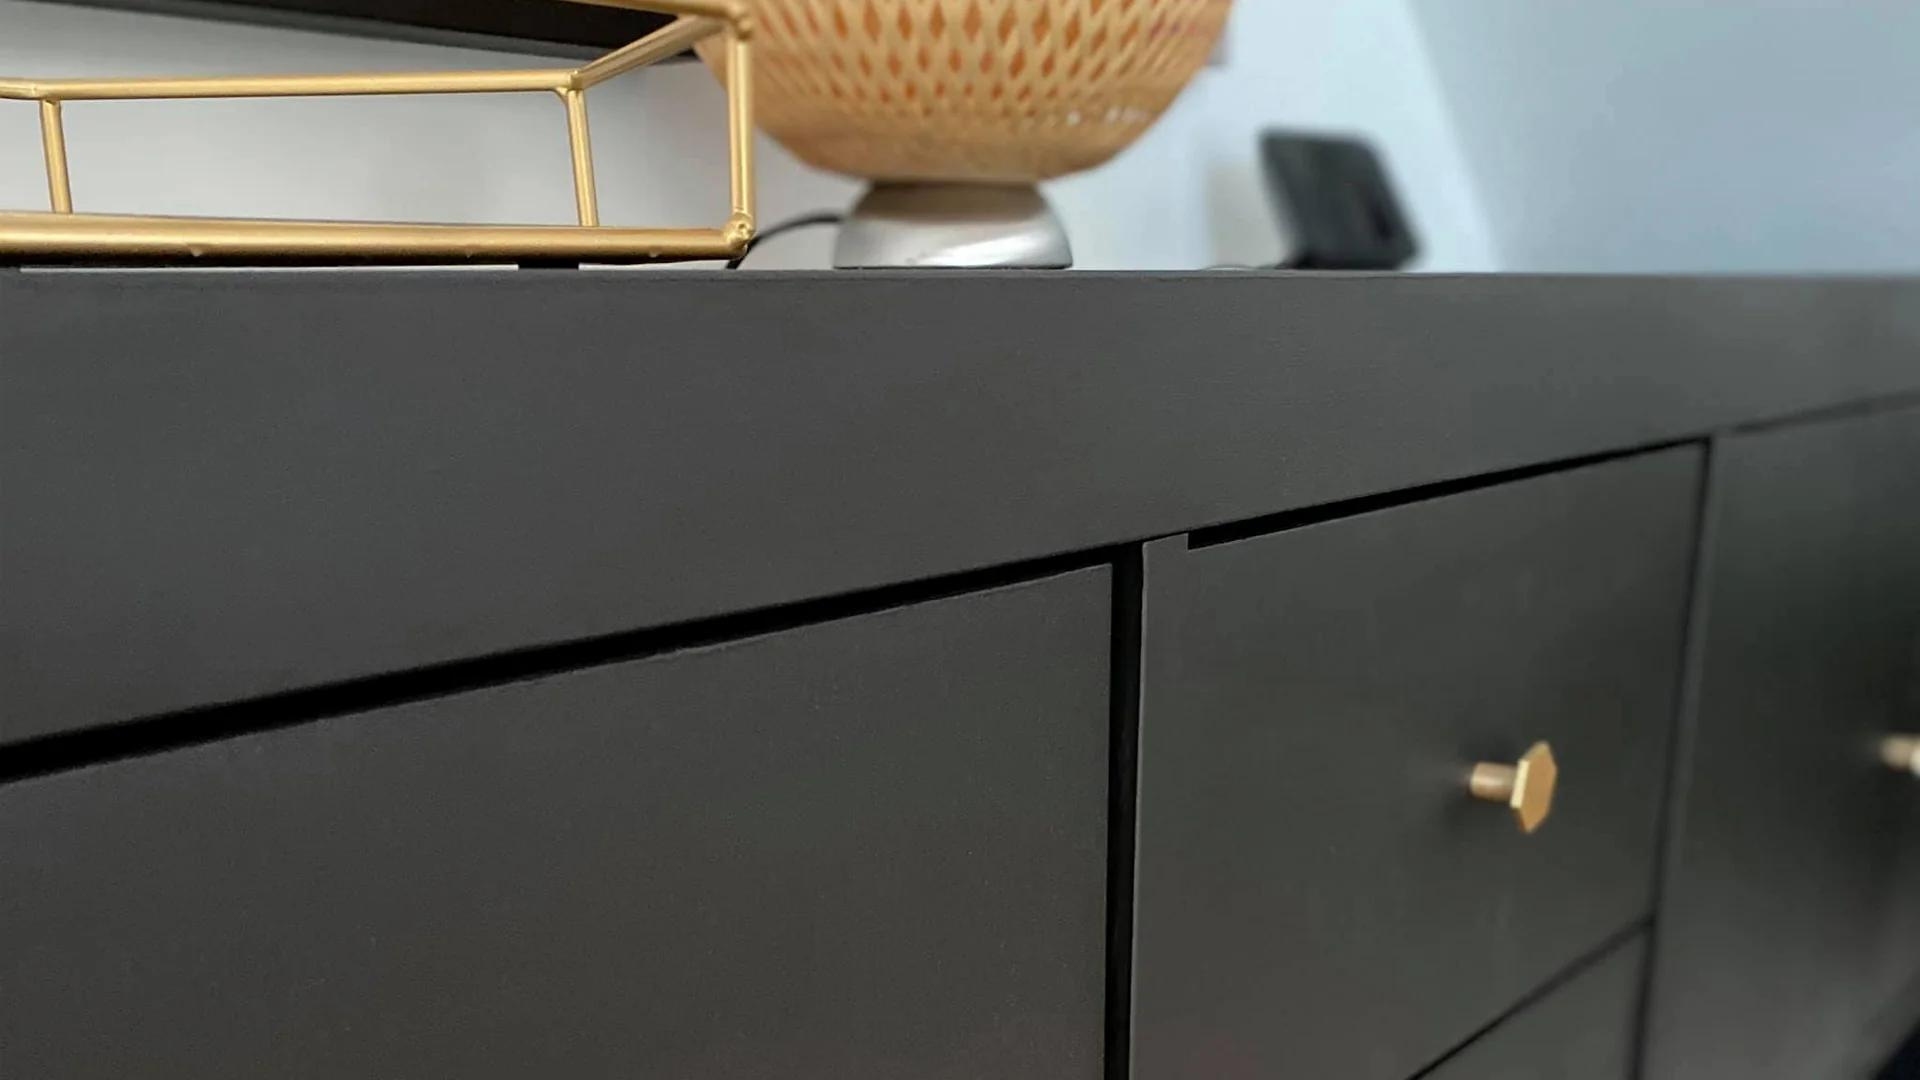
Welcome to the world of furniture refurbishment! If you have an old dresser that’s seen better days, don’t rush to get rid of it just yet. With a little bit of time, effort, and creativity, you can transform that worn-out dresser into a stunning piece that will be the centerpiece of any room. In this article, we’ll walk you through the steps of sanding a dresser and painting it, so you can achieve a professional-looking finish with a personal touch.
Before we dive into the process, let’s talk about why sanding and painting are essential. Over time, dressers can accumulate scratches, dings, and water stains. Sanding the surface not only smoothens out these imperfections but also creates a better surface for paint to adhere to. Additionally, painting allows you to customize the look of your dresser and breathe new life into it.
Now that you understand the importance of sanding and painting, let’s gather the materials you’ll need to get started.
Key Takeaways:
- Transform old dressers into stunning statement pieces by sanding and painting them. Proper preparation, high-quality materials, and optional finishing touches create a professional and personalized finish.
- Refurbishing furniture allows for creativity and self-expression. The process of sanding and painting old dressers breathes new life into worn-out pieces, reflecting personal style and adding unique touches to home decor.
Read more: How To Paint Dresser Without Sanding
Materials Needed
Before you begin the process of sanding and painting your dresser, it’s essential to gather all the necessary materials. Here’s a list of what you’ll need:
- Sandpaper or an electric sander
- Paint scraper
- Wood filler
- Primer
- Paintbrushes or a roller
- Paint of your choice
- Drop cloths or old sheets
- Painter’s tape
- Screwdriver
- Clean cloth or tack cloth
- Disposable gloves
- Respirator mask
Now that you have all your materials ready, let’s move on to the step-by-step process of sanding and painting your dresser.
Step 1: Prepare the Dresser
Before you can start sanding and painting your dresser, you need to prepare the surface. Follow these steps to ensure your dresser is clean and ready for the makeover:
- Remove all items from the dresser: Take out any items stored in the drawers and remove any hardware, such as knobs or handles.
- Clear the surrounding area: Find a well-ventilated area, like a garage or outdoor space, and cover the floor with drop cloths or old sheets to protect it from paint splatters and dust.
- Protect any areas you don’t want to paint: Use painter’s tape to cover any parts of the dresser that you want to keep as they are, such as the insides of drawers or decorative elements.
- Wipe down the dresser: Use a clean cloth or tack cloth to wipe down the surface, removing any dust or dirt. This will ensure that the paint adheres properly.
Once you’ve completed these steps, you’re ready to move on to the next stage: sanding the dresser. Stay tuned for step-by-step instructions in the next section.
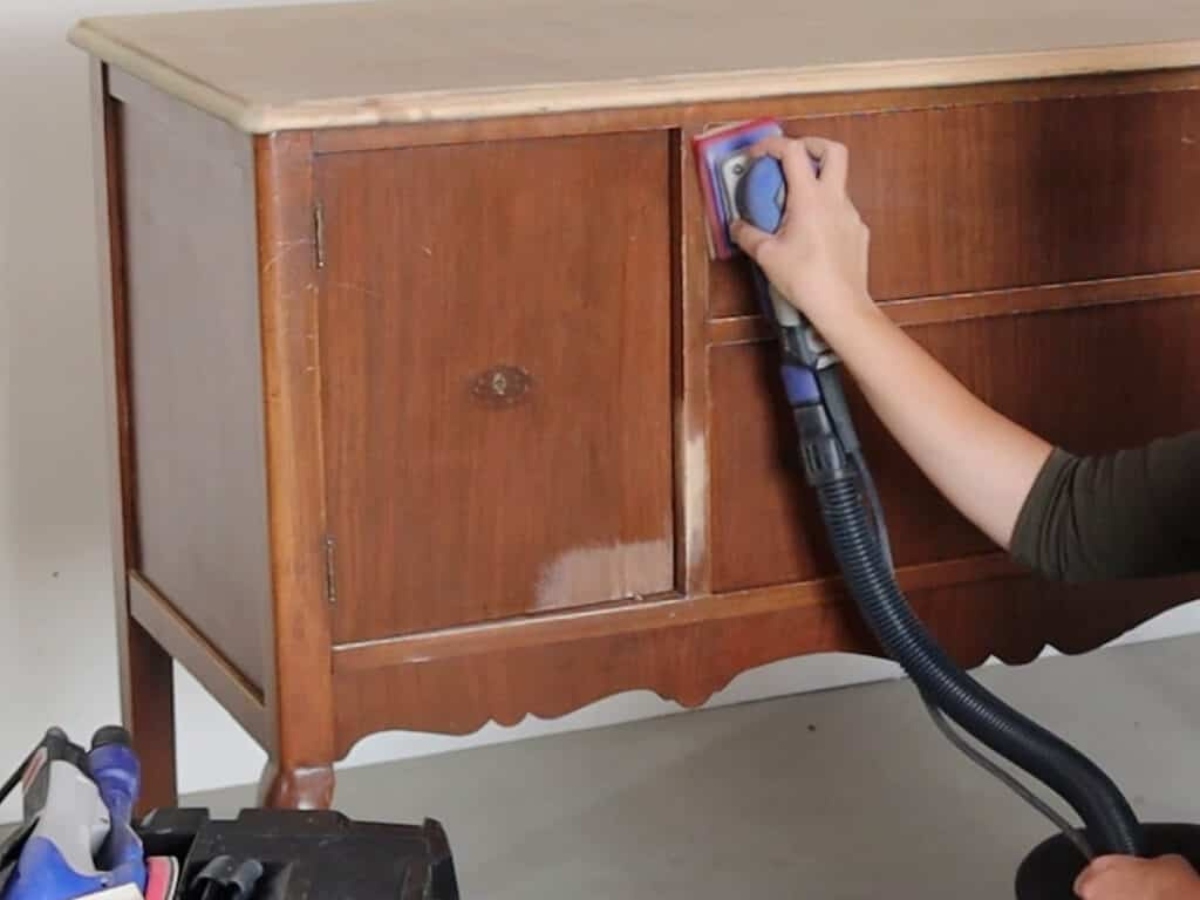
Step 2: Sanding the Dresser
Now it’s time to start sanding your dresser. Sanding will help smoothen the surface, remove any existing finish, and prepare it for the new paint. Follow these steps to sand your dresser effectively:
- Choose the right sandpaper grit: The grit size will depend on the condition of your dresser. Start with a medium-grit sandpaper (around 120 grit) for the initial sanding. If there are deep scratches or rough areas, you may need to use a coarser grit, such as 80 grit. For the final sanding, use a fine-grit sandpaper (around 220 grit) to achieve a smooth surface.
- Sand in the direction of the grain: Always sand in the direction of the wood grain to avoid creating visible scratches. Apply even pressure as you move the sandpaper back and forth over the dresser surface.
- Remove the old finish: If your dresser has an existing finish, continue sanding until you remove it completely. This may require more time and effort, especially if the finish is thick or stubborn.
- Pay attention to details: Use a sanding block or small piece of sandpaper to sand hard-to-reach areas, corners, and edges. This will ensure that every part of the dresser is properly prepared.
- Wipe away dust: After sanding, use a clean cloth or tack cloth to wipe away the dust particles generated during the sanding process. This will help create a clean surface for painting.
Once you’ve completed sanding your dresser, you’re ready to move on to the next step: repairing any damaged areas. Check out the next section for detailed instructions.
Step 3: Repairing any Damaged Areas
After sanding the dresser, it’s important to assess if there are any damaged areas that need to be repaired before painting. Follow these steps to fix any imperfections:
- Inspect the dresser: Carefully examine the surface for any cracks, dents, or holes. These can be caused by wear and tear or accidents.
- Fill the damaged areas: Use a wood filler to fill in any cracks or holes. Apply the filler with a putty knife and smooth it out to create an even surface. Allow it to dry according to the manufacturer’s instructions.
- Sand the repaired areas: Once the wood filler is dry, sand down the repaired areas using fine-grit sandpaper. This will ensure that the surface is smooth and seamless.
- Remove the dust: Wipe away any dust or debris from the repaired areas using a clean cloth or tack cloth. This will help the paint adhere properly.
Repairing damaged areas is an essential step in achieving a flawless finish for your dresser. Once you’ve completed the repairs, it’s time to move on to the next step: priming the dresser. Stay tuned for instructions on how to prime the dresser in the following section.
Before sanding a dresser, make sure to remove any hardware and clean the surface thoroughly. Use a medium-grit sandpaper to remove the old finish, then switch to a fine-grit sandpaper for a smooth surface before painting.
Read more: How To Sand A Dresser
Step 4: Priming the Dresser
Now that you have sanded and repaired any damaged areas on your dresser, it’s time to apply a coat of primer. Priming is crucial as it helps the paint adhere better to the surface and provides a smooth base for the final coat. Follow these steps to prime your dresser:
- Select a suitable primer: Choose a primer that is compatible with your chosen paint type and finish. It’s best to opt for a primer specifically designed for furniture and wood surfaces.
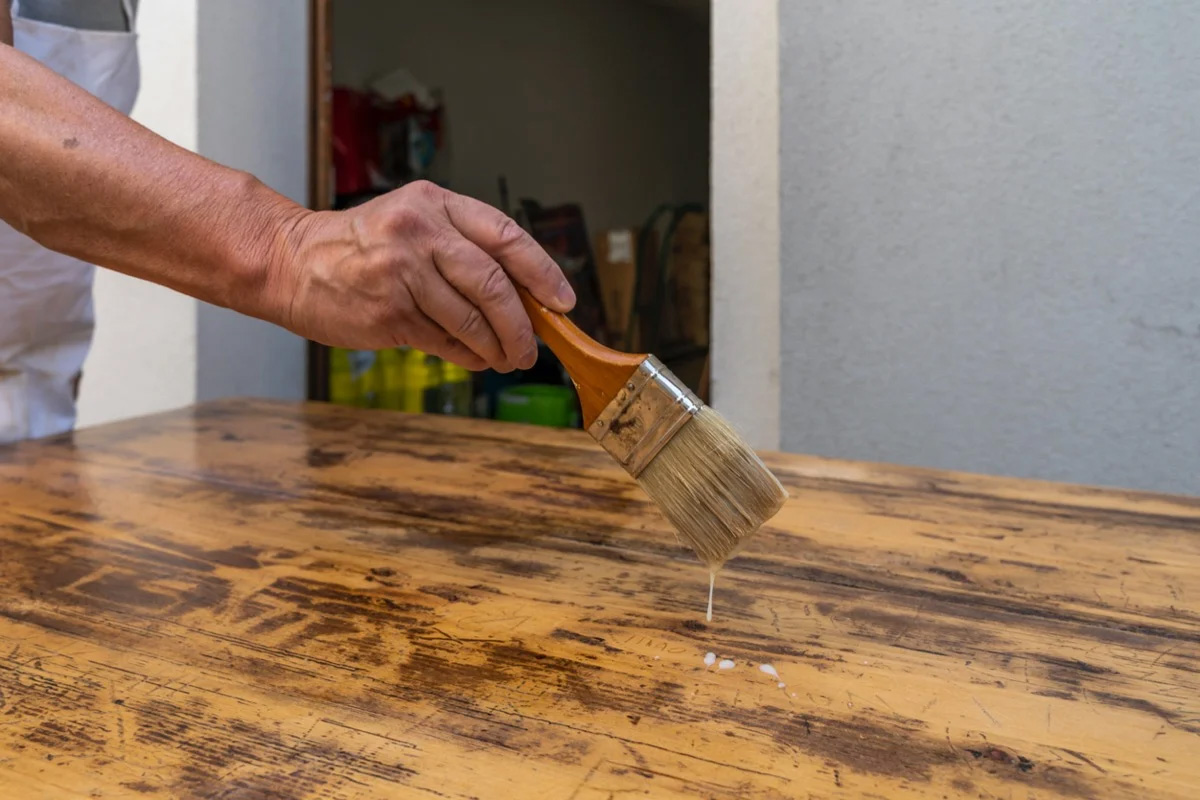
- Prepare the primer: Stir the primer thoroughly to ensure it is well mixed. If necessary, you can thin the primer according to the manufacturer’s instructions.
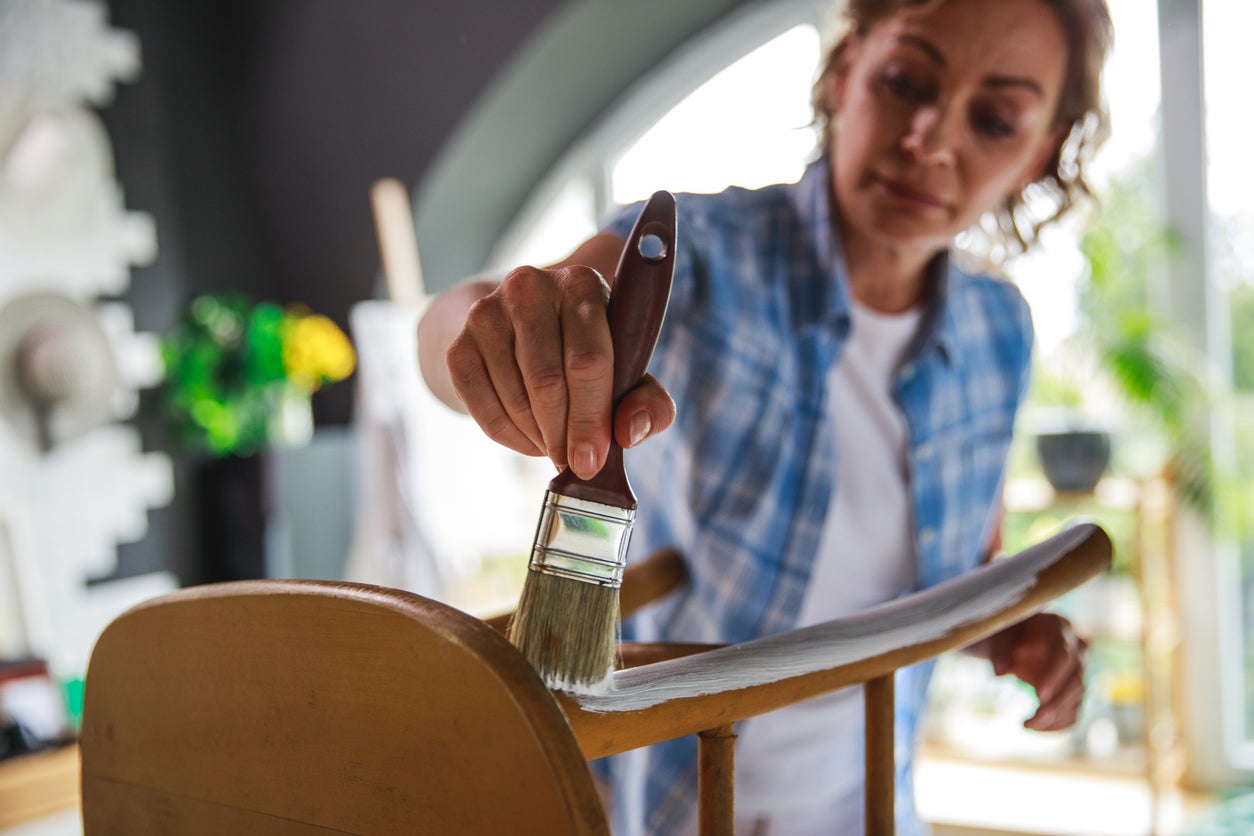
- Apply the primer: Start by applying a thin, even layer of primer to the entire surface of the dresser. Use a paintbrush or a roller to achieve a smooth and uniform coat. Make sure to work in the same direction as the wood grain for a seamless finish.
- Allow the primer to dry: Follow the drying time specified on the primer’s packaging. This usually takes a few hours, but it’s best to let it dry overnight for optimal results. Ensure that the primer is completely dry before proceeding to the next step.
- Sand the primer (optional): For an extra smooth finish, you can lightly sand the primed surface using fine-grit sandpaper. This will help remove any brush marks or imperfections. Remember to wipe away the dust with a clean cloth afterward.
With the primer applied, your dresser is now ready for the next step: painting! Stay tuned for detailed instructions on how to paint the dresser in the following section.
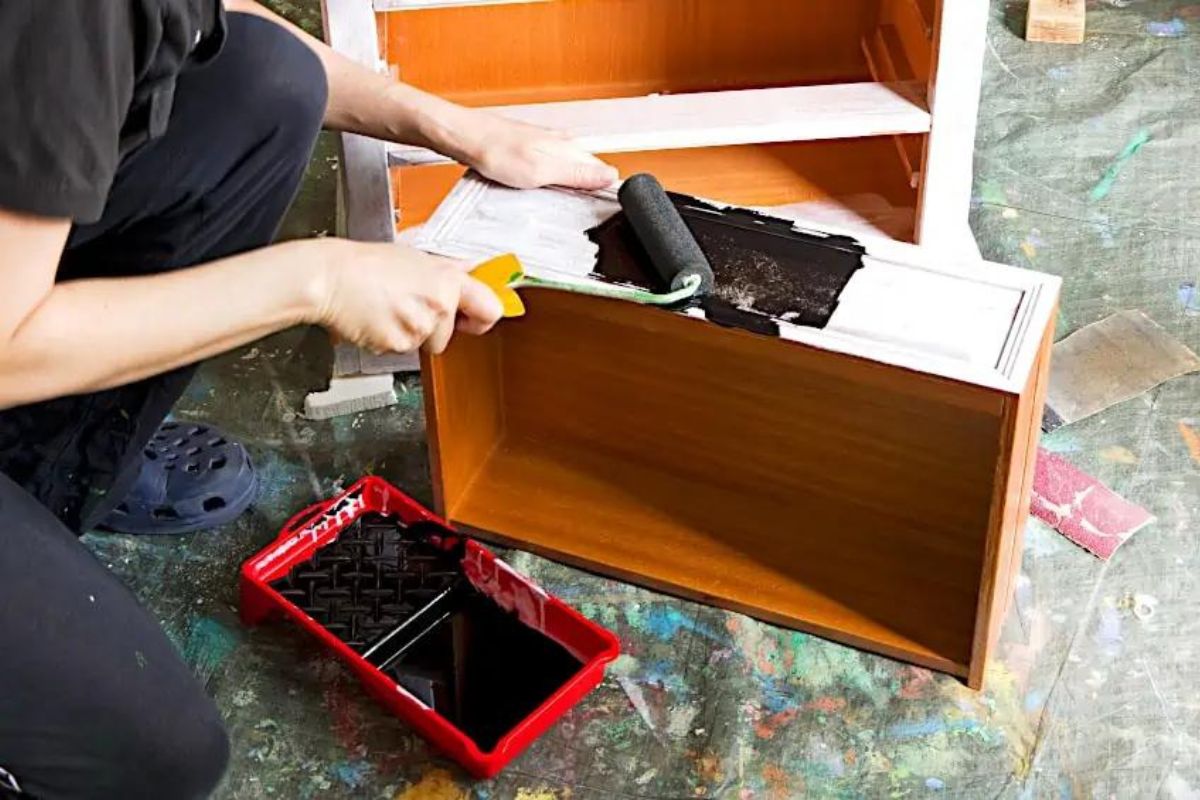
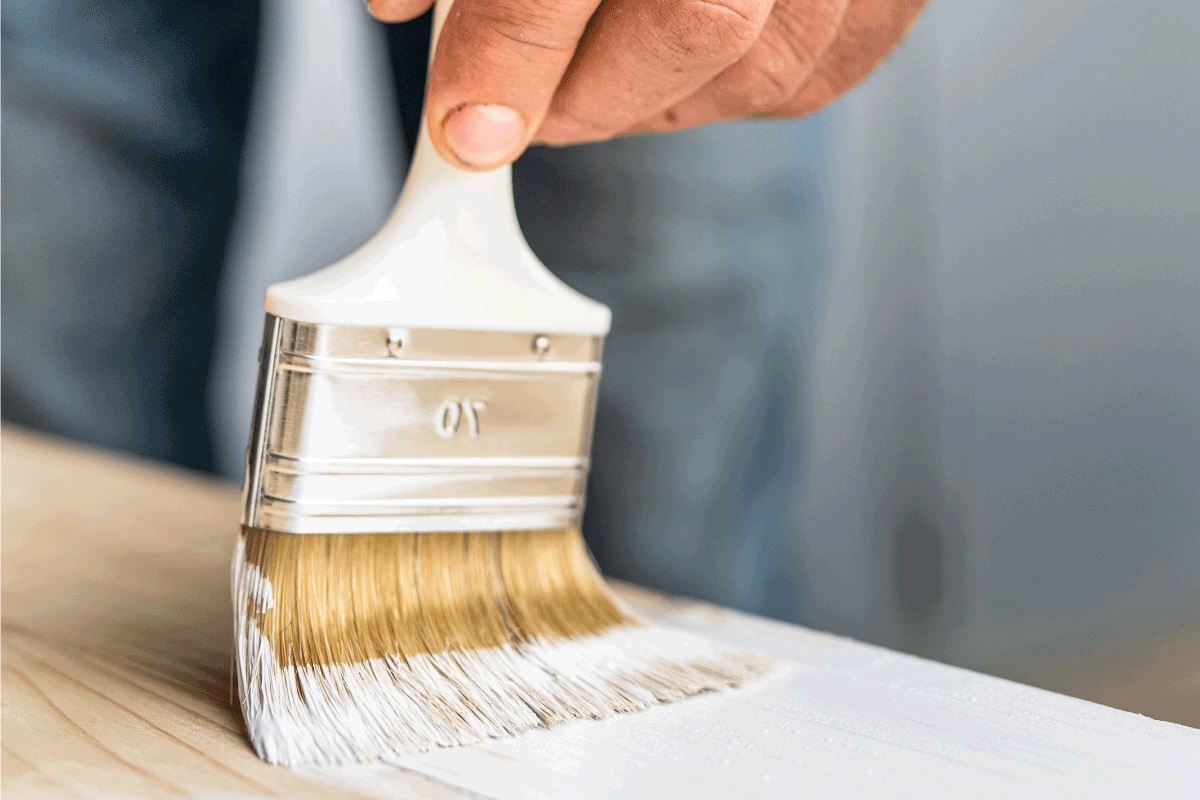
Step 5: Painting the Dresser
Now that your dresser is prepped and primed, it’s time to bring it to life with a fresh coat of paint. Follow these steps to achieve a beautiful and professional-looking finish:
- Choose your paint: Select a high-quality paint that is suitable for your desired look and finish. Consider factors such as the color, sheen, and durability.
- Prepare the paint: Open the can of paint and stir it thoroughly to ensure it is well mixed. If necessary, you can thin the paint according to the manufacturer’s instructions.
- Start painting: Begin by applying a thin coat of paint to the dresser. Use a paintbrush or a roller to cover the surface evenly. Work in small sections, ensuring that the paint is applied in the direction of the wood grain.
- Allow the paint to dry: Follow the drying time specified on the paint’s packaging. Depending on the type of paint, this may take a few hours to a day. Make sure to let the paint dry completely before proceeding to the next step.
- Apply additional coats (if needed): If you desire a more opaque or vibrant finish, you can apply additional coats of paint. Just make sure to let each coat dry before applying the next one.
Painting your dresser is where you can let your creativity shine. Feel free to experiment with different colors, techniques, or even create patterns. Once you’re satisfied with the paint job, you’re ready for the final step: applying a second coat (optional). Stay tuned for more information in the next section.
Step 6: Applying a Second Coat (Optional)
After painting your dresser with the first coat, you have the option to apply a second coat for a more polished and professional finish. While a second coat is not always necessary, it can enhance the color saturation and smooth out any inconsistencies. Follow these steps if you decide to apply a second coat:
- Check the first coat: Before applying the second coat, make sure the first coat of paint is completely dry. Use gentle pressure to touch the painted surface to ensure it’s not tacky.
- Prepare the paint: Stir the paint thoroughly to ensure it is well mixed. If necessary, thin the paint according to the manufacturer’s instructions.
- Apply the second coat: Using the same technique as before, gently apply a thin layer of paint over the first coat. Be mindful of any areas that may need extra attention or touch-ups.
- Allow the paint to dry: Once again, follow the recommended drying time on the paint’s packaging. Ensure that the second coat is thoroughly dry before moving on to the final step.
Keep in mind that applying a second coat can extend the overall painting process. However, it can greatly enhance the overall appearance and durability of your newly painted dresser. Once the second coat is dry, you’re ready for the final step: adding the finishing touches. Read on to learn more.
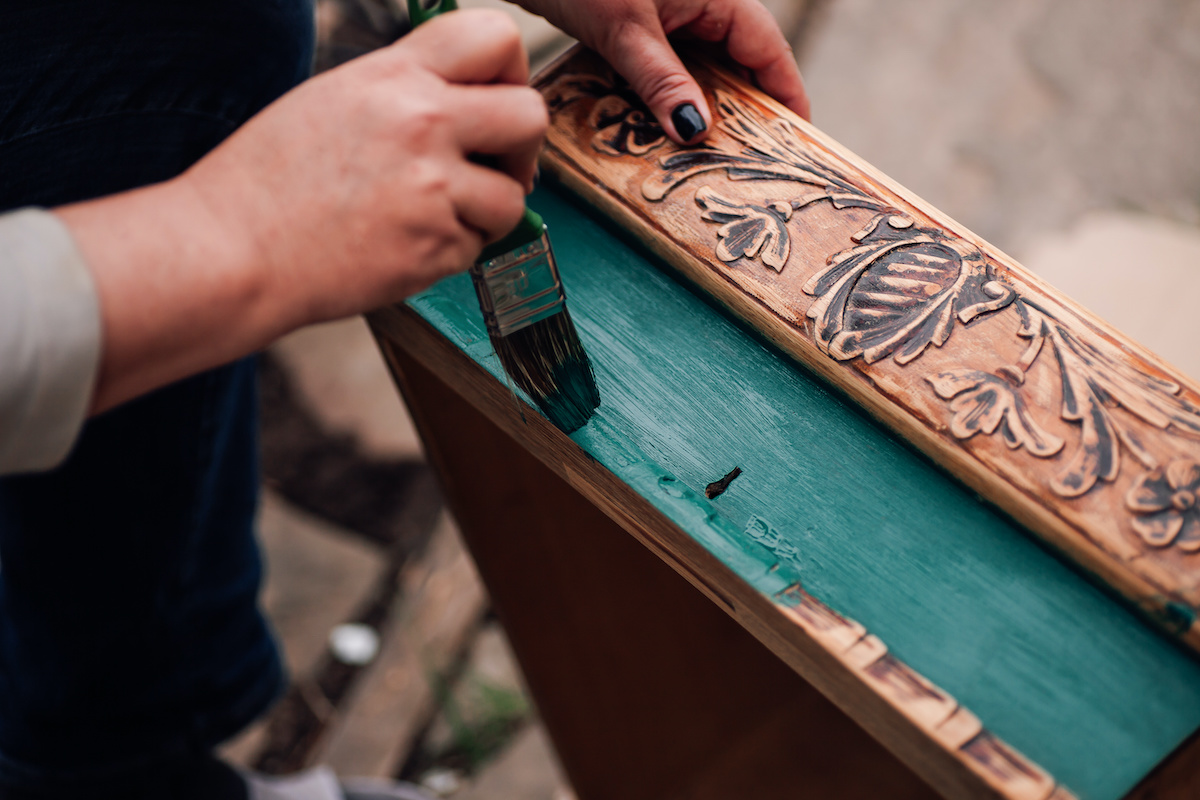
Step 7: Finishing Touches
Congratulations! You’re in the final step of transforming your dresser. To complete the process and add those finishing touches, follow these steps:
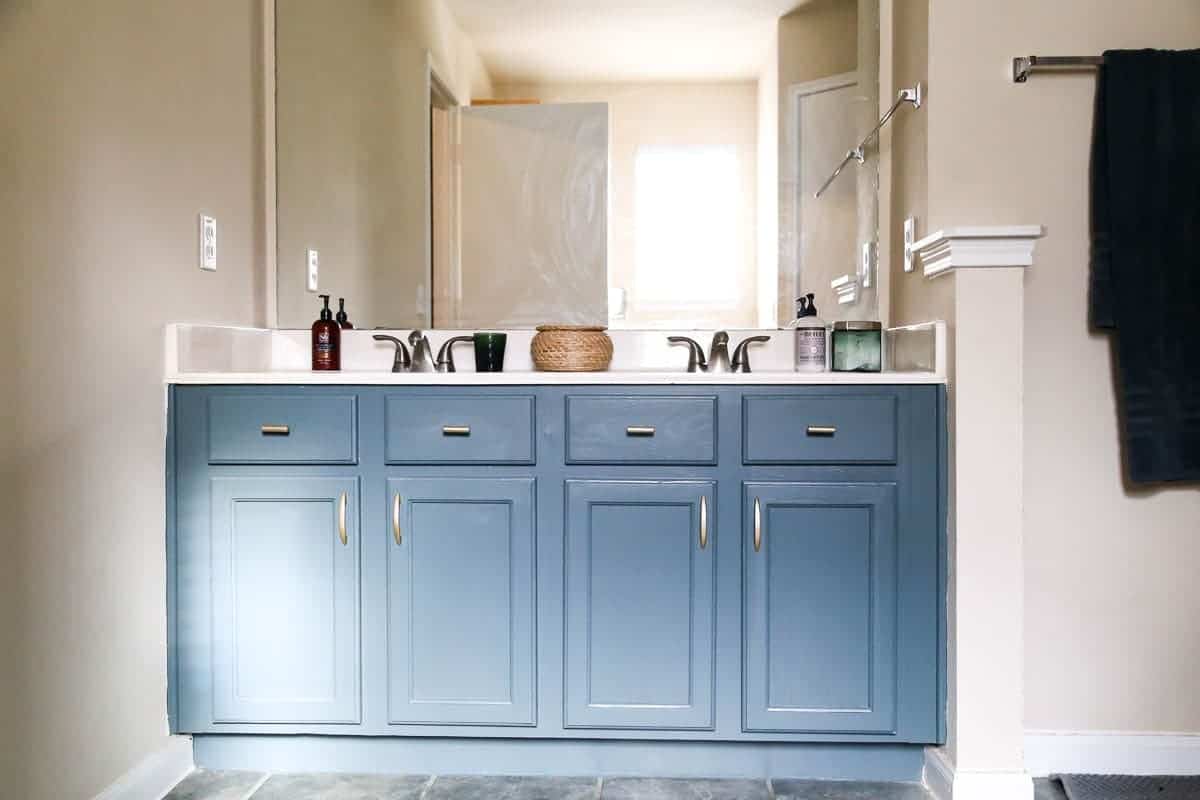
- Reattach hardware: If you removed any knobs, handles, or other decorative hardware, now is the time to reattach them. Make sure they are securely fastened.
- Inspect for touch-ups: Take a close look at the painted dresser to identify any areas that may need touch-ups. Use a small brush and the same paint color to carefully cover any imperfections.
- Consider distressing (optional): If you prefer a vintage or distressed look, you can use sandpaper or a paint scraper to gently distress the edges and corners of the dresser. This will create a worn-out look, adding character to your piece.
- Protect the finish: To enhance the longevity of your freshly painted dresser, consider applying a clear topcoat or furniture wax. This will provide an additional layer of protection against scratches and everyday wear.
Once you’ve completed these final touches, step back and admire your beautifully painted and transformed dresser. It’s now ready to be placed back in its designated space and become a statement piece in your home.
Remember, the sanding and painting process can be time-consuming, but the results are well worth it. By following these steps and investing your time and effort, you can breathe new life into an old dresser and create a stunning piece that reflects your personal style.
Thank you for joining us on this furniture refurbishment journey. Enjoy your newly painted dresser!
Conclusion
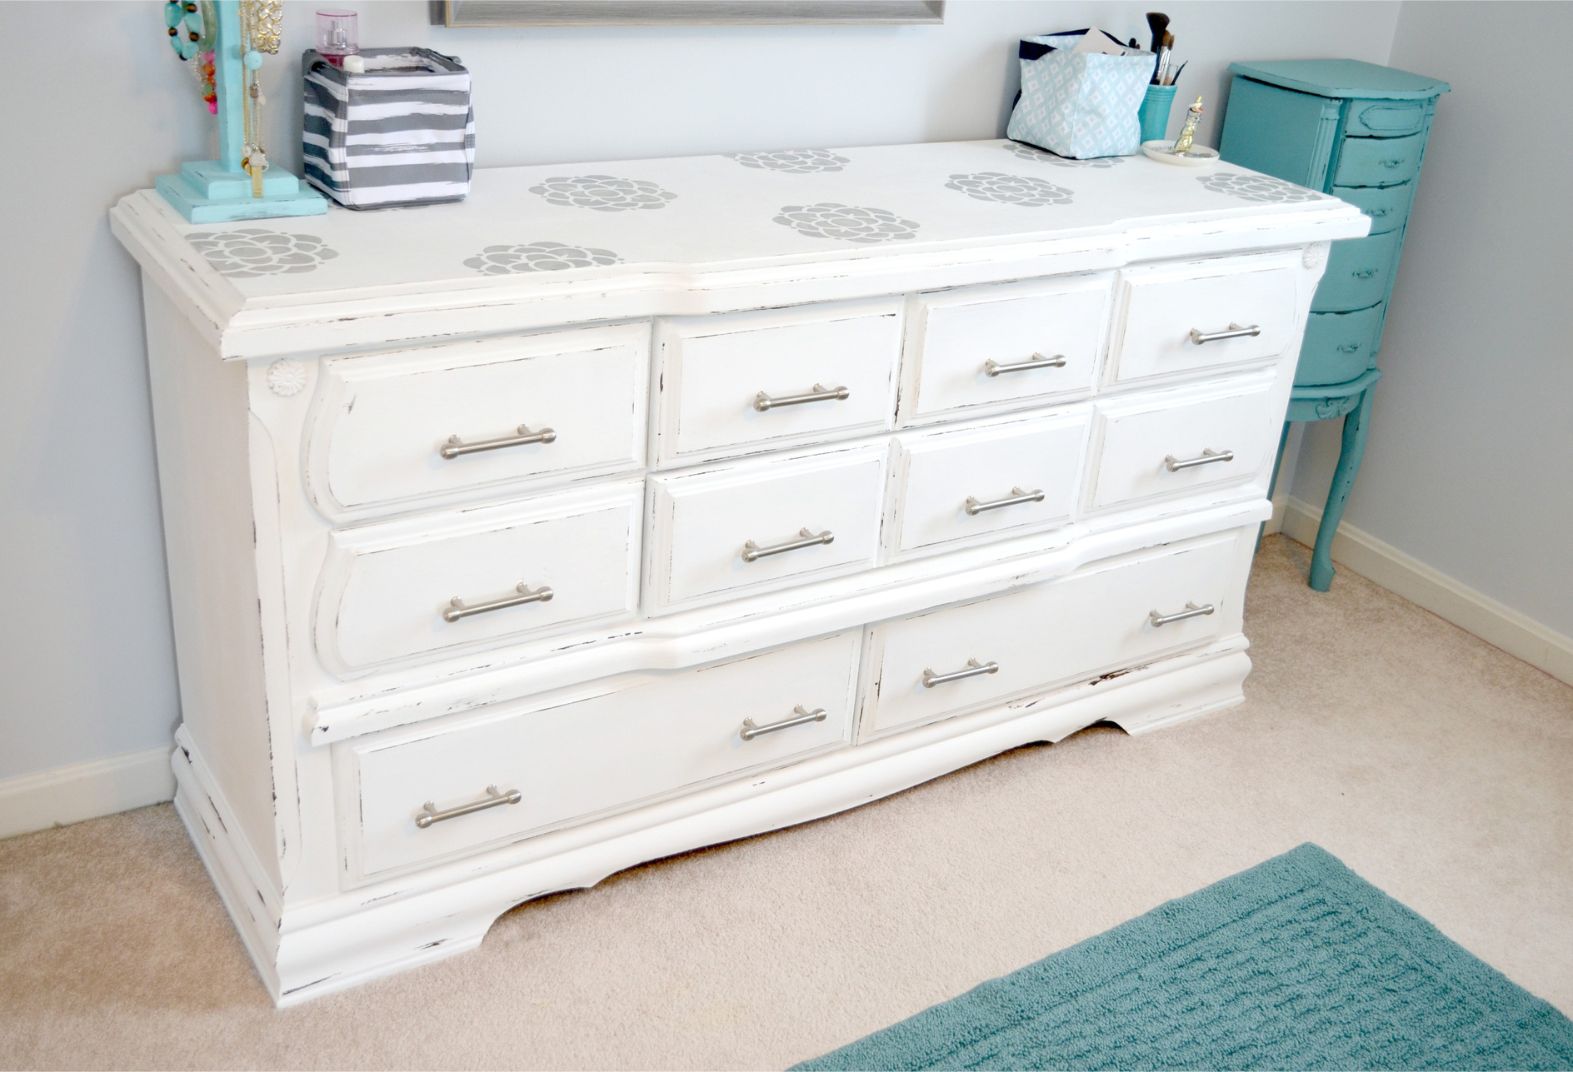
Congratulations on successfully completing the process of sanding and painting your dresser! By following the steps outlined in this guide, you have transformed an old and worn-out piece of furniture into a stunning and personalized statement piece for your home.
Through proper preparation, including sanding and repairing any damaged areas, and using high-quality materials like primer and paint, you have achieved a professional-looking finish. The optional step of applying a second coat and adding finishing touches such as reattaching hardware and considering distressing or adding a protective topcoat contribute to the overall beauty and durability of your dresser.
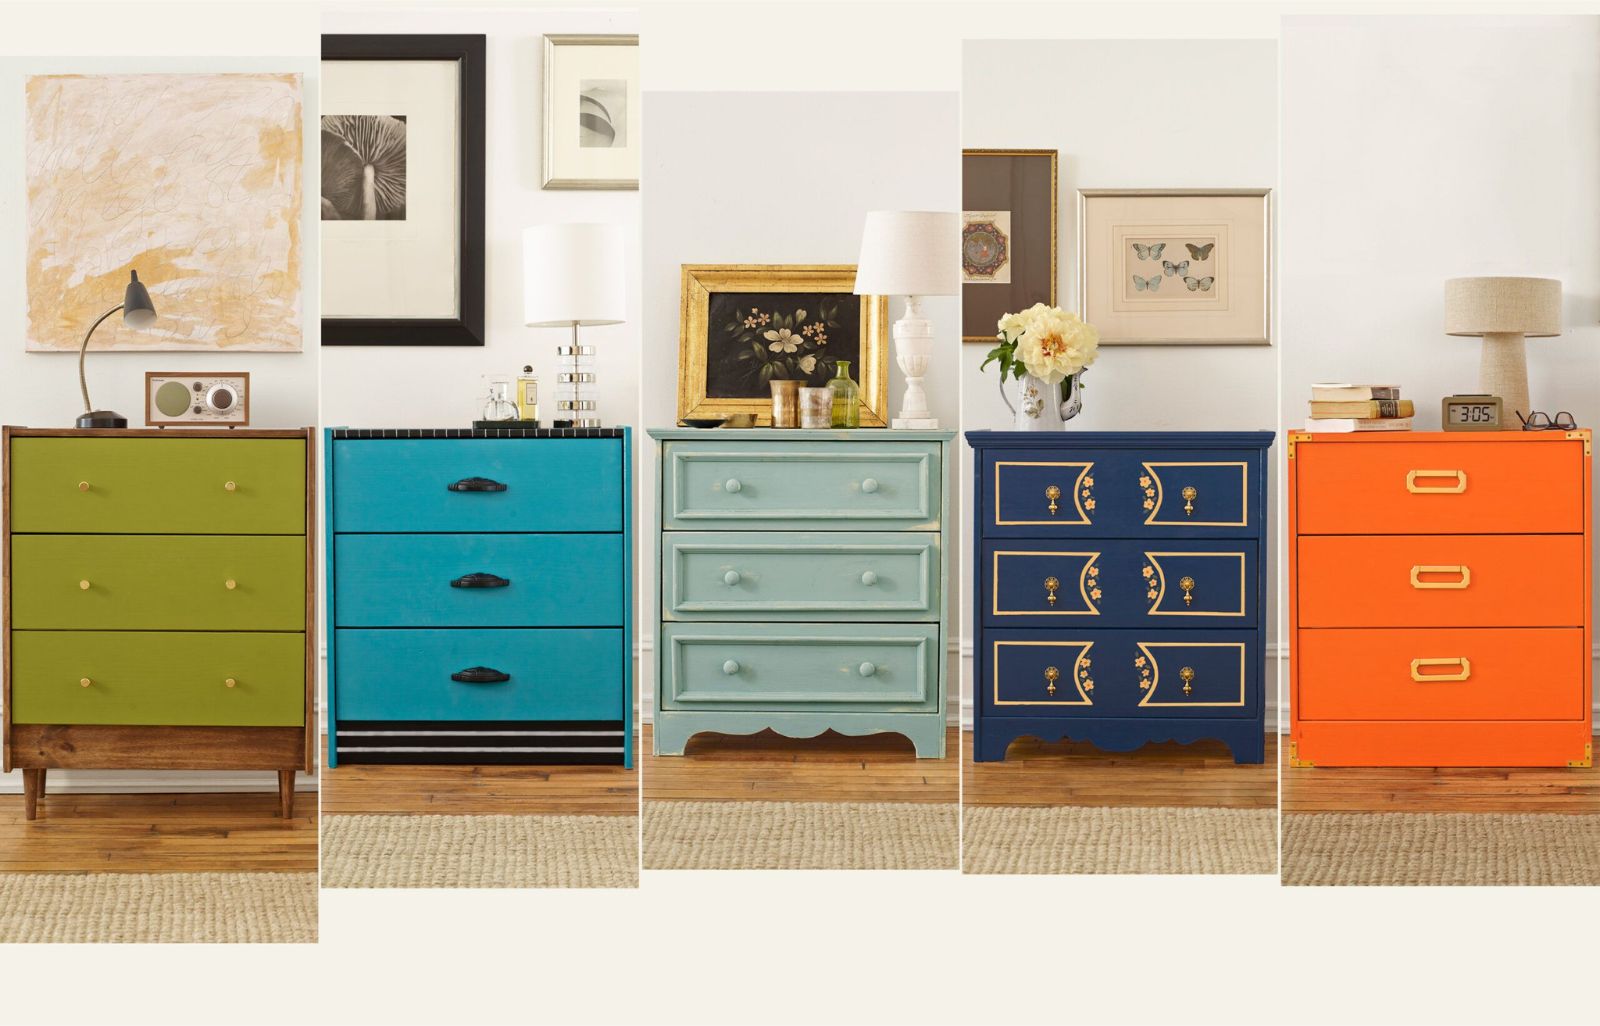
Not only does refurbishing furniture allow you to bring new life to old pieces, but it also provides an opportunity for creativity and self-expression. The choice of paint color, finish, and even distressing can reflect your personal style and add a unique touch to your home decor.
Remember, the key to a successful dresser refurbishment lies in the preparation. Properly sanding the surface and repairing any imperfections create a smooth and clean canvas for painting. Additionally, using high-quality materials and techniques will ensure a long-lasting and visually appealing finish.
Now that you’ve completed this project, you can apply the knowledge and skills you’ve gained to other furniture refurbishment endeavors. Whether it’s a side table, a bookshelf, or a set of chairs, the same principles can be applied to achieve excellent results.
Thank you for joining us on this journey of transforming your dresser. We hope you enjoy the newfound beauty and functionality of your piece for years to come!
Frequently Asked Questions about How To Sand A Dresser And Paint It
Was this page helpful?
At Storables.com, we guarantee accurate and reliable information. Our content, validated by Expert Board Contributors, is crafted following stringent Editorial Policies. We're committed to providing you with well-researched, expert-backed insights for all your informational needs.

0 thoughts on “How To Sand A Dresser And Paint It”