Furniture
How To Paint A Laminate Dresser
Modified: December 7, 2023
Learn how to paint a laminate dresser and transform your furniture with step-by-step instructions. Upcycle your old pieces and give them a fresh new look.
(Many of the links in this article redirect to a specific reviewed product. Your purchase of these products through affiliate links helps to generate commission for Storables.com, at no extra cost. Learn more)
Introduction
Welcome to our guide on how to paint a laminate dresser. If you are looking to update the look of your furniture or transform an old piece into something new and stylish, painting a laminate dresser is an excellent way to achieve that. Laminate furniture is made with a synthetic material that is durable and easy to clean, but it can be a bit challenging to paint due to its smooth surface.
However, with the right preparation and technique, you can achieve a beautiful and long-lasting finish on your laminate dresser. In this step-by-step guide, we will walk you through the process of preparing the dresser, sanding it down, applying primer, and finally, adding a fresh coat of paint. With a little time and effort, you can give your laminate dresser a whole new look and breathe new life into your space.
Before we dive into the process, let’s talk about some of the benefits of painting a laminate dresser. First and foremost, it allows you to customize and personalize your furniture to match your style and overall decor. You can choose any color you desire, whether it’s a bold statement or a subtle hue that complements your existing furniture.
Painting a laminate dresser also helps to protect the surface from scratches, stains, and other types of damage. The added layer of paint acts as a barrier, making the dresser more resistant to daily wear and tear. Additionally, it gives you the opportunity to give an old and worn-out piece of furniture a new lease on life. Instead of throwing it away or purchasing a new one, you can save money and reduce waste by simply repainting it.
Now that we’ve covered the basics, let’s get started with the first step: preparing the dresser.
Key Takeaways:
- Transform old laminate dressers into stylish, personalized pieces by following our step-by-step guide. Enjoy the process and admire your revitalized furniture!
- Save money and reduce waste by repurposing existing laminate dressers. Add a personal touch, protect from damage, and create a standout feature in your space.
Read more: How To Paint Over Laminate Countertops
Step 1: Preparing the Dresser
Before you start painting your laminate dresser, it’s important to properly prepare the surface. This step is crucial for achieving a smooth and long-lasting paint finish. Here’s what you need to do:
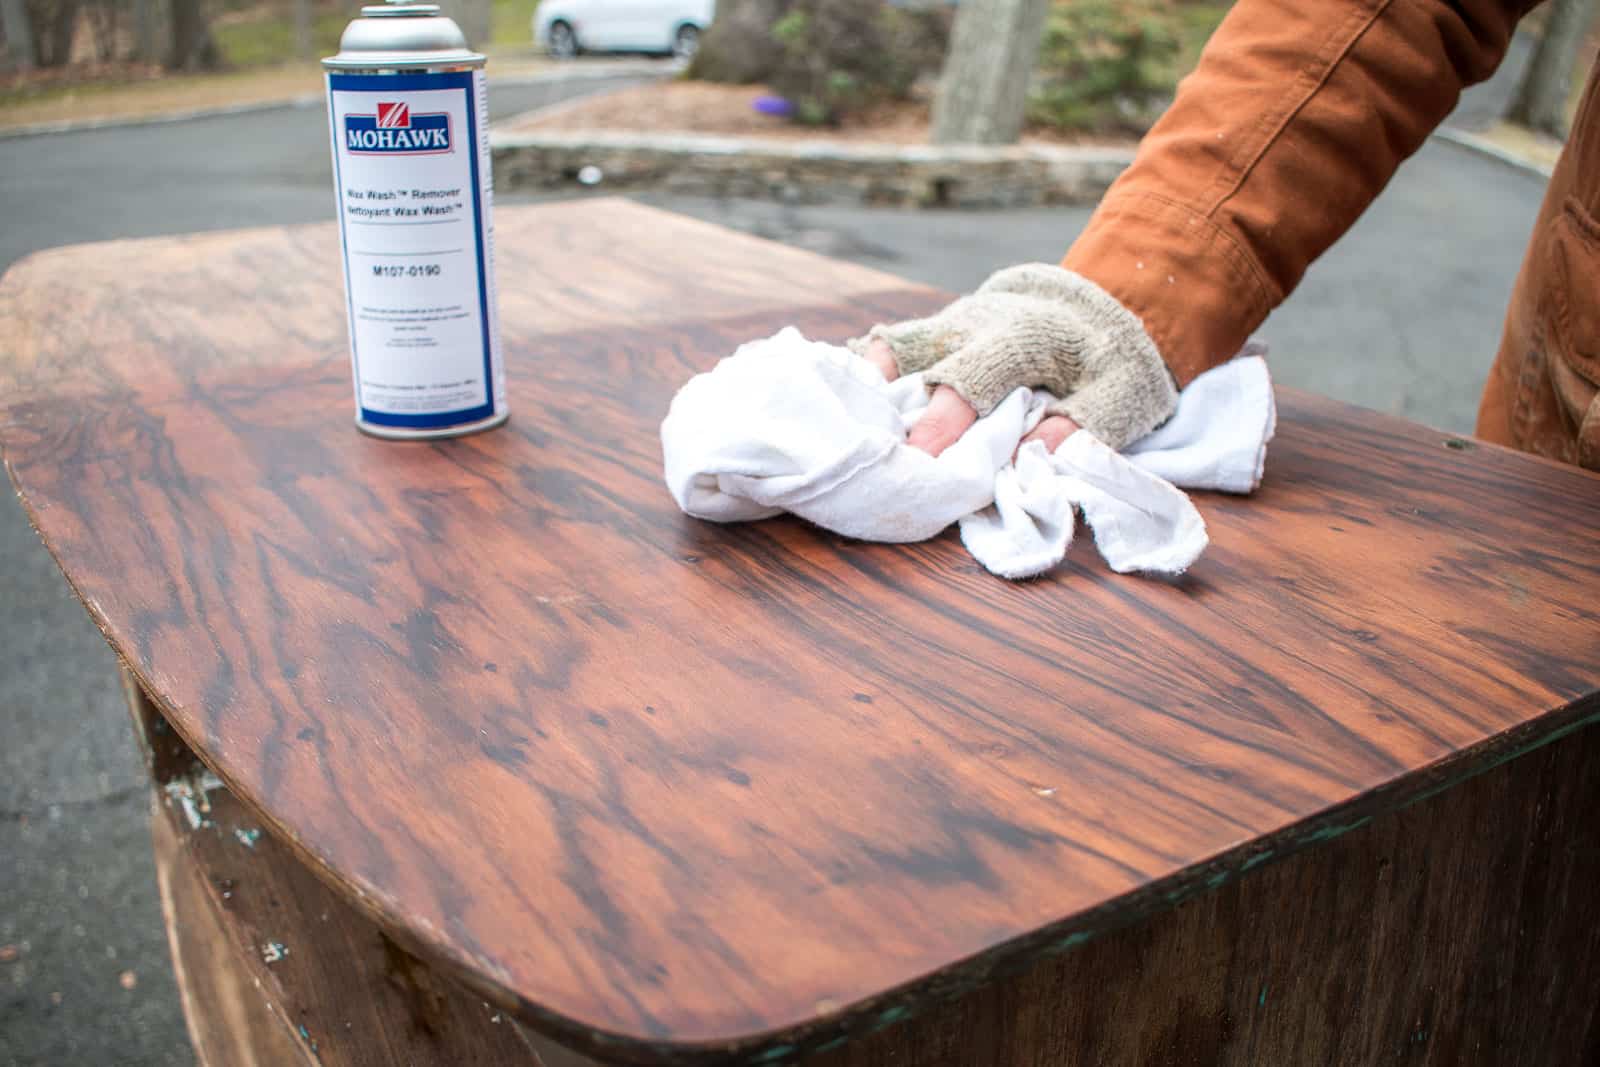
- Clean the dresser: Begin by removing all items from the dresser and giving it a thorough cleaning. Use a mild detergent or a mixture of warm water and vinegar to remove any dirt, dust, or grease on the surface. Wipe it down with a clean cloth or sponge, and allow it to dry completely before proceeding to the next step.
- Remove hardware: If your dresser has any knobs, handles, or other hardware, it’s best to remove them before painting. Use a screwdriver or a drill to take off the hardware, and set it aside in a safe place. This will make the painting process easier and ensure that you achieve a professional-looking finish.
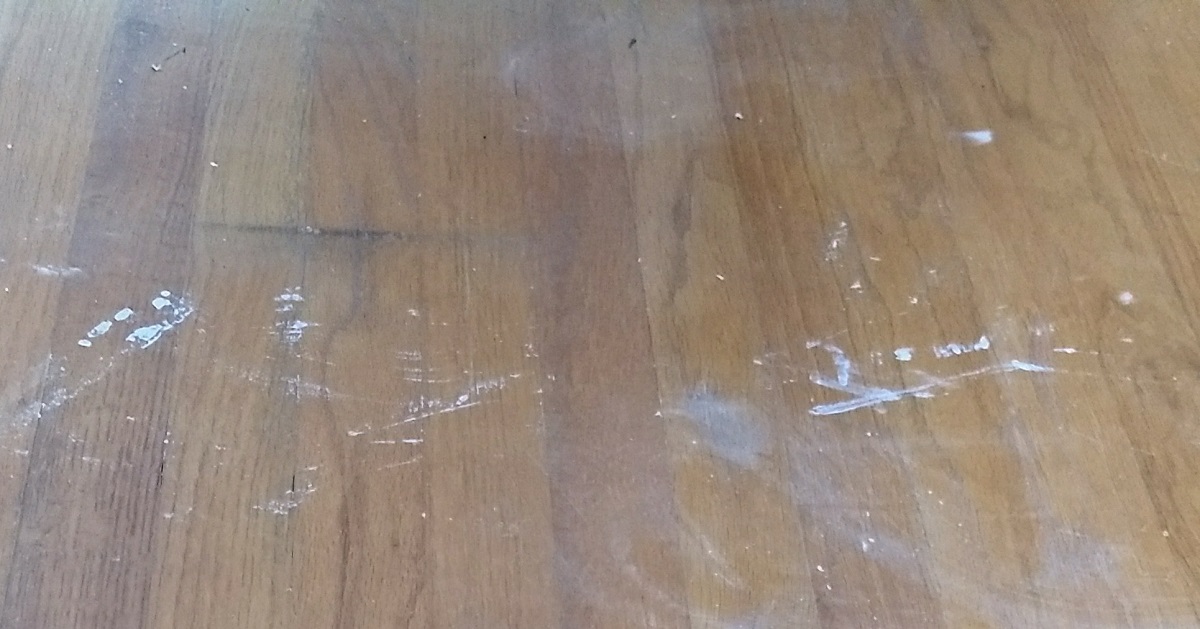
- Repair any damages: Inspect the dresser for any signs of damage, such as chipped edges or dents. Use a wood filler or putty to fill in any holes or imperfections. Once filled, sand down the repaired areas until smooth. This step ensures that your dresser looks its best when painted.
- Tape off areas you don’t want to paint: If there are any parts of the dresser that you want to keep as is, such as the inside of drawers or certain decorative elements, use painter’s tape to mask off those areas. Make sure the tape is securely attached and covers all the edges to prevent paint from bleeding onto unwanted areas.
- Protect the surrounding area: To avoid getting paint on the floor or nearby furniture, lay down a drop cloth or old sheets around the dresser. This will catch any paint drips or spills and make cleanup much easier.
By following these steps to prepare your dresser, you’ll create a clean and smooth surface for the paint to adhere to, resulting in a professional-looking finish. Once you’ve finished preparing the dresser, you’re ready to move on to the next step: sanding.
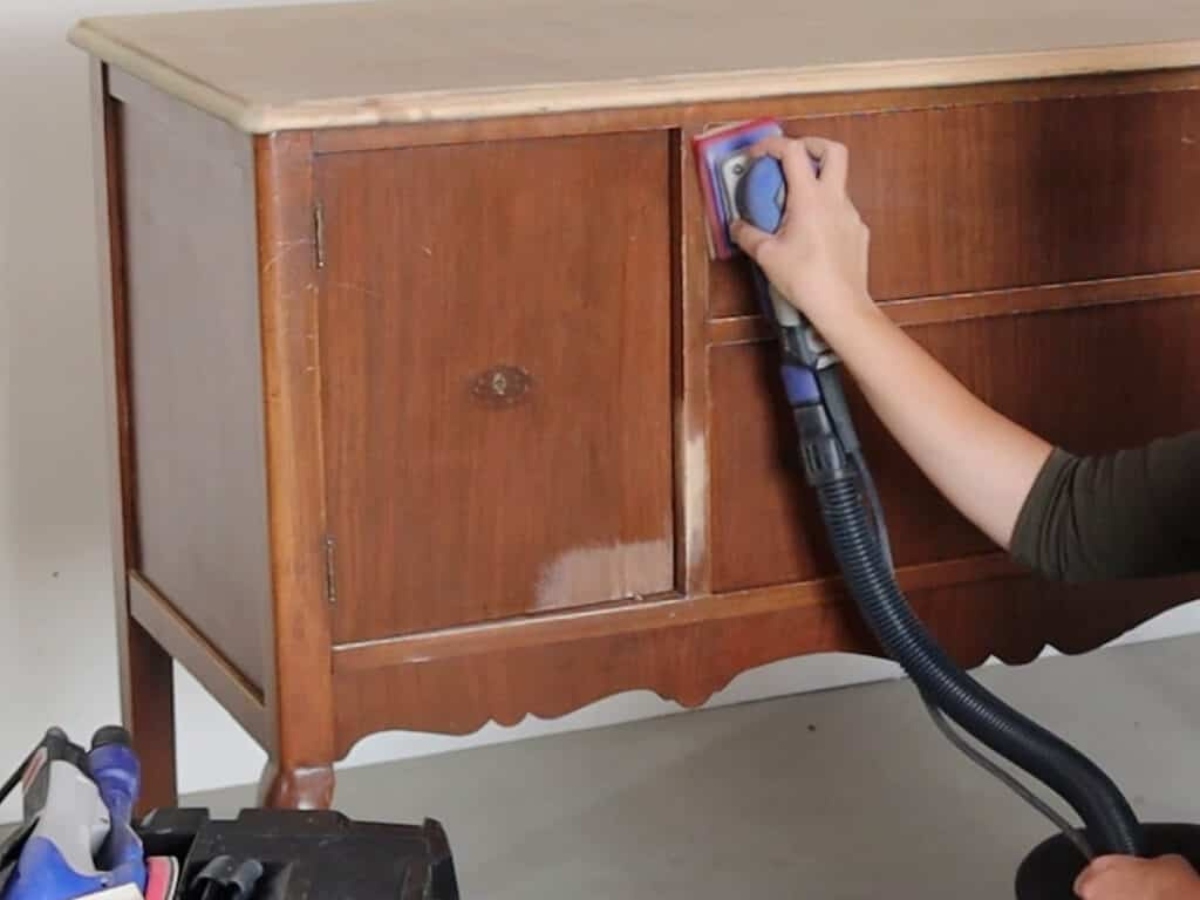
Step 2: Sanding the Dresser
Sanding the laminate dresser is an essential step in the painting process. It helps to roughen up the smooth surface of the laminate, allowing the primer and paint to adhere better. Here’s what you need to do:
- Gather the necessary materials: You will need sandpaper (medium-grit or fine-grit), a sanding block or sponge, and a tack cloth for this step.
- Start with a light sanding: Begin by lightly sanding the surface of the dresser using the sandpaper or sanding block. This will help to remove the glossy finish of the laminate and create a rough texture for better paint adhesion. Be gentle and use even strokes, moving in the direction of the wood grain if applicable. It’s important not to sand too aggressively as you could damage the surface.
- Wipe away the dust: After sanding, use a tack cloth or a damp cloth to thoroughly wipe away any dust or debris from the surface of the dresser. This will ensure a clean and smooth surface for the primer and paint.
- Inspect and sand any imperfections: Take a close look at the dresser and identify any areas with remaining smooth or shiny spots. Use the sandpaper or sanding block to lightly sand those areas until they are consistent with the rest of the surface.
- Remove the sanding residue: Once you’ve finished sanding, it’s important to remove any sanding residue before moving on to the next step. Gently wipe down the dresser again with a tack cloth or a damp cloth to ensure it is free from dust.
Sanding the laminate dresser prepares the surface for the primer and paint, ensuring better adhesion and a longer-lasting finish. Make sure to take your time and be thorough during this step, as it plays a crucial role in the overall success of your painting project.
With the dresser properly sanded, you’re now ready to move on to the next step: applying primer.
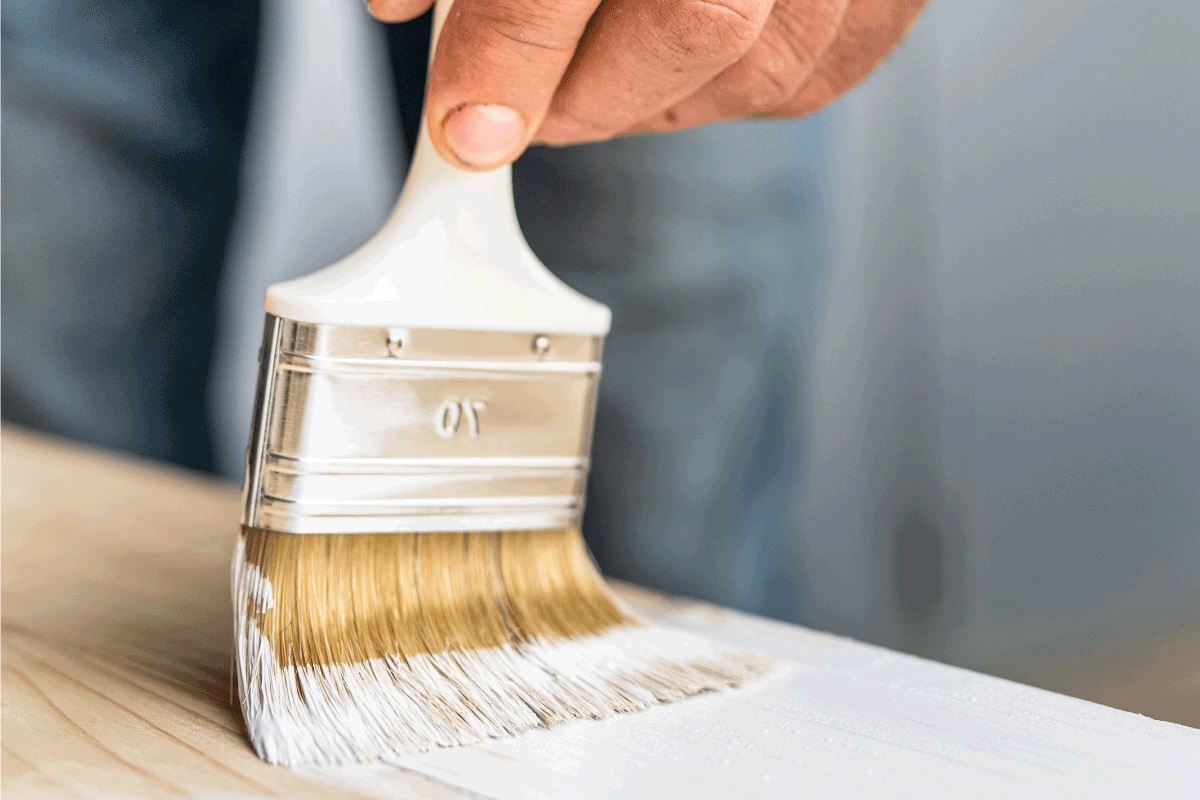
Step 3: Applying Primer
Applying primer to your laminate dresser is a crucial step that helps create a smooth and even base for the paint to adhere to. Primer also aids in covering up any previous colors or stains on the surface. Follow these steps to ensure a successful application:
- Choose the right primer: Select a primer specifically designed for laminate surfaces. Look for a primer that is compatible with both the laminate material and the type of paint you plan to use.
- Prepare your work area: Lay down a drop cloth or old sheets to protect the surrounding area from primer overspray or spills. Open windows or doors to provide proper ventilation.
- Stir the primer: Before applying the primer, thoroughly stir it to ensure a consistent texture and pigment distribution.
- Apply the primer: Using a brush or a foam roller, start applying the primer to the dresser. Work in small sections, applying an even and thin coat. Make sure to follow the manufacturer’s instructions for drying time between coats, if more than one coat is needed.
- Smooth out any brush strokes: After applying the primer, gently run a foam brush or a dry brush over the surface. This step helps to minimize visible brush strokes and create a smoother finish.
- Allow the primer to dry: Let the primer dry completely according to the manufacturer’s instructions. This may take a few hours, so be patient and avoid touching the surface until it is fully dry.
- Sand the primer (optional): If you notice any imperfections or rough areas on the primer, you can lightly sand them with fine-grit sandpaper. This will help create an even smoother surface for the paint.
- Remove sanding residue: After sanding, use a tack cloth or a damp cloth to remove any sanding residue before proceeding to the next step.
By applying primer to your laminate dresser, you create a solid foundation for the paint, enhancing its adhesion and durability. The primer also helps to block any stains or colors from bleeding through the final paint color. Once the primer is dry and the surface is smooth, you’re ready for the next step: applying paint.
When painting a laminate dresser, be sure to thoroughly clean and sand the surface before applying primer to ensure the paint adheres properly and creates a smooth finish.
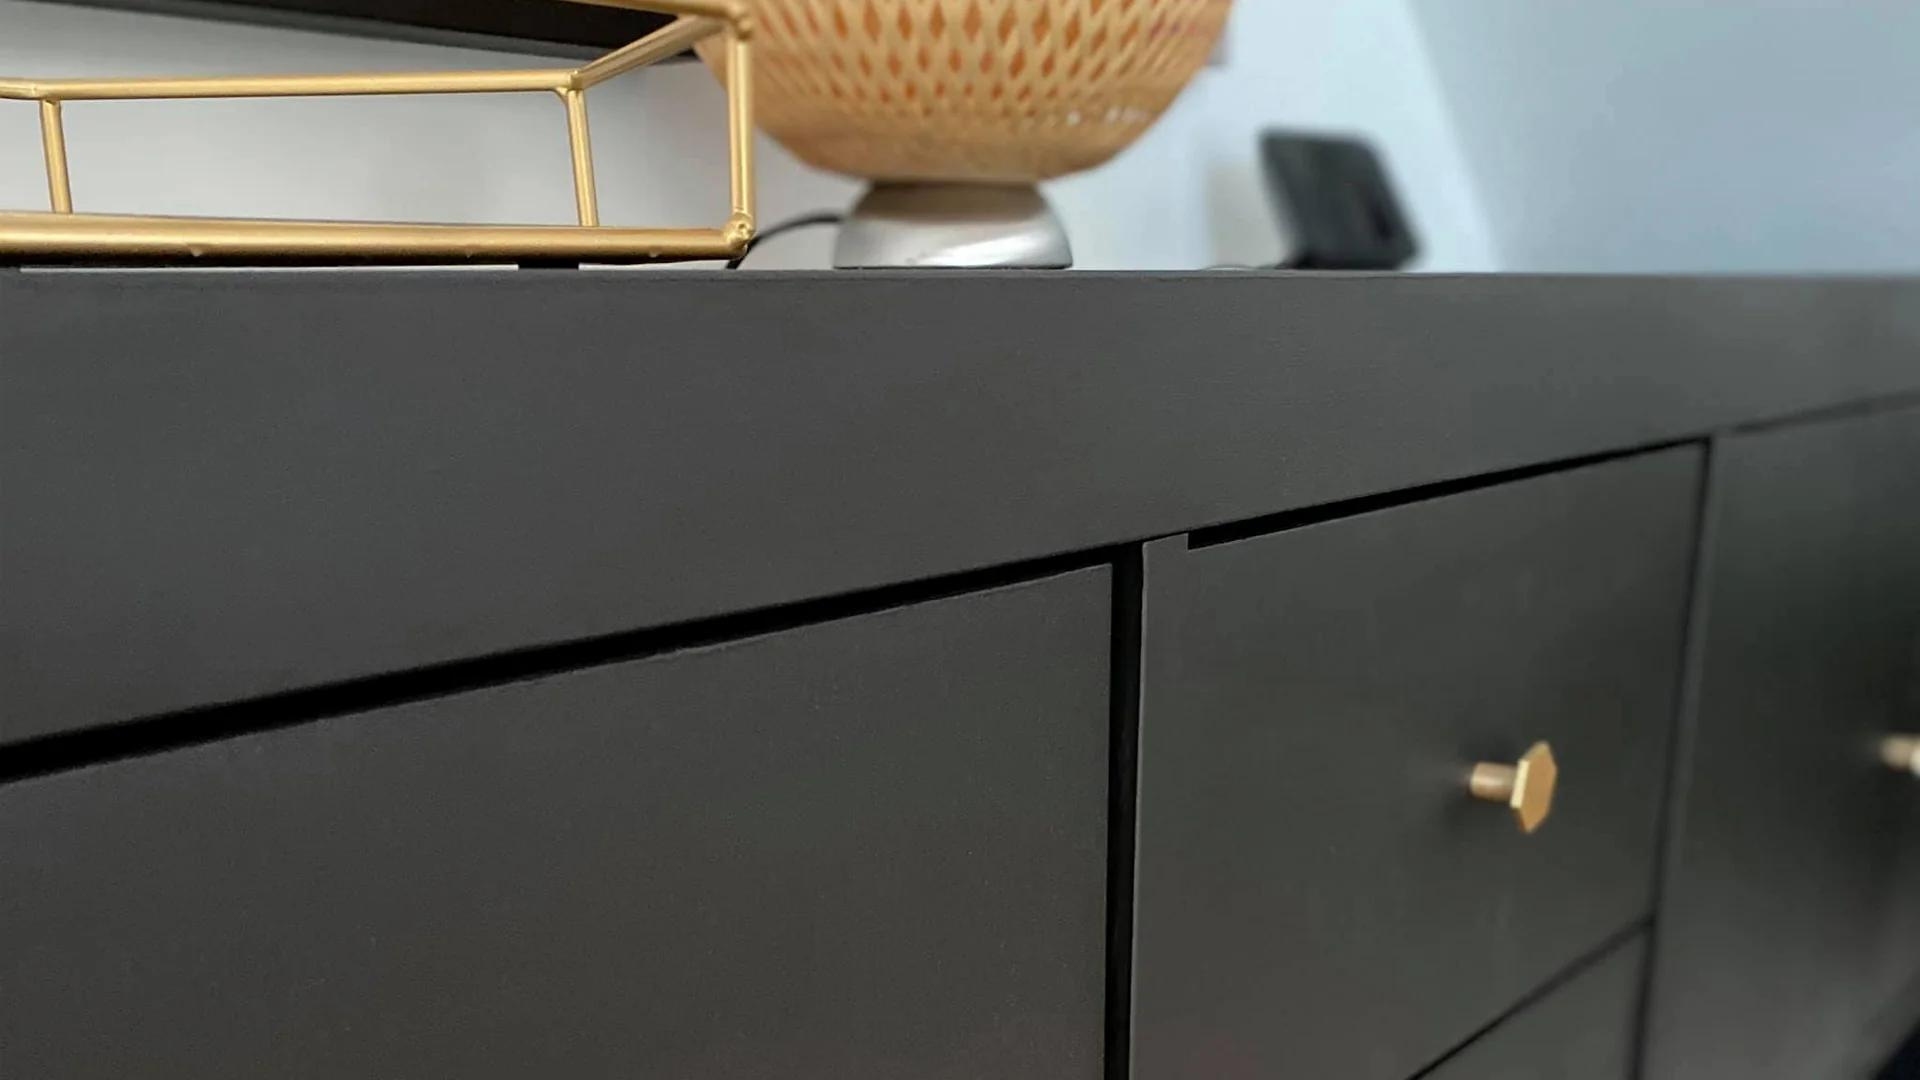
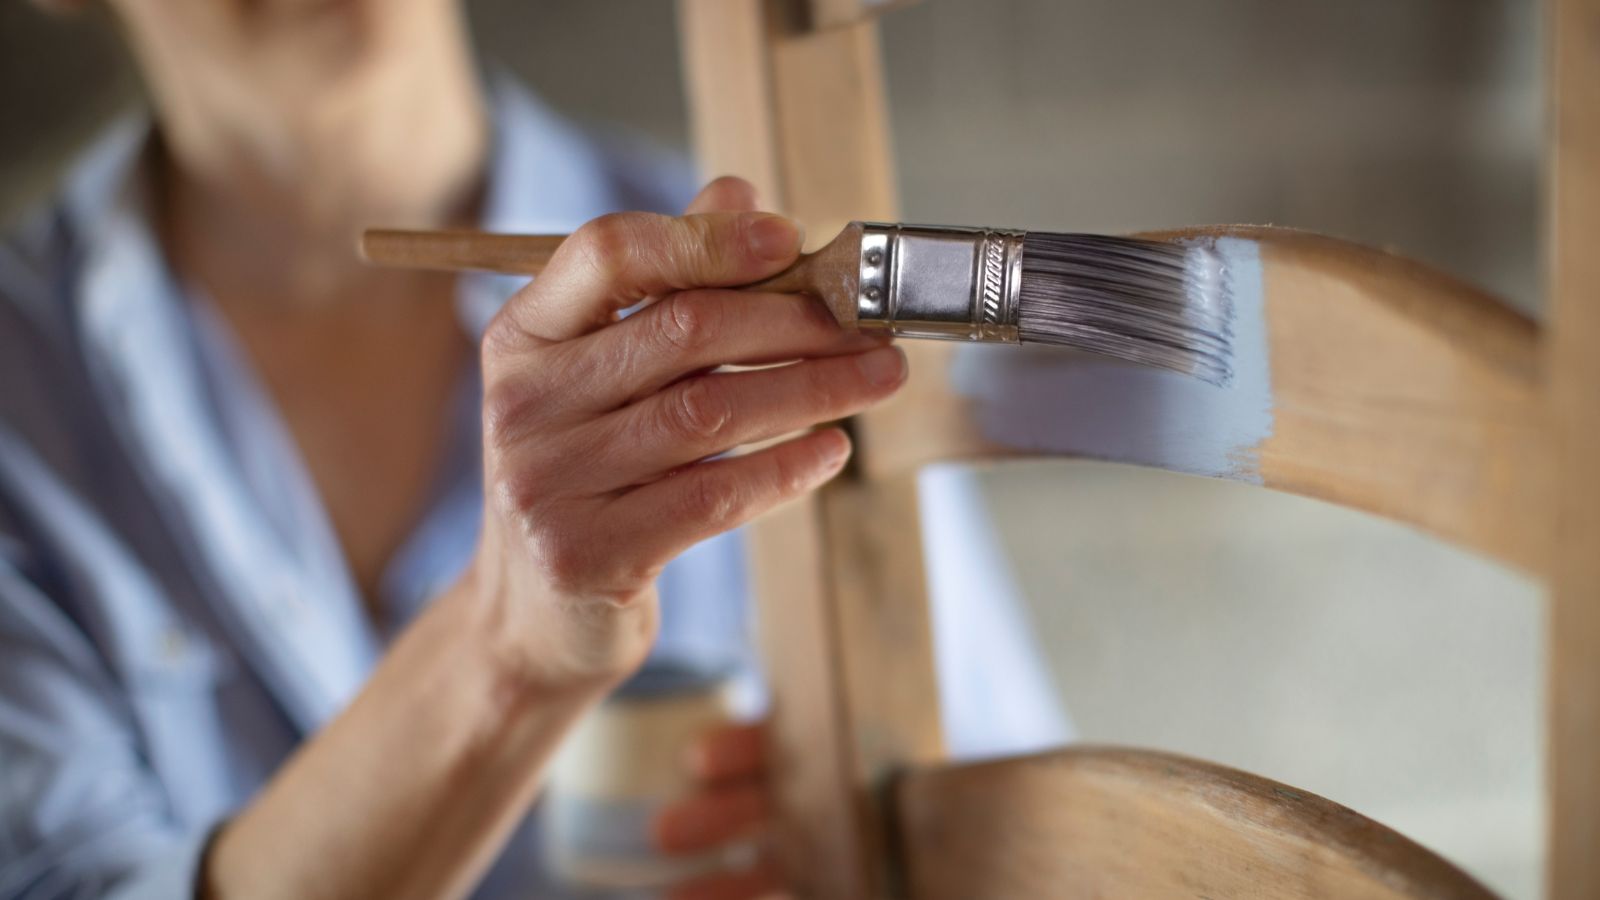
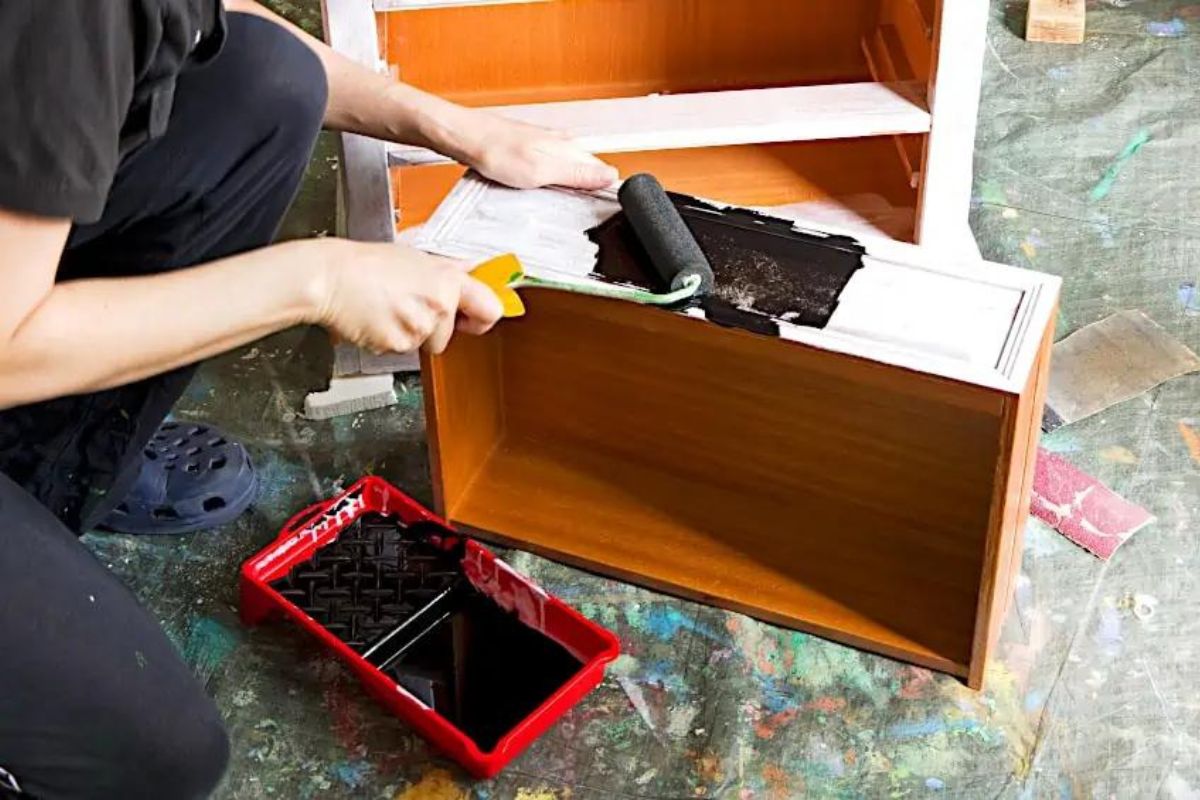
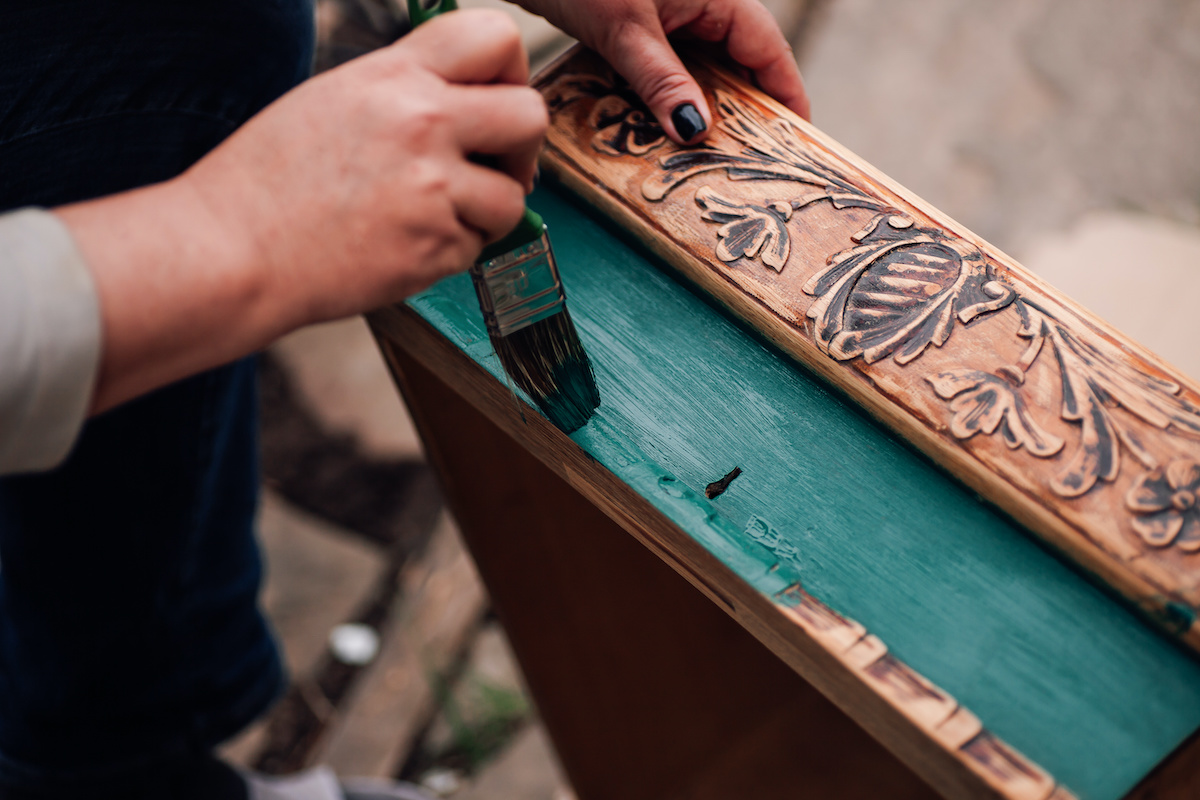
Step 4: Applying Paint
Once you’ve prepared the dresser and applied the primer, it’s time to add a fresh coat of paint. Follow these steps to achieve a smooth and professional-looking finish:
- Choose the right paint: Select a high-quality paint specifically formulated for use on laminate surfaces. Consider using a paint with a satin or semi-gloss finish, as it provides durability and adds a touch of sheen to the dresser.
- Prepare your workspace: Lay down a drop cloth or old sheets to protect the surrounding area from any paint splatters. Ensure proper ventilation by opening windows or doors.
- Stir the paint: Before applying the paint, thoroughly stir it to ensure an even consistency and color distribution.
- Apply the paint: Using a brush or a foam roller, begin applying the paint to the dresser. Work in small sections, applying thin and even coats. Apply additional coats as needed, allowing sufficient drying time between each coat. Follow the manufacturer’s instructions for recommended drying times.
- Smooth out any brush strokes: After applying each coat of paint, gently run a foam brush or a dry brush over the surface to minimize visible brush strokes and create a smoother finish.
- Allow the paint to dry: Let the paint dry completely according to the manufacturer’s instructions. This can take several hours, so be patient and avoid touching the surface until it is fully dry.
- Inspect the paint job: Once the paint has dried, inspect the surface for any imperfections or spots that may require touch-ups. If necessary, lightly sand those areas and apply another coat of paint.
- Remove sanding residue: After sanding, use a tack cloth or a damp cloth to remove any sanding residue before proceeding to the next step.
By following these steps and applying the paint carefully, your laminate dresser will undergo a beautiful transformation. The paint will not only give it a fresh look but also provide protection against everyday wear and tear. Once the paint has dried, you can move on to the final step: adding finishing touches.
Read more: How To Paint Ikea Laminate Furniture
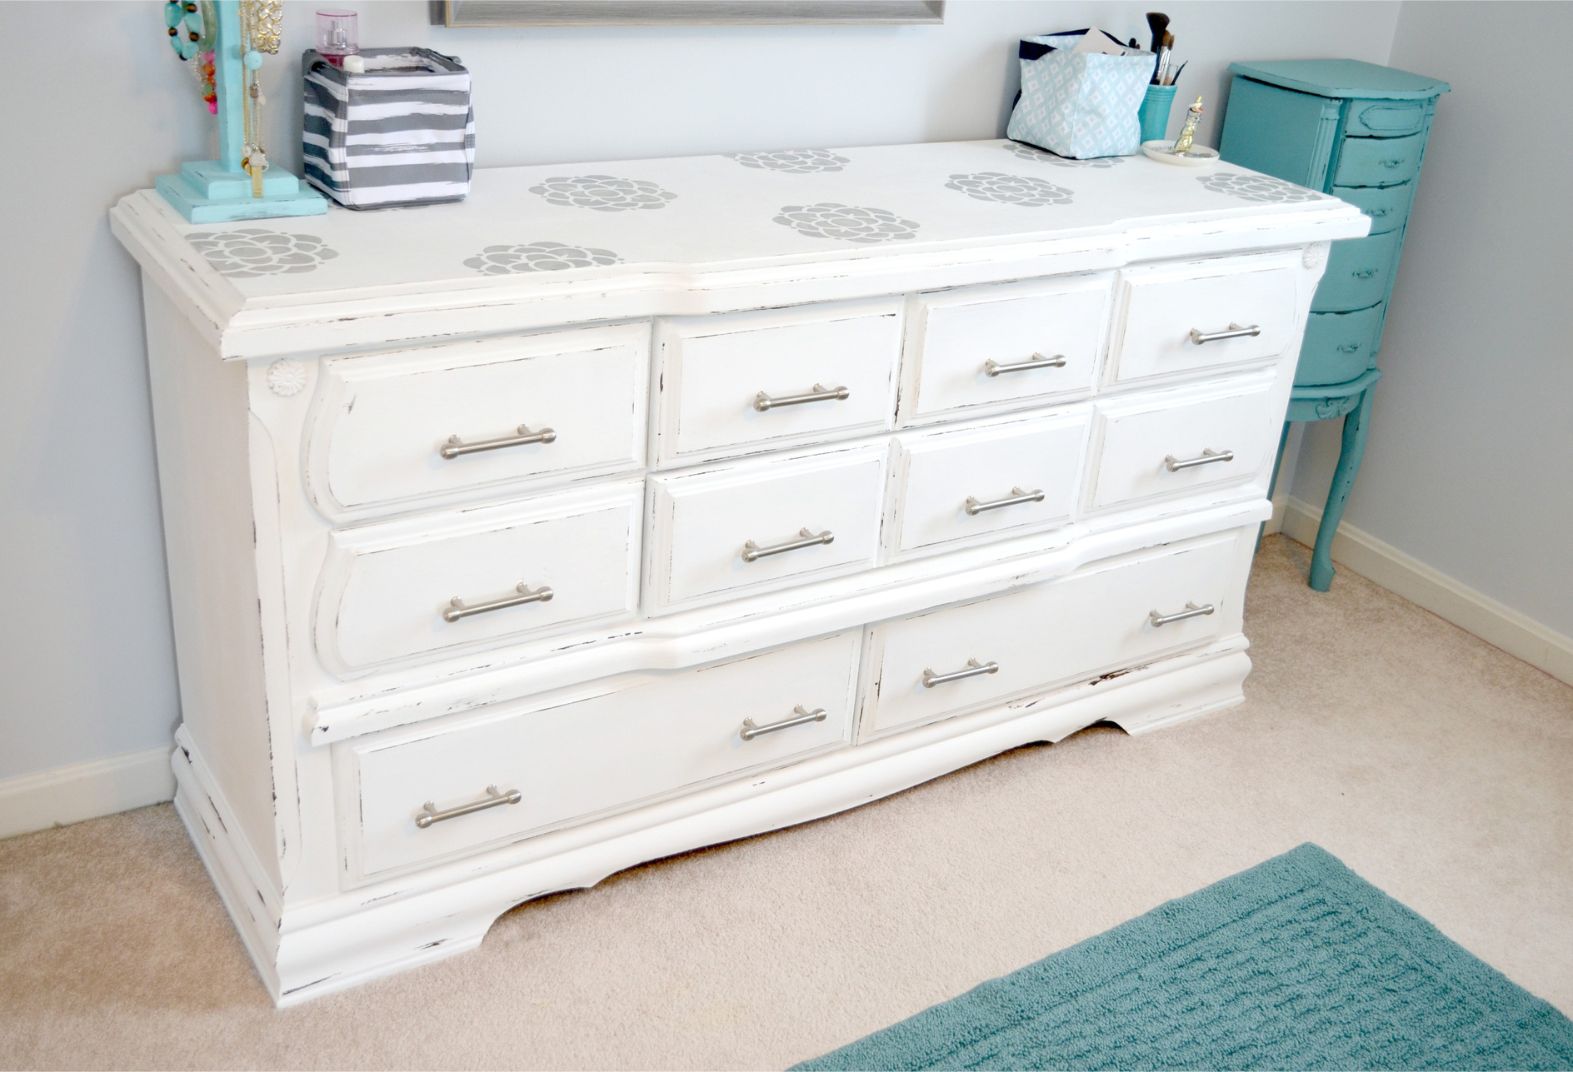
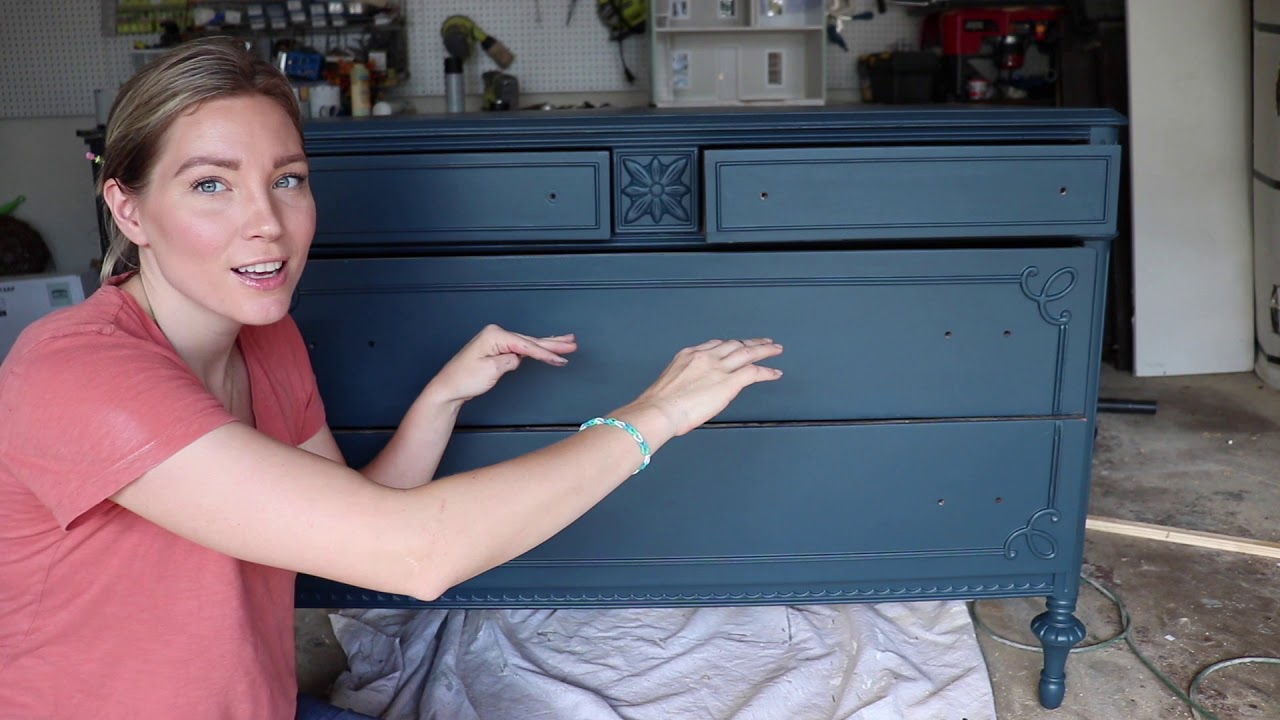
Step 5: Adding Finishing Touches
Now that you have successfully painted your laminate dresser, it’s time to add those final finishing touches to complete the transformation. These small details can make a big difference in the overall look and feel of the piece. Follow these steps to add those final touches:
- Reattach hardware: If you removed any hardware in the earlier steps, now is the time to reattach them. Make sure they are securely tightened and aligned properly. This will give your dresser a polished and finished appearance.
- Replace drawer liners: Consider adding new drawer liners to further protect the inside of the drawers and add a pop of color or pattern. Measure the dimensions of each drawer and cut the liners accordingly. Place them neatly inside the drawers.
- Add decorative accents: If desired, personalize your dresser by adding decorative accents such as new drawer pulls, knobs, or even stenciled designs. These touches can elevate the overall look and add a unique touch to your painted dresser.
- Apply a protective finish: To ensure the longevity of your painted laminate dresser, consider applying a clear protective finish. This can be in the form of a polyurethane sealer or a clear topcoat specifically designed for furniture. Follow the manufacturer’s instructions for application and drying times.
- Clean up: Before placing your dresser back in its designated spot, clean up any paint spills or drips on the surrounding area. Remove the drop cloth or sheets and ensure that the area is tidy and clean.
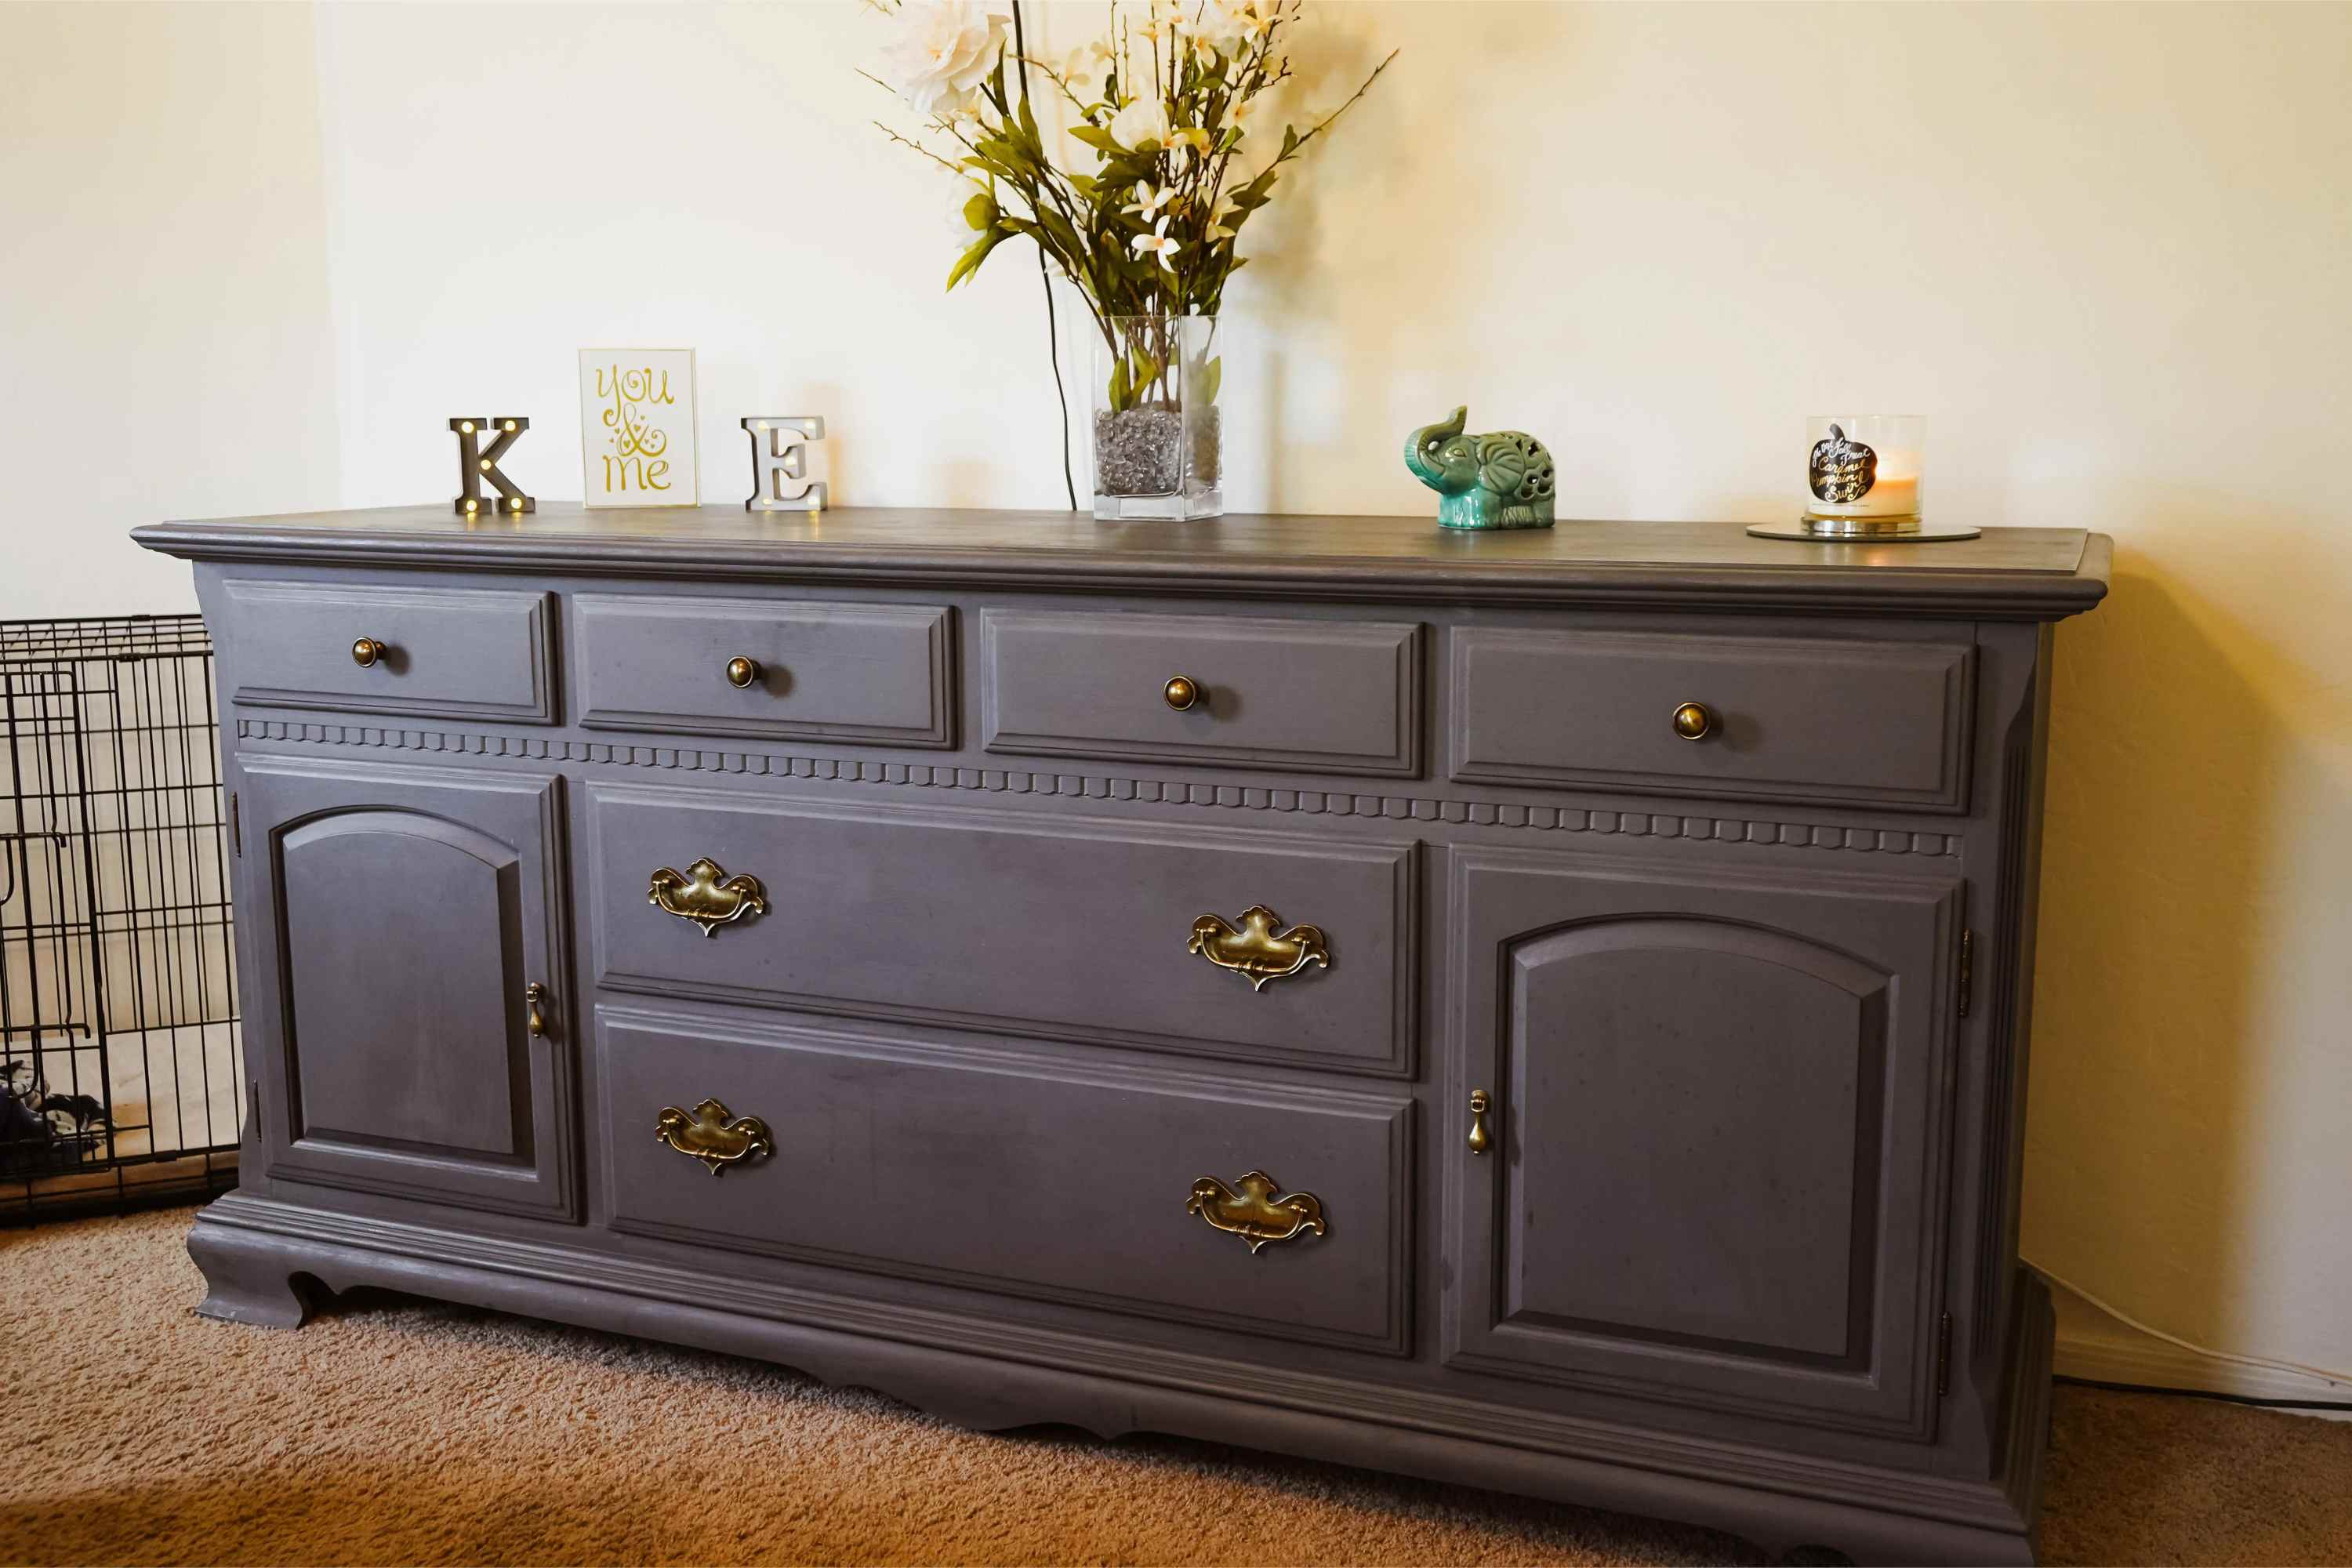
By following these final steps, you can complete the transformation of your laminate dresser and create a piece that looks brand new. The finishing touches will add personality and style to the piece, making it a standout feature in your space.
Once you’ve added those finishing touches, take a step back and admire your work. Your laminate dresser now showcases your creativity and has a fresh, updated appearance. Enjoy the satisfaction of a successful painting project and the beauty of your revitalized furniture!
With these steps completed, you have successfully painted and transformed your laminate dresser. Remember to have fun throughout the process and let your creativity shine. Happy painting!
Conclusion
Congratulations on successfully painting your laminate dresser! By following the steps outlined in this guide, you have transformed your furniture into a beautiful, customized piece that brightens up your space. Let’s recap the process:
In the beginning, we emphasized the benefits of painting a laminate dresser, including the ability to personalize your furniture, protect it from damage, and give new life to old pieces. We then walked you through the important steps of preparing the dresser, sanding it down, applying primer, and finally, adding a fresh coat of paint. Each step played a crucial role in achieving a smooth and long-lasting finish.
Throughout the process, we highlighted the importance of choosing the right materials, taking your time, and ensuring proper ventilation and workspace protection. We also discussed the benefits of using specific paints and primers designed for laminate surfaces, as well as the careful application techniques to minimize brush strokes and achieve a professional result.
Finishing touches such as reattaching hardware, adding drawer liners, and applying a protective finish were then discussed to complete the look of your painted laminate dresser. These final details add an extra touch of style and longevity to your piece.
Now that you’ve completed the painting process, take a moment to step back and admire your work. Your laminate dresser has been transformed into a personalized, beautiful piece that adds character to your space. Not only have you saved money by repurposing existing furniture, but you’ve also contributed to a more sustainable lifestyle by reducing waste.
Remember, painting furniture is a creative venture, so have fun and let your imagination guide you. Experiment with colors and finishes that best reflect your style and match your overall decor. With the right tools, techniques, and a dash of creativity, you can turn any laminate dresser into a stunning piece of furniture that truly stands out.
Thank you for following this guide on how to paint a laminate dresser. We hope you enjoyed the process and that your newly painted dresser brings joy and satisfaction for years to come.
Frequently Asked Questions about How To Paint A Laminate Dresser
Was this page helpful?
At Storables.com, we guarantee accurate and reliable information. Our content, validated by Expert Board Contributors, is crafted following stringent Editorial Policies. We're committed to providing you with well-researched, expert-backed insights for all your informational needs.


0 thoughts on “How To Paint A Laminate Dresser”