Furniture
How To Paint A Veneer Dresser
Modified: January 9, 2024
Learn how to paint a veneer dresser and transform it into a stunning piece of furniture. Step-by-step guide and expert tips for a flawless finish.
(Many of the links in this article redirect to a specific reviewed product. Your purchase of these products through affiliate links helps to generate commission for Storables.com, at no extra cost. Learn more)
Introduction
Welcome to our comprehensive guide on how to paint a veneer dresser! Painting furniture is a fantastic way to transform its appearance and breathe new life into old pieces. Whether you’ve found a vintage veneer dresser at a flea market or want to update your existing furniture, painting the veneer can give it a fresh and modern look. In this article, we will walk you through the step-by-step process of how to properly prepare the surface, choose the right paint, and apply it to your veneer dresser for a durable and beautiful finish.
Before we dive into the details, it’s important to understand what veneer is. Veneer refers to a thin layer of wood or decorative material that is bonded to a more substantial base material, such as particleboard or plywood, to create a smooth and visually appealing surface. While veneer dressers are often durable and long-lasting, they can become outdated or worn over time. Painting the veneer allows you to give it a fresh new look while preserving its structural integrity.
To successfully paint a veneer dresser, you will need to gather the necessary materials and follow a systematic process. This includes preparing the surface, priming the dresser, choosing the right type of paint, applying the base coat, adding decorative techniques if desired, applying the top coat, and adding finishing touches. With careful attention to each step, you can achieve a professional-looking finish that will make your veneer dresser the centerpiece of any room.
In the next sections, we will guide you through each step in detail, providing tips and recommendations along the way. So, let’s get started with preparing the surface of your veneer dresser to lay the foundation for a successful painting project!
Key Takeaways:
- Transform old veneer dressers into stunning focal points by following a step-by-step process. Proper preparation, quality paint, and finishing touches will result in a durable and beautiful furniture piece that reflects personal style.
- Embrace creativity and experimentation when painting veneer dressers. From choosing the right paint to adding decorative techniques, enjoy the DIY process and personalize your furniture to make it truly unique.
Read more: How To Repair A Veneer Dresser
Materials Needed
Before embarking on your veneer dresser painting project, it’s important to gather all the necessary materials to ensure a smooth and successful process. Here is a list of the materials you will need:
- Sandpaper: Select a medium grit sandpaper (around 120-150) for initial sanding and a fine grit sandpaper (around 220-240) for final sanding.
- Primer: Look for a high-quality primer specifically designed for use on veneer surfaces. It will help the paint adhere better and provide a smoother finish.
- Paint: Choose a paint suitable for furniture, such as latex or oil-based paint. Consider the color and finish you desire for your veneer dresser.
- Paintbrushes: Select brushes of various sizes, including a medium-sized brush for large areas and a smaller brush for corners and details.
- Painter’s Tape: Use painter’s tape to protect any areas of the dresser that you don’t want to be painted, such as drawer pulls or decorative hardware.
- Drop Cloth: Lay down a drop cloth or an old sheet to protect your work surface from paint splatter or spills.
- Tack Cloth: This sticky cloth is essential for removing any dust or debris from the dresser’s surface before painting.
- Optional: Decorative Techniques: If you want to add texture or design to your veneer dresser, you can also consider additional materials such as stencils, sponges, or glaze.
- Sealer: To protect your finished paint job and enhance its longevity, you may want to apply a clear sealer specifically designed for use on painted furniture.
Make sure to gather all these materials before you begin the painting process. Having everything ready and at hand will make the task more efficient and enjoyable.
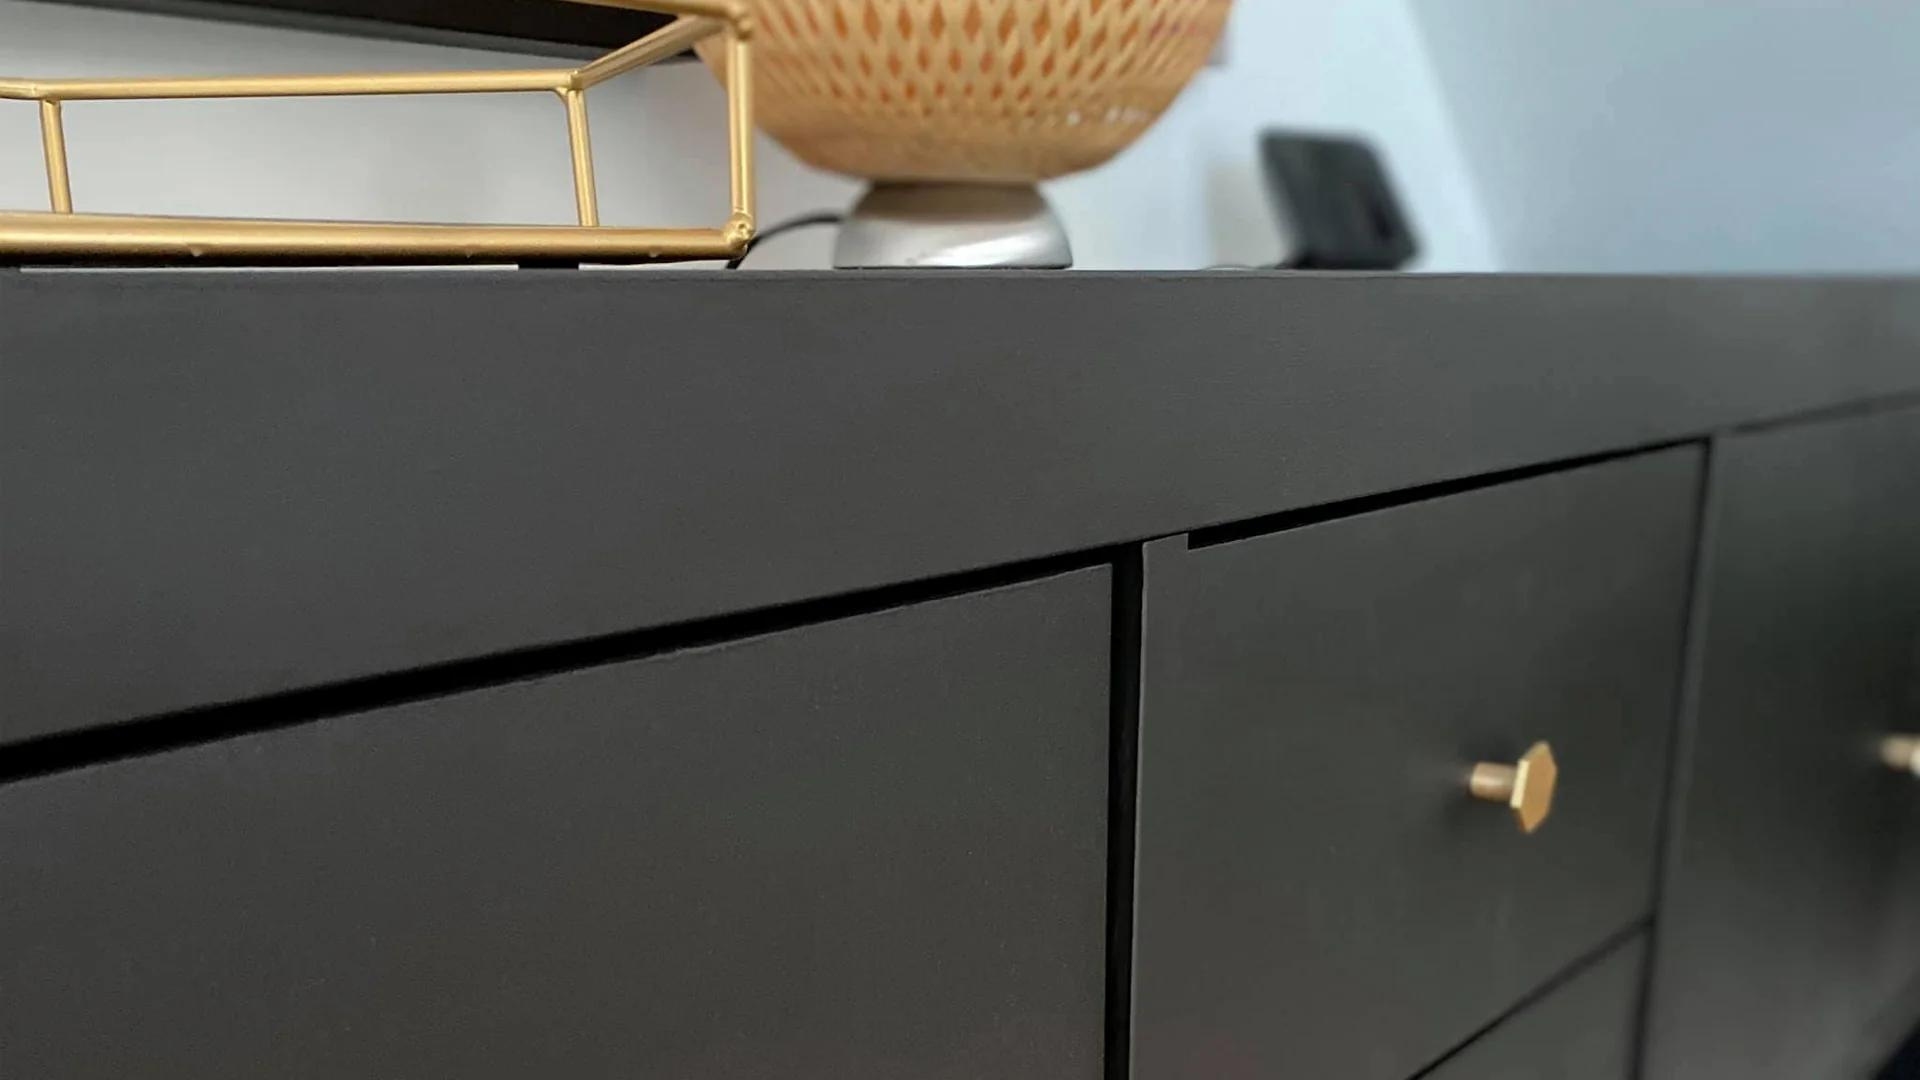
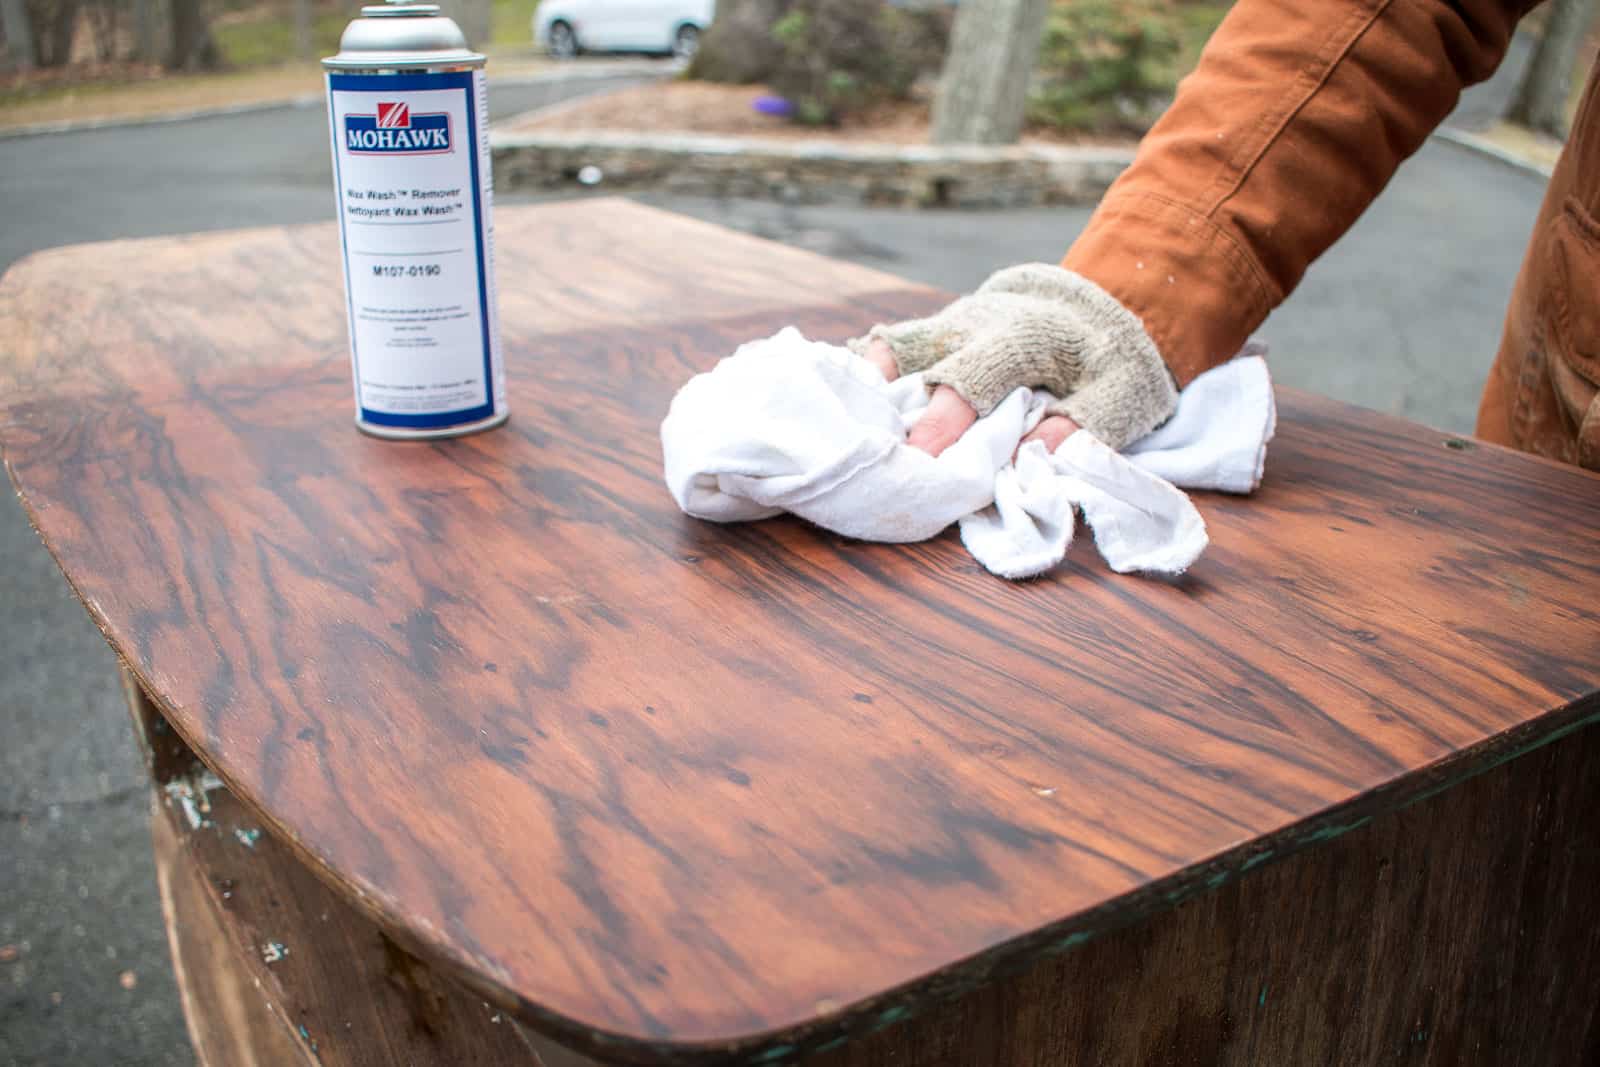
Step 1: Preparing the Surface
Properly preparing the surface of your veneer dresser is crucial for achieving a smooth and long-lasting paint finish. Follow these steps to ensure a successful surface preparation:
- Remove any hardware: Start by removing any hardware, such as drawer pulls or knobs, from the dresser. This will make the sanding and painting process easier.
- Clean the surface: Use a mild detergent and warm water to clean the dresser thoroughly. Remove any dirt, grease, or grime that may be present on the veneer. Allow the dresser to dry completely before moving on to the next step.
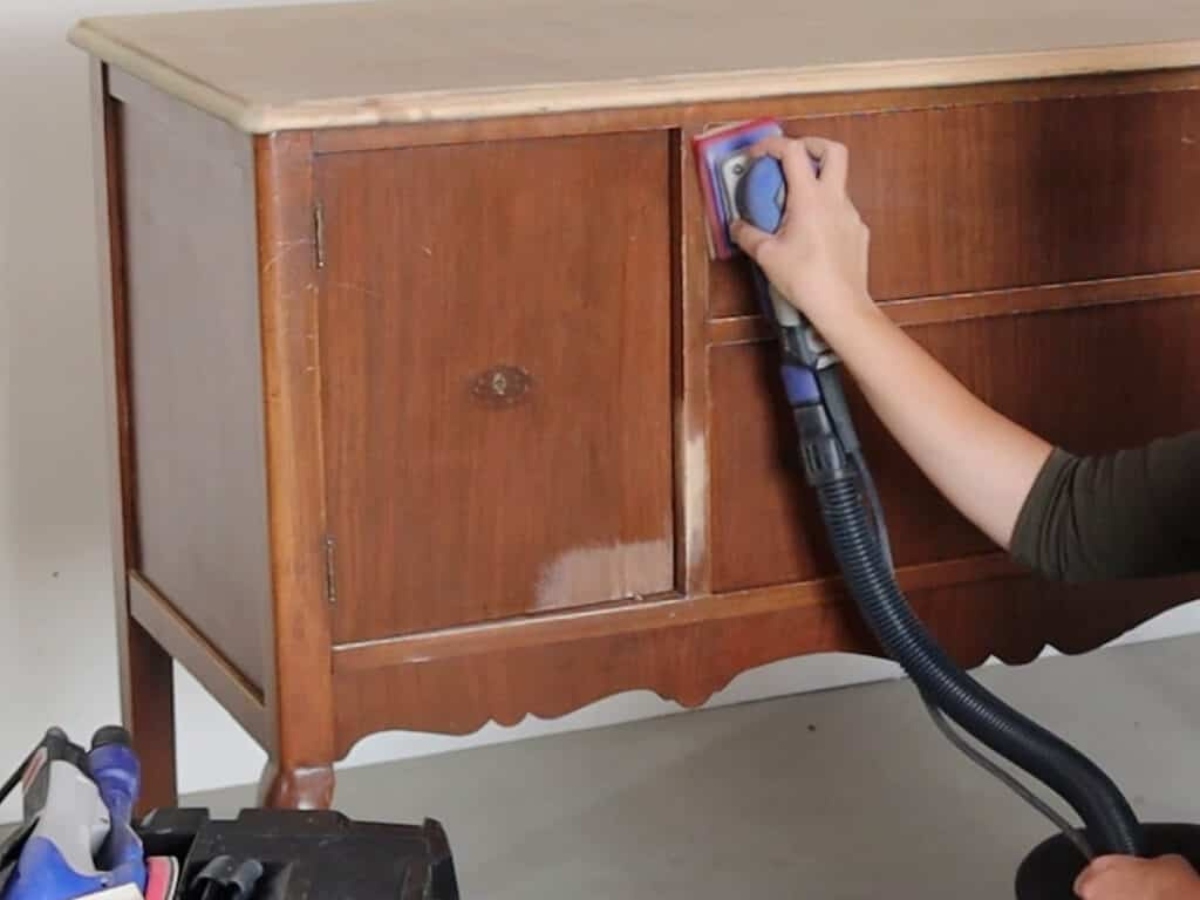
- Sand the dresser: Using the medium-grit sandpaper, gently sand the entire surface of the dresser. This step will help to roughen up the veneer and create a slightly textured surface that the primer and paint can adhere to. Be careful not to sand too aggressively, as you don’t want to damage the veneer. Wipe off any dust or debris with a tack cloth.
- Repair any damage: Inspect the dresser for any scratches, dents, or imperfections. Use wood filler or putty to fill in these areas and sand them smooth once dry. This step will ensure a flawless surface for painting.
- Final sanding: Switch to the fine-grit sandpaper and lightly sand the surface once again. This step will smooth out any rough edges or imperfections from the previous sanding. Wipe off any remaining dust with a tack cloth.
- Protect surrounding areas: Use painter’s tape to cover any areas of the dresser that you don’t want to be painted. This can include edges, corners, or decorative trim. Ensure that the tape is firmly pressed down to prevent paint bleeding.
Following these surface preparation steps will help create an ideal foundation for your painting project. Taking the time to properly prepare the surface will ensure a more even and durable paint finish on your veneer dresser.
Step 2: Priming the Dresser
Once you have prepared the surface of your veneer dresser, the next step is to apply a primer. Priming is essential as it helps the paint adhere better to the veneer and creates a smoother and more even finish. Follow these steps to prime your dresser:
- Choose the right primer: Select a high-quality primer specifically formulated for use on veneer surfaces. Look for a primer that is compatible with the type of paint you’ll be using.
- Stir the primer: Open the can of primer and thoroughly stir it with a stirring stick or a paintbrush. This will ensure that the primer is well-mixed and ready for application.
- Apply the primer: Using a paintbrush or a foam roller, apply a thin and even coat of primer to the entire surface of the dresser. Work in small sections to ensure proper coverage. Pay attention to any grooves or details on the dresser and make sure the primer reaches into those areas.
- Allow the primer to dry: Follow the manufacturer’s instructions for drying time. Typically, primers take around 1-2 hours to dry. Make sure the primer is completely dry and cured before proceeding to the next step.
- Sand the primed surface: After the primer has dried, lightly sand the surface with a fine-grit sandpaper. This step will help to smooth out any imperfections and create a smoother surface for the paint to adhere to. Wipe off any dust with a tack cloth.
- Inspect for any touch-ups: Take a close look at the primed surface and check for any areas that may require additional touch-ups or spot priming. Apply more primer as needed and allow it to dry completely.
By priming your veneer dresser, you provide a solid base for the paint to adhere to, ensuring better durability and a smoother finish. Take your time during this step to create a flawless foundation for the painting process. Once the primer is dry and any necessary touch-ups are done, you’re ready to move on to the next step: choosing the paint for your veneer dresser.
Step 3: Choosing the Paint
Choosing the right paint for your veneer dresser is essential to achieve the desired finish and durability. There are several factors to consider when selecting the paint:
1. Type of paint: There are different types of paint suitable for furniture, such as latex, oil-based, or chalk paint. Each type has its advantages and considerations. Latex paint is easy to use, dries quickly, and is available in a wide range of colors. Oil-based paint provides a durable and smooth finish but requires longer drying time and proper ventilation. Chalk paint offers a vintage and distressed look but may require additional sealers for protection.
2. Finish: Consider the finish you want for your veneer dresser. You can choose from matte, satin, semi-gloss, or high-gloss finishes. Matte finishes provide a smooth and non-reflective appearance, while glossier finishes offer more shine and durability. Select the finish that suits your style and fits well with the overall aesthetic of the room.
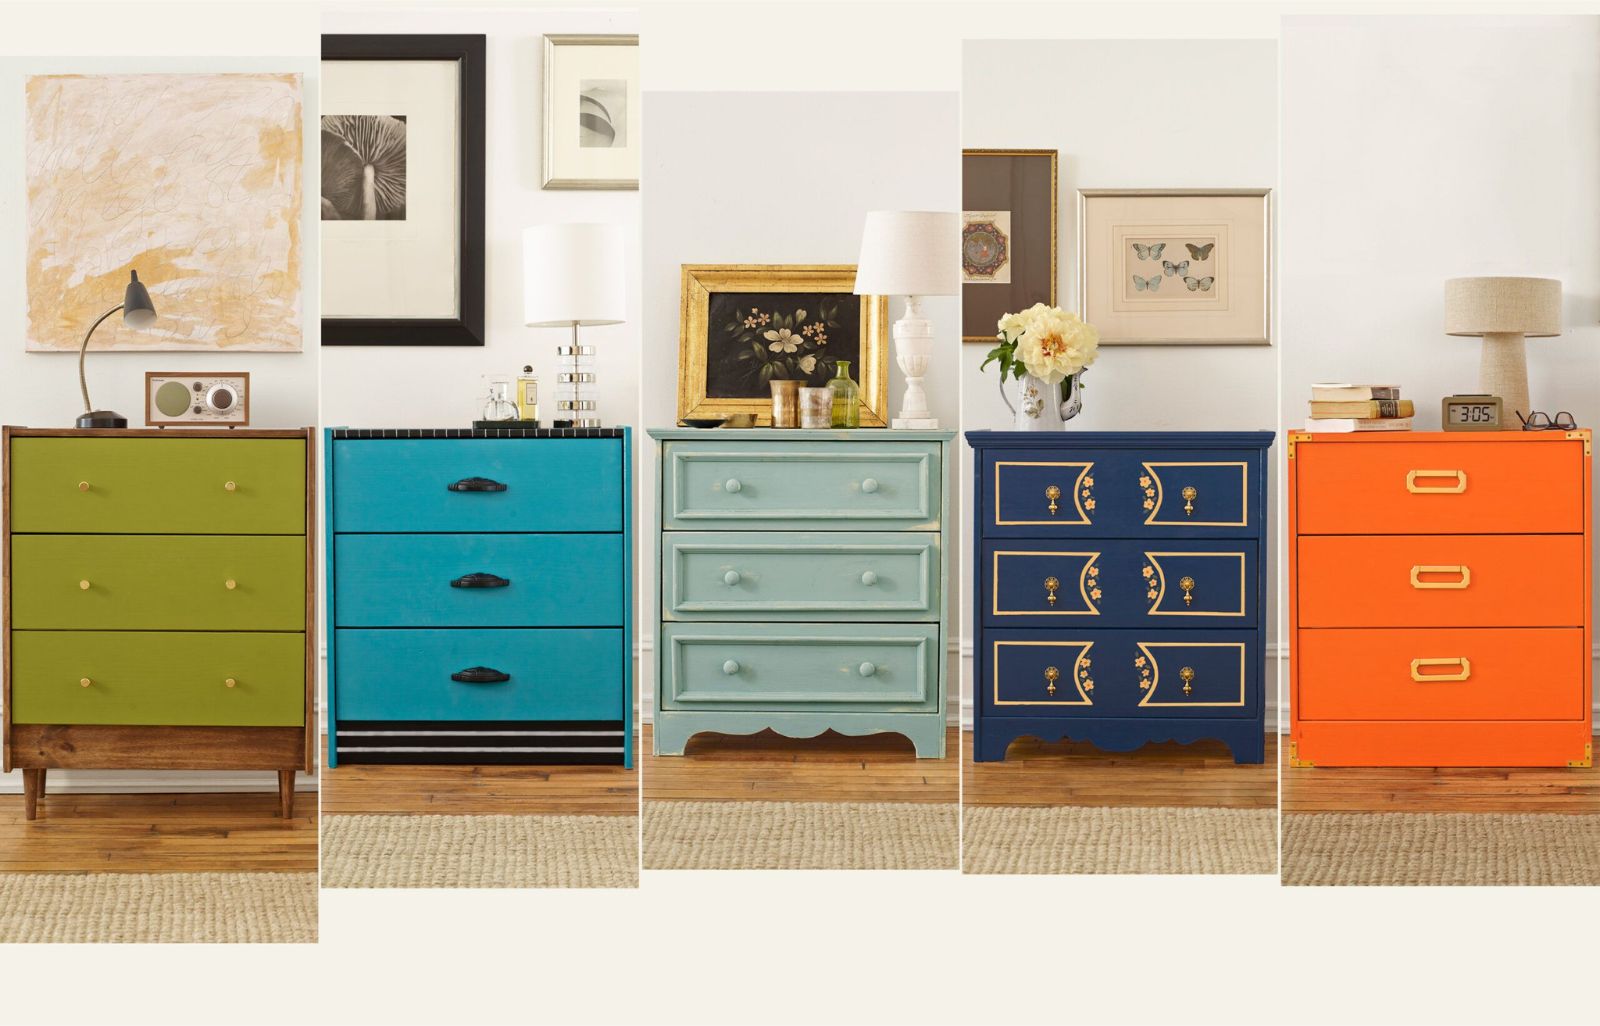
3. Color: Think about the color you want for your veneer dresser. You can go with a classic and neutral color that complements your existing decor or opt for a bold and vibrant hue for a statement piece. Consider the color scheme of the room and choose a paint color that ties everything together harmoniously.
4. Quality: Invest in high-quality paint that is specifically formulated for furniture. Cheaper paints may not provide sufficient coverage or durability, resulting in a lackluster finish. Quality paint ensures better adhesion, long-lasting color, and resistance to wear and tear.
Once you have considered these factors, visit a local paint store or browse online for a wide range of paint options. Take advantage of color swatches and samples to help you visualize how the paint will look on your veneer dresser.
Remember to purchase enough paint to cover the entire surface of the dresser adequately. It’s better to have a little extra than to run out in the middle of the project.
Now that you have chosen the paint, it’s time to start applying it to your veneer dresser. In the next step, we will guide you through the process of applying the base coat.
Before painting a veneer dresser, make sure to clean and sand the surface to ensure the paint adheres properly. Use a high-quality primer to prevent the veneer from showing through the paint.
Read more: How To Refinish A Veneer Dresser
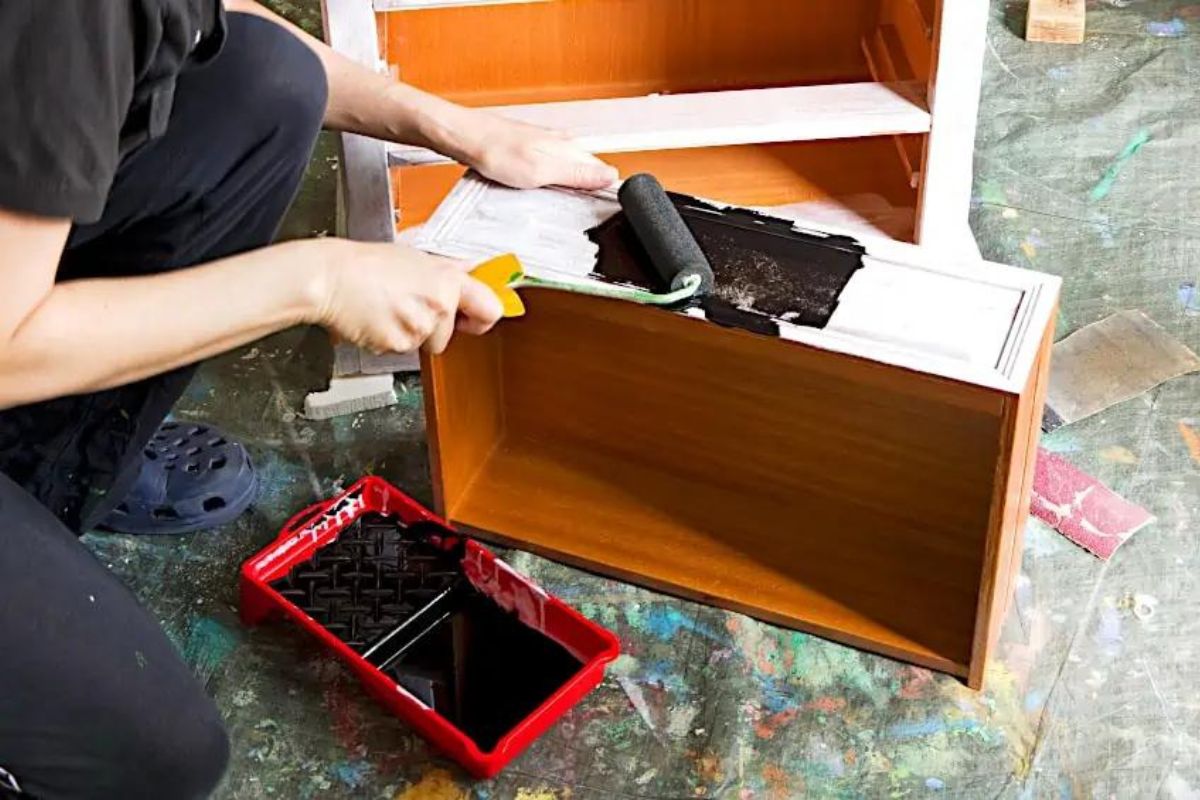
Step 4: Applying the Base Coat
Applying a base coat of paint to your veneer dresser is an essential step in achieving a smooth and even color. The base coat serves as the foundation for the final paint layers and helps provide proper coverage. Follow these steps to apply the base coat:
- Prepare your workspace: Make sure you have a clean and well-ventilated area to work in. Lay down a drop cloth or old sheet to protect your work surface.
- Stir the paint: Open the can of paint and thoroughly stir it with a stirring stick or paintbrush. This will ensure that the color pigments are evenly mixed.
- Start with the large areas: Using a medium-sized paintbrush or a foam roller, begin applying the paint to the larger areas of the dresser. Work in smooth and even strokes, following the grain of the veneer. Apply a thin and even coat of paint, making sure to cover the surface completely.
- Paint the edges and corners: Switch to a smaller brush or a foam brush to reach the edges, corners, and intricate details of the dresser. Take your time to ensure that all the nooks and crannies are properly coated.
- Check for drips or uneven spots: As you paint, keep an eye out for any drips or uneven areas. If you notice any, smooth them out immediately with the brush or roller. This will help achieve a uniform finish.
- Allow the base coat to dry: Follow the paint manufacturer’s instructions for drying time. Typically, it takes around 2-4 hours for the base coat to dry. Make sure to allow sufficient drying time before proceeding to the next step.
- Inspect for thin spots: After the base coat has dried, inspect the dresser for any thin spots or areas where the veneer might still be visible. If needed, apply a second coat of paint to ensure complete coverage. Allow the second coat to dry thoroughly.
It’s important to take your time while applying the base coat to achieve a smooth and even finish. Remember to clean your brushes and roller immediately after use, following the instructions on the paint can for proper cleaning.
Now that your base coat is dry, you’re ready to move on to the next step: adding decorative techniques to your veneer dresser (optional).
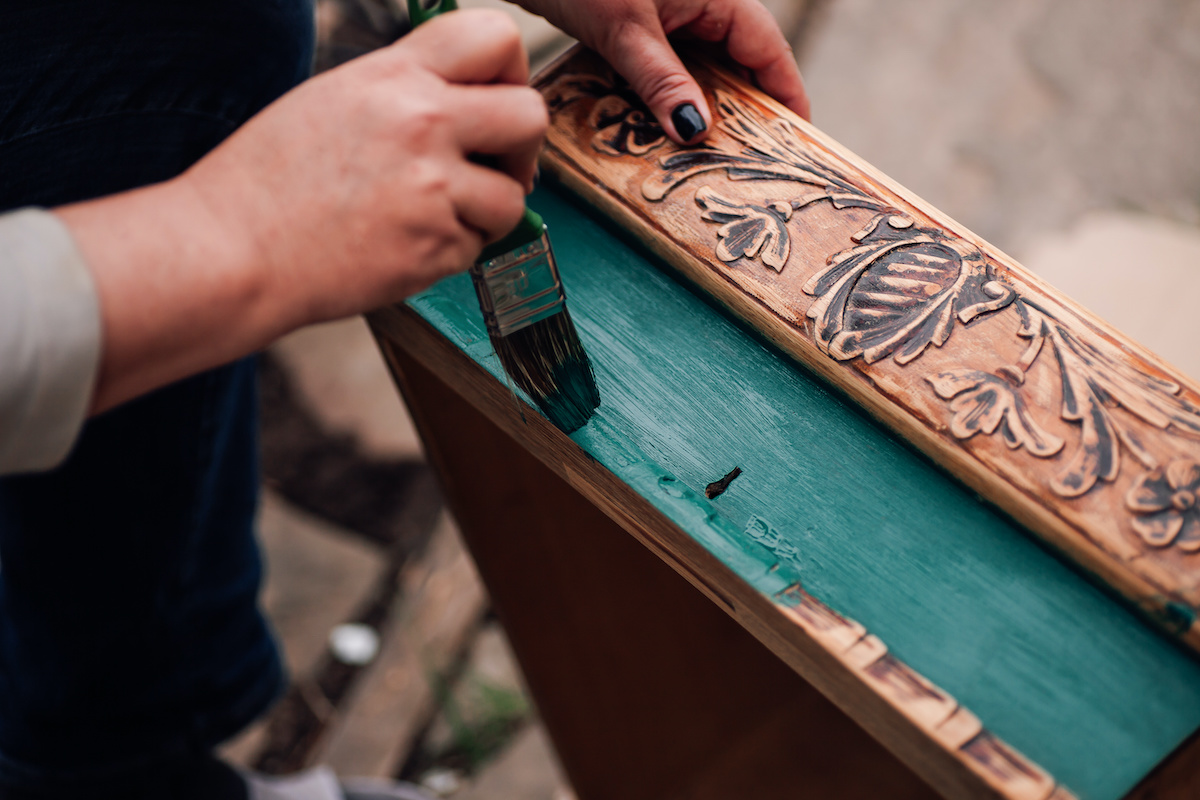
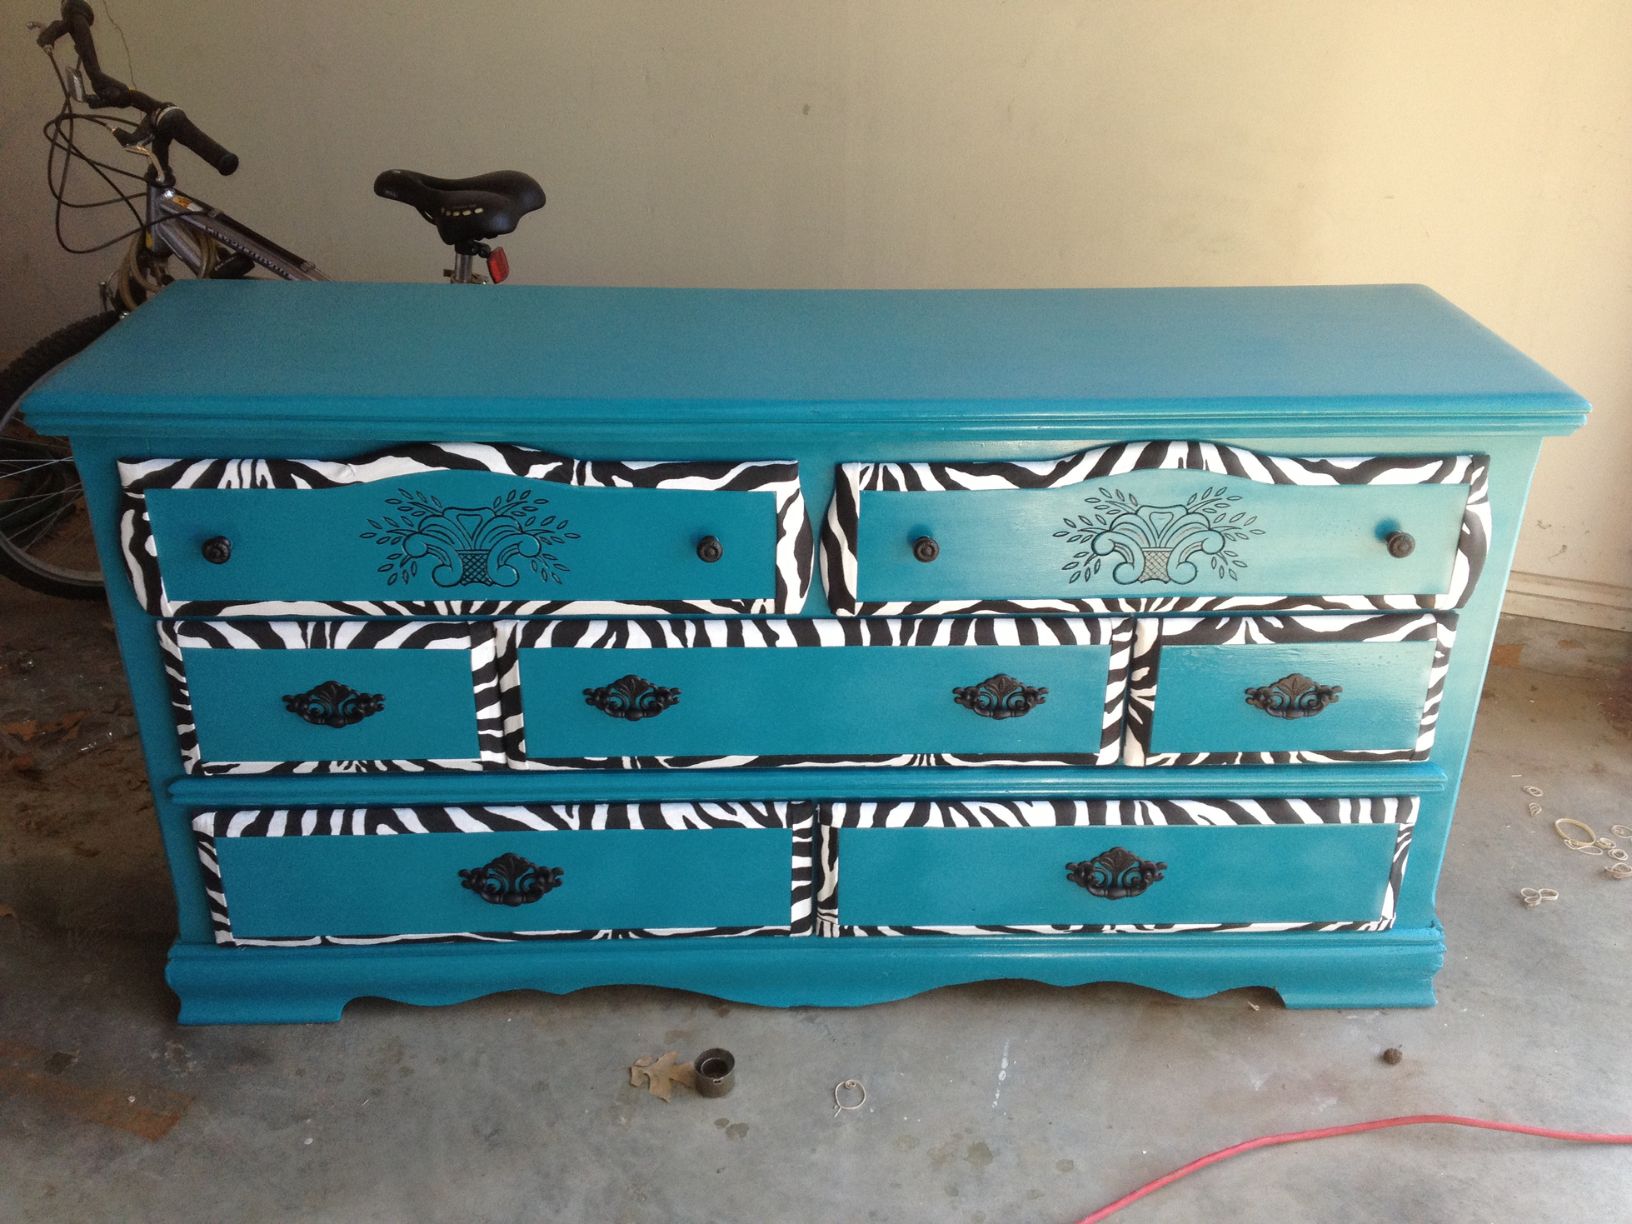
Step 5: Adding Decorative Techniques (Optional)
If you want to take your veneer dresser to the next level, you can add decorative techniques to enhance its visual appeal. These techniques can add texture, depth, and uniqueness to your painted dresser. Here are some popular decorative techniques you can consider:
1. Distressing: Distressing involves intentionally creating dents, scratches, or worn-out areas on the dresser to mimic a vintage or aged look. This technique can be achieved by using sandpaper or a distressing tool to gently scrape or sand away some of the paint layers on the edges, corners, and areas prone to natural wear.
2. Layering and glazing: Layering different colors of paint can create depth and dimension on your veneer dresser. Apply a base color, then add a second color by lightly dry brushing or sponge painting to create a textured effect. Glazing involves applying a sheer, tinted glaze over the base coat to add richness and depth.
3. Stenciling: Stenciling is a popular technique for creating intricate designs or patterns on furniture. Use stencils with various shapes or motifs and apply them to the dresser with a stencil brush or sponge. This technique allows you to personalize your dresser with unique patterns or motifs.
4. Aged or crackle finishes: Aged or crackle finishes can give your veneer dresser a weathered or crackled appearance. Specialty paint products or crackling mediums are applied between layers of paint to create the desired effect. Follow the manufacturer’s instructions for the specific product you choose.
When using decorative techniques, it’s essential to plan your design and practice on a spare piece or test area before applying it to the entire dresser. This will help you determine the desired effect and ensure that you’re satisfied with the results.
Remember, adding decorative techniques is optional. If you prefer a clean and simple look, you can skip this step and proceed to the next step: applying the top coat.
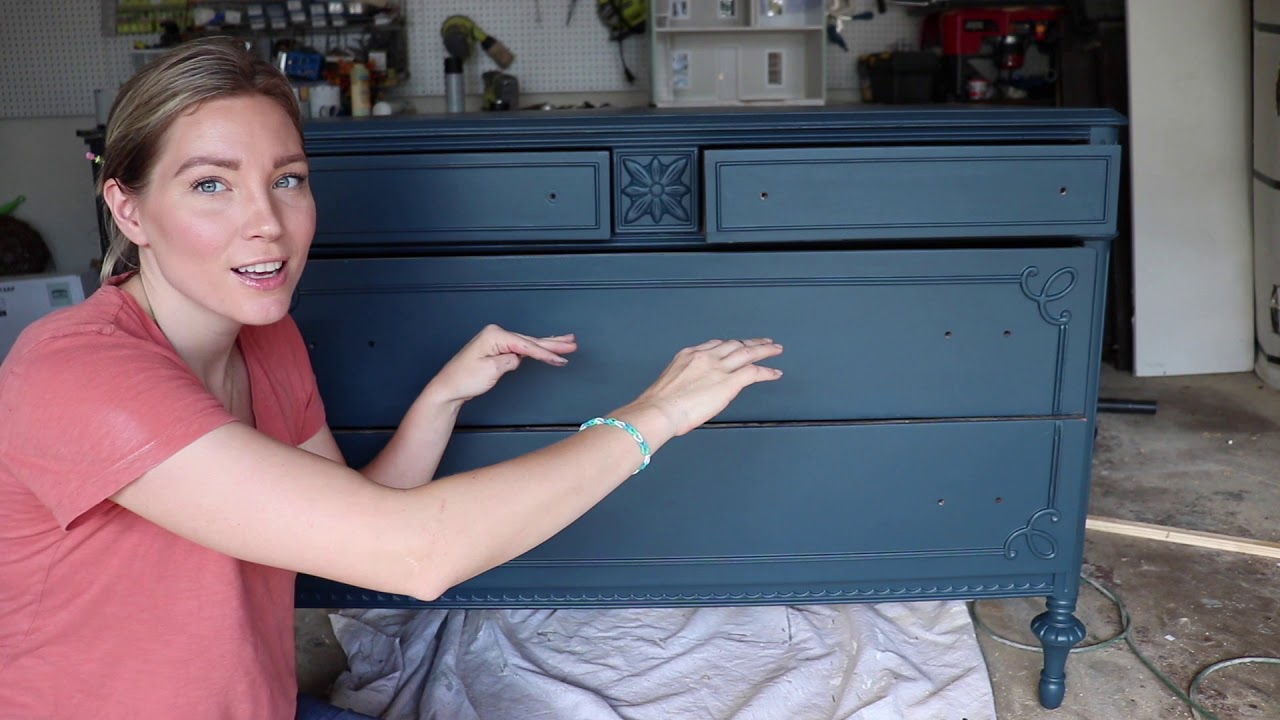
Step 6: Applying the Top Coat
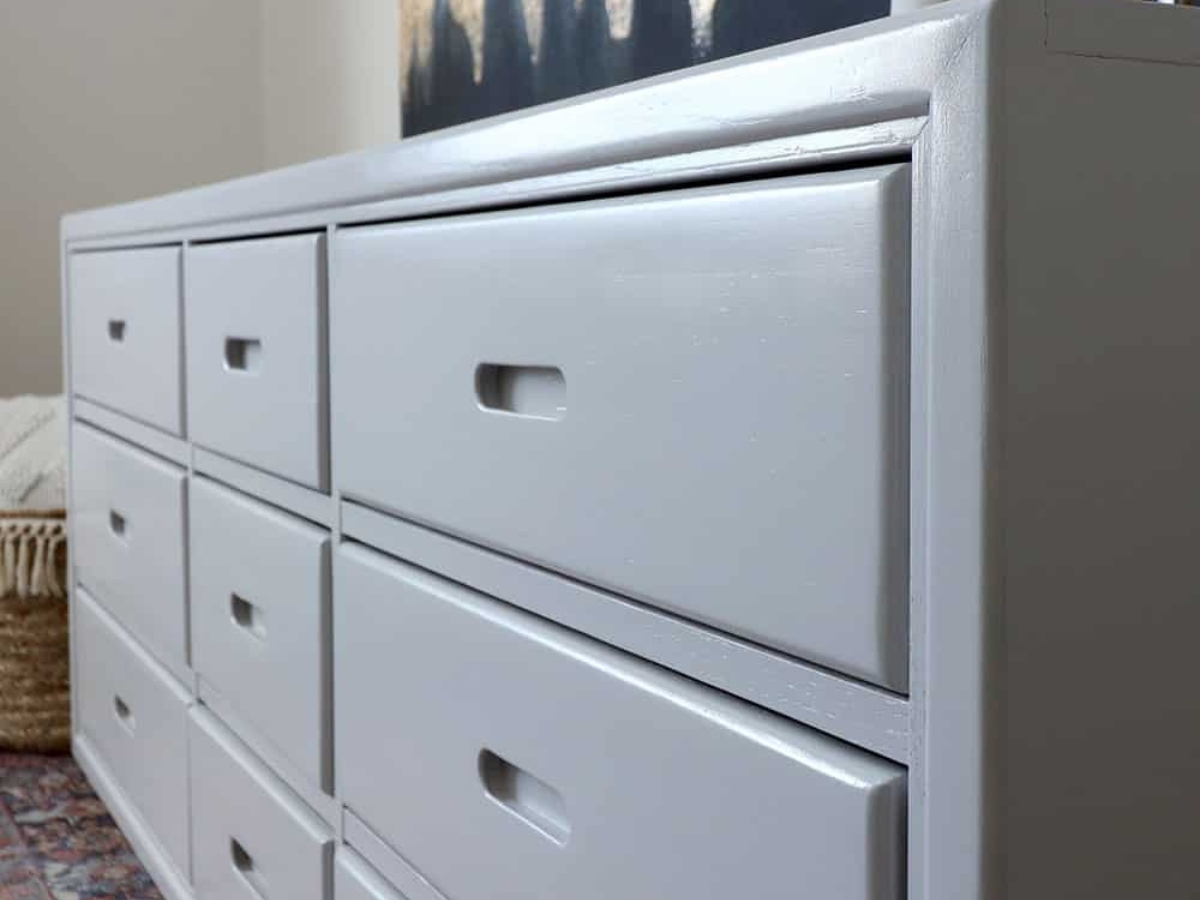
Applying a top coat to your painted veneer dresser is essential to protect the surface and ensure its longevity. The top coat provides added durability, resistance to stains, and protection against daily wear and tear. Follow these steps to apply the top coat:
- Choose the right top coat: Look for a clear top coat specifically designed for use on painted furniture. Consider the finish you want for your dresser, such as matte, satin, or gloss, and select a top coat that matches your preference.
- Stir the top coat: Open the can of top coat and stir it thoroughly using a stirring stick or paintbrush. This will ensure that the protective properties are evenly mixed throughout the product.
- Apply the top coat: Using a clean paintbrush or a foam brush, begin applying the top coat to the entire surface of the dresser. Work in long, even strokes, following the grain of the veneer. Apply a thin and even coat, making sure to cover the entire surface. Ensure that the top coat is evenly applied, without any streaks or bubbles.
- Allow the top coat to dry: Follow the manufacturer’s instructions for drying time. Typically, it takes around 2-4 hours for the top coat to dry to the touch. Avoid touching or placing any items on the dresser until the top coat has fully cured.
- Inspect for any imperfections: Once the top coat has dried, inspect the surface for any imperfections, bubbles, or streaks. If necessary, lightly sand the surface with a fine-grit sandpaper to smooth out any issues. Wipe off any dust with a tack cloth.
- Apply additional coats (optional): Depending on the level of protection and sheen you desire, you may choose to apply additional coats of the top coat. Follow the same process of applying the top coat, allowing each coat to dry completely before applying the next.
Applying a top coat will not only protect your painted veneer dresser but also enhance the overall appearance. It will provide a smooth and durable finish that can withstand daily use and ensure the longevity of your painted piece.
Once the top coat is dry and fully cured, you’re almost there! In the next step, we will guide you through adding the finishing touches to your painted veneer dresser.
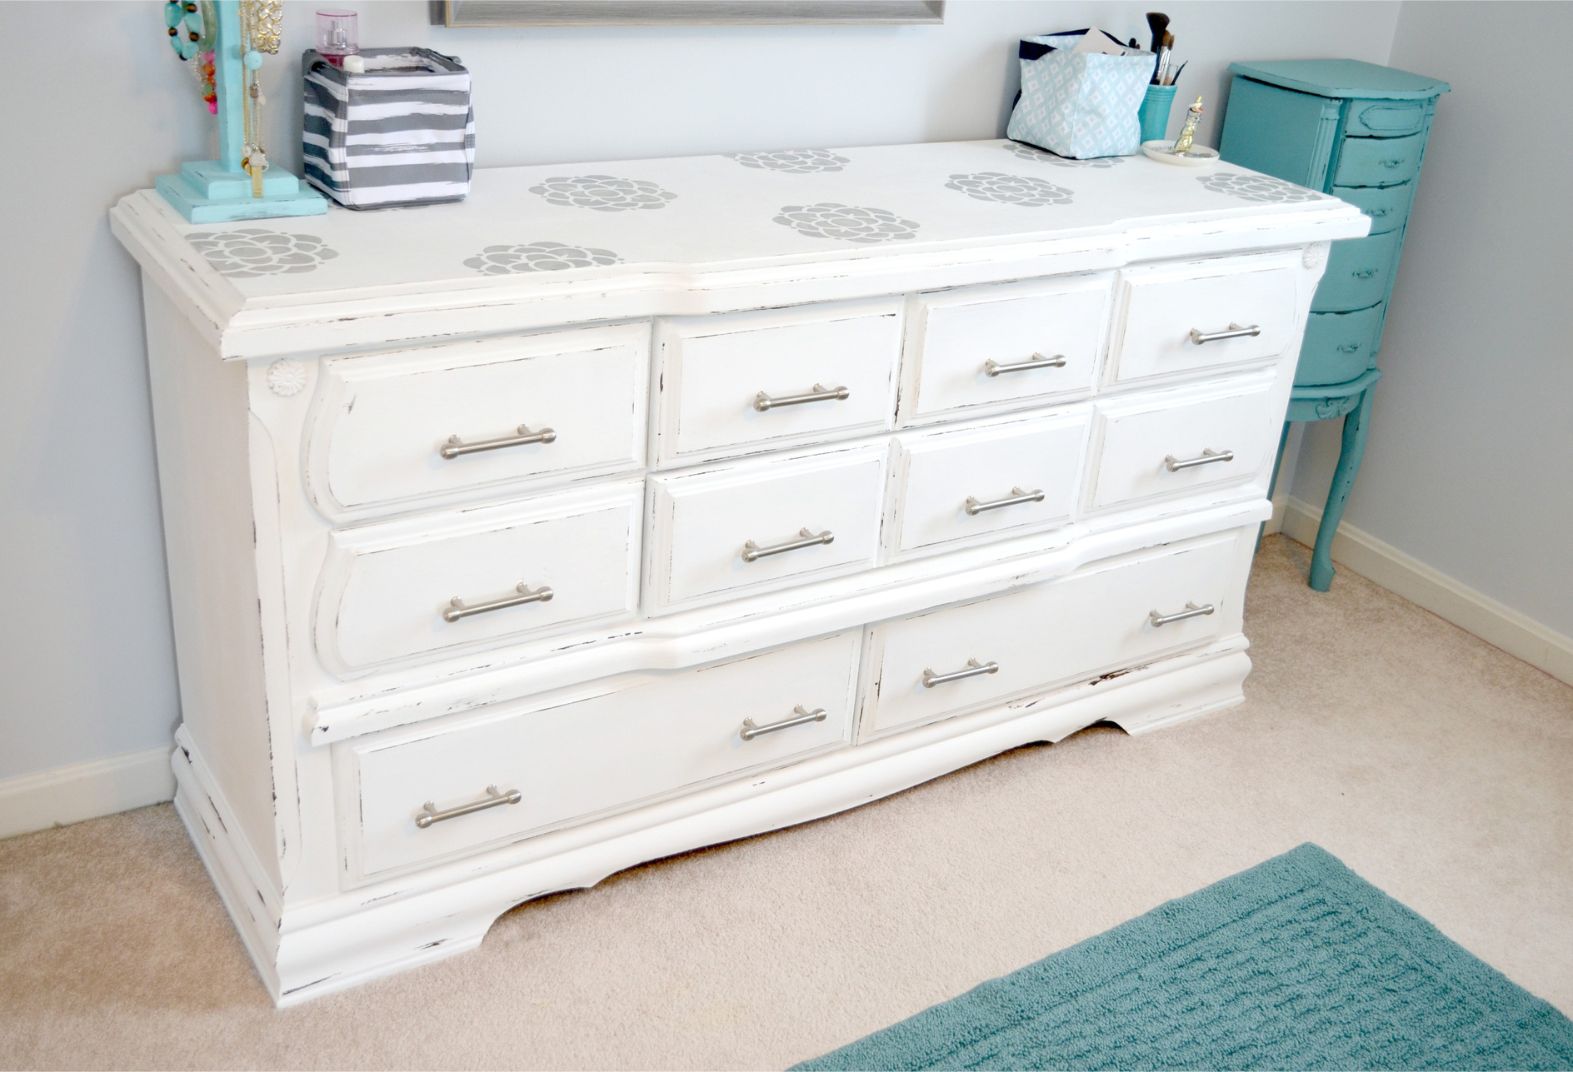
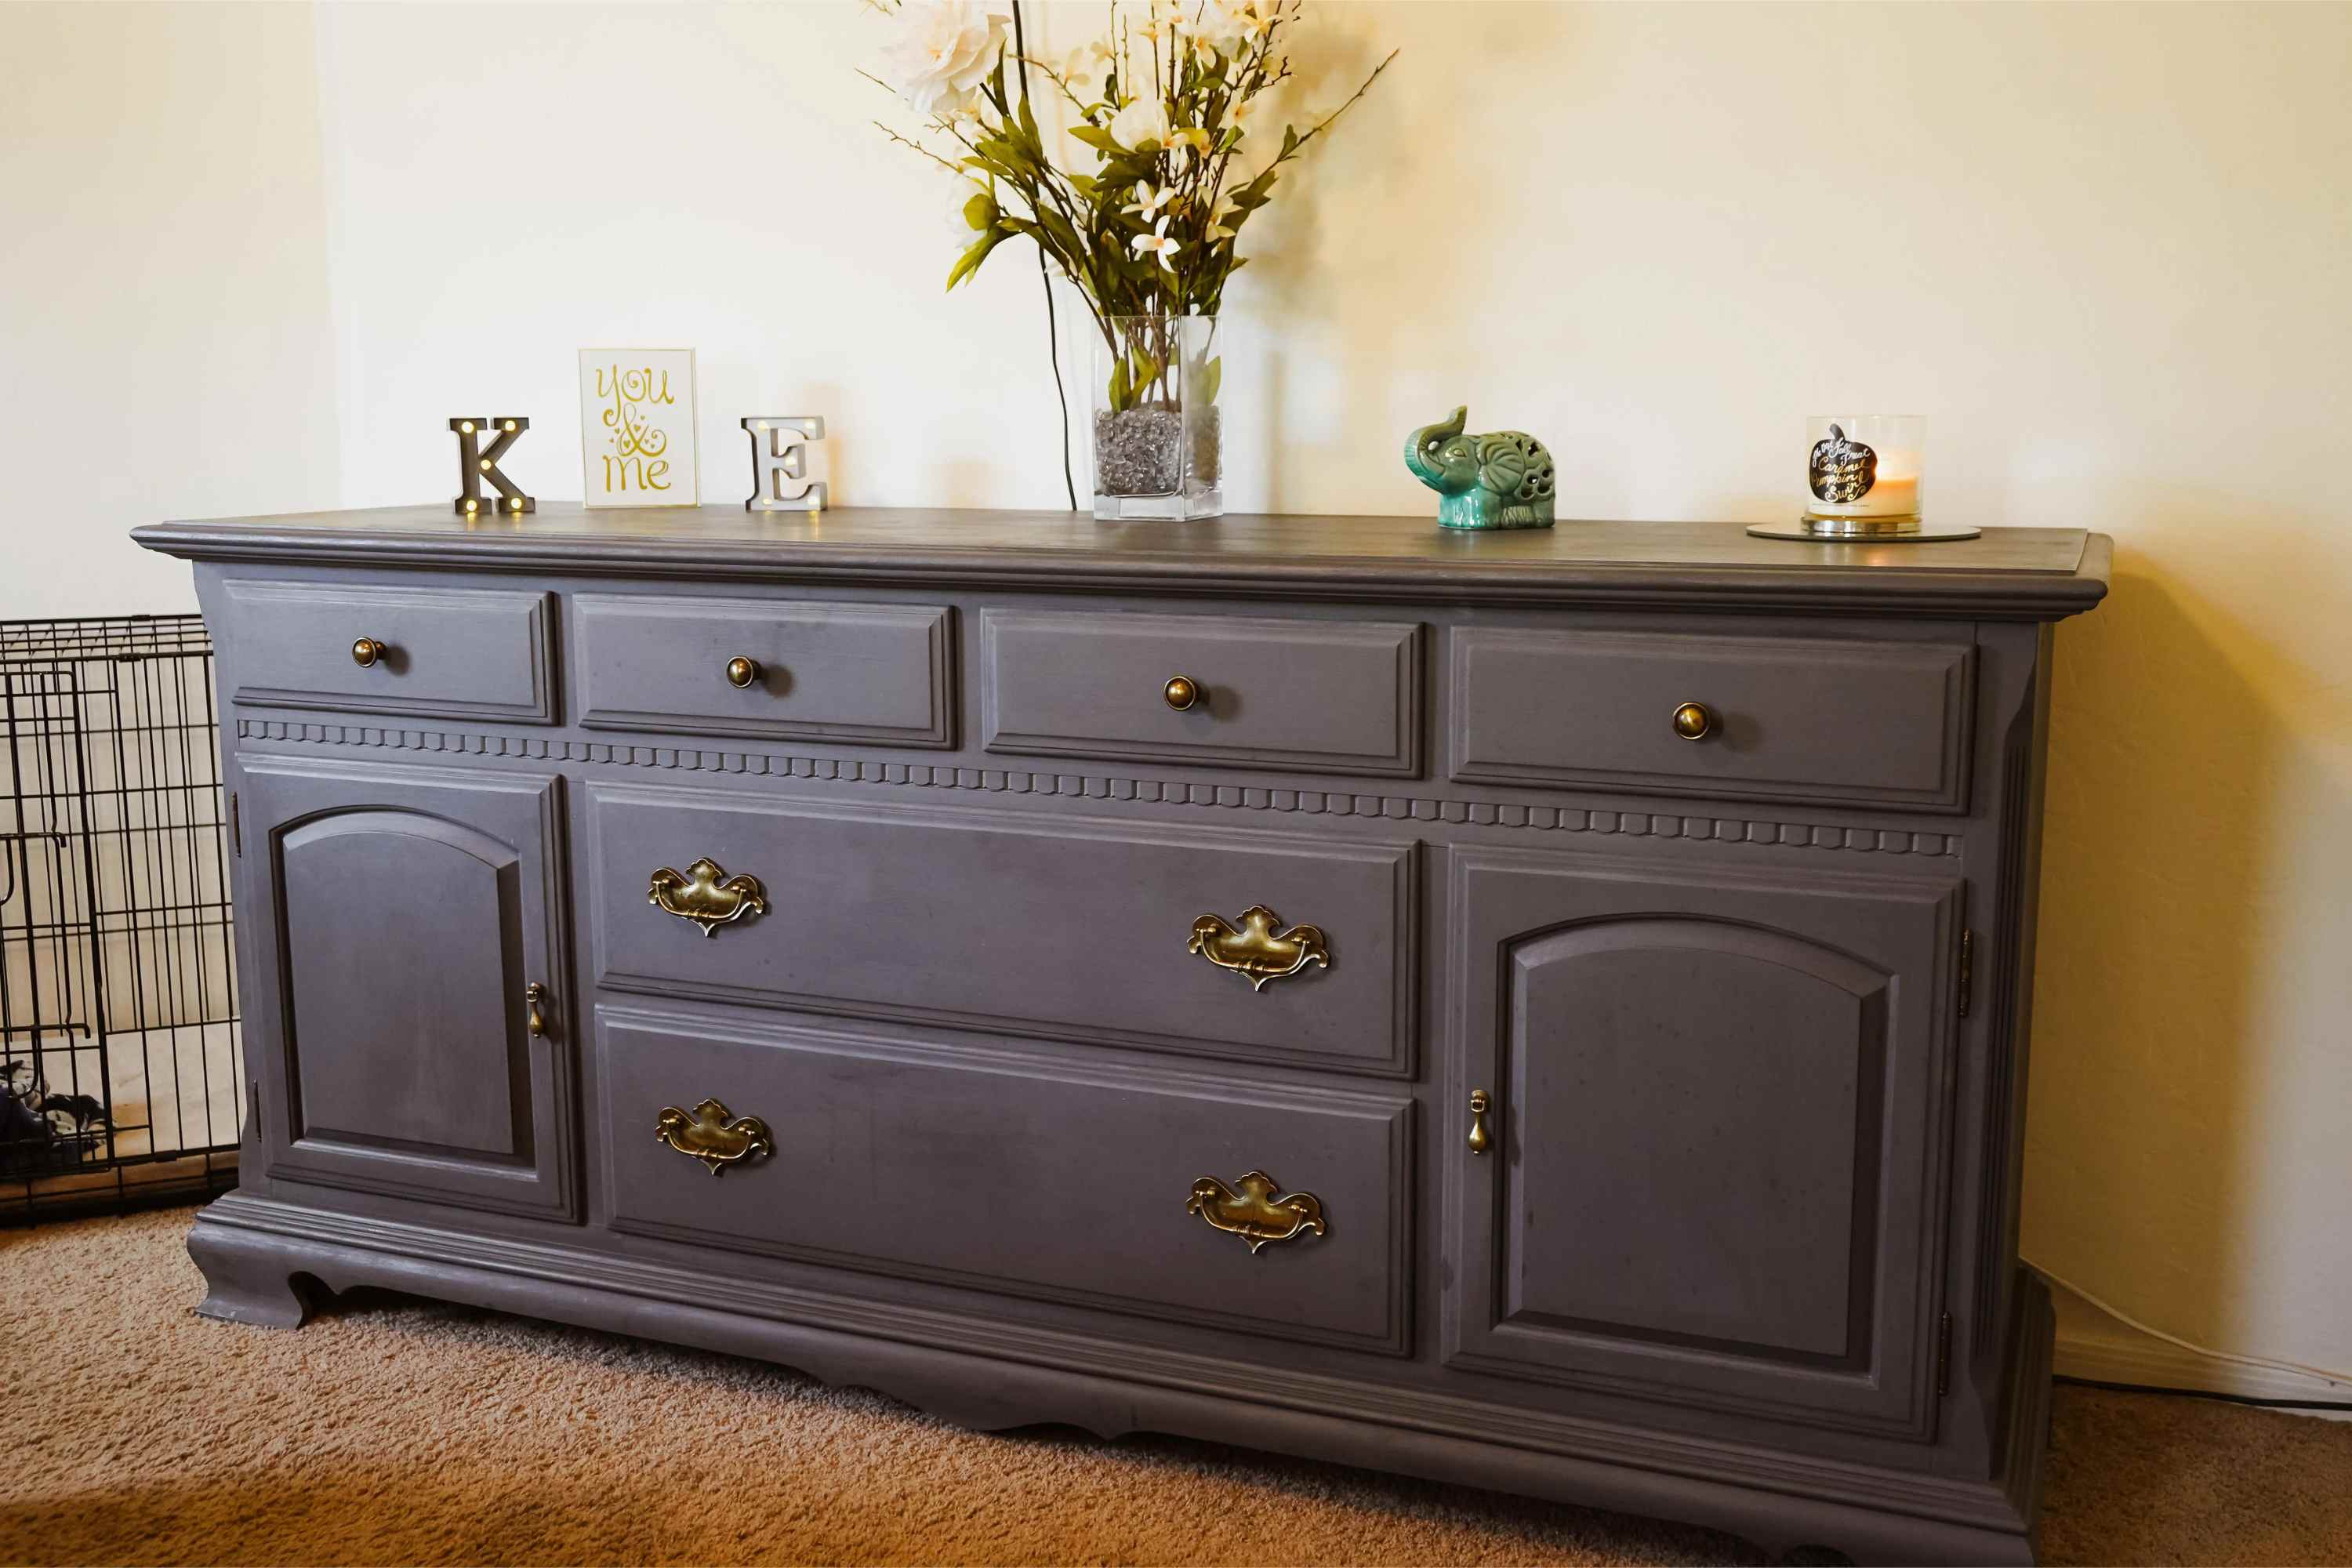
Step 7: Adding Finishing Touches
Adding finishing touches to your painted veneer dresser will bring it to completion and give it that extra touch of personalization and charm. Here are some ideas to consider:
- Reattach hardware: Once the top coat is dry and cured, reattach the hardware to the dresser. Ensure that the hardware is securely fastened and aligned properly.
- Replace or update hardware: If you want to give your veneer dresser a new look, consider replacing or updating the hardware. This can include drawer pulls, knobs, handles, or decorative hardware. Choose hardware that complements the style and color of your dresser.
- Add decorative accents: Personalize your veneer dresser by adding decorative accents such as stenciled designs, decals, or transfers. These accents can be applied to the top, sides, or drawer fronts to create a unique and eye-catching look.
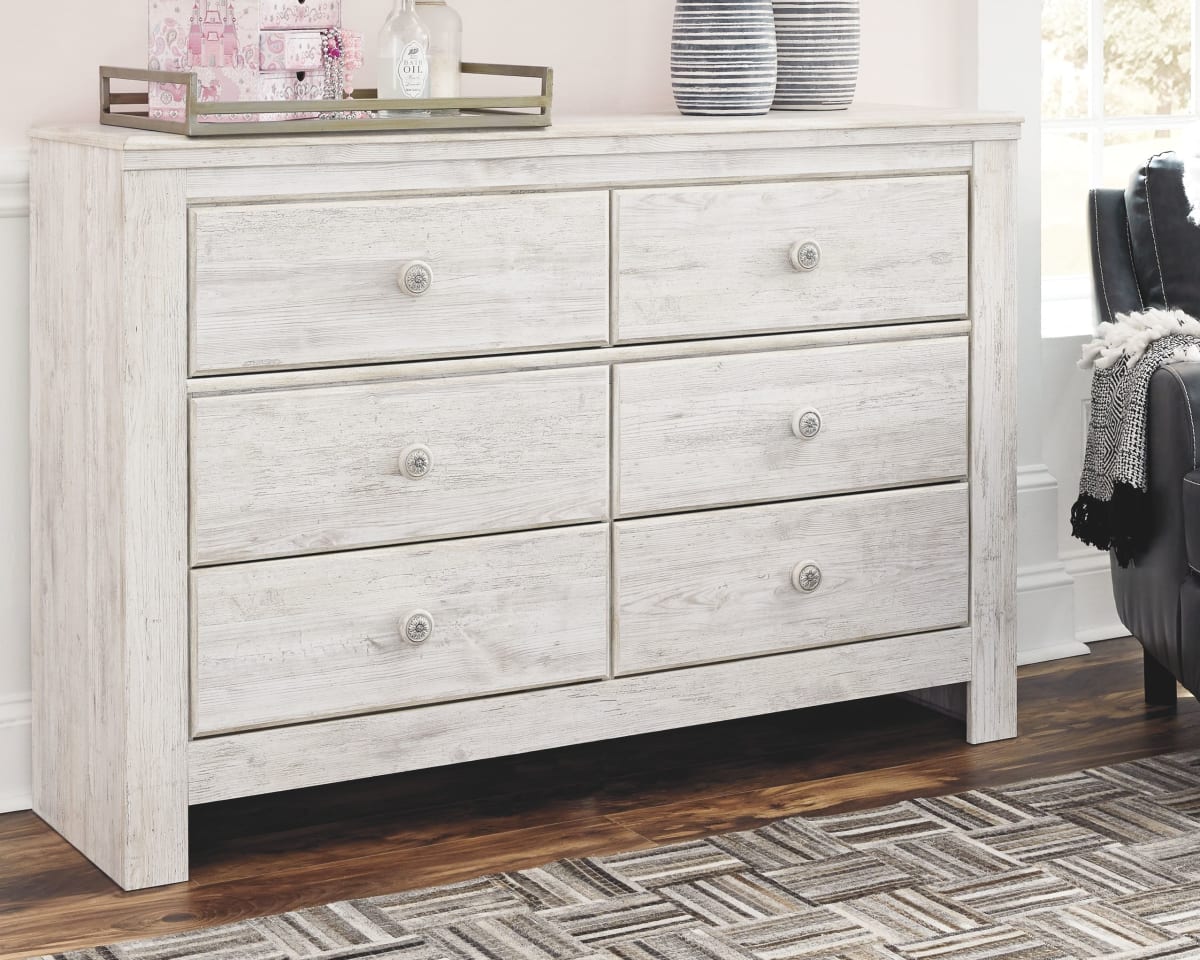
- Accessorize: Complete the look of your veneer dresser by accessorizing it with decorative items such as vases, framed photos, or decorative trays. These accessories will add a personal touch and enhance the overall aesthetic of the dresser.
- Clean and maintain: Regularly clean and maintain your painted veneer dresser to keep it looking its best. Use a soft, damp cloth to wipe away dust and spills. Avoid using harsh chemicals or abrasive cleaning agents that can damage the painted surface.
Adding these finishing touches will elevate the appearance of your painted veneer dresser and make it a focal point in any room. Get creative and let your personal style shine through!
Congratulations! You have successfully painted and transformed your veneer dresser into a beautiful and unique piece of furniture. With proper care and maintenance, your newly painted veneer dresser will bring joy and style to your home for years to come.
Remember, painting furniture is a DIY project that requires time, patience, and attention to detail. Follow the steps outlined in this guide, and don’t be afraid to let your creativity shine. Enjoy the process, and have fun with your painted veneer dresser!
Read more: How To Paint Veneer Furniture
Conclusion
Painting a veneer dresser is a rewarding project that allows you to unleash your creativity and transform an old or outdated piece of furniture into a stunning focal point in your home. By following the step-by-step process outlined in this guide, you have learned how to properly prepare the surface, choose the right paint, and apply it to achieve a durable and beautiful finish on your veneer dresser.
Throughout the process, you have become familiar with the materials needed, including sandpaper, primer, paint, paintbrushes, painter’s tape, drop cloth, tack cloth, and optional decorative materials. These materials, used in conjunction with the proper techniques, have helped you achieve professional-looking results.
Remember, the key to a successful painted veneer dresser is in the preparation. Taking the time to properly clean, sand, and prime the dresser sets the foundation for a smooth and long-lasting finish. Choosing the right paint, applying it in thin and even coats, and following up with a protective top coat ensure the durability and beauty of your painted piece.
While the steps provided in this guide outline a general process, don’t be afraid to let your creativity flow and add your own personal touch. Consider adding decorative techniques, experimenting with colors and finishes, or accessorizing your dresser to make it truly unique.
Lastly, remember to care for and maintain your painted veneer dresser to preserve its beauty and longevity. Regular cleaning, avoiding harsh chemicals, and handling it with care will ensure that your dresser remains a cherished piece in your home for years to come.
We hope this comprehensive guide has equipped you with the knowledge and confidence to embark on your veneer dresser painting journey. Enjoy the process, let your creativity shine, and transform your dresser into a stunning statement piece that reflects your personal style and enhances your living space!
Frequently Asked Questions about How To Paint A Veneer Dresser
Was this page helpful?
At Storables.com, we guarantee accurate and reliable information. Our content, validated by Expert Board Contributors, is crafted following stringent Editorial Policies. We're committed to providing you with well-researched, expert-backed insights for all your informational needs.

0 thoughts on “How To Paint A Veneer Dresser”