
Furniture
How To Clean Brass Chandelier
Modified: January 5, 2024
Learn how to clean your brass chandelier and keep your furniture sparkling with our easy-to-follow guide. Transform your space with a polished and elegant touch.
(Many of the links in this article redirect to a specific reviewed product. Your purchase of these products through affiliate links helps to generate commission for Storables.com, at no extra cost. Learn more)
Introduction
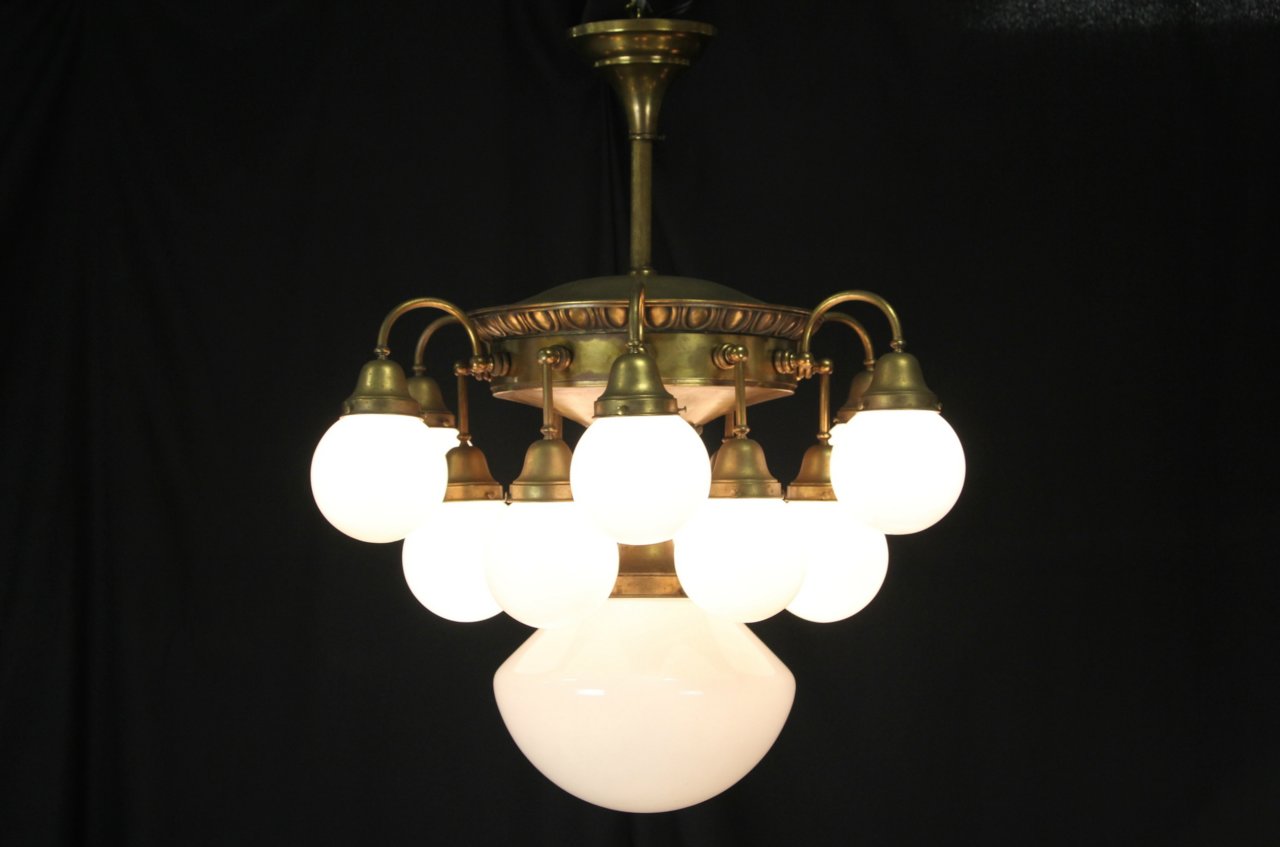
Brass chandeliers are not only a beautiful centerpiece in any room, but they also add a touch of elegance and sophistication to the overall decor. However, over time, these chandeliers can accumulate dust, dirt, and grime, making them lose their shine and sparkle. Cleaning a brass chandelier may seem like a daunting task, but with the right supplies and techniques, you can restore its original luster and keep it looking stunning.
In this article, we will guide you through the process of cleaning a brass chandelier effectively. We will provide you with step-by-step instructions and valuable tips to ensure that your chandelier gleams like new. So, put on your cleaning gloves and let’s get started!
Key Takeaways:
- Restore the elegance of your brass chandelier by following a step-by-step cleaning process using gentle supplies and techniques. Ensure safety, soak, brush, and polish for a gleaming centerpiece that impresses guests.
- Maintain the timeless beauty of your brass chandelier with regular dusting, mild cleaning solutions, and protective measures against tarnishing. Enjoy the radiant glow and captivating ambiance it brings to your space.
Read also: 8 Unbelievable Brass Chandelier for 2025
Necessary Supplies
Before you begin cleaning your brass chandelier, it’s important to gather all the necessary supplies. Here are the items you will need:
- Step ladder or stable platform: This will help you reach the chandelier safely.
- Soft microfiber cloth or feather duster: These tools are ideal for dusting and removing surface dirt without scratching the brass surface.
- Mild dish soap or brass cleaner: Choose a gentle cleaning solution that is safe for brass. Avoid using harsh chemicals or abrasives that can damage the finish.
- Warm water: You will need this to create the cleaning solution and rinse the chandelier.
- Soft-bristle brush or toothbrush: This will be used to gently scrub away any stubborn dirt or grime.
- Soft towels or lint-free cloth: These are essential for drying the chandelier after cleaning.
- Plastic or waterproof drop cloth: Place this beneath the chandelier to protect the surrounding area from water or cleaning solution drips.
- Cotton gloves: Wearing gloves will help prevent fingerprints and oils from transferring onto the brass surface.
- Optional: Brass polish or wax: If your chandelier has tarnished areas, you may consider using a brass polish or wax to restore its shine.
Make sure to gather all these supplies before you start cleaning to ensure a smooth and efficient process. Now that you have everything you need, let’s move on to the step-by-step cleaning process.
Step 1: Preparing the Chandelier
Before you begin cleaning your brass chandelier, it’s important to take some necessary precautions and prepare the area to ensure a safe and efficient cleaning process.
First and foremost, ensure that the chandelier is turned off and has cooled down completely. It’s crucial to avoid any accidents or burns while handling the chandelier.
If possible, lower the chandelier to a reachable height. Many chandeliers have adjustable chains or mechanisms that allow you to bring them down closer to the ground. This will make the cleaning process more manageable, especially if you’re working with a large or heavy chandelier.
Next, place a plastic or waterproof drop cloth beneath the chandelier to catch any drips or potential debris. This will protect the floor or furniture that may be underneath the chandelier.
If the chandelier has delicate or fragile parts that can be easily damaged, consider covering them with a soft cloth or plastic wrap. This extra layer of protection will safeguard those vulnerable areas during the cleaning process.
Lastly, put on a pair of cotton gloves to prevent fingerprints or oils from transferring onto the brass surface. This will help maintain the shine and avoid any unnecessary additional cleaning after the process.
By taking these simple preparation steps, you’ll ensure that the cleaning process goes smoothly and without any mishaps. Now that the chandelier is ready, it’s time to move on to the next step: dusting and removing surface dirt.
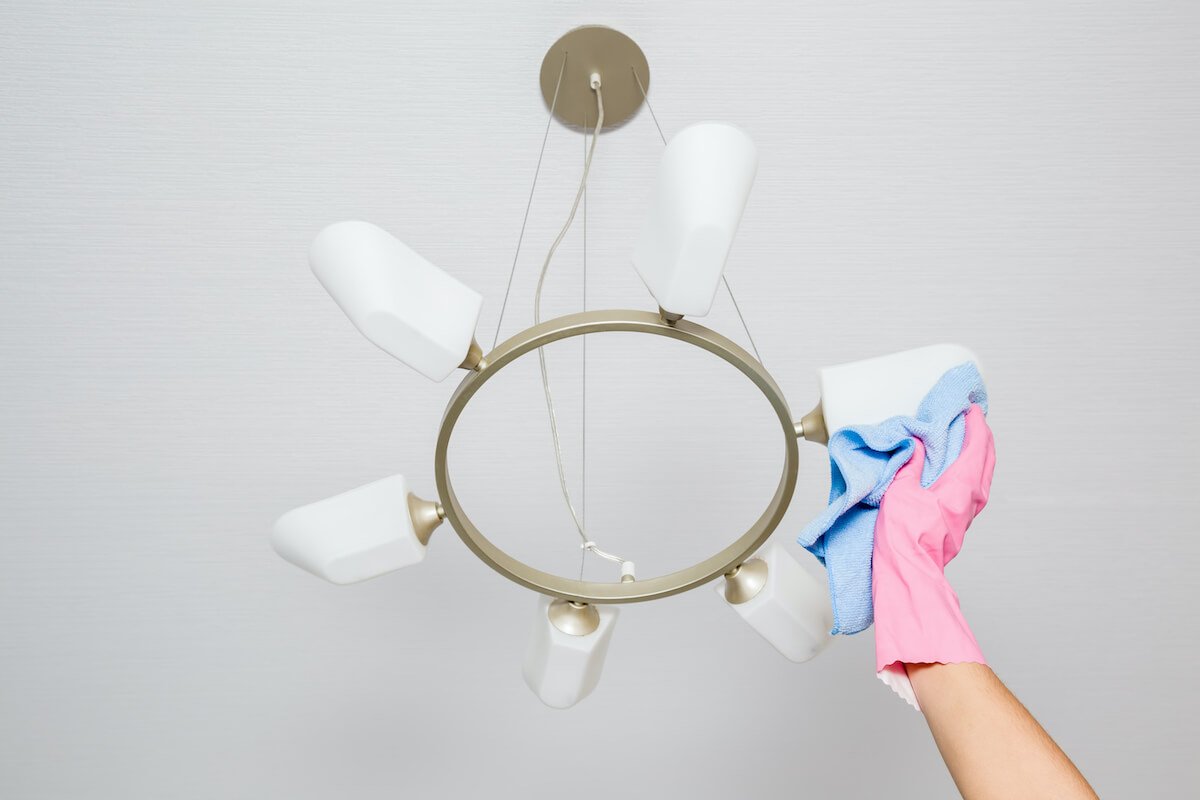
Step 2: Dusting and Removing Surface Dirt
To restore the shine and beauty of your brass chandelier, it is important to start by removing any dust and surface dirt that may have accumulated over time. This step will prepare the chandelier for a deeper cleaning.
Begin by climbing up the step ladder or using a stable platform to reach the chandelier. Make sure you have a soft microfiber cloth or a feather duster on hand.
Gently dust the surface of the chandelier, starting from the top and working your way down. Use long, sweeping motions to remove dust and dirt from all the crevices and intricate details of the chandelier.
If you notice any stubborn dirt or grime that the cloth or duster alone cannot remove, lightly dampen the cloth with a little water. Be cautious not to use too much water, as it can drip onto the rest of the chandelier.
Continue wiping down the entire chandelier, paying special attention to areas that are more prone to dust buildup, such as the candleholders or decorative elements.
If your chandelier has numerous intricate details or hard-to-reach spots, a small brush with soft bristles or a toothbrush can be helpful. Gently brush these areas to loosen any dirt or debris.
Remember to exercise caution and be gentle while handling the chandelier. Avoid applying excessive pressure or scrubbing too vigorously, as this can damage the delicate brass surface.
Once you have dusted and removed the surface dirt, take a step back and admire the immediate improvement. Your brass chandelier should now look significantly cleaner and brighter.
In the next step, we will dive into a deeper cleaning process by soaking the chandelier in a mild cleaning solution. This will help eliminate any remaining dirt and restore the chandelier’s natural shine. Let’s move on to step 3.
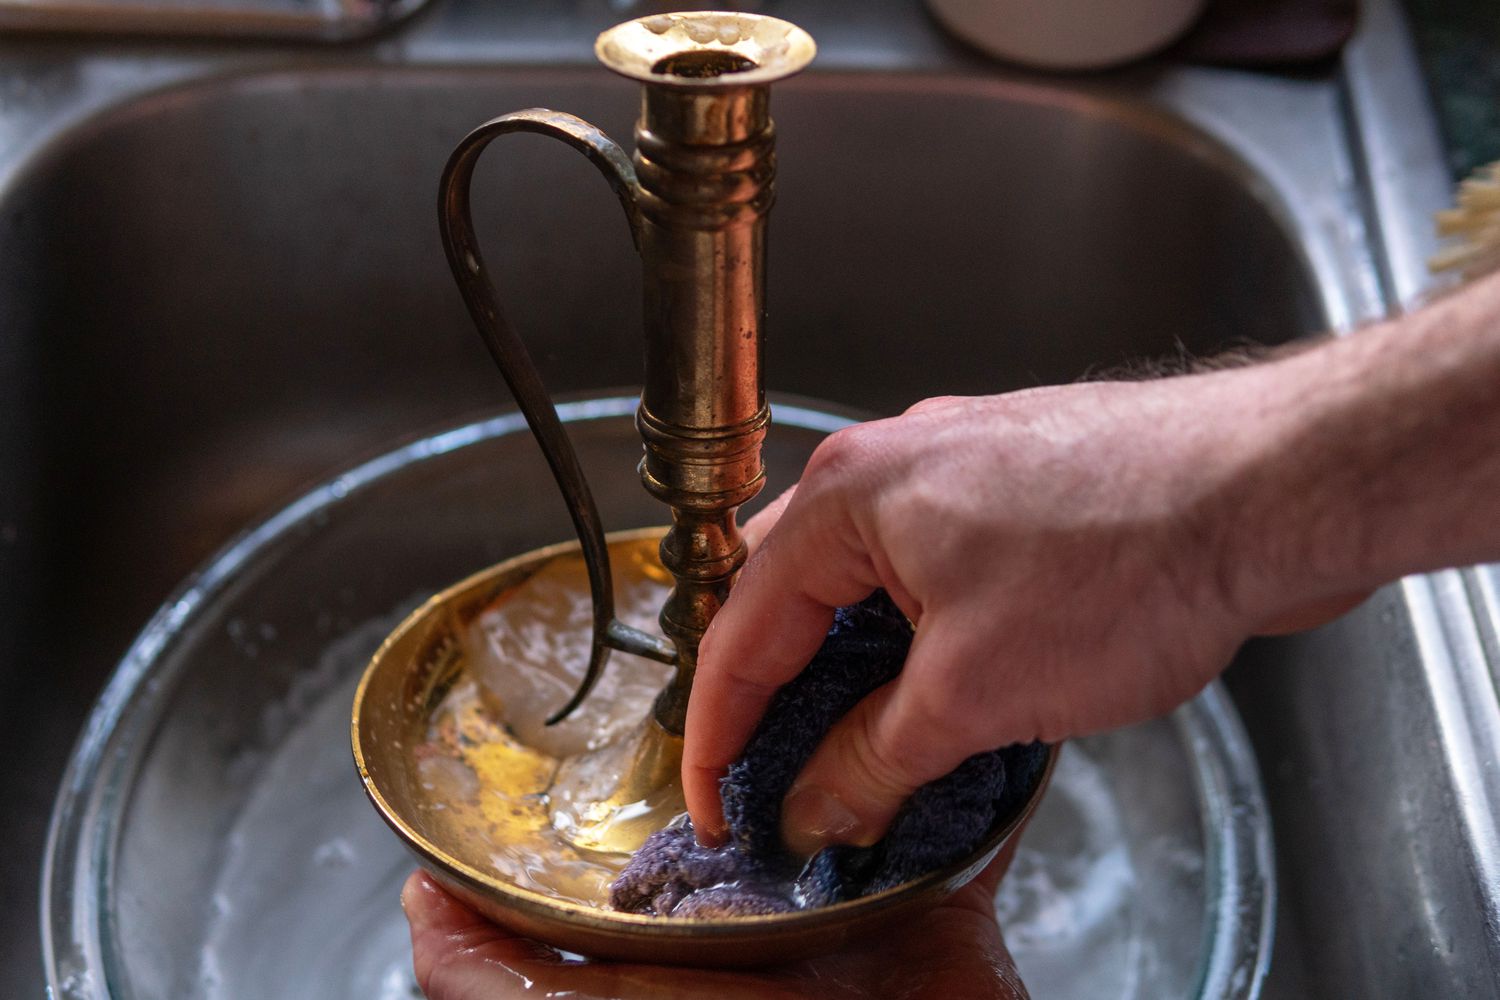
Step 3: Soaking in Mild Cleaning Solution
Now that you have dusted off the surface dirt from your brass chandelier, it’s time to move on to a deeper cleaning process. In step 3, we will guide you through soaking the chandelier in a mild cleaning solution to remove any remaining dirt and restore its brilliance.
Prepare a cleaning solution by combining warm water with a small amount of mild dish soap or a specifically formulated brass cleaner. Be sure to read the instructions on the cleaner to determine the appropriate ratio of water to cleaner.
Fill a bucket or basin with the cleaning solution. The amount of solution required will vary based on the size of your chandelier. Use your judgment to determine the right amount of solution, making sure there is sufficient liquid to fully immerse the chandelier.
Before immersing the chandelier, ensure that all electrical connections are properly insulated or disconnected to prevent any hazards. If in doubt, consult a professional electrician.
Carefully lower the chandelier into the cleaning solution, submerging it completely. Allow it to soak for a few minutes to loosen any stubborn dirt or grime. This step will help dissolve dirt and restore the natural luster of the brass.
While the chandelier is soaking, take the opportunity to clean any removable parts, such as glass or crystal accents. Gently wash these pieces with the same cleaning solution and rinse thoroughly before setting them aside to dry.
After the soaking period, use a soft-bristle brush or toothbrush to gently scrub away any remaining dirt or tarnish. Be careful not to scrub too forcefully, as this can scratch or damage the brass surface.
Continue brushing all areas of the chandelier, paying extra attention to intricate details or hard-to-reach spots. Take your time to ensure all dirt and grime are thoroughly removed.
Once you are satisfied with the cleaning, lift the chandelier out of the cleaning solution and allow it to drain. Be mindful of any excess solution dripping onto the floor or furniture, and place a towel or cloth underneath to catch any drips.
In the next step, we will share tips on gently brushing and polishing the chandelier to enhance its shine. Let’s move on to step 4 to continue the cleaning process.
To clean a brass chandelier, mix equal parts of white vinegar and water, then use a soft cloth to gently wipe down the chandelier. For stubborn spots, use a paste of equal parts salt, flour, and white vinegar.
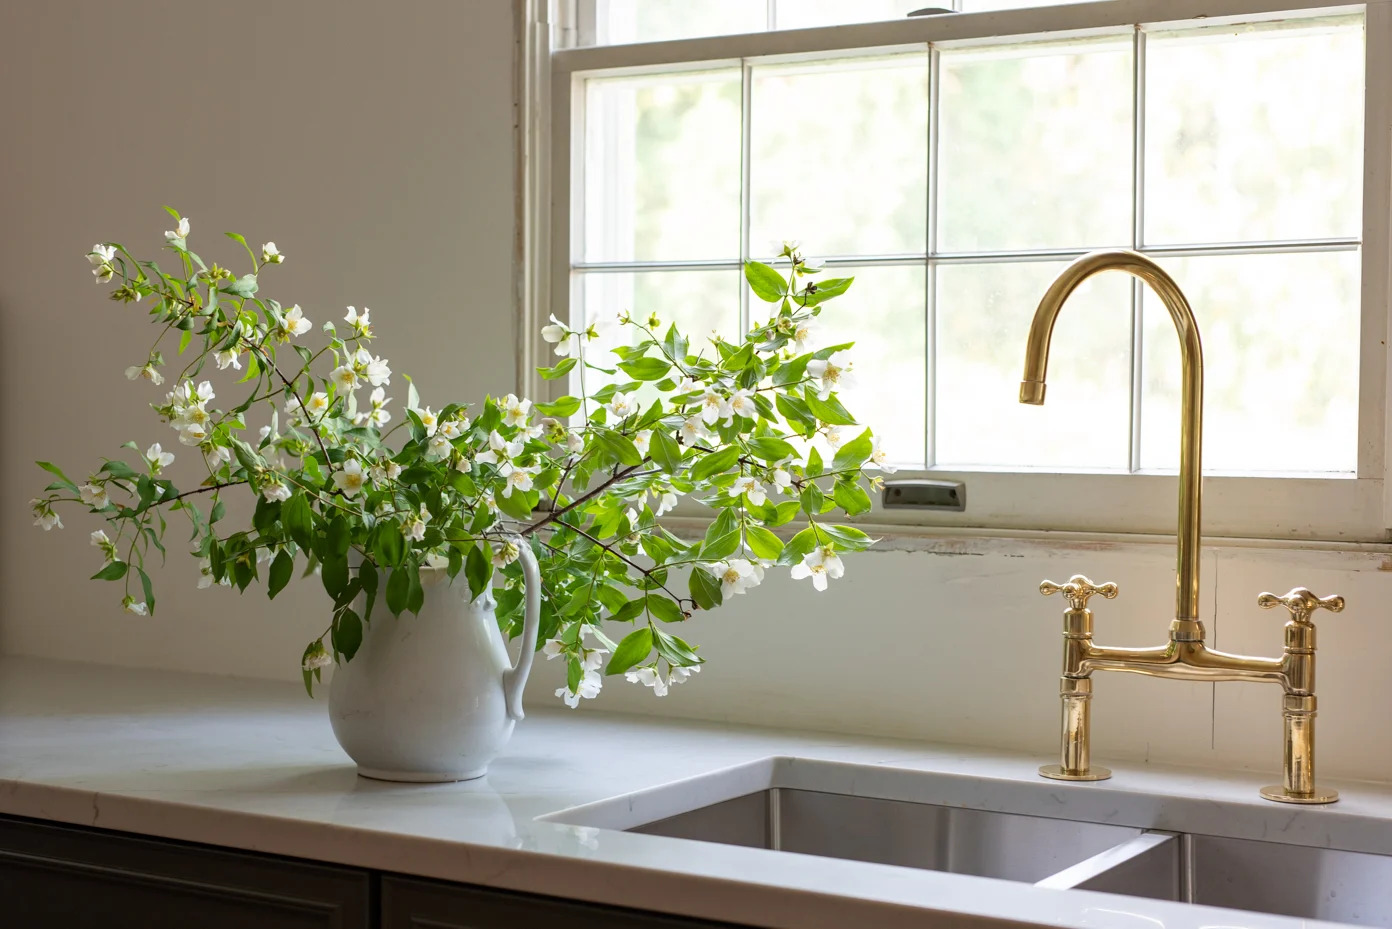
Read more: How To Clean A Brass Sink
Step 4: Gently Brushing and Polishing
Now that you have soaked your brass chandelier to remove dirt and grime, it’s time to move on to step 4: gently brushing and polishing. This step will help restore the shine and bring out the natural beauty of the brass.
Start by using a soft-bristle brush or toothbrush to gently scrub the surface of the chandelier. Focus on areas that may still have residual dirt or tarnish from the soaking process.
Use light pressure and circular motions to brush the brass, paying attention to intricate details and hard-to-reach spots. This will help remove any remaining stubborn dirt and bring back the chandelier’s original luster.
For any tarnished areas, you might consider using a brass polish or wax. Apply a small amount of the polish to a cloth and gently rub it onto the tarnished spots. Follow the product instructions carefully, as some polishes may require a specific application technique or drying time.
After applying the polish, use a clean, lint-free cloth to buff the brass surface. This will help bring out the shine and remove any excess polish or residue.
Continue brushing and polishing until you are satisfied with the overall appearance of the chandelier. Take your time and be gentle to avoid scratching or damaging the brass.
Once you’re done with the brushing and polishing, step back and admire the stunning transformation of your brass chandelier. The diligent cleaning and polishing process should have significantly enhanced its beauty and returned it to its former glory.
Now that the chandelier is clean and polished, it’s time to move on to the next step: rinsing and drying. Let’s proceed to step 5 to complete the cleaning process.
Step 5: Rinsing and Drying
After brushing and polishing your brass chandelier, it’s important to properly rinse and dry it to ensure a spotless finish. In step 5, we will guide you through the rinsing and drying process to complete the cleaning process.
Start by filling a clean bucket or basin with lukewarm water. Make sure the water is free from any soap or cleaning solution remnants.
Gently lower the chandelier into the water, ensuring that it is fully submerged. Swirl the chandelier around to rinse off any remaining cleaning solution or residue from the polishing process.
If there are any intricate details or hard-to-reach spots that can’t be reached by simply swirling the chandelier, use a soft cloth or sponge to wipe them down with fresh water.
Once you’re satisfied that the chandelier has been thoroughly rinsed, carefully lift it out of the water and allow the excess water to drain off.
Use a soft, lint-free towel or cloth to carefully dry the chandelier, making sure to reach all surfaces and dry any crevices or hard-to-reach areas.
Be gentle while drying to avoid causing scratches or marks on the brass surface. If needed, you can use a blow dryer on the lowest heat setting to aid in the drying process.
Ensure that all parts, including glass or crystal accents, are fully dried before reassembling and rehanging the chandelier.
As you dry the chandelier, take a moment to inspect it for any remaining dirt or imperfections. If necessary, go back to previous steps and give those areas additional attention.
Once you have completed the rinsing and drying process, your brass chandelier should be clean, dry, and ready to be reinstalled and admired. In the next step, we will provide some final touches and share maintenance tips to help you keep your chandelier looking its best.
Step 6: Final Touches and Maintenance Tips
Congratulations! You have successfully cleaned and restored your brass chandelier. In this final step, we will provide some finishing touches and share maintenance tips to help you keep your chandelier looking its best.
First, take a moment to inspect your chandelier and make sure all parts are securely in place. If any components seem loose or damaged, make the necessary adjustments or seek professional assistance.
Now, it’s time to reassemble and rehang the chandelier. Follow the manufacturer’s instructions to ensure proper installation. Double-check that all electrical connections are secure and insulated to prevent any hazards.
Once your chandelier is back in its rightful place, step back and admire its stunning beauty. The cleaned and polished brass should now shine beautifully, creating a captivating ambiance in your space.
To maintain the brilliance of your brass chandelier, regular light dusting with a soft microfiber cloth or feather duster is recommended. This will prevent the accumulation of dirt and dust that can dull its shine.
Avoid using abrasive or harsh cleaning products, as they can damage the delicate brass finish. Stick to mild dish soap or specifically formulated brass cleaners when necessary.
Keep in mind that brass is prone to tarnishing over time due to exposure to air and moisture. To minimize tarnishing, consider applying a thin coat of brass polish or wax as a protective layer. Be sure to follow the product instructions for application and reapplication.
If you notice any tarnish or dullness, you can use a gentle brass polish or a homemade mixture of lemon juice and baking soda to restore its shine. Apply the polish or mixture with a soft cloth, allow it to sit for a few minutes, and then gently buff it off.
Lastly, pay attention to the surrounding environment of your chandelier. Avoid placing it near direct sunlight, excessive heat, or areas with high humidity to prevent further tarnishing or damage.
By following these maintenance tips and incorporating regular cleaning into your routine, your brass chandelier will stay gleaming and beautiful for years to come.
Now that you have completed all the steps and learned valuable maintenance tips, you can sit back and enjoy the radiant glow of your clean and polished brass chandelier. It will continue to be a stunning centerpiece that adds elegance and charm to your space.
Remember, a well-maintained chandelier not only brightens up the room but also becomes a conversation piece that leaves a lasting impression on your guests. So, continue to care for your chandelier, and it will reward you with its timeless beauty.
We hope this guide has been helpful to you. Happy cleaning!
Conclusion
Cleaning a brass chandelier may seem like a daunting task, but with the right supplies and techniques, you can restore its original shine and elegance. By following the step-by-step instructions outlined in this article, you can effectively remove dirt, grime, and tarnish, and bring back the natural beauty of your chandelier.
Remember to gather all the necessary supplies before you begin, including a step ladder or stable platform, soft cloths or dusters, mild cleaning solution, and soft brushes. These tools will help you safely and effectively clean your chandelier without causing damage.
Start by preparing the chandelier and ensuring your safety by turning it off, lowering it to a reachable height, and protecting the surrounding area from any drips or debris. Take your time to dust and remove surface dirt, paying special attention to intricate details.
Next, soak the chandelier in a mild cleaning solution to loosen any remaining dirt and grime. Gently brush and polish the brass surface, making sure to avoid applying excessive pressure or scrubbing too vigorously. Rinse the chandelier thoroughly and carefully dry it to prevent water spots or damage.
Finish off the cleaning process by conducting a final inspection and reassembling and rehanging the chandelier. Admire the transformation and take pride in your newly restored brass chandelier.
To maintain the brilliance of your chandelier, regularly dust it using a soft cloth or duster, and be cautious of using harsh chemicals or abrasive cleaners that can damage the brass finish. Apply a protective layer of brass polish or wax to minimize tarnishing, and avoid placing the chandelier in direct sunlight or areas with high humidity.
By following these cleaning and maintenance tips, your brass chandelier will continue to shine and add a touch of elegance to your space for years to come. Whether it’s hanging in your dining room, entryway, or living area, your clean and polished chandelier will undoubtedly become a captivating focal point that impresses your guests and brings joy to your everyday life.
So, don’t hesitate – take the time to give your brass chandelier the cleaning it deserves. You’ll be rewarded with a stunning centerpiece that adds warmth, charm, and sophistication to your home.
Frequently Asked Questions about How To Clean Brass Chandelier
Was this page helpful?
At Storables.com, we guarantee accurate and reliable information. Our content, validated by Expert Board Contributors, is crafted following stringent Editorial Policies. We're committed to providing you with well-researched, expert-backed insights for all your informational needs.


0 thoughts on “How To Clean Brass Chandelier”