Home>Furniture>Living Room Furniture>How To Build A Modern Coffee Table

Living Room Furniture
How To Build A Modern Coffee Table
Modified: August 17, 2024
Learn how to build a modern coffee table for your living room with our step-by-step guide. Enhance your living space with stylish and functional living room furniture.
(Many of the links in this article redirect to a specific reviewed product. Your purchase of these products through affiliate links helps to generate commission for Storables.com, at no extra cost. Learn more)
Introduction
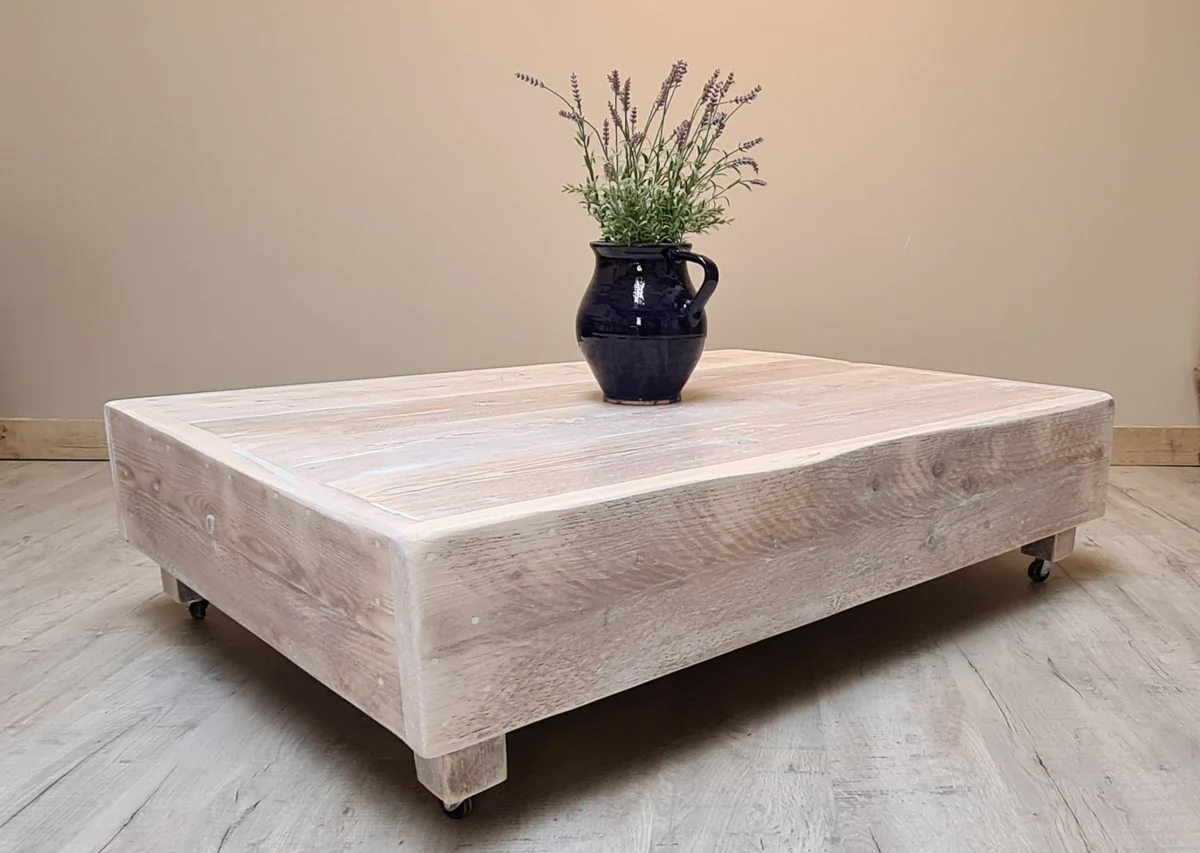
Welcome to the world of modern coffee tables! A coffee table is an essential piece of furniture in the living room, serving both functional and aesthetic purposes. It not only provides a surface to place your drinks, books, and decor, but it also serves as a focal point that completes the overall look of your living space. If you’re looking to add a touch of modernity to your home, building your own modern coffee table can be a rewarding and cost-effective project.
In this article, we will guide you through the step-by-step process of building a modern coffee table. We will provide you with all the necessary tools and materials, along with detailed instructions to help you create a stylish and functional centerpiece for your living room. Whether you’re an experienced DIY enthusiast or a beginner, this project is designed to be achievable for all skill levels.
By building your own coffee table, you have the freedom to customize it according to your taste and style preferences. You can choose the dimensions, the type of wood, and the finish to perfectly match your existing decor. Plus, the sense of pride and accomplishment you’ll feel when you complete this project cannot be overstated.
So roll up your sleeves and let’s get started on this exciting journey of building a modern coffee table that will elevate the look of your living room and make a statement!
Key Takeaways:
- Building a modern coffee table is a fun and rewarding DIY project that allows you to customize the table to match your style and preferences, adding a personal touch to your living room decor.
- By following the step-by-step process, you can create a sturdy and stylish coffee table that not only adds functionality to your living room but also becomes a statement piece, showcasing your woodworking skills and creativity.
Read more: How To Build A Modern Table
Tools and Materials
Before diving into the construction process, it’s important to gather all the necessary tools and materials. Here’s a list of what you’ll need:
- Measuring Tape: To accurately measure the dimensions of the coffee table.
- Circular Saw or Table Saw: To cut the wood to the desired size and shape.
- Drill: To create holes for screws and attachments.
- Screwdriver: To secure the pieces together.
- Sandpaper: To smooth the surfaces and remove any rough edges.
- Wood Glue: To provide extra strength and stability to the joints.
- Clamps: To hold the pieces together while the glue dries.
- Paint or Stain: To add color and protection to the wood.
- Paintbrush or Foam Roller: To apply the paint or stain smoothly.
- Protective Equipment: Safety glasses, gloves, and a dust mask to ensure your safety while working.
Now that you have your tools ready, let’s move on to the materials you’ll need:
- Wood: Choose a high-quality wood that suits your taste and budget. Opt for a hardwood like oak, maple, or walnut for durability.
- Screws: Select screws that are appropriate for the thickness of your wood.
- Wood Glue: A strong wood glue that bonds effectively.
- Sandpaper: Get sandpaper with different grits to smoothen the wood surfaces.
- Paint or Stain: Choose a color or stain that complements your living room decor.
- Finishing Sealant: Consider applying a clear sealant to protect the wood and give it a glossy finish.
- Decorative Elements: Optional decorations like metal accents or glass inserts.
Make sure to gather all these tools and materials before you begin the construction process. This will ensure a smooth and hassle-free experience as you build your modern coffee table. Now, let’s move on to the first step: measuring and cutting the wood.
Step 1: Measure and Cut the Wood
The first step in building your modern coffee table is to accurately measure and cut the wood pieces according to your desired dimensions. Follow these steps:
- Decide on the dimensions: Consider the size of your living room and the available space for the coffee table. Measure the height, width, and length, taking into account any specific requirements you might have, such as space for storage or additional features.
- Mark the measurements: Use a measuring tape to mark the dimensions on the wood. Make sure to double-check your measurements for accuracy.
- Cut the wood: Use a circular saw or table saw to cut the wood along the marked lines. Take your time and use caution when operating the saw to ensure clean and precise cuts.
- Sand the edges: After cutting the wood, use sandpaper to smooth out any rough edges or splintered surfaces. This will ensure that the pieces fit together seamlessly.
It’s important to note that different parts of the coffee table may require different dimensions. For example, the tabletop might be larger than the legs, or you may have additional sections for storage compartments. Be sure to label each piece to avoid confusion during assembly.
By carefully measuring and cutting the wood, you’ll lay the foundation for a well-constructed coffee table. Remember, accuracy is key, so take your time in this step to ensure that all the pieces fit together perfectly. Once you’ve completed this step, you’re ready to move on to the next phase: assembling the tabletop.
Step 2: Assemble the Tabletop
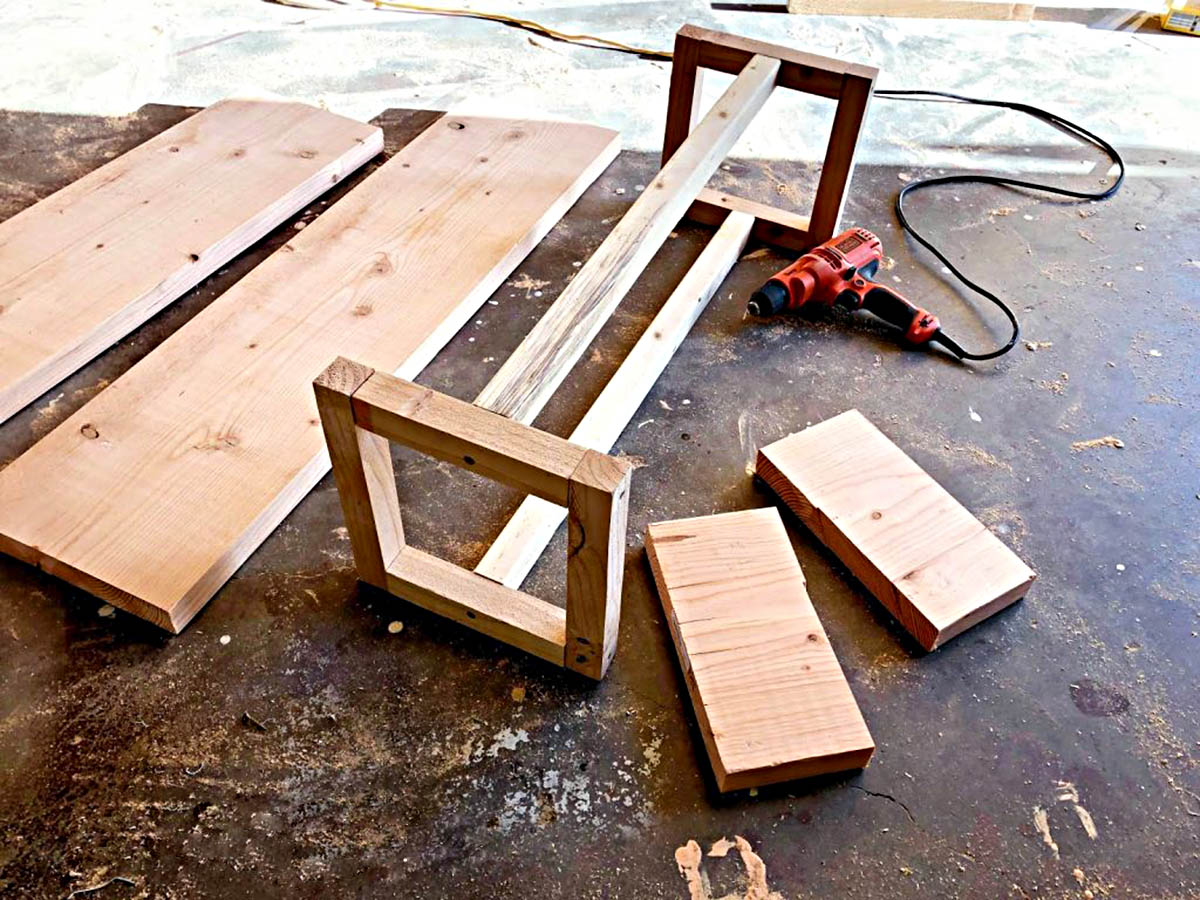
Now that you have all the wood pieces cut to the desired dimensions, it’s time to assemble the tabletop of your modern coffee table. The tabletop is the centerpiece of the table and should be strong and sturdy. Follow these steps to assemble it:
- Arrange the pieces: Lay out the cut wood pieces on a flat surface, ensuring they are aligned properly.
- Apply wood glue: Apply a thin, even layer of wood glue to the edge of each piece that will be joined together. This will help create a strong bond between the wood pieces.
- Join the pieces: Carefully press the glued edges of the wood pieces together, aligning them properly. Apply gentle pressure to ensure the pieces adhere to each other.
- Secure with clamps: Use clamps to hold the pieces together while the glue dries. Place the clamps at regular intervals along the edges of the tabletop. Ensure that the clamps are tight enough to hold the pieces together but not so tight that they damage the wood.
- Let it dry: Allow the glue to dry completely according to the manufacturer’s instructions. This may take a few hours, so be patient.
- Remove the clamps: Once the glue has dried, carefully remove the clamps from the tabletop.
By following these steps, you’ll have a solid and well-constructed tabletop for your coffee table. Remember to work in a well-ventilated area and wear protective equipment, such as gloves, when working with wood glue. Now that the tabletop is assembled, it’s time to move on to the next step: attaching the legs.
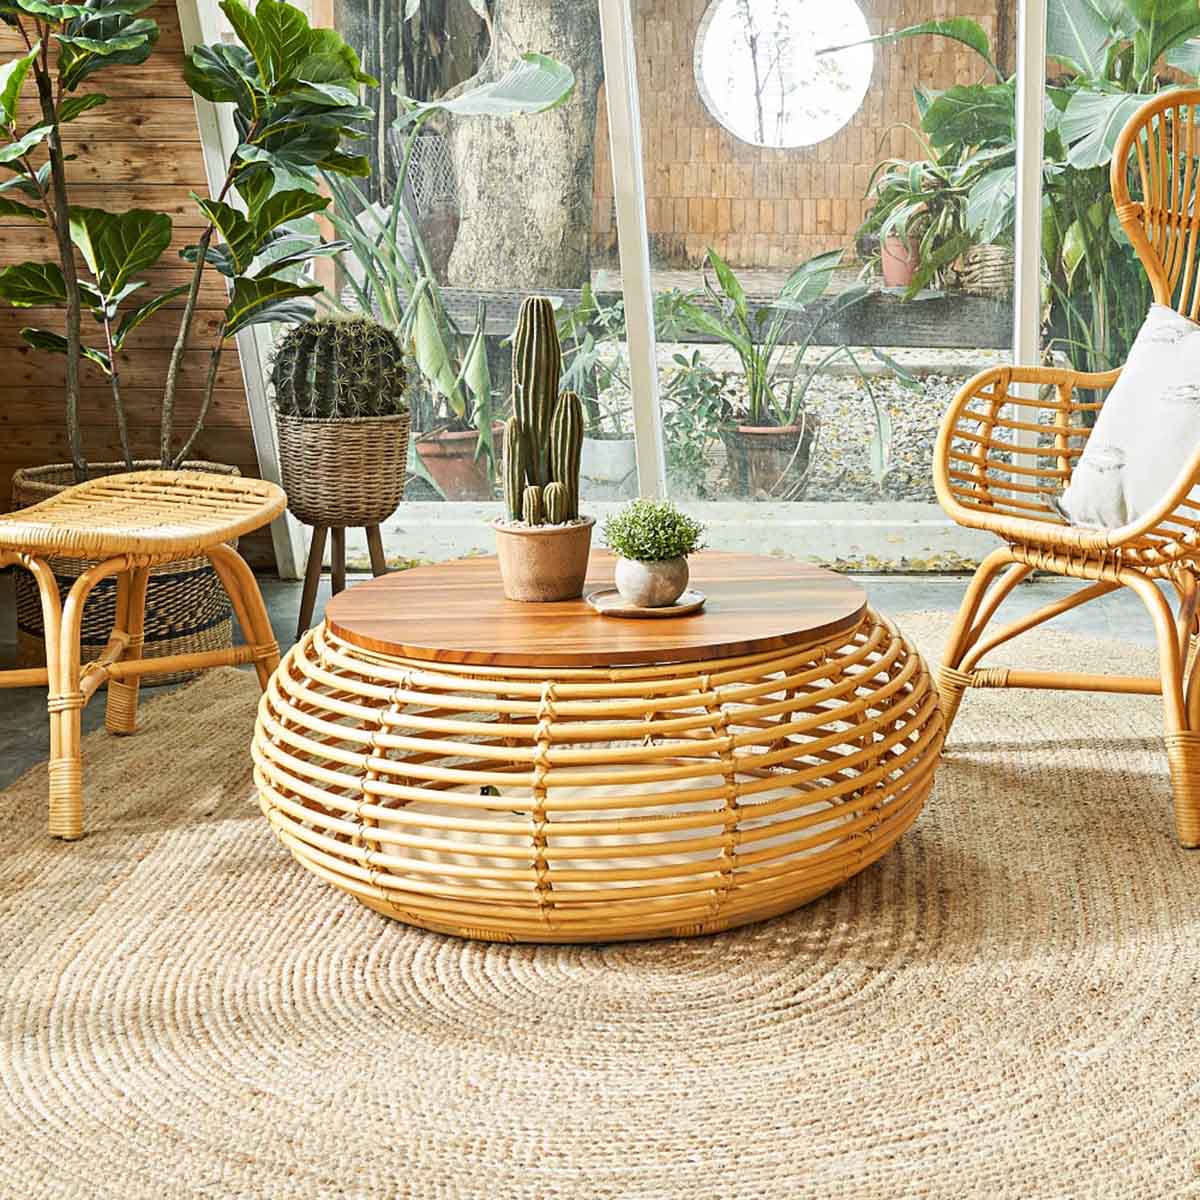
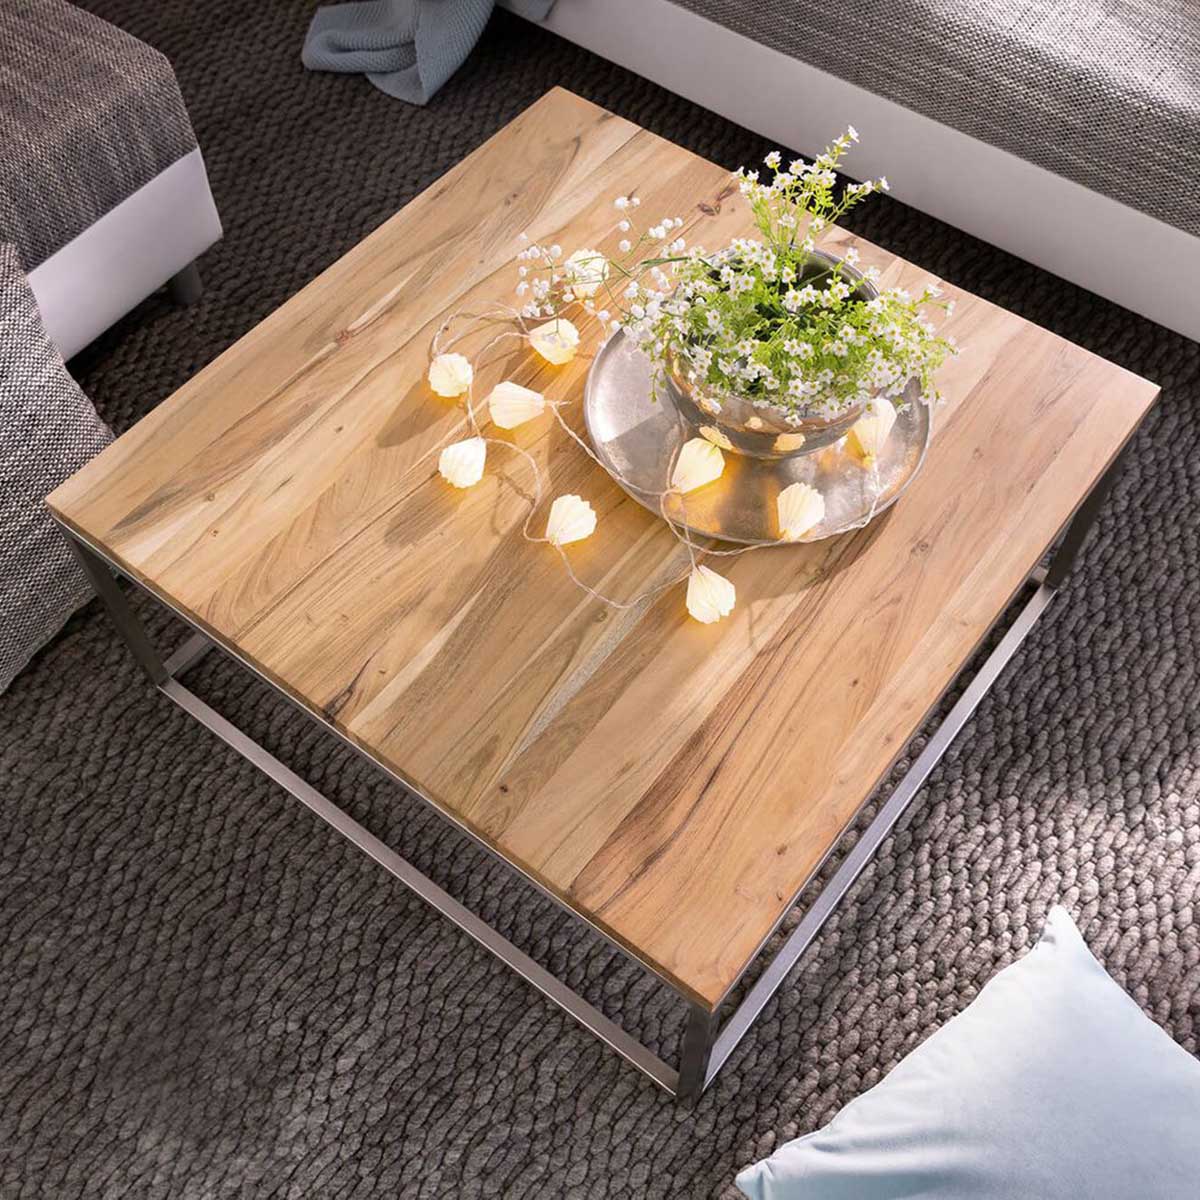
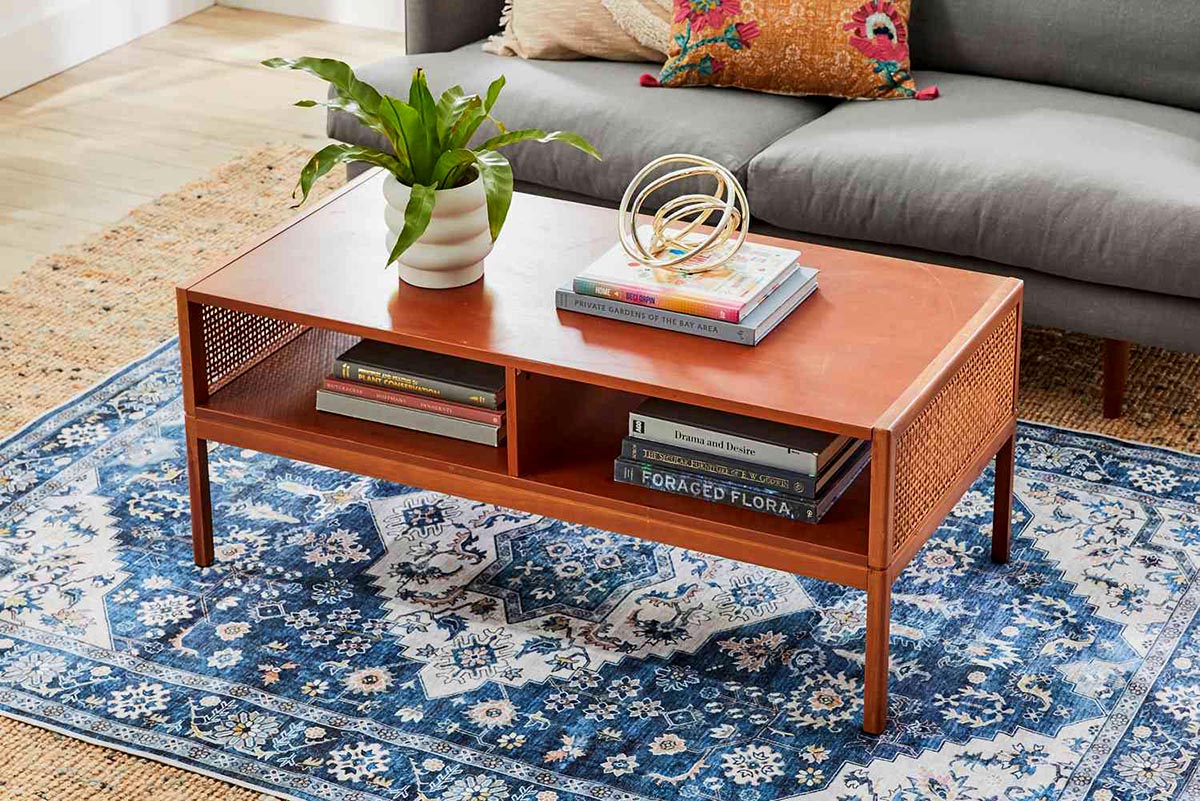
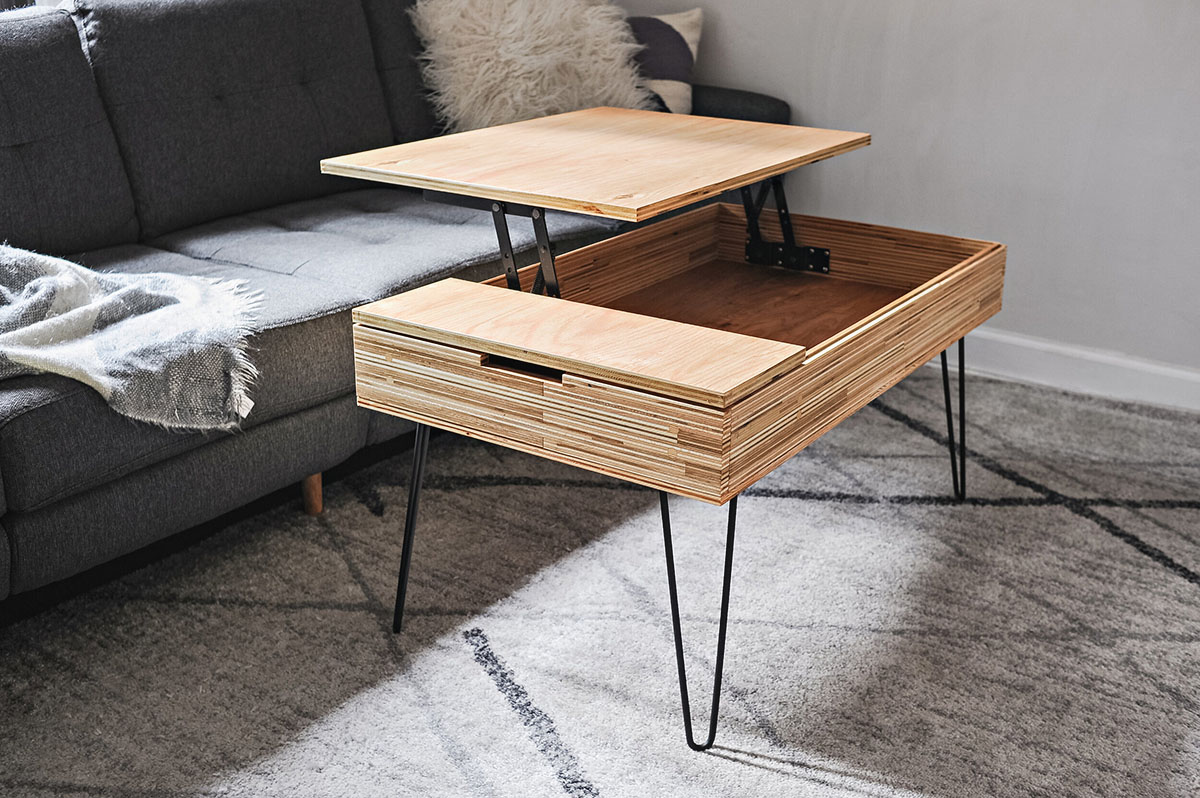
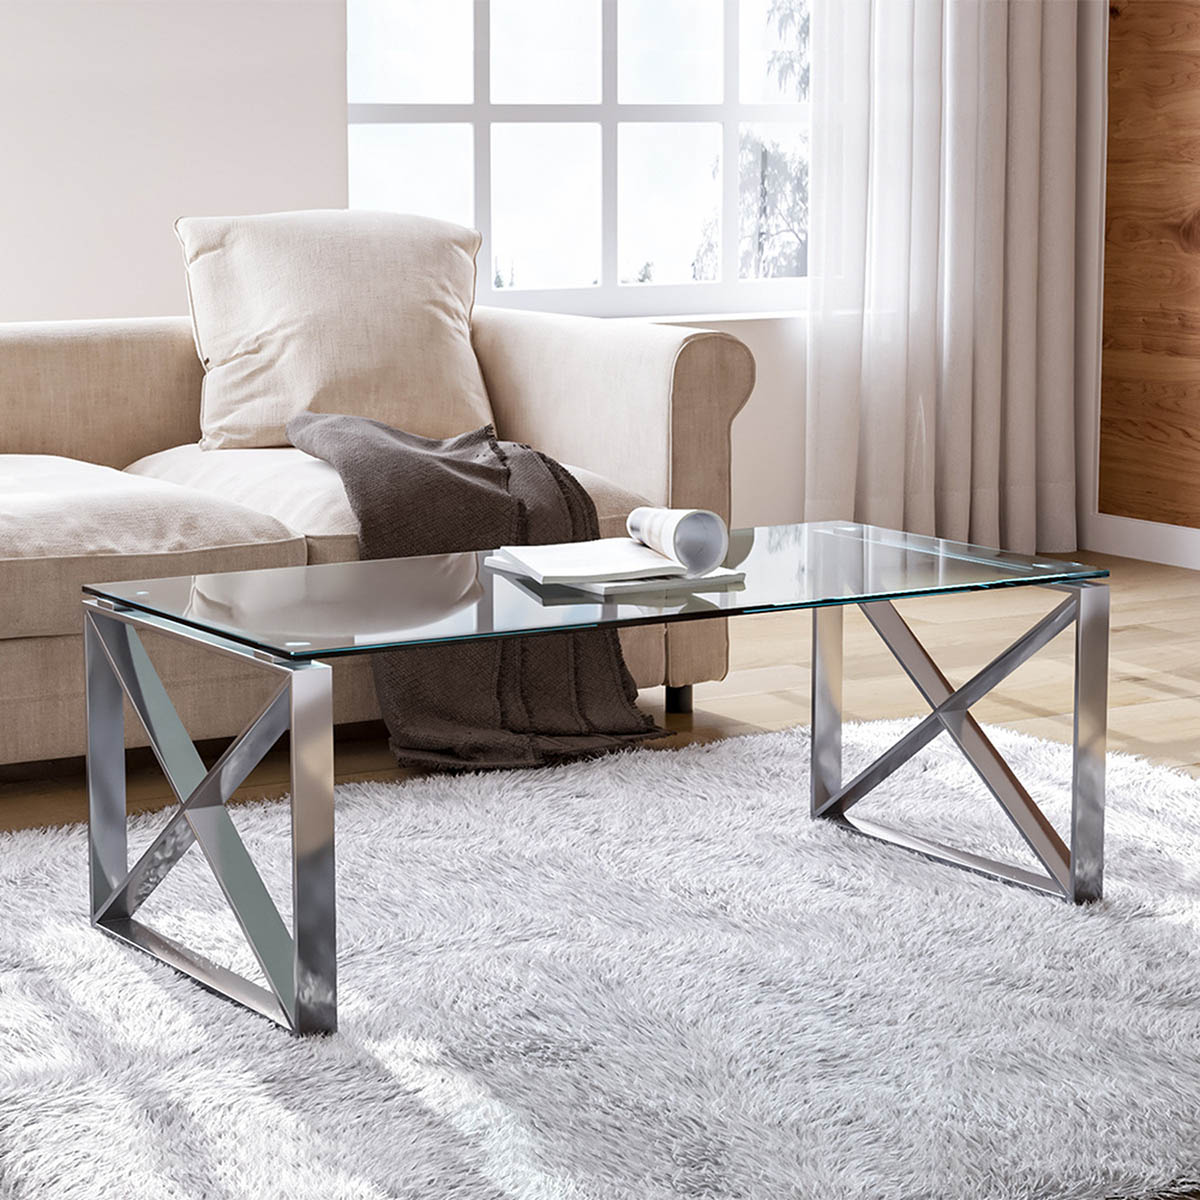
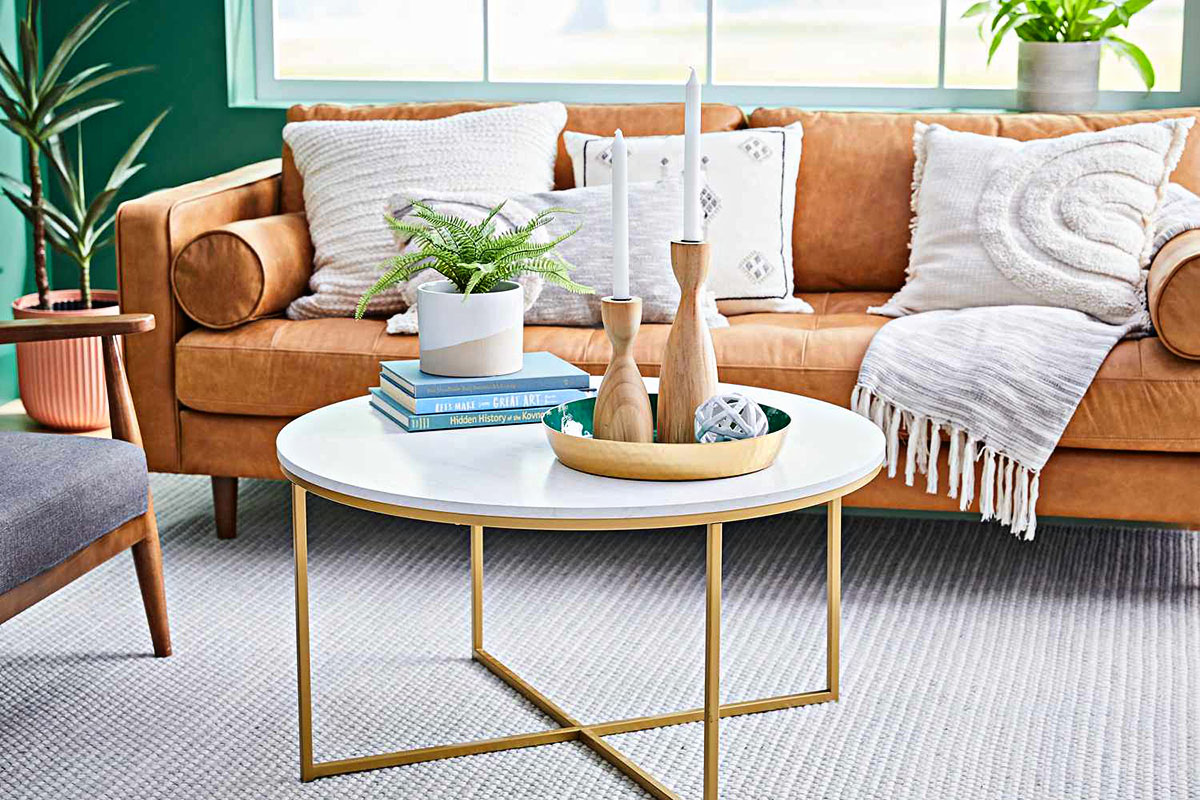
When building a modern coffee table, consider using sleek and minimalistic designs with clean lines. Choose materials like metal, glass, or wood with a natural finish for a contemporary look.
Step 3: Attach the Legs
With the tabletop assembled, it’s time to attach the legs to your modern coffee table. The legs provide stability and support, so it’s important to secure them properly. Follow these steps to attach the legs:
- Decide on the leg placement: Consider the overall design of your coffee table and determine where you want to position the legs. Typically, four legs are used, one at each corner. However, you can get creative with the placement depending on your desired aesthetic.
- Mark the leg placement: Use a pencil or a tape measure to mark the placement of the legs on the underside of the tabletop. Ensure that the markings are symmetrical and aligned correctly.
- Attach leg brackets: To reinforce the attachment of the legs, consider using leg brackets or corner braces. These metal brackets provide additional support and stability. Place the brackets in the marked positions and mark the hole placements.
- Drill pilot holes: Use an appropriate-sized drill bit to drill pilot holes at the marked positions. This will prevent the wood from splitting when you insert the screws.
- Secure the legs: Position the legs on the pilot holes and, using a screwdriver or a drill, insert the screws through the leg brackets into the pilot holes. Tighten the screws securely, but be careful not to over-tighten and strip the wood.
- Double-check stability: Once all the legs are attached, test the stability of the coffee table by gently shaking it. If you feel any wobbling or instability, adjust the leg attachments and tighten the screws.
By following these steps, you’ll securely attach the legs to your coffee table, ensuring stability and durability. It’s important to select leg brackets or corner braces that are appropriate for your chosen design and weight load. Now that the legs are attached, let’s move on to the next step: sanding and finishing the table.
Read more: How To Build A Round Coffee Table
Step 4: Sand and Finish the Table
Once the structure of your modern coffee table is complete, it’s time to sand the surfaces and apply a finish to enhance its appearance and protect the wood. Follow these steps to sand and finish your table:
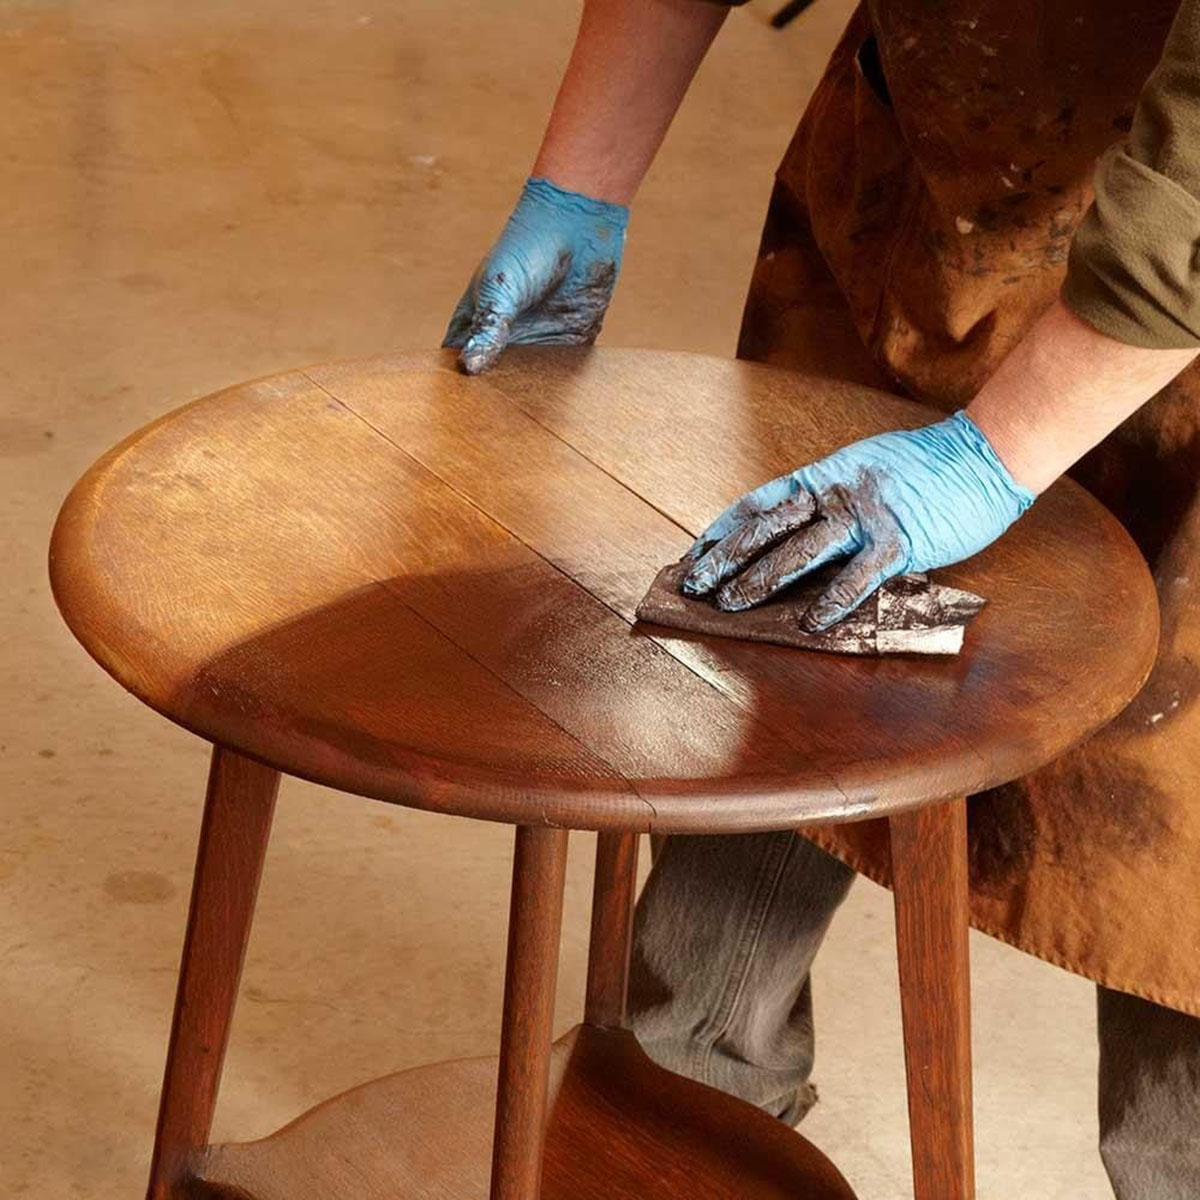
- Sand the surfaces: Start by using a medium-grit sandpaper to sand the entire surface of the coffee table. This will help smooth out any rough edges, imperfections, or uneven areas. Sand in the direction of the wood grain for a consistent finish. Gradually move to a finer grit sandpaper to achieve a smooth and polished surface.
- Remove dust: After sanding, use a brush or a damp cloth to remove any dust or debris from the table.
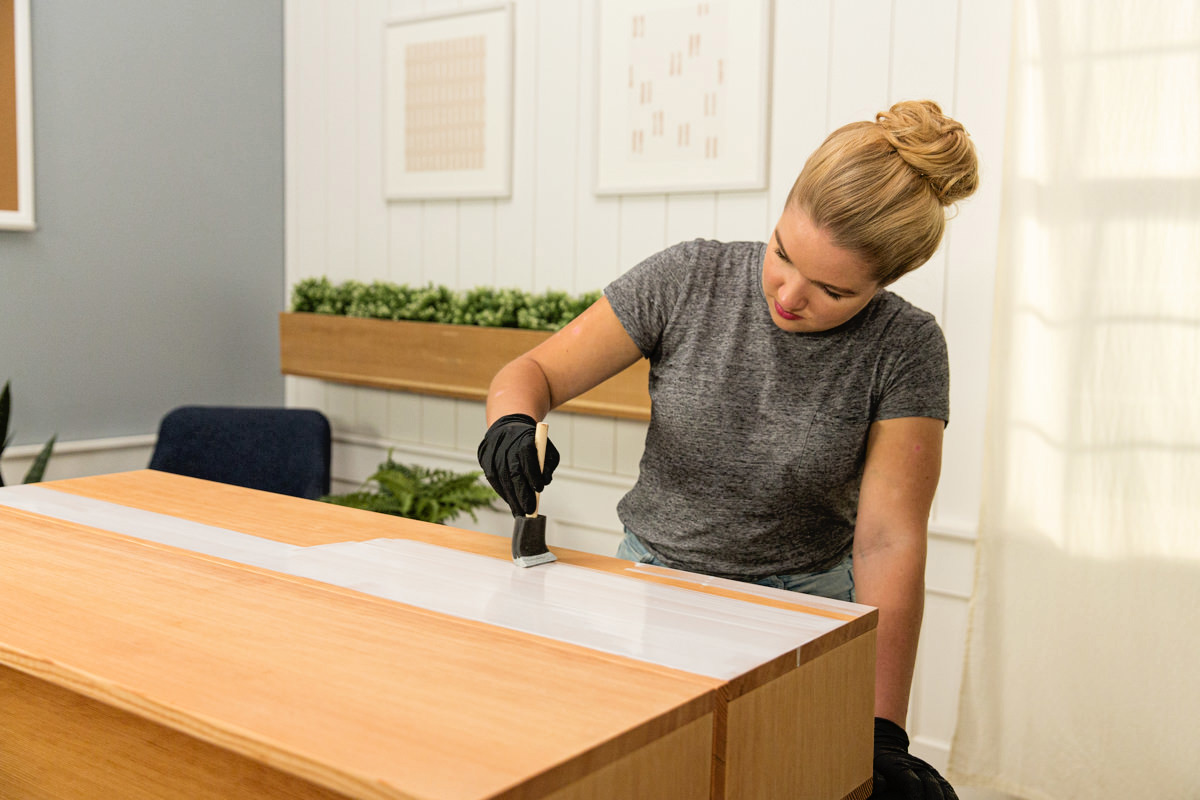
- Apply a wood finish: Choose a wood finish that matches your desired aesthetic. You can use either paint, stain, or a combination of both. Apply the finish evenly with a paintbrush or a foam roller, following the manufacturer’s instructions. Work in small sections and ensure that the finish is applied smoothly.
- Let it dry: Allow the finish to dry completely according to the manufacturer’s instructions. This may take several hours or even overnight, so be patient and avoid touching or placing any objects on the table during this time.
- Apply a second coat (optional): If desired, apply a second coat of finish to achieve a deeper color or a glossier appearance. Again, let it dry completely before moving on.
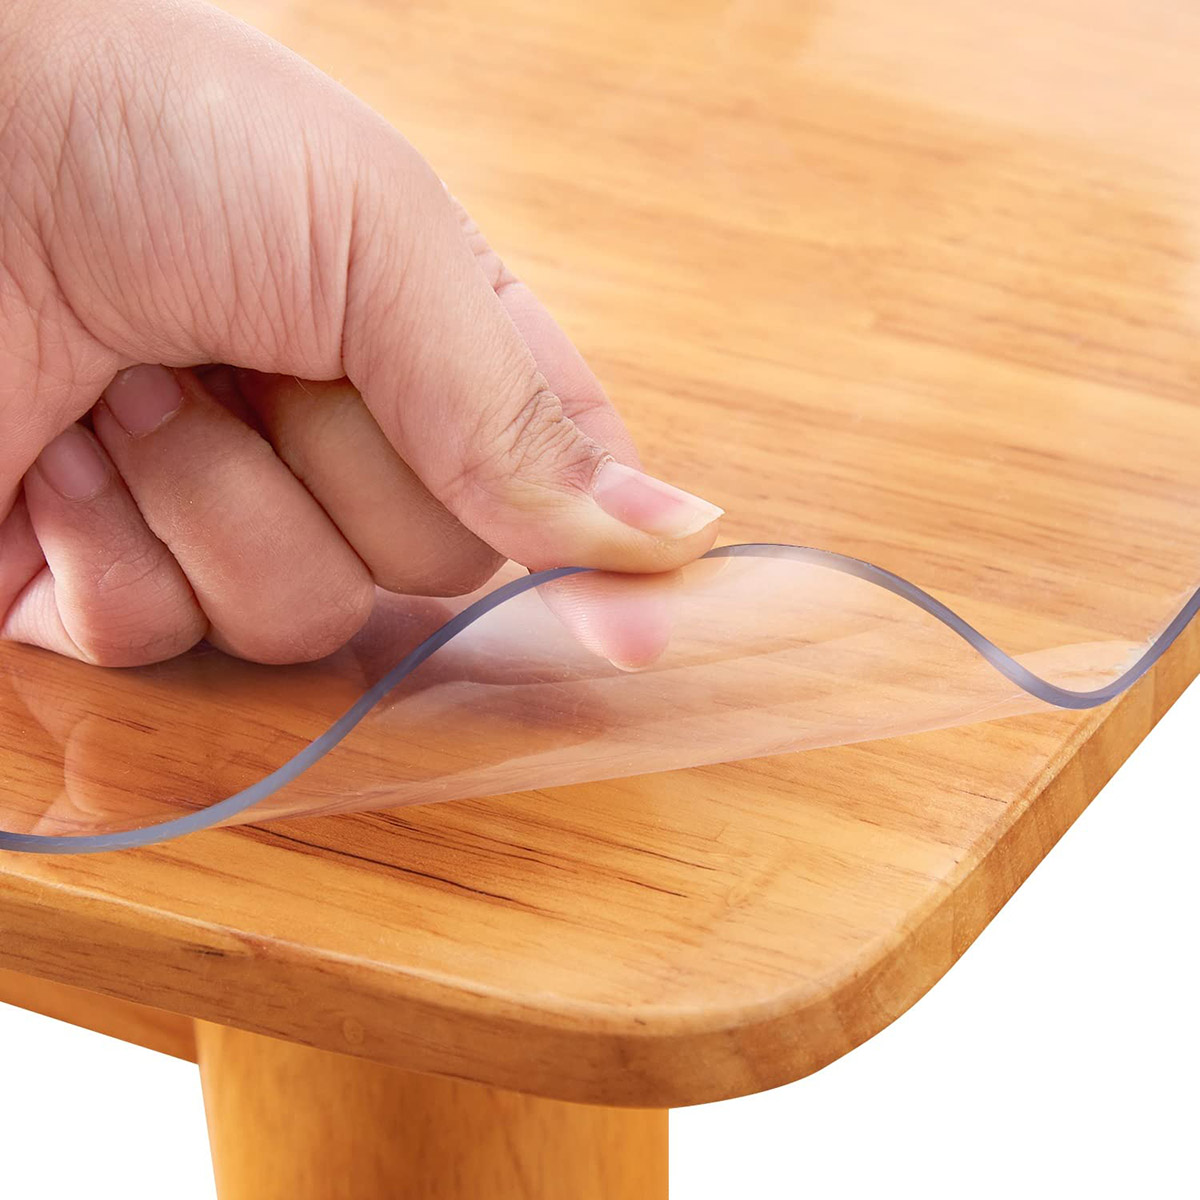
- Protect the finish: To protect the wood and prolong the lifespan of your coffee table, consider applying a clear sealant or varnish. This will add an extra layer of protection against spills, scratches, and UV damage.
By sanding and finishing your coffee table, you’ll not only create a smooth and visually appealing surface but also protect the wood from wear and tear. Take your time during this step to achieve the desired finish. Once the table is fully dry and the finish is set, you’re ready for the final step: adding final touches and decorations.
Step 5: Final Touches and Decoration
Now that your modern coffee table is built, sanded, and finished, it’s time to add the final touches and decorations. This step allows you to customize your table and make it truly unique. Here are some ideas to consider:
- Add hardware: Consider adding decorative hardware such as knobs, handles, or metal accents to enhance the overall look of the table. Choose hardware that matches your preferred style, whether it’s sleek and minimalist or bold and eclectic.
- Incorporate glass or metal inserts: If you want to add a touch of elegance, consider incorporating glass or metal inserts into the tabletop. This can create a stunning visual effect and make your coffee table stand out.
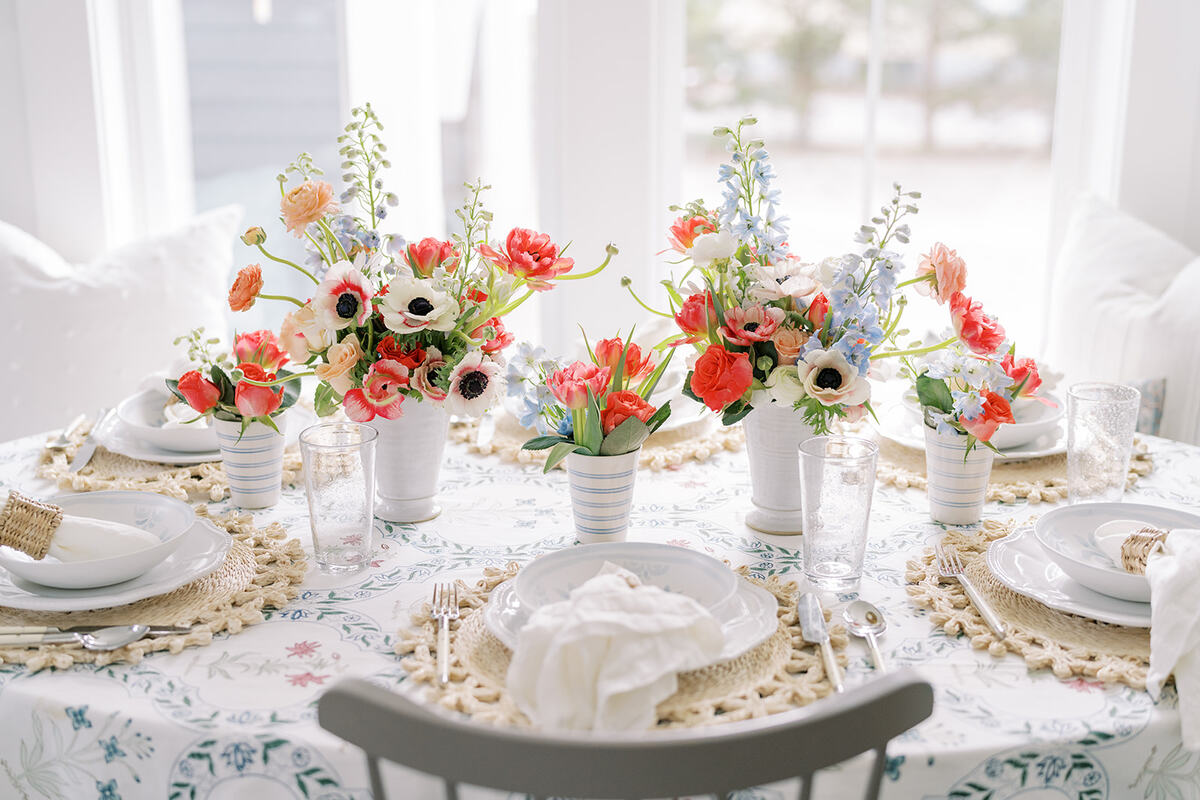
- Accessorize: Place decorative items such as candles, vases, or sculptures on the tabletop to add personality and style. Make sure to choose items that complement the overall design of your living room.
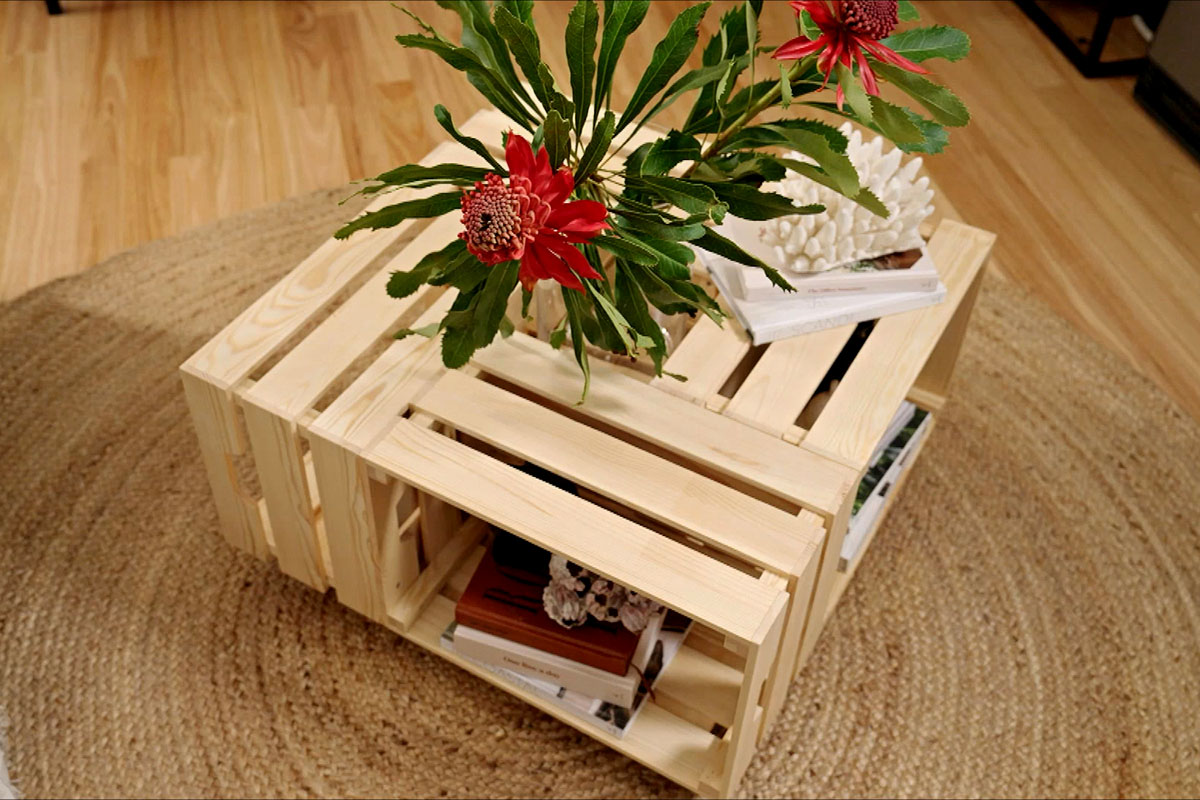
- Add storage: If you need extra storage space, consider incorporating drawers, shelves, or compartments into the design of your coffee table. This can help keep your living room organized and clutter-free.
- Consider unique finishes: Experiment with different finishes such as distressed or weathered looks to achieve a vintage or rustic appearance. You can also opt for bold colors or patterns if you want to make a statement.
- Personalize: Add a personal touch by including elements that reflect your interests or hobbies. This can be in the form of artwork, photographs, or even a built-in charging station for your devices.
Remember, the goal is to make your coffee table a reflection of your style and personality. Have fun with the final touches and let your creativity shine. Don’t be afraid to think outside the box and try innovative ideas. The beauty of building your own coffee table is the freedom to customize it according to your preferences.
Congratulations, you’ve completed all the steps to build your own modern coffee table! Now, sit back, relax, and enjoy the fruits of your labor. Your new coffee table will not only be a functional piece of furniture but also a conversation starter and a beautiful addition to your living room.
Thank you for following along with this guide. We hope it has been informative and inspiring. Happy crafting!
Conclusion
Building a modern coffee table is a rewarding and fulfilling project that allows you to showcase your creativity and craftsmanship. By following the step-by-step process outlined in this guide, you can create a stylish and functional centerpiece for your living room.
Throughout the construction process, we discussed the importance of accurate measurements, proper wood cutting techniques, and careful assembly to create a strong and sturdy coffee table. We also covered the importance of sanding and finishing to achieve a smooth and polished surface.
By adding your personal touch and incorporating unique elements, you can make your coffee table truly one-of-a-kind. From decorative hardware to glass or metal inserts, the final touches and decorations allow you to customize the table and make it a reflection of your style and personality.
Remember to work in a well-ventilated area, use the necessary safety equipment, and take your time throughout the construction process. Attention to detail and patience will result in a coffee table that not only adds functionality to your living room but also becomes a statement piece.
Building your own modern coffee table offers numerous benefits, including the ability to customize it to suit your needs, saving costs compared to buying a ready-made table, and the satisfaction of completing a DIY project. It’s a great way to showcase your woodworking skills and add a personal touch to your home decor.
We hope this guide has provided you with the knowledge and inspiration to embark on your coffee table-building journey. Remember, it’s not just about the end result, but the process itself. Enjoy the journey, have fun, and create a coffee table that will be cherished for years to come.
Thank you for joining us on this creative endeavor. Happy building!
Frequently Asked Questions about How To Build A Modern Coffee Table
Was this page helpful?
At Storables.com, we guarantee accurate and reliable information. Our content, validated by Expert Board Contributors, is crafted following stringent Editorial Policies. We're committed to providing you with well-researched, expert-backed insights for all your informational needs.

0 thoughts on “How To Build A Modern Coffee Table”