Home>Furniture>Living Room Furniture>How To Build A Wicker Coffee Table
Living Room Furniture
How To Build A Wicker Coffee Table
Modified: August 23, 2024
Learn how to build a stylish wicker coffee table for your living room. Discover expert tips on choosing the right materials and creating a stunning centerpiece. Elevate your living room furniture with this DIY project.
(Many of the links in this article redirect to a specific reviewed product. Your purchase of these products through affiliate links helps to generate commission for Storables.com, at no extra cost. Learn more)
Introduction
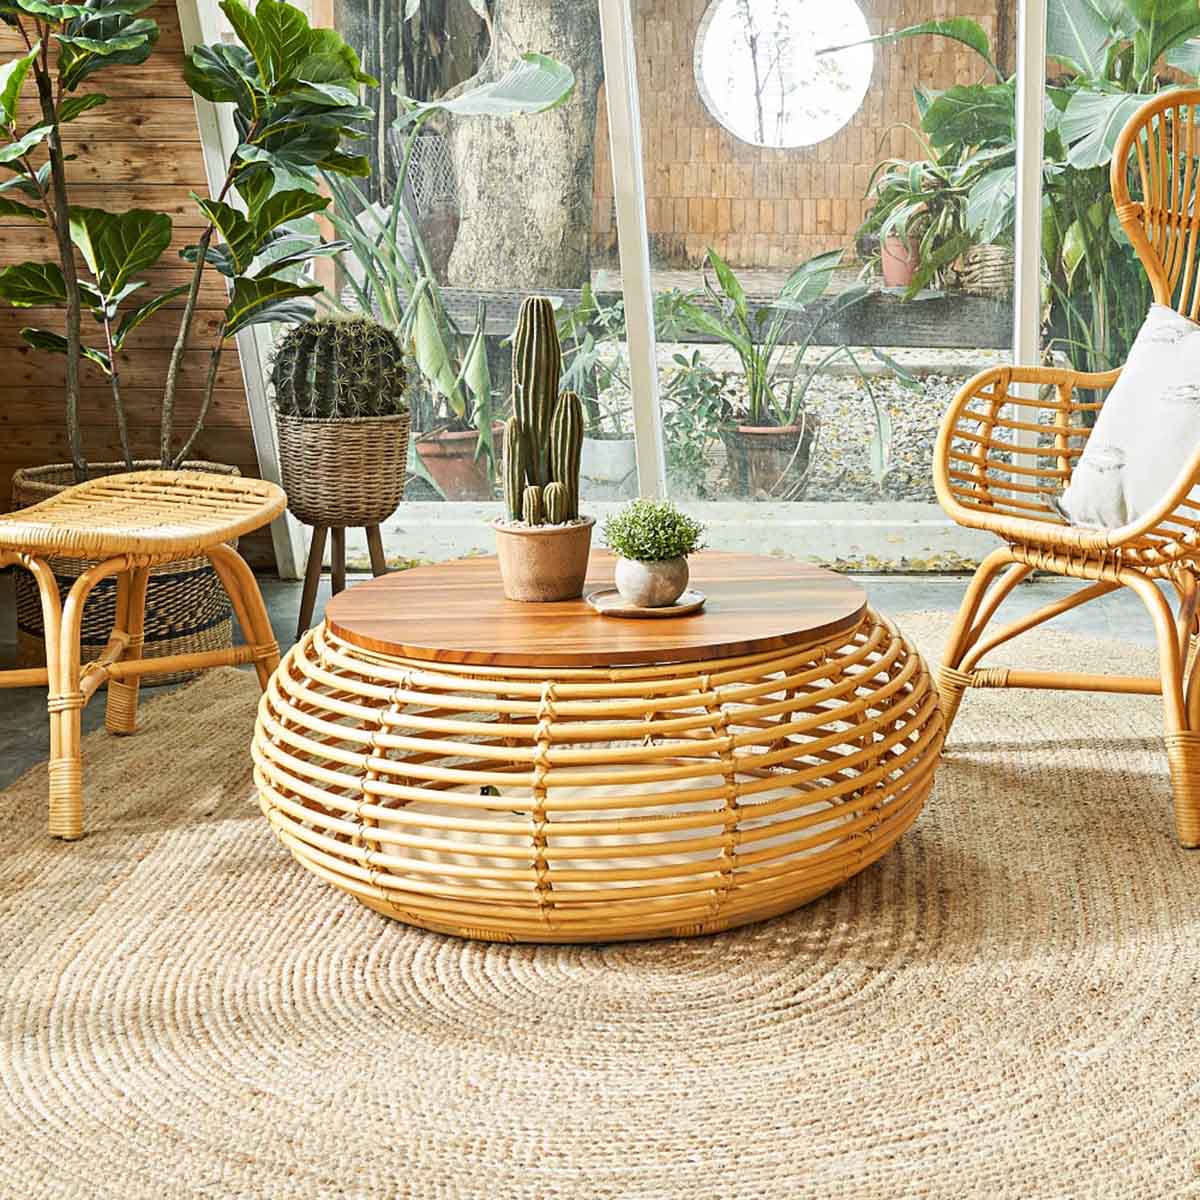
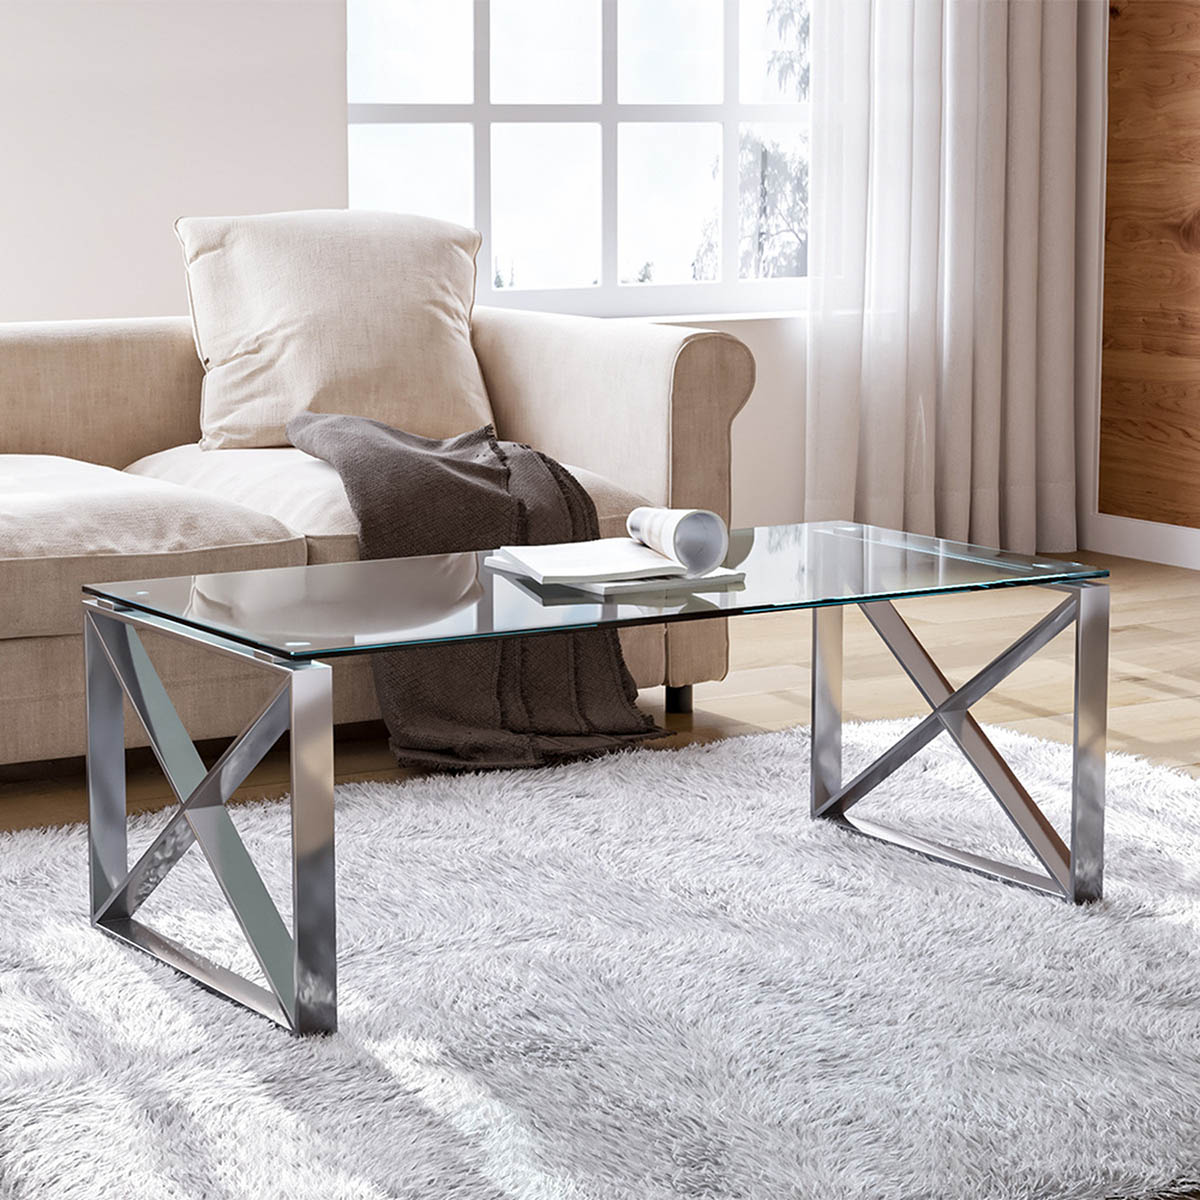
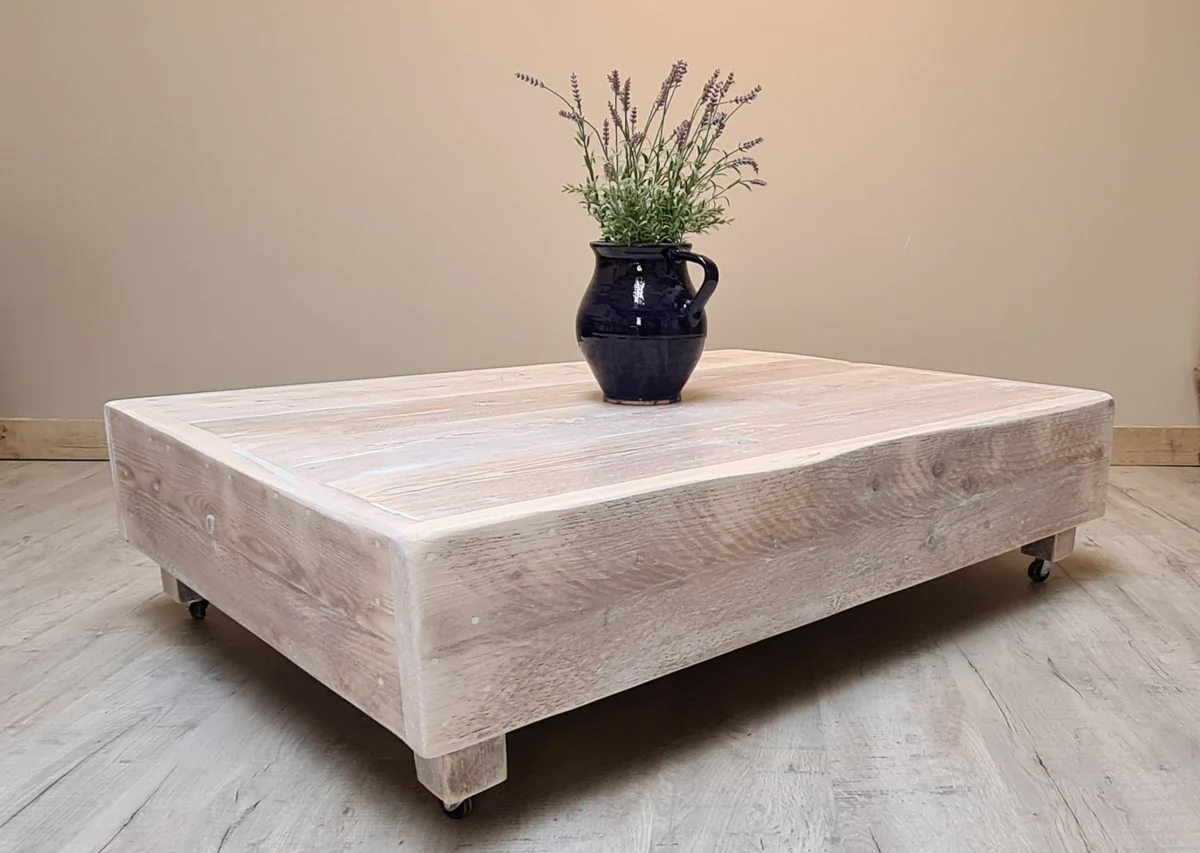
When it comes to decorating your living room, having the right furniture is essential. A stylish and functional coffee table can be the centerpiece of your living space, providing a convenient surface for drinks, snacks, and even decor. If you’re looking for a unique and eye-catching option, why not consider building your own wicker coffee table?
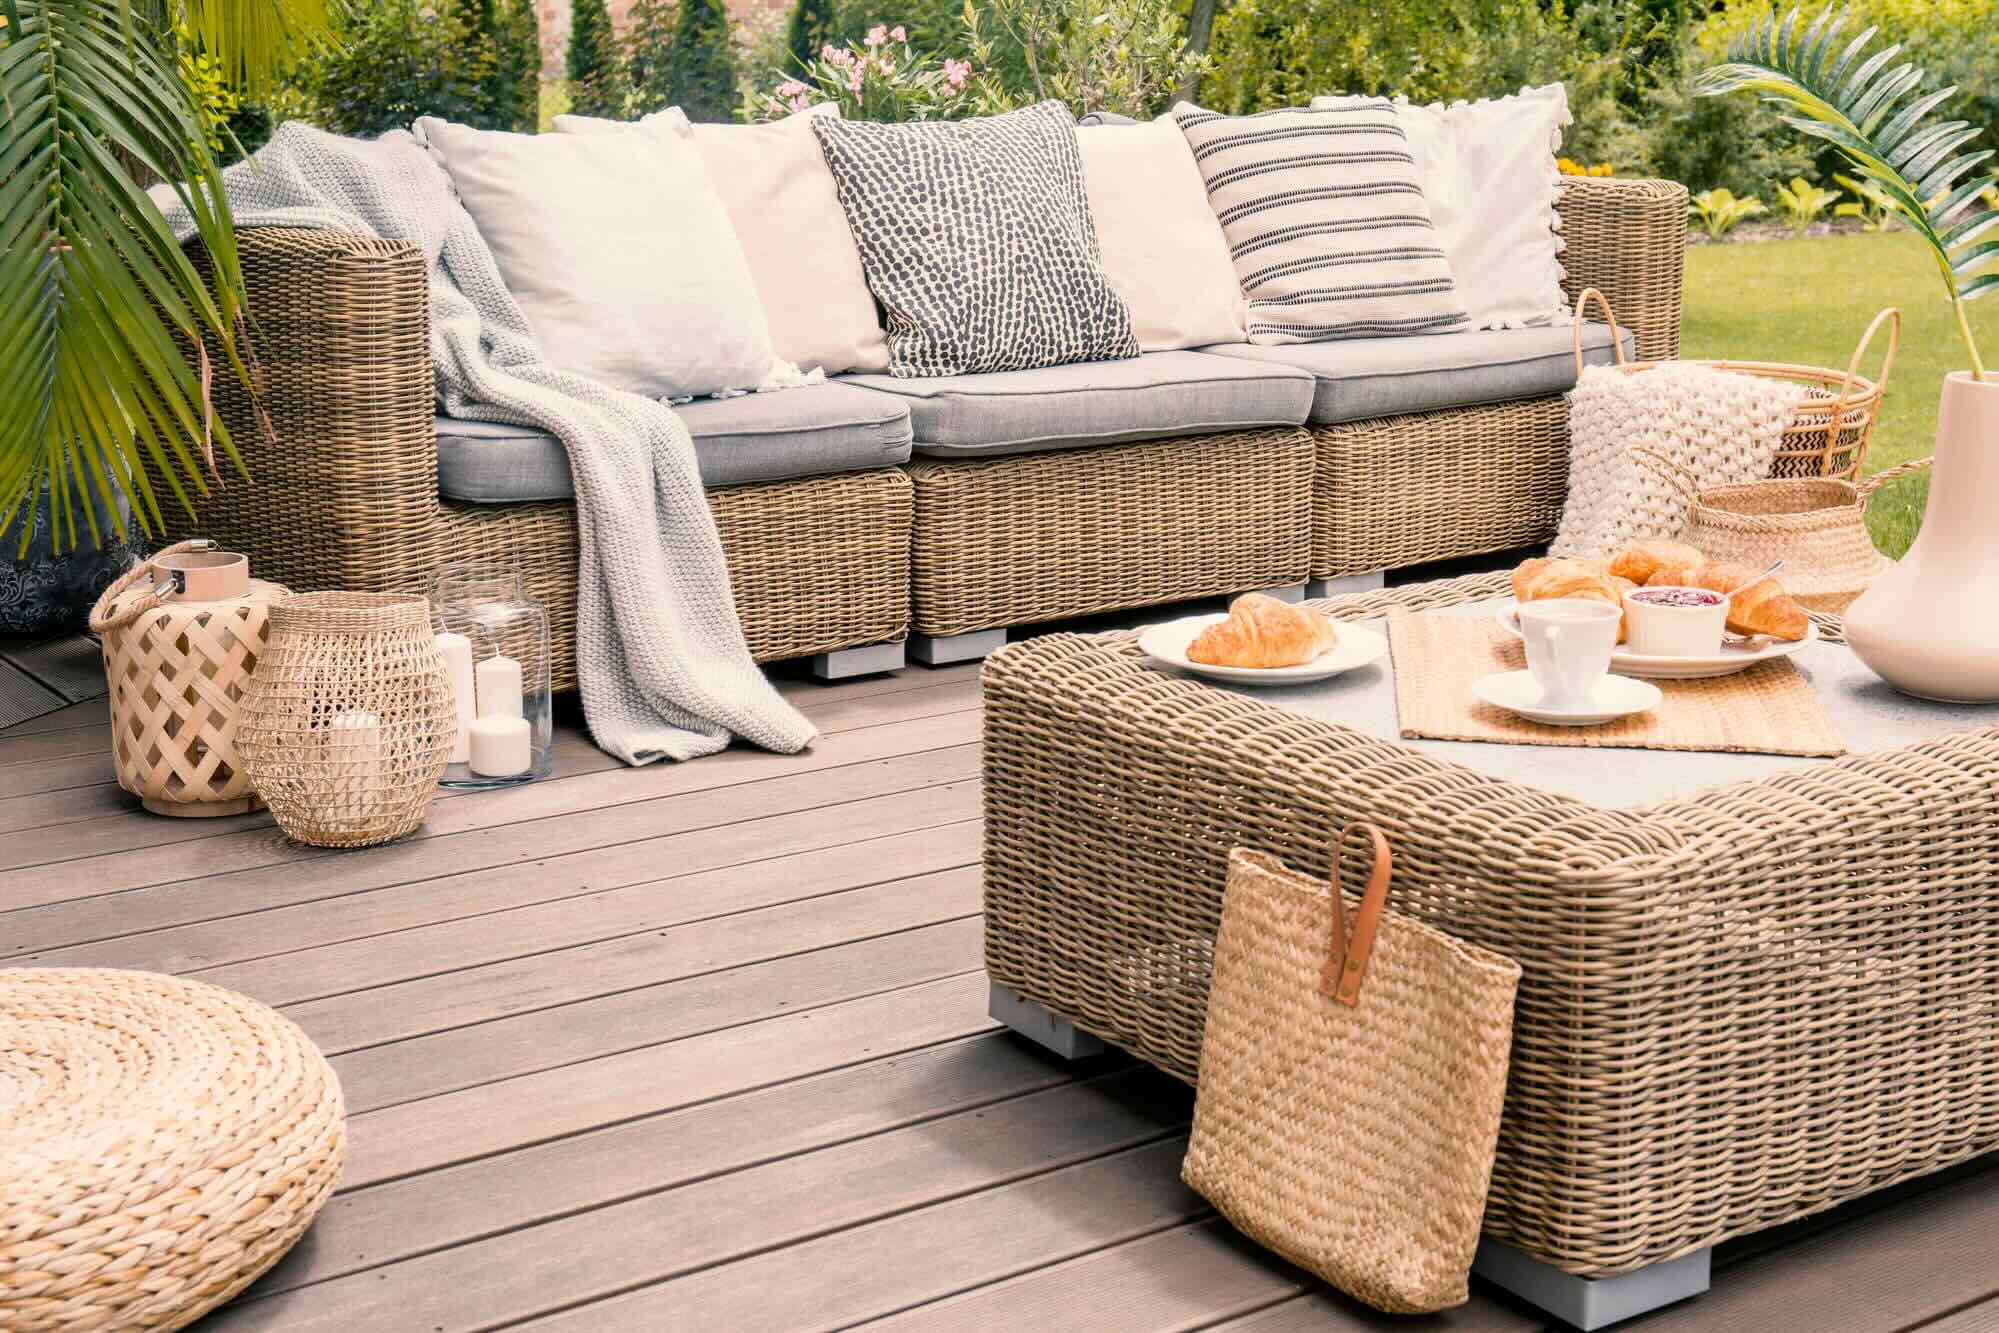
Wicker furniture has a timeless charm and can add a touch of warmth and nature to any room. Building a wicker coffee table allows you to customize the size, shape, and design to perfectly fit your space and personal style. Plus, it’s a rewarding DIY project that can save you money compared to buying a pre-made table.
In this article, we will guide you through the step-by-step process of building your own wicker coffee table. We will cover the materials and tools you’ll need, as well as provide detailed instructions for each stage of the construction. So, roll up your sleeves, grab your tools, and let’s get started on creating a beautiful and functional addition to your living room!
Key Takeaways:
- Building a wicker coffee table is a fun and rewarding DIY project that allows you to create a unique and personalized piece of furniture for your living room. It’s a great way to showcase your creativity and craftsmanship while adding a functional and eye-catching centerpiece to your home.
- By following the step-by-step process outlined in this article, you can construct a stylish and functional coffee table that perfectly fits your space and reflects your personal style. Remember, the beauty of DIY projects is in the ability to customize and make them your own!
Read more: How To Build A Round Coffee Table
Materials and Tools
Before we dive into the construction process, it’s important to gather all the necessary materials and tools. Here’s a list of what you’ll need:
Materials:
- Wicker strips
- Wood boards (for the base and surface)
- Screws
- Nails
- Wood glue
- Clear varnish or paint (optional)
Tools:
- Measuring tape
- Saw
- Drill
- Screwdriver
- Hammer
- Paintbrush (if using varnish or paint)
- Sandpaper
When it comes to choosing wicker strips, you can opt for natural or synthetic materials. Natural wicker provides an authentic and rustic look, while synthetic wicker offers greater durability and weather resistance. Consider your personal preferences and the intended use of the coffee table when selecting the wicker strips.
Additionally, you can choose the type of wood for the base and surface of the table. Popular choices include pine, oak, or plywood. Make sure the wood is sturdy and of good quality to ensure the longevity of your coffee table.
Once you have all the materials and tools ready, you’re all set to begin the construction process. Remember to take accurate measurements and follow the instructions carefully to ensure a successful outcome.
Step 1: Preparing the Wicker Strips
Before you can start constructing the coffee table, you’ll need to prepare the wicker strips. If you’re using natural wicker, ensure they are clean and free from any debris. Synthetic wicker usually comes prepackaged and doesn’t require any additional preparation.
If the wicker strips are too long for your desired table size, you may need to cut them to the appropriate length. Use a sharp pair of scissors or wire cutters to trim the wicker strips to your desired dimensions.
Once you have the strips at the correct length, soak them in warm water for about 30 minutes. This step allows the wicker to become more pliable, making it easier to work with during the weaving process. After soaking, let the strips dry for a few minutes until they are damp but not dripping wet.
Now it’s time to weave the wicker strips together. Start by laying out a couple of strips vertically, evenly spaced apart, to create the base of the table. Then, take another strip and weave it horizontally over and under the vertical strips. Continue weaving the remaining strips, alternating between over and under, until you’ve covered the entire base area.
Ensure the wicker strips are pulled tightly and evenly to create a sturdy and uniform weave. Trim any excess strips, leaving a small amount to tuck in or secure later.
Once the weaving is complete, let the wicker base dry completely. This may take a few hours or even overnight, depending on the climate in your area. Keep in mind that the wicker will shrink slightly as it dries, so don’t worry if there are small gaps between the strips. These gaps will close up as the wicker tightens.
With the wicker base prepared and dried, you’re now ready to move on to the next step: creating the base structure of the coffee table.
Read more: How To Build A Modern Coffee Table
Step 2: Creating the Base
With the wicker base prepared, it’s time to move on to constructing the base structure of the coffee table. This will provide stability and support for the wicker top.
Start by measuring the dimensions of your wicker base. Transfer these measurements onto the wood boards that will form the base. Use a saw to accurately cut the boards to the required lengths.
Next, assemble the wood boards to create a rectangular or square shape. Apply wood glue to the joining edges and use screws to secure the boards together. Make sure the corners are square and the base structure is sturdy.
Once the base structure is complete, place it on top of the wicker base. Ensure it aligns properly and is centered. Using screws, attach the wood base to the wicker base, driving the screws through the wood and into the wicker.
If desired, you can reinforce the connection between the wood and the wicker with additional screws or nails around the perimeter of the base. This will provide extra stability and prevent the wicker from shifting over time.
After securing the base to the wicker, flip the table over so that the wicker base is facing up. Check for any loose or uneven areas in the wicker weave and make necessary adjustments by gently pushing and tightening the strips.
Once you’re satisfied with the tightness and appearance of the wicker, allow the table to sit overnight or for at least a few hours to ensure the glue is fully dried and the structure is secure.
Now that the base of your wicker coffee table is complete, it’s time to move on to constructing the sides. This will add height and shape to the table, creating a more defined structure.
Step 3: Constructing the Sides
With the base of the coffee table complete, it’s time to move on to constructing the sides. The sides will provide height and structure to the table, giving it a finished and polished look.
Start by measuring the desired height for the sides of your coffee table. Using the wood boards, cut four pieces that match the measured height. These pieces will serve as the vertical supports for the sides. Additionally, measure and cut four shorter pieces to serve as the horizontal supports.
Using wood glue and screws or nails, attach the vertical supports to the corners of the base structure, forming a rectangular or square shape. The longer vertical supports should be placed on the longer sides of the base, while the shorter vertical supports should be placed on the shorter sides.
Next, attach the shorter horizontal supports between the vertical supports, evenly spacing them apart. This will create a framework for the sides of the coffee table.
Once the side structure is in place, you can add decorative elements or additional cross supports if desired. This can be done using smaller wood pieces or by weaving extra wicker strips between the vertical supports.
Ensure all the connections are secure and the sides are sturdy. Take measurements and make adjustments as needed, ensuring the sides are proportionate to the overall size of the table.
Once you’re satisfied with the construction of the sides, let the table sit for a few hours to allow the wood glue to dry and the structure to solidify.
Now that the sides are complete, it’s time to move on to the next step: adding the top surface to complete the coffee table construction.
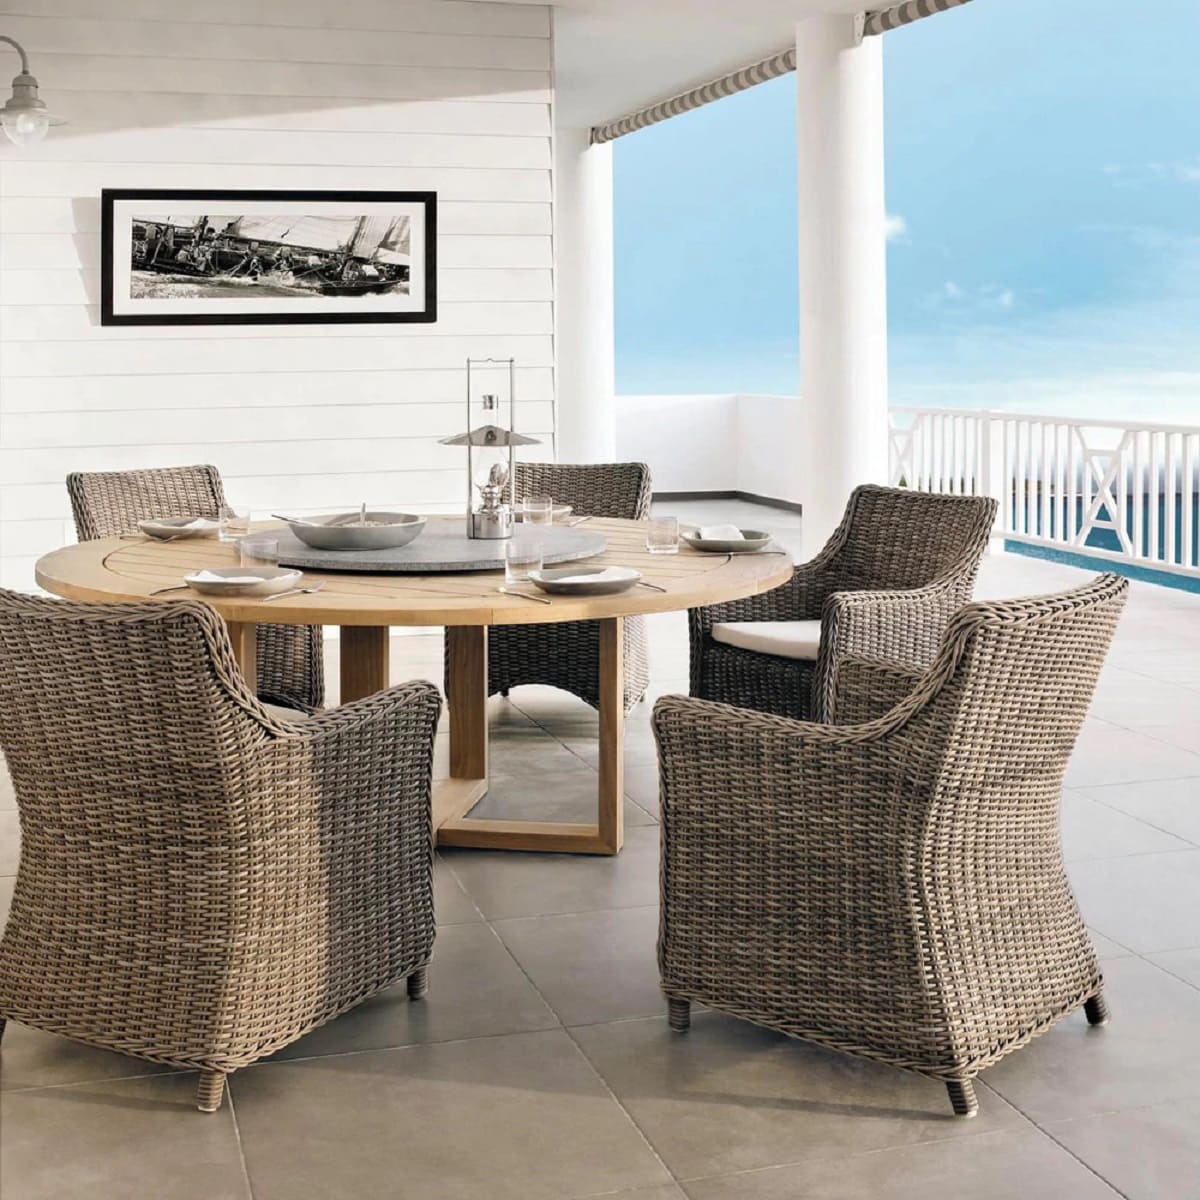
When building a wicker coffee table, make sure to use high-quality wicker material that is durable and weather-resistant. This will ensure that your coffee table lasts longer and can withstand outdoor conditions.
Step 4: Adding the Top Surface
With the base and sides of your wicker coffee table constructed, it’s time to add the top surface. This will provide a functional and sturdy area for placing drinks, snacks, and other items.
Start by measuring the dimensions of the space between the side supports. Transfer these measurements onto the wood board that will serve as the top surface. Use a saw to cut the board to the correct size.
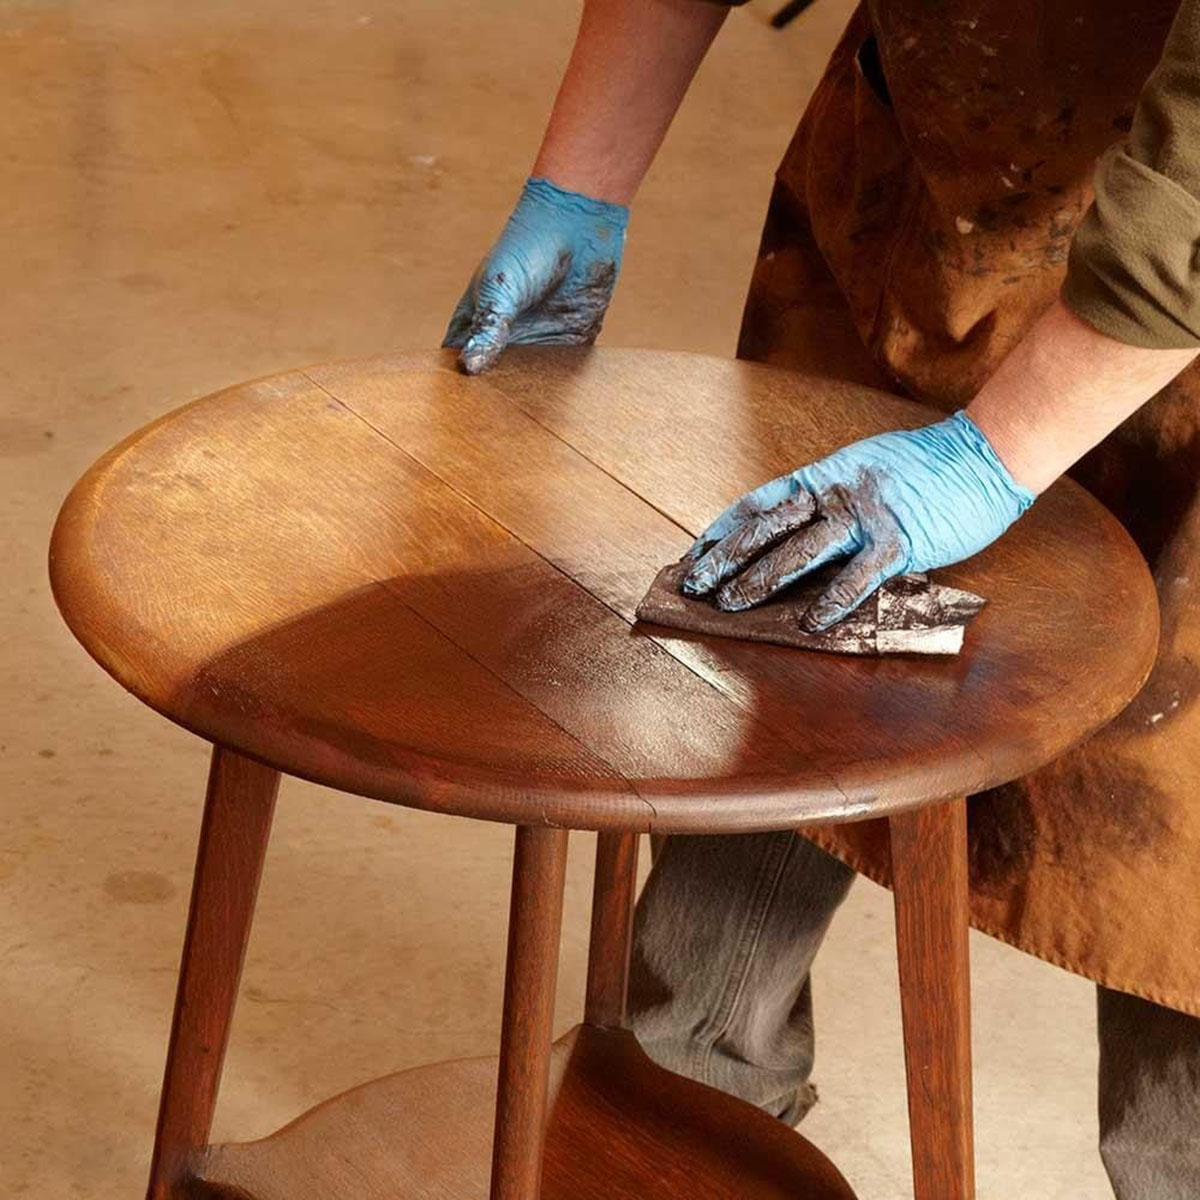
Before attaching the top surface, you may choose to sand the edges and surface of the wood board for a smoother finish. This step is optional but can enhance the overall look of the table.
Once the board is prepared, place it on top of the side supports. Ensure it is centered and aligns properly with the base structure. Use screws or nails to secure the top surface to the side supports, driving them through the supports and into the wood board.
Double-check that the top surface is level and secure. If necessary, add additional screws or nails around the perimeter for added stability.
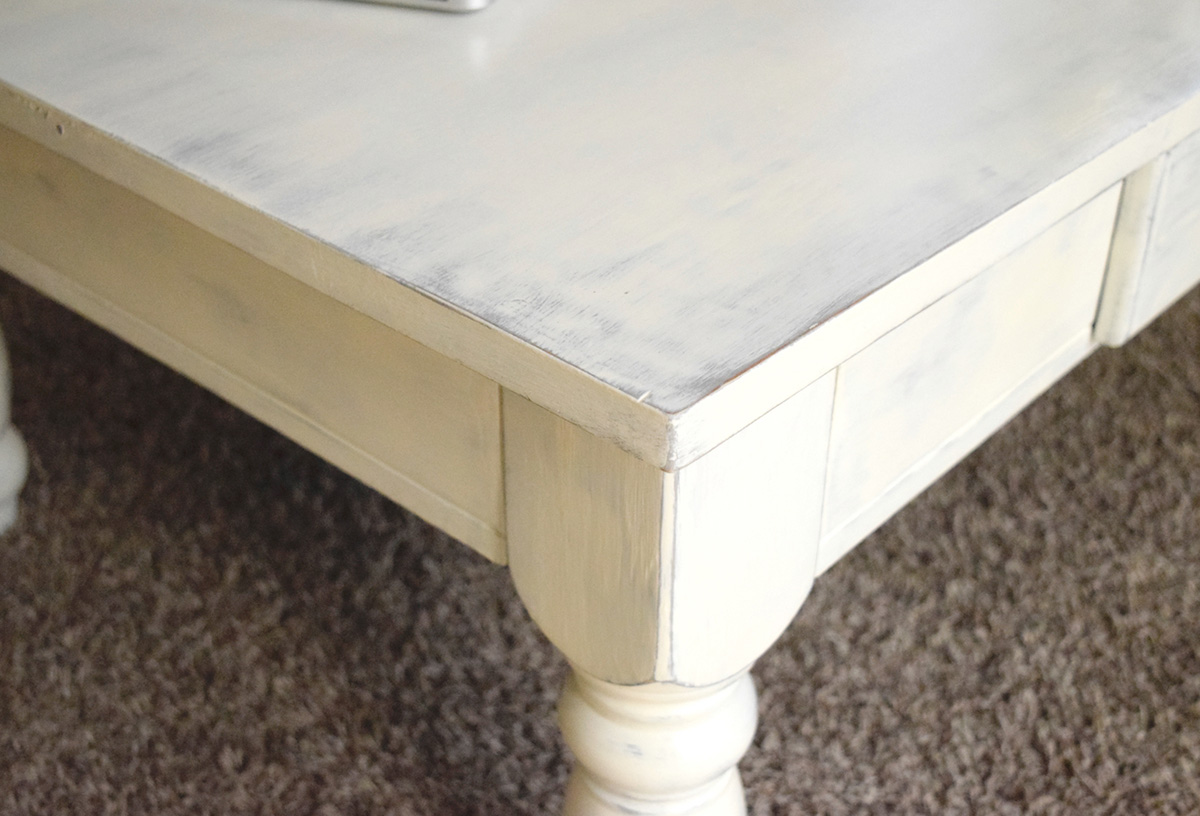
At this point, you can choose to leave the wood surface as is for a natural look, or apply a clear varnish or paint to protect and enhance the appearance. Apply the varnish or paint according to the manufacturer’s instructions, allowing it to dry completely before using the table.
Once the top surface is secured and any finishing touches are applied, your wicker coffee table is practically complete!
Now, it’s time to add the final touches to make your coffee table truly shine.
Step 5: Finishing Touches
With your wicker coffee table nearly complete, it’s time to add the finishing touches that will make it truly stand out. These final details will enhance the overall appearance and make your table a unique and personalized piece of furniture.
One option for adding a touch of elegance is to attach decorative trim or molding along the edges of the top surface. This can be done using wood glue and small nails or screws. Choose a trim that complements the style and aesthetic of your living room, whether it be a sleek and modern design or a more traditional look.
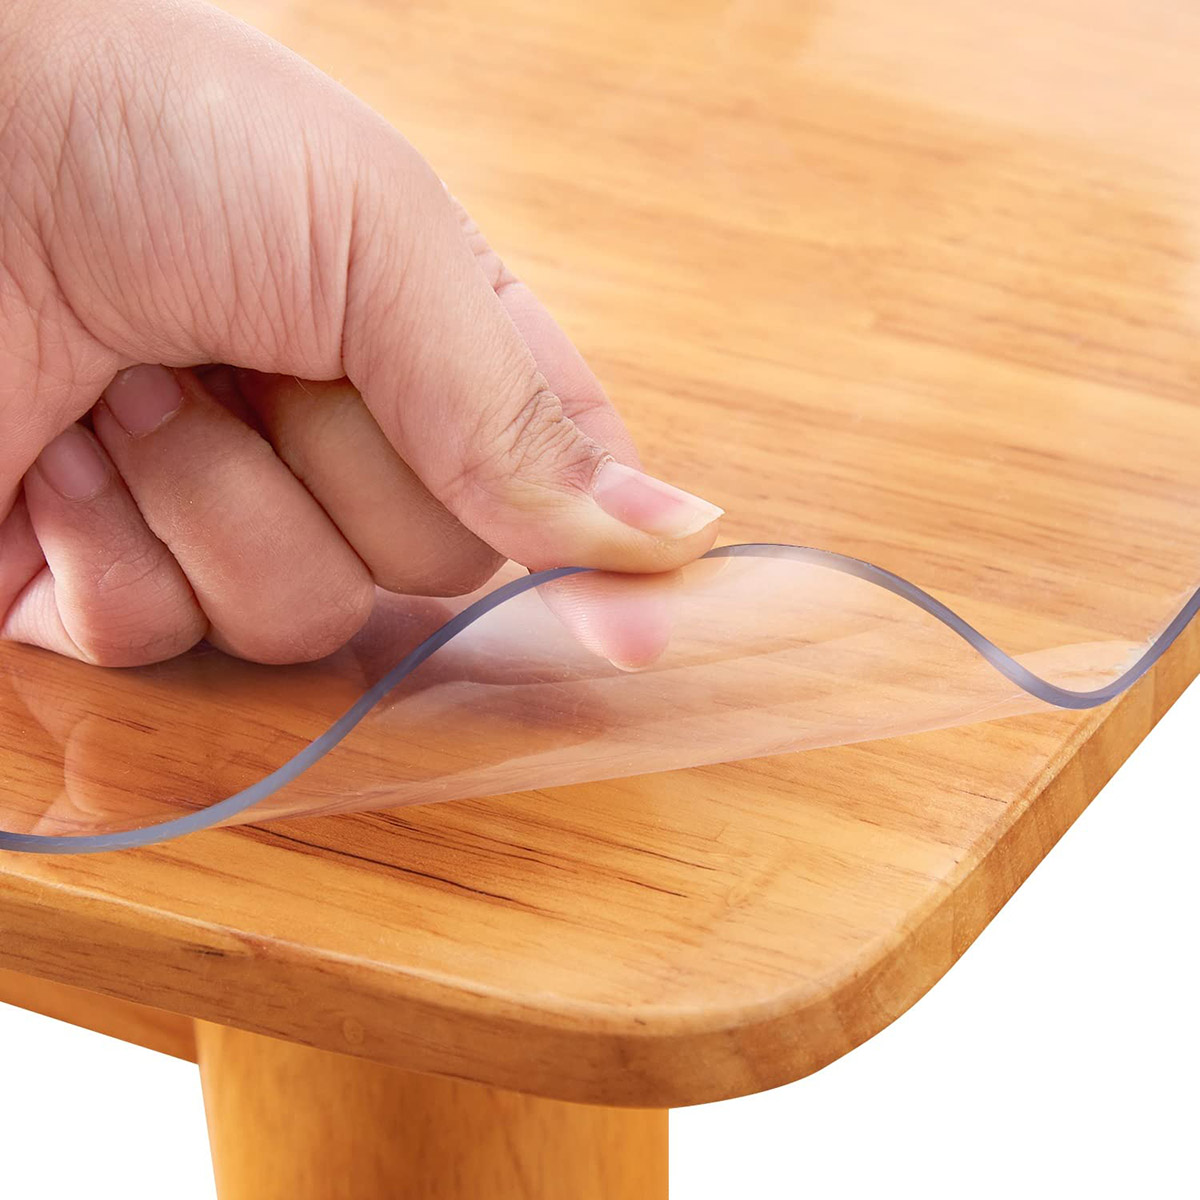
Another way to add flair to your coffee table is by incorporating a glass top. This not only adds a sleek and contemporary touch but also provides a protective layer that prevents any items placed on the table from damaging the wicker or wood surface. Custom glass tops can be ordered from glass suppliers, or you can have one cut to size by a professional.
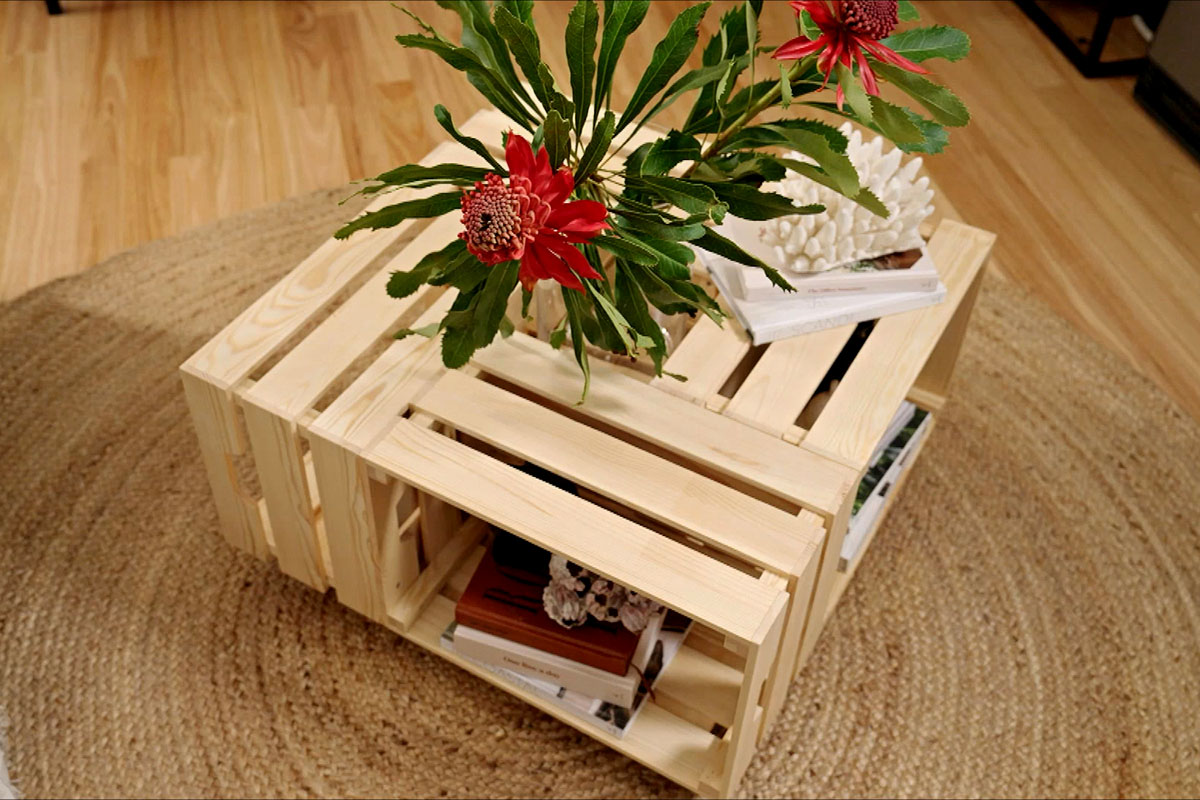
Additionally, you can consider adding a bottom shelf for extra storage or display space. This can be constructed using wood boards or repurposed materials such as crates or baskets. Attach the shelf to the side supports using screws or nails, ensuring it is level and secure.
Once you’ve added all the desired finishing touches, take a step back and inspect your wicker coffee table. Check for any loose screws or wicker strips and make any necessary adjustments or repairs. Give the entire table a thorough cleaning to remove any dust or debris.
Finally, place your wicker coffee table in its designated spot in your living room. Adorn it with your favorite decor items, such as plants, books, or decorative bowls. Sit back, relax, and admire your handmade creation.
Congratulations! You’ve successfully built your own wicker coffee table, adding a touch of charm and personality to your living space.
Remember, the beauty of DIY projects is in the ability to customize and make them your own. Feel free to experiment with different materials, colors, and design elements to create a coffee table that perfectly suits your unique style and preferences.
Enjoy your new wicker coffee table, and may it provide many years of enjoyment and functionality in your home!
Read more: How To Build A Square Coffee Table
Conclusion
Building a wicker coffee table is a rewarding DIY project that allows you to create a unique and personalized piece of furniture for your living room. By following the step-by-step process outlined in this article, you can construct a stylish and functional coffee table that perfectly fits your space and reflects your personal style.
Throughout the construction process, we discussed the importance of gathering the necessary materials and tools, including wicker strips, wood boards, screws, and glue. By ensuring you have everything you need before starting, you can streamline the construction process and avoid any unnecessary delays.
We also covered the step-by-step instructions for preparing the wicker strips, constructing the base and sides, and adding the top surface. Each stage of the process was carefully explained to help you achieve a sturdy and visually appealing coffee table. Additionally, we discussed the importance of adding finishing touches, such as decorative trim or a glass top, to elevate the aesthetic of your table.
By building your own wicker coffee table, you not only have the satisfaction of creating something with your own hands but also have a piece of furniture that is truly one-of-a-kind. You can admire the natural beauty of the wicker, the craftsmanship of the wood, and the personal touches you added along the way.
Remember, customization is key. Feel free to adapt the instructions and incorporate your own ideas and design elements to create a coffee table that matches your unique taste and complements the overall style of your living room.
In conclusion, building a wicker coffee table is a fulfilling and cost-effective way to enhance your living space. It allows you to showcase your creativity and craftsmanship while adding a functional and eye-catching centerpiece to your home. So, grab your materials, follow the steps outlined in this article, and enjoy the process of creating your own wicker coffee table!
Frequently Asked Questions about How To Build A Wicker Coffee Table
Was this page helpful?
At Storables.com, we guarantee accurate and reliable information. Our content, validated by Expert Board Contributors, is crafted following stringent Editorial Policies. We're committed to providing you with well-researched, expert-backed insights for all your informational needs.


0 thoughts on “How To Build A Wicker Coffee Table”