Home>Furniture>Living Room Furniture>How To Build A Coffee Table With Storage
Living Room Furniture
How To Build A Coffee Table With Storage
Modified: October 20, 2024
Learn how to build a stylish and functional coffee table with storage for your living room furniture. Step-by-step instructions and tips for a DIY project.
(Many of the links in this article redirect to a specific reviewed product. Your purchase of these products through affiliate links helps to generate commission for Storables.com, at no extra cost. Learn more)
Introduction
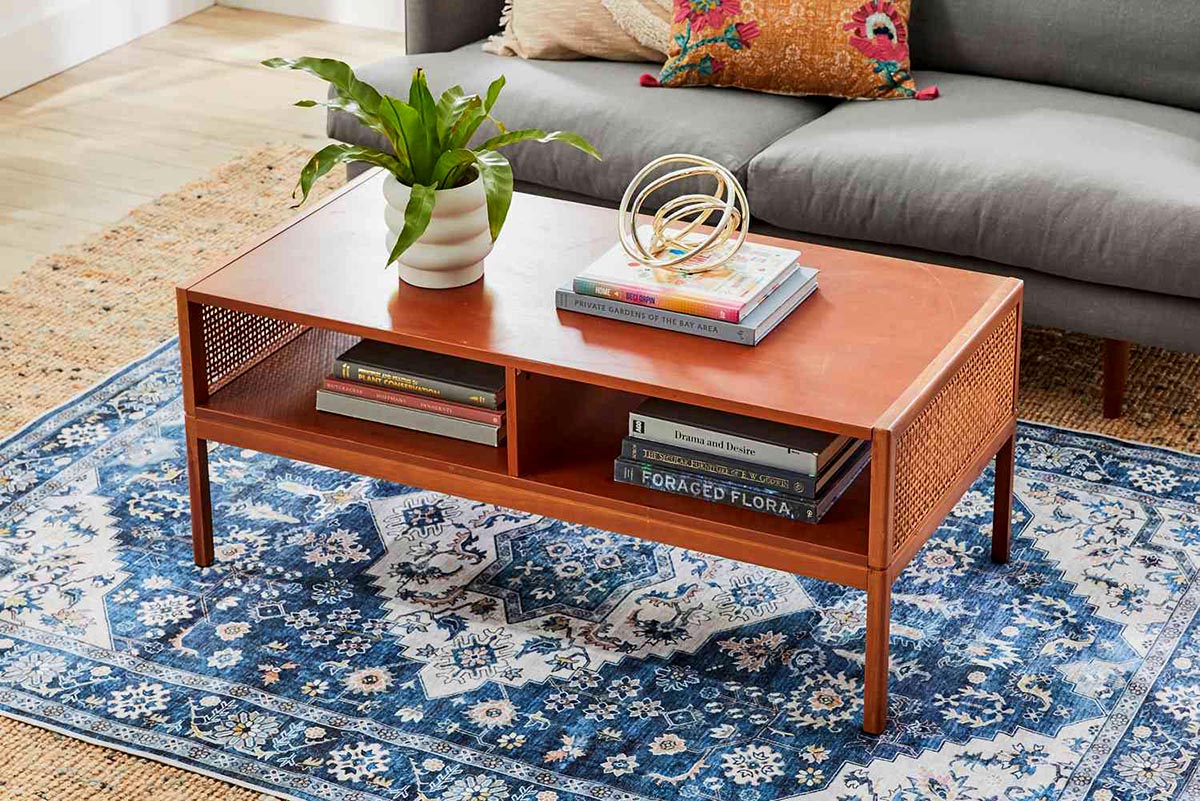
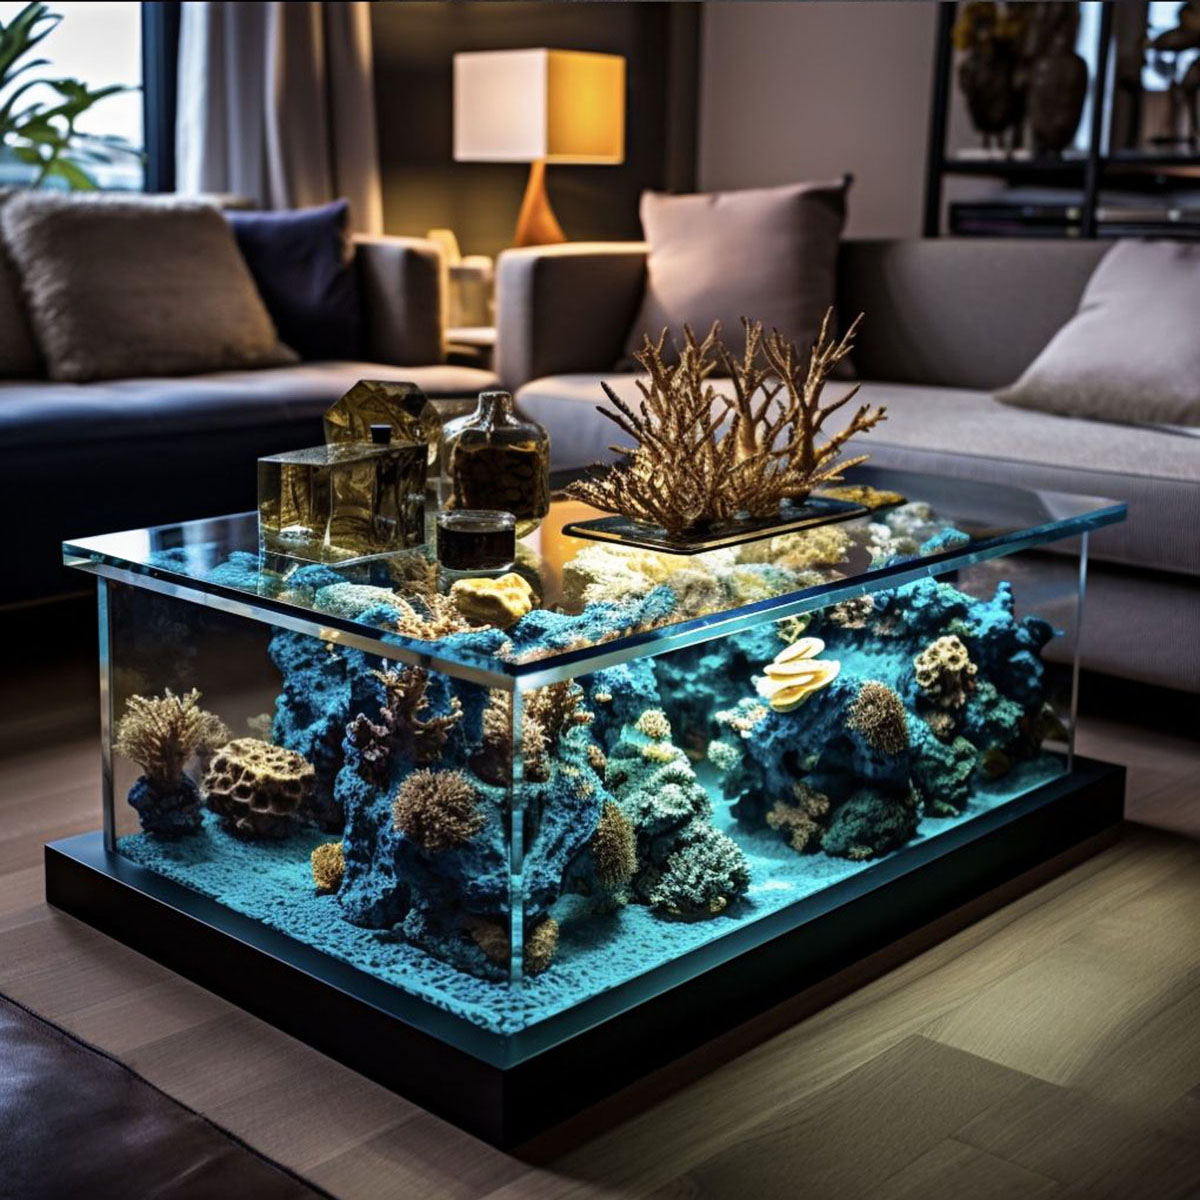
Welcome to our comprehensive guide on how to build a coffee table with storage. If you’re looking to add functionality and style to your living room, a coffee table with storage is an excellent choice. Not only does it provide a convenient surface for drinks and snacks, but it also offers ample space to store remote controls, magazines, and other essentials.
Building your own coffee table allows you to tailor it to your specific needs and design preferences. Plus, it’s a rewarding DIY project that will showcase your woodworking skills. In this guide, we’ll walk you through the step-by-step process of building a coffee table with a storage compartment, so let’s get started!
Key Takeaways:
- Building a coffee table with storage is a fun DIY project that allows you to customize the design to fit your needs and showcase your woodworking skills.
- Choosing the right materials, measuring and cutting wood accurately, and adding finishing touches are essential steps in creating a stylish and functional coffee table for your living room.
Read more: How To Build A Round Coffee Table
Choosing the Right Materials
When it comes to building a coffee table with storage, selecting the right materials is crucial. You want to choose materials that are both durable and aesthetically pleasing. Here are some key considerations for each component:
Wood:
The most popular choice for a coffee table is solid wood, such as oak, pine, or walnut. These types of wood are sturdy and can withstand everyday use. Make sure to select boards that are smooth and free of knots or imperfections.
Plywood:
For the panels and base of the storage compartment, plywood is a cost-effective option. It provides stability and strength while also being easy to work with. Choose a high-quality plywood that is at least ¾ inch thick for durability.
Hardware:
Don’t overlook the importance of selecting the right hardware for your coffee table. Hinges, drawer pulls, and screws should be of good quality to ensure longevity and functionality. Consider the style and finish of the hardware to match your desired aesthetic.
Read more: How To Build A Modern Coffee Table
Finishing Materials:
To protect and enhance the beauty of the wood, you’ll need finishing materials such as stain, paint, or varnish. Opt for a finish that complements your existing home decor and provides the desired level of protection.
Now that you have a good understanding of the materials needed, it’s time to move on to the next step: measuring and cutting the wood.
Measuring and Cutting the Wood
Accurate measurement and precise cutting are essential for a well-built coffee table with storage. Here are the steps to follow:
1. Planning Your Design:
Start by sketching out your coffee table design and take note of the dimensions you want. Consider the overall size, height, and the dimensions of the storage compartment.
2. Measuring the Wood:
Measure and mark the dimensions on the wood boards according to your design. Use a measuring tape, square, and pencil to ensure accurate measurements.
Read more: How To Build A Wicker Coffee Table
3. Cutting the Wood:
Once you have your measurements, it’s time to cut the wood. Use a circular saw or a miter saw to make precise cuts. Remember to wear safety goggles and follow all safety precautions.
4. Sanding the Wood:
After cutting the wood, use sandpaper or a power sander to smooth out any rough edges or surfaces. This will give your coffee table a professional and polished look.
5. Labeling the Wood Pieces:
To avoid confusion during assembly, label each wood piece according to its purpose and position in the coffee table. This will make the building process much smoother.
By taking the time to measure and cut the wood accurately, you’ll ensure that all the pieces fit together seamlessly in the next step: assembling the table frame.
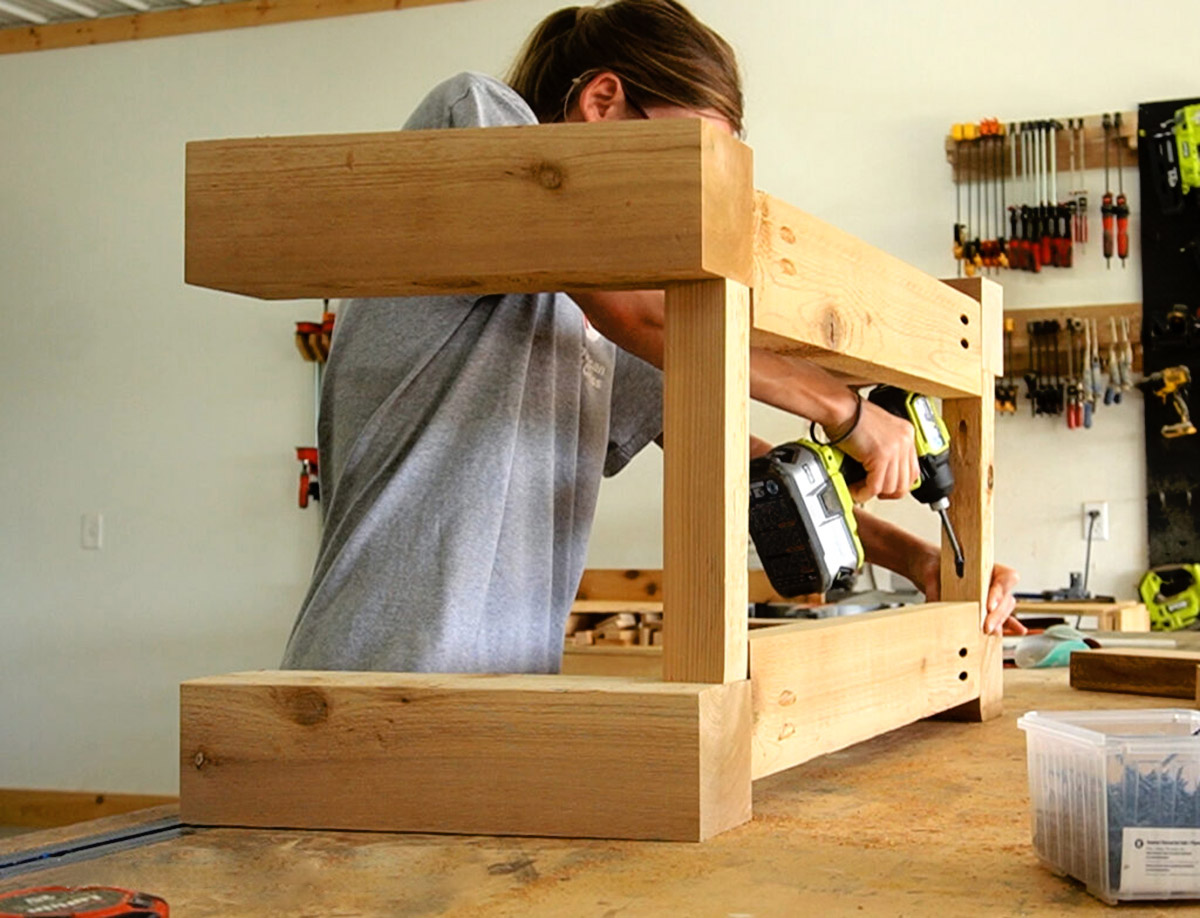
Assembling the Table Frame
Now that you have your wood pieces cut and sanded, it’s time to start assembling the table frame. This step is crucial as it provides the structural support for your coffee table. Here’s a step-by-step guide:
Read more: How To Build A Square Coffee Table
1. Lay Out the Pieces:
Start by laying out the pieces according to your design. Ensure that you have all the necessary components and hardware readily available.
2. Attach the Table Legs:
Begin by attaching the table legs to the tabletop frame. Measure and mark the placement of the legs, then use screws or brackets to securely fasten them. Make sure the legs are level and aligned.
3. Install the Horizontal Support Beams:
Next, install the horizontal support beams that will provide stability and strength to the table frame. These beams should be attached between the table legs, positioned evenly and securely fastened.
4. Add the Vertical Supports:
Now, add the vertical supports that will connect the tabletop frame to the storage compartment. These supports can be attached with screws or brackets, ensuring a secure connection.
Read more: How To Build A Crate Coffee Table
5. Reinforce the Joints:
To ensure a sturdy table frame, reinforce the joints with additional screws or brackets. This will provide extra stability and longevity to your coffee table.
6. Check for Stability:
Once the frame is assembled, check for stability by gently shaking it. If there is any wobbling or instability, make adjustments or reinforce the joints as needed.
By following these steps, you’ll have a solid and sturdy table frame that is ready for the next phase: creating the storage compartment.
Creating the Storage Compartment
Creating a functional and spacious storage compartment for your coffee table is essential. It’s the perfect place to store remote controls, magazines, and other living room essentials. Here’s how you can create the storage compartment:
1. Measure and Mark:
Measure and mark the dimensions of the storage compartment on the plywood panels. Ensure that the measurements are accurate and align with your design plan.
Read more: How To Build A Lift Top Coffee Table
2. Cut the Panels:
Using a circular saw or a jigsaw, cut the plywood panels according to your measurements. Take your time and make clean, precise cuts to ensure that the panels fit together properly.
3. Attach the Panels:
Attach the panels to the table frame using screws or wood glue. Start with the bottom panel, securing it to the horizontal support beams. Then add the side panels and finally, the back panel.
4. Install the Shelf:
If you want to add a shelf within the storage compartment, measure and cut a plywood panel to fit. Install the shelf by attaching supports to the side panels and resting the shelf on top.
5. Add a Hinged Lid:
If desired, you can add a hinged lid to the storage compartment for easy access. Attach hinges to one of the side panels and the top panel, allowing the lid to open and close smoothly.
Read more: How To Build A Glass Top Coffee Table
6. Sand and Finish:
Once the storage compartment is constructed, smooth out any rough edges or surfaces with sandpaper. Apply a finish of your choice, such as stain or paint, to protect the wood and enhance its appearance.
With the storage compartment complete, you’re one step closer to having your very own coffee table with practical storage space. The next step is attaching the tabletop.
Attaching the Tabletop
Attaching the tabletop is the final step in building your coffee table with storage. Here’s how to do it:
1. Measure and Center the Tabletop:
Measure and mark the center of the table frame. Place the tabletop on the frame, ensuring that it is centered and aligned properly.
2. Secure the Tabletop:
Once the tabletop is in position, secure it to the table frame. You can use screws or brackets to fasten the tabletop to the horizontal support beams beneath. Make sure to distribute the screws evenly for stability.
Read more: How To Redo A Coffee Table
3. Test the Stability:
After securing the tabletop, test the overall stability of the coffee table. Gently shake the table to check for any wobbling or movement. If needed, add additional screws or reinforcements to ensure a sturdy structure.
4. Check for Levelness:
Use a level to check if the tabletop is level. Adjust as needed by adding shims or sanding down any uneven surfaces.
5. Clean and Finish:
Before adding any final touches, thoroughly clean the coffee table, removing any sawdust or debris. Apply a final coat of finish to the tabletop and the rest of the wood surfaces, following the manufacturer’s instructions.
6. Final Quality Check:
Give the coffee table a final quality check, ensuring that all parts are securely attached and that the table is structurally sound. Make any necessary adjustments or repairs before placing it in your living room.
With the tabletop successfully attached, you’ve completed the construction of your coffee table with storage. The final step is to add the finishing touches and sanding to achieve a polished look.
Read more: How To Whitewash A Coffee Table
Sanding and Finishing Touches
After assembling your coffee table with storage, it’s time to give it a smooth and polished finish. Sanding and applying the finishing touches will not only enhance the overall appearance but also protect the wood. Here’s what you need to do:
1. Sanding the Wood:
Start by sanding all the wood surfaces of the coffee table, including the tabletop, frame, and storage compartment. Use fine-grit sandpaper or a power sander to remove any rough spots, imperfections, or sharp edges. Sand in the direction of the wood grain for a more even finish.
2. Remove Dust:
After sanding, wipe down the entire coffee table with a clean cloth to remove all the dust and debris. It’s important to have a clean surface before applying any finishes or coatings.
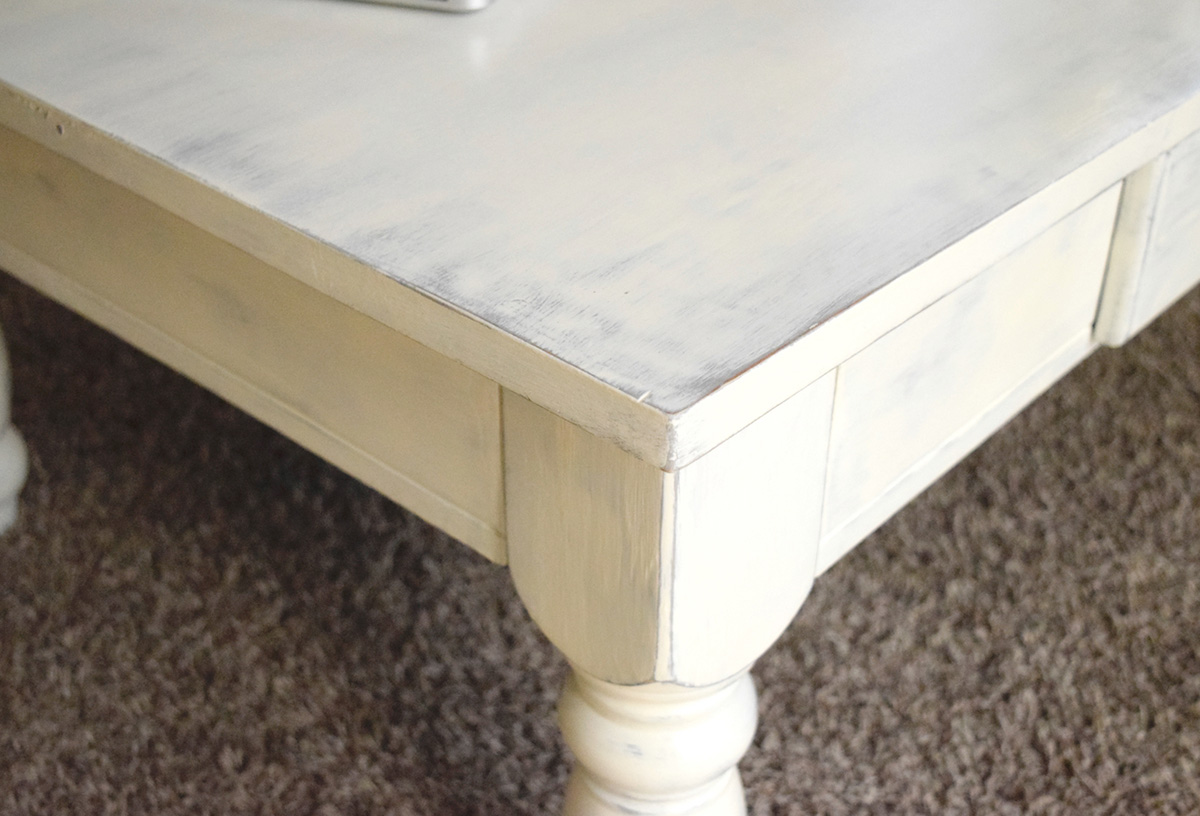
3. Apply a Finish:
Choose a finish that suits your style and the type of wood you used. Options include stain, paint, varnish, or even natural oils. Apply the finish using a brush or a clean cloth, following the manufacturer’s instructions. Be sure to coat all the wood surfaces evenly for a consistent look.
Read more: How To Protect A Coffee Table
4. Let it Dry:
Allow the finish to dry completely according to the manufacturer’s recommended drying time. This will ensure a durable and long-lasting finish that brings out the natural beauty of the wood.
5. Add Protective Pads:
To prevent scratching and protect your floors, attach adhesive furniture pads to the bottom of the table legs. This will also make it easier to move the coffee table without causing damage.
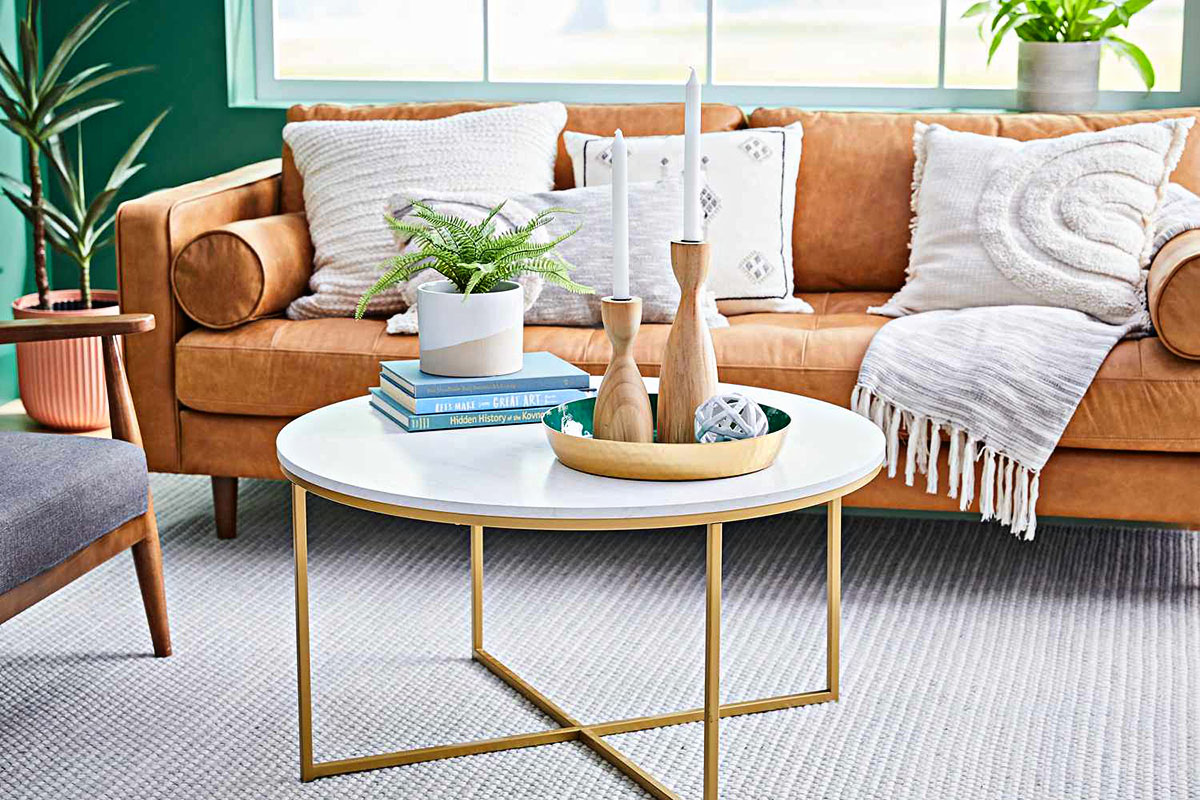
6. Finishing Touches:
Consider adding some decorative elements to personalize your coffee table. This could include adding a glass top, decorative accessories, or even a tray to accentuate its style and functionality.
By sanding and applying the finishing touches, your coffee table with storage will be ready to take center stage in your living room. It’s time to enjoy your hard work and appreciate the beauty and functionality of your handmade creation!
Conclusion
Congratulations! You have successfully learned how to build a coffee table with storage. By following this comprehensive guide, you have not only created a functional and stylish piece of furniture but also honed your woodworking skills. Your coffee table with storage will now serve as a centerpiece in your living room, providing a convenient surface for drinks and snacks while keeping your living space organized.
Throughout this DIY project, you learned about the importance of choosing the right materials, measuring and cutting wood accurately, assembling the table frame securely, creating a practical storage compartment, attaching the tabletop, and finishing the table with sanding and final touches. These skills can be applied to future woodworking projects, allowing you to unleash your creativity and build more customized furniture pieces.
Remember, the key to building a coffee table with storage is balancing functionality and aesthetics. Choose materials and finishes that suit your personal style and complement your existing decor. Additionally, pay attention to details such as leveling the table, reinforcing the joints, and adding protective pads to ensure a sturdy and durable piece of furniture.
Building your own coffee table is not only a cost-effective option but also a rewarding and fulfilling experience. It allows you to customize the design to fit your exact needs and preferences while showcasing your craftsmanship. Plus, you can take pride in knowing that you created a unique and functional piece of furniture that adds character to your living room.
Thank you for following this guide on how to build a coffee table with storage. We hope you enjoyed the process and that your new coffee table brings you joy and convenience for years to come. Cheers to your DIY success!
Frequently Asked Questions about How To Build A Coffee Table With Storage
Was this page helpful?
At Storables.com, we guarantee accurate and reliable information. Our content, validated by Expert Board Contributors, is crafted following stringent Editorial Policies. We're committed to providing you with well-researched, expert-backed insights for all your informational needs.

0 thoughts on “How To Build A Coffee Table With Storage”