Home>Furniture>Outdoor Furniture>How To Insulate An Aluminum Patio Roof
Outdoor Furniture
How To Insulate An Aluminum Patio Roof
Modified: March 7, 2024
Learn how to properly insulate your aluminum patio roof to create a comfortable outdoor space for your outdoor furniture. Maximize your comfort with these simple tips!
(Many of the links in this article redirect to a specific reviewed product. Your purchase of these products through affiliate links helps to generate commission for Storables.com, at no extra cost. Learn more)
Introduction
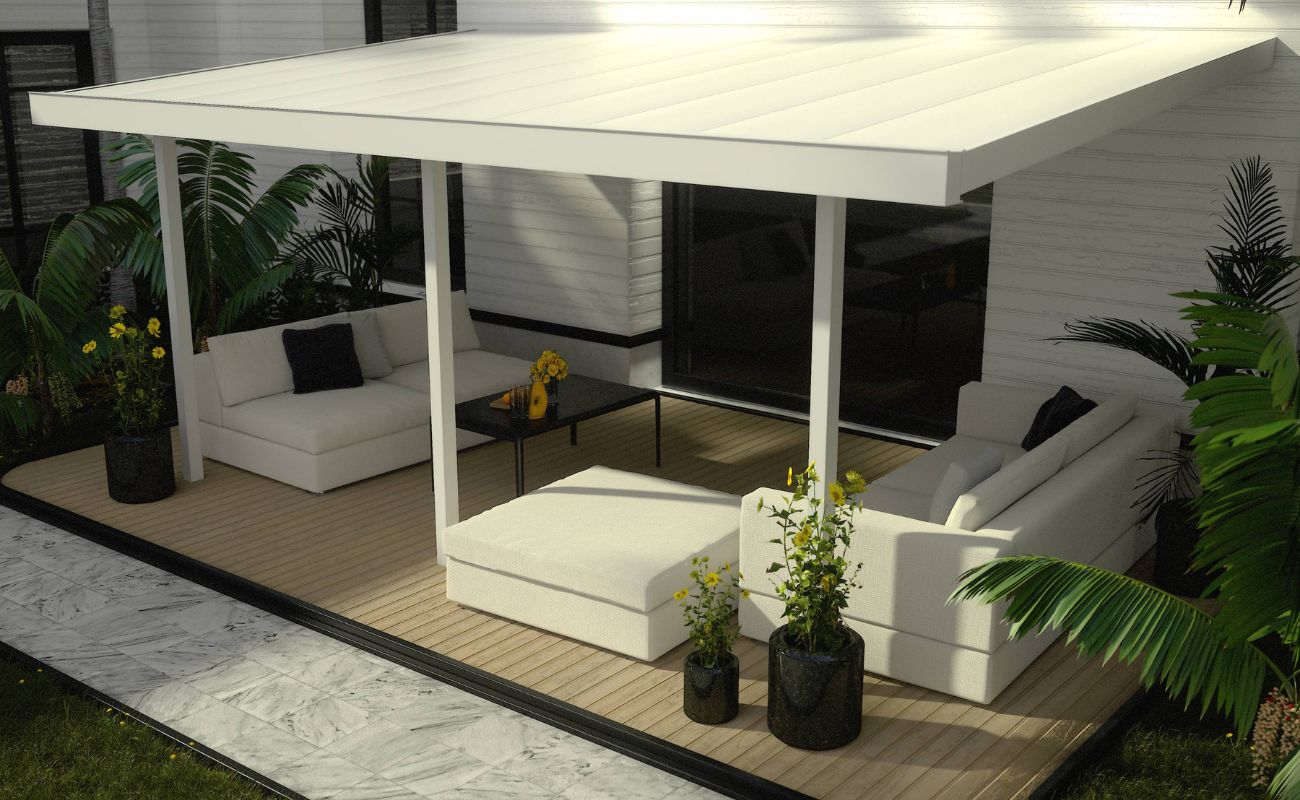
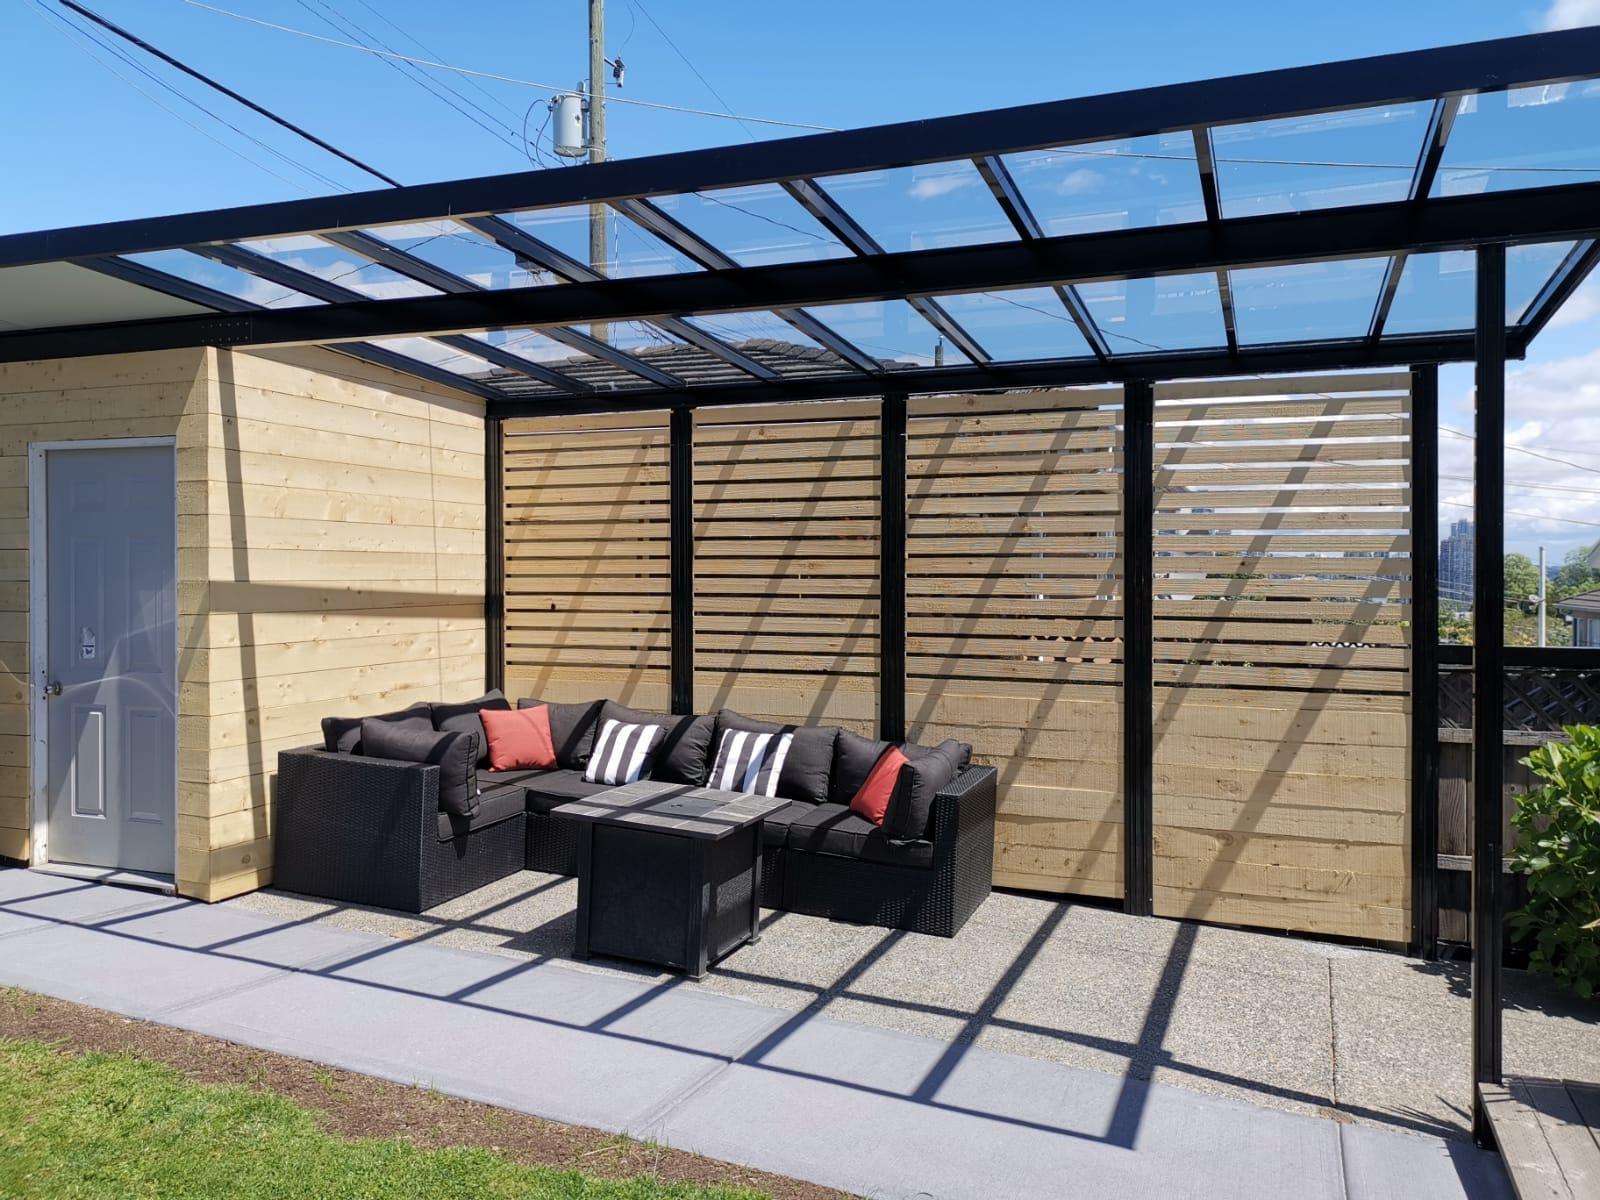
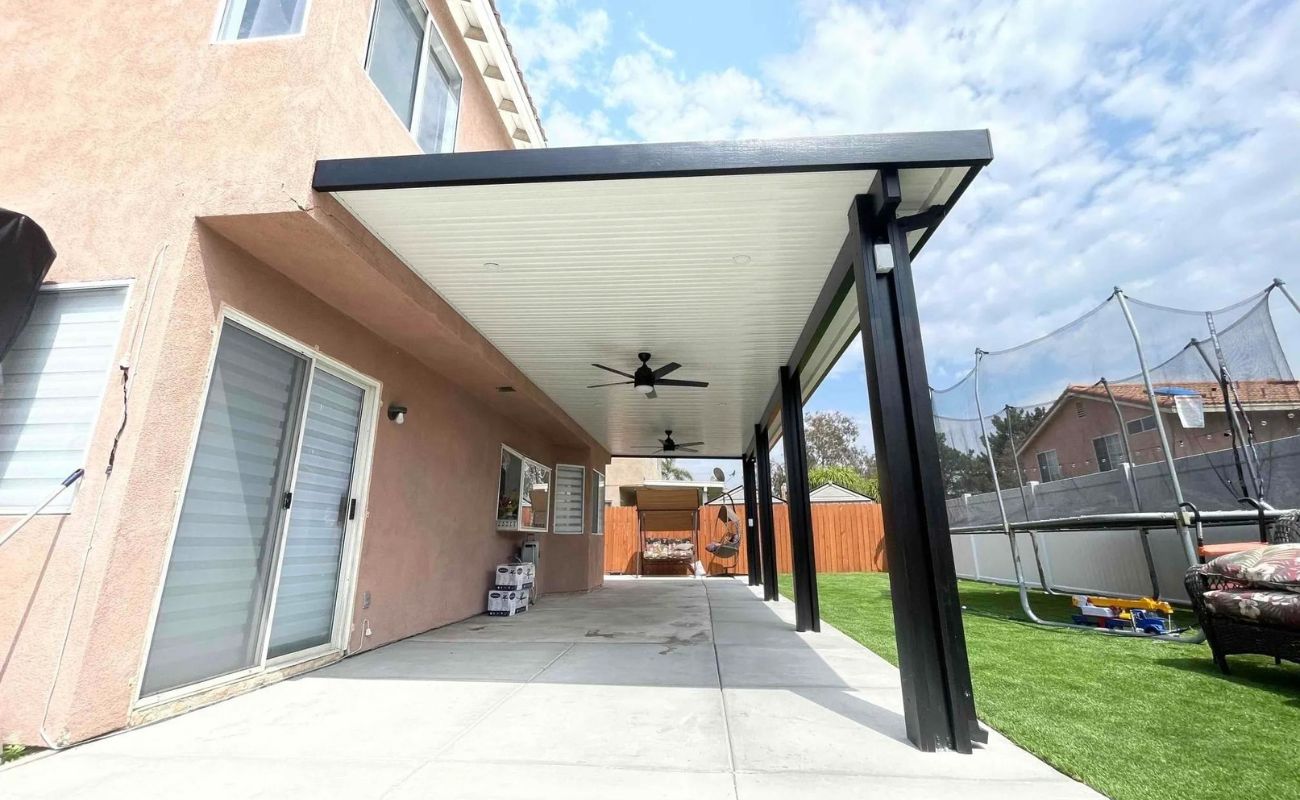
Welcome to the ultimate guide on how to insulate an aluminum patio roof! Whether you’re looking to enjoy your outdoor living space year-round or reduce energy costs, insulating your patio roof is a smart investment. Proper insulation can help maintain a comfortable temperature, reduce heat transfer, and minimize noise levels.
In this comprehensive guide, we will take you through the step-by-step process of insulating your aluminum patio roof. We will discuss the materials and tools needed, as well as provide detailed instructions on how to properly install insulation panels and other necessary components.
Before we dive into the specifics, let’s briefly discuss why insulating your aluminum patio roof is important. Aluminum is a highly conductive material, meaning it readily transfers heat. During hot summer months, an uninsulated patio roof can trap heat and create an uncomfortable environment. Conversely, in colder weather, the lack of insulation can allow heat to escape, making it difficult to utilize your outdoor space during the winter.
Insulating your patio roof can help regulate the temperature and create a more comfortable and usable space throughout the year. It can also help reduce energy consumption by minimizing the reliance on air conditioning or heating systems. Plus, insulation can act as a sound barrier, reducing noise from rain or other external disturbances.
Now that we understand the importance of insulating your aluminum patio roof, let’s move on to the materials and tools you’ll need for this project.
Key Takeaways:
- Insulating your aluminum patio roof helps maintain a comfortable outdoor space year-round, reduces energy costs, and minimizes noise levels. Proper insulation is essential for creating a cozy and energy-efficient environment.
- By following the step-by-step guide, you can successfully install insulation panels, secure them in place, and enjoy a comfortable and inviting outdoor living space. Insulation provides numerous benefits, including temperature regulation and reduced energy consumption.
Read more: How To Insulate Roof
Materials and Tools Needed
Before beginning the insulation process for your aluminum patio roof, gather the necessary materials and tools. Having everything on hand will ensure a smooth and efficient installation. Here’s a list of what you’ll need:
Materials:
- Insulation panels (such as foam or fiberglass)
- Roofing sheets (aluminum or polycarbonate)
- Vapor barrier
- Tape measure
- Utility knife
- Aluminum tape
- Fasteners (screws or nails)
- Sealant
Tools:
- Drill or screwdriver
- Hammer
- Safety goggles
- Work gloves
- Ladder
- Level
When selecting your insulation panels, consider the climate in your area and your personal preferences. Foam insulation panels offer superior thermal resistance and are easy to work with. Fiberglass insulation panels are another popular option as they provide effective insulation and are more budget-friendly.
The type of roofing sheets you choose will depend on your aesthetic preferences and desired level of light transmission. Aluminum roofing sheets are durable, weather-resistant, and offer excellent heat reflection. Polycarbonate roofing sheets are lightweight, impact-resistant, and allow more natural light to pass through.
Ensure you have accurate measurements of your patio roof before purchasing the insulation panels and roofing sheets. This will help you determine the quantity needed and avoid unnecessary trips to the store.
With all the necessary materials and tools ready, you’re now prepared to begin the insulation process. In the next section, we will guide you through the step-by-step instructions on how to measure and calculate the insulation requirements for your aluminum patio roof.
Step 1: Measure and Calculate Insulation Requirements
The first step in insulating your aluminum patio roof is to accurately measure and calculate the insulation requirements. This will ensure that you purchase the correct amount of insulation panels and create an effective insulation barrier.
Here’s how to measure and calculate the insulation requirements:
- Start by measuring the length and width of your patio roof. Use a tape measure to get precise measurements, noting them down for reference.
- Next, determine the thickness of the insulation panels you plan to use. Measure the thickness of a single panel, as this will be important for calculating the required amount of insulation.
- Calculate the total area of your patio roof by multiplying the length by the width. For example, if your patio roof is 10 feet long and 8 feet wide, the total area would be 80 square feet.
- Divide the total area by the coverage area of a single insulation panel. This will give you the number of panels needed to cover the entire roof. For instance, if the coverage area of a single panel is 5 square feet, you would divide 80 by 5 to get a total of 16 panels.
- Based on the thickness of the insulation panels, calculate the total thickness required. Multiply the thickness of a single panel by the number of panels needed. This will give you the total thickness in inches.
It’s essential to ensure a proper fit for the insulation panels to create an effective thermal barrier. If needed, trim the insulation panels to match the dimensions of your patio roof. Use a utility knife to cut the panels with precision.
By accurately measuring and calculating the insulation requirements, you can purchase the correct amount of panels and achieve optimal insulation performance. In the next step, we will discuss how to prepare the roof surface for insulation installation.
Read more: How To Insulate Roof In Attic
Step 2: Prepare the Roof Surface
Before installing the insulation panels, it’s crucial to properly prepare the roof surface. This step ensures a clean and stable foundation for the insulation and helps to optimize its performance. Follow these steps to prepare the roof surface:
- Start by removing any debris, leaves, or branches from the patio roof. Use a broom or a leaf blower to clear away any loose particles.
- Inspect the roof for any damage or areas that may need repair. Look for loose screws or nails, damaged roofing sheets, or any signs of water leakage. If you identify any issues, address them before proceeding with the insulation installation.
- If you have a metal patio roof, check for signs of rust or corrosion. Use a wire brush or sandpaper to remove any rust spots, and apply a rust-inhibiting primer to prevent further corrosion.
- Ensure that the roof surface is clean and free from dirt, dust, or grease. Wipe down the surface with a damp cloth or use a mild detergent and water solution to remove any stubborn stains.
- Allow the roof surface to dry completely before moving on to the next step. This will ensure proper adhesion of the vapor barrier and insulation panels.
By preparing the roof surface adequately, you create a stable and clean foundation for the insulation installation. This step is crucial for achieving optimal insulation performance and longevity.
In the next step, we will discuss how to install a vapor barrier to further enhance the effectiveness of your aluminum patio roof insulation.
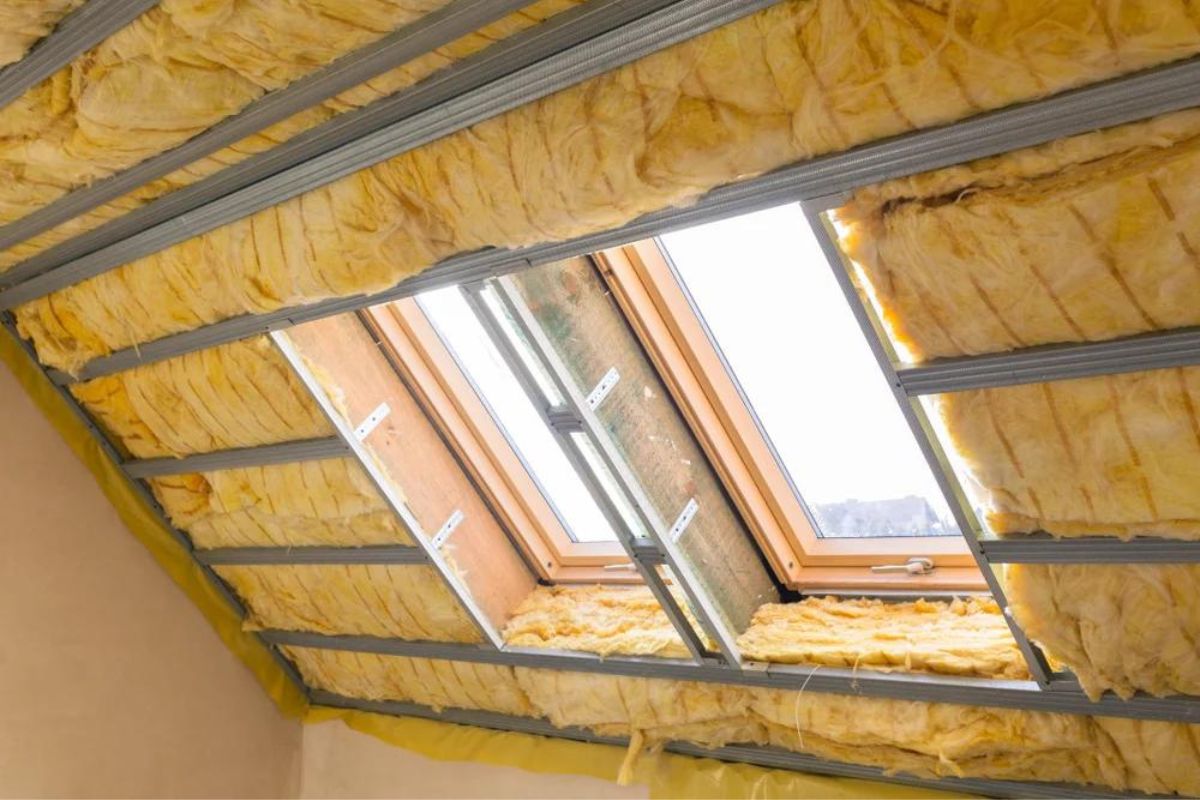
Step 3: Install Vapor Barrier
Installing a vapor barrier is an essential step in the insulation process of an aluminum patio roof. The vapor barrier helps to prevent moisture and condensation from reaching the insulation, which can cause damage and reduce its effectiveness over time. Follow these steps to install a vapor barrier:
- Measure the length and width of your patio roof to determine the size of the vapor barrier needed. Add a few extra inches to the measurements to ensure complete coverage.
- Cut the vapor barrier to the appropriate size using a utility knife. Make sure to wear safety goggles and work gloves to protect yourself during the cutting process.
- Begin at one end of the patio roof and position the vapor barrier on top of the insulation panels. Ensure that it aligns with the edges of the roof.
- Using a staple gun or adhesive, secure the vapor barrier to the insulation panels. Place staples or apply adhesive every few inches along the edges and in the center of the vapor barrier to ensure a secure attachment.
- Continue this process until the entire roof is covered with the vapor barrier. Make sure to overlap the edges of the vapor barrier sheets to create a continuous barrier.
- Trim any excess vapor barrier using a utility knife for a neat and professional finish.
Installing a vapor barrier helps protect the insulation from moisture, ensuring it remains dry and effective in regulating the temperature of your patio space. It also helps prolong the lifespan of the insulation materials.
In the next step, we will guide you through the process of attaching the insulation panels to the aluminum patio roof.
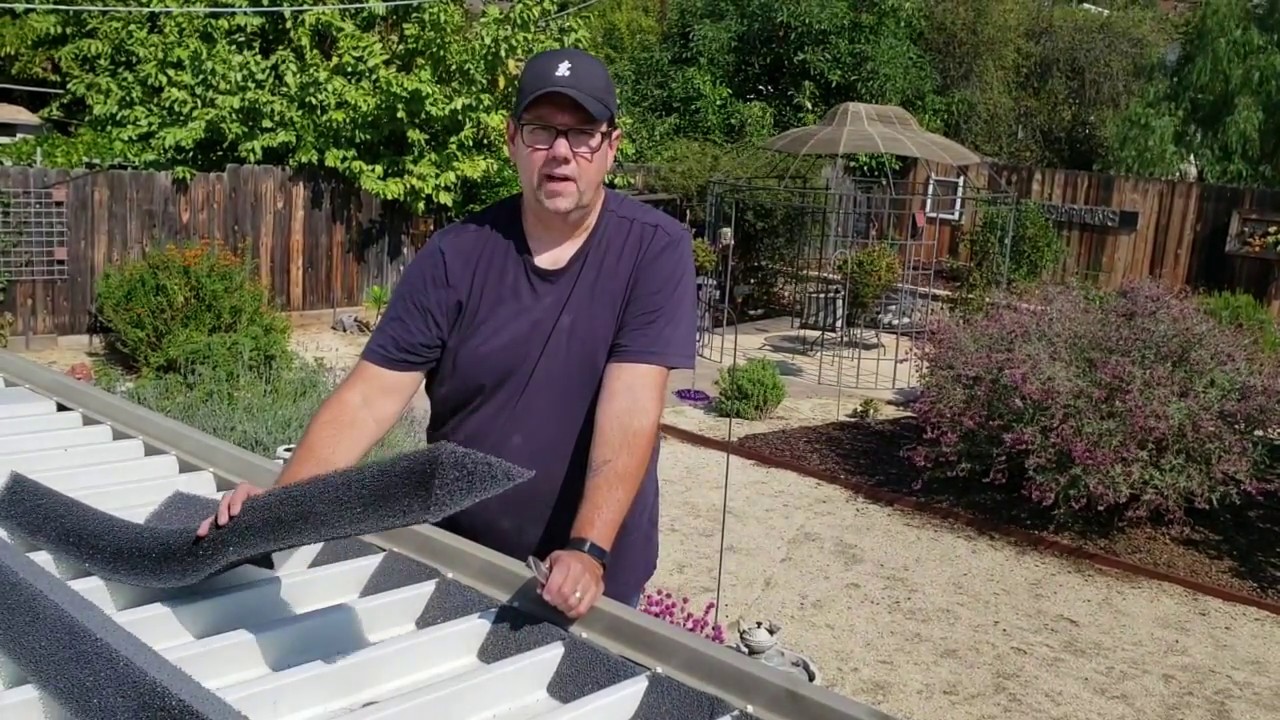
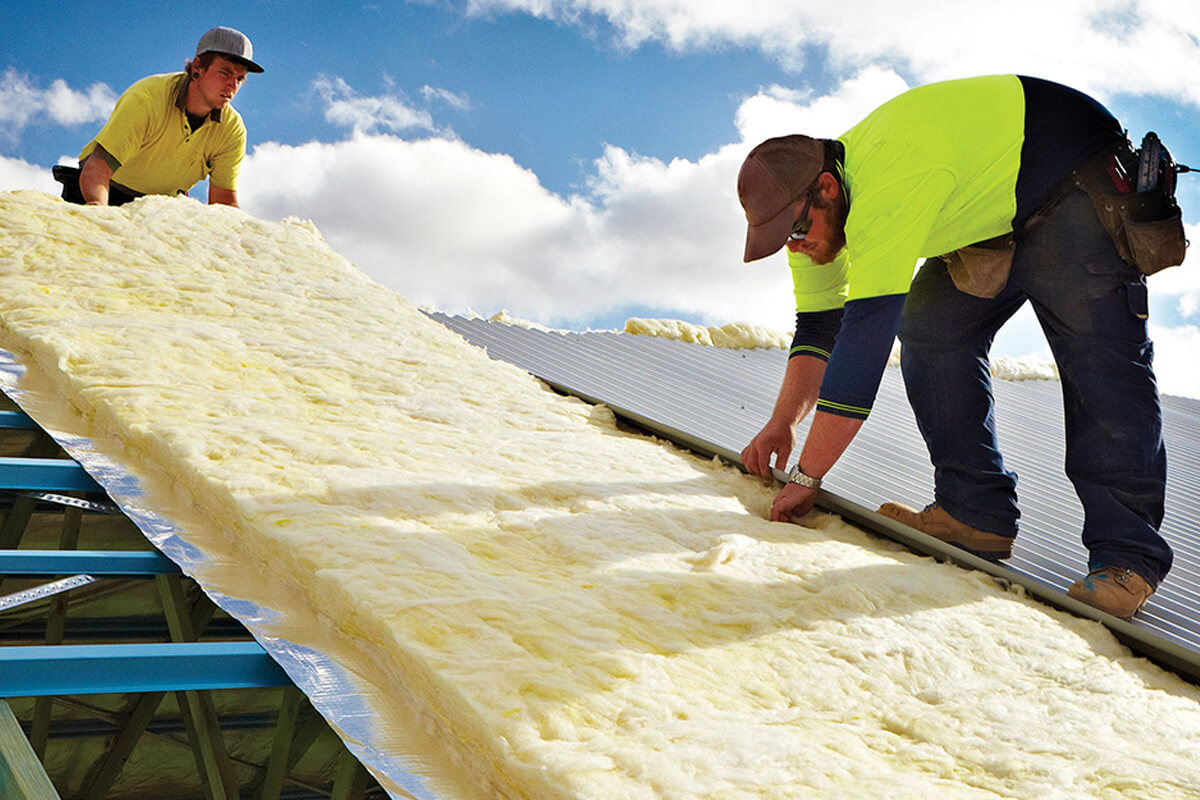
Step 4: Attach Insulation Panels
With the vapor barrier in place, it’s time to attach the insulation panels to your aluminum patio roof. The insulation panels provide thermal resistance, keeping your outdoor space comfortable in various weather conditions. Follow these steps to properly attach the insulation panels:
- Start at one end of the patio roof and position the first insulation panel against the vapor barrier. Ensure that it aligns with the edges of the roof.
- Using a drill or screwdriver, secure the insulation panel by driving screws or nails through the panel and into the roof structure. Place the fasteners approximately 12 inches apart along the edges and in the center of the panel.
- Continue this process, installing the remaining insulation panels until the entire patio roof is covered. Make sure to butt the panels tightly against each other for maximum coverage and insulation performance.
- If necessary, trim the insulation panels to fit around any obstructions such as vents or roof supports. Use a utility knife to cut the panels with precision.
While attaching the insulation panels, be careful not to apply too much pressure that it causes damage to the panel or compresses the insulation material. This will ensure the panels remain intact and provide optimal insulation properties.
Once all the insulation panels are securely attached, you’re ready to move on to the next step: sealing the joints and edges for enhanced insulation performance and to prevent air leakage.
Step 5: Secure Insulation Panels
Now that the insulation panels are attached to your aluminum patio roof, it’s important to secure them properly. Securing the panels helps to prevent shifting, ensures optimal insulation performance, and increases the overall durability of the installation. Follow these steps to secure the insulation panels:
- Inspect each insulation panel to ensure it is flush against the roof surface and properly aligned with surrounding panels.
- Use aluminum tape to seal any gaps or joints between the panels. Apply the tape along the seams, pressing it firmly to create a tight seal.
- Secure the insulation panels further by adding additional fasteners. Drive screws or nails through the panels and into the roof structure, maintaining a spacing of approximately 12 inches along the edges and in the center of the panels.
- Check for any loose panels and ensure they are securely fastened to the roof structure. Tighten any loose screws or nails as needed.
By securing the insulation panels and sealing any gaps or joints, you create a continuous thermal barrier that effectively prevents heat transfer and enhances the overall insulation performance of your patio roof.
In the next step, we will discuss how to seal the joints and edges of the insulation installation to further improve the insulation properties and protect against air leakage.
Consider adding a layer of foam insulation board on top of the aluminum roof to reduce heat transfer and improve energy efficiency. Make sure to seal any gaps to prevent air leakage.
Read more: How To Insulate A Metal Roof
Step 6: Seal Joints and Edges
Properly sealing the joints and edges of the insulation installation is essential to maximize the insulation performance and prevent any air leakage. This step helps maintain a consistent temperature in your outdoor space and ensures the insulation remains effective. Follow these steps to seal the joints and edges:
- Inspect the joints and edges of the insulation panels to identify any gaps or areas that require sealing.
- Apply a generous amount of sealant along the joints and edges of the insulation panels. Use a caulking gun or squeeze tube to control the application.
- Smooth out the sealant using a putty knife or your gloved finger to create a uniform seal. This prevents any gaps or openings where air could infiltrate.
- Continue this process, sealing all the joints and edges throughout the patio roof.
It’s important to choose a high-quality sealant that is designed for outdoor use and suitable for the material of your insulation panels. Consult the manufacturer’s guidelines for the appropriate sealant type and application method.
Sealing the joints and edges not only enhances the insulation performance but also provides an additional layer of protection against moisture and weather elements, ensuring the longevity of your insulation installation.
In the next step, we will discuss how to install roofing sheets, which will add an extra layer of protection and enhance the overall aesthetics of your patio roof.
Step 7: Install Roofing Sheets
Installing roofing sheets is the next step in completing your insulated aluminum patio roof. The roofing sheets provide an additional layer of protection against the elements and add to the overall aesthetic appeal of your outdoor space. Follow these steps to install the roofing sheets:
- Measure the length and width of each section of the patio roof where the roofing sheets will be installed.
- Using a saw or a specialized cutting tool for the specific roofing material, cut the roofing sheets to the appropriate size.
- Start at one end of the patio roof and position the first roofing sheet. Ensure it aligns with the edges of the roof and overlaps the previously installed insulation panels.
- Use screws or nails to secure the roofing sheet to the roof structure. Place the fasteners in the pre-drilled holes or pre-marked spots on the roofing sheet, following the manufacturer’s guidelines for spacing.
- Continue this process, installing the remaining roofing sheets until the entire patio roof is covered. Ensure each sheet overlaps the previous one to provide proper water runoff.
- If necessary, trim the roofing sheets to fit around any obstructions such as vents or roof supports. Use a saw or cutting tool to make precise cuts.
When selecting the roofing sheets, consider the specific material that best suits your needs, such as aluminum or polycarbonate sheets. These materials offer durability, weather resistance, and aesthetic options for your patio roof.
By installing roofing sheets, you add an extra layer of protection to your insulated patio roof, enhancing its performance and improving the overall appearance of your outdoor space.
In the final step, we will discuss how to finish the insulation installation and ensure everything is properly secured and sealed.
Step 8: Finish the Installation
With the insulation panels and roofing sheets in place, it’s time to complete the installation of your insulated aluminum patio roof. This final step involves ensuring that everything is properly secured and sealed, and performing a thorough inspection to confirm that the installation meets your requirements. Follow these steps to finish the installation:
- Tighten any loose screws or nails that may have come loose during the installation. This ensures that all components are securely fastened and will not shift or move over time.
- Inspect the entire patio roof for any gaps, holes, or areas where air or moisture may penetrate. Use sealant to fill any gaps or holes, ensuring a watertight and airtight seal.
- Clean the surface of the roofing sheets and insulation panels, removing any debris or fingerprints.
- Step back and inspect the overall appearance of your patio roof. Ensure that all panels and sheets are aligned properly and that the insulation is visually consistent.
- Make any necessary adjustments or touch-ups to ensure the installation meets your desired standards.
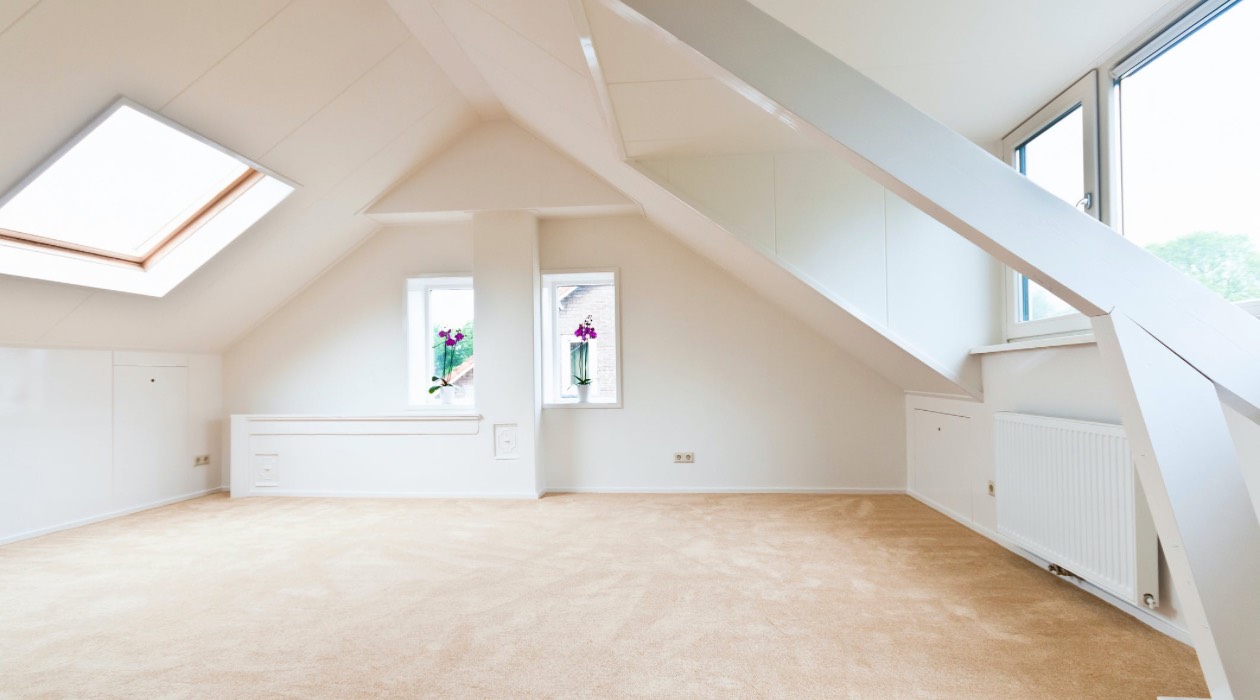
Once you have completed the finishing touches, take a moment to appreciate the enhanced comfort and functionality that your insulated aluminum patio roof now provides. With proper insulation, you can now comfortably use your outdoor space throughout the year, regardless of the weather conditions.
Remember to periodically inspect your insulated patio roof for any signs of damage or wear. Proper maintenance and upkeep will help ensure the longevity and performance of your insulation installation.
Congratulations on completing the installation of your insulated aluminum patio roof! Enjoy your outdoor living space in all seasons, with a comfortable and energy-efficient environment.
Thank you for using this comprehensive guide. We hope it has been helpful in assisting you with the insulation installation for your patio roof. Now, go out and make the most of your outdoor space!
Conclusion
Congratulations! You have reached the end of this comprehensive guide on how to insulate an aluminum patio roof. By following the step-by-step instructions provided, you have successfully installed insulation panels, secured them in place, and completed the necessary finishing touches for optimal insulation performance.
Insulating your aluminum patio roof offers numerous benefits. It provides a comfortable and usable outdoor space throughout the year by regulating the temperature and minimizing heat transfer. Additionally, proper insulation helps reduce energy costs by reducing reliance on heating and cooling systems. It also acts as a sound barrier, reducing noise levels from external sources.
Throughout this guide, we have emphasized the importance of measuring accurately, using quality materials, and properly sealing all joints and edges. These steps are crucial in ensuring a well-insulated and long-lasting patio roof.
Remember, periodic inspections and maintenance will help preserve the effectiveness of your insulation installation. Check for any signs of damage, wear, or air leakage, and address them promptly.
Now that you have completed the insulation installation, it’s time to enjoy your outdoor living space to the fullest. Whether it’s relaxing with a book, hosting gatherings, or simply enjoying the fresh air, your insulated patio roof will provide a comfortable and inviting environment.
Thank you for using this guide. We hope it has been informative and helpful in your insulation journey. Should you have any further questions or require additional assistance, don’t hesitate to reach out. Happy outdoor living!
Frequently Asked Questions about How To Insulate An Aluminum Patio Roof
Was this page helpful?
At Storables.com, we guarantee accurate and reliable information. Our content, validated by Expert Board Contributors, is crafted following stringent Editorial Policies. We're committed to providing you with well-researched, expert-backed insights for all your informational needs.


0 thoughts on “How To Insulate An Aluminum Patio Roof”