Home>Furniture>Outdoor Furniture>How To Level A Concrete Patio

Outdoor Furniture
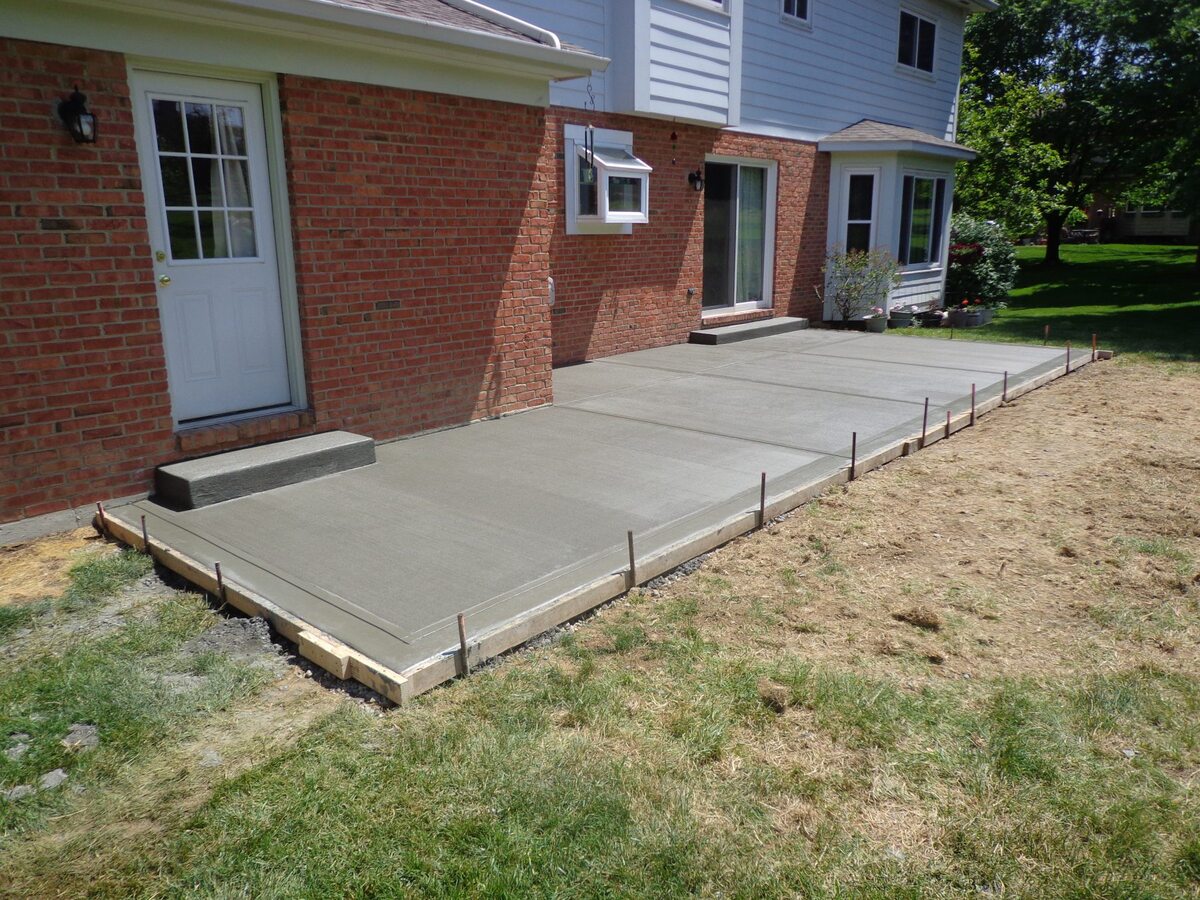
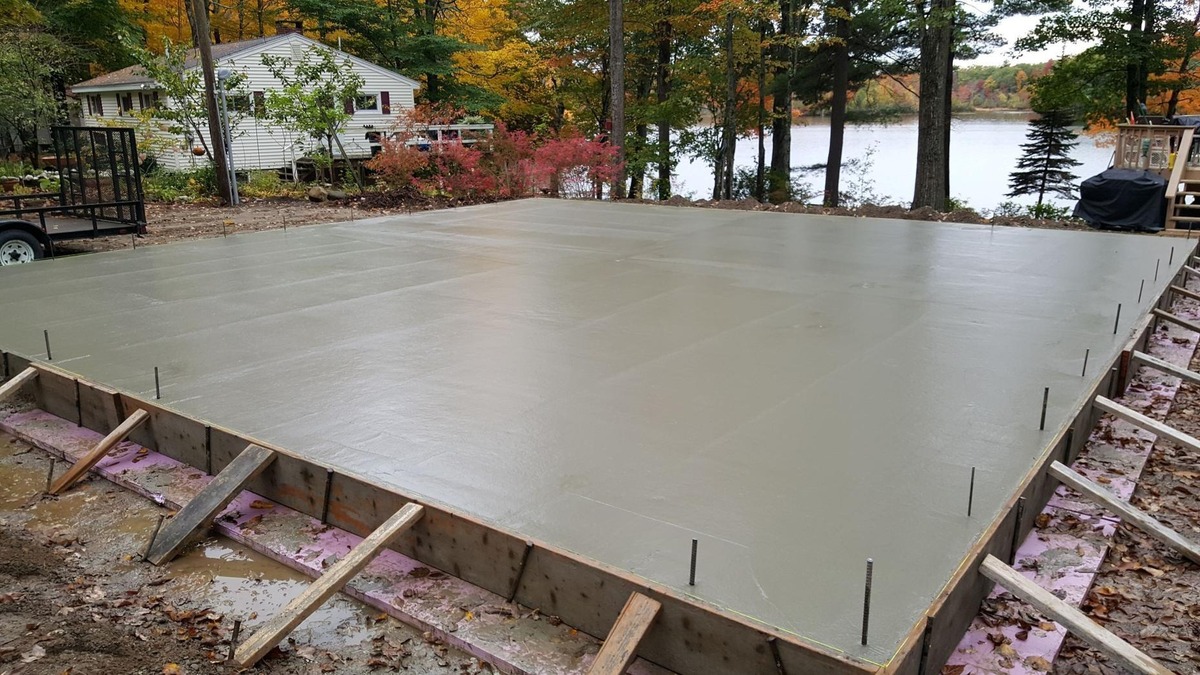
How To Level A Concrete Patio
Modified: September 1, 2024
Learn how to level your concrete patio for optimal placement of outdoor furniture. Create a smooth and stable surface to enhance your outdoor living area.
(Many of the links in this article redirect to a specific reviewed product. Your purchase of these products through affiliate links helps to generate commission for Storables.com, at no extra cost. Learn more)
Introduction
Welcome to our comprehensive guide on how to level a concrete patio. A patio is a fantastic addition to any outdoor space, providing an area for relaxation, entertainment, and enjoying the great outdoors. However, over time, a concrete patio may start to develop uneven surfaces, causing problems like water pooling, tripping hazards, and a generally unappealing appearance.
Leveling a concrete patio is an essential maintenance task that not only improves safety but also enhances the overall aesthetics of your outdoor living area. In this article, we will walk you through the step-by-step process of leveling your concrete patio, ensuring that you have a smooth and even surface to enjoy for years to come.
Before we dive into the details, it’s important to note that leveling a concrete patio requires some physical effort and basic DIY skills. If you are not comfortable with these tasks, it is advisable to seek professional assistance. However, if you’re willing to put in the effort, let’s get started on leveling your concrete patio!
Key Takeaways:
- Safety, Functionality, and Aesthetics
Leveling a concrete patio is crucial for safety, preventing water pooling, and ensuring furniture stability, creating a beautiful and functional outdoor space. - Preparation and Maintenance
Thoroughly assess the patio, gather tools, and prepare the surface before applying the self-leveling compound. After leveling, maintain proper drainage, consider landscaping, and promptly address any damage for a long-lasting, enjoyable patio.
Read more: How To Level Concrete Porch
Understanding the Importance of Leveling a Concrete Patio
When it comes to outdoor spaces, having a level surface is crucial. This is especially true for a concrete patio, as it serves as an extension of your indoor living area and provides a place for various activities. Let’s take a closer look at why leveling a concrete patio is so important and the issues that can arise if it is left uneven.
First and foremost, safety is a primary concern. An uneven concrete patio can create tripping hazards, causing potential injuries to you, your family, and your guests. Whether it’s a small lip or a significant elevation difference between sections, these inconsistencies can catch people off guard, leading to falls and accidents.
In addition to safety concerns, an uneven patio can also affect the overall functionality of the space. Water pooling is a common problem with uneven patios, especially when it rains. When water accumulates in certain areas, it can create a breeding ground for mosquitoes and other pests. Moreover, standing water can seep into the concrete, causing structural damage over time.
Furthermore, an unlevel patio not only affects its practicality but also its aesthetic appeal. Uneven surfaces can result in furniture wobbling or not sitting flush, which can be bothersome and impact your comfort. Additionally, an uneven patio can make it challenging to decorate and arrange furniture, limiting your creative options.
By leveling your concrete patio, you can effectively address these concerns and enjoy a space that is safe, functional, and visually pleasing. An even surface allows for seamless movement, provides a stable foundation for furniture and decor, and prevents water from pooling. It also offers peace of mind, knowing that you’ve taken the necessary steps to ensure the longevity and durability of your patio.
Now that we understand the importance of leveling a concrete patio let’s move on to the steps involved in assessing the current condition of your patio to determine the best approach for leveling it.
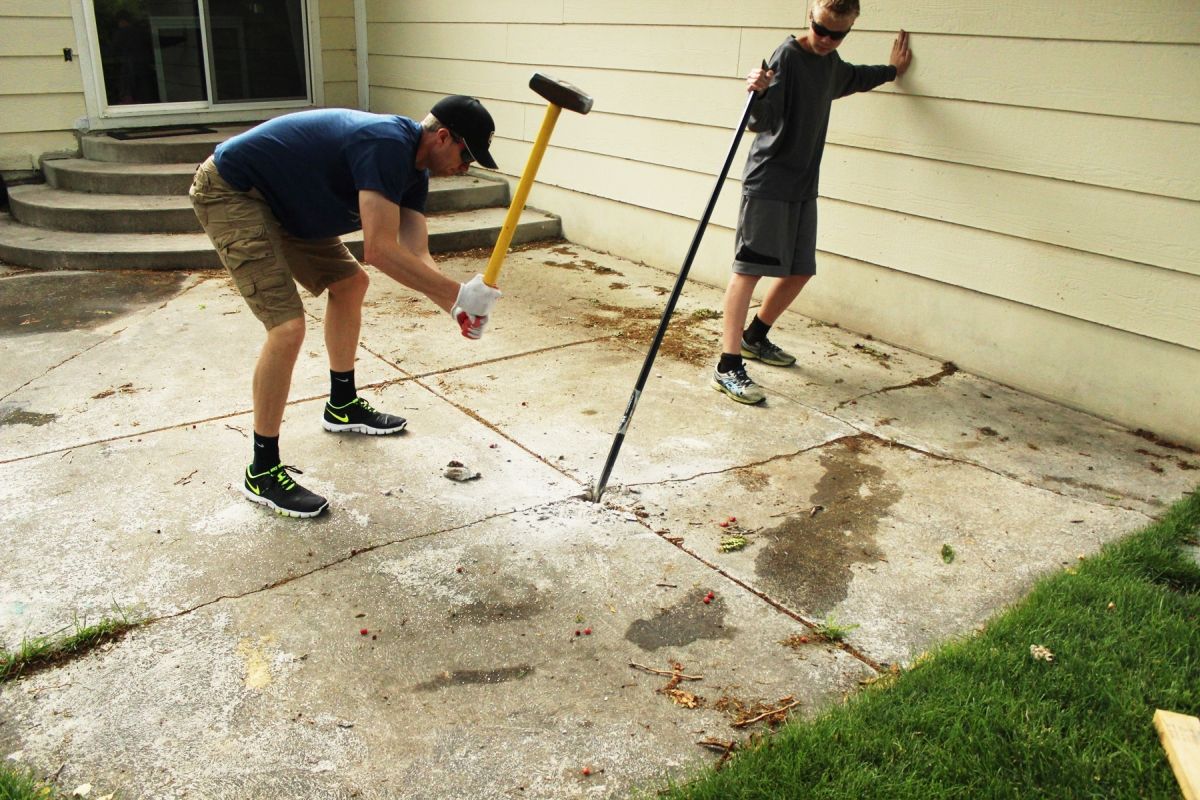
Assessing the Current Condition of the Patio
Before you begin leveling your concrete patio, it’s crucial to assess its current condition to determine the extent of the problem and the best course of action. Here are some steps to help you effectively evaluate the condition of your patio:
- Inspect the surface: Start by carefully examining your patio for any visible cracks, dips, or uneven areas. Walk around the entire space and make note of any problem areas. Pay attention to the severity of the unevenness and how it may affect the overall stability of the patio.
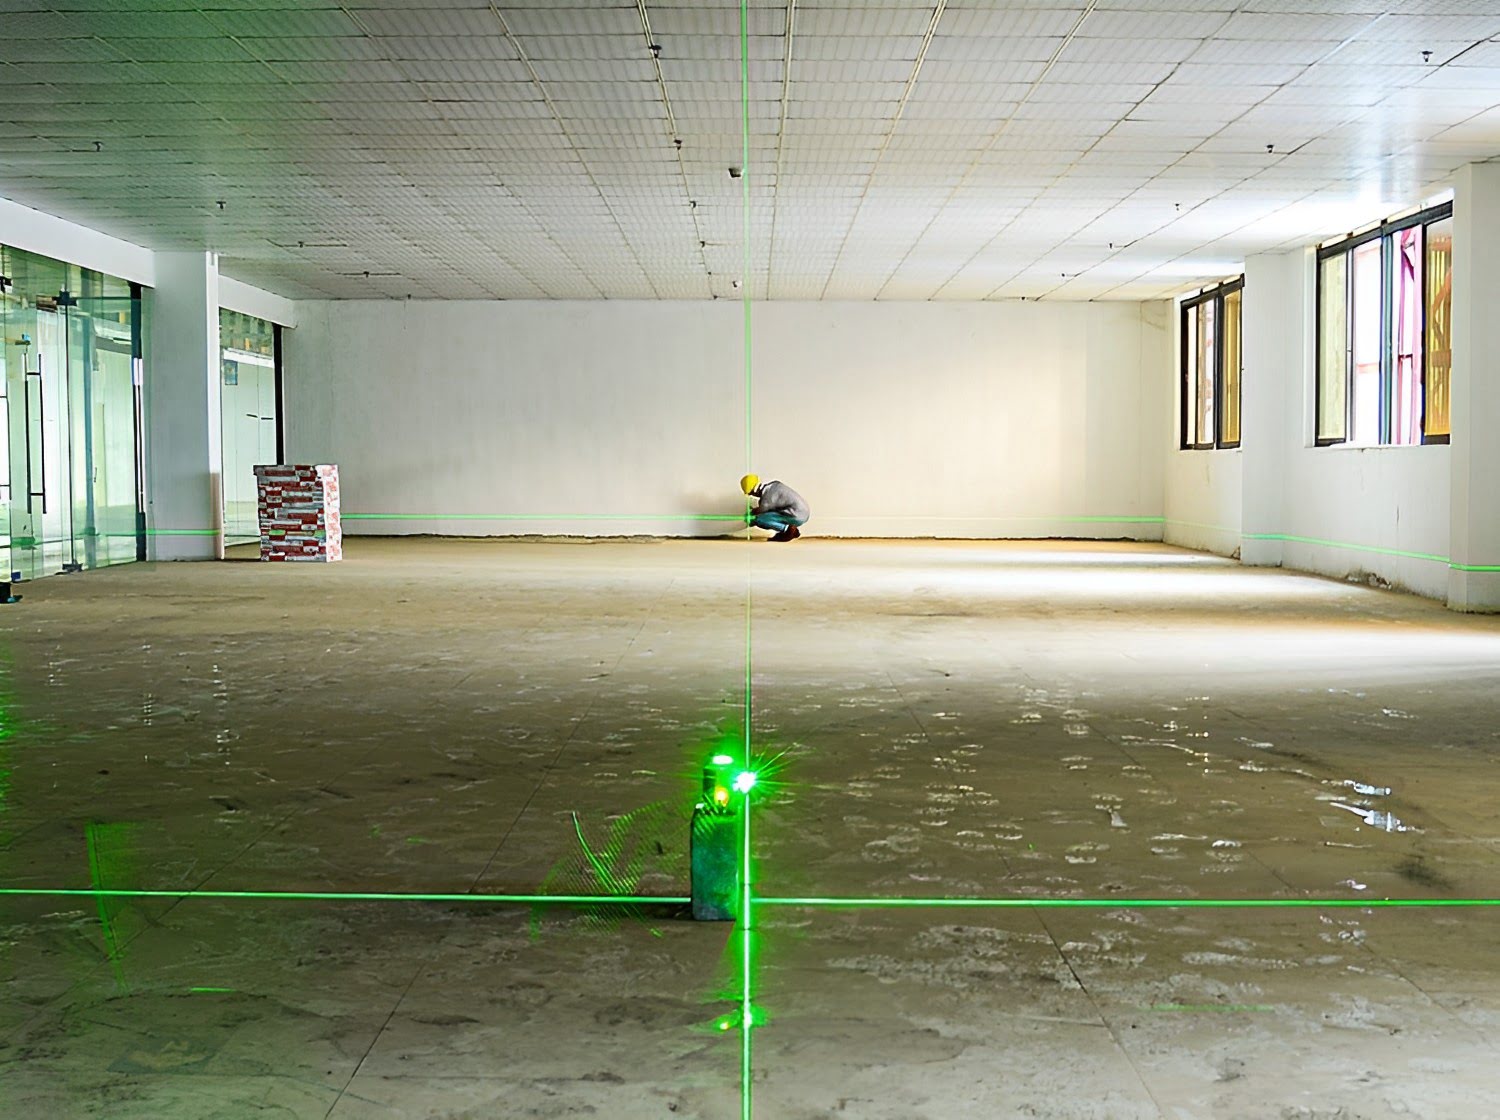
- Measure slopes: Use a level tool or a long, straight board to determine if there are any noticeable slopes on the surface. Place the level or board across different sections of the patio and check for any significant variations in height. This will give you a better idea of the unevenness and help you plan accordingly.
- Check for drainage issues: Observe how water flows and accumulates on the patio. If you notice areas where water tends to pool or doesn’t drain properly, it indicates a potential problem that needs to be addressed during the leveling process.
- Assess foundation stability: Take a closer look at the patio’s foundation and evaluate its stability. Look for signs of sinking, shifting, or damage to the underlying structure. If you notice any major issues with the foundation, it is crucial to address them before attempting to level the surface.
By thoroughly assessing the current condition of your concrete patio, you will have a better understanding of the scope of the leveling project and be able to plan accordingly. It is important to note that minor cracks or slight unevenness can often be remedied with simple leveling techniques, while more severe issues may require professional intervention.
Once you have completed the assessment, it’s time to move on to the next step, which involves gathering the necessary tools and materials for the leveling process.
Gathering the Necessary Tools and Materials
Now that you have assessed the condition of your concrete patio, it’s time to gather the necessary tools and materials for the leveling process. Having the right equipment on hand will make the task more efficient and ensure the best results. Here is a list of essential items you will need:
- Measuring tools: A tape measure, a level, and a long, straight board will help you accurately measure the slopes and determine the areas that require leveling.
- Safety gear: It is important to prioritize safety during the leveling process. Be sure to have safety goggles, work gloves, and a dust mask to protect yourself from any potential hazards.
- Concrete cleaner: Before applying any leveling compound, it’s necessary to thoroughly clean the patio surface. A concrete cleaner or degreaser will effectively remove dirt, grease, and other contaminants from the concrete.
- Pressure washer: For more stubborn stains or dirt buildup, a pressure washer can be handy in getting the surface clean. It helps to have sufficient water pressure to remove any deep-seated grime.
- Self-leveling compound: The main component used in leveling a concrete patio is a self-leveling compound. This specialized material flows and settles into low areas, creating a smooth and even surface. Choose a high-quality self-leveling compound appropriate for exterior use.
- Mixing tools: Depending on the specific self-leveling compound you choose, you may need a mixing bucket, a drill with a mixing attachment, or a trowel for preparing and mixing the compound.
- Trowel and finishing tools: A trowel is essential for spreading and smoothing the self-leveling compound onto the patio surface. Additionally, having a broom or brush, and a long-handled squeegee will aid in the leveling and finishing process.
- Protective coverings: To protect surrounding areas and any adjacent structures, it’s advisable to have plastic sheeting or drop cloths on hand.
Make sure to gather all these tools and materials prior to starting the leveling process. Having everything readily available will help streamline the project and prevent any unnecessary delays. With the necessary tools and materials in place, you are now ready to prepare the patio for leveling.
Preparing the Patio for Leveling
Before you begin applying the self-leveling compound to your concrete patio, it is crucial to properly prepare the surface for optimal adhesion and a successful leveling process. Follow these steps to ensure your patio is ready:
- Clean the surface: Start by thoroughly cleaning the patio surface. Remove any debris, dirt, or loose materials using a broom or a leaf blower. If there are stubborn stains or grease, use a concrete cleaner or degreaser, following the manufacturer’s instructions. For deep-seated stains, a pressure washer can be effective.
- Repair cracks and damage: Inspect the patio for any cracks or damage. Small hairline cracks can typically be repaired with a concrete crack filler or patching compound. Follow the specific product instructions for the best results. For larger cracks or significant damage, it may be necessary to consult a professional for proper repair.
- Evaluate drainage: Assess the patio’s drainage system to ensure it functions properly. Clear any clogged or obstructed drainage channels or gutters to allow water to flow freely. Addressing drainage issues during the preparation stage will help prevent future pooling or damage.
- Remove existing coatings or sealants: If there are any existing coatings or sealants on the patio surface, they need to be removed or properly prepared for better adhesion of the self-leveling compound. Use a concrete stripper or sanding equipment as per the manufacturer’s instructions.
- Mask off adjacent areas: To protect any adjacent structures, pathways, or plants, use plastic sheeting or drop cloths to create a barrier. This will prevent the self-leveling compound from spreading where it’s not intended to be.
By following these preparation steps, you are ensuring that the patio surface is clean, free from damage, and ready for the self-leveling compound. Taking the time to properly prepare the patio will significantly improve the overall results of the leveling process.
Now that the patio is prepared, it’s time to mix and apply the self-leveling compound. This step is crucial in achieving a smooth and even surface. Stay tuned for the next section to learn the process of mixing and applying the self-leveling compound.
Before leveling a concrete patio, make sure to thoroughly clean the surface and remove any debris. This will ensure a smooth and even finish when applying the leveling compound.
Read more: How To Smooth A Concrete Patio
Mixing and Applying a Self-Leveling Compound
Now that your patio is prepared, it’s time to mix and apply the self-leveling compound. This specialized material is designed to flow and settle into low areas, creating a smooth and even surface. Follow these steps for a successful application:
- Read the instructions: Start by carefully reading the manufacturer’s instructions on the self-leveling compound packaging. Each product may have specific mixing ratios and application guidelines.
- Mix the compound: Prepare the self-leveling compound according to the manufacturer’s instructions. Depending on the product, you may need to mix it with water or a specific liquid additive. Use a mixing bucket and a drill with a mixing attachment to achieve a smooth and consistent texture.
- Start from one corner: Begin pouring the mixed self-leveling compound onto the lowest area of the patio. Work your way out towards the higher areas. Use a trowel or a long-handled squeegee to spread the compound evenly across the surface. Make sure to follow the manufacturer’s recommended thickness for the application.
- Smooth out the surface: Once the compound is spread across the entire patio, use a trowel or a smoothing tool to even out any ridges or uneven sections. This will help achieve a more seamless surface.
- Remove air bubbles: Gently tap a rubber mallet or a trowel on the surface to remove any trapped air bubbles. This step will help ensure a solid bond and prevent potential issues with the compound drying unevenly.
- Allow for self-leveling: As the name suggests, the compound will self-level and settle into the low areas to create an even surface. Avoid walking on the patio or disturbing the leveling compound during this time to allow for proper curing.
It’s important to note that different self-leveling compounds may have varying curing times. Consult the manufacturer’s instructions for specific drying and curing guidelines. Typically, the compound will take several hours to dry but may require additional time for full curing.
By following these steps for mixing and applying the self-leveling compound, you are well on your way to achieving a smooth and level concrete patio. Now, let’s move on to the next section to learn about ensuring proper curing and drying of the compound.
Ensuring Proper Curing and Drying of the Compound
After applying the self-leveling compound to your concrete patio, it is crucial to allow for proper curing and drying. This step is essential to ensure the compound sets correctly and provides a durable, leveled surface. Here are some important tips to follow:
- Refer to the manufacturer’s instructions: Each self-leveling compound may have specific guidelines for drying and curing. Refer to the manufacturer’s instructions to understand the recommended curing time for the product you have used.
- Minimize foot traffic: It’s important to minimize foot traffic on the newly applied compound during the initial drying phase. Avoid walking on the surface or placing any heavy objects that may cause indentations or disruptions to the leveling process.
- Monitor temperature and humidity: The temperature and humidity levels can impact the drying time of the self-leveling compound. Ensure that the patio area is adequately ventilated and maintain ambient temperatures within the recommended range for optimal curing.
- Protect from water and precipitation: Moisture can affect the drying and curing process of the compound. Avoid exposing the patio to water or rain during the initial drying phase. Use plastic sheeting or tarps to cover the area if necessary.
- Follow curing timeline: Allow the recommended curing time to pass before subjecting the patio to normal use. This ensures that the self-leveling compound has fully set and hardened, providing a stable and leveled surface.
- Inspect for any issues: After the compound has fully cured, inspect the patio surface for any imperfections or areas that require additional touch-ups. Address these issues accordingly to achieve the desired result.
Proper curing and drying of the self-leveling compound is crucial for achieving a durable and level patio surface. By following these guidelines and allowing adequate time for the compound to set, you can ensure the longevity and functionality of your patio.
Once the compound has fully cured and dried, you can finish with any necessary touches and explore further recommendations to maintain and enhance your leveled concrete patio. Let’s move on to the next section to discover those finishing touches and recommendations.
Finishing Touches and Further Recommendations
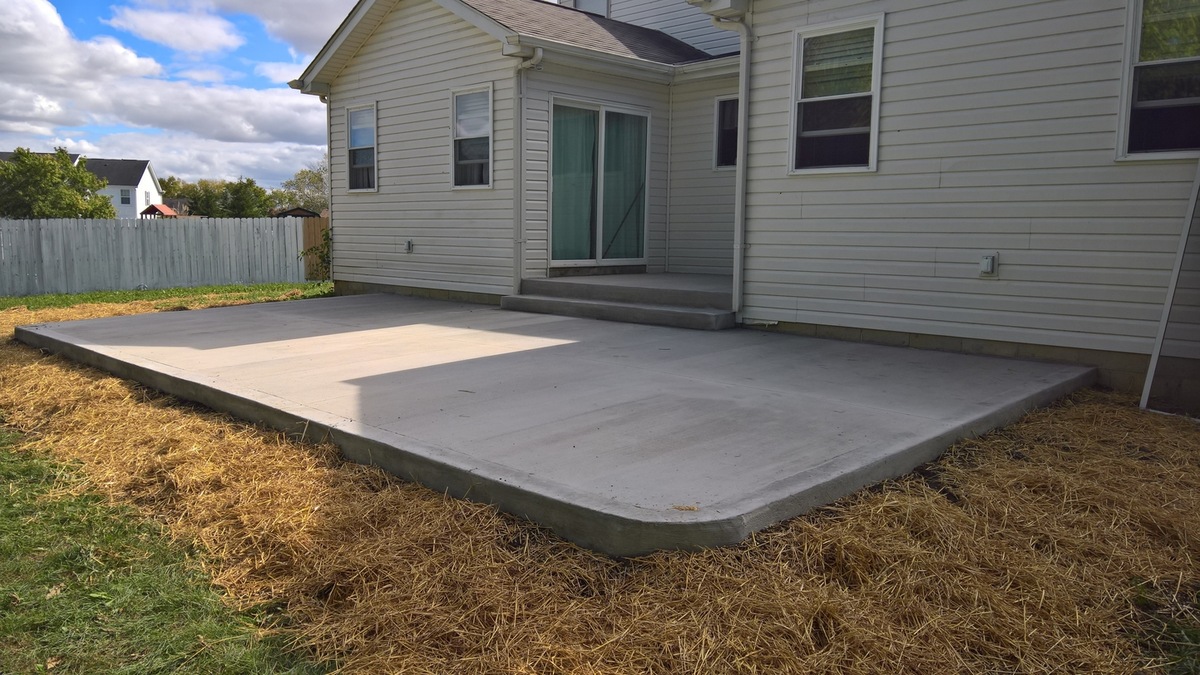
Now that your concrete patio has been leveled and the self-leveling compound has fully cured, it’s time to add some finishing touches and consider further recommendations to enhance and maintain your patio. Here are some suggestions:
- Seal the surface: Consider applying a concrete sealer to protect the newly leveled surface. A sealer can help prevent stains, moisture damage, and prolong the lifespan of your patio. Choose a sealer that is suitable for exterior use and follow the application instructions.
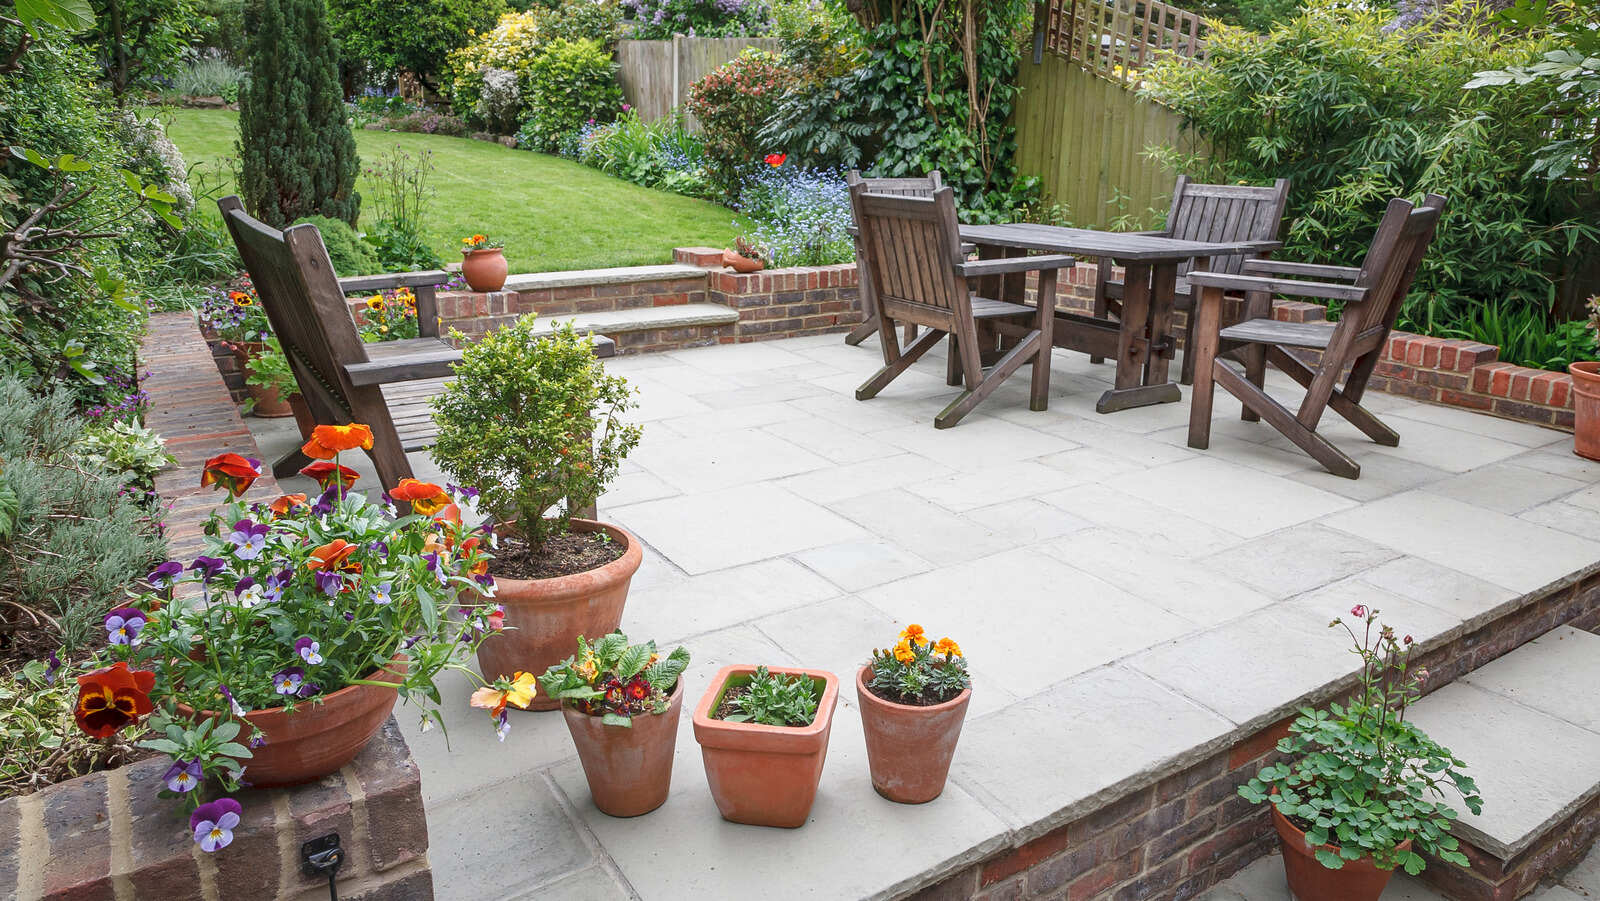
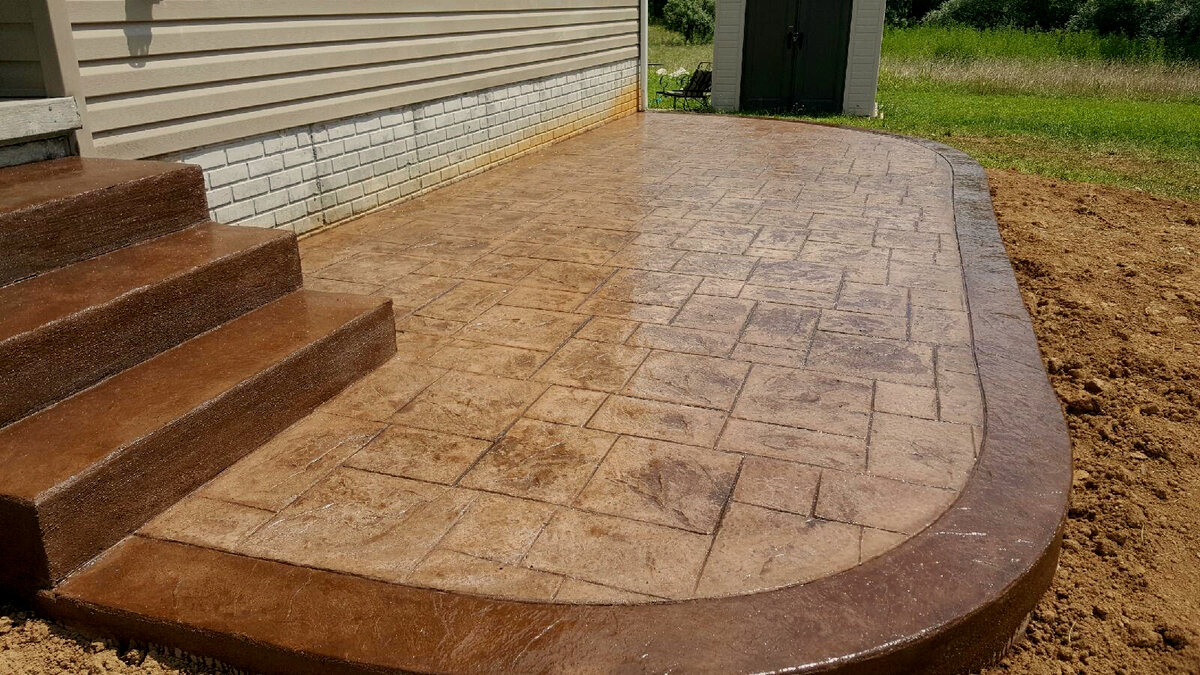
- Add a decorative touch: If desired, you can enhance the aesthetic appeal of your patio by adding decorative elements. Explore options such as stamped concrete, decorative stains, or even outdoor rugs and furniture to create a welcoming and personalized space.
- Maintain proper drainage: It’s essential to maintain proper drainage on your patio to prevent future pooling and damage. Regularly inspect and clean the drainage system, ensuring water flows away from the patio surface.
- Regular cleaning and maintenance: Keep your leveled patio in top condition by regularly cleaning it. Sweep away debris, rinse off dirt and grime, and periodically give it a thorough cleaning with a pressure washer or appropriate cleaning solutions.
- Address cracks and damage promptly: Keep an eye on your patio for any signs of cracks or damage. Promptly address any issues by filling cracks or consulting a professional for repair. This proactive approach will help maintain the integrity of your leveled patio.
- Consider landscaping: Enhance the overall ambiance of your patio by incorporating landscaping elements. Planting flowers, adding potted plants, or creating a garden bed nearby can add beauty and create a pleasant environment around your patio.
By implementing these finishing touches and following the further recommendations, you can enjoy a leveled concrete patio that not only provides a functional space but also enhances the overall aesthetics of your outdoor area.
Congratulations on successfully leveling your concrete patio! With proper care and maintenance, your leveled patio will continue to be a welcoming and enjoyable space for you, your family, and your guests.
As we conclude our comprehensive guide on leveling a concrete patio, we hope that this article has provided you with valuable insights and guidance throughout the process. If you have any further questions or need assistance, don’t hesitate to consult with professionals or suppliers knowledgeable in concrete patio maintenance and renovation.
Conclusion
Leveling a concrete patio is a vital task that ensures the safety, functionality, and aesthetic appeal of your outdoor space. By following the step-by-step process outlined in this comprehensive guide, you can successfully level your patio and create a smooth and even surface for years of enjoyment.
We began by understanding the importance of leveling a concrete patio, acknowledging the safety risks, functional issues, and visual drawbacks of having an uneven surface. We then moved on to assessing the current condition of your patio, gathering the necessary tools and materials, and preparing the surface for leveling.
With the patio prepared, we discussed the process of mixing and applying a self-leveling compound, emphasizing the importance of following manufacturer instructions and achieving an even coverage. Ensuring proper curing and drying of the compound was highlighted as a crucial step to achieve a durable and leveled patio surface.
In the final stages, we covered finishing touches, such as sealing the surface and adding decorative elements, to enhance the appearance and longevity of your leveled patio. We also provided recommendations for maintaining proper drainage, regular cleaning, prompt crack repairs, and considering landscaping to further elevate your outdoor space.
By following these guidelines and suggestions, you can create a leveled concrete patio that not only adds value to your property but also provides a comfortable and inviting area for relaxation, entertainment, and connecting with nature.
We hope that this guide has empowered you with the knowledge and confidence to embark on your patio leveling journey. Remember, if you ever feel unsure or uncomfortable with any step of the process, it’s always wise to seek professional assistance. Cheers to a beautiful and leveled concrete patio!
Frequently Asked Questions about How To Level A Concrete Patio
Was this page helpful?
At Storables.com, we guarantee accurate and reliable information. Our content, validated by Expert Board Contributors, is crafted following stringent Editorial Policies. We're committed to providing you with well-researched, expert-backed insights for all your informational needs.


0 thoughts on “How To Level A Concrete Patio”